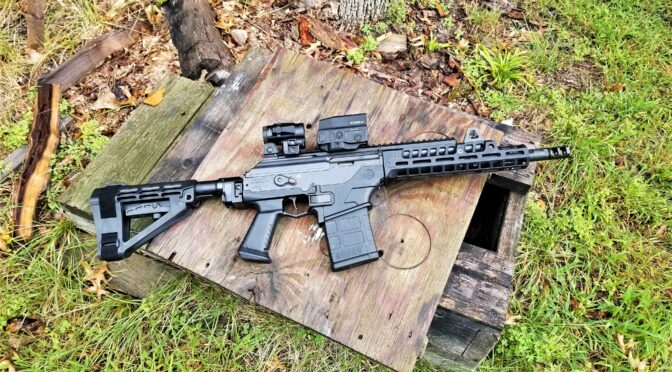
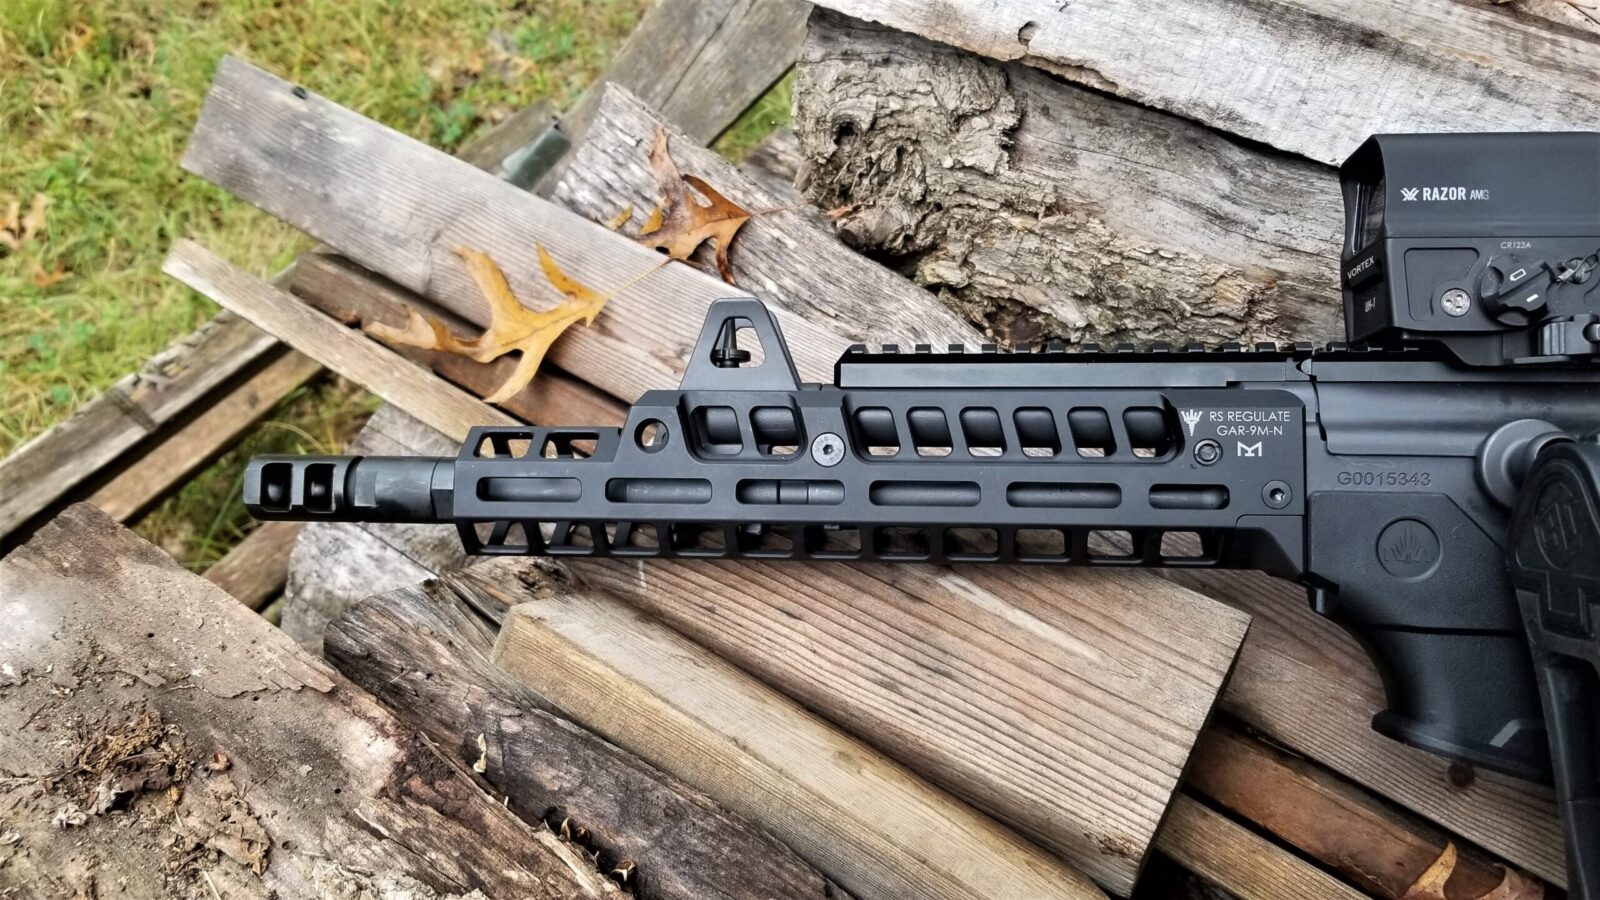
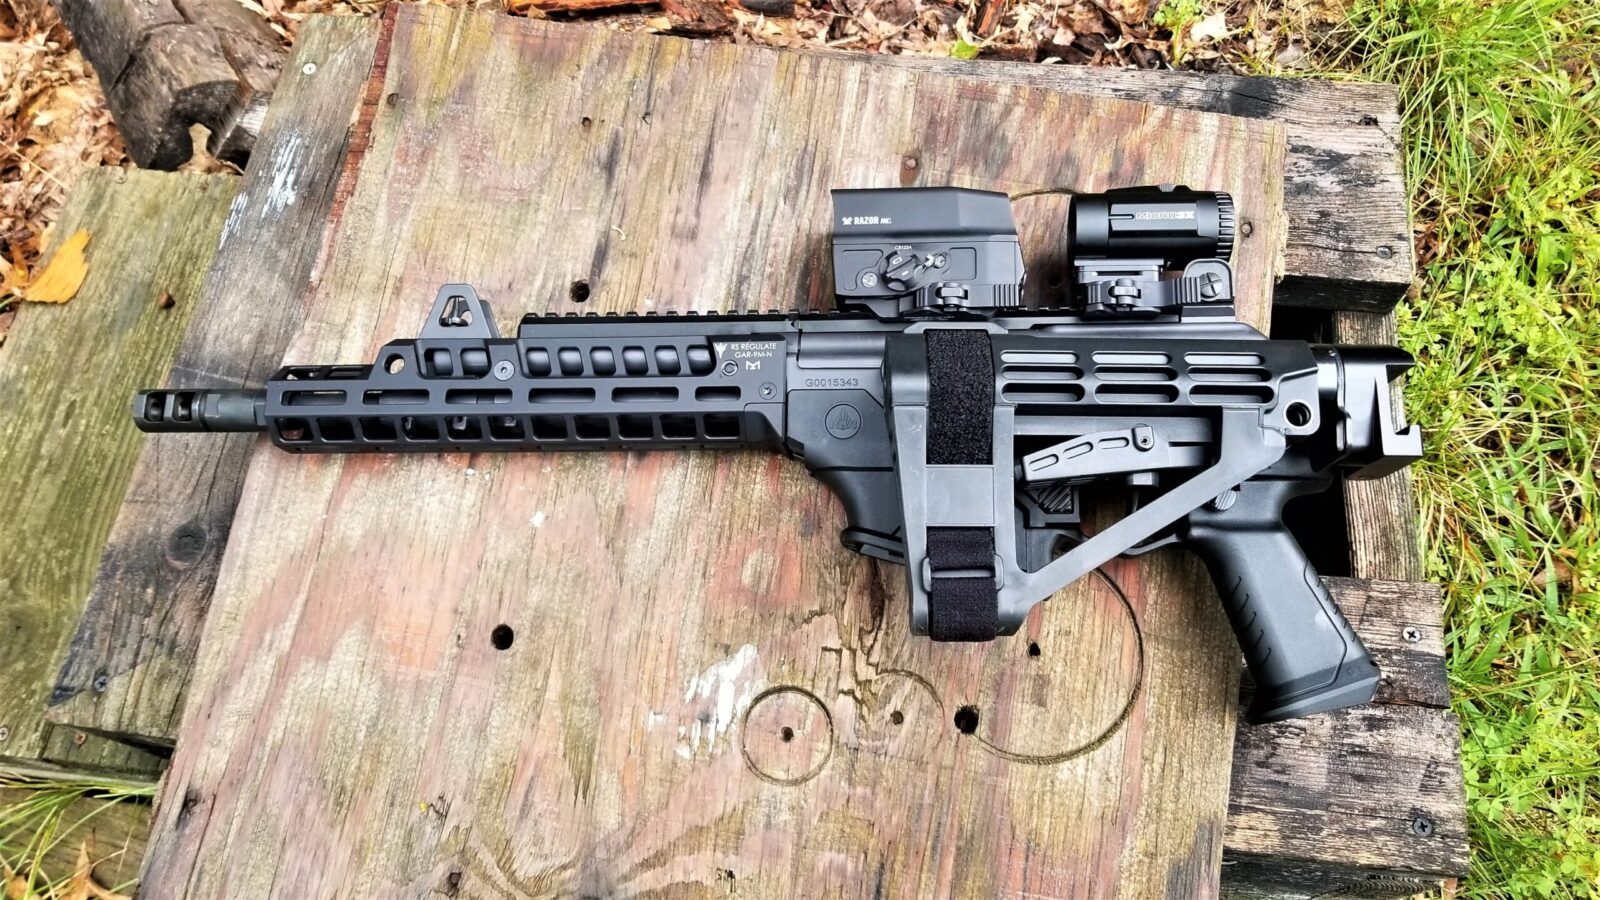
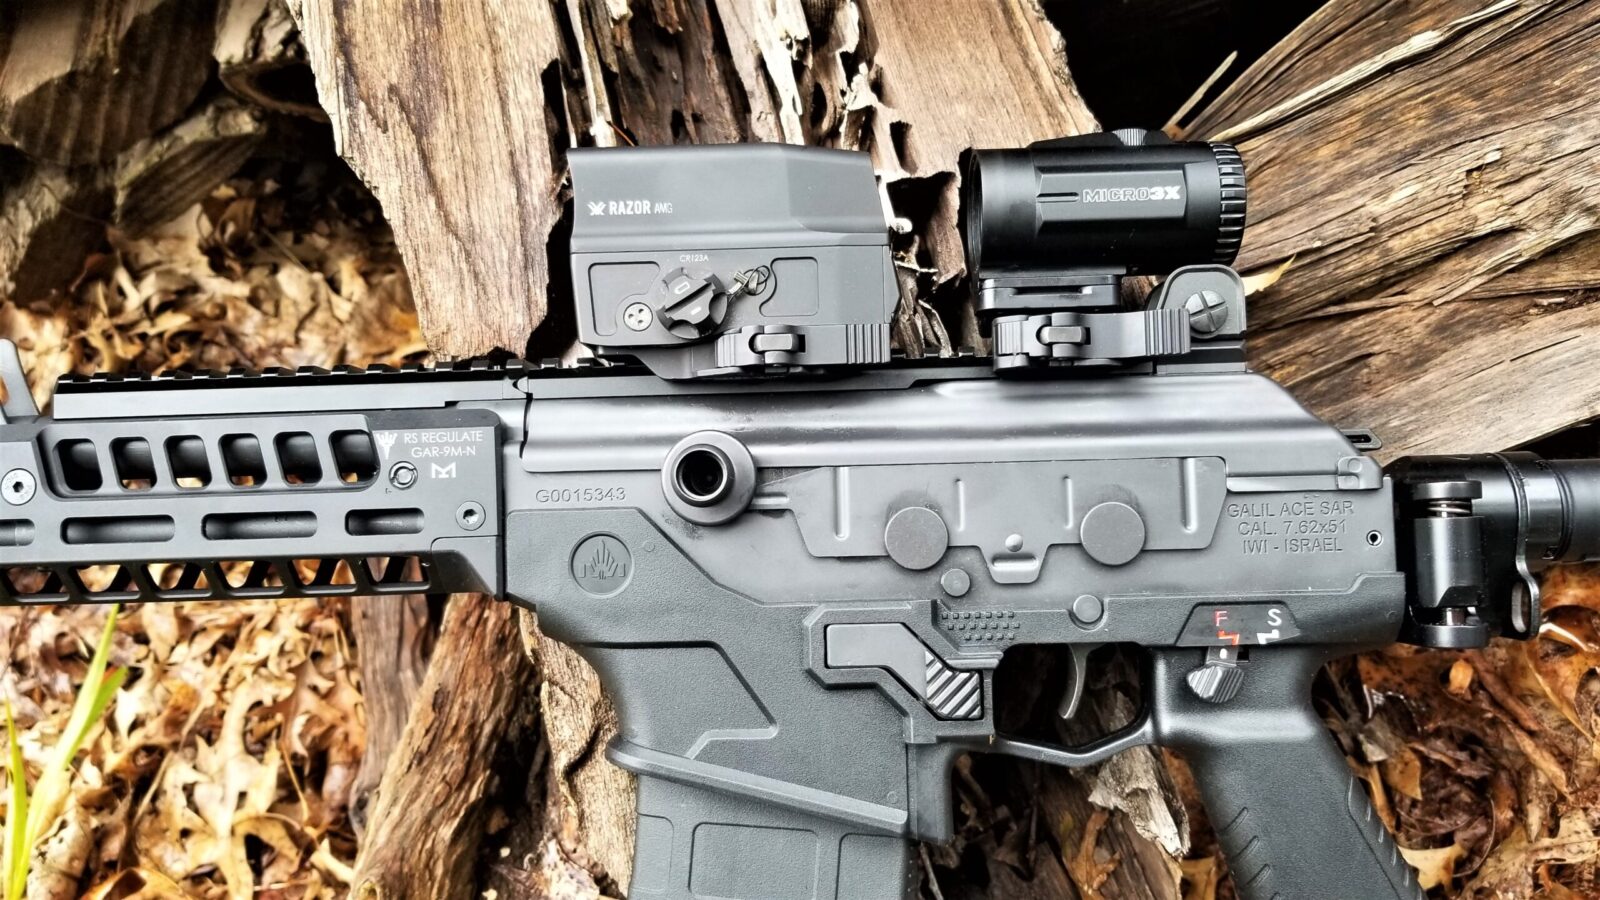
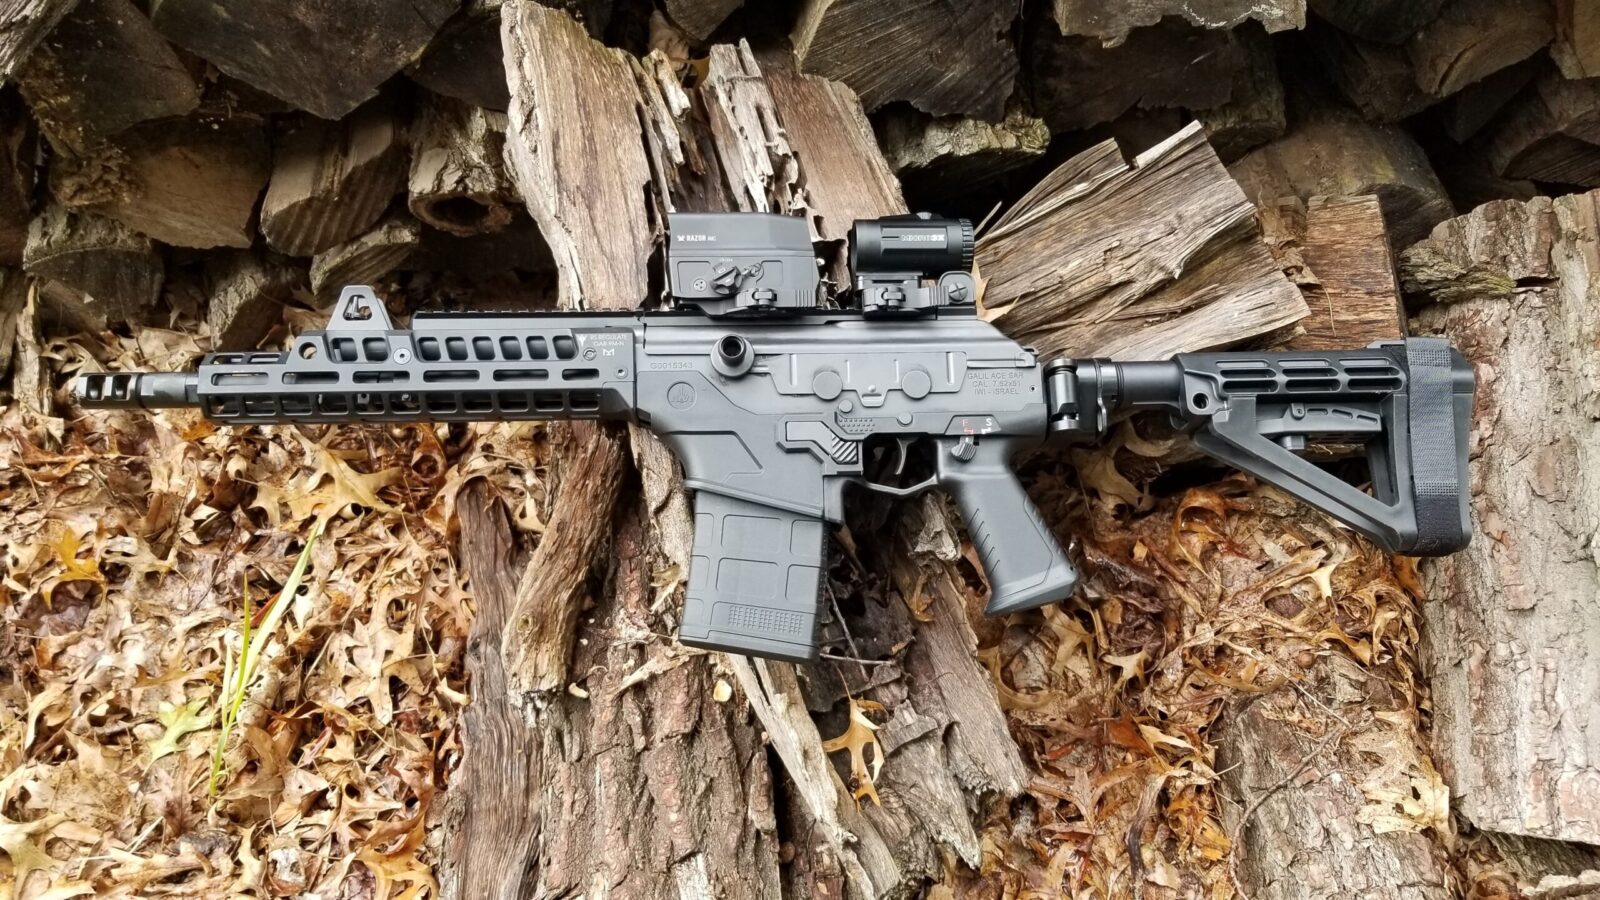
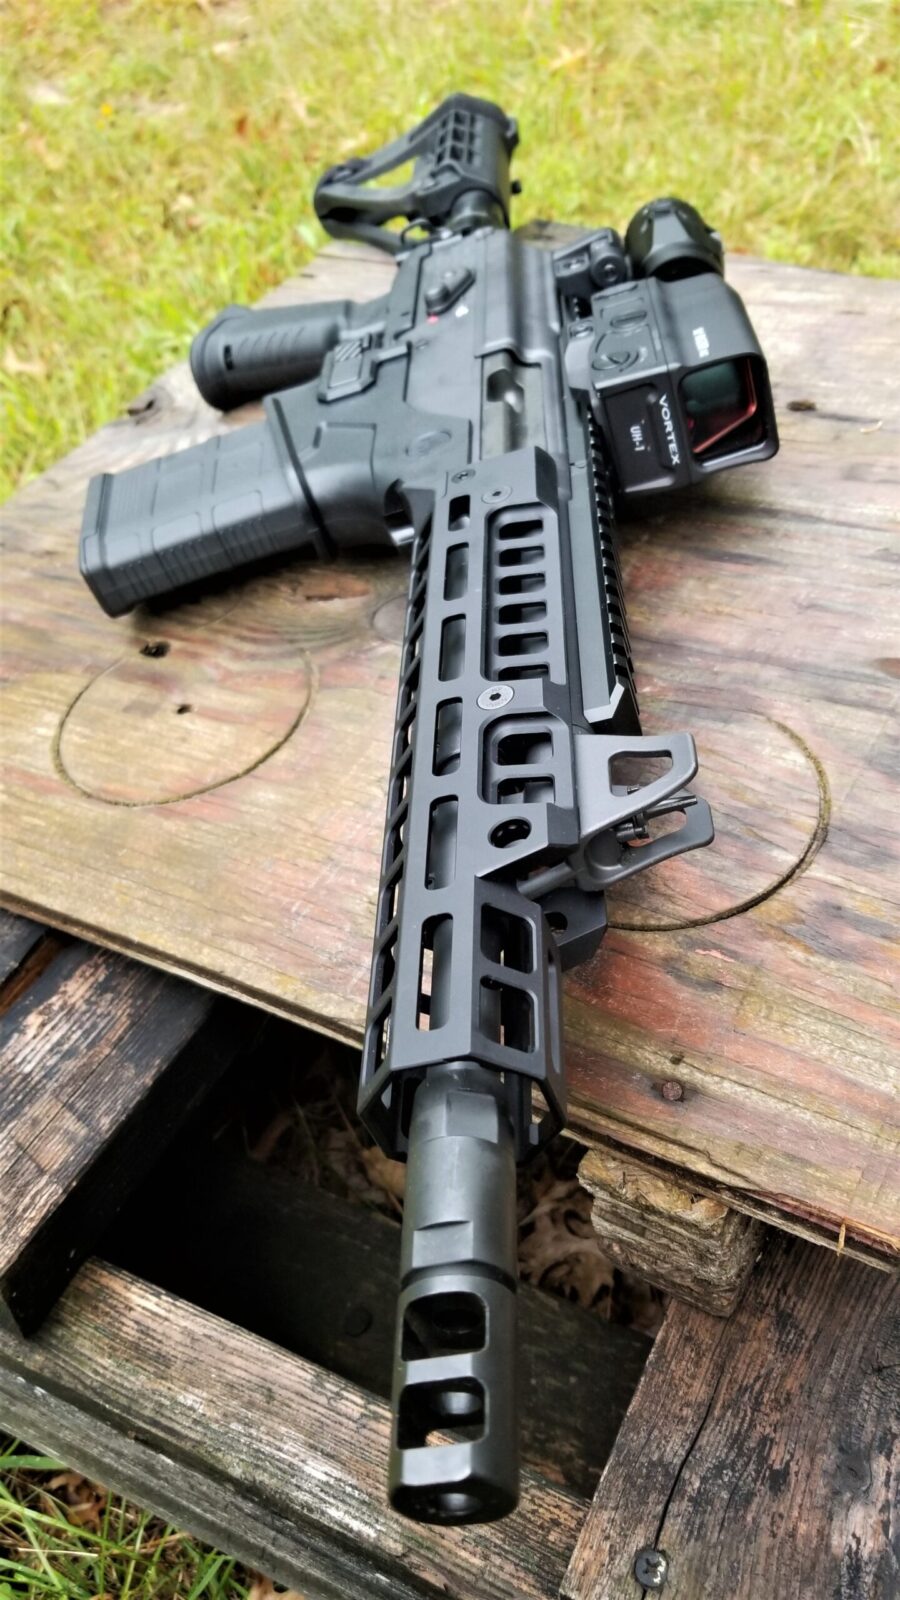
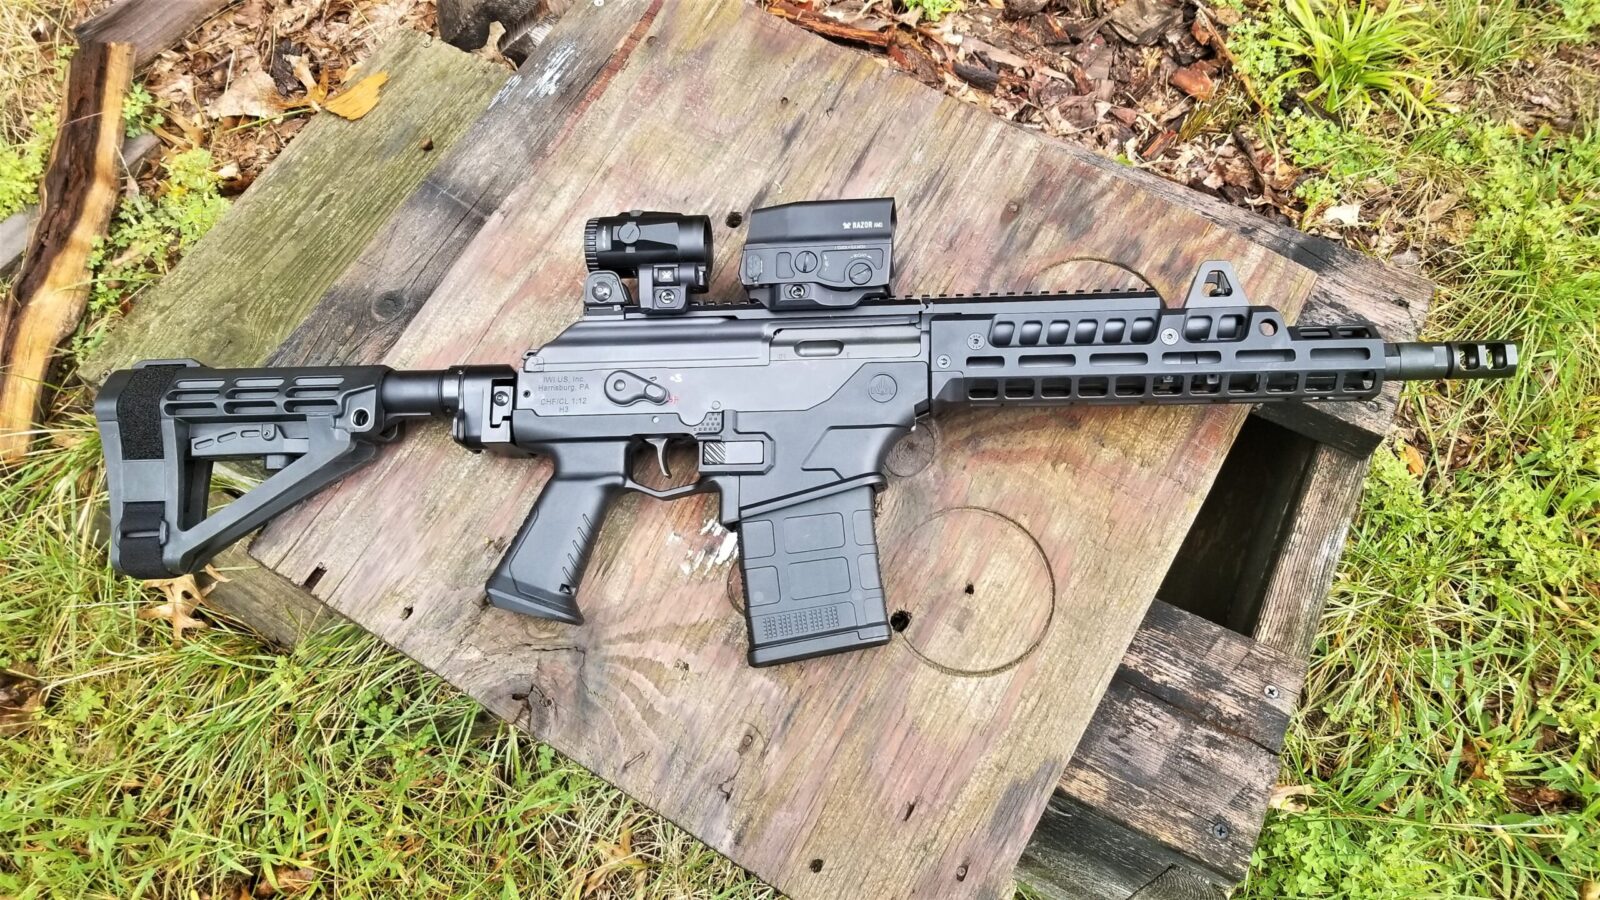
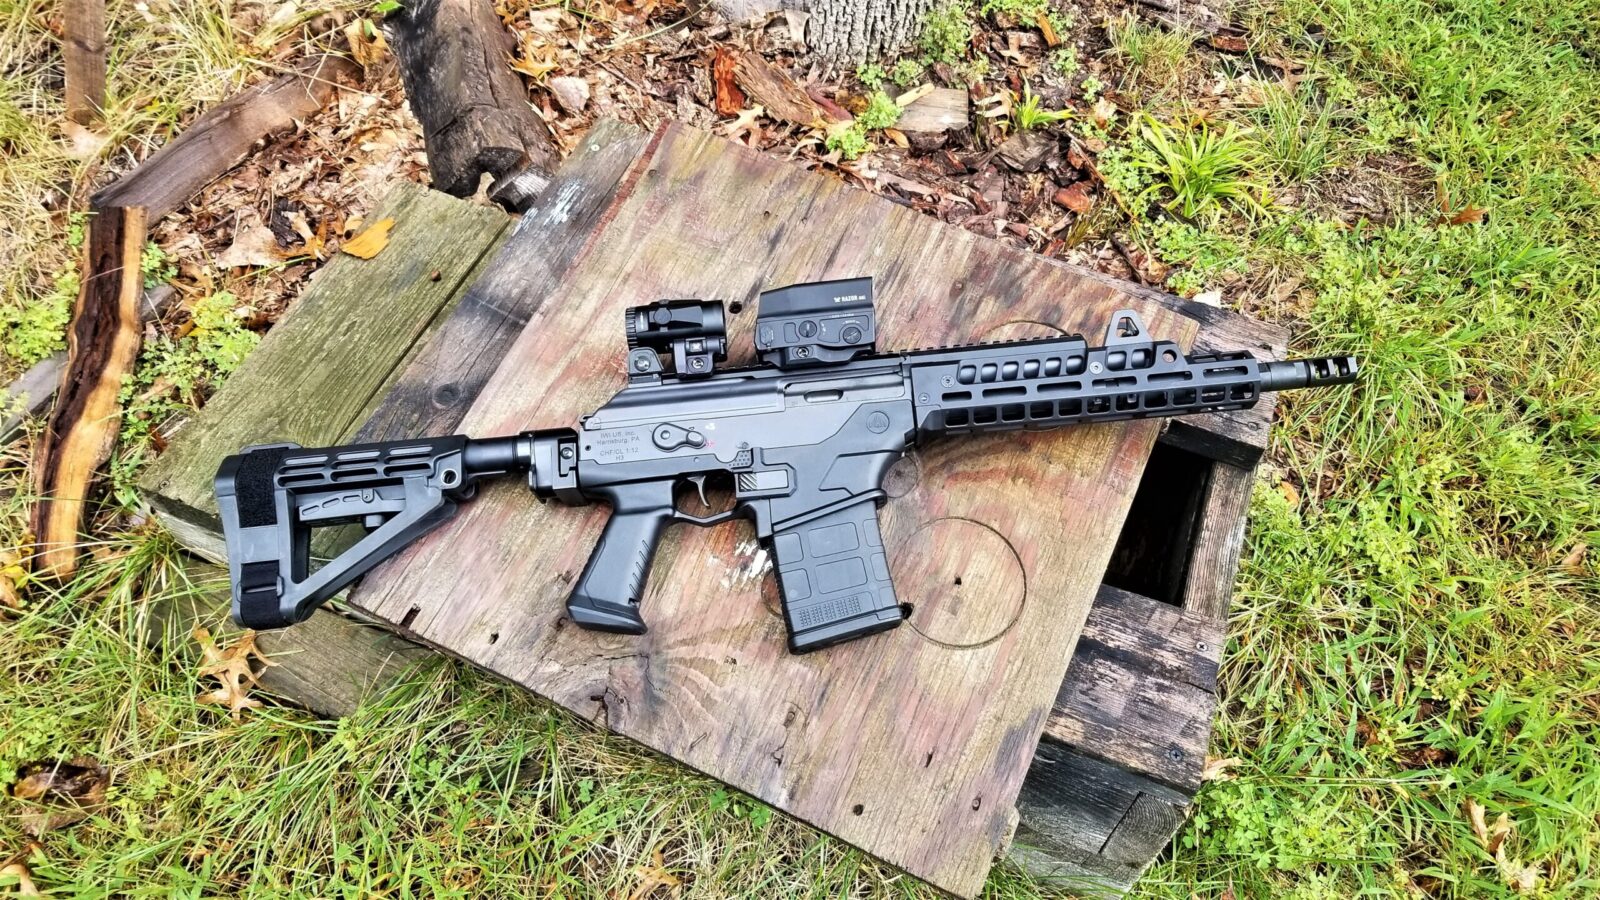
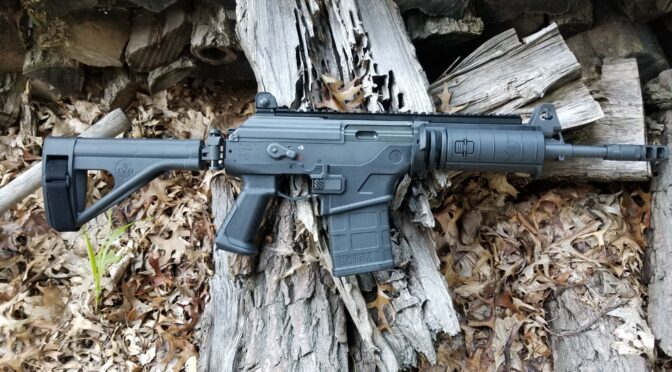
Rick sent me these cool photos of his new build and I had to share them. He also gave me some details as well.
The rifle has a “Polish FB Radom barrel, trunion, and optic rail. Childers polish cg1 receiver. To stay with the polish theme, I found an unissued polish soviet era laminate stock. I was originally going to use a bakelite grip. But, since this is a hard use rifle. I wanted something more robust. But correct for the polish theme. Your grip delivered and then some. So here are some pictures of my polish AKM-Beryl transitional rifle. At least I call it that for lack of a better term. “
Yes sir Rick – that is definitely one slick build!
In this short video, Ian gives a brief overview of Soviet magazines – notably the slab side, ribbed, waffle and bakelite. As always, Ian does a great job and this is worth a watch!
The first generation was a heavily built (over-built) magazine known as the “slab side”.After the slab side, they developed the ribbed magazine that was copied by many countries.To reduce weight they developed the aluminum waffle magazines- so named due to all the reinforcement ribs. It was relatively short-lived because it was not durable enough.After the waffle mag, they moved to the Bakelite magazine that actually was a glass reinforced polymer. This gave them what they wanted – light weight and durability.When the AK-74 was developed, they went straight to polymer and never developed steel mags. Note, other countries did build steel AK-74 magazines but the Soviets did not.
The Video
I hope you found that video useful. Ian is a wealth of information and you can learn more about his work at Forgotten Weapons.
Please note that all images were extracted from the video and are the property of their respective owner.
While digging for videos on AK magazines, I found this one posted by Apex Gun Parts in 2016. It shows their Croatian AK-47 magazines being manufactured. While they don’t come right out and say they are being made by Zastava, I have a hunch that they are.
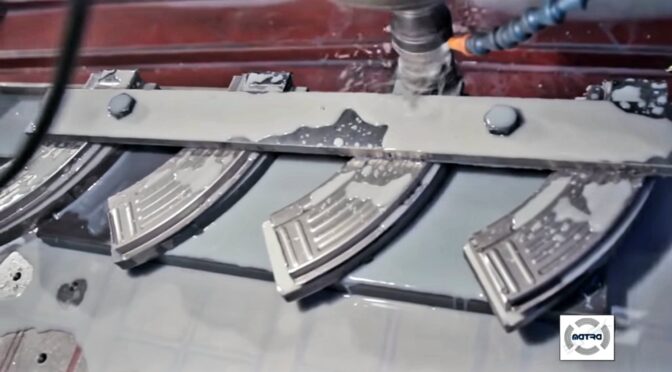
I would like you to compare this video to the one I previously posted showing Matra Group’s process. Matra is using older general purpose machines and there isn’t much attention paid to worker ergonomics and lighting.
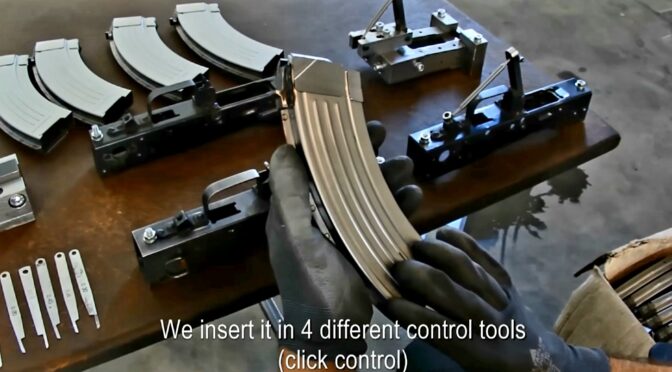
Now, watch this video and not the differences. This video is showing a much more modern plant where there is also detail provided on their quality control processes and they show the jigs that they use.
The Video
I hope you find the video interesting. Apex Gun Parts is definitely a group that I buy stuff from and have no problems recommending them. I don’t have any experience with these mags so this video is really to let you see the differences in manufacturing.
Please note that all images were extracted from the video and are the property of their respective owner.
The AK-47 rifle and it’s “banana” 30 round magazine are classics of rugged functional design. While I’ve posted many videos and how-to articles relating to various rifle and pistol variants, I’ve not really covered the steel magazines at all.
I was surfing around and found Matra Group located in Bosnia-Herzegovina. In 2015 this small manufacturer produced a video showcasing their small facility that makes a variety of steel magazines for AK-47, AK-74 and even Lee-Enfield rifles. The Lee-Enfield may be due to those rifles being supplied to the Yugoslav Partisans in WWII to fight th axis armies.
In the video, they show employees starting with sheet metal and stepping through various steps including stamping, machining and spot welding. For the most part, you will see a very labor intensie process using older general purpose machines. If you like videos that showcase how something is made in and old-school fashion, you will find this very interesting.
Here they are cutting the initial sheet down into usable blanks.Making the front piecee that will lock onto the front trunnion.Spot welding the two body halves together.Gettingg ready for final assembly.
On November 10th, 1919, Mikhail Timofeyevich Kalashnikov (Михаи́л Тимофе́евич Кала́шников) was born in Kurya, Altai Governorate, Russian SFSR (now Altai Krai, Russia). He grew up from humble beginnings to be known as the father of a very famous rifle, the Avtomat Kalashnikova model 1947, or AK-47 as we know it in the West.
Avtomat Kalashnikova model 1947 Type II Photo from Wikipedia
While he died on December 23rd, 2013, at the age of 94, he is still revered as one of the leading small arms designers in history. In memory if him, Russia is celebrating his 100th birthday today. Being a student and fan of his designs, I would like to also say, Happy birthday Mr. Klashnikov.
You definitely need to visit the memorial website that the Kalashnikov Concern is hosting – it is in Russian and your browser can translate some of it but not the videos. Click here to visit the site– knock on the door and click on various items in the study to learn more.
There are a lot of books on the rifle that also discuss Mikhail as you need to understand the designer (really the most publicized of the designers involved) to understand the evolution of the rifle. There is one book that I really like gets into more detail about the man and he even authored the introduction. That books is “Kalashnikov: The Arms and the Man” by Edward Clinton Ezell.
If you want to learn more about the rifle, the best reference source is “AK-47: The Grim Reaper” by Frank Iannamico, now in its second edition.
Videos
There are a few brief videos on YouTube that touch on Mikhail’s life and let you hear different perspectives and see a number of different photos and videos of him at various events:
Without a doubt, Kalashnikov was a superb designer and it does seem very fitting to take a moment and remember him on his birthday. As always, best wishes to all and hope you find this interesting.
Please note that all photos used are the copyright of their respective owners or public domain. The stamp and rifle photos are from Wikimedia and the website screenshot is from Kalashnikov Media’s website.
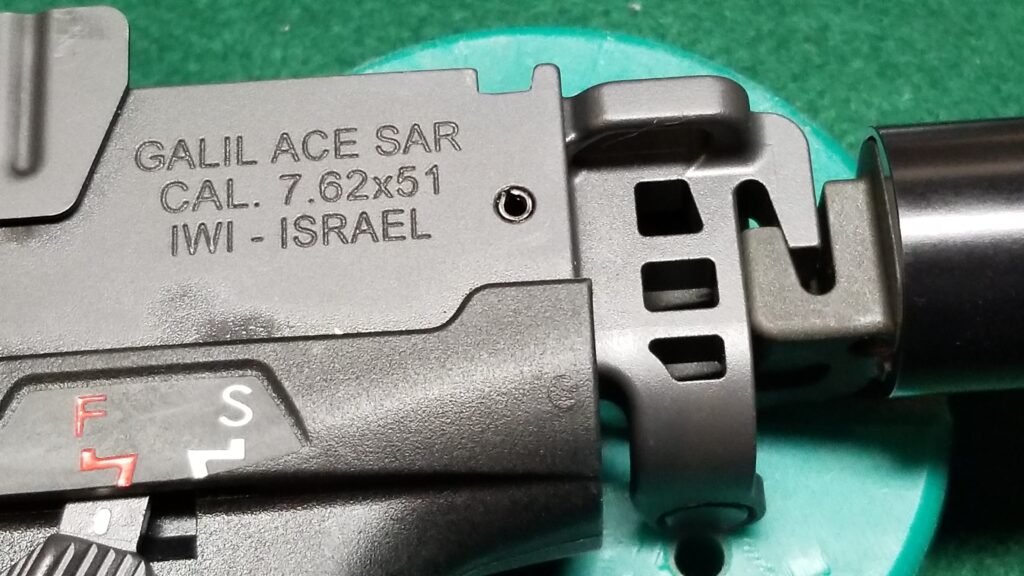
In my previous posts, I covered a bit of the history of the Galil Ace, did two posts about the differences between the Ace and an AKM that I observed (click here for the first and here for the second) and now that leads up to me making a few tweaks of my own to my 7.62×51 Ace pistol.
Moved to a SB Tactical SBA4 Brace
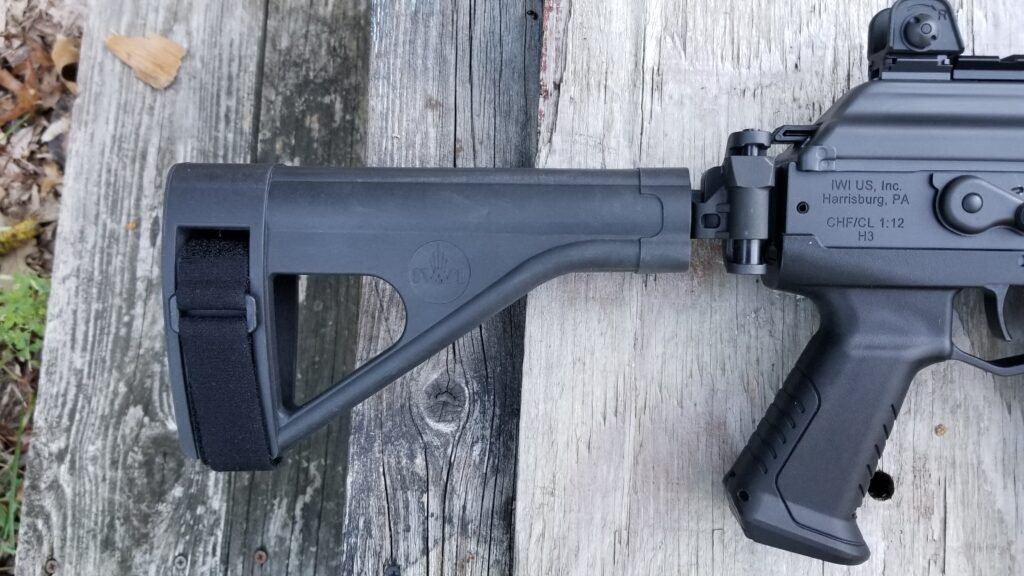
My Ace came with a SB Tactical SOB brace mounted on a proprietary IWI tube with a very heavy hinge. While the SOB is rugged, it is not adjustable so I installed and SB Tactical SBA4 brace. Seriously, the SBA4 is the most rugged brace I have found yet.
The SOB4 brace is what comes with GAP51SB pistols. Palmetto had a great deal on this model and that’s why I bought it. If I could have found the pistol model without a brace cheaper, I would have done that.The SBA4 brace is beefier and more rigid that previous braces. The bottom e dges do not flop around like they do on the SOB and SBA3 braces. The FSM-AR adapter is between the tube and the receiver.
Now some may wonder why I didn’t just file for a short barreled rifle (SBR) tax stamp and run a normal stock. I may very well do this in the future but I didn’t want to deal with it right now. Both PSA and Brownells have the brace available.
The Ace design allows for very easy changing of a rear block by simply driving out one roll pin. The block can the be lifted straight out and whatever you want installed in its place.
The Ace is resting on a green bench block and I used a roll pin punch to tap out that single pin. That’s all you need to do and then the rear plate of the receiver that holds the hinge, or anything else for that matter, will lift right out.With the pin removed, it literally lifts out. Notice how the “plate” or “block” sits in a groove and that’s what provide the bulk of the strength. The roll pin is just stopping vertical travel and is more than enough.
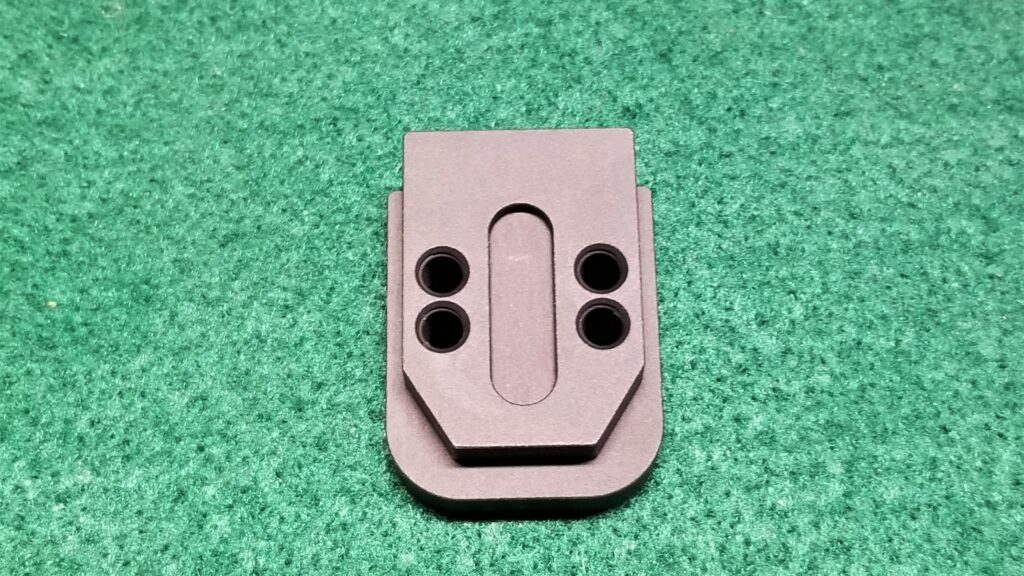
Since the SBA4 is ATF approved, I opted for a modular adapter block from KNS Precision going to an Ace Limited (owned by Doublestar and not IWI) folding M4 adapter – the FSM-AR. Note, if you install a folder, buy one with the boss – the raised oval shape. It will fit into the groove in the KNS Precision adapter and make for a very solid connection.
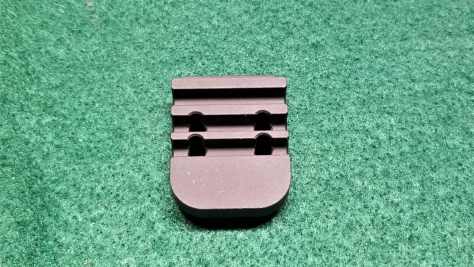
This is the external face of the KNS Precision adapter. The groove is where the boss from the FSM-AR adapter will sit to limit movement. I’d recommend always getting adapters with the bosses unless you intentionally do not want them. The two screw holes allow for variations in mounting.This is the back side of the KNS adapter. The one roll pin goes through one of the grooves to hold it in place. It is very nicely done – kudos to KNS Precision.The KNS adapter just slides right in and is secured by the roll pin.This is the Ace Limited (owned by Doublestar and not IWI) FSM-AR adapter. You can see the oval boss on the left part of the folder. This gets flipped over and screwed into the KNS adapter. Also, oil the hinge at some point before you close it. Sometimes they can be a bear to actuate when dry — personal experience talking there. Also, use blue Loctite on all screws or they will shoot loose.
Special note – the charging handle for my Ace pistol is on the left side. In my case, I was not worried about operating when folded. If you want to fire with the stock folded, you must go with a right side folding mechanism. If I had it to do over, I would have used a right-side folder but I simply used what I had in this case to cut cost plus I don’t plan on folding it much.
Here’s the Ace folder open to the left and the brace assembly does interfere with the charging handle. If you want a weapon that will operate with the brace folded, then go with a unit that folds to the right.
The SBA4 comes with a Mil-Spec receiver extension (buffer tube) and I used a generic castle nut that I had in my tool box along with an end plate that has hoops to connect a sling.
The SBA4 comes with a Mil-Spec receiver extension/buffer tube. You will need to supply your own castle nut .
I only use my Magpul wrench now for installing castle nuts as it enables a very positive/sure connection. I’ve done my fair share of scratching stuff with tools that used older methods and the MagPul is the way to go. I also used an automatic center punch to stake the nut.
For dealing with castle nuts, you simply can’t beat the Magpul wrench. I don’t use the combo wrench below it any more because I have scratched a ton of tubes accidentally with it.
The Magpul armorer’s wrench is available from both Brownells and PSA. Again, I highly recommend this wrench over others that I have used.
All in all, it was a very straight forward swap and allows for some adjustment now. In case you are wondering, the SBA4 is very beefy. I do not like the SBA3 as the end is soft and and ears that go around the shooter’s forearm just kind of bend and flop around. The SBA4 is very well done.
I definitely will SBR it at some point down the road but am happy with what I have for now.
Installed a RS Regulate GAR-9M-N Handguard
I was not fond of the original handguards and was pretty sure I would like the GAR-9M-N handguard from RS Regulate based on photos that Scot Hoskinson had posted. Let me tell you, it is a huge improvement. First off, it’s way longer and second it uses a M-LOK attachment method for accessories so you don’t have unnecessary rails bulking up the girth like you do with the originals.
This is the RS Regulate GAR-9M-N handguard for Ace pistols. It’s machining and finish are excellent. Installation was very easy.
Scot Hoskinson, the owner of RS Regulate, has put together a real nice installation guide with plenty of illustrations. The one thing I’ll tell you is that the two original handguard screws from IWI have threadlocker on them.
Just behind the mouth of the gas tube & front sight block is the mounting point that holds the two screws that retain the original Ace handguards. They do have threadlocker on them so warm them up to make removal easier.I used a 1/4″ ratchet with a 4mm allen bit and the retaining screw on each side came right out. Note, you will see two rivets on each side – one rivet head is visible between the wrench handle and the bit. You don’t need to do anything to those. You just need to remove the two screws. You can see one of the above just forward of the bit.
You can heat them up and make them easier to loosen, use a 1/4″ ratchet with a 4mm allen/hex head to break the screws free or, what I did, was a bit of both. With the gas tube off and out of the way, you can see where the two screws mount on the barrel. I heated that up and backed them out with the ratchet pretty easily.
Once the screws are removed, slide the handguard forward slightly and pull the rear down. It will come right off.
From there, you basically pull the stock handguard down nose first and pull forward. Then, follow Scot’s instructions. You will need to pay attention and install a small spacer between the barrel mounting point and the handguard when you install the new screws. I applied blue Loc-tite and torqued them down to 25 in/lbs per Scot’s instructions. You also have to install one long screw at the rear that you’ll want to use the blue Loc-tite and torque to 25 in/lbs also.
The RS!Regulate comes with the three screws, two spacers and an allen wrench. I applied medium-strenght Blue Loctite and used my Vortex Optics torque driver to tighten the screws to 25 in/lbs. oThe installation instructions where spot on and I did not encounter any surprises at all. The unit bolted right up with no fitting needed.The fitment is really superb. Here the rail is sliding over the rear block and will be secured later with the long screw that squeezes the rail’s walls together further locking it in place.I like the RS!Regulate unit far, far more than the original. It’s longer and it fits my hand way better in terms of girth.
Opted For a Vortex Razor AMG UH-1 Optic and 3x Magnifier
I figure this will be a close in weapon – certainly within 200 yards probably – and will figure that out when I get it to the range. With that in mind, putting a high power optic on it just does not make a lot of sense but I also wanted magnification just in case so I checked out what Vortex Optics had to offer.
I’ve now used a boat load of their red dots and scopes on all kinds of firearms including 12 gauges, .50 Beowulf and .338 Lapua. They’re solidly built, good glass and back by a no-nonsense warranty. So they are my go-to for optics and have been for several years. Yes, I do actually have to buy them and no, they do not pay me to say that.
At any rate, I’d been eyeing the Razor AMG UH-1 for a while. Now that is a mouthful and I notice a lot of guys just refer to it has the “Huey” due to the UH-1 helicopter. It’s a true holographic sight which means a laser image (a hologram) is projected into the viewing window. The benefit of this is that regardless of the angle you look through the lens at, if the dot is on the target, it’s going to hit there.
The Razor AMG UH-1 or “Huey” mounts easily with its quick release lever and is ruggedly built.It has a large viewing window that makes sight acquisition very fast.The controls are well laid out and easy to use.
Battery life is somewhere around 1,500 hours and there are a lot of variables that can influence that including the brightness of the reticle (there are 14 levels), whether you are using a CR123A battery or a rechargeable LFP123A. Note, Vortex found that recoil kills the basic rechargable RCR123 batteries in 2-300 rounds. They stopped testing the LFP123A at 10,000 rounds and it was still working. I’m using the supplied CR123A still at this point and will likely use Surefire CR123A batteries going forward as I keep them in stock for lights.
In short, the Huey is very slick and it’s getting great reviews. I’ve been a long-time red dot fan and the UH-1 is my favorite at this point.
To get a better view at 100-200 yards, what I did was to pair the Huey sight with the Vortex V3XM Micro 3x magnifier. What this does is give me the ability to install, remove or even swing the installed optic out of the way when I need or don’t need the target to be magnified 3x.
Some assembly was required and I applied medium-strength Blue Loctite to the screws.Here’s the Vortex Micro 3x magnifier paired with the Huey.
The V3XM is small, light, has a quick release lever also, just like the Huey, and pairs very nicely with it.
Magpul PMags and Drums
The 7.62×51 Ace uses Magpul’s 7.62×51 PMags. You can get them in a number of sizes as well as a drum if you really want to rock and roll. I bought some 20s, 25s and one of the D50 drums. I’ve not tested the pistol yet but expect it will work great with all of them. Note, both PSA and Gun Mag Warehouse have a variety of mags and drums that will fit.
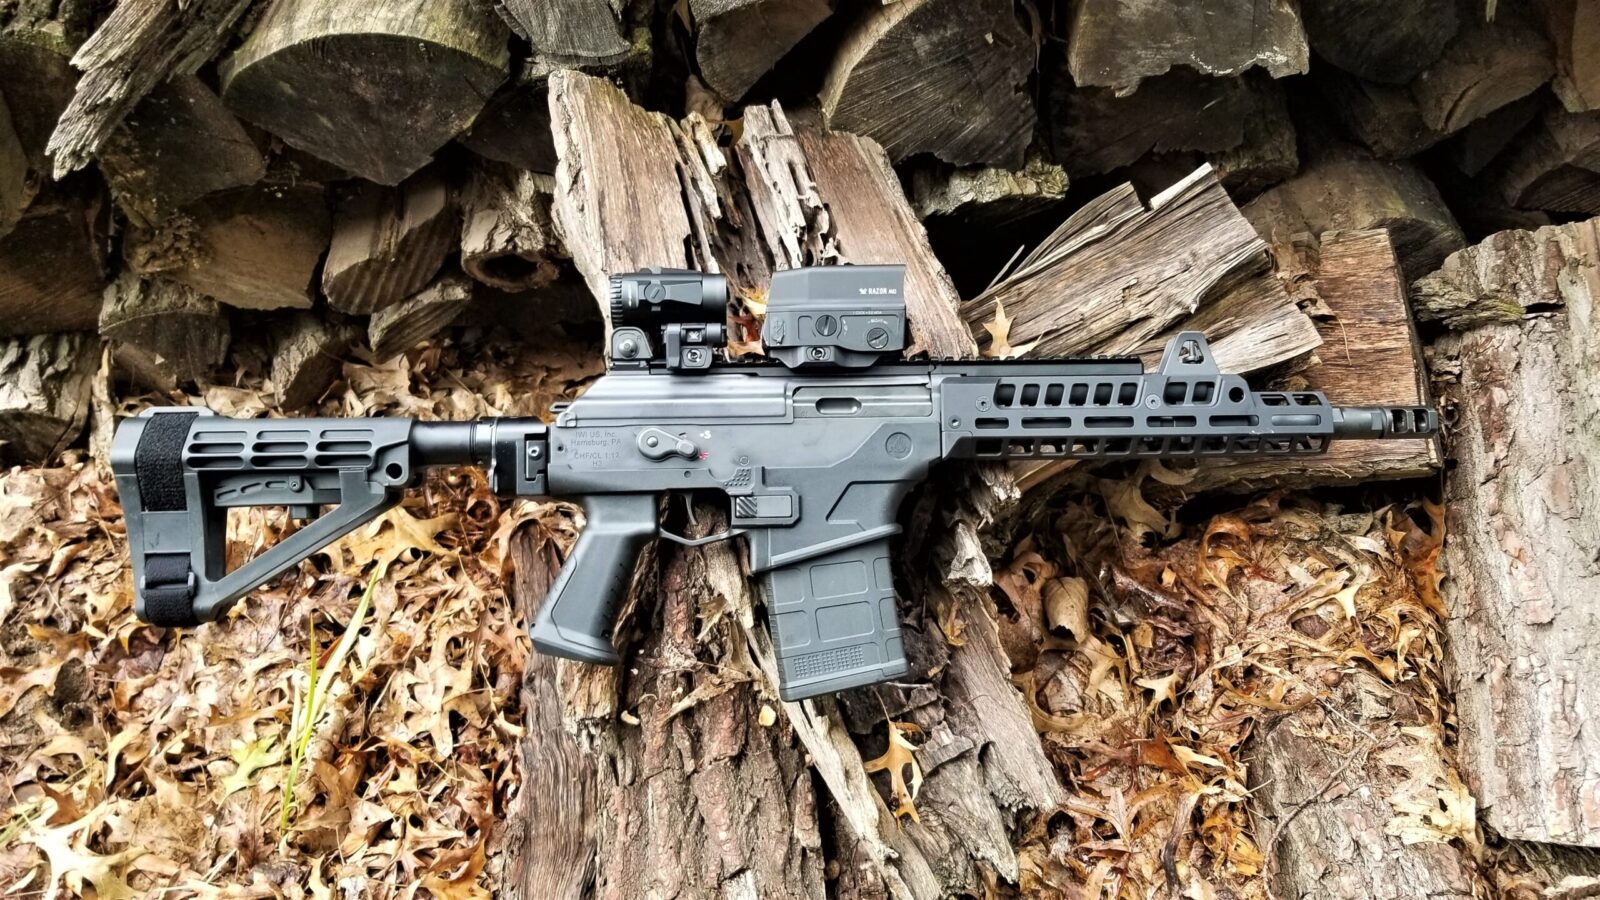
Here’s the end result with the SBA4 brace, RS!Regulate rail and Vortex Optics combo.
Summary
The pistol really turned out slick. It balances well and ought to be a blast. Now just to find some time to get to the range before it really gets cold 🙂 Here are some photos for you:
Note, I have to buy all of my parts – nothing here was paid for by sponsors, etc. I do make a small amount if you click on an ad and buy something but that is it. You’re getting my real opinion on stuff.
AK handguards have evolved from wood to bakelite to elaborate affairs made of polymers or aluminum. In the case of the Ace, no rhyme intended, an aluminum handguard with Picatinny rail is covered by sculpted rail covers.
The handguard is U-shaped with rails at the the 3-, 6- and 9-O’clock positions. The top rail is integral with the gas tube. Note now they have a cut out read for a pressure switch and the rails are open on the middle for wiring. There is one socket screw on each slide to fasten the handguard to the weapon.The two socket screws thread into a retainer and have thread locker on them. When you look at the top of the rail, you see a small circle indentation on each side and then just a bit further back a rectangular shaped indentation. The screws are on each side. Also, you also get a good view of the front sight .These are the three rail covers for the handguard. They lock into place and can be released by pushing the visible button at the back. The panel in the middle is the bottom piece and it has a lip that serves to help you index your hand.
So, two differences to note – a unique railed handguard and it is held in position with screws vs. the traditional AK front handguard retainer.
As a personal comment, I stopped buying tri-railed handguards some time ago because they feel too fat for me once you add on rail covers. The Ace handguards aren’t too terrible but they are fat and shorter than I would like. The stock unit will be replaced by one of the excellent handguards from RS Regulate – the GAR-9M-N model to be exact and that will be in a future post.
The Gas tube has tabs and a rail but no locking lever
This is a unique little item right here. The gas tube slides into place via tabs on the unit that mate with slots on the rear base. It does not have a locking lever like an AK does.
The top has a Picatinny rail and the whole unit is locked into place when the dust cover is installed, which pushes the gas tube forward into position. The fitment is so well done that the Picatinny rail is level all the way across the top.
The gas tube goes over the nipple on the front sight block. The relieved tube you see with the screws are where the handguard retainer screws thread in from each side.This is the gas tube with the rail on top. Note the tabs at the bottom rear and the groove on the rail that mates with the rail from the dust cover.Here’s another angle – you can see the heat shield on the handguard and the slots on the rear block. We can’t call it a Rear Sight Block (RSB) like we would on an AK because the sight is on the dust cover on the Ace. Here, all it is doing is securing the gas tube.The fitment of the dust cover and the gas tube are so well done that despite being two separate parts, their two respective rail sections align very nicely.
Integral lower plastic assembly – grip, magazine guide
Part of the revisions from the IMI Galil to the IWI Ace was changing 12 parts from steel to plastic. To be honest, I did not hunt down all 12 and itemize each. What I did readily see was the plastic lower assembly that connects with the steel forged receiver. It has the following:
An integral grip that has a hollow storage area
Ambidextrous magazine releases
An enlarged integral trigger guard
A natural hand hold curve just forward of the magazine
Folding Brace Assembly
IWI makes two models of the 7.62×51 pistol – the GAP51 without a brace and the GAP51SB with the brace. I really just needed the GAP51 but went with the GAP51SB because the price was so good from Palmetto State Armory at the time.
What you get with the GAP51SB is an IWI designed integral folder with a 1.25″ diameter pistol tube and an SB Tactical SOB brace. The SOB part makes me smile every time I write it. So, it does give you a well designed fixed length brace and a rock solid folder.
The SB Tactical SOB Brace with the unit locked into position.That hinge is soooooo cool.A close up with the brace folded alongside the receiver.The unit is very compact and functional with the brace closed. Note the IWI logo on the brace but it is definitely an SB unit and the butt end has their logow. SB Tactical OEMs for others as well – meaning they will sell units with the logos of other firms displayed.
Magpul Pmags
No AK ever used Magpul magazines so I think this counts as a difference 🙂 The 7.62×51 Ace uses Magpul’s 7.62×51 PMags. You can get them in a number of sizes as well as a drum if you really want to rock and roll. I bought some 20s, 25s and one of the D50 drums. I’ve not tested the pistol yet but expect it will work great with all of them. Note, both PSA and Gun Mag Warehouse have a variety of mags and drums that will fit.
The 7.62×51 Ace uses readily available Magpul Pmags.
The Manual
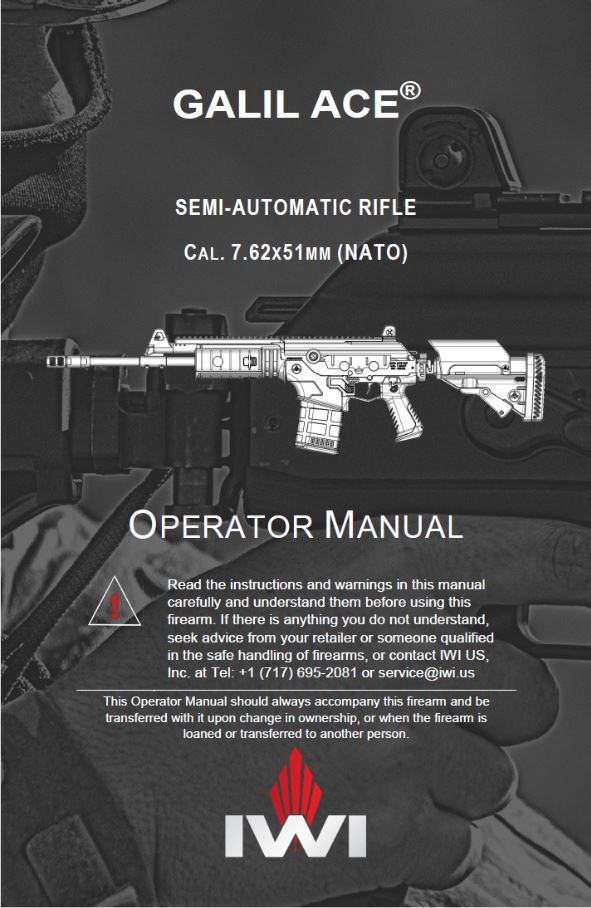
I can’t say that I’ve ever read a very good AK manual that has tons of illustrations and covers a lot of topics – operating, cleaning, trouble shooting, and a detailed parts breakdown. The IWI Ace manual really is exceptional. The PDF copy is 88 pages long!
That’s it for differences I’ve noted thus far. In the next post, I’ll share a number of reviews and videos that I watched before I purchased the unit. By the way, this pistol is amazingly well made. It’s the most impressive firearm in terms of design and execution that I’ve seen in a long time. If you get a deal on one, buy it.