Tag Archives: scope mount

Changed my Yugo M76 Scope Mount To An American Defense AD-RECON-SL and It’s Rock Solid!!

When I was adding the big Vortex Hog Hunter scope to my M76 with RS Regulate side mount optics rail, all I had to prototype with were UTG rings. While the UTG rings aren’t too bad, I have stopped using them with centerfire rifles because they have a rounded screw that passes through the Picatinny rail rail slot. It’s rounded shape and only partially filling the slot risks damaging the rail and the zero shifting because the ring(s) can move.
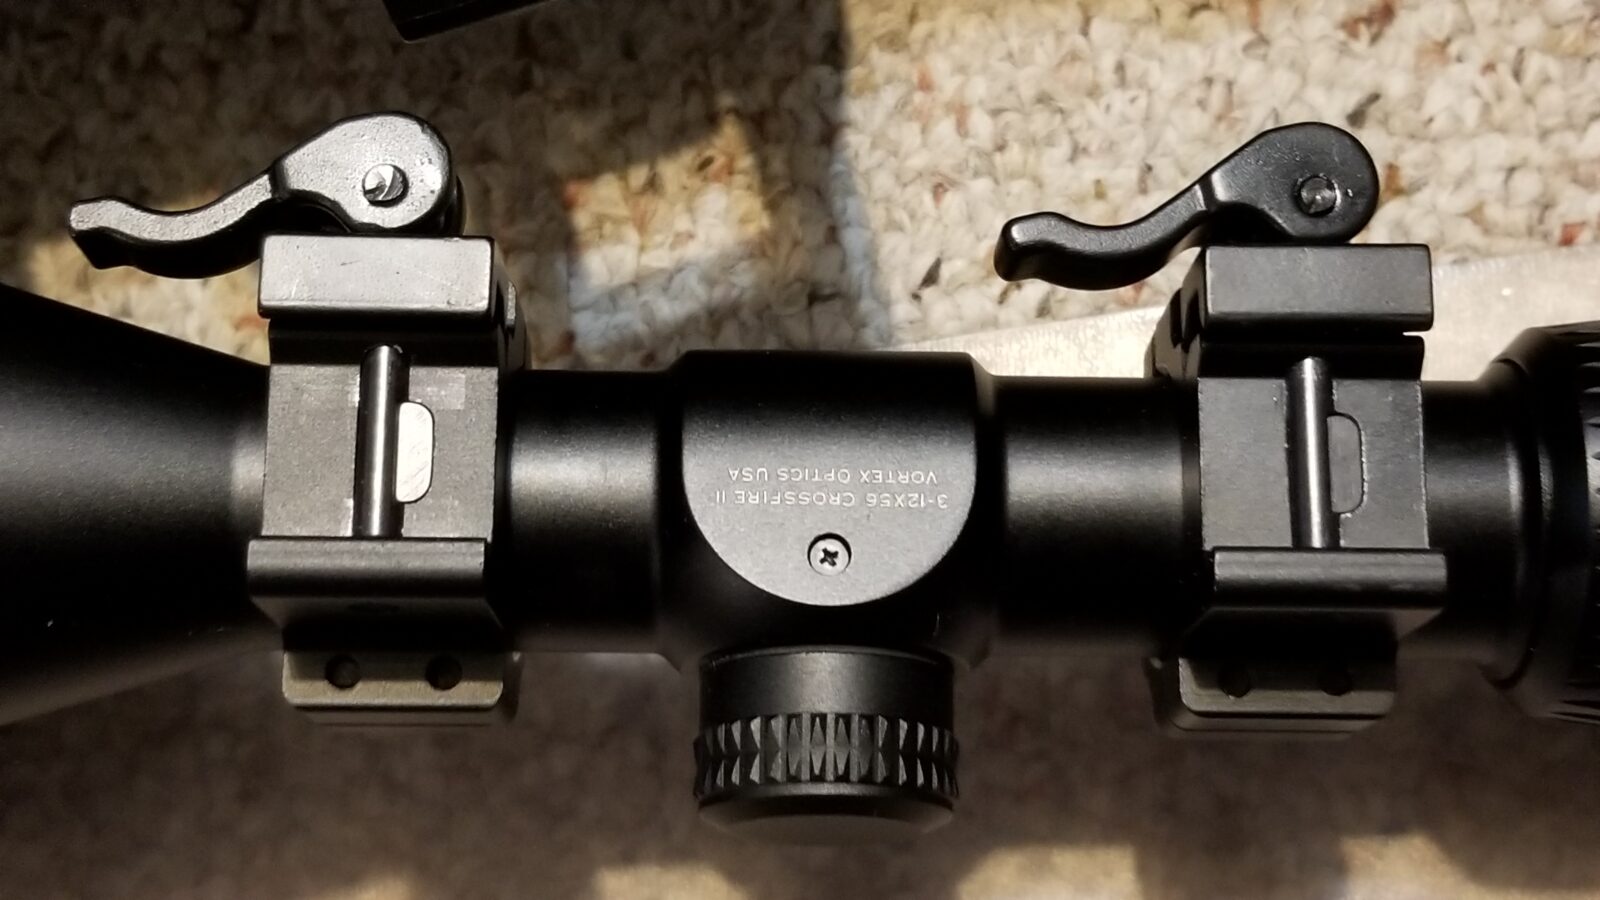
These are the UTG low profile rings. Note how the screw is round and not rectangular? Also, after 30 rounds of 8mm Mauser firing, the rear flip lever rattled loose.

What is really needed is a quality ring or scope mount that uses a bar that properly fits into the Picatinny Rail slots and locks the optic securely and consistently into position. American Defense mounts are that way and they have an excellent locking lever.

I started using American Defense mounts for my Vortex Crossfire Red Dot optics a little over a year ago and was very satisfied with them and very impressed by their quick release lever design. So, when I needed a new mount for my M76 that was strong enough to hold the big Vortex Hog Hunter scope on my M76 and would clear rear sight block but also be close to the bore, the American Defense AD-RECON-SL immediately came to mind.

American Defense AD-RECON-SL

American Defense started with their QD Auto Lock System – the quick release lever system they developed. – and have branched into a variety of offerings from there including scope, bipod, light, laser and other mounts. In short, they are capitalizing on their really rugged QD levers.

So, the first thing I did was to measure the UTG mount from the top of the rail to the optic center, which I used the top of the lower half ring. That measure came to about 0.975″ and I knew any mount I bought had to be at least that or bigger. The front objective was all but touching the gas tube cover with those UTG low rings.

The AD Recon series has a variety of heights and offsets to select from and they publish specs for you to make an informed decision. In my case, because the RS!Regulate side mount already has front-to-back adjustment, I didn’t feel that I needed any offset but I did want to find as low of a scope mount as I could.

In looking at the specs, the AD-RECON-SL seemed to fit the bill. It had no offset and was their lowest mount with a 1.110″ center for scope with a 30mm tube. it was a tad higher but the slightly higher 0.135″ difference really didn’t worry me so I went ahead an ordered one.

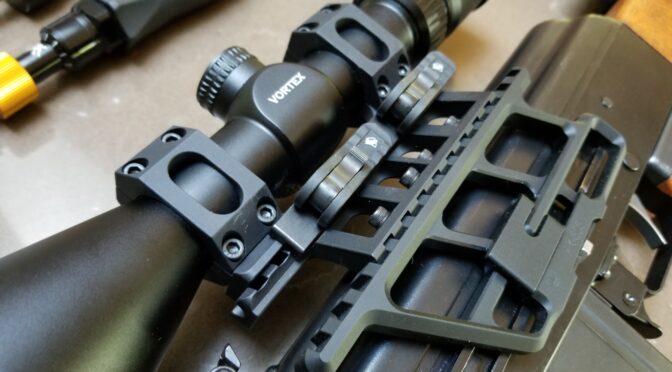
Folks, the AD-RECON-SL did not disappoint. It is really a gorgeous piece of engineering. The fitment is excellent and is finished in a black hard coat. Here are some photos:
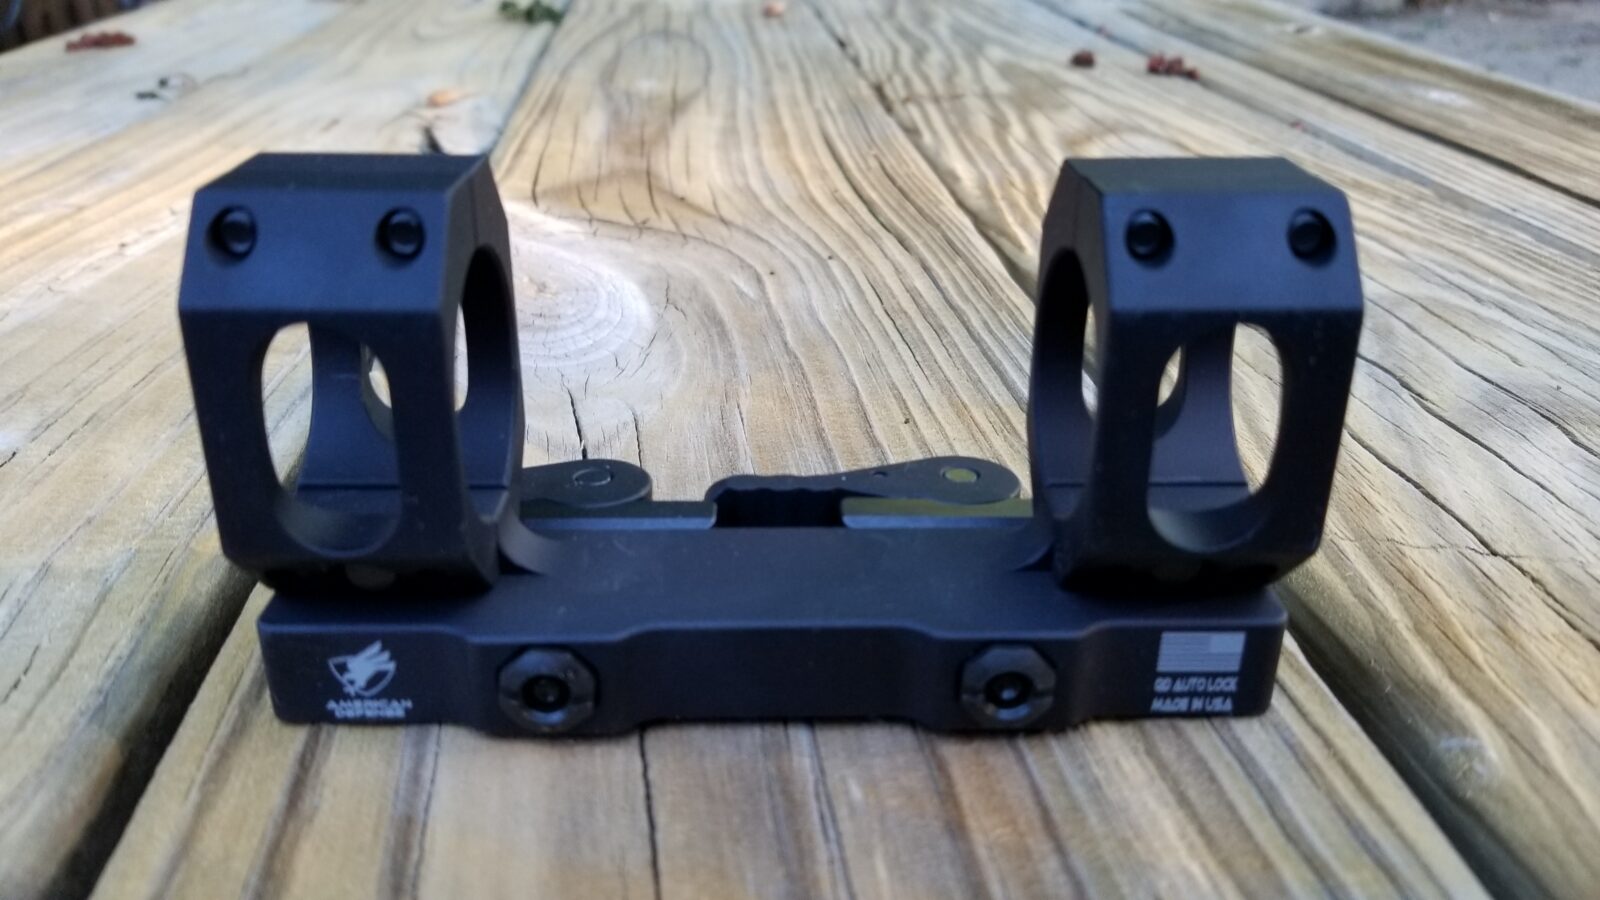
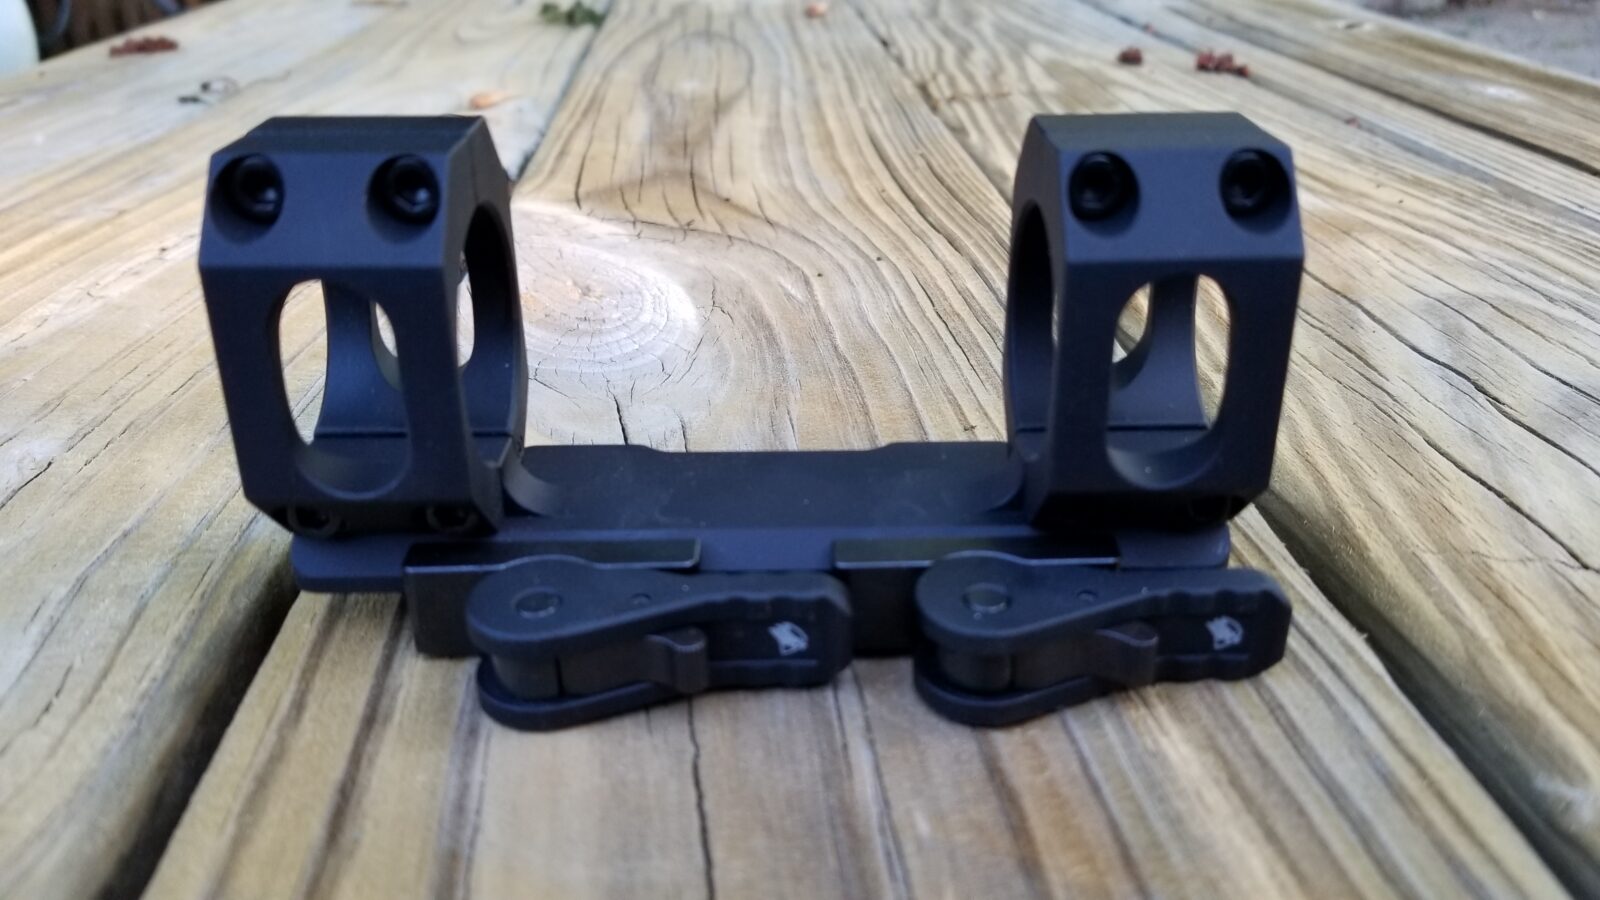
Here’s the side of the unit with the adjustment nuts. I love the flag on the side.
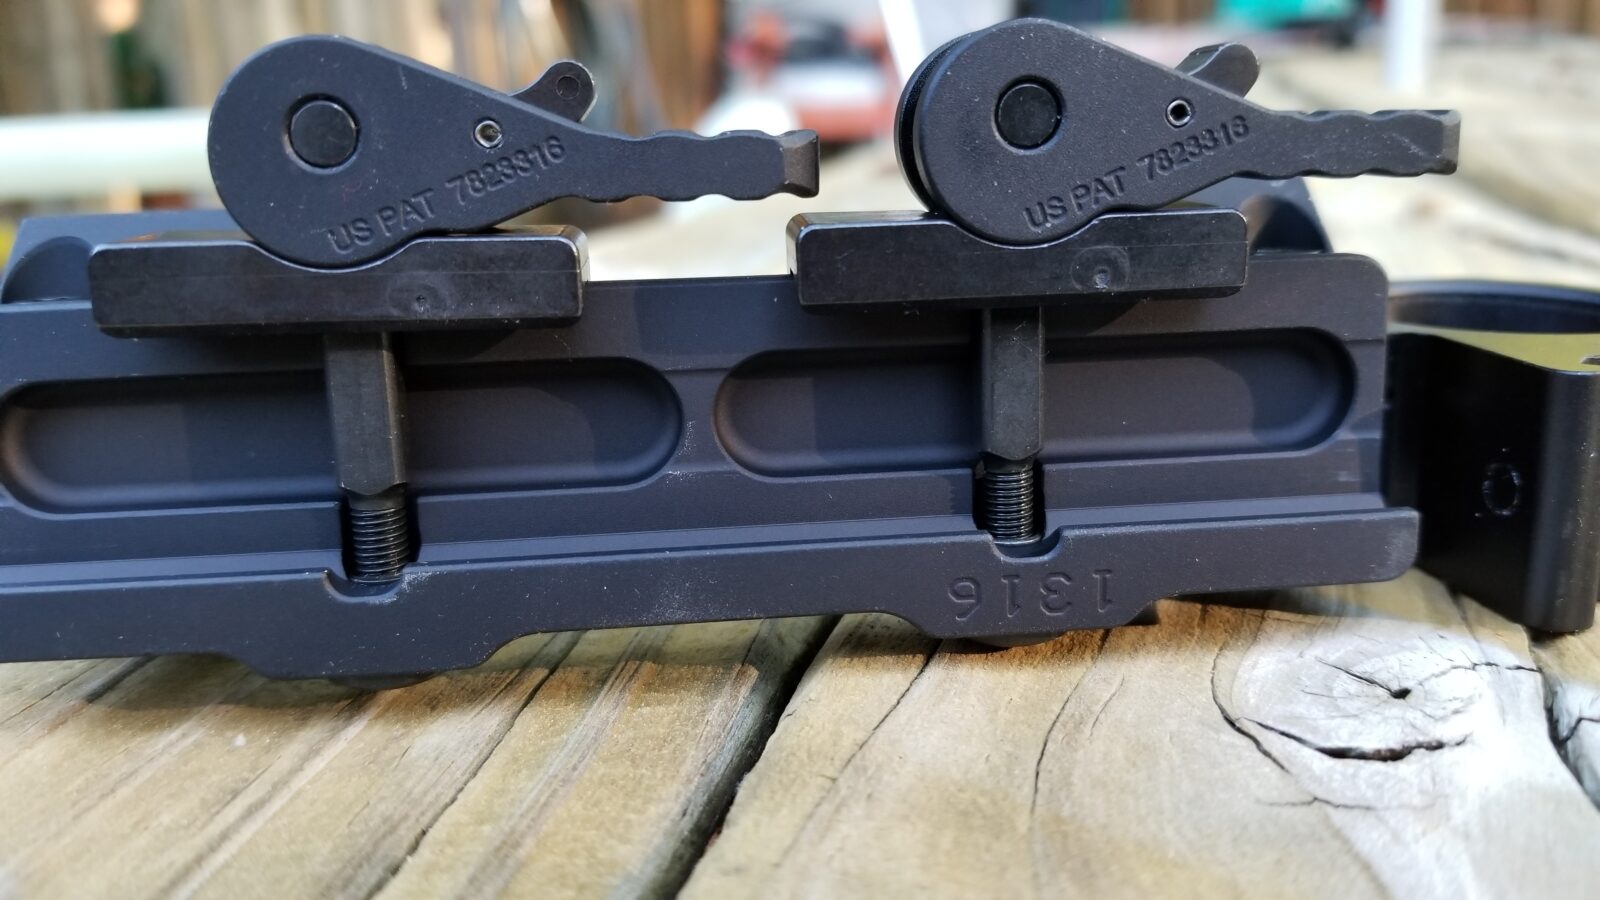
Here it is with their patented QD levers. The small lever you see in the middle of the bigger lever is the locking mechanism that keeps the unit secure. The moment you flip those rings you know your dealing with quality.
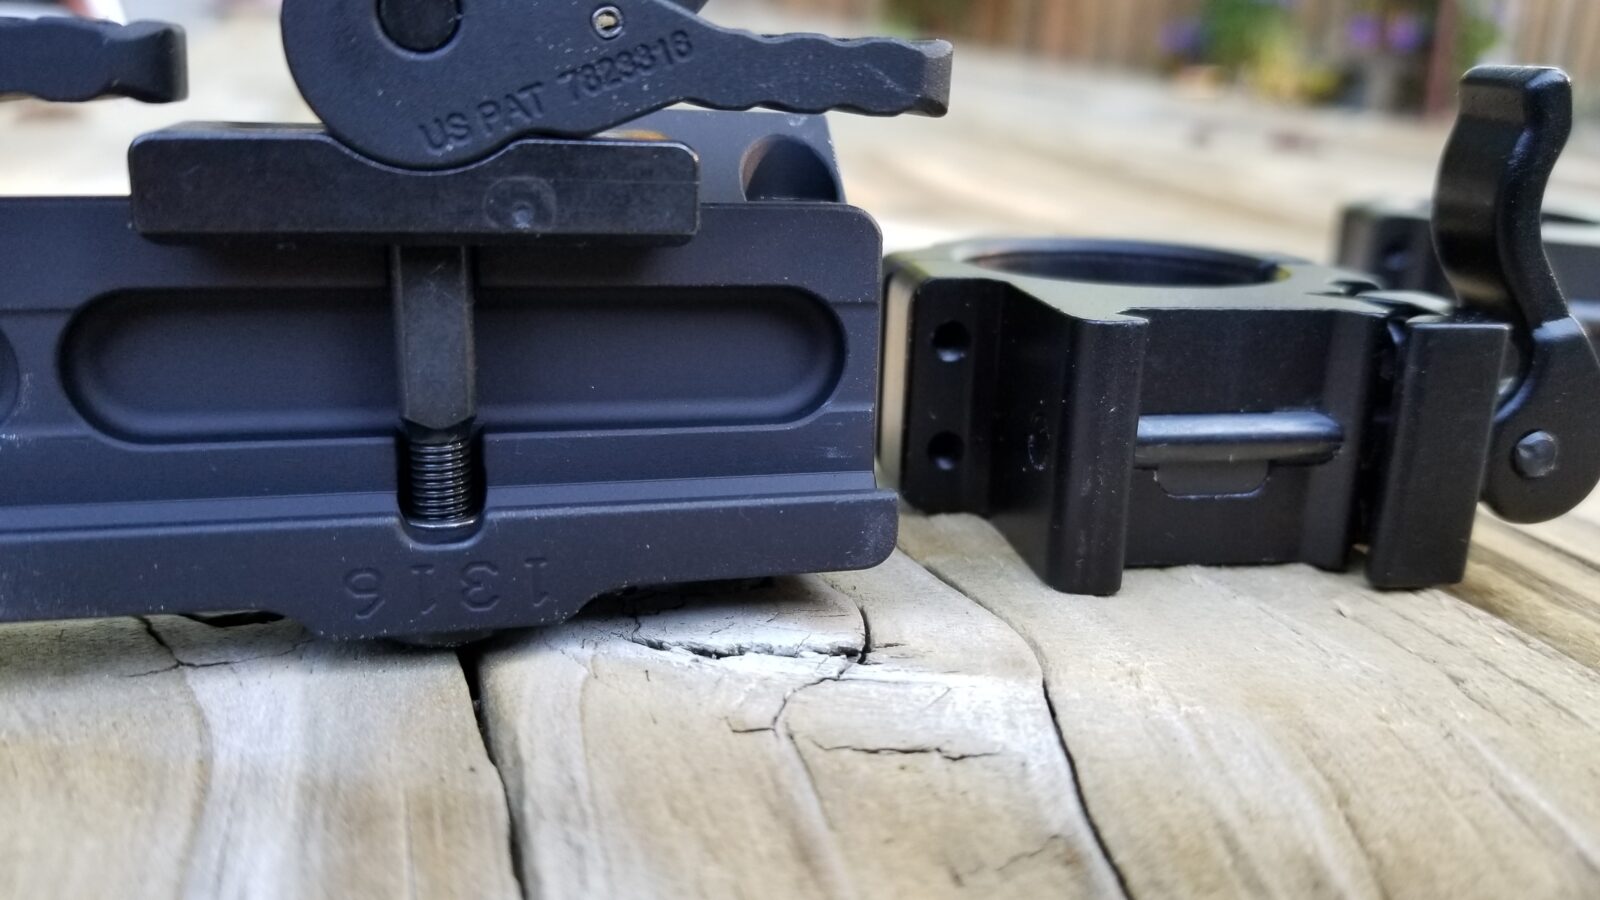
See how American Defense uses bars to lock the mount into the Picatinny rail? This is the way to go. It makes for a very secure and consistent engagement meaning your optic’s zero will not shift and the rail will not get damaged over time under heavy recoil with a simple round screw.
Yeah… that’s the American Defense unit on the left and the little UTG ring on the right. I would have no hesitation recommending the UTG rings for a rimfire or light recoil applications but not for something where there is significant recoil and a heavy optic combined.
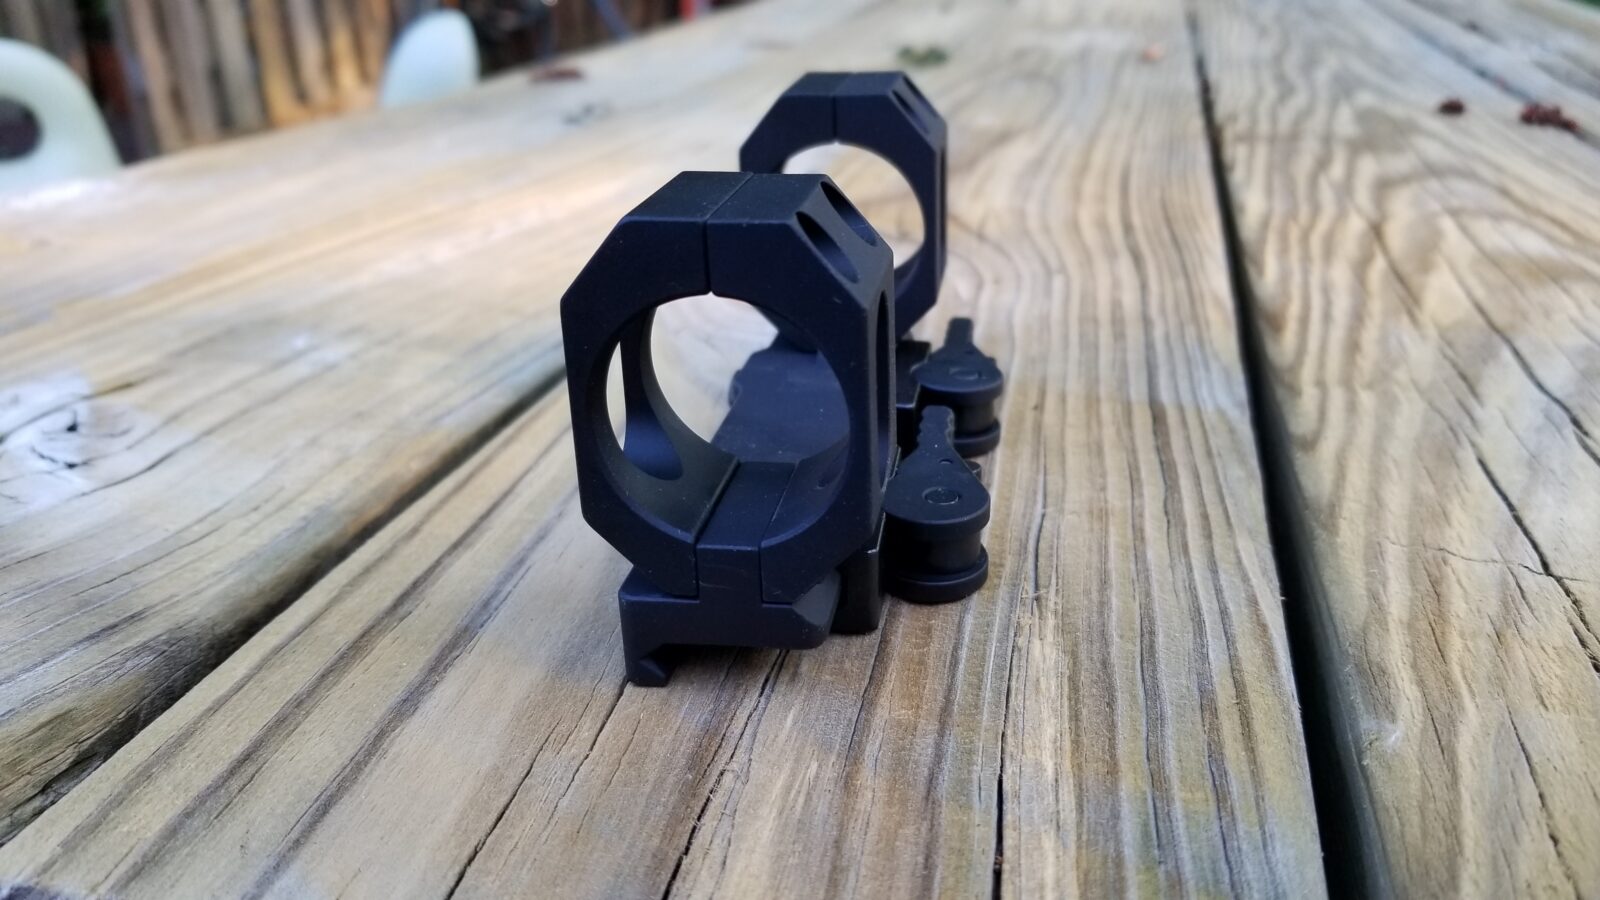
Here’s another angle.

But Why Have QD Rings on a RS Regulate Mount?

I do need to explain this. I can bet that I will need to take the dust cover off for some reason and don’t want to rely on tools. If I am hunting, I may not have any tools with me and need to clear a jam or something. That means I need a way to remove the scope and rail to get access to the dust cover.

The RS Regulate’s lower rail does have a quick take down lever that solidly clamps on the M76 rail. That is not the issue and may make you wonder I need another quick release system. The challenge is that the Hog Hunter scope has a giant 56mm front objective for gathering as much light as possible in low-light situations such as dusk. It will hit the M76’s rear sight block if pulled straight back when mounted as low as I want. The solution is to use the AD-RECON-SL optic mount to enable me to lift the scope off the RS Regulate’s top rail and then I can slide the RS Regulate assembly off. The combination definitely works.

Installation

Taking the mount apart was easy – remove the four screws on each ring. I was pleasantly surprised that they used a precision pin to guide the rings into position and not just the screws. Again, this makes it stronger and more consistent.
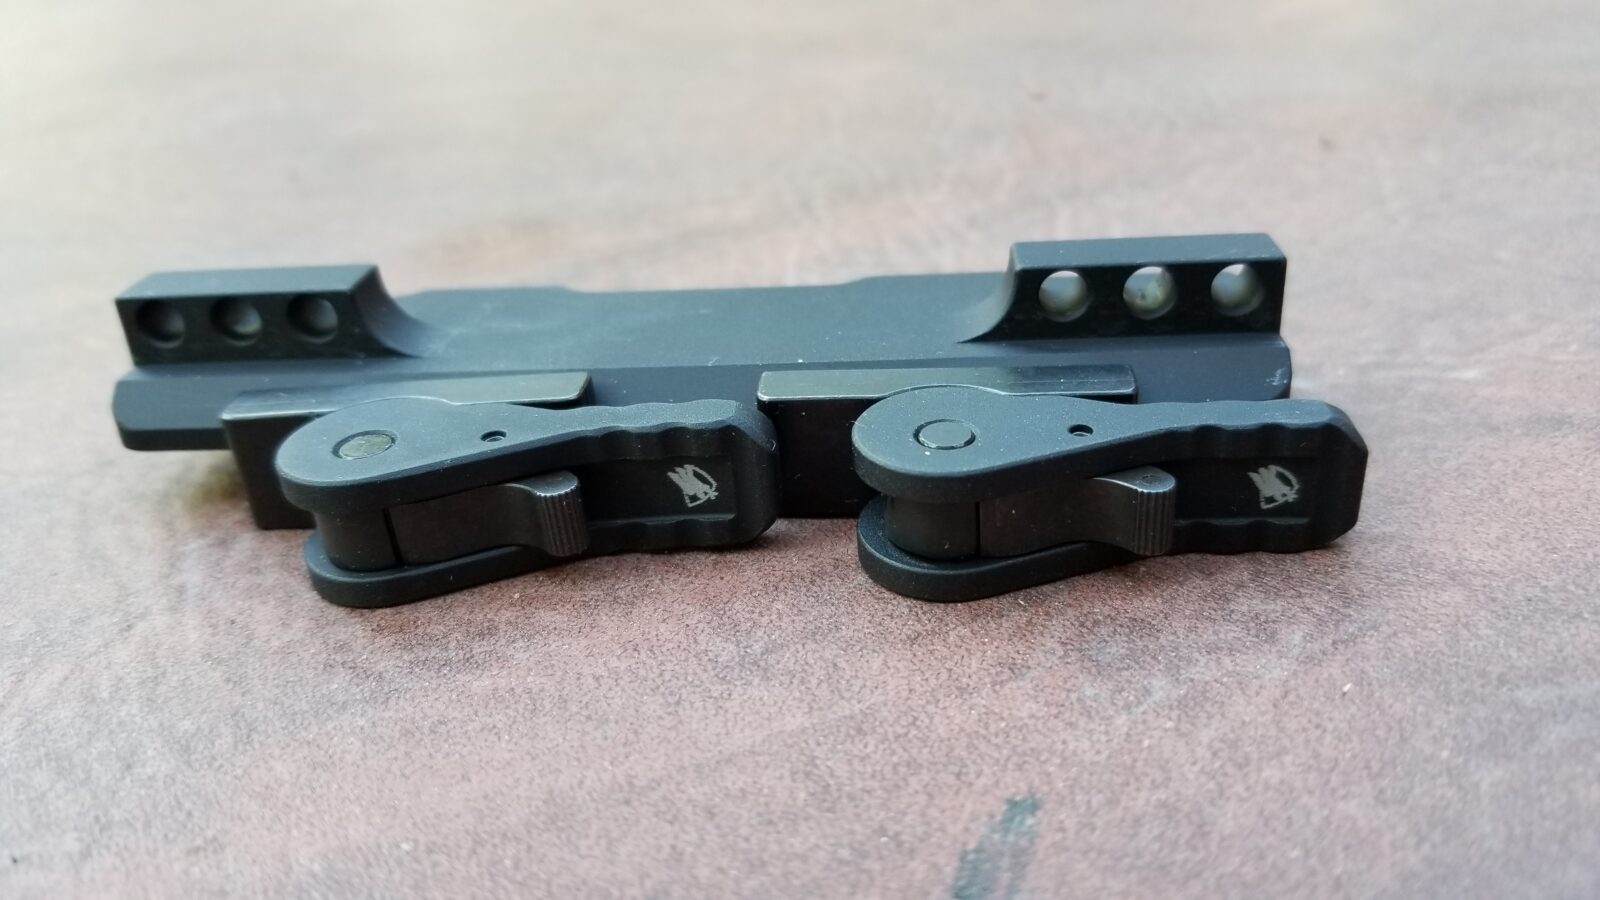
Here’s a close up of the base. The middle hole is for the guide pin and the outer holes are for the screws.
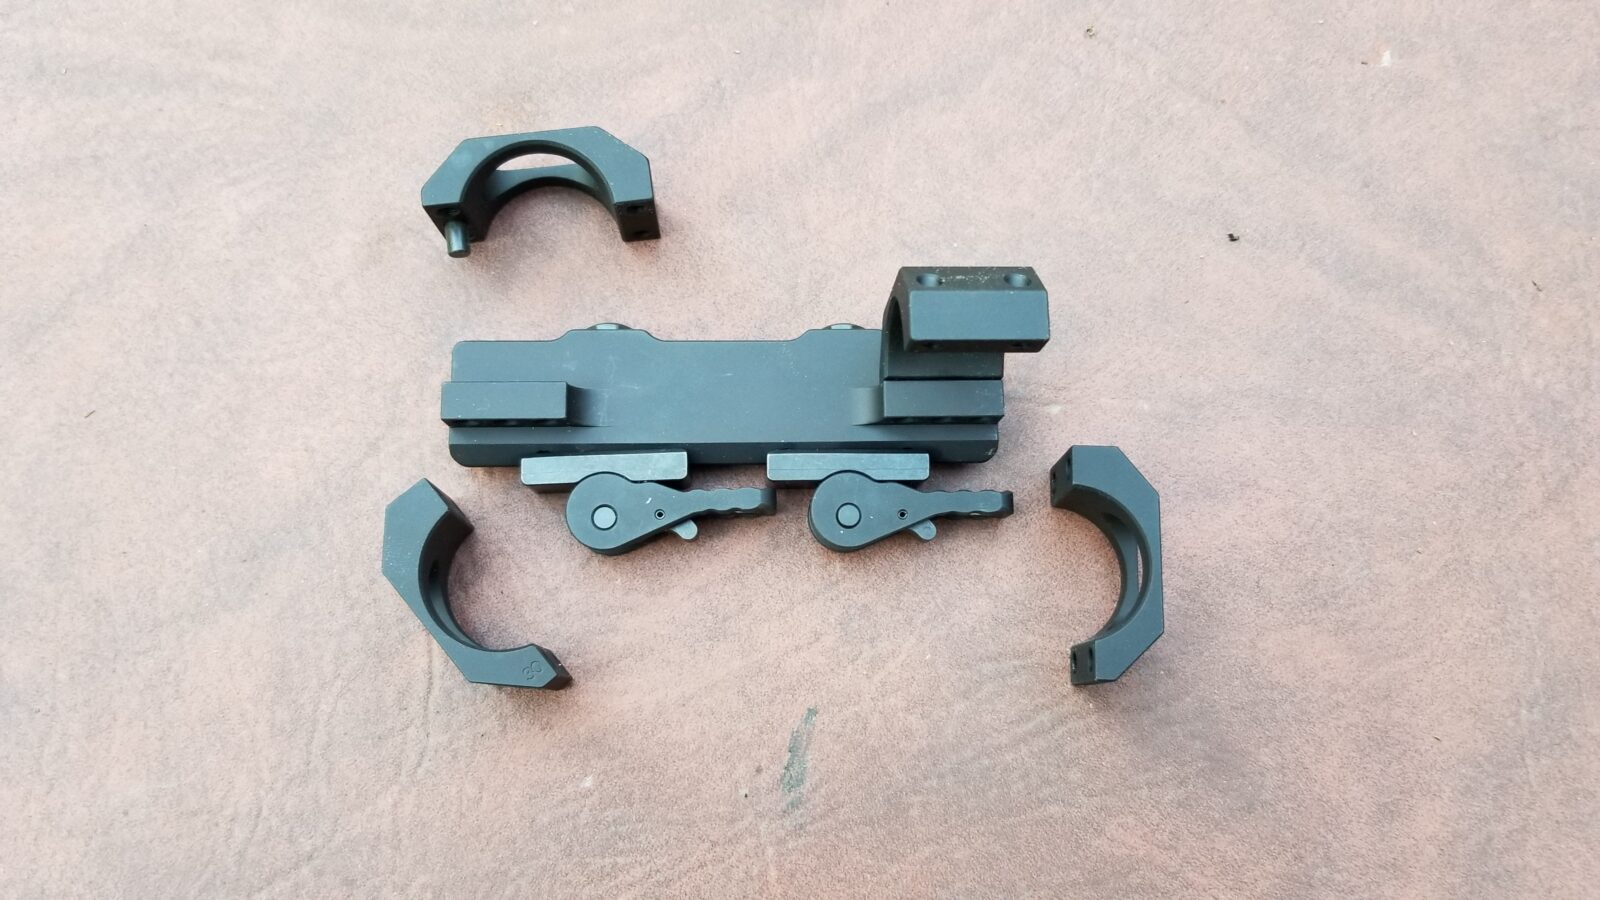
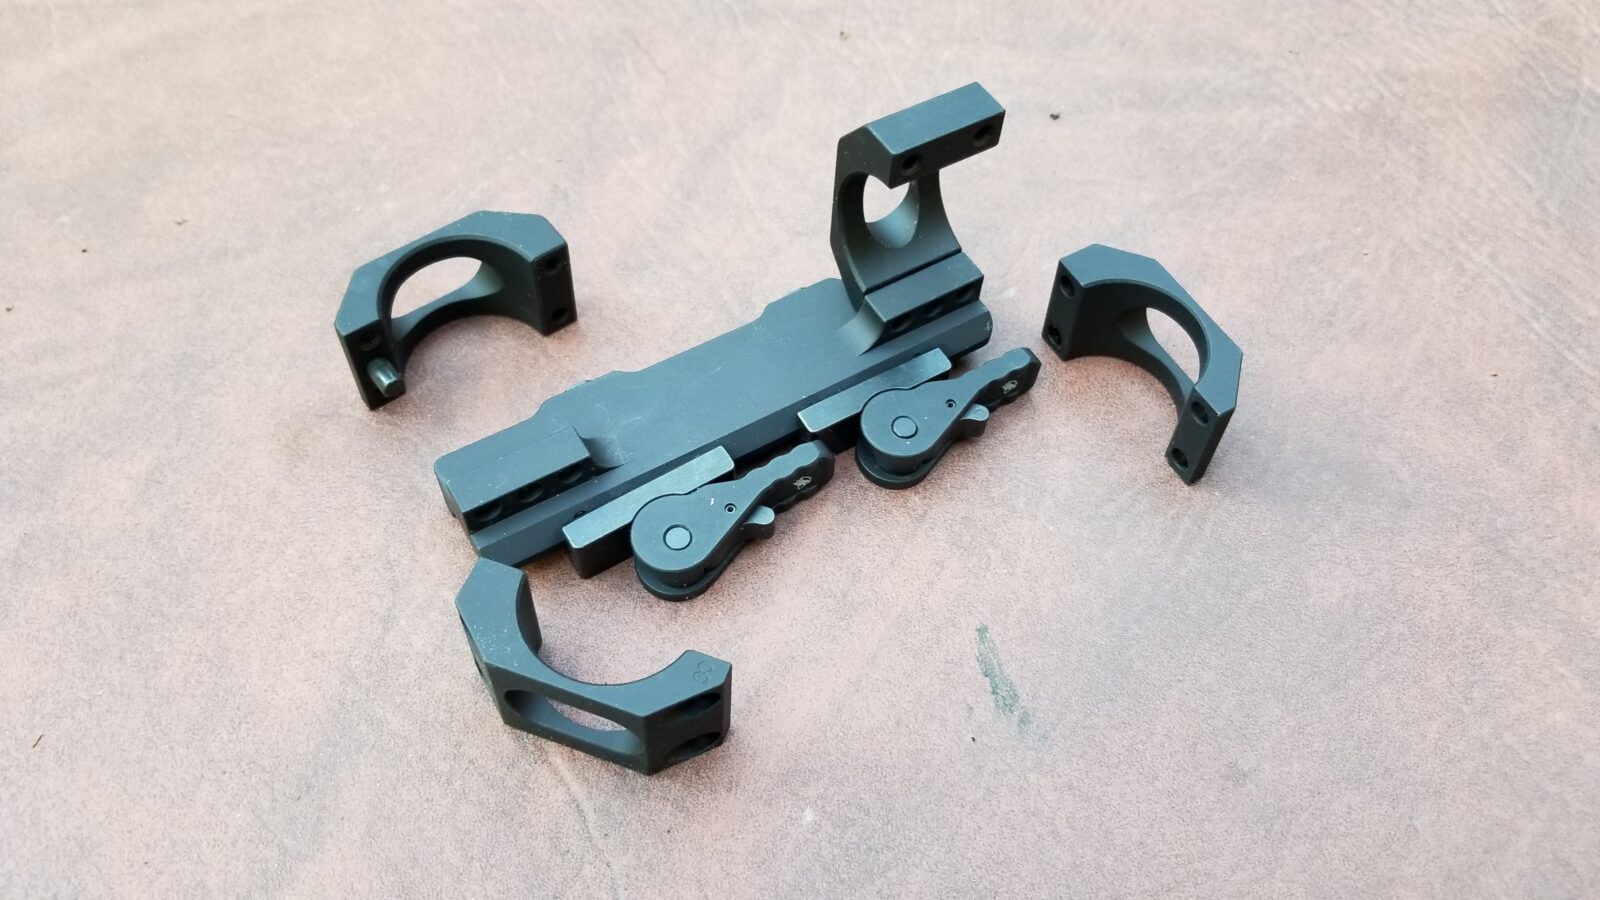
Here you can see the four halves of the rings. The half to the top left with the guide pin. Its counterpart is already installed in the back.
An important design aspect to note is that the halves are not symmerical from top to bottom. The side with the pin is a no-brainer – that goes in the base. The other two halves without pins need to have the thinner section at the bottom for the pieces to mate up correctly. You can see in the top left half that the bottom part with the alignment pin is not as tall as the top. The lower-right is also a good angle for you to see the thinner bottom relative to the top.

There is an installation detail that you may not guess and they detail it in their installation instructions – you install the bottom screws first and tighten them down to the 20-25 in/lbs torque spec first. For folks not used to working with small fasteners, please note that is inch pounds and not foot pounds).

The bottom is torqued down first and then the top. There will be a small gap at the top. This method of bottom then top torquing centers the optic in their design. The only thread locker they will recommend is VC-3 Vibra-tite and the use of anything else will void the warranty. I’ve used a lot of Vibra-tite with Kydex holsters – it’s interesting in that you clean the fastener, apply the VC-3, let it dry and then assemble. It creates a rubbery surface that pretty much negates vibration. It also stays put when you unscrew and reinstall screws. It’s interesting stuff. They include a small packet of it with the mount but I also keep it around for working with Kydex fasteners and other situations where I expect there will be a need to uninstall and reinstall or adjust screws.
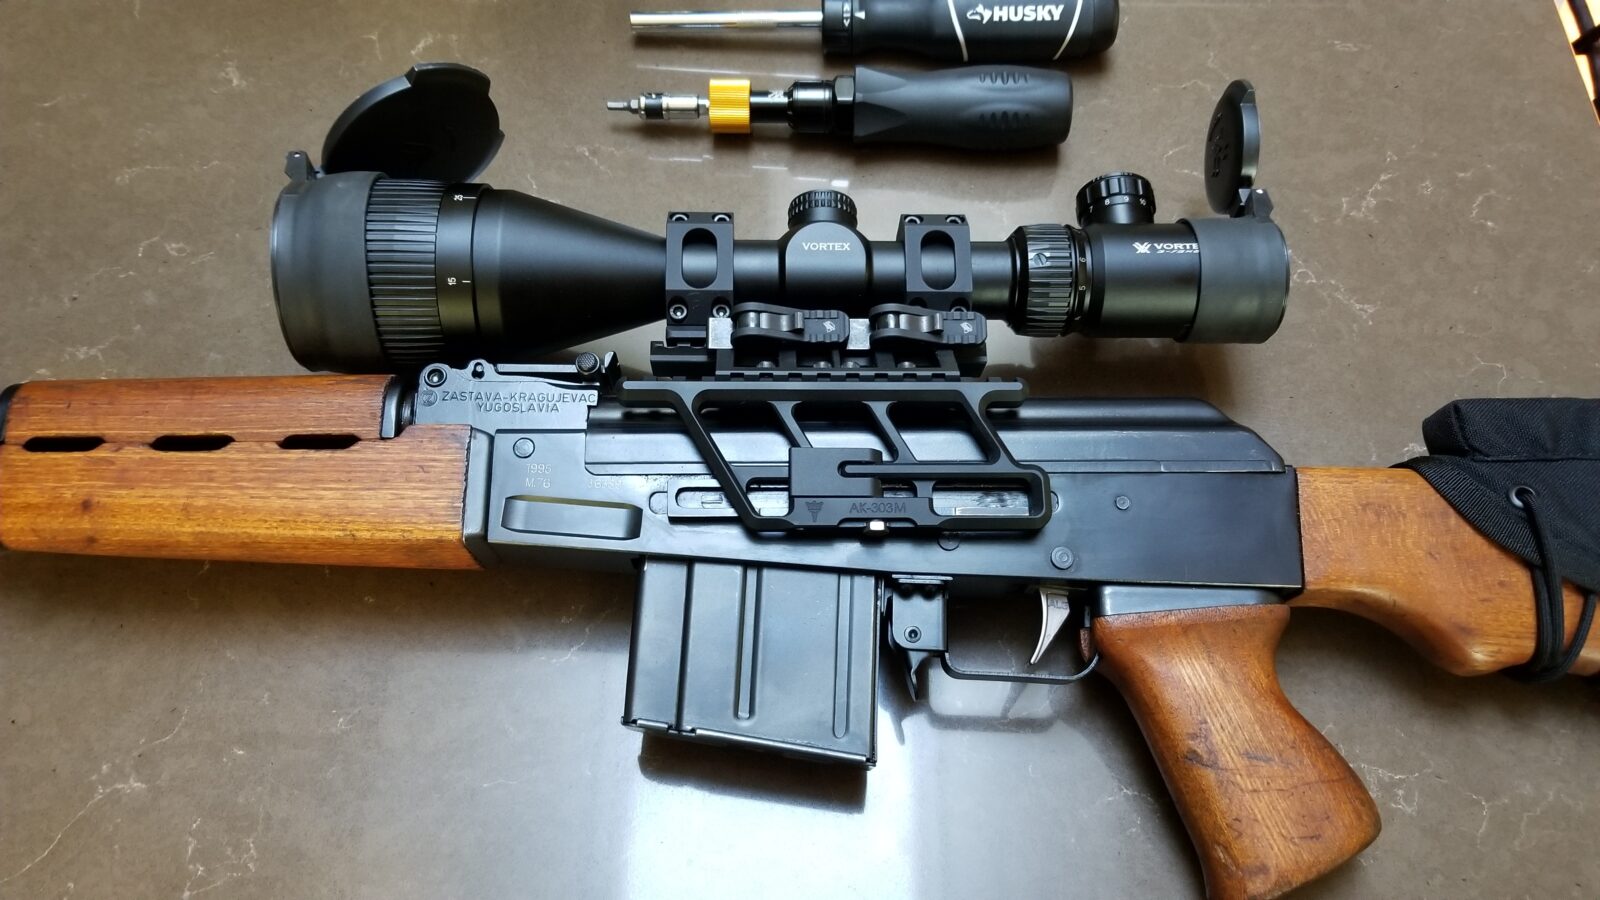
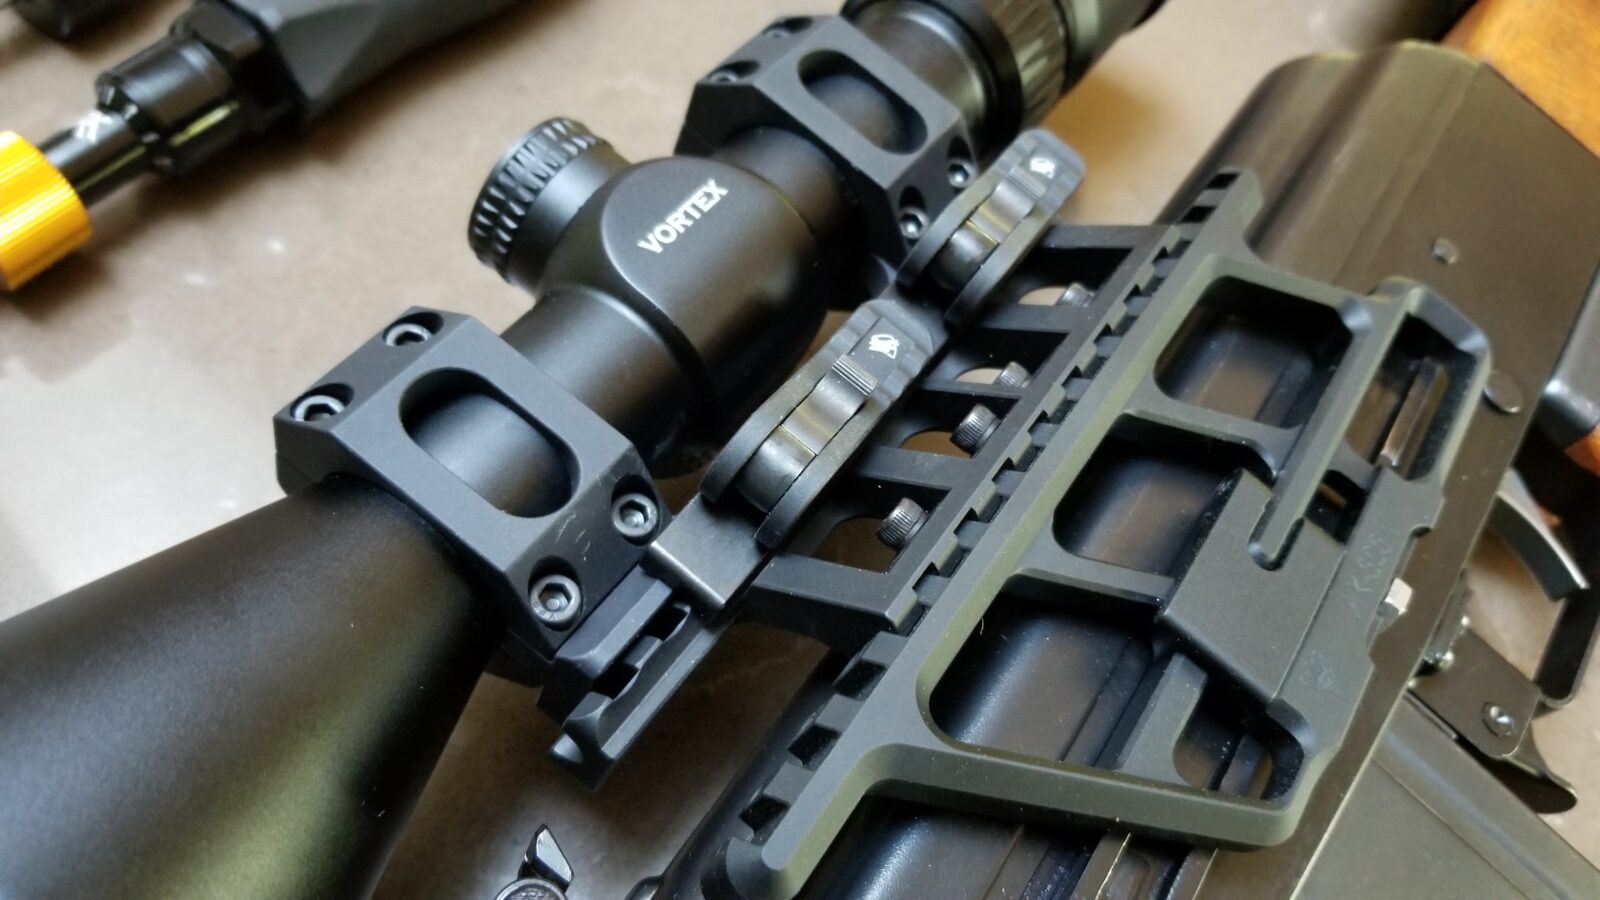
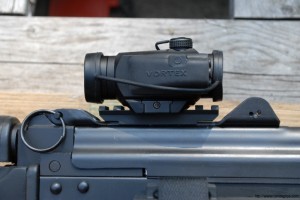
Here’s the M76 rifle with the American Defense mount installed. Note I used my Vortex torquing screwdriver to do the installation. It’s definitely a precision instrument and what I use for all optics work now. I take care to return it to zero after each use.
Here it is from another angle.
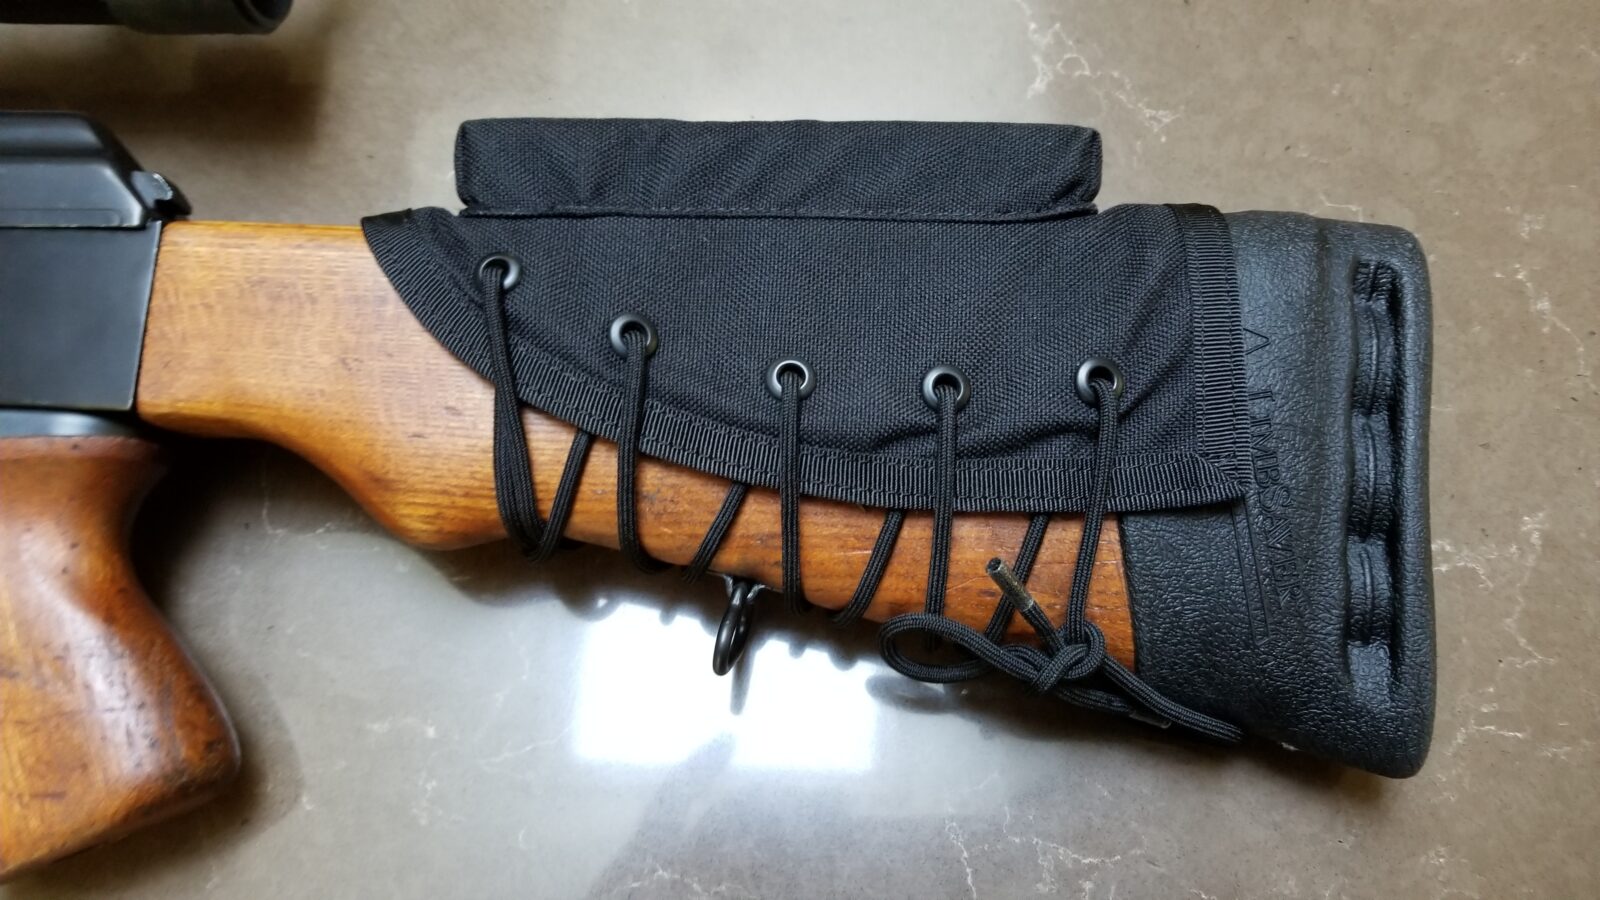
I changed cheek pieces to get a better cheek weld. This unit is nice and stable. I’m so-so about the cheek pad itself and wish it was a bit wider but it is better than the Voodoo cheek pad that was there. I’m still hunting for an even better cheek weld and have some options I want to try that I will report on at a later date after I have a chance to try them. To be clear- it is a solid cheek piece and the right height but personally I do not like the feel of that relatively narrow riser.

In Summary

The combination of the RS Regulate side mount system and the AD-RECON-SL optic mount is absolutely rock solid as in zero flex at all. even with the big and heavy Vortex Hog Hunter scope. I really think I have the ideal optic solution now for the rifle. The length of pull is better thanks to the installation of a SVL slip-on Limbsaver pad. I still need to find a better cheek piece to get my eye just the way I want it comfortably behind the scope and have some options to try. Last thing to report is that I did do some work on the firing pin but haven’t had time to test the rifle again.


If you find this post useful, please share the link on Facebook, with your friends, etc. Your support is much appreciated and if you have any feedback, please email me at in**@ro*********.com. Please note that for links to other websites, I may be paid via an affiliate program such as Avantlink, Impact, Amazon and eBay.


Installing the CNC Warrior Picatinny Rail Scope Mount for the M92 PAP Pistol

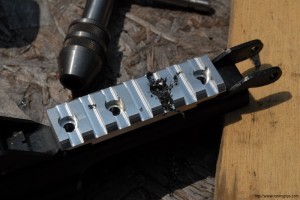
Another great accessory for the Yugo M92 or M85 PAP is the slick picatinny rail kit that CNC Warrior sells.  This thing is a breeze to install and is the best means I have seen for adding an optic to the M92. Because the screws are inserted from the rail side, it is superior to other products that require the screws to come in from underneath the dust cover and risk being hit by the bolt carrier.

All you need is the pistol, a drill and some cutting oil to do the installation.

SAFETY STEP – MAKE SURE THE WEAPON IS UNLOADED.  NEVER ASSUME THAT IT IS – VERIFY IT IS UNLOADED BEFORE YOU BEGIN WORK.

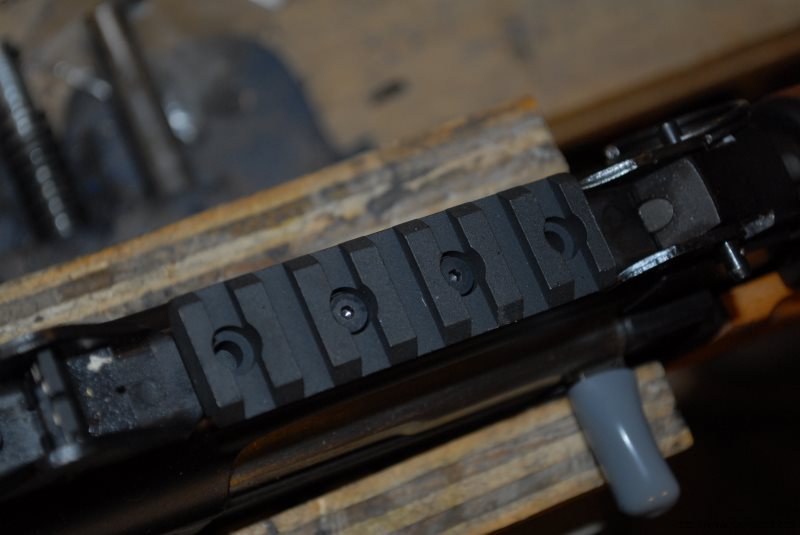
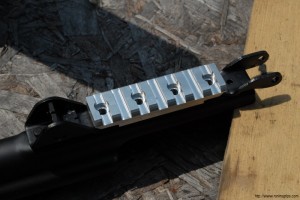
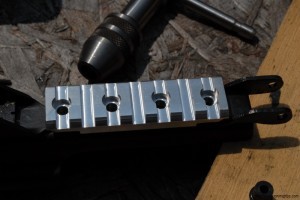
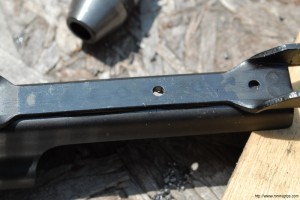
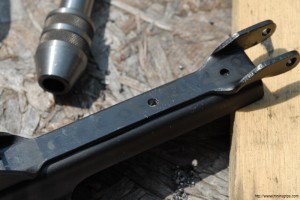
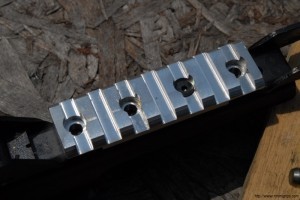
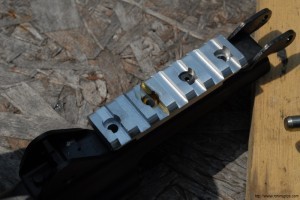
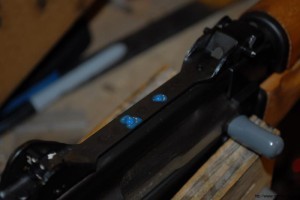
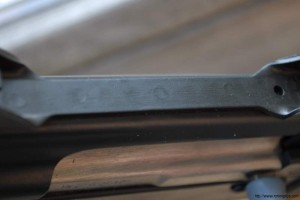
1.  This is the top thick hinge of the M85/M92 dust cover.  See the faint circles?  Those are the spot welds and they are very hard!  Do not drill into them!  The new CNC Warrior mount has four holes and you only need to use two of them.  The reason there is four is so you can pick the best two that get you around/away from the spot welds.  Please note that my rail is only silver because it was a brand new design and they hadn’t applied a finish yet.  If you order one, you will get a black rail!

DSC_0241

DSC_0243

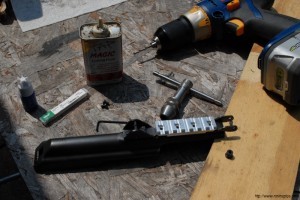
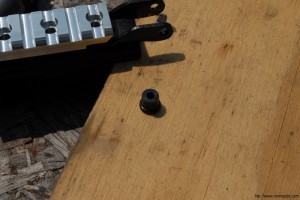
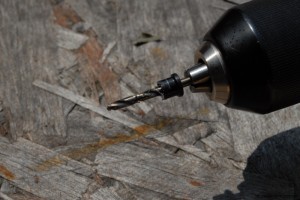
2.  Here you can see my fancy high tech tools.  My Ryobi drill, Tap Magic cutting oil to lubricate the drills and the taps.  Note, you will need to buy a tap handle if you do not have one.  Do not take the short cut of trying to start the tap with a regular socket or open end wrench.  You really want the tap to be firmly held so you can tap the threads at a right angle to the surface of the hinge.  Also, see that little black cylinder?  That is a drill guide that you put into the hole you select to guide the drill bit to the right place on the hinge.  Be sure to use the cutting oil!

DSC_0244

DSC_0245

DSC_0246

DSC_0247

DSC_0248

DSC_0249

DSC_0250

DSC_0255

DSC_0257

3.  As an aside, I blasted the mount and then sprayed on flat black Molyresin and baked it.  You’d never know it came to me unfinished.

DSC_0268

DSC_0269

DSC_0275

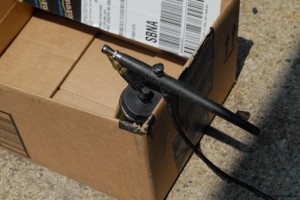
By the way, pictured above is a cheap Harbor Freight air brush.  I used to buy a bunch of them at a time and then throw them away when they hard problems.  I now use a Paasche H series air brush and am much happier with it.

4.  After you clean up the chips and are ready to do the final screwing of the mount, be sure to apply Blue Loctite so it does not come loose.

DSC_0276

DSC_0278

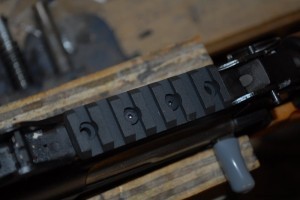
That’s it!  The mount is solid and it holds my Vortex Sparc red dot just great.  Note our quick takedown pin to make it easy to remove the cover and get the optic out of the way.

DSC_0332

10/27/18 Note:  Vortex discontinued the Sparc red dot.  They sell a great 2 MOA red dot called the Crossfire that I really like.


If you find this post useful, please share the link on Facebook, with your friends, etc. Your support is much appreciated and if you have any feedback, please email me at in**@ro*********.com. Please note that for links to other websites, I may be paid via an affiliate program such as Avantlink, Impact, Amazon and eBay.


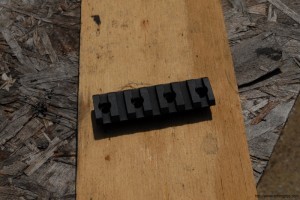
CNC Warrior’s M92 PAP Picatinny Rail Mount is Excellent!

A M92 is screaming for an optic of some type.  My preference is a red dot and I run a Primary Arms M4 clone on my first rifle and will use a Vortex Sparc on this new rifle.

As some of you may know, I have a Stormwerkz rail on my first M92 that I custom built and it has served me well.  The only draw back with the design is that you install the button head screws from inside the dustcover.  Because of this, you will notice the bolt carrier does hit screws.  I have shot a ton of ammo – well over a thousand rounds – from this rifle and the bolt carrier shows no harm but you do see the scuffed screws.

When I heard that CNC Warrior had a mount, I had to take a closer look and sure enough, they had a different approach.  Their screws go through the rail and screw into the thick steel portion of the dust cover that runs to the hinge.

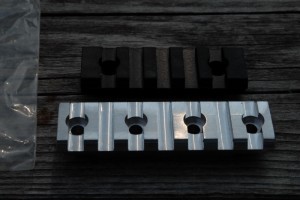
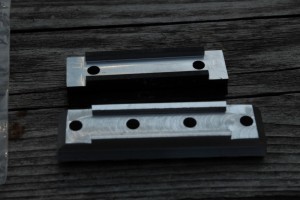
I talked to Denny, the owner of CNC Warrior, about my plans and he recently switched over to a four hole model that will give a person more options when installing the rail to work around the very hard spot welds — basically you just need two screws so with four holes, you pick the two you like that enable you to miss the welds.

If you look closely at the next photo, you will notice small circular indents in the steel – those are the spot welds that are harder than the surrounding steel and can be an absolute bear to drill through.  Thus, with CNC Warrior’s new four hole rail, you can slide it back and forth until you get two holes that clear these welds.
DSC_0030

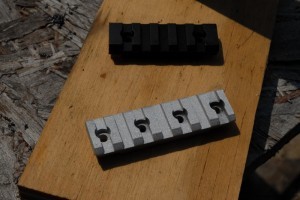
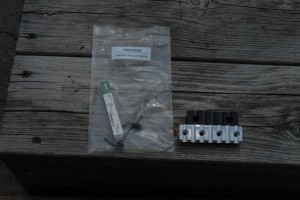
Please note that Denny sent me one of each – the old two hole rail and the new four hole rail – so I could show you folks the difference and he did not have time to have it finished so it is bare metal in the photos.  I used Molyresin to finish it flat black but that is not something you will need to worry about.  Going forward, when you order his mount you’ll get the four hole rail section already finished black.

DSC_0027 DSC_0028 DSC_0029

Included with the picatinny rail is their installation kit and instructions that makes installing it a breeze.  In a future blog post I’ll show you just how easy installation is and how you can do it with a hand drill and some cutting oil.

The rail is on their website at:  http://www.cncwarrior.com/ProductDetails.asp?ProductCode=26454


If you find this post useful, please share the link on Facebook, with your friends, etc. Your support is much appreciated and if you have any feedback, please email me at in**@ro*********.com. Please note that for links to other websites, I may be paid via an affiliate program such as Avantlink, Impact, Amazon and eBay.