Hi folks. I like building AR rifles and sometimes I just want a kit with all of the parts. Sometimes I will then swap stuff out and the original parts go in a bin but they are nice to have as spares and sometimes I will build the kit with the included parts – it just depends on my mood and budget to be perfectly honest. For years now, my main source for kits has been Palmetto State Armory (PSA) headquartered in Columbia, SC.
I almost always get my stuff off their website but they do have some very cool retail stores scattered around South Carolina. I had an opportunity to go to one a couple years back and it was very cool. Unfortunately, I lacked funds at the time and just picked up a couple of items. A person could put a serious dent in their credit card by going in one of their stores … or their website for that matter 🙂
People used to complain that they were slow to ship and to respond. First off, I always knew they were trying to keep costs low – they always shipped and they did respond – just not right away. For over a year now, I have noticed they are far faster at shipping – sometimes even the same day – and they are also faster at responding. So, if you hear bad stuff about this, I wouldn’t worry about it.
I’ve also heard people question their quality. Folks, if you want a tier one rifle, go buy a tier one rifle or the parts from them. Palmetto gives you a decent combination of quality and price. For folks planning on hunting and target shooting with their friends, I have no reservation to recommend them. If you are shooting in competition or planning to use this rifle in some kind if law enforcement situation or somewhere that requires high reliability, I think you probably need to look at the higher end ARs that are designed to handle tens of thousands of rounds. Look, I’m just being candid – the PSA AR rifles and pistols are solid but they have a different intended audience. There are reasons besides “coolness” where certain buyers must move to suppliers like Daniel Defense, BCM, Knights, LMT, H&K, LWRC, etc.
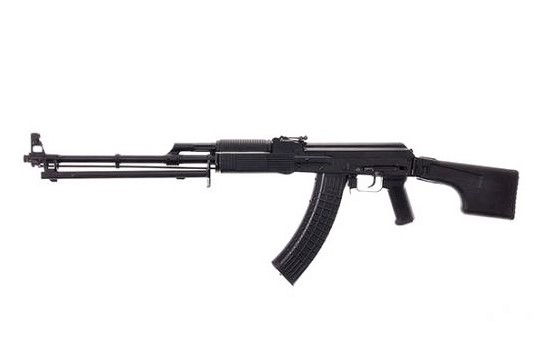
At any rate, back in April of this year (2021), I asked what their top four complete kits were (meaning everything except the lower receiver) and they had a list! If you like building AR kits like I do, I thought you might find this interesting in terms of what is included:
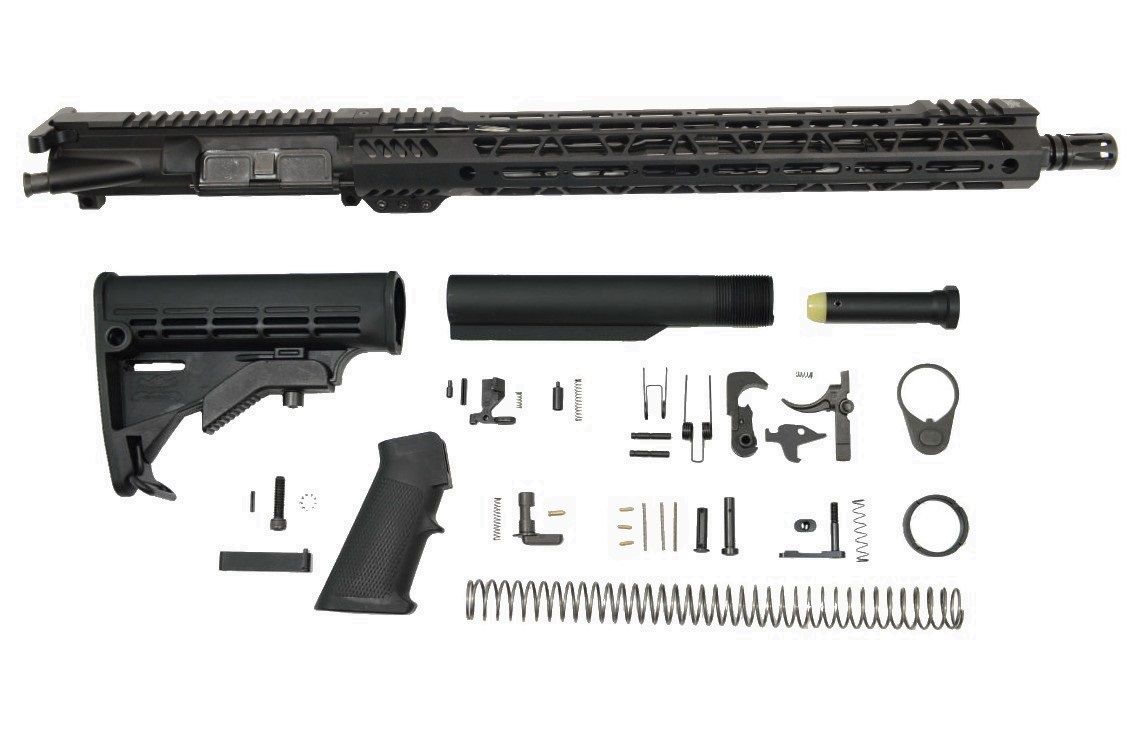
PSA 16″ 5.56 NATO 1:7 MIDLENGTH NITRIDE 13.5″ LIGHTWEIGHT M-LOK MOE EPT RIFLE KIT W/ MBUS SIGHT SET (Model 516446780)
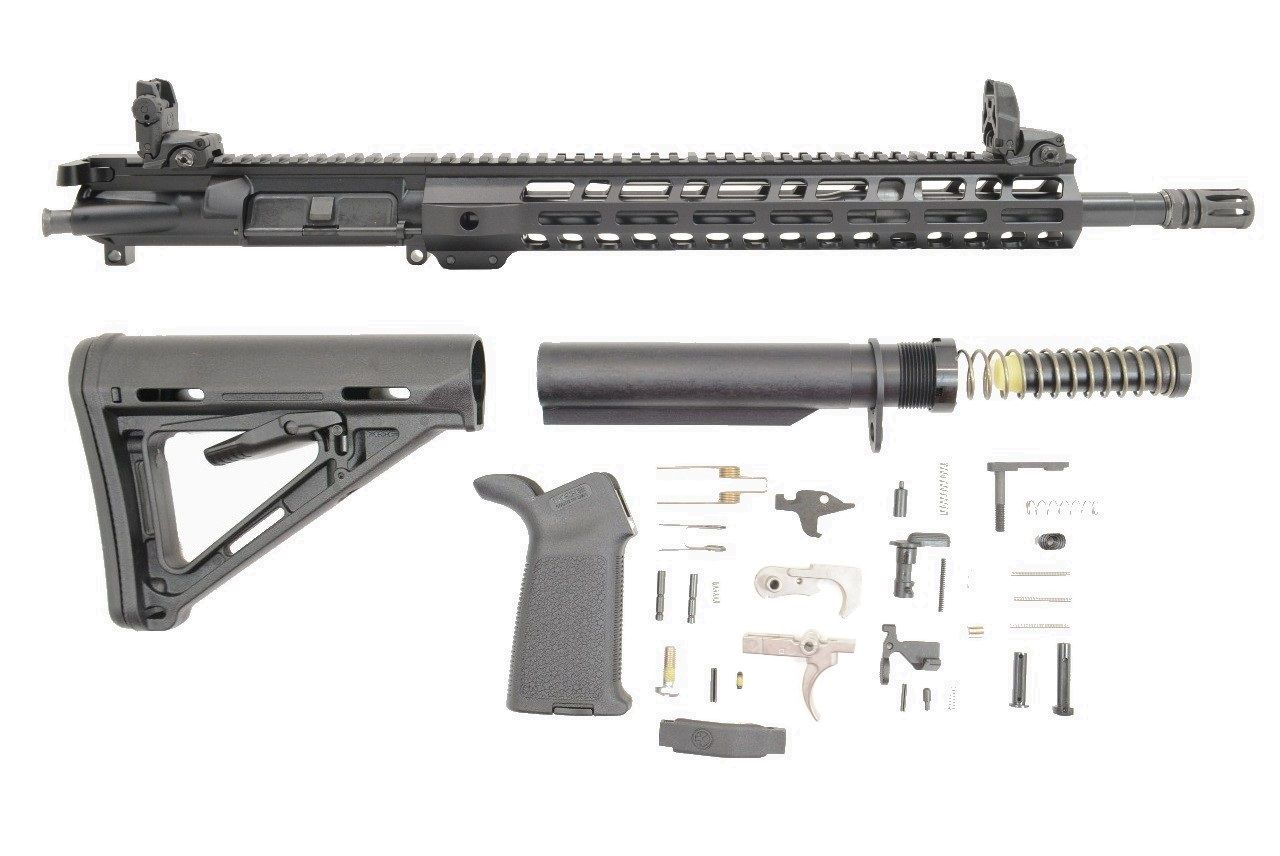
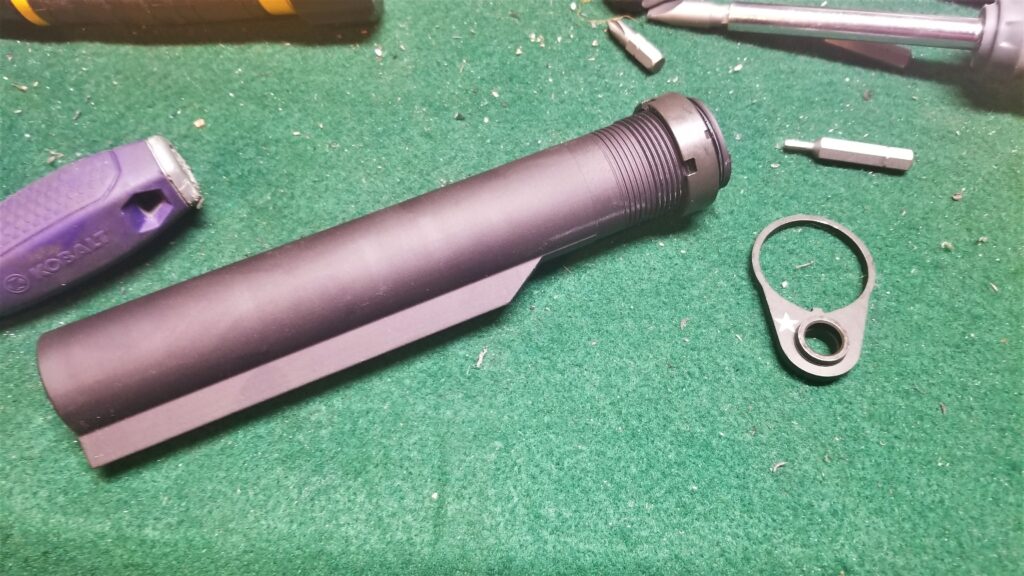
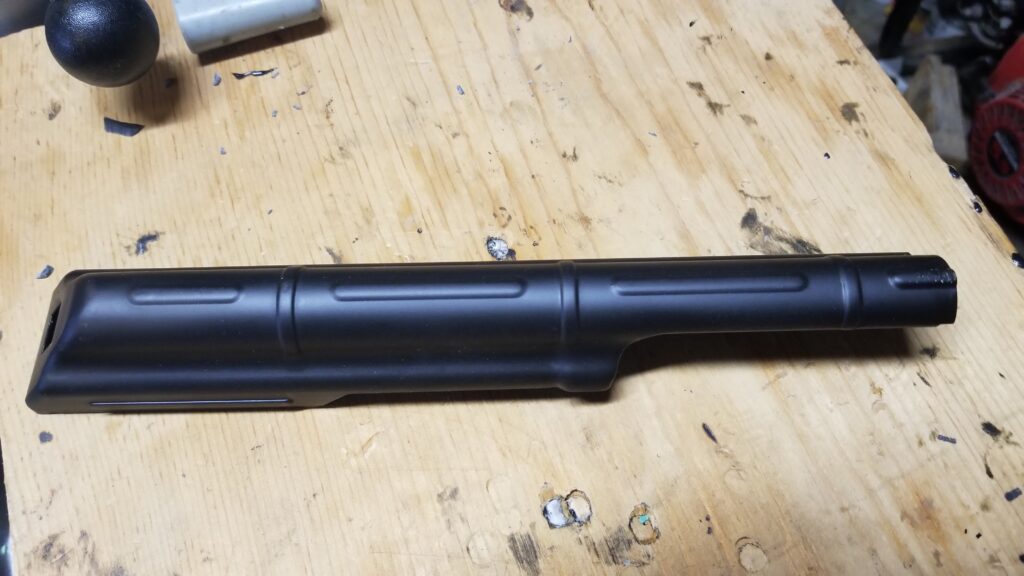
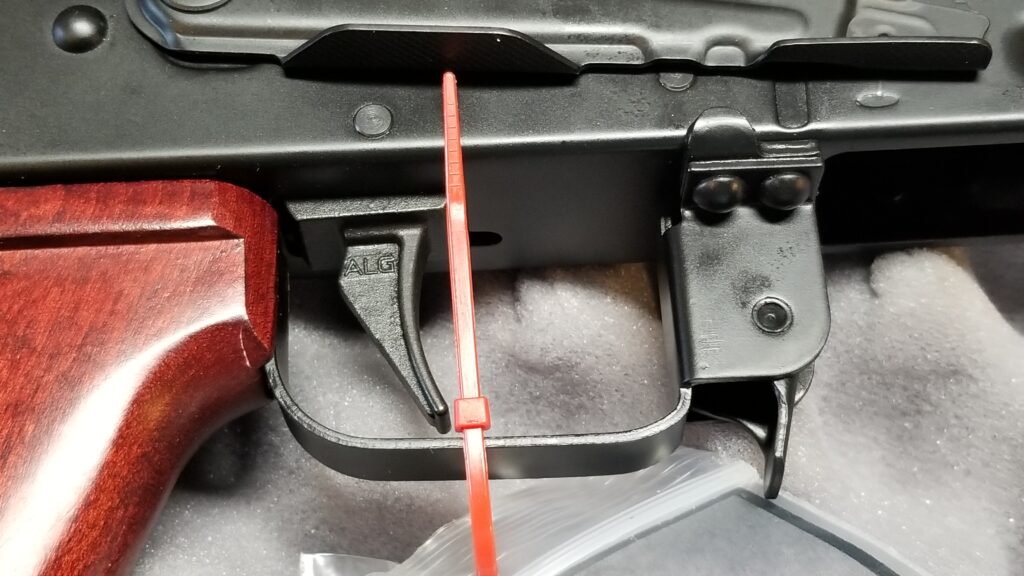
Noteworthy here is the entry level Magpul MOE buttstock and grip plus Magpul MBUS flip up sights. They are also including a PSA EPT fire control group – this means that the trigger and hammer have nickel boron finish causing them to move easier because friction is reduced.
It has one of the PSA 13.5″ long handguards set for M-Lok attachments. Everything else is typically found in any of their AR kits with a collapsible stock. They make and restock these kits all the time.
The price as of this writing is $669.
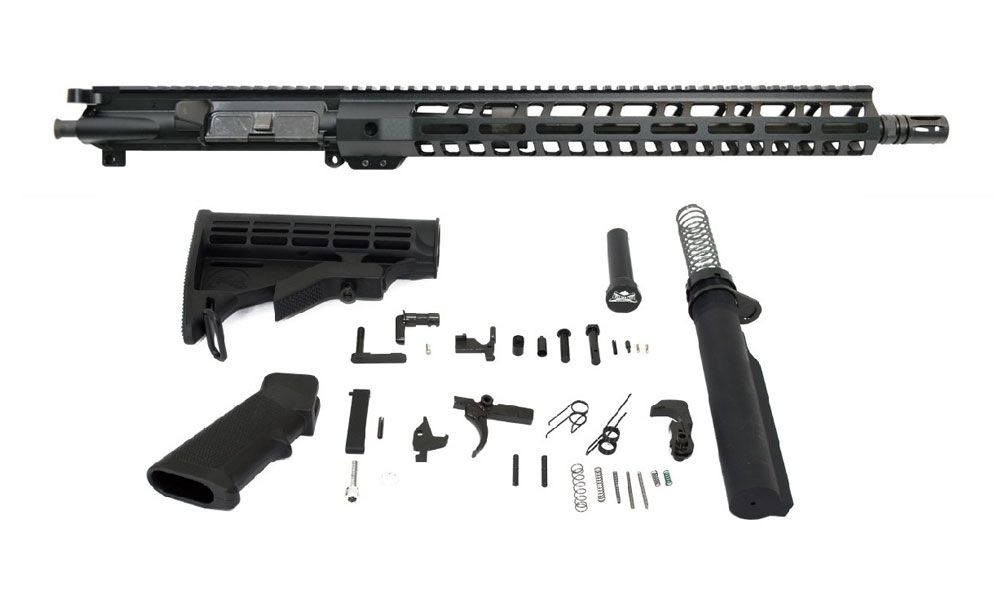
PSA 16″ M4 CARBINE-LENGTH 5.56 NATO 1:7 NITRIDE 15″ LIGHTWEIGHT M-LOK FREEDOM RIFLE KIT (Model 51655106915)
Despite a cool looking 15″ handguard, this is a basic AR and you can replace the grip and buttstock later if you want. It’s selling so well that PSA is out of stock right now but you can be notified when it is back in stock. They tend to make and restock these kits all the time.
The price isn’t listed right now since they are out of stock but I would expect it to be slightly less than the first kit – unless they are charging a premium for that handguard.
PSA 16″ M4 CARBINE-LENGTH 5.56 NATO 1:7 NITRIDE 15″ LIGHTWEIGHT M-LOK FREEDOM RIFLE KIT (Model 5165450384)
Definitely a basic 15″ railed rifle kit. Everything looks entry level but you can always customize it down the road if you want.
Again, no price as they are out of stock. I’d expect it to be cheaper than the two kits above. You can sign up to be notified when they do get it in stock if you want. They tend to make and restock these kits all the time.
PSA 16″ MID-LENGTH 5.56 NATO 1:7 NITRIDE 15″ LIGHTWEIGHT M-LOK CLASSIC RIFLE KIT WITH MBUS SIGHT SET (Model 5165491598)
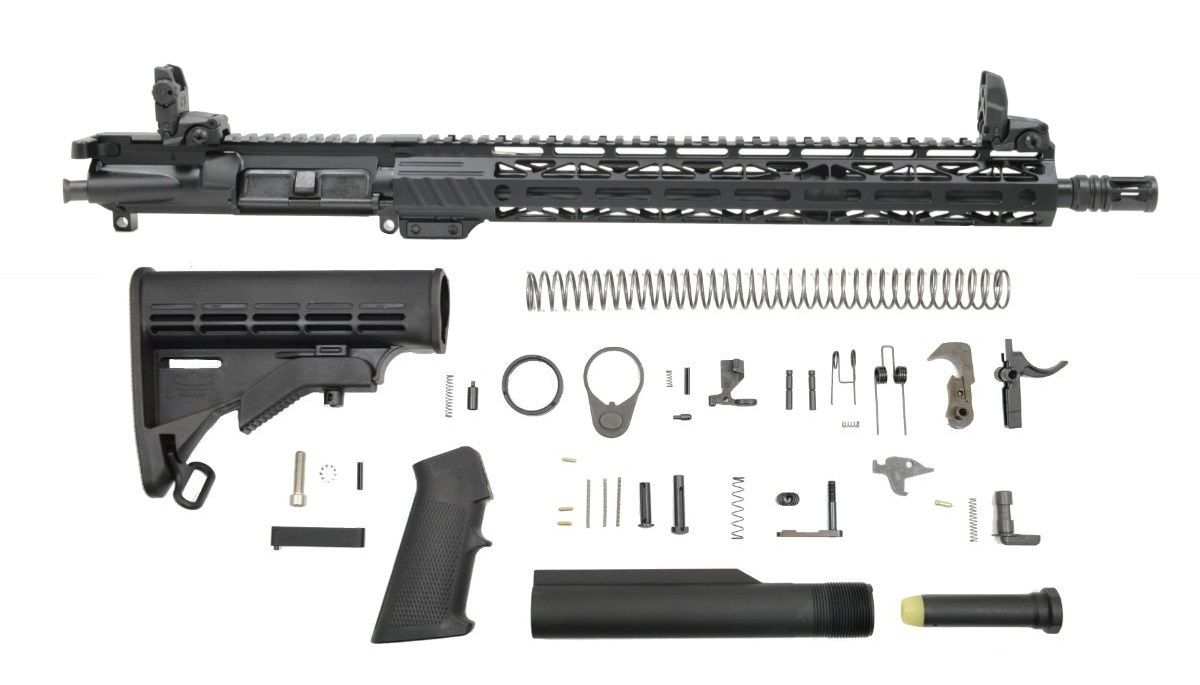
This one has the Magpul BUS sights, an interesting looking handguard … and that’s about it. Everything else is what you tend to see in any of their basic AR rifle kits with collapsing stocks.
The price as of today s $649.99
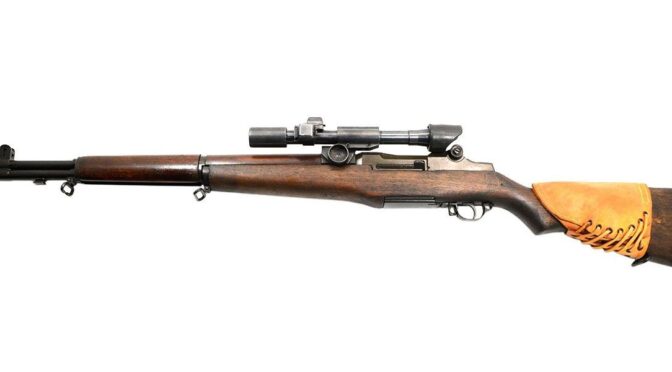
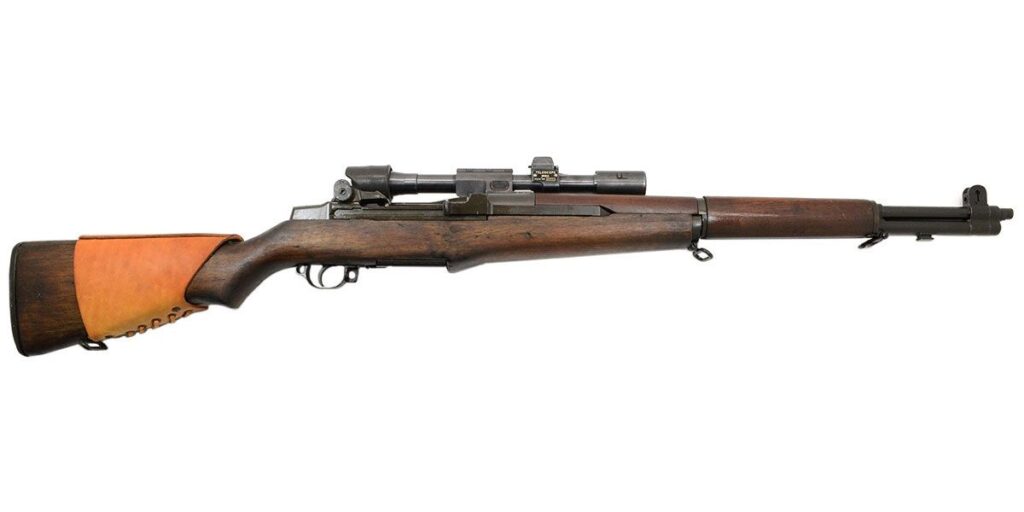
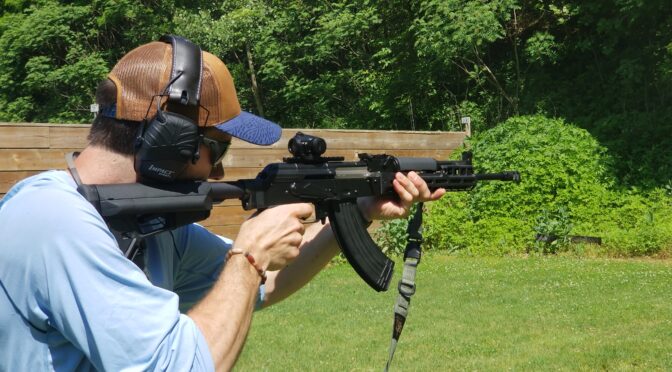
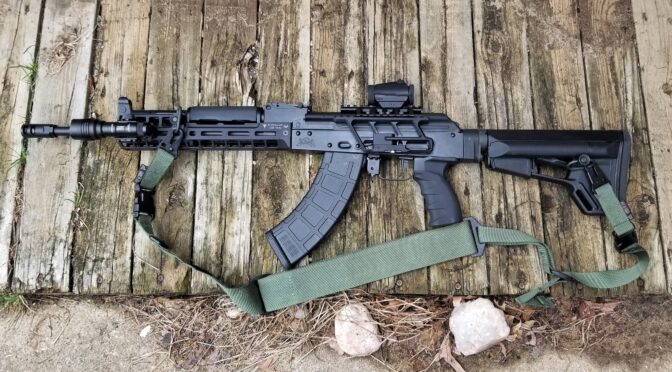
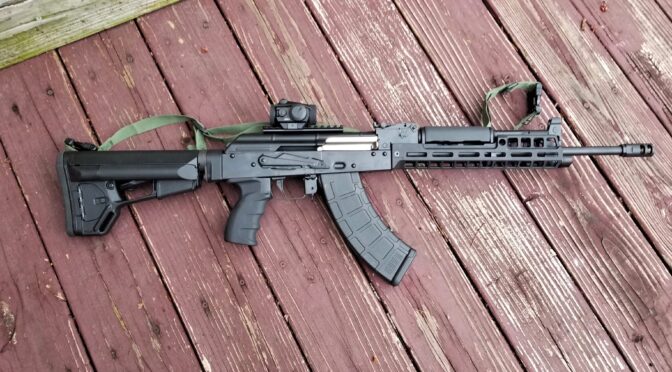
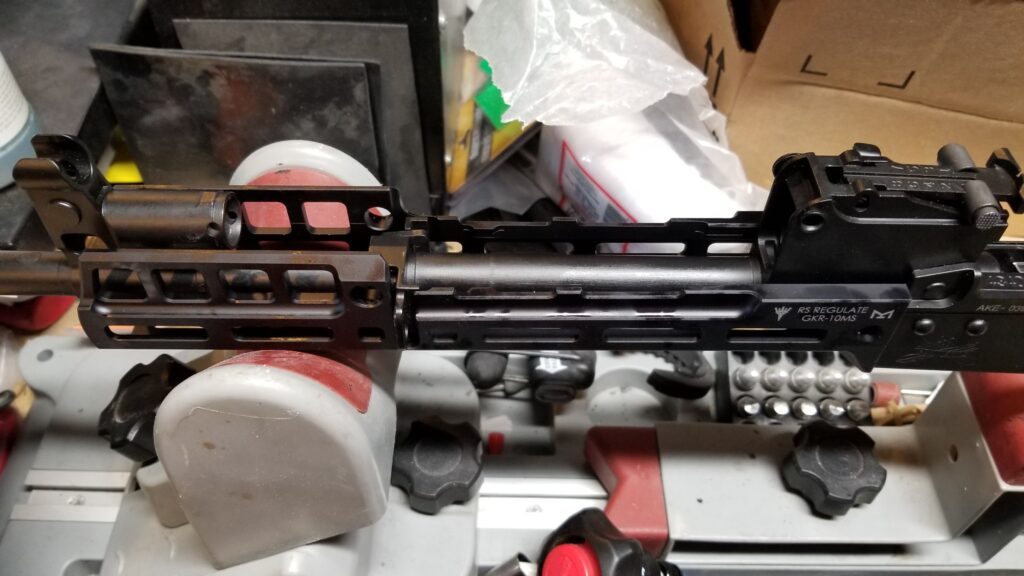
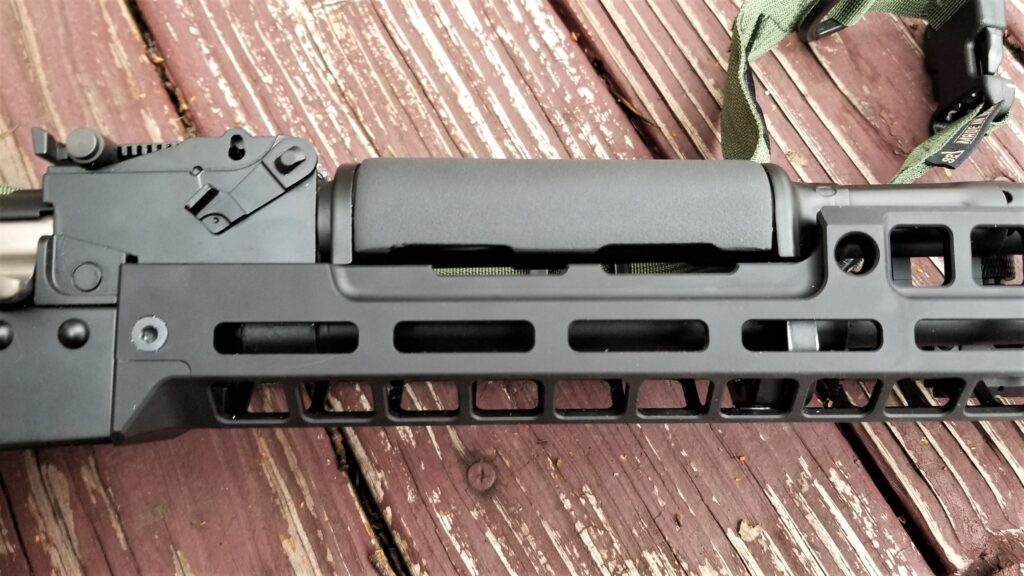
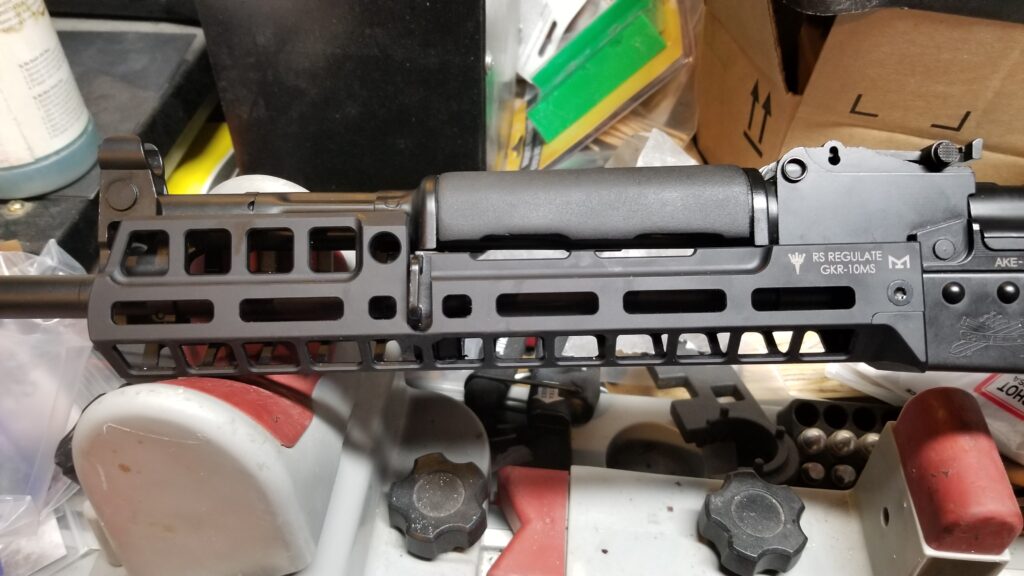
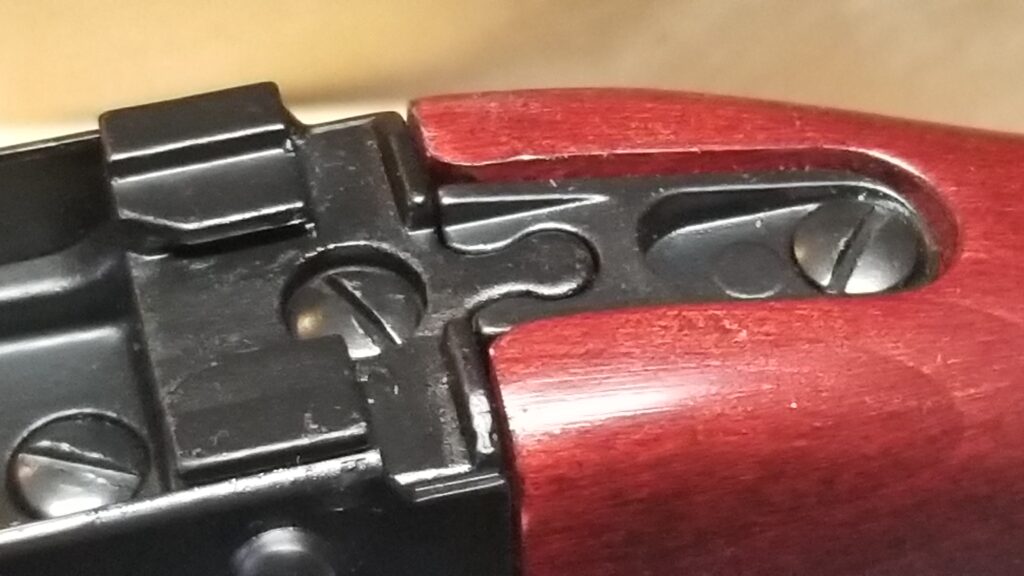
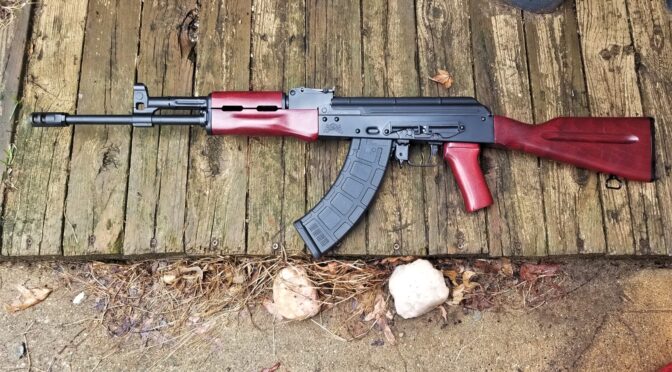
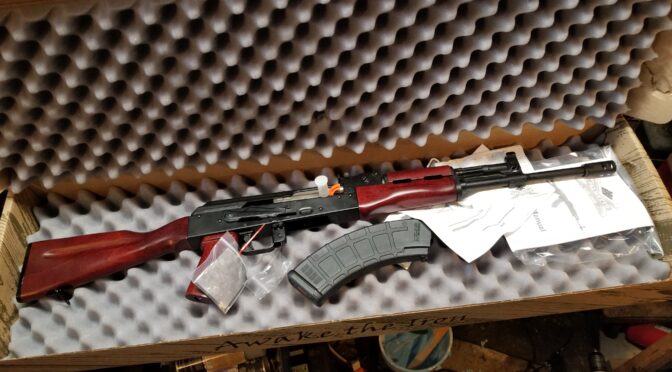
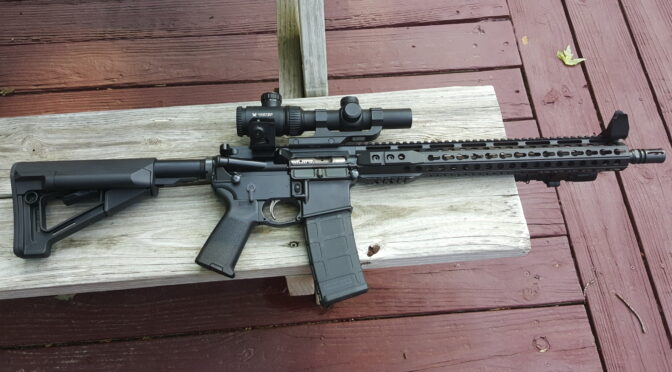
What rifle is in the top photo?
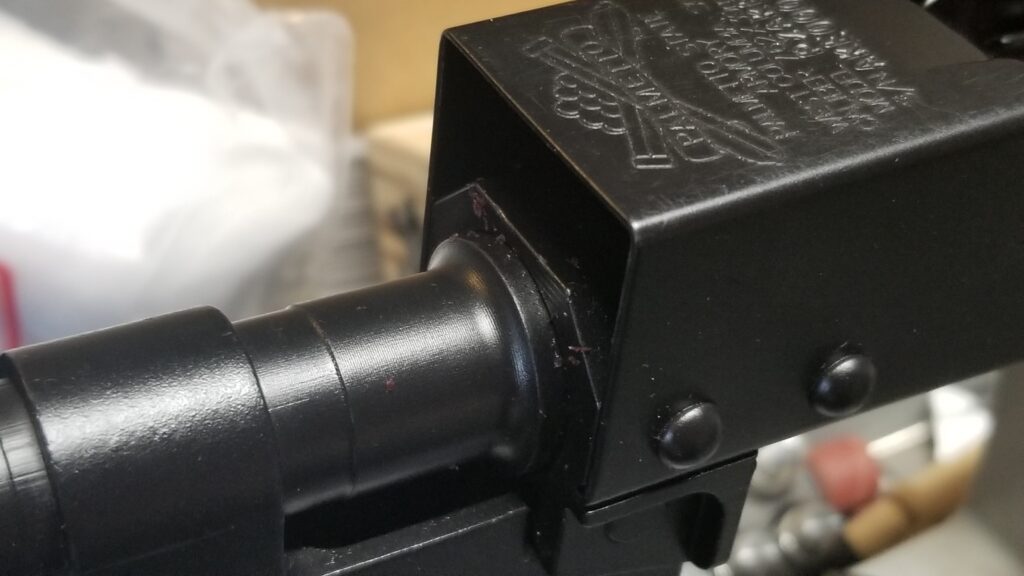
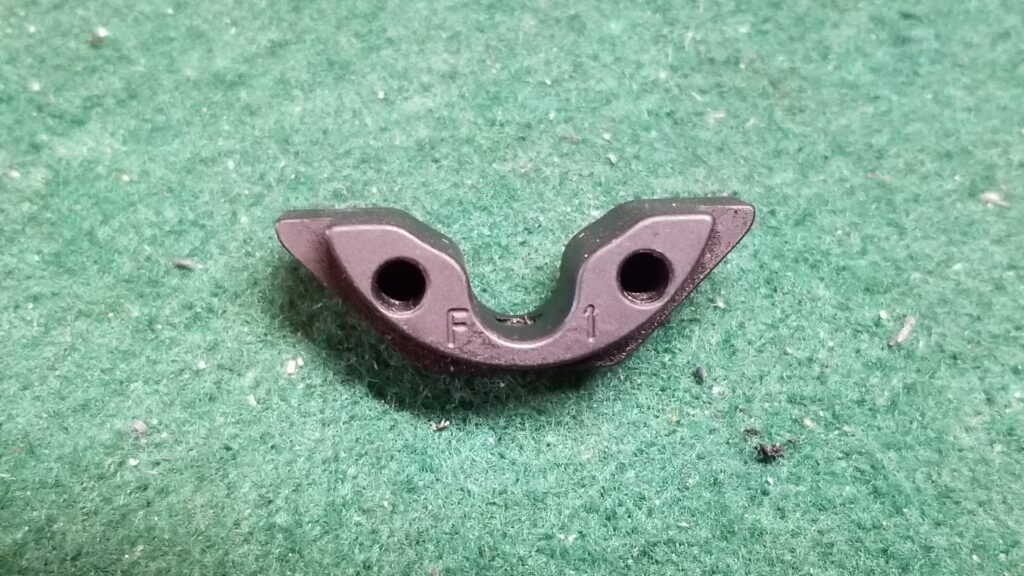
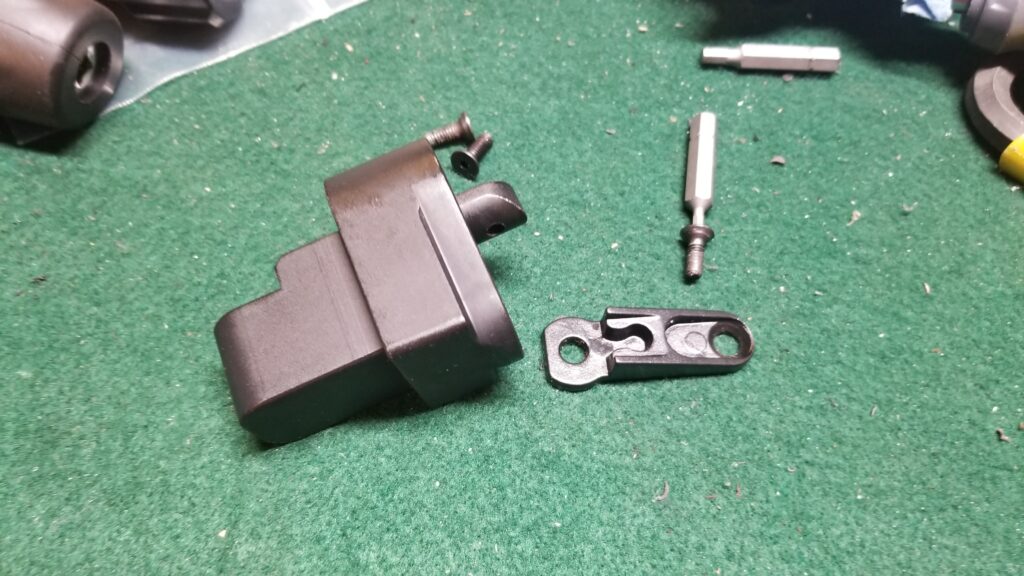
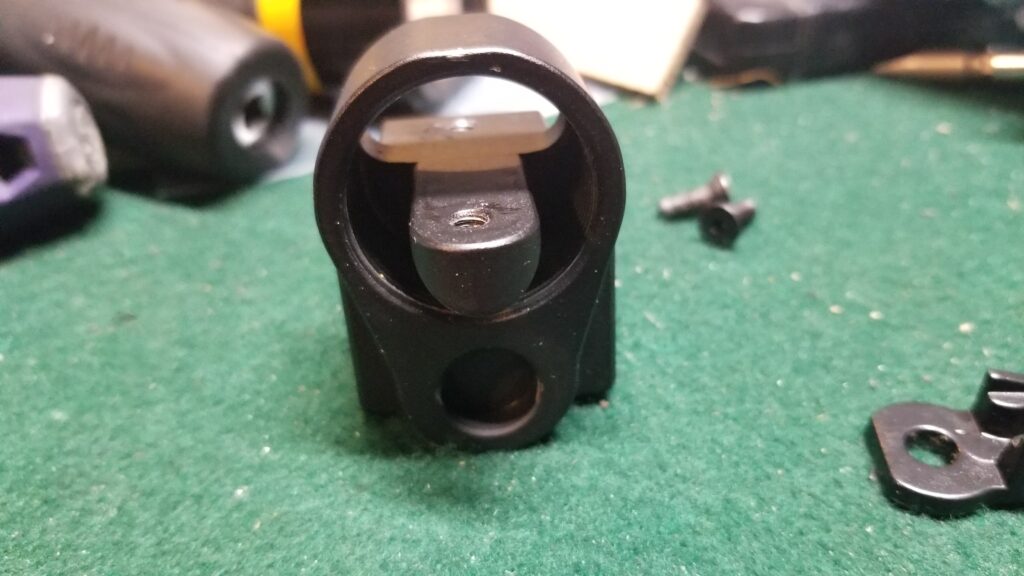
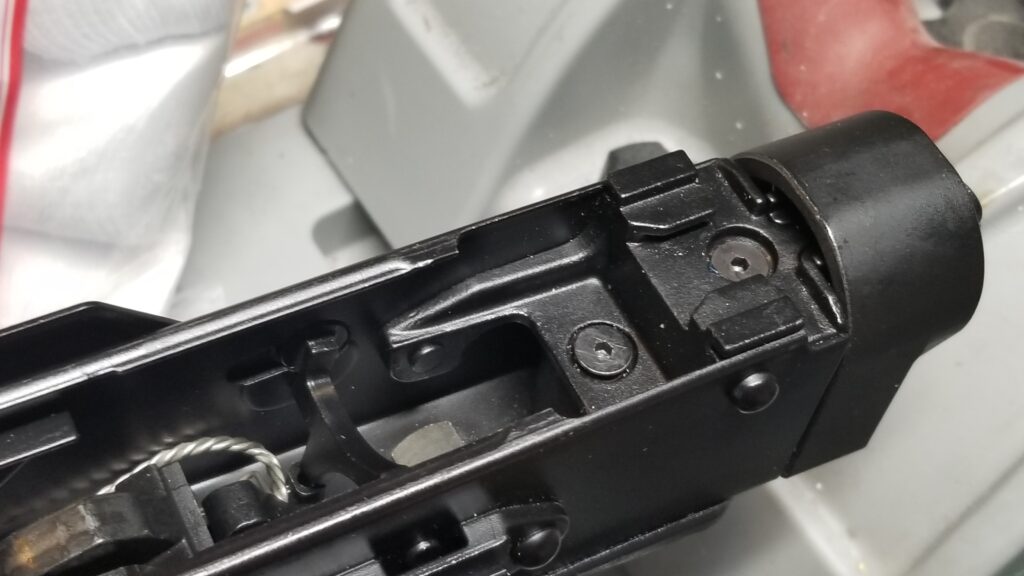
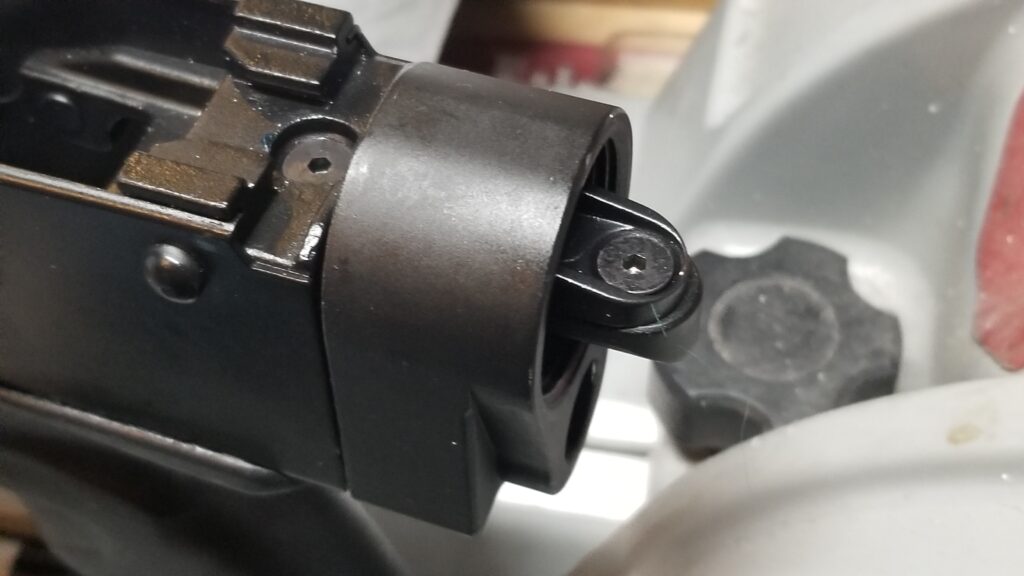
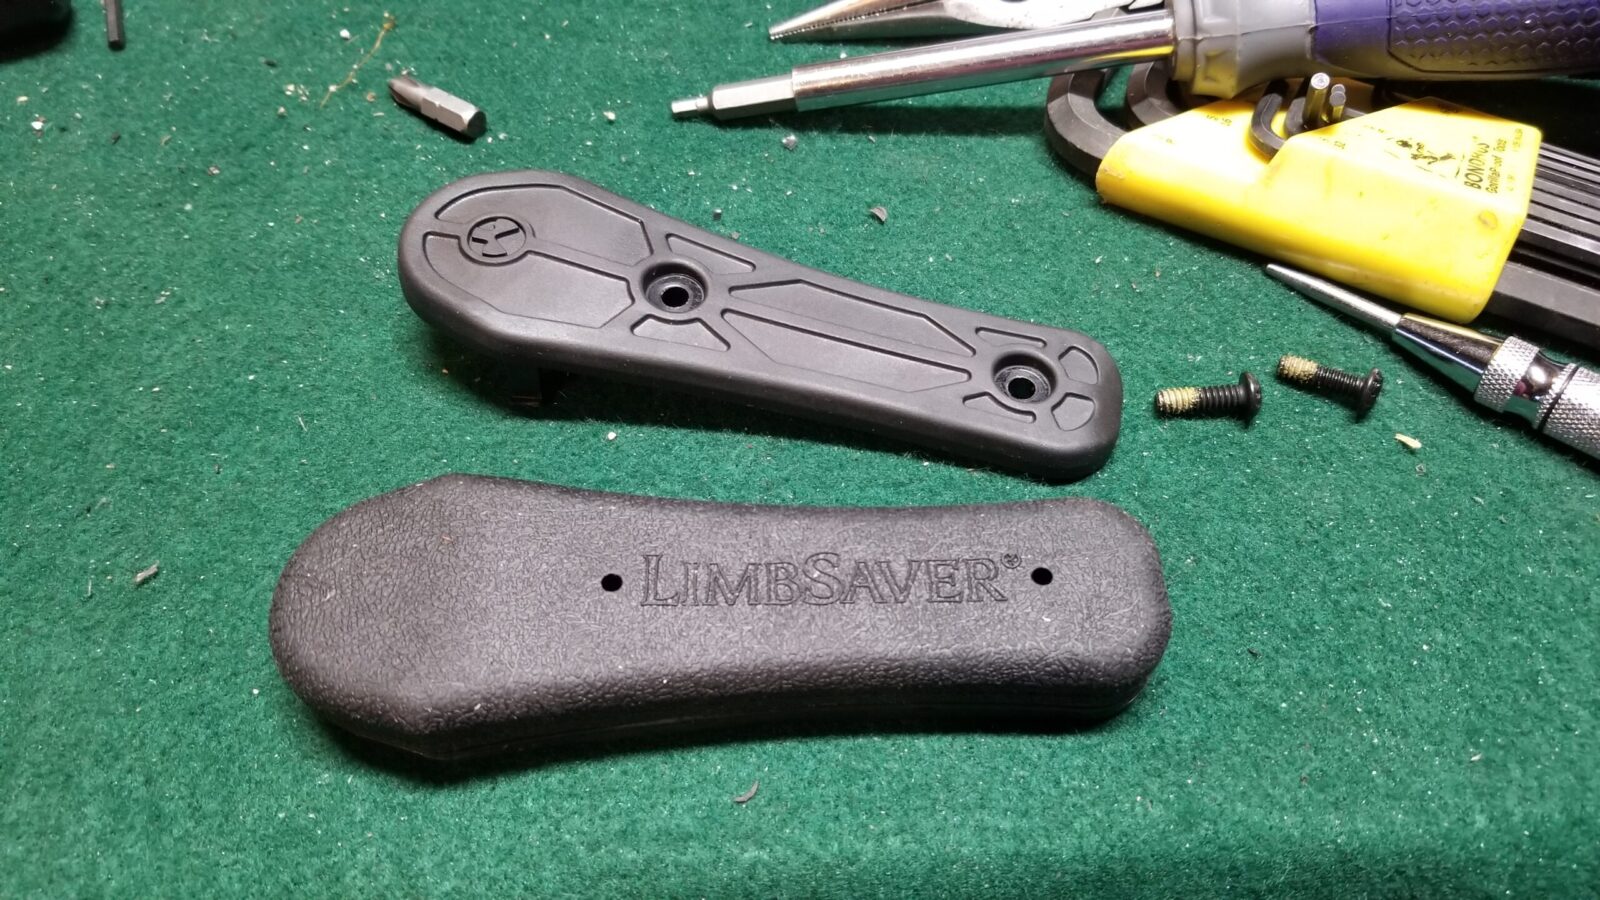
It started out as a PSA 16″ kit. It had an Anderson lower, WMD bolt, and a Magpul ACS-L stock – I like those because they lock in place and don’t rattle. It had a BMC Mod 3 charging handle, Vortex 1-6x scope on a Vortex 2″ offset mount, YHM extended push pins and a PSA ambidextrous selector lever. The fire control group is one of the PSA EPT sets – I do like them for basic triggers. I like Geissele SSA-E triggers the most though. I honestly don’t recall who made the offset sights.
Conclusion
If you’re looking to build a decent entry-level rifle from a kit with all of the parts you need other than the lower receiver, the above should work great for you. At a minimum, they will all give you a foundation to start with.
Note, I have to buy all of my parts – nothing here was paid for by sponsors, etc. I do make a small amount if you click on an ad and buy something but that is it. You’re getting my real opinion on stuff.
If you find this post useful, please share the link on Facebook, with your friends, etc. Your support is much appreciated and if you have any feedback, please email me at in**@*********ps.com. Please note that for links to other websites, we are only paid if there is an affiliate program such as Avantlink, Impact, Amazon and eBay and only if you purchase something. If you’d like to directly contribute towards our continued reporting, please visit our funding page.