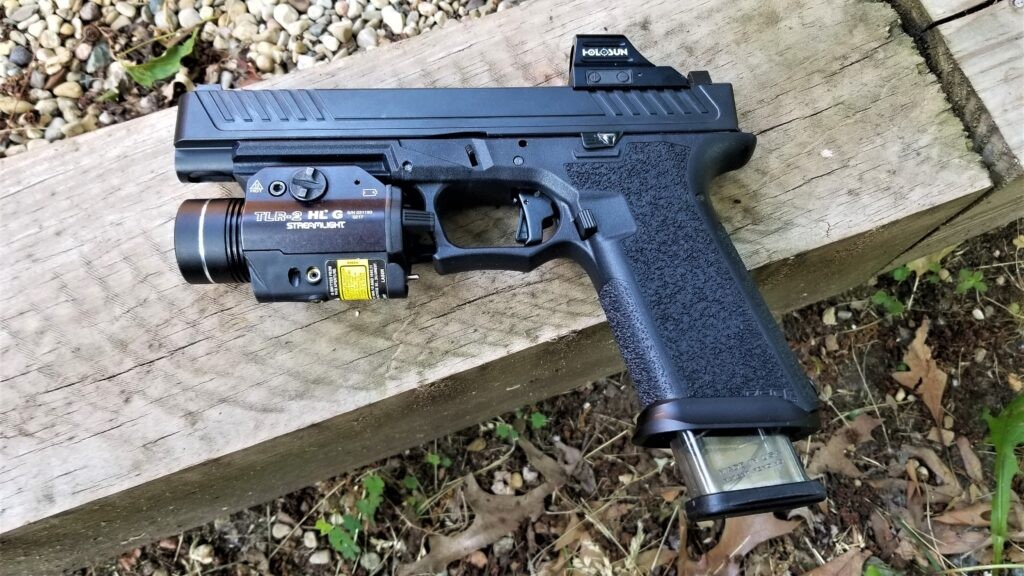
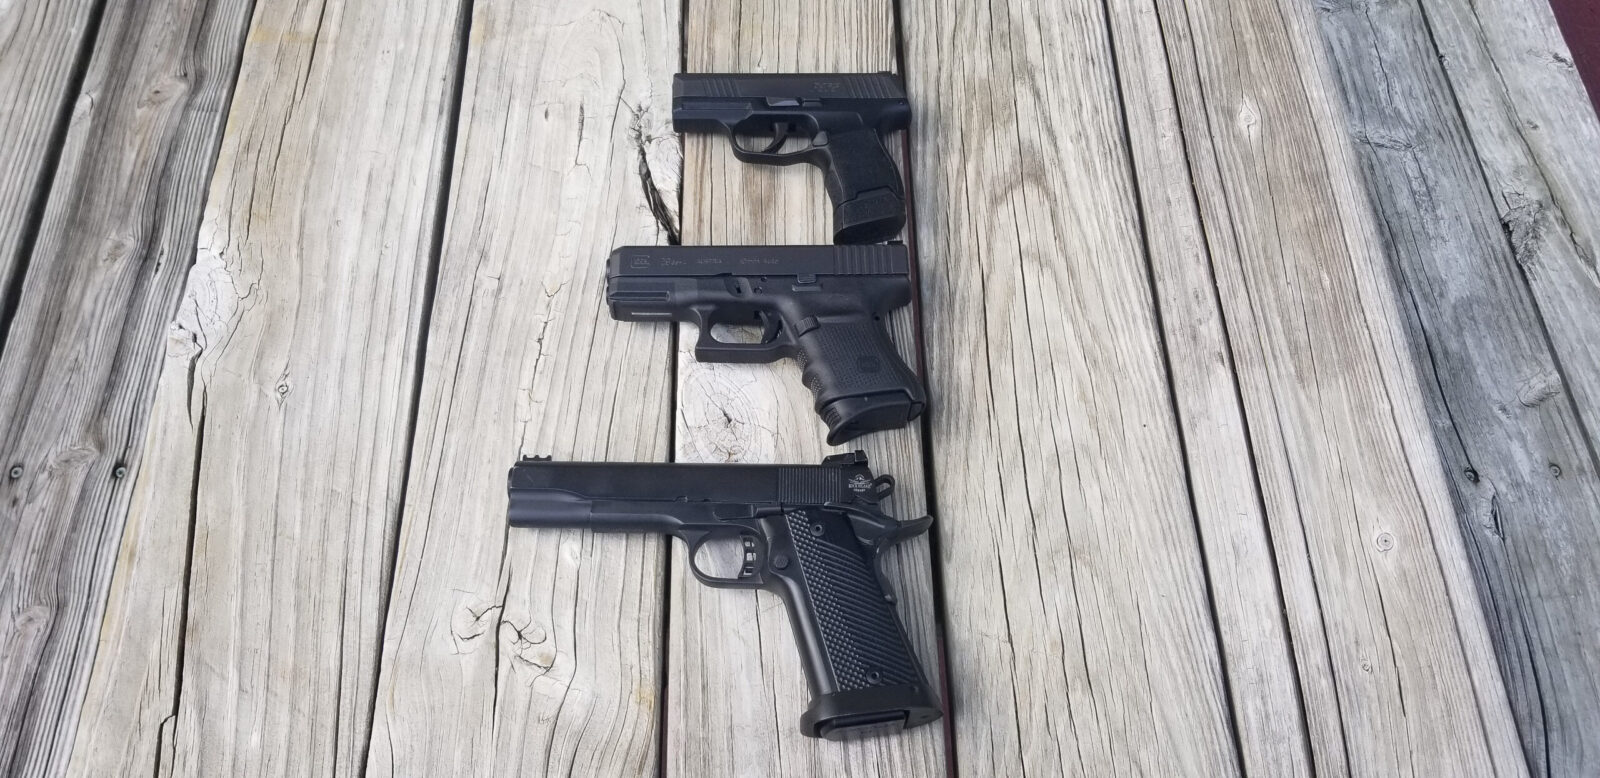
I’ve never been a huge Glock fan preferring 1911 & 2011 pistols. A few years ago I built a few Polymer80 pistols and that chipped away at my dislike because the engineering was really very cool. In terms of calibers, I mainly focus on 9mm and 10mm these days – the former for general self -defense and shooting at the range and the latter for defense including potentially black bears. The problem I’ve had for the past year is that my 1911 and 2011 10mm pistols weigh quite a bit and are large. With this in mind, I started hunting around for a smaller 10mm that would also given me at least 10 rounds of ammo in the magazine. This brought me to Glock and either the full size model 20 or compact 29. I opted for the latter because I wanted something smaller and easier to carry concealed.
First, Why 10mm?
I suppose the first thing that made me even consider a G29 is that it uses 10mm and I am a big fan of the 10mm cartridge. Folks, it hits hard. It’s not a magnum but it does pack a wallop substantially beyond what a 9mm can do while feeding from a semi-auto.
My plan was to use this pistol when hiking in the back country for self-defense from someone with malicious intents or a black bear. This was not to be my every day concealed carry pistol and while I do have quite a selection of hollow points (HPs), my plan was to load the pistol up with ammo designed to penetrate, not to mushroom like a HP bullet does.
While I have carried my Sig P365 on many hikes mainly because it’s small and lightt, let’s compare some rounds between 9mm +P and 10mm so you can get an idea:
| 9mm +P Penetrating Rounds | Muzzle Velocity (FPS) | Muzzle Energy (Ft/Lbs) |
| Hornady 9mm Critical Duty 135gr +P | 1,110 | 369 |
| Hornady 9mm Critical Duty 124gr +P | 1,175 | 380 |
| Buffalo Bore 9mm Outdoorsman 147gr Hard Cast +P | 1,100 | 394 |
| Underwood 9mm 147gr Hard Cast +P | 1,100 | 395 |
| Underwood 9mm 115gr Xtreme Penetrator +P | 1,250 | 399 |
| 10mm Penetrating Rounds | Muzzle Velocity (FPS) | Muzzle Energy (Ft/Lbs) |
| Buffalo Bore 10mm Dangerous Game 190gr Mono Metal | 1,100 | 510 |
| Hornady 10mm Critical Duty 175gr | 1,160 | 523 |
| Buffalo Bore 10mm Outdoorsman 220gr Hard Cast | 1,100 | 591 |
| Underwood 10mm Hard Cast 200gr | 1,250 | 694 |
| Underwood 10mm Hard Cast 220gr | 1,200 | 704 |
So if you want to read more on the ballistics of 9mm, 10mm or comparisons, there are tons out there by people who know far more than I do. You may also argue that Critical Duty was never designed for dangerous game and you are right but I wanted to give some comparisons mainly about the energy levels. Bottom line for me is that 10mm hits a lot harder and penetrates further based on lots of examples I have seen of 10mm rounds being fired into ballistic gelatin, phone books and real world self-defense stories against bears that you can search and read about.
But Why Glock?
I’ve not been a Glock fan to be perfectly honest. I preferred 1911/2011 pistols and CZ-75s to the Glocks mainly because of the grip angle and a bit of a bias against the blocky boring lines of the factory Glock pistol.
What is cool about Glock? First and foremost, the Glocks are amazingly reliable pistols. They are going to work when you need them to work. Note, you still need to clean, lube and thoroughly test them before relying on them but this is true of any firearm. A pet peeve of mine, maybe it’s even a fear for the safety of others, are the people who are new to any type of firearm, buying one and ammo from the store, loading it straight out of the box and then thinking they are safe – Please, don’t do this.
Second, Glocks do not weigh a bunch because of their polymer frames. My Desert Eagle 1911 in 10mm is an amazing pistol – easily the best factory-built 1911 pistol I have ever bought but it is not light. Unloaded it comes in at 36.2 ounces – folks, that is just over two and a quarter pounds!! In comparison, an empty Glock 29 weighs 24.34 ounces or just over a pound and a half – That is almost a third less weight.
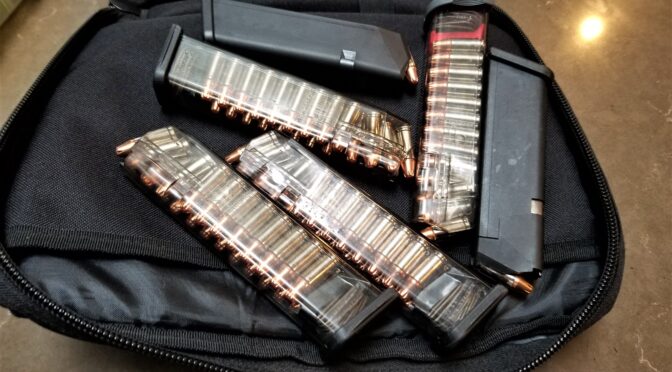
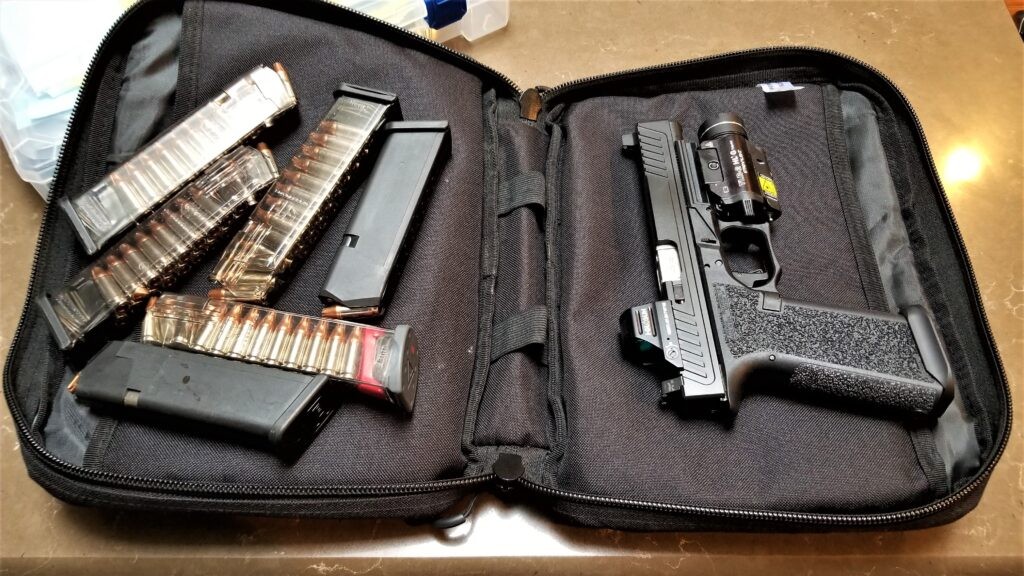
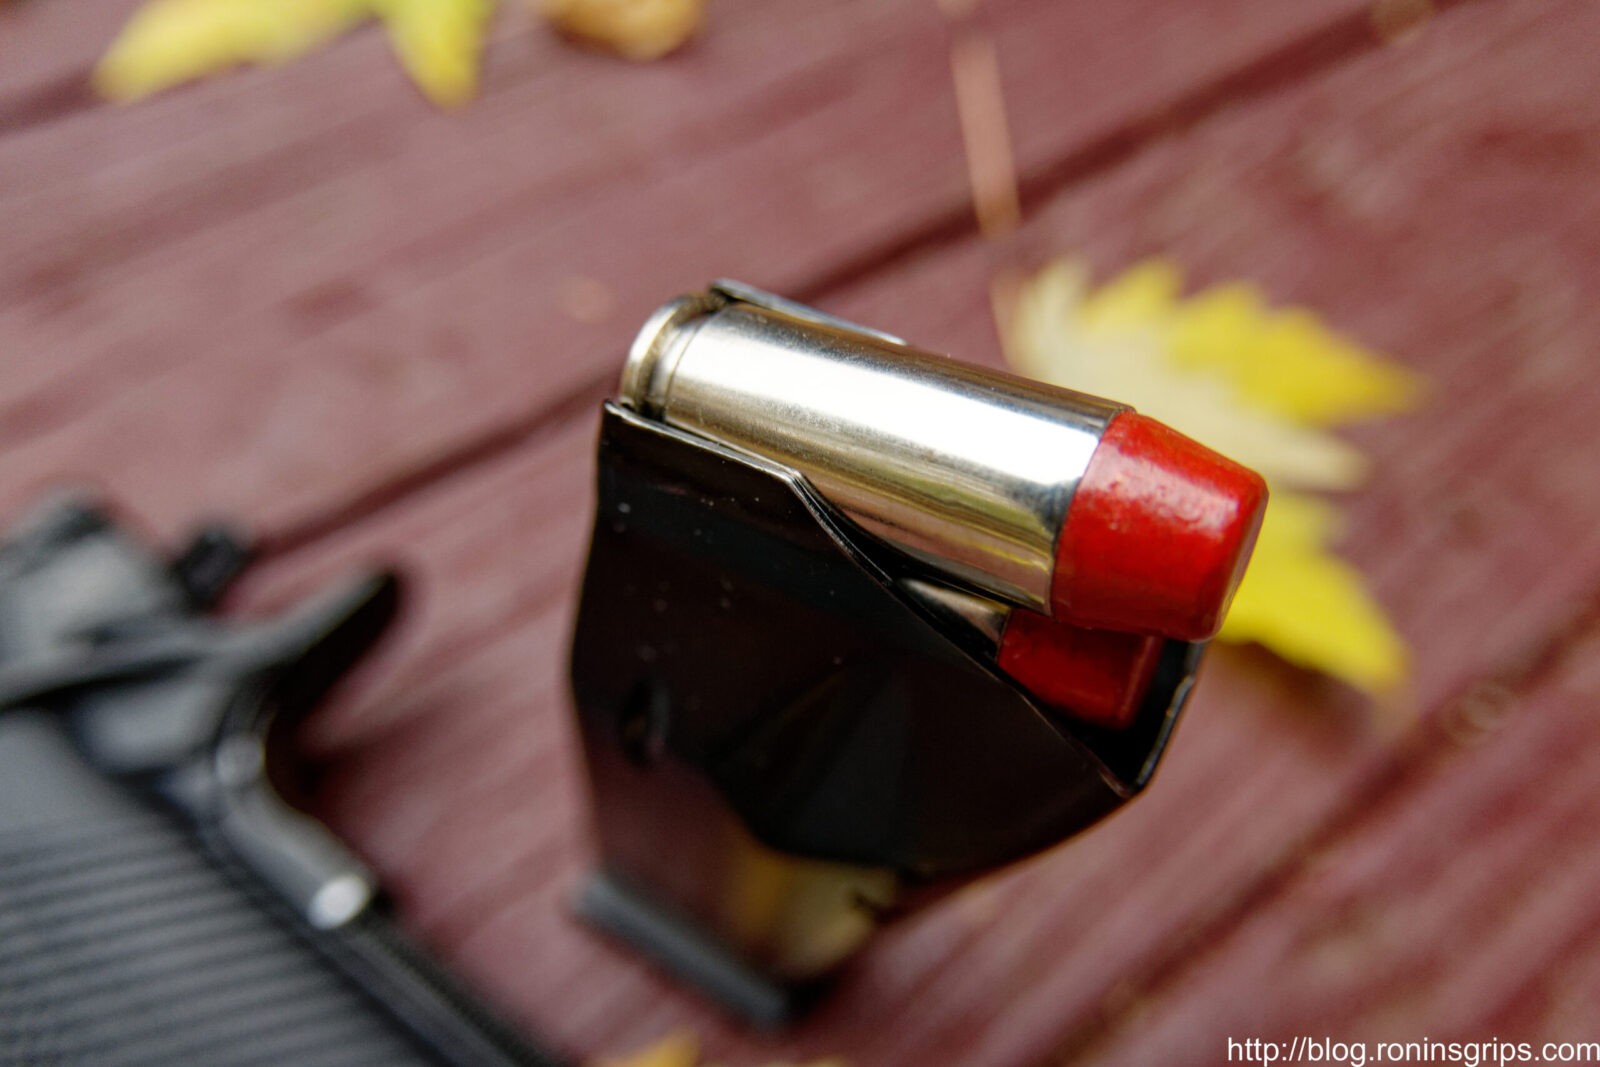
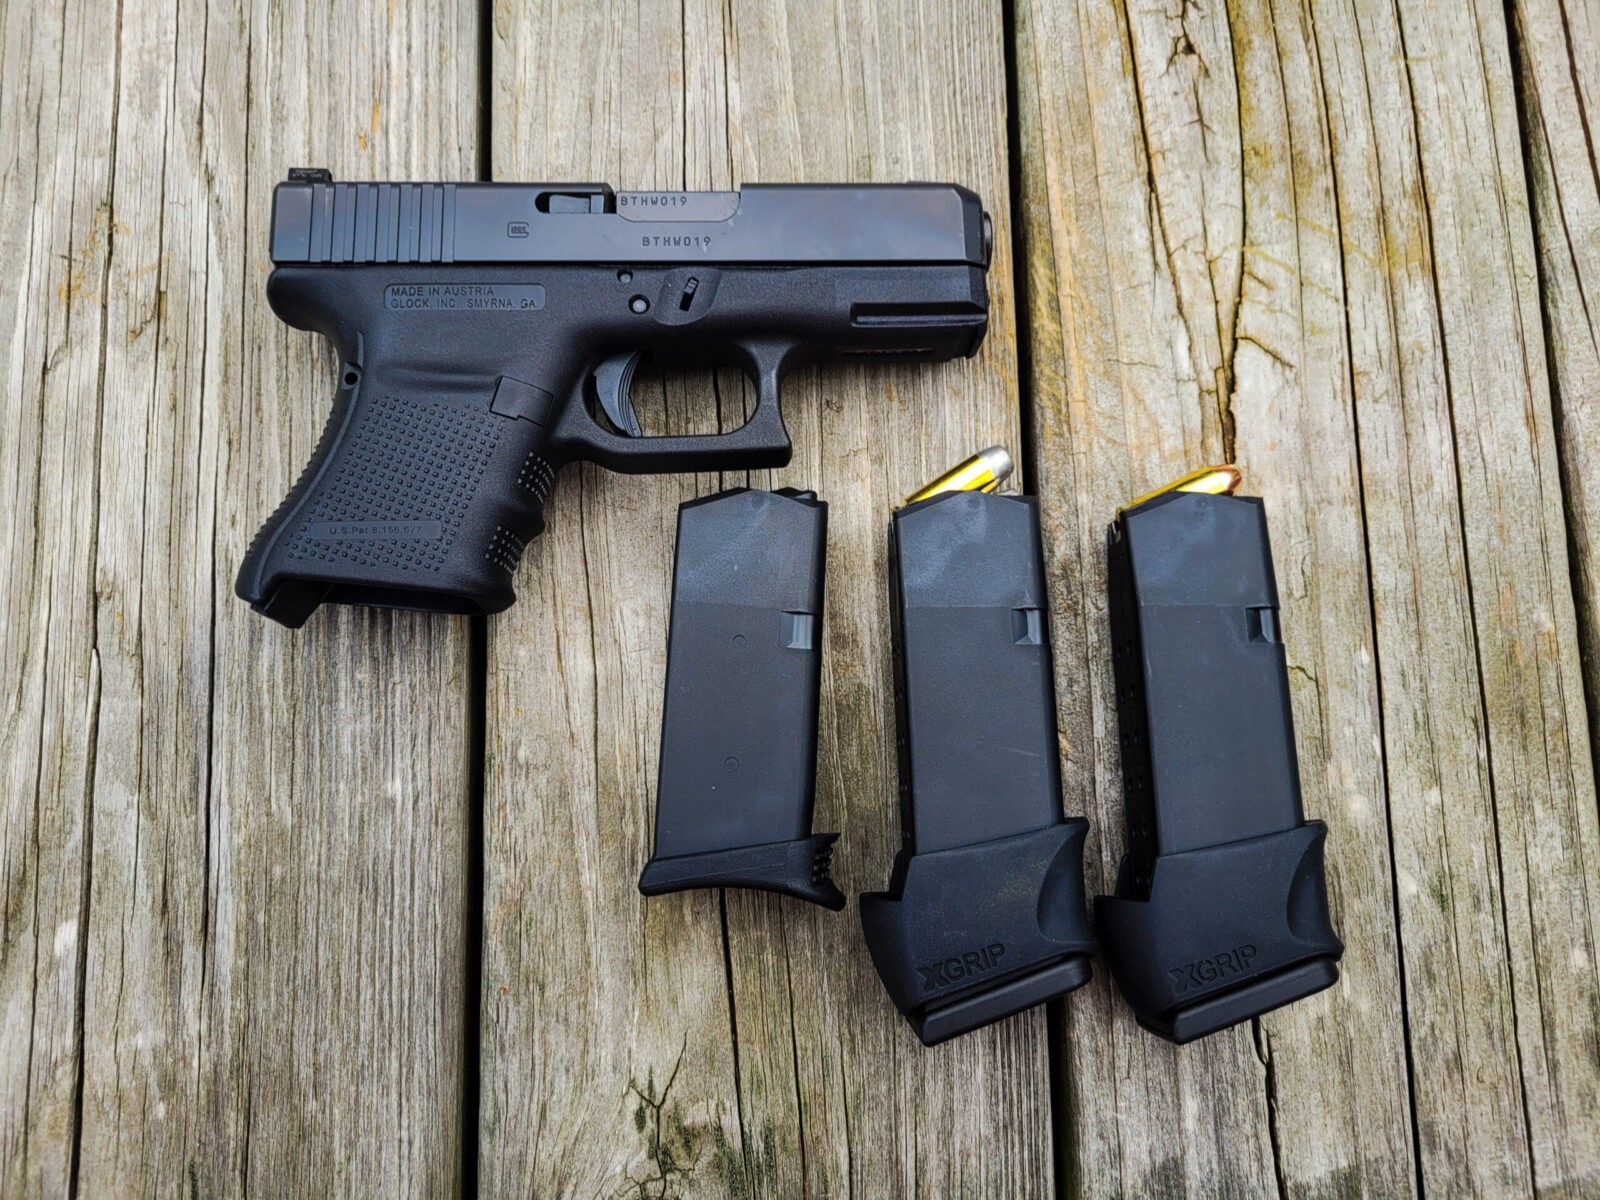
Third, a Glock 29 Gen 4 pistol holds 10 rounds with the little magazines made for it but it can also use the 15 round magazines made for the Glock 20. For me to carry 15 rounds in a 1911-ish pistol means I need to move up to a wide grip 2011-style pistol such as the offerings from Rock Island Armory (RIA). Again, it’s big and heavy – 2.5 pounds empty – even heavier than the Desert Eagle.
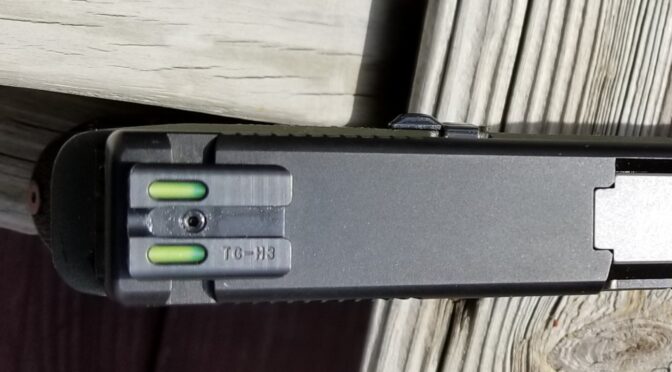
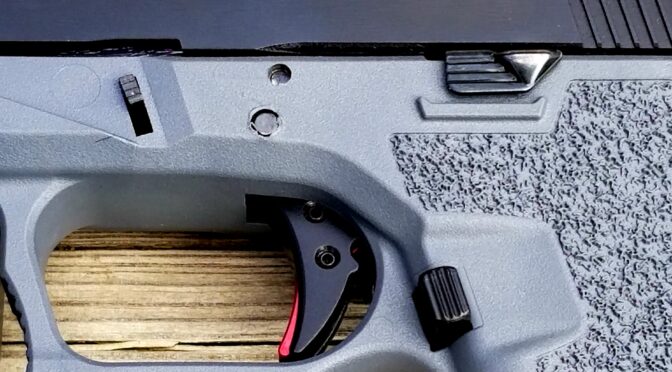
Fourth, there is an absolutely stunningly large aftermarket parts industry supporting Glock pistols. Now you will have fewer options than the wildly popular model 17 and 19 Glocks but still, you have a ton of sights, triggers, magazine releases, slide stops and what have you to select from,
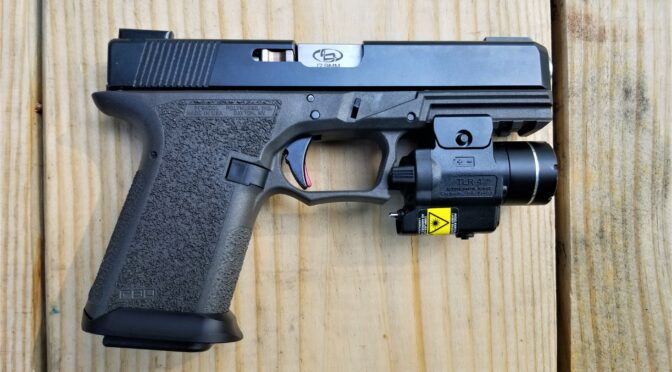
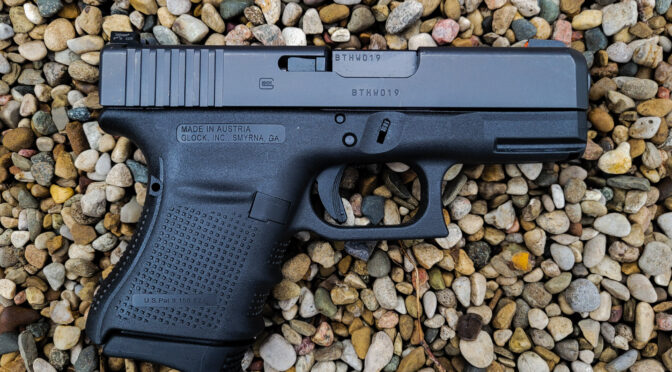
I originally was going to stop with four but I do need to add in one more – The G29 is small relatively small and far easier to conceal or even stow away than any of my big 1911/2011 pistols. The length of the G29 Gen 4 is just under 7″ with the slide being just over 6.75″. Height with the stock 10 round magazine is just over 4.5″.
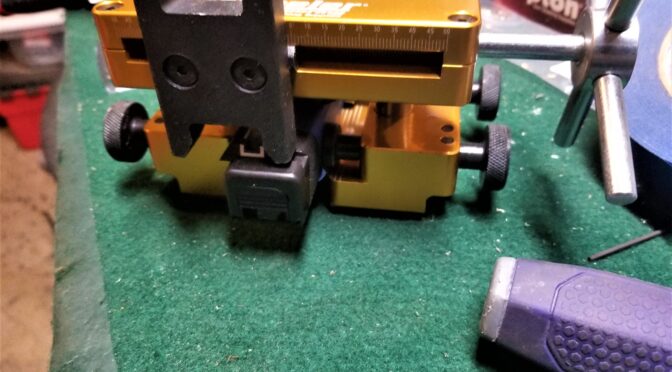
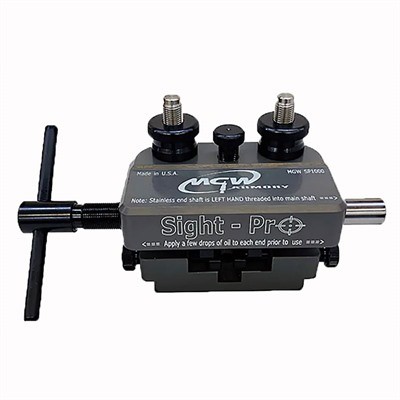
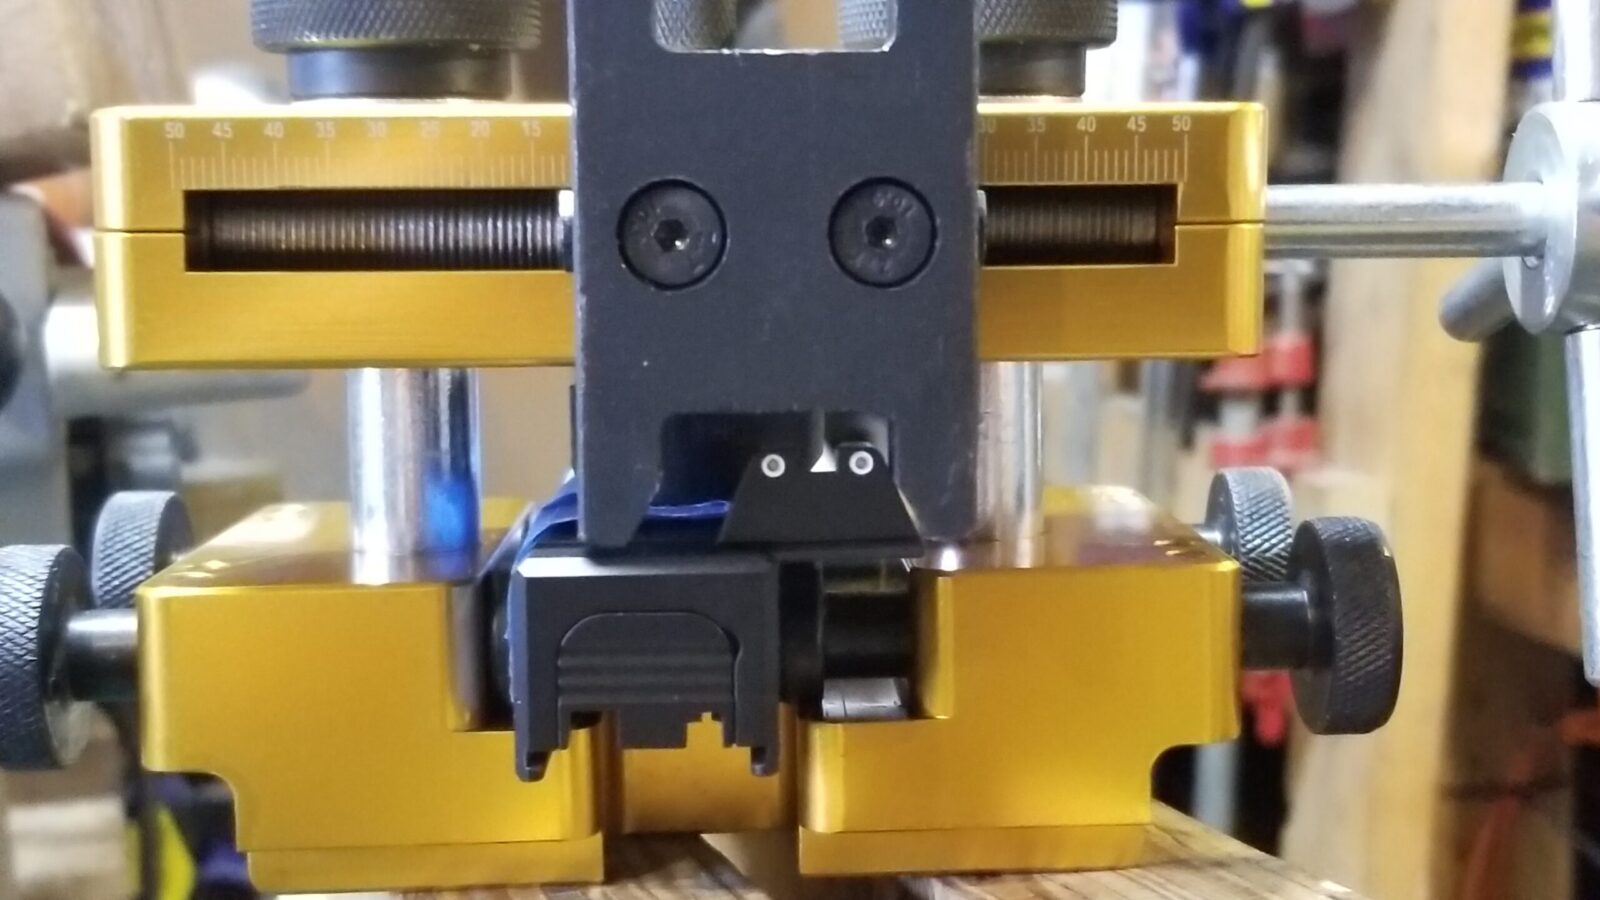
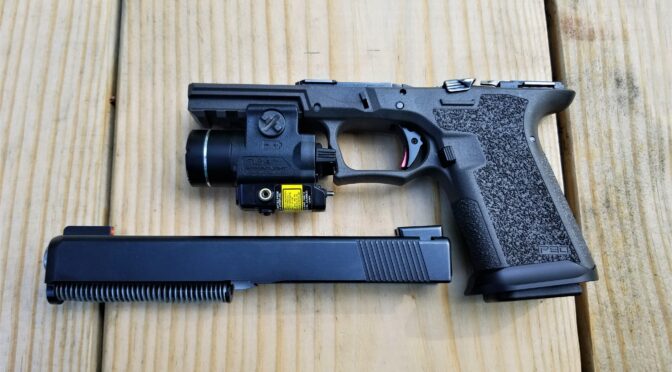
All of these points finally pushed me to buy my model 29 gen 4 pistol. I’ll do some more posts about the mods I have done to make it more to my liking – namely the controls, sights and changing magazine base plates so I can more comfortably hold the pistol.
One quick comment – I’ll tell you that I am still training myself on aiming with it. I’ll bring it up and a conciously have to align the sights because my natural point of aim happens with the 1911 grip angle, not the Glock’s. I do plan on trying the new M&P that is out and will see how that goes but for now, my backwoods carry pistol is my G29.
So, I definitely like it but will stop short of saying I love it just due to the grip angle. Now some guys absolutely love their Glocks. My recommendation would be for you to go to the gun store or try a friend’s pistol and see how your natural aim is relative to the sights and decide for yourself. Personally, I can live with it and will train more because the quality of the pistol justifies the extra work on my part.
Note, I have to buy all of my parts – nothing here was paid for by sponsors, etc. I do make a small amount if you click on an ad and buy something but that is it. You’re getting my real opinion on stuff.
Please share the link on Facebook, Forums, with colleagues, etc. Your support is much appreciated and if you have any feedback, please email us in**@*********ps.com. If you’d like to request a report or order a reprint, please click here for the corresponding page to open in new tab.