Zenith Firearms was founded in Afton, Virginia by Hanri and Kutlay Kaya. Hanri is the CEO and was originally from South Africa, Hanri met her husband Kutlay in the US. Her background wasn’t initially in firearms, but in international trade, which proved crucial to Zenith’s success.
Kutlay Kaya: An engineer from Turkey, Kutlay brought his knowledge of Turkish manufacturing and his connections in Turkey to the business.
Here’s a breakdown of their history:
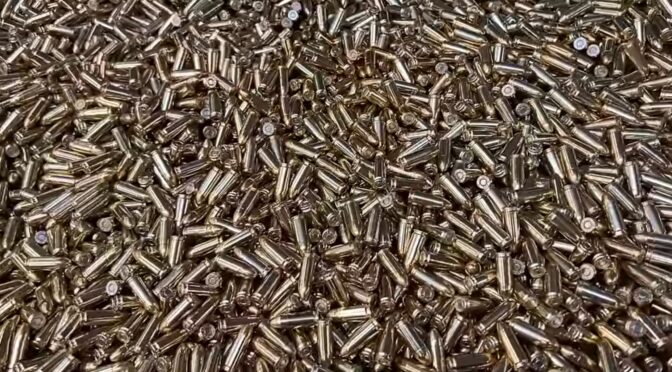
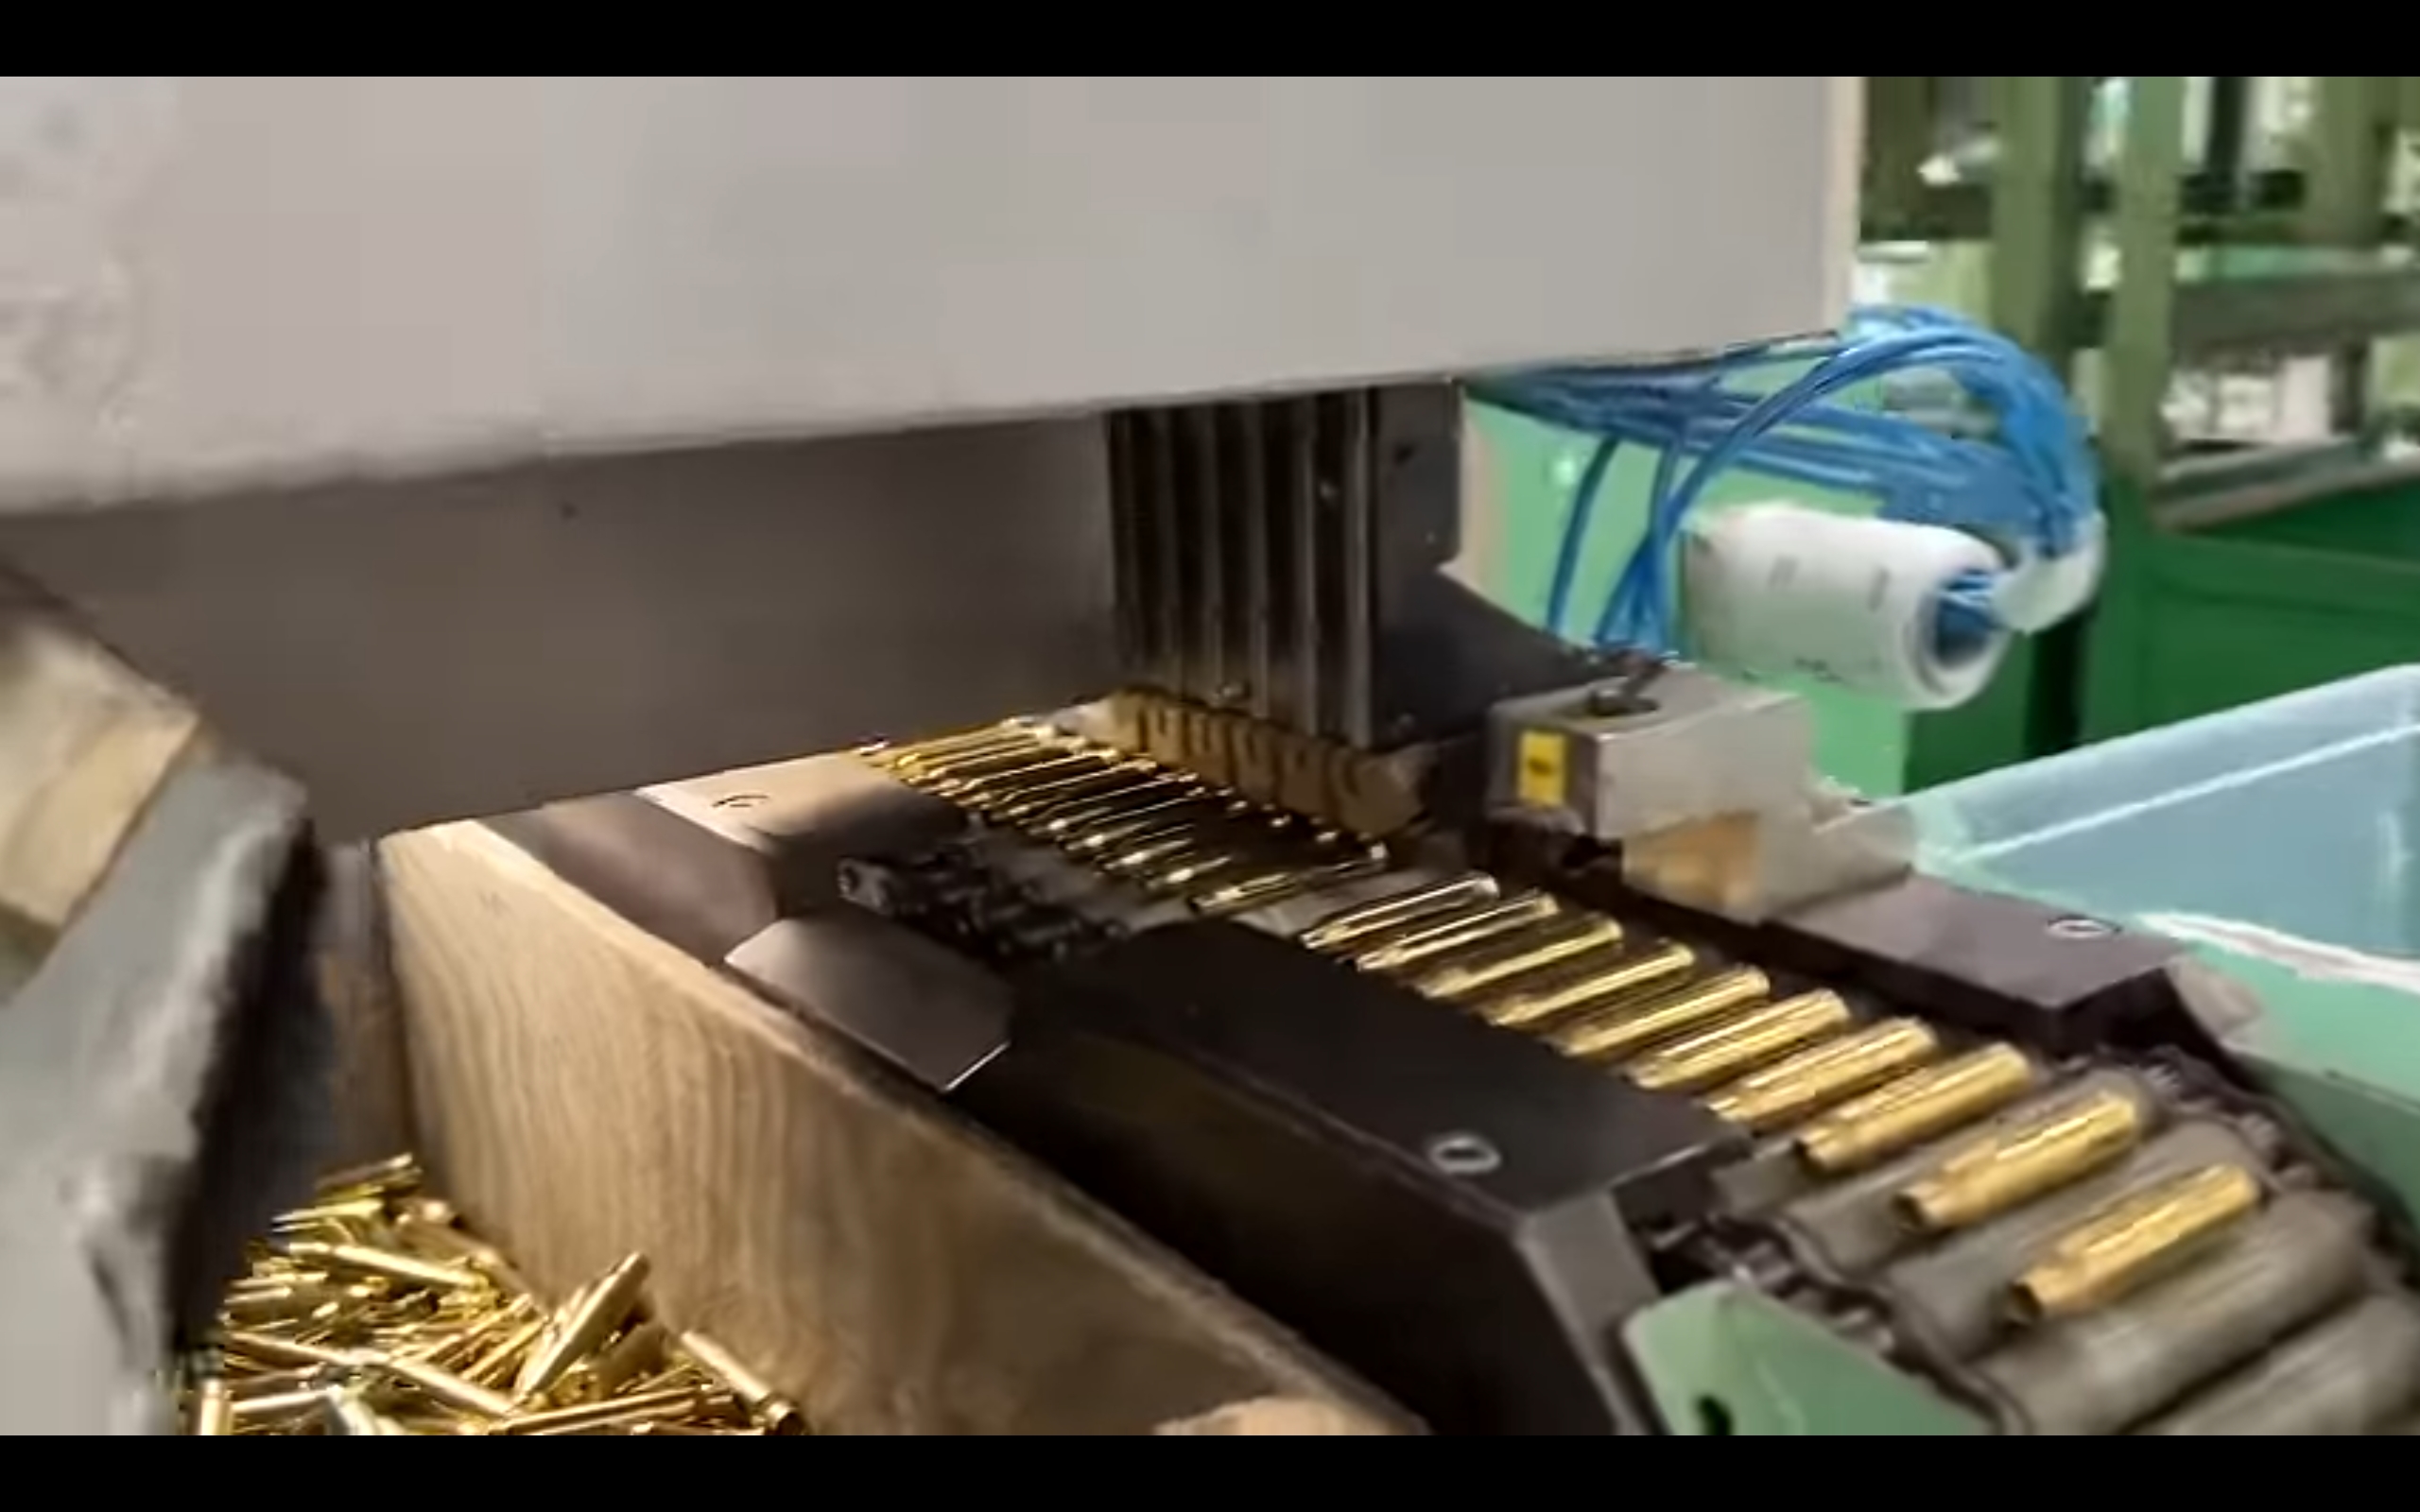
- Zenith Quest International (ZQI) Ammunition was founded in 2010 – Zenith Firearms Inc (ZFI) was not their first business venture. The couple had been importing other products from Turkey and were approached by Walmart to import ammunition during the 2012 ammo shortage from MKEK (Makina ve Kimya Endüstrisi Kurumu – “Mechanical and Chemical Industry Corporation”), a Turkish government-owned defense company that became the joint stock company MKE in 2021. That’s why you might recall seeing “ZQI” ammunition at Walmart back in the day.
- In 2014, they structured their entities such that Zenith Quest Corporation (ZQC) was the holding company for both ZQI and ZFI. ZNT is Zenith Global that operates in Turkey.
The MKE Partnership (2014-2017):
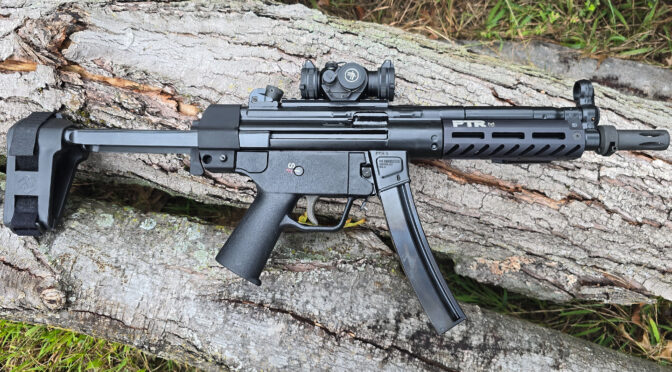
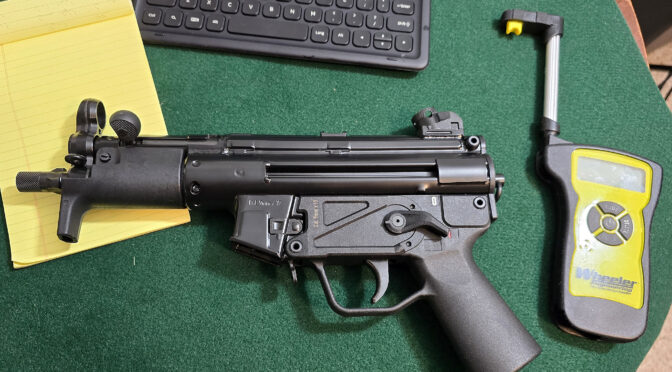
- MKE (Mechanical and Chemical Industry Corporation): This Turkish state-owned arms manufacturer has a long history, dating back to the Ottoman Empire. They’re known for producing a wide range of military equipment, including licensed copies of Heckler & Koch firearms like the G3 rifle and the MP5 submachine gun. The key here is that they were licensed and had the tooling, plans, etc. MKE was trained by HK back in the day to make these weapons so they had, and continue to have, deep knowledge about the designs. I own an MKE AP5-P, which is an HK MP5K clone, and it is very nicely done for example.
- Zenith’s Role: Zenith Firearms became the exclusive importer of MKE’s MP5 clones for the US civilian market. They offered several variants, including pistols, short-barreled rifles (SBRs), and full-sized rifles.
- Why it Worked: This partnership was initially successful because:
- High Quality: MKE’s MP5s were known for their quality and faithfulness to the original HK design. Again, they were a licensed manufacturer.
- Affordability: They were significantly cheaper than genuine HK MP5s, which were often prohibitively expensive for many buyers.
- Strong Demand: There was a large, untapped market of enthusiasts and shooters who wanted an MP5 but couldn’t afford an HK.
Zenith’s Pivot to US Manufacturing (2017-Present):
- Reasons for the Change: Several factors likely contributed to Zenith’s decision to manufacture in the US:
- Relationship Rift: Due to a variety of factors, MKE and Zenith grew apart. Repeated promises of firearms shipping were missed, monies owed were not paid and finally there was a suit by MKE alleging trade secret theft that they lost. MKE wound up moving to Century Firearms to import their firearms.
- Increased Control: Domestic production gave Zenith greater control over quality, production timelines, and product development.
- “Buy American” Sentiment: Appealing to customers who prefer American-made products. In the HK-community this can actually be a con as well as some die hard HK advocates argue that only HK can make an HK-type weapon.
- Potential Trade Issues: Relying on imports can be risky due to changing trade policies and international relations. There were, and continue to be, issues between the US and Turkey when it comes to trade.
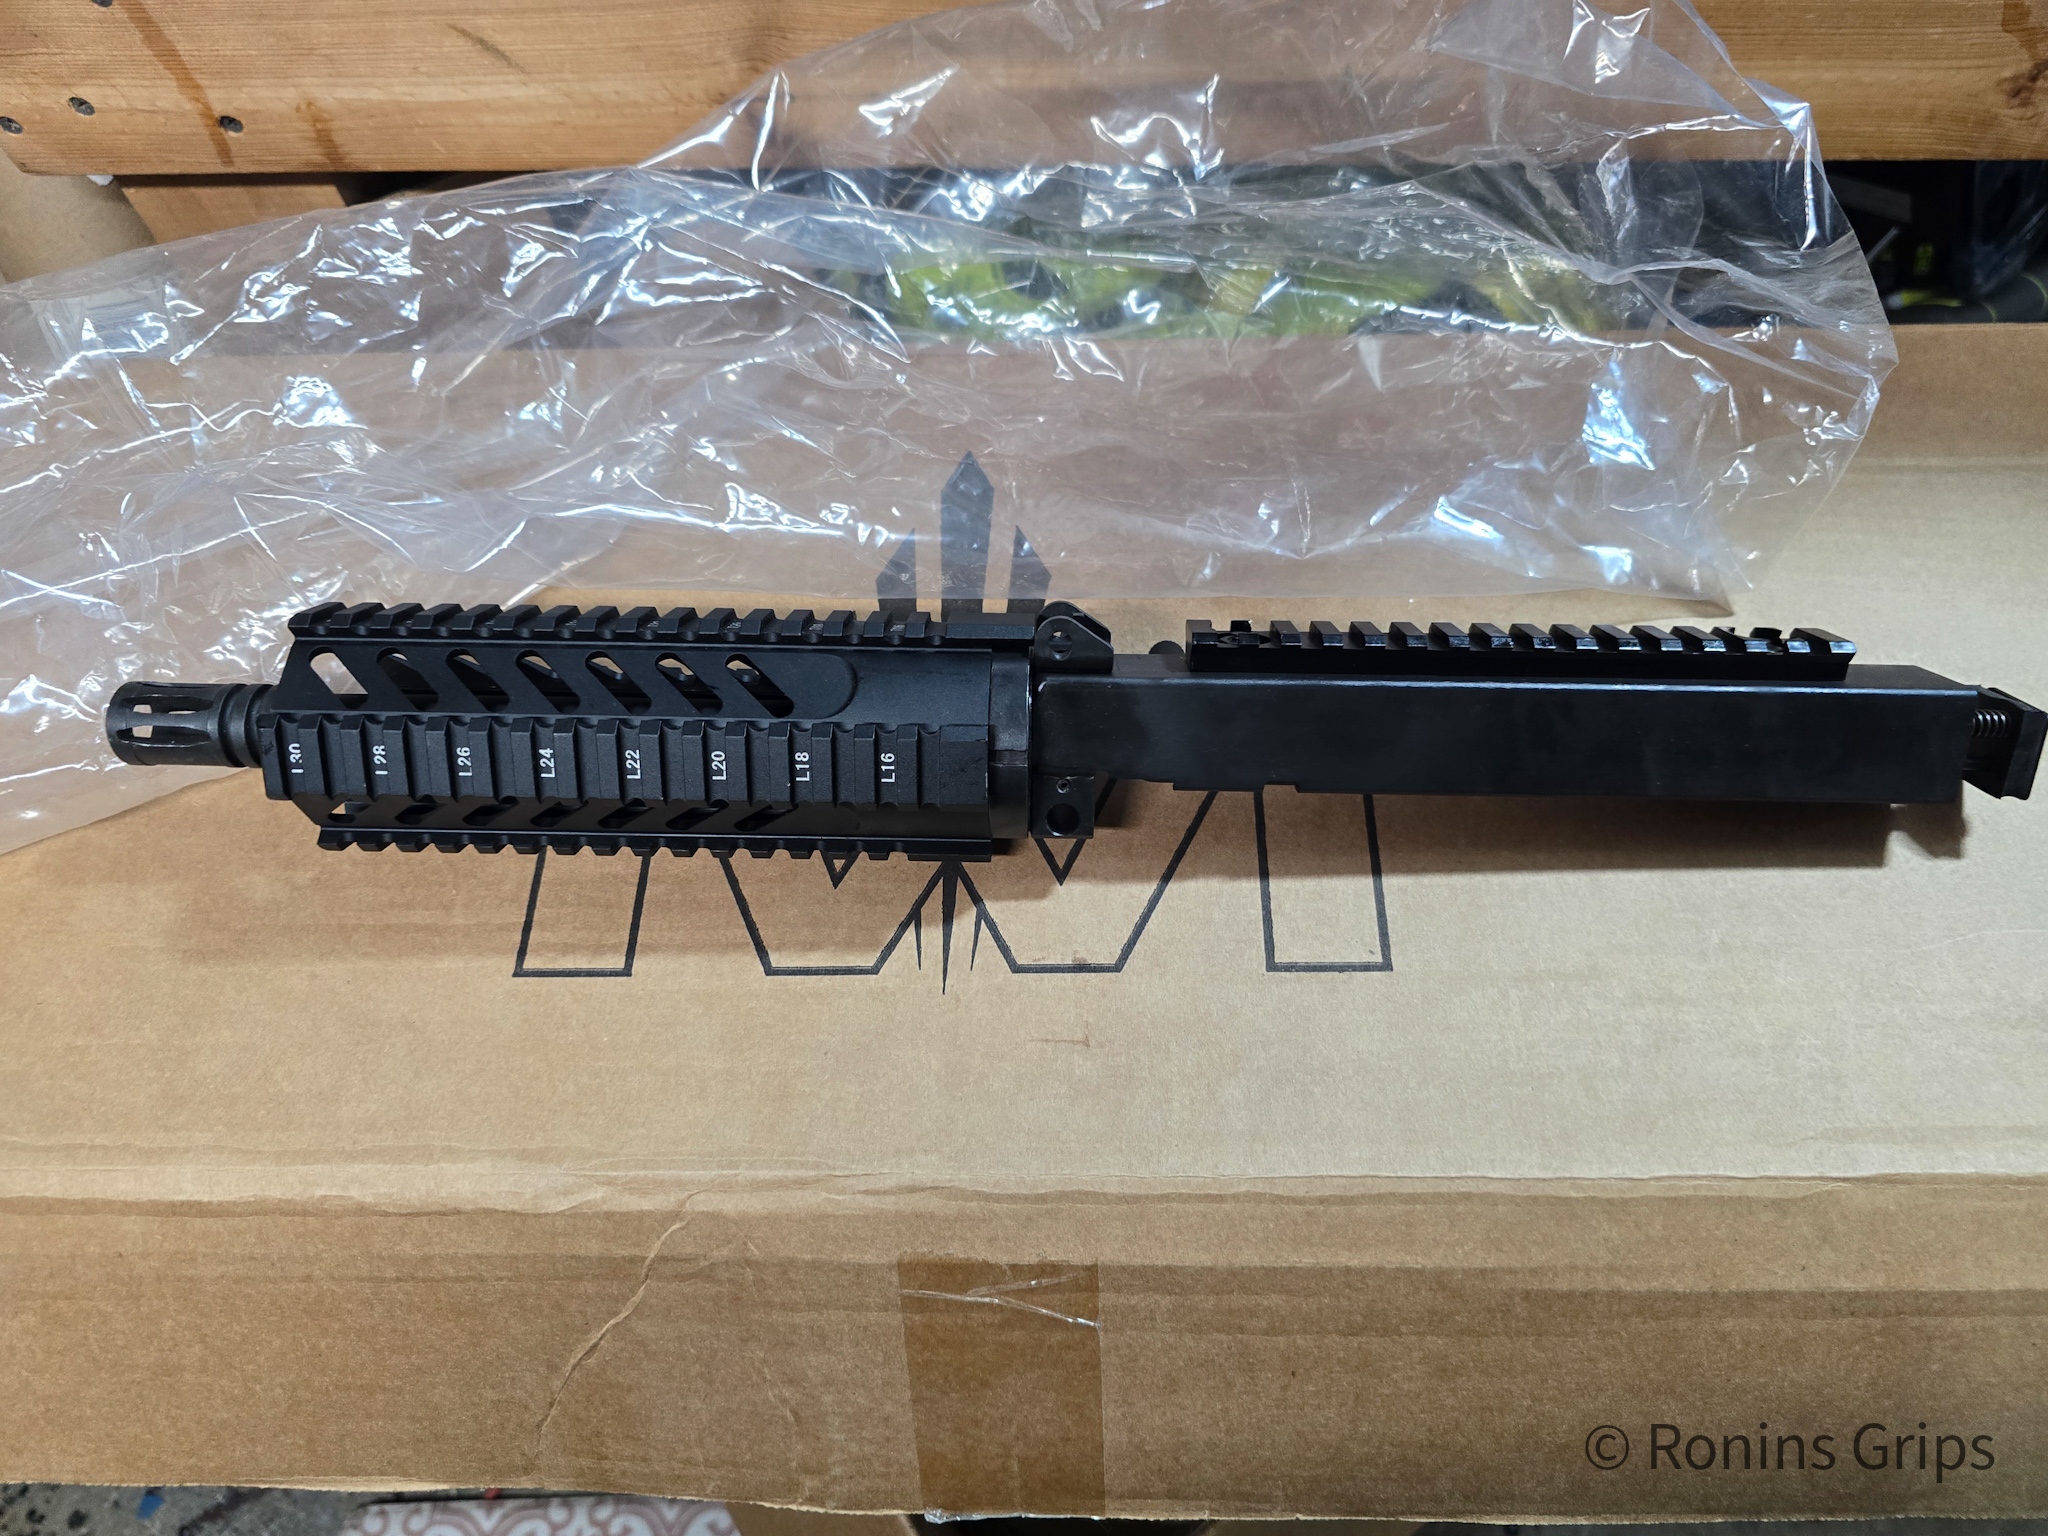
- The ZF-5: Zenith’s American-made MP5. They invested in tooling and machinery to produce these firearms in-house. They even made some improvements to the design, such as using a proprietary heat-treated barrel steel.
- Expanding Product Line: Zenith has also introduced other roller-delayed firearms, like the Z-5RS, inspired by the HK53.
Summary
Zenith Fireams has a relatively short but lively history with entrepreneurship, politics and a drive to succeed on the parts of the founders. I’ve ordered direct from them a number of times and have found them great to deal with as a consumer. If you are looking for a roller locked firearm, take a look at what they have to offer.
I hope you find this interesting.
For More Information
- Zenith Firearms Website:
- “A Brief History of the MP5”: https://zenithfirearms.com/brief-history-mp5/
- “History Archives”: https://zenithfirearms.com/category/history/page/2/
- This provides information on their company history, their focus on the MP5 platform, and their transition to US manufacturing.
- Spotter Up:
- “Zenith Firearms: Recent Business Model Shift”: https://spotterup.com/zenith-firearms-big-shift/
- This article discusses Zenith’s shift from importing to domestic production.
- Guns.com:
- “Gun Review: Bringing back the classics with the Zenith Z-5P (VIDEO)”: https://www.guns.com/news/review/gun-review-bringing-back-the-classics-with-the-zenith-z-5p-video
- This review mentions Zenith’s partnership with MKE and their focus on providing affordable MP5 clones.
- Crozet Gazette:
- “Zenith Firearms: Passion Fuels the Purpose”: https://www.crozetgazette.com/2020/09/04/zenith-firearms-passion-fuels-the-purpose/
- This article provides background on the founders, Hanri and Kutlay Kaya, and their early business ventures before entering the firearms industry.
- The Firearm Blog has a post about Zenith’s split with MKE: https://www.thefirearmblog.com/blog/2020/12/03/zenith-firearms-cuts-ties-with-mke-new-product-launch-in-2021/
- The following is the judge’s ruling in the case: https://casetext.com/case/makina-ve-kimya-endustrisis-as-v-kaya
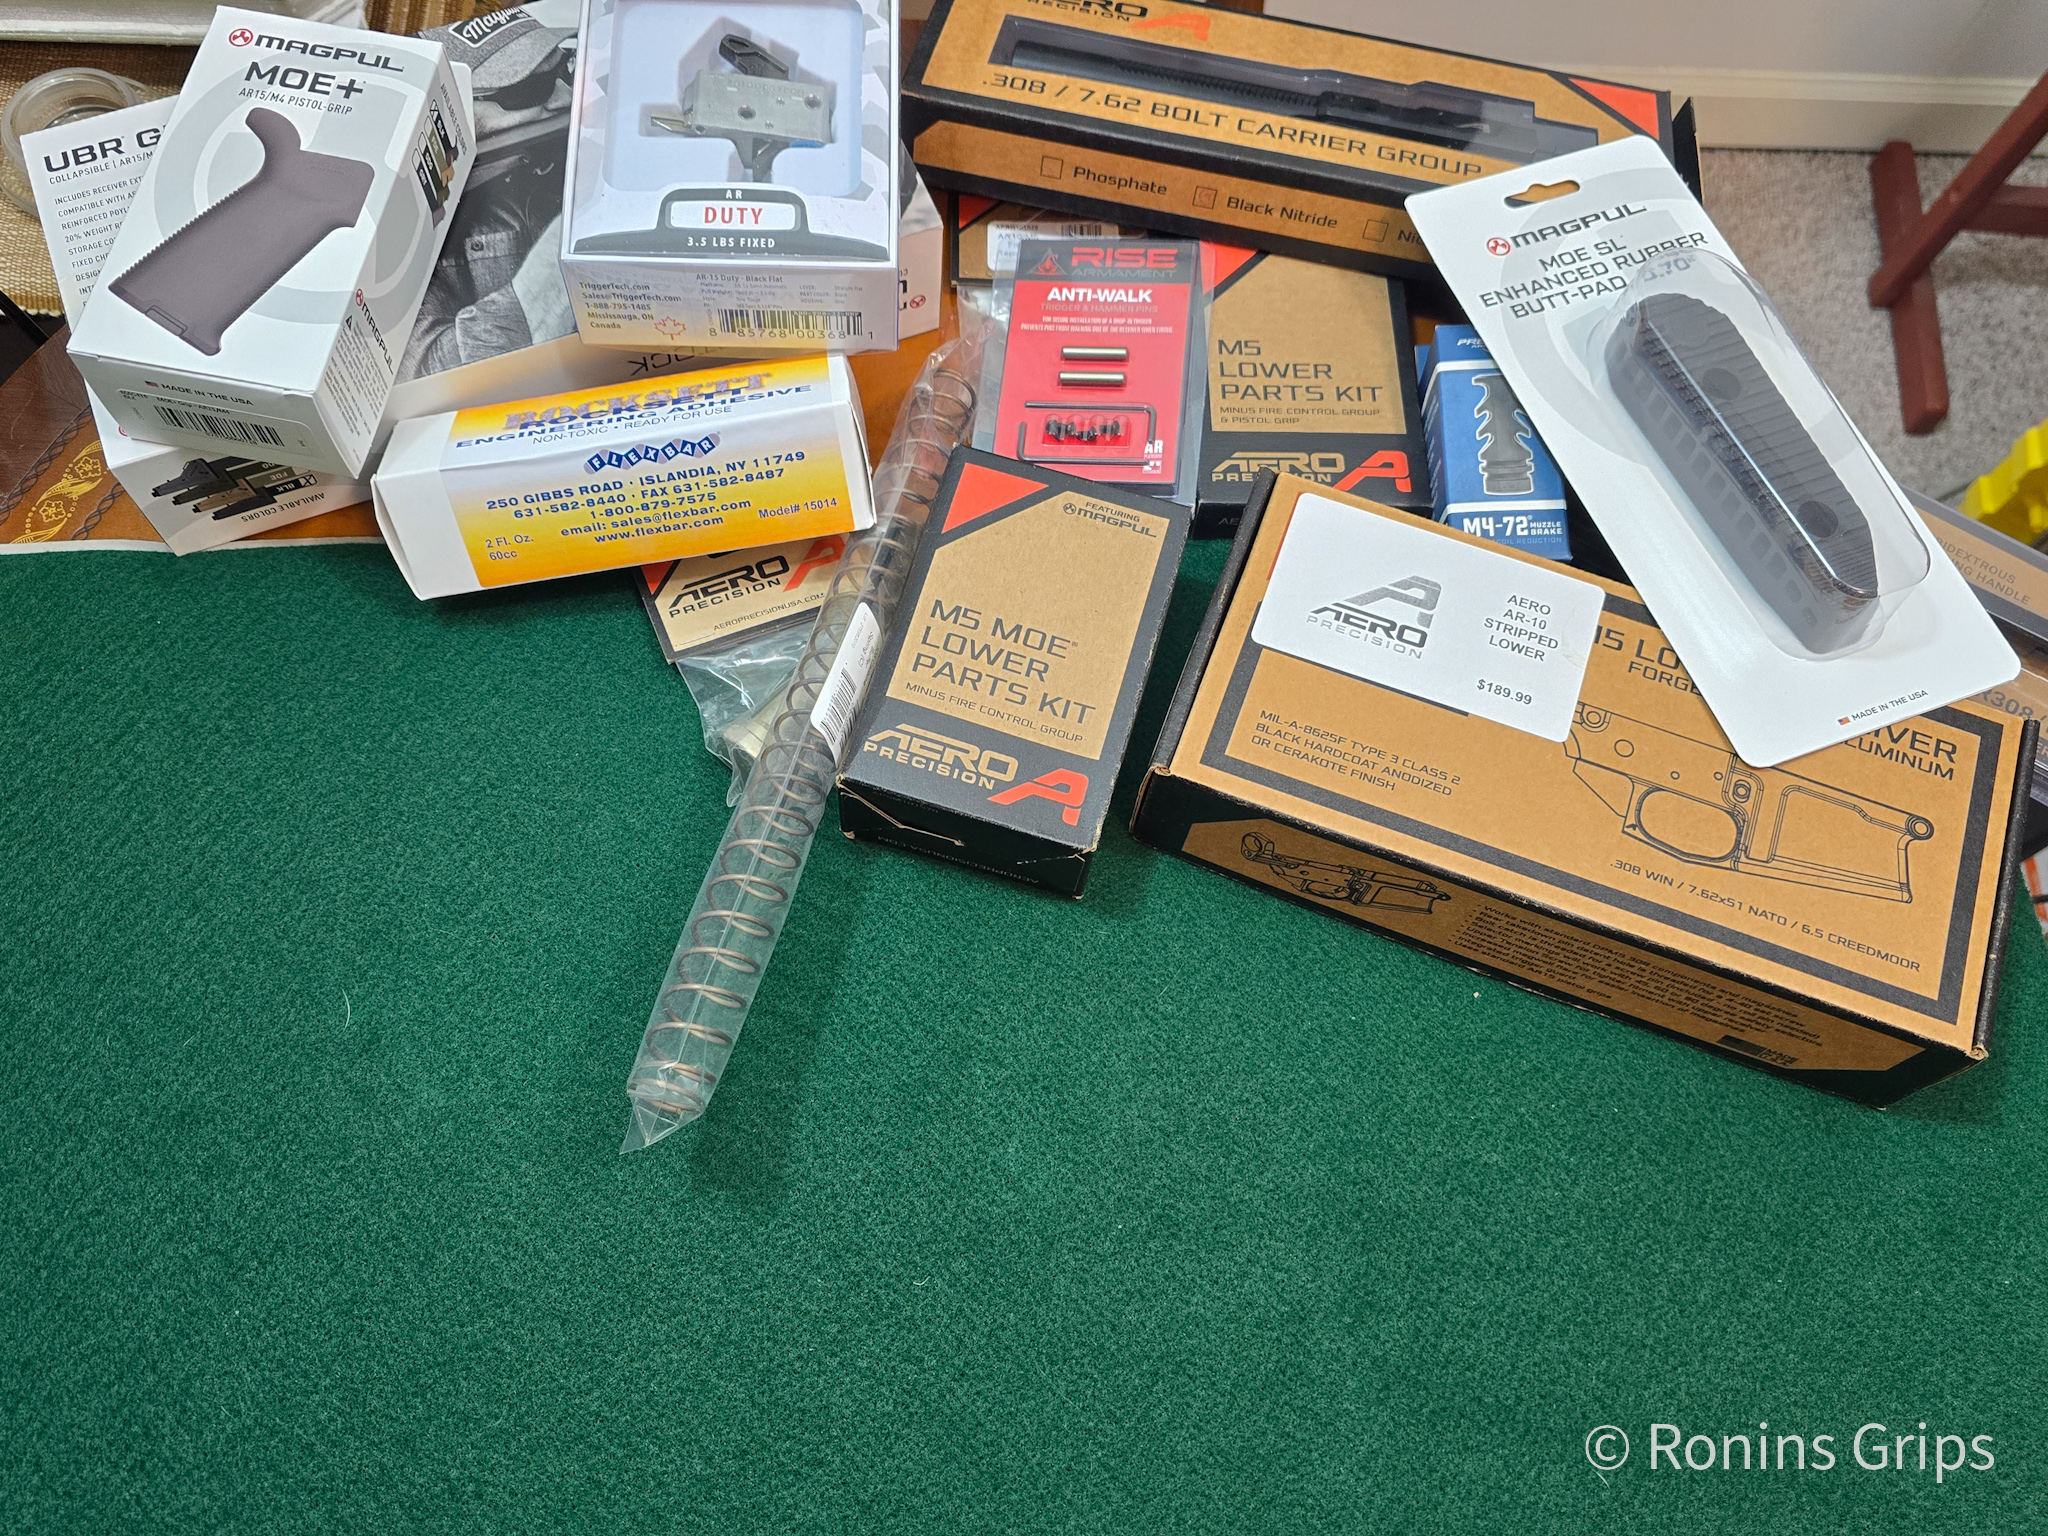
Note, I have to buy all of my parts – nothing here was paid for by sponsors, etc. I do make a small amount if you click on an ad and buy something but that is it. You’re getting my real opinion on stuff.
If you find this post useful, please share the link on Facebook, with your friends, etc. Your support is much appreciated and if you have any feedback, please email me at in**@*********ps.com. Please note that for links to other websites, I may be paid via an affiliate program such as Avantlink, Impact, Amazon and eBay.