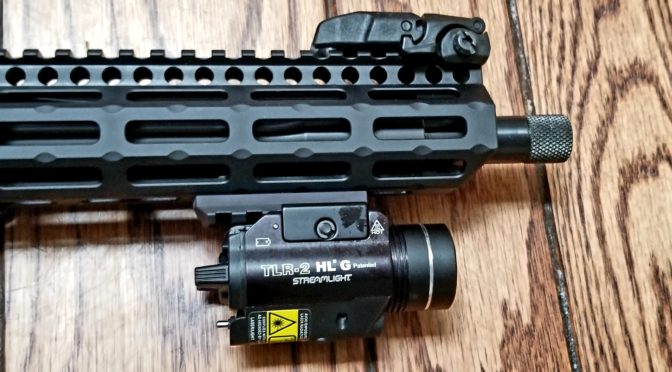
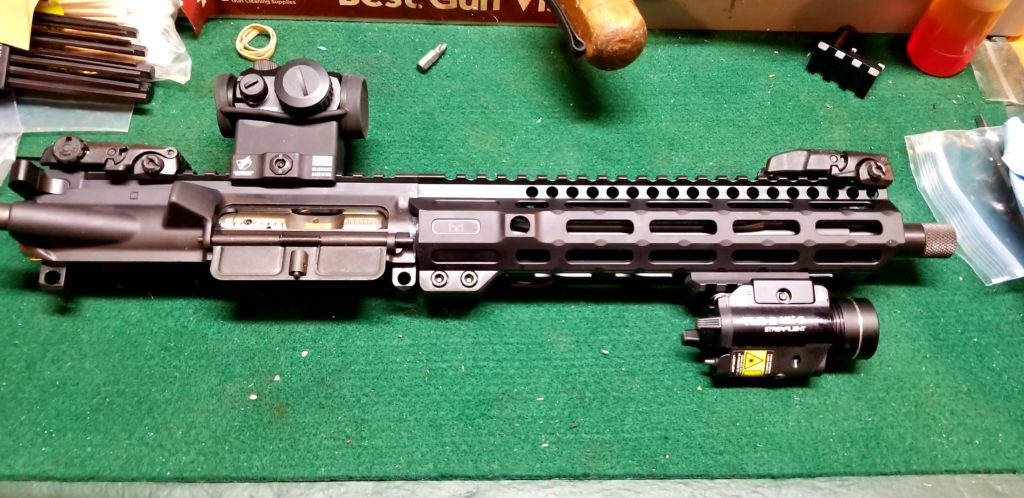
If you like working on AR-type rifles and plan to replace a muzzle device or change a barrel nut to install a free-floating handguard or to swap barrels, you are going to need to apply a lot of torque. Torque and aluminum are not friends and this is certainly the case with the upper receiver for AR rifles and pistols.
What not to do?
I actually want to take a minute and tell you two things not to do. First, do not simply clamp your lower in a vise and go cranking on whatever on the upper. Remember that the upper is connected to the lower by two steel pins going through relatively soft aluminim. Not a good combination.
Number two, there are work fixtures that look like a rectangle that allow you to remove the upper from the lower and then pin the upper to this block that is then held by a vise. I’m not fond of this either because then your two aluminum connection points on the receiver take up all the stress and they weren’t designed to do so.
Please do not do either of those or you may regret it. The odds are that you will regret it. I word it this way because you may get by once or twice but these methods are risky so don’t do them.
So what do I recommend?
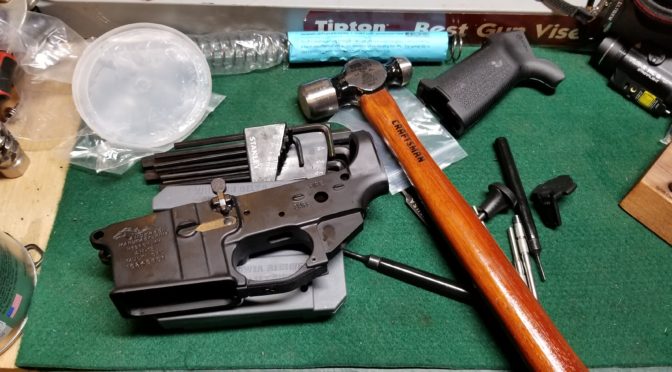
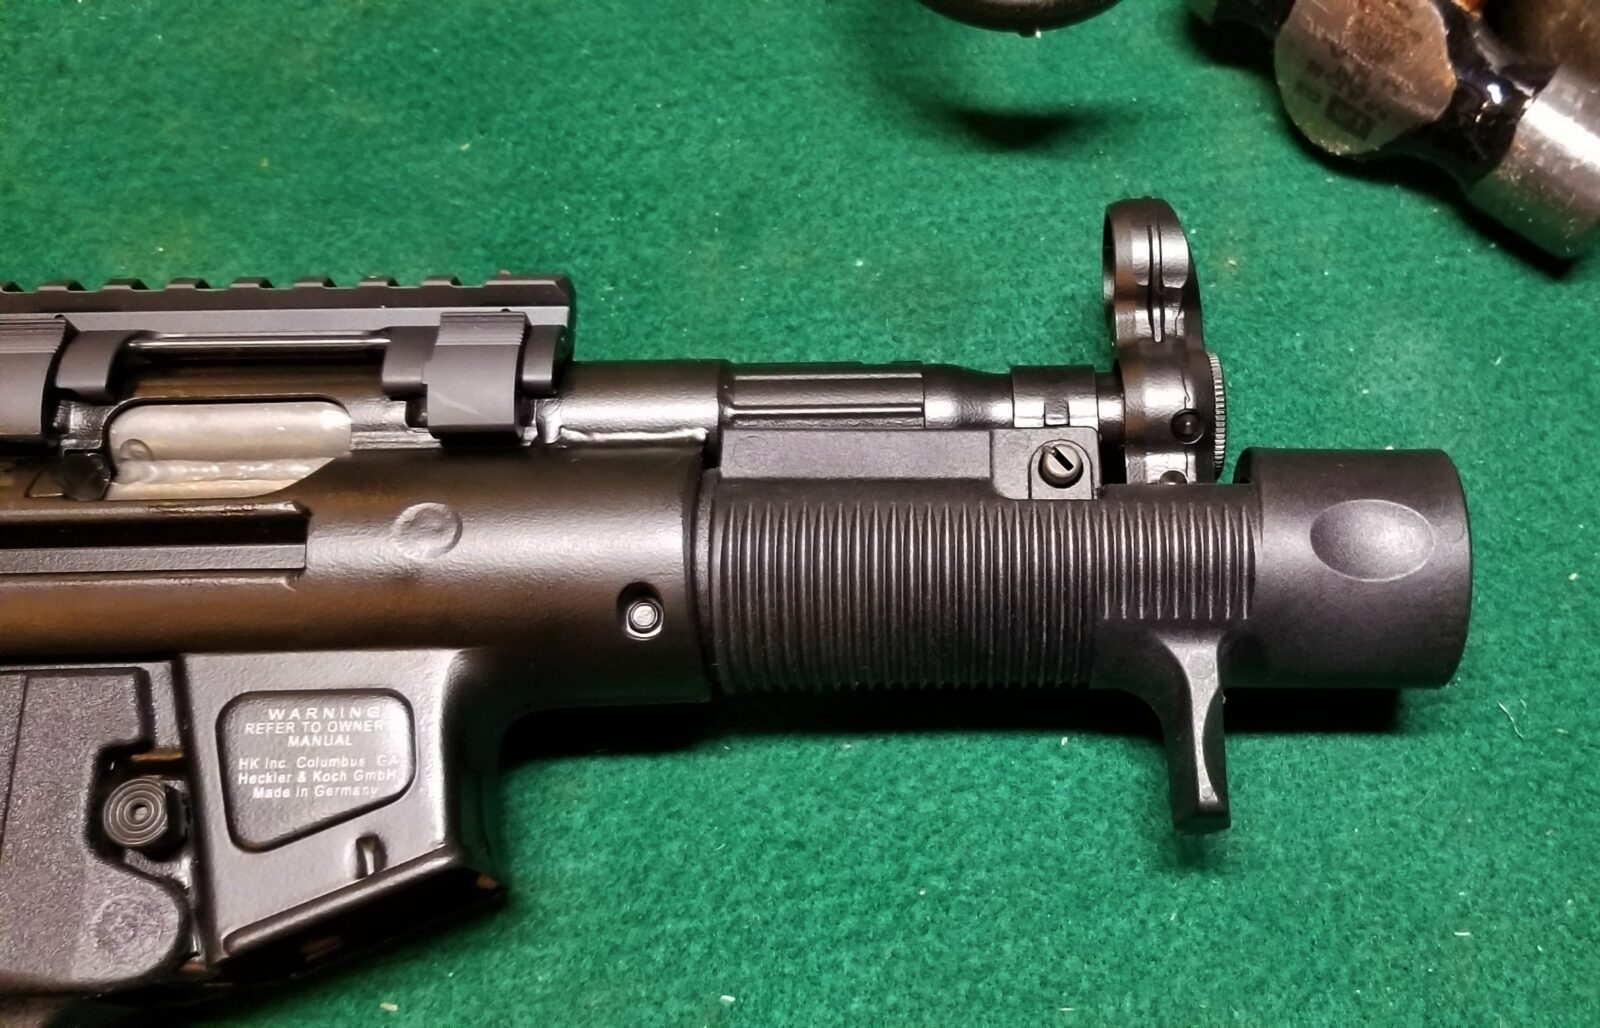
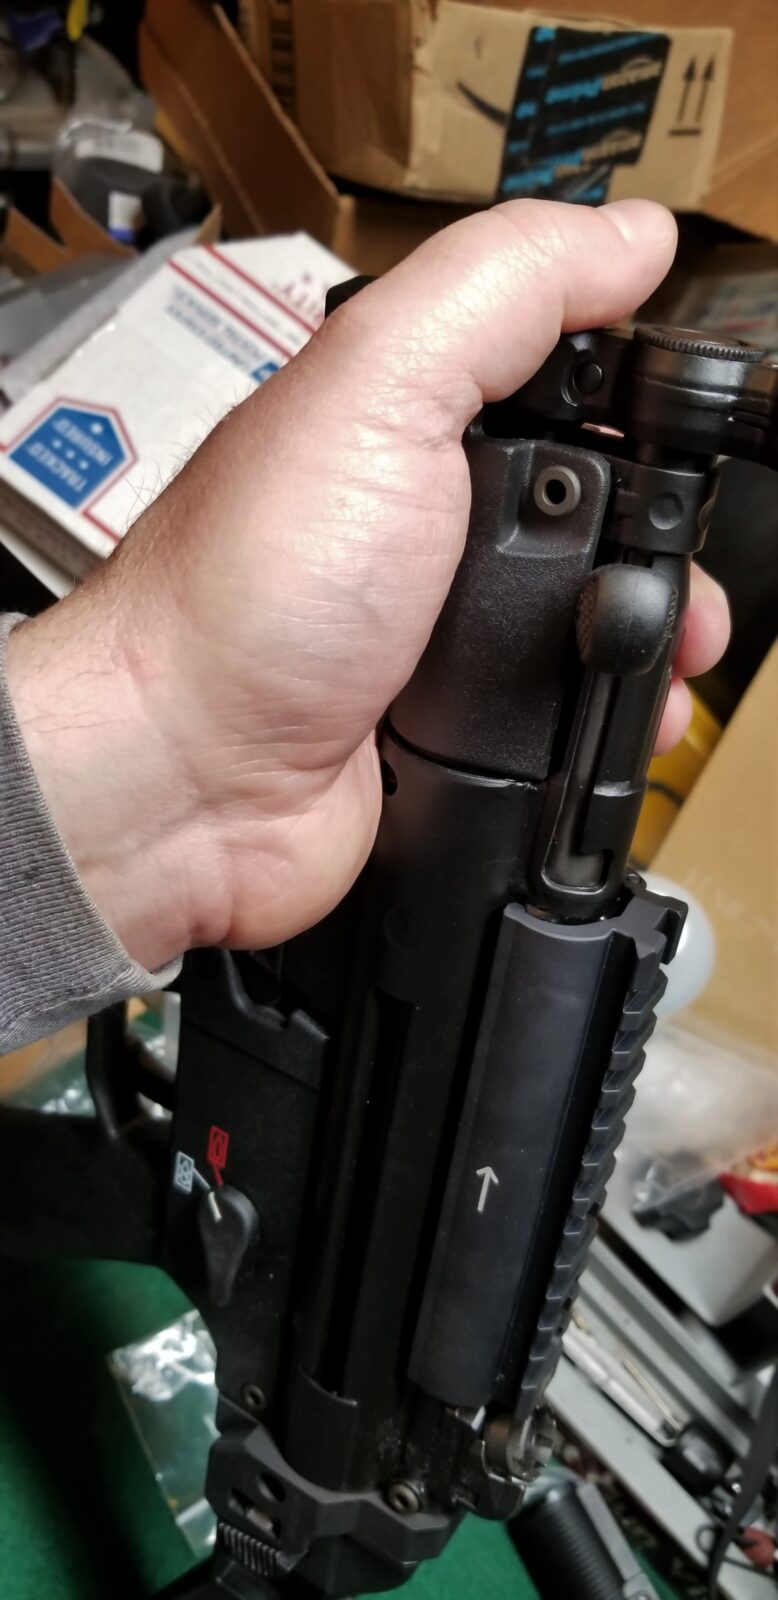
I use a Magpul Barrel Extension Vise (BEV) block. It’s a very well designed block that engages via the barrel extension with its own steel lugs that are designed for strength but also to not harm the extension.

The BEV block uses a bolt carrier with the bolt removed to further secure it in the upper. You could remove the bolt from the bolt you normally use. I have a bolt carrier body that I keep in my toolbox for just this purpose.

The following photo shows it partially inserted in the upper.

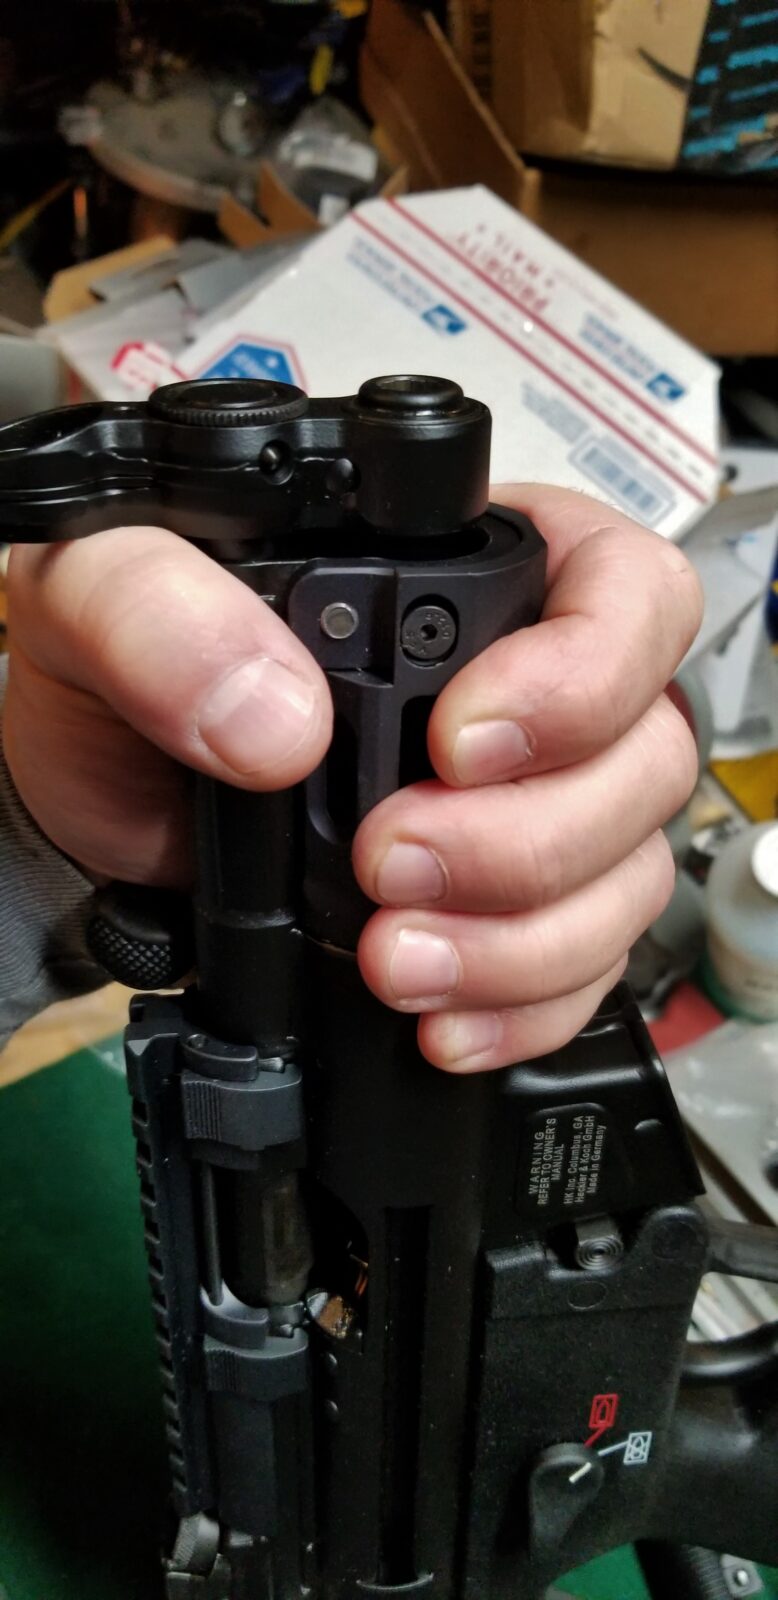
This next photo shows it fully forward with the bolt carrier assembly installed. It does not have a cross pin installed at that point. Even without the pin it can handle the rotation stress. The pin just keeps it all in position and is not load bearing.

At this point you are good to go to change muzzle devices, barrel nuts or whatever else you may need to do without risking damage caused by torque. It’s a solid tool and I highly recommend it.
If you find this post useful, please share the link on Facebook, with your friends, etc. Your support is much appreciated and if you have any feedback, please email me at in**@*********ps.com. Please note that for links to other websites, we are only paid if there is an affiliate program such as Avantlink, Impact, Amazon and eBay and only if you purchase something. If you’d like to directly contribute towards our continued reporting, please visit our funding page.