Category Archives: China

Small Arms of the People’s Republic of China: A Technical and Strategic Assessment

The People’s Liberation Army (PLA) of the People’s Republic of China is currently executing the most comprehensive and technologically ambitious small arms modernization program in its history. This transformation is centered on the system-wide adoption of the QBZ-191 modular weapon family, a development that signifies a profound strategic and doctrinal evolution. The prevailing trend is a decisive pivot away from the isolated, proprietary, and ergonomically challenged designs of the past, most notably the bullpup QBZ-95 family. In its place, the PLA is embracing a design philosophy rooted in modularity, superior ergonomics, and the seamless integration of advanced electro-optics and accessories, aligning Chinese infantry weapons with global design paradigms for the first time.

This report provides a detailed technical and strategic assessment of the small arms currently in service across all branches of China’s armed forces, including the PLA Ground Force (PLAGF), Navy (PLAN), Air Force (PLAAF), the paramilitary People’s Armed Police (PAP), and the China Coast Guard (CCG). The analysis indicates that the current modernization is far more than a simple equipment upgrade. It is a direct reflection of a deeper doctrinal shift towards information-centric, combined-arms warfare, where the individual soldier is a networked sensor and shooter. The new generation of weapons is engineered to enhance the lethality, tactical flexibility, and operational sustainability of small units, empowering them to fight and win on a complex, multi-domain battlefield.

While the new QBZ-191 system is being prioritized for frontline combat units, a vast inventory of legacy weapons, including millions of QBZ-95 family rifles and a significant reserve of Type 81 rifles, remains in service. This demonstrates a pragmatic, tiered, and cost-conscious approach to modernization. Equipment is cascaded from elite units to second-line troops, reserves, and internal security forces, maximizing the combat effectiveness of the entire force structure within realistic fiscal and logistical constraints. This report will dissect each major weapon system, analyze its role within the PLA’s evolving doctrine, and provide a concluding assessment of China’s defense-industrial capacity and the future trajectory of its small arms development.

II. The New Generation: The QBZ-191 Modular Weapon System

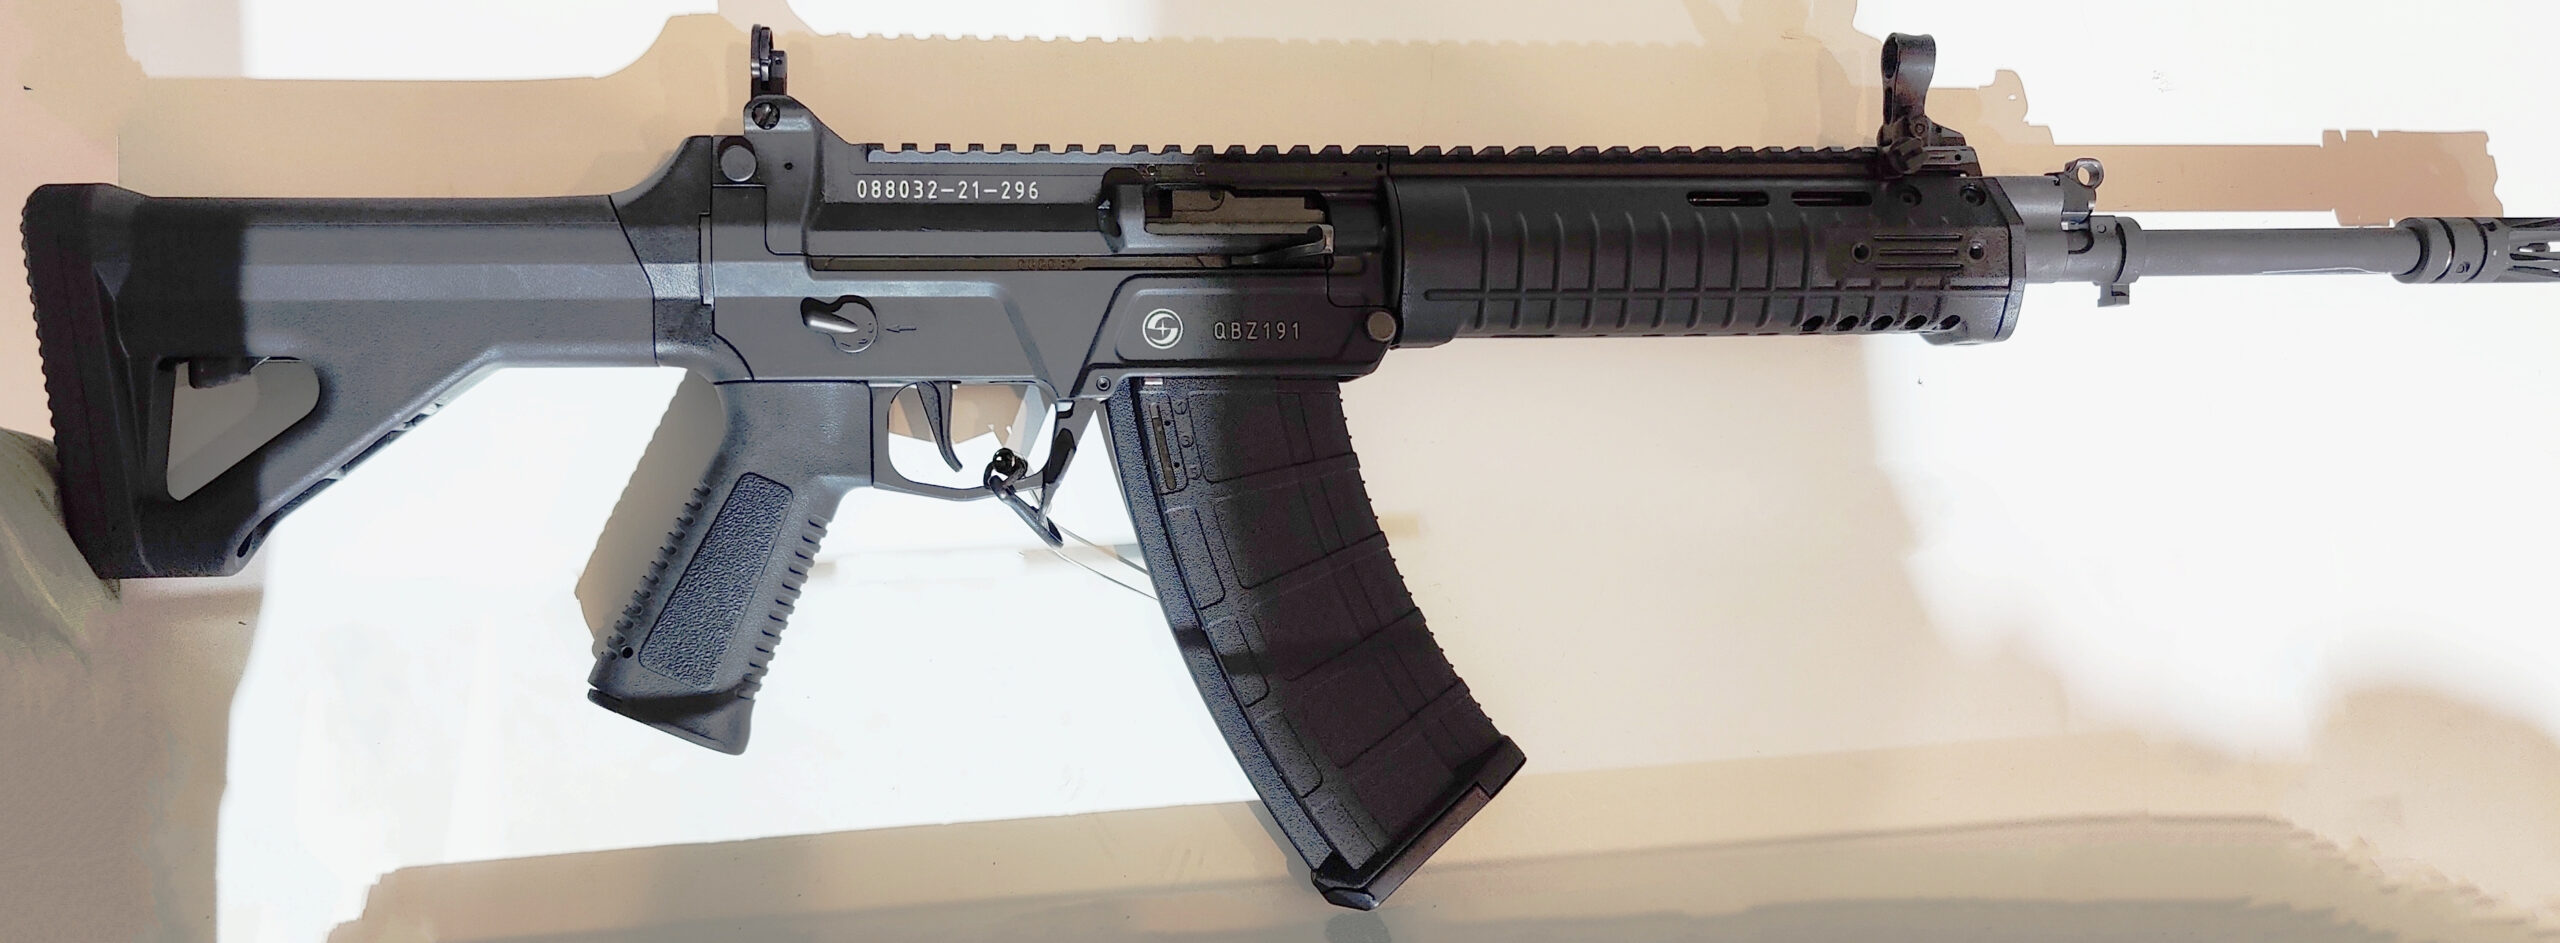
The centerpiece of the PLA’s infantry modernization is the weapon family officially designated the QBZ-191. Its introduction marks a definitive break with the preceding generation of bullpup rifles and represents a wholesale adoption of contemporary, conventional rifle design principles. This shift is not merely stylistic; it is a fundamental realignment of the infantryman’s weapon with the demands of modern, informationized warfare.

This is a photo of a QBZ-191 taken at the 2021 China Airshow. Photo by: By Dan3031949 – Own work, CC BY-SA 4.0, https://commons.wikimedia.org/w/index.php?curid=112466629

Core Design Philosophy and Doctrinal Shift

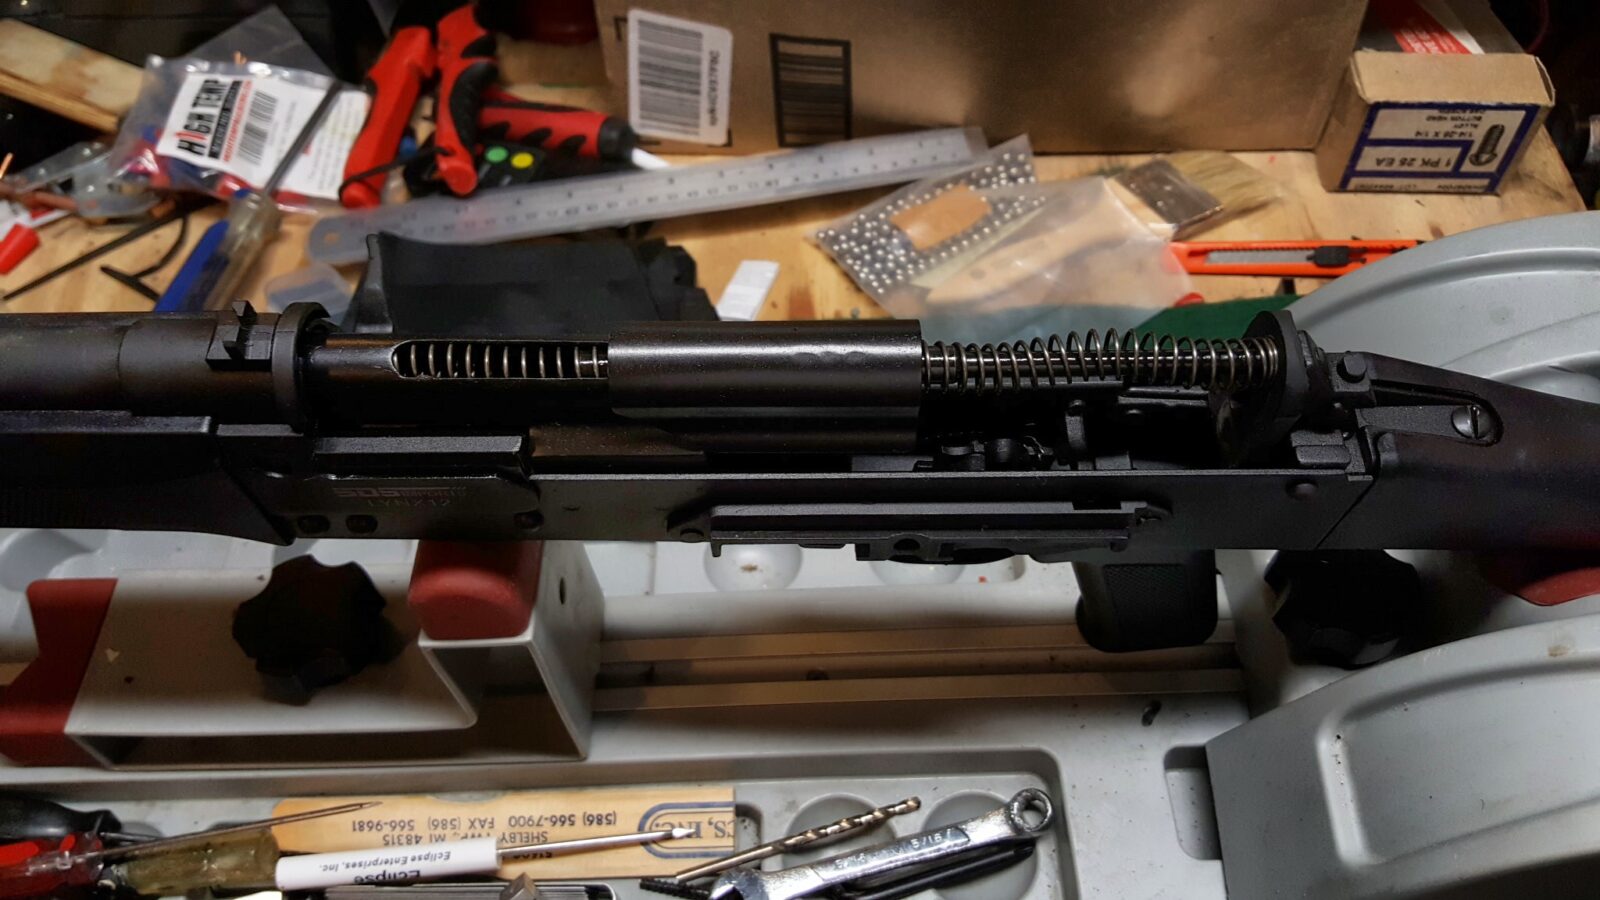
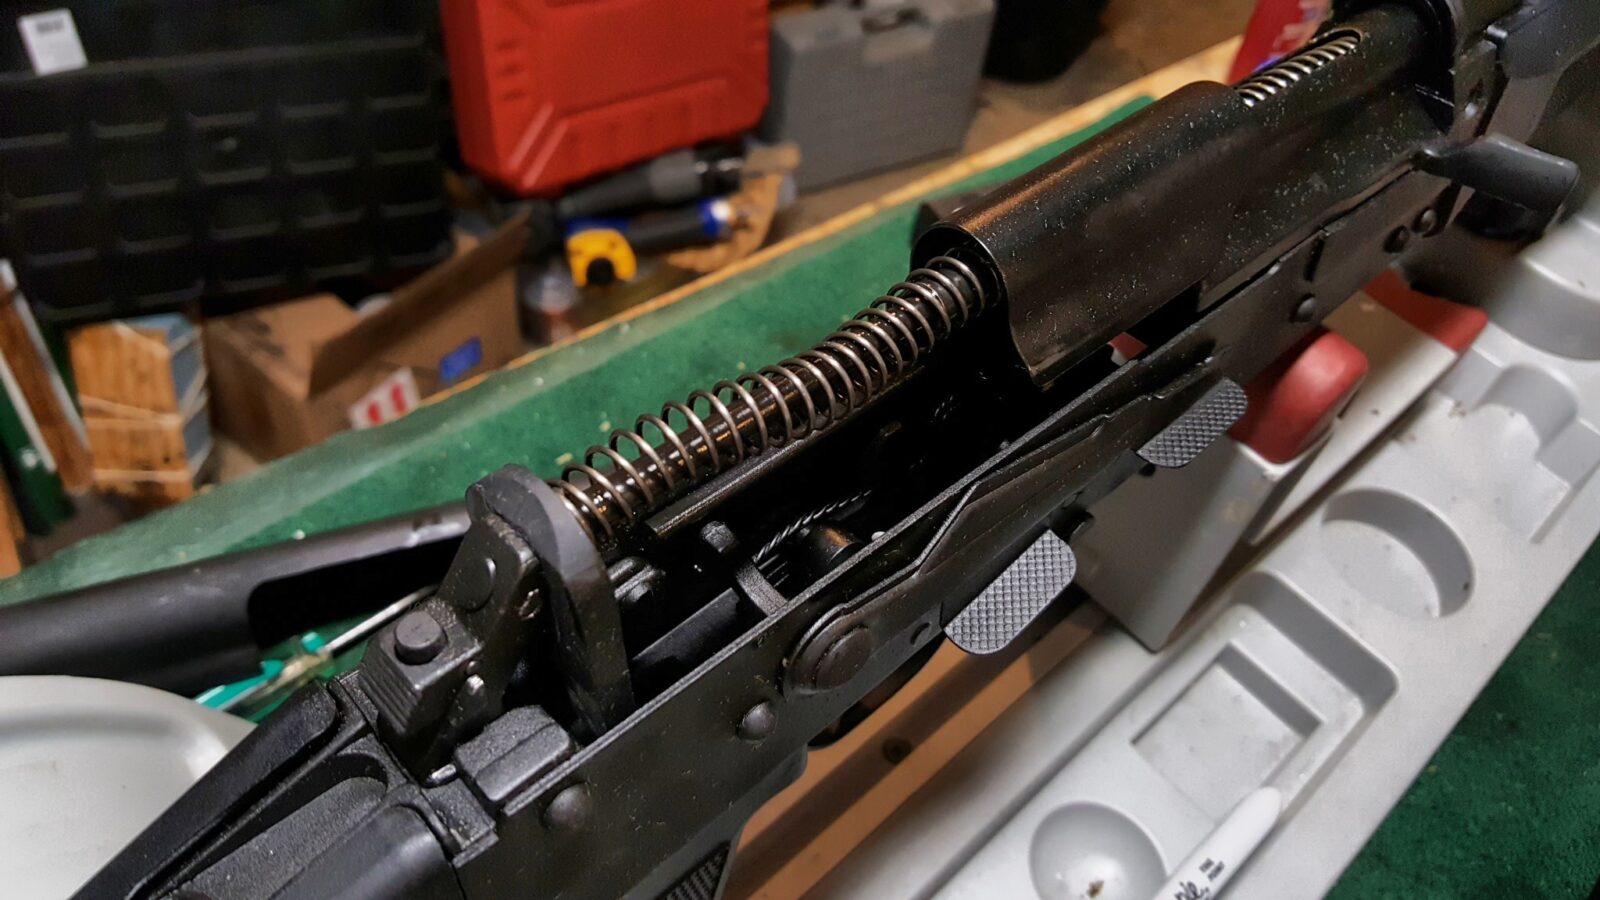
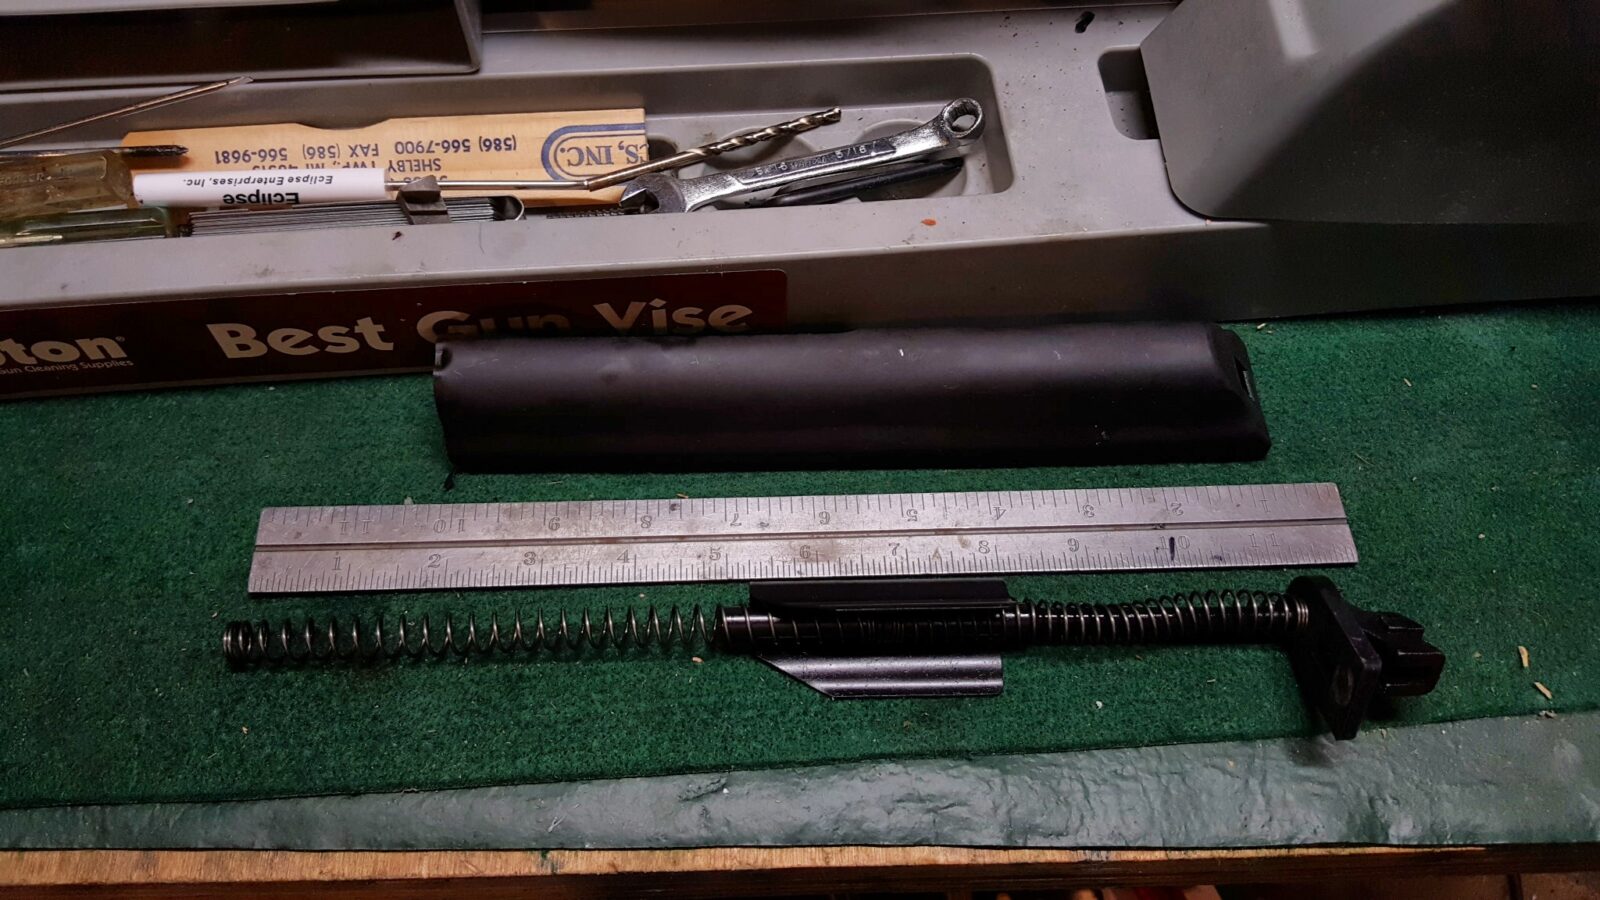
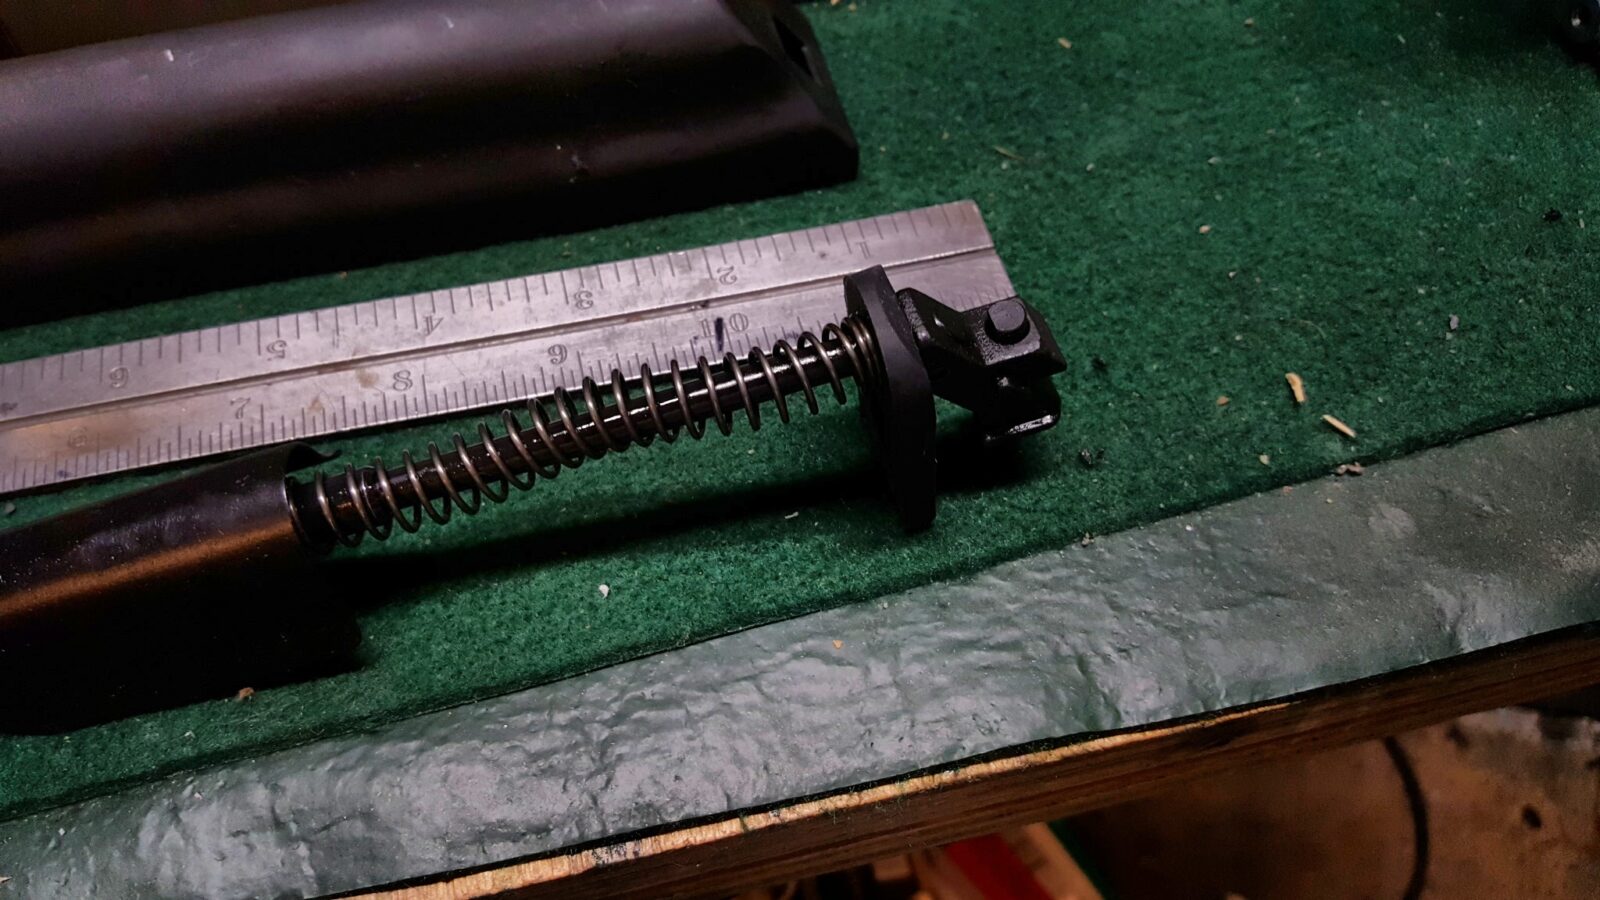
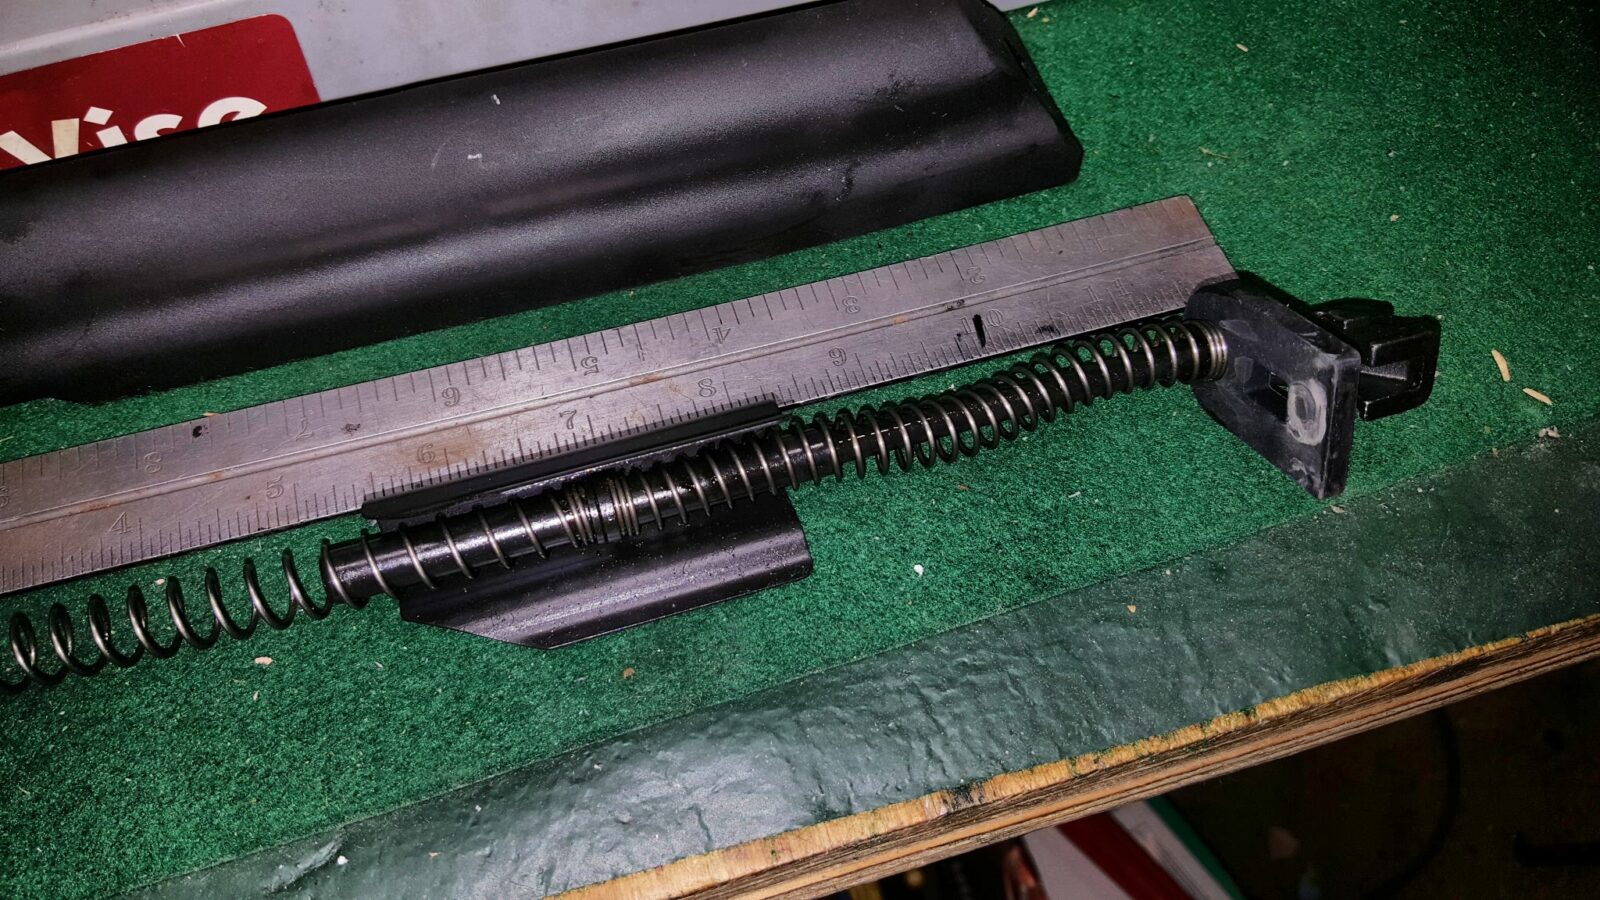
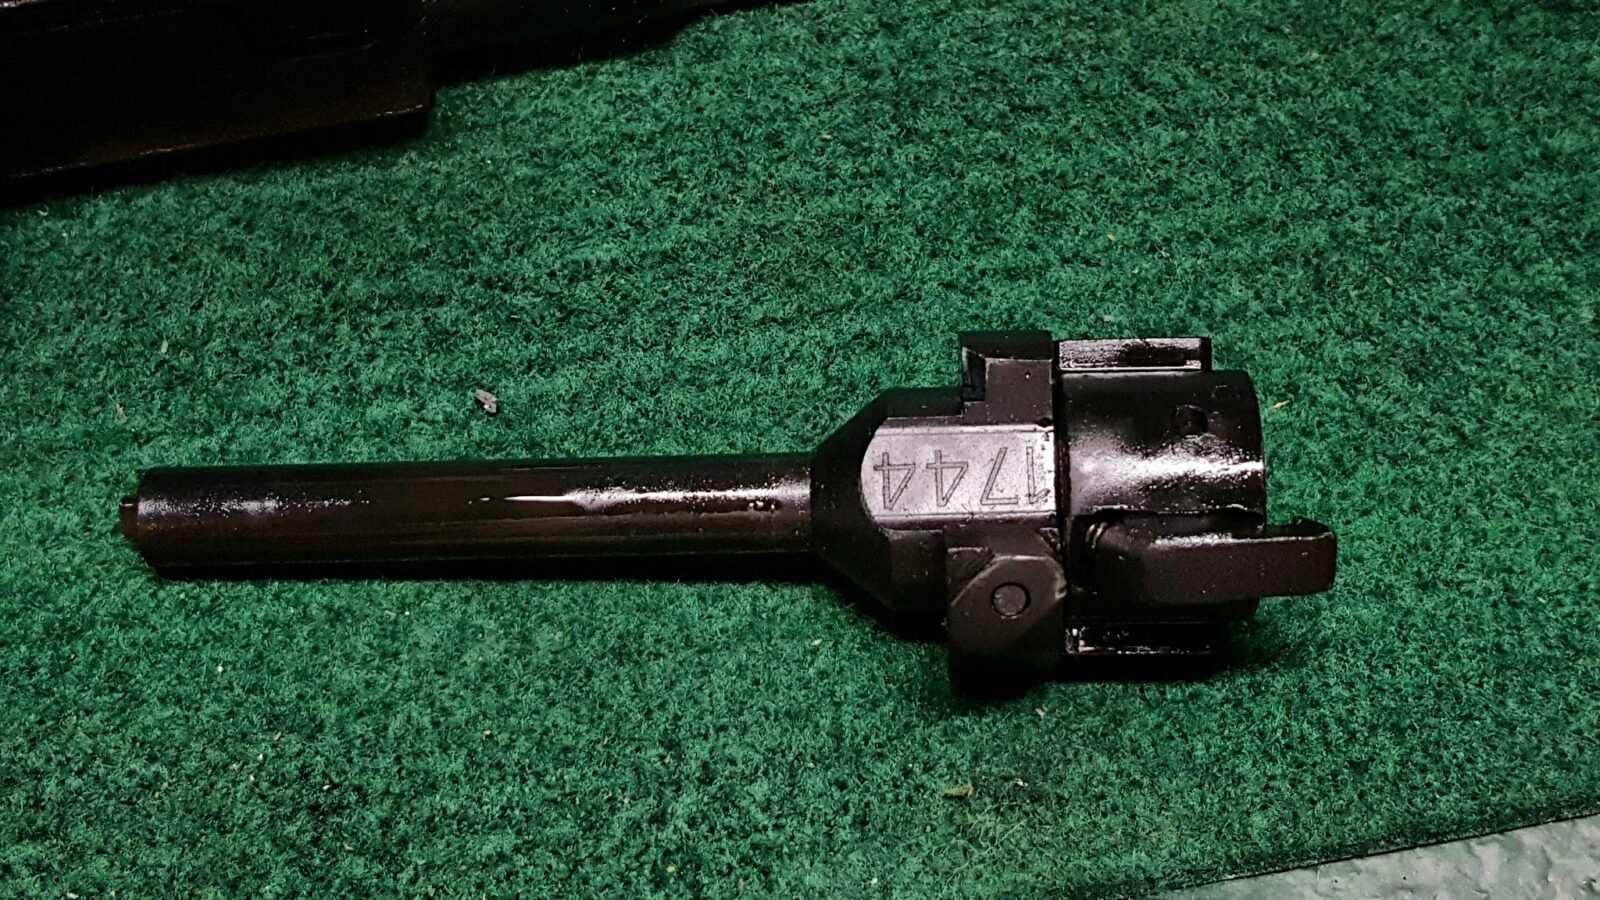
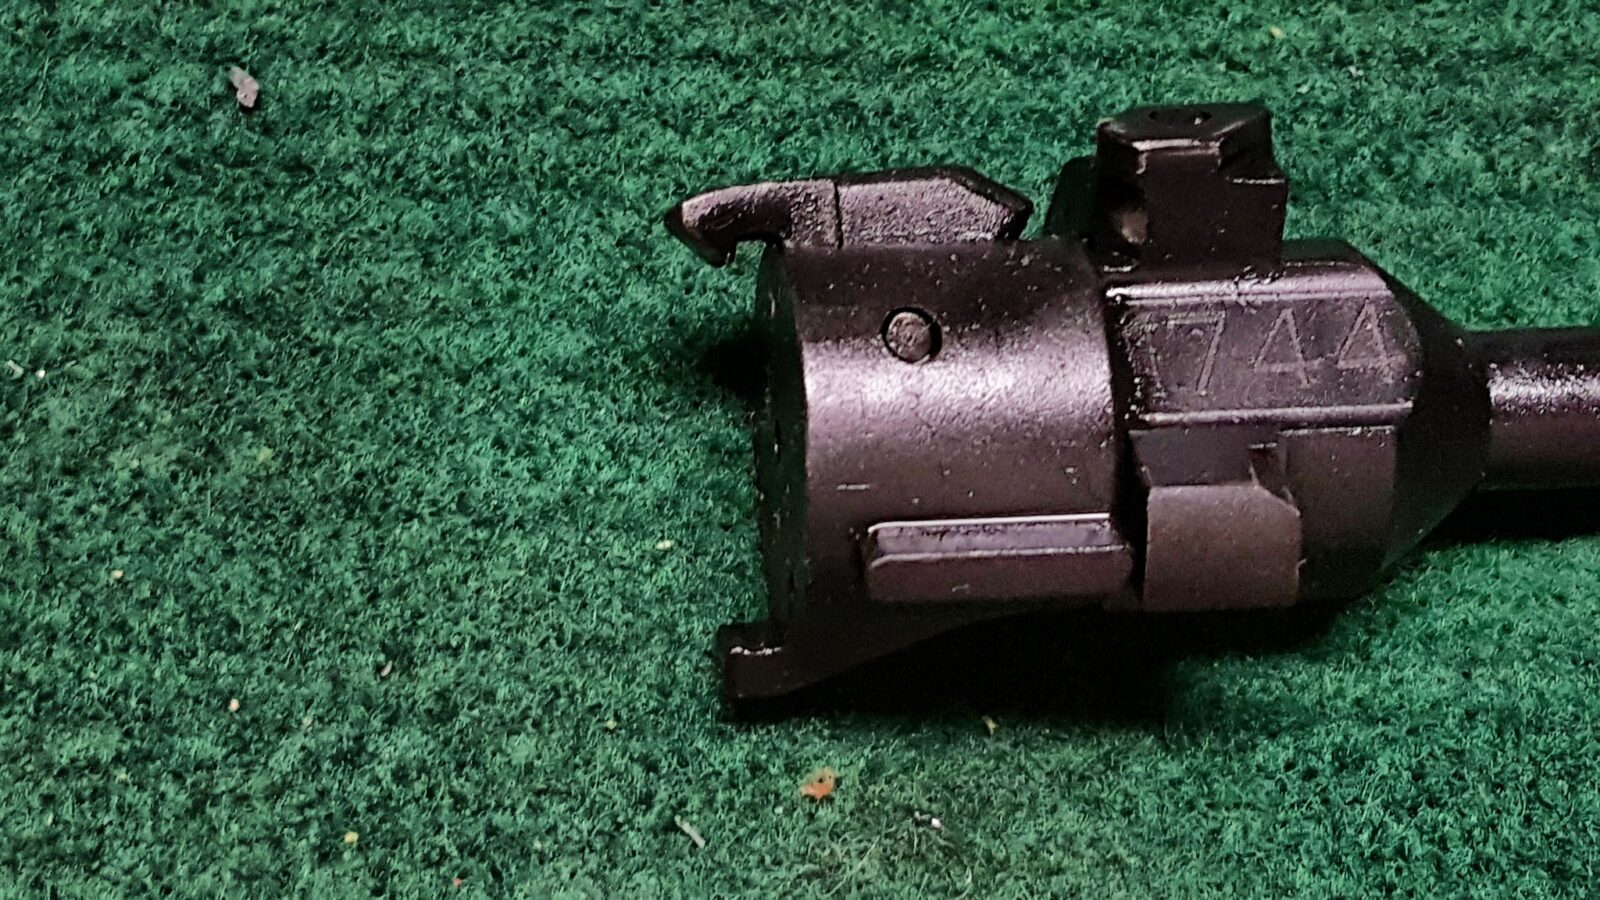
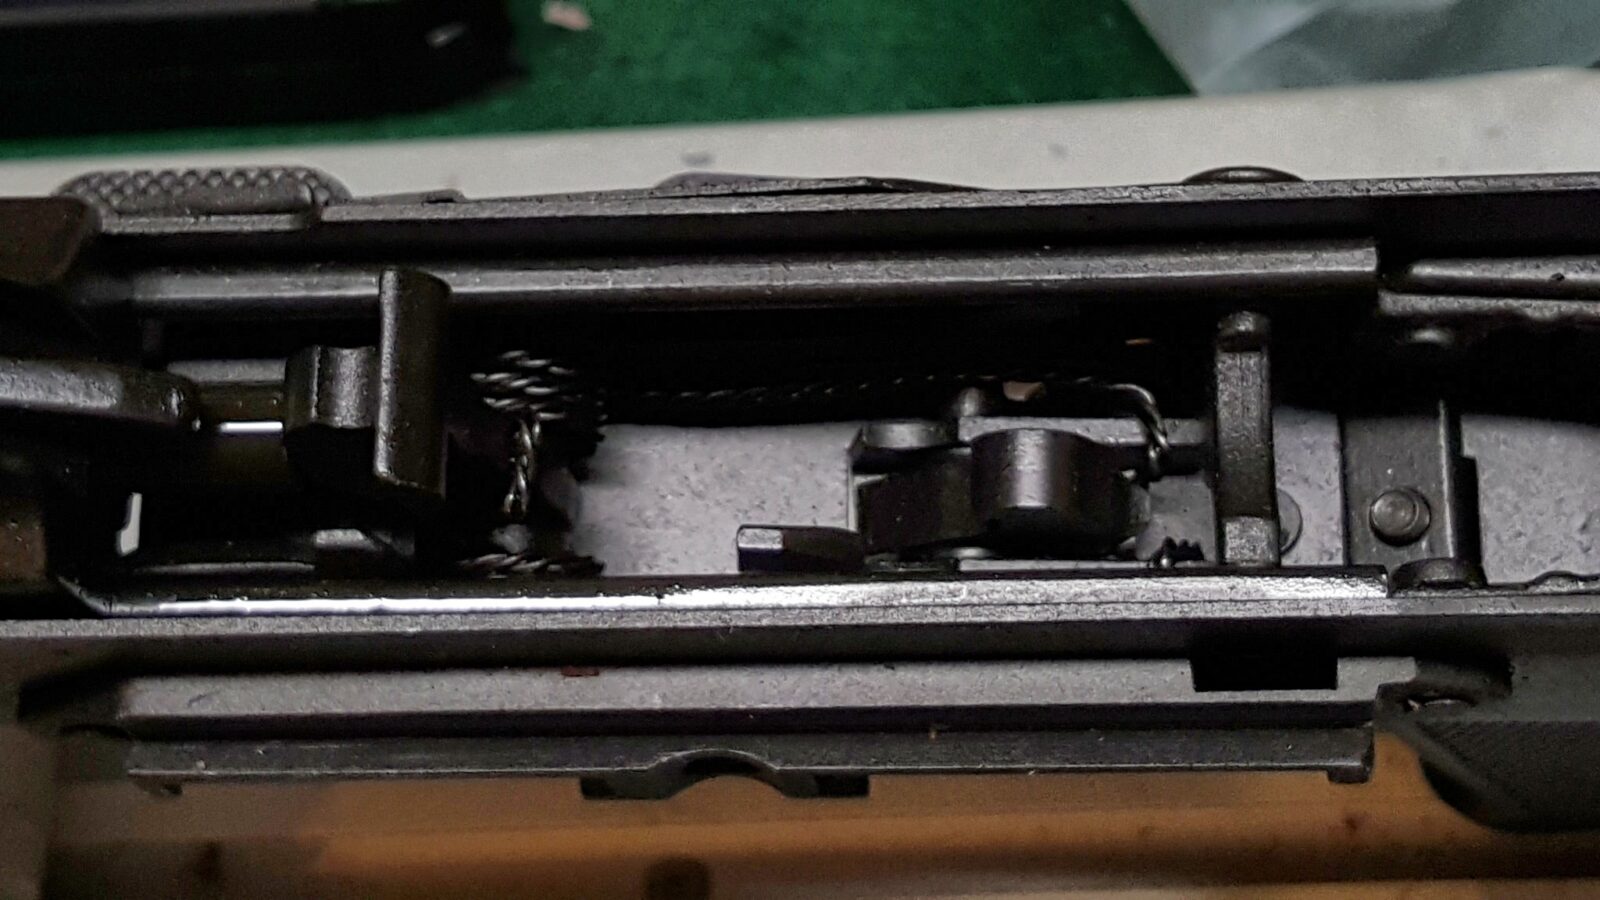
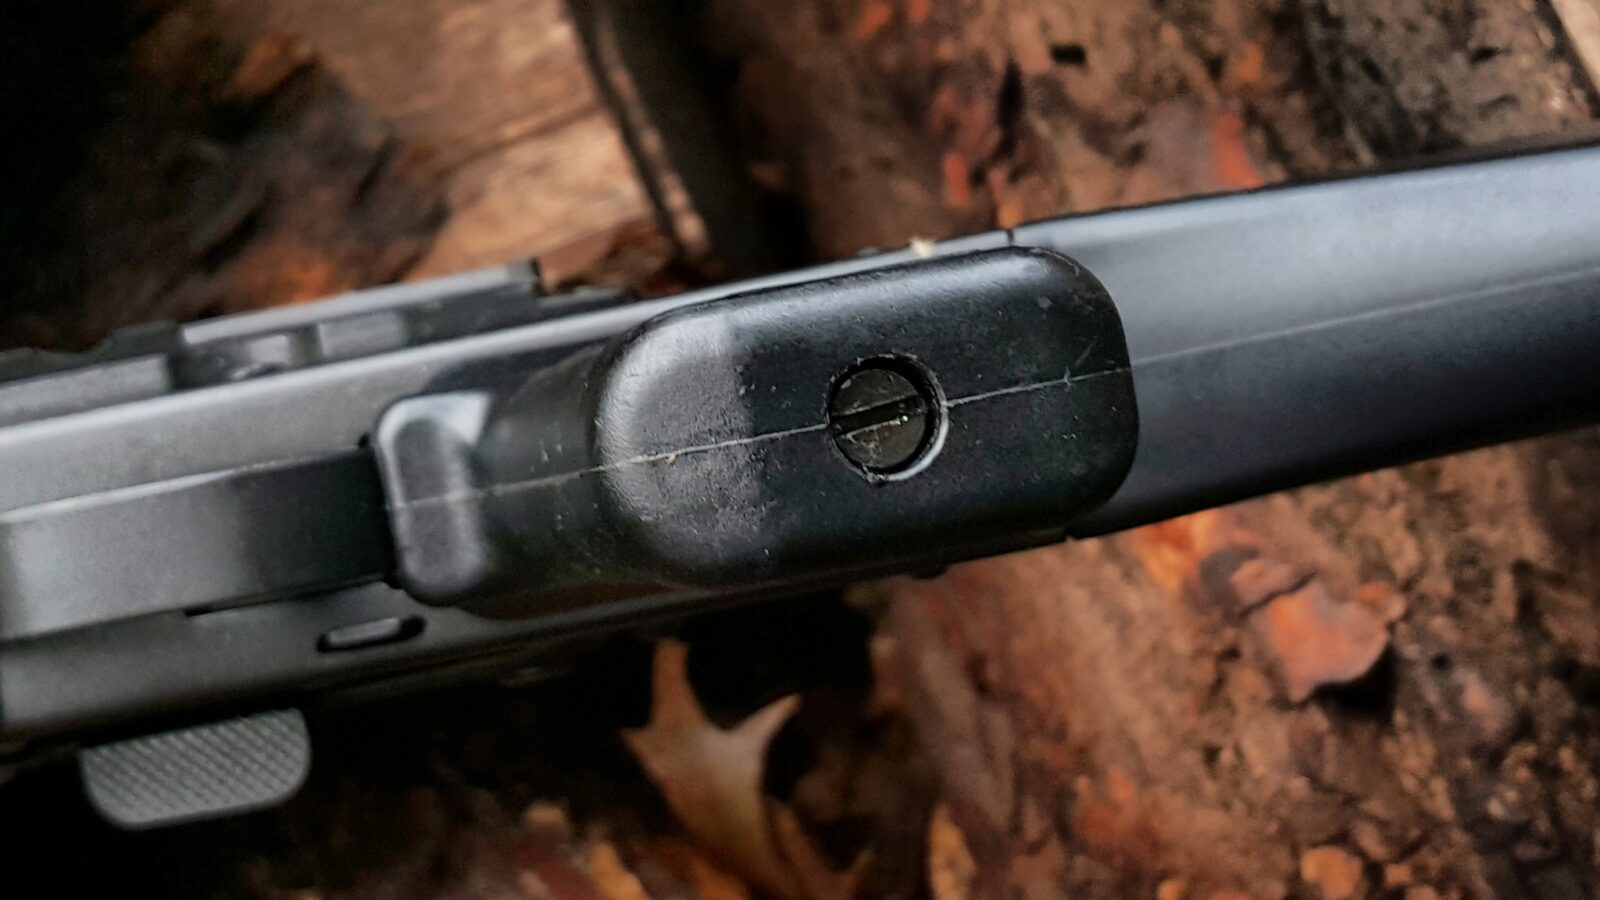
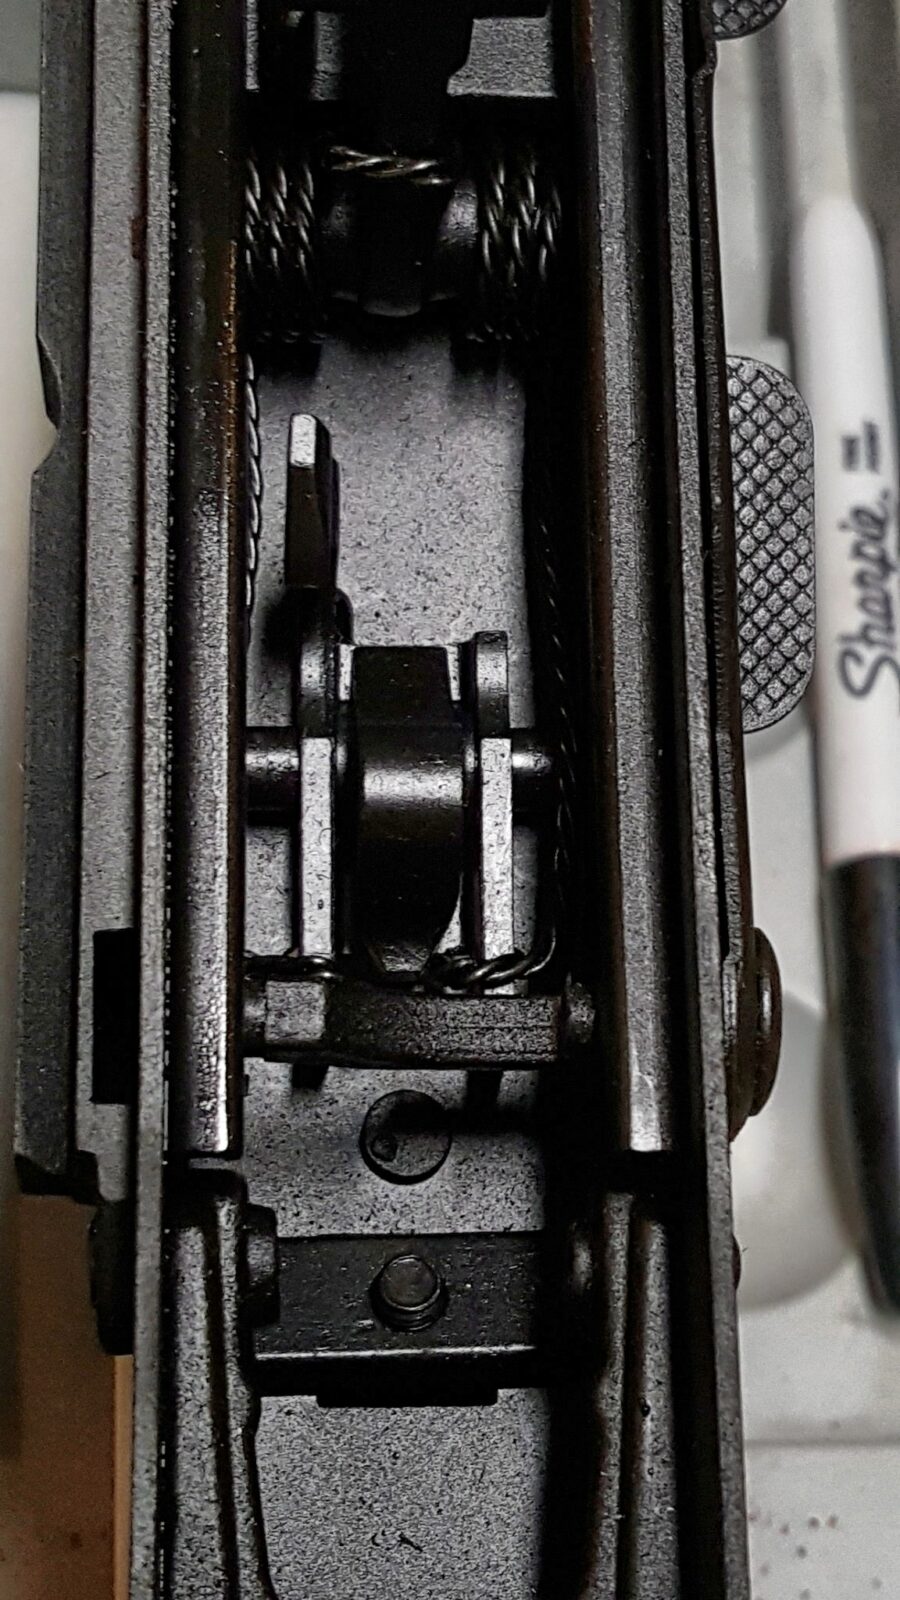
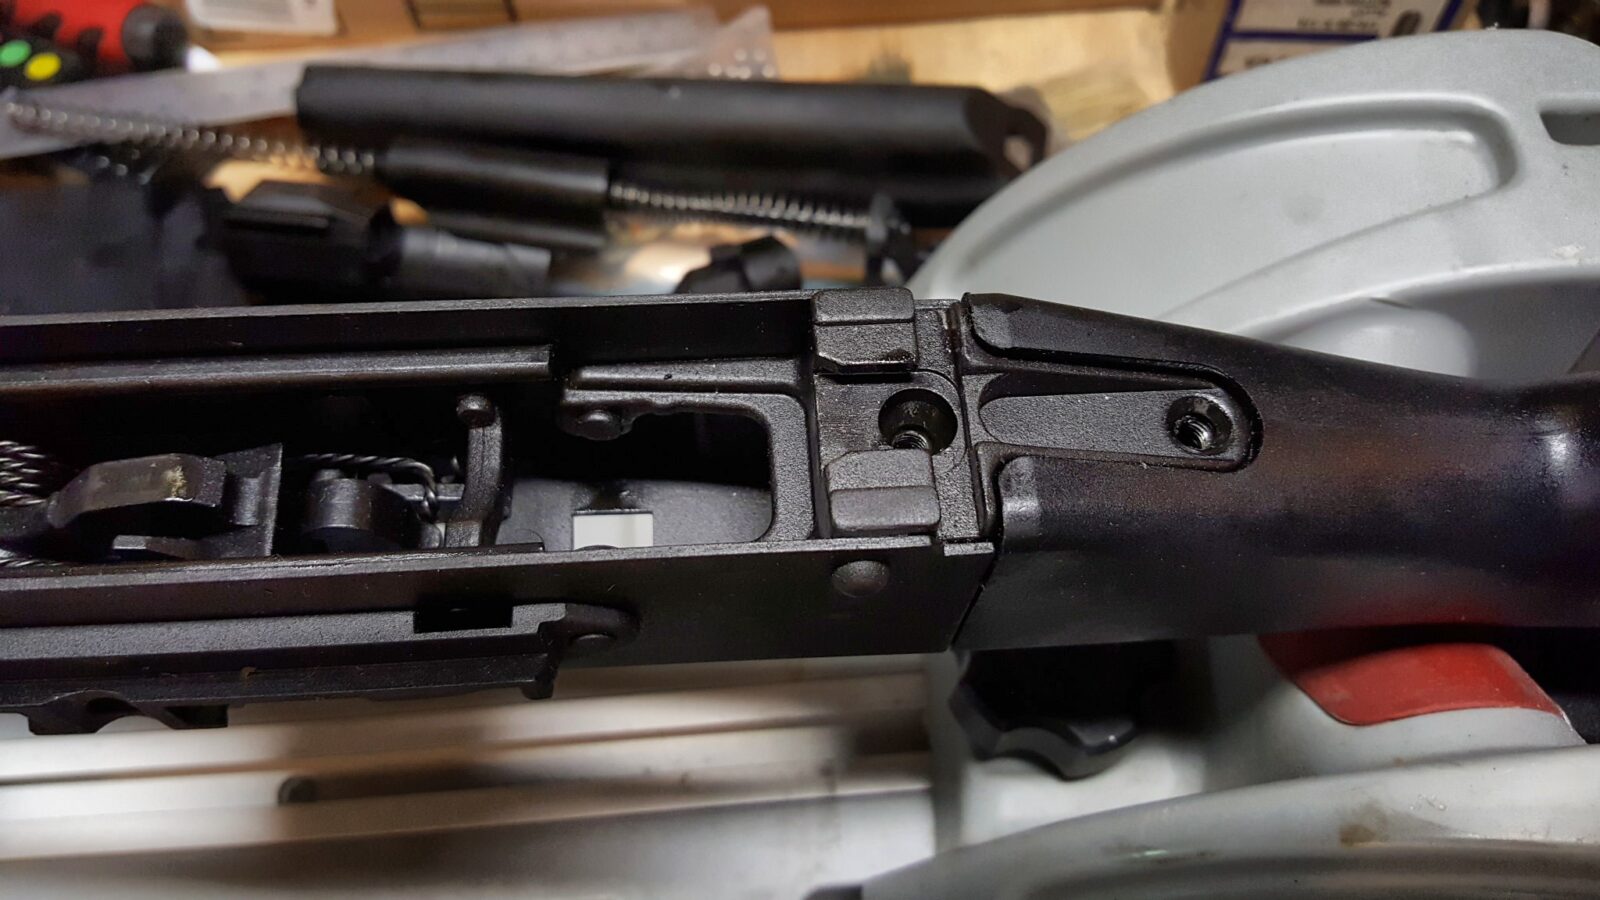
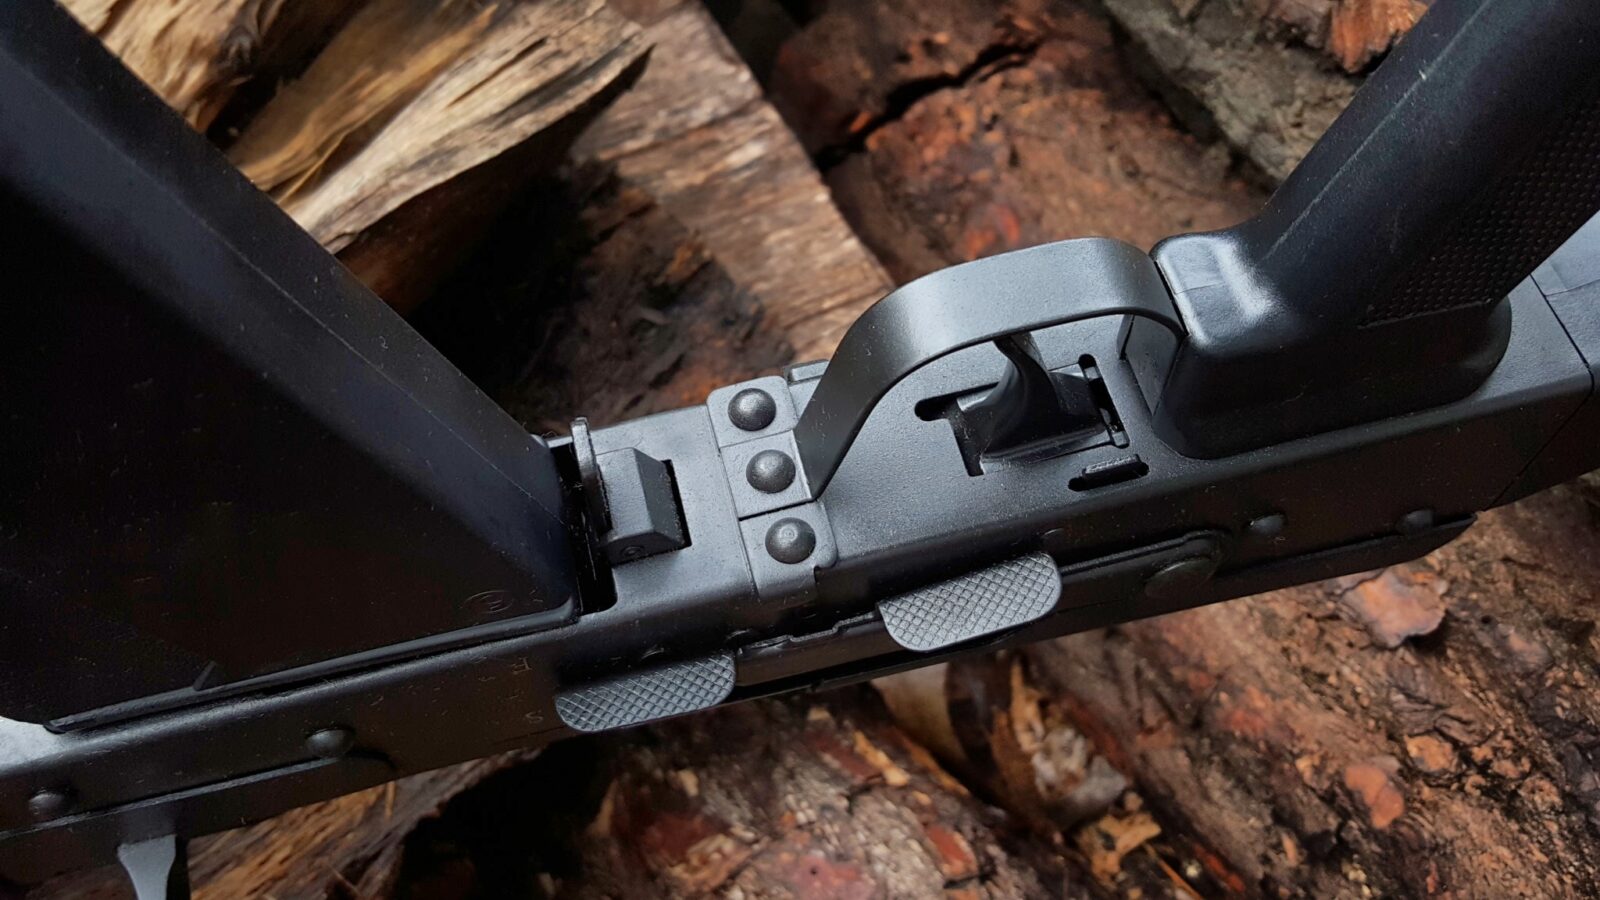
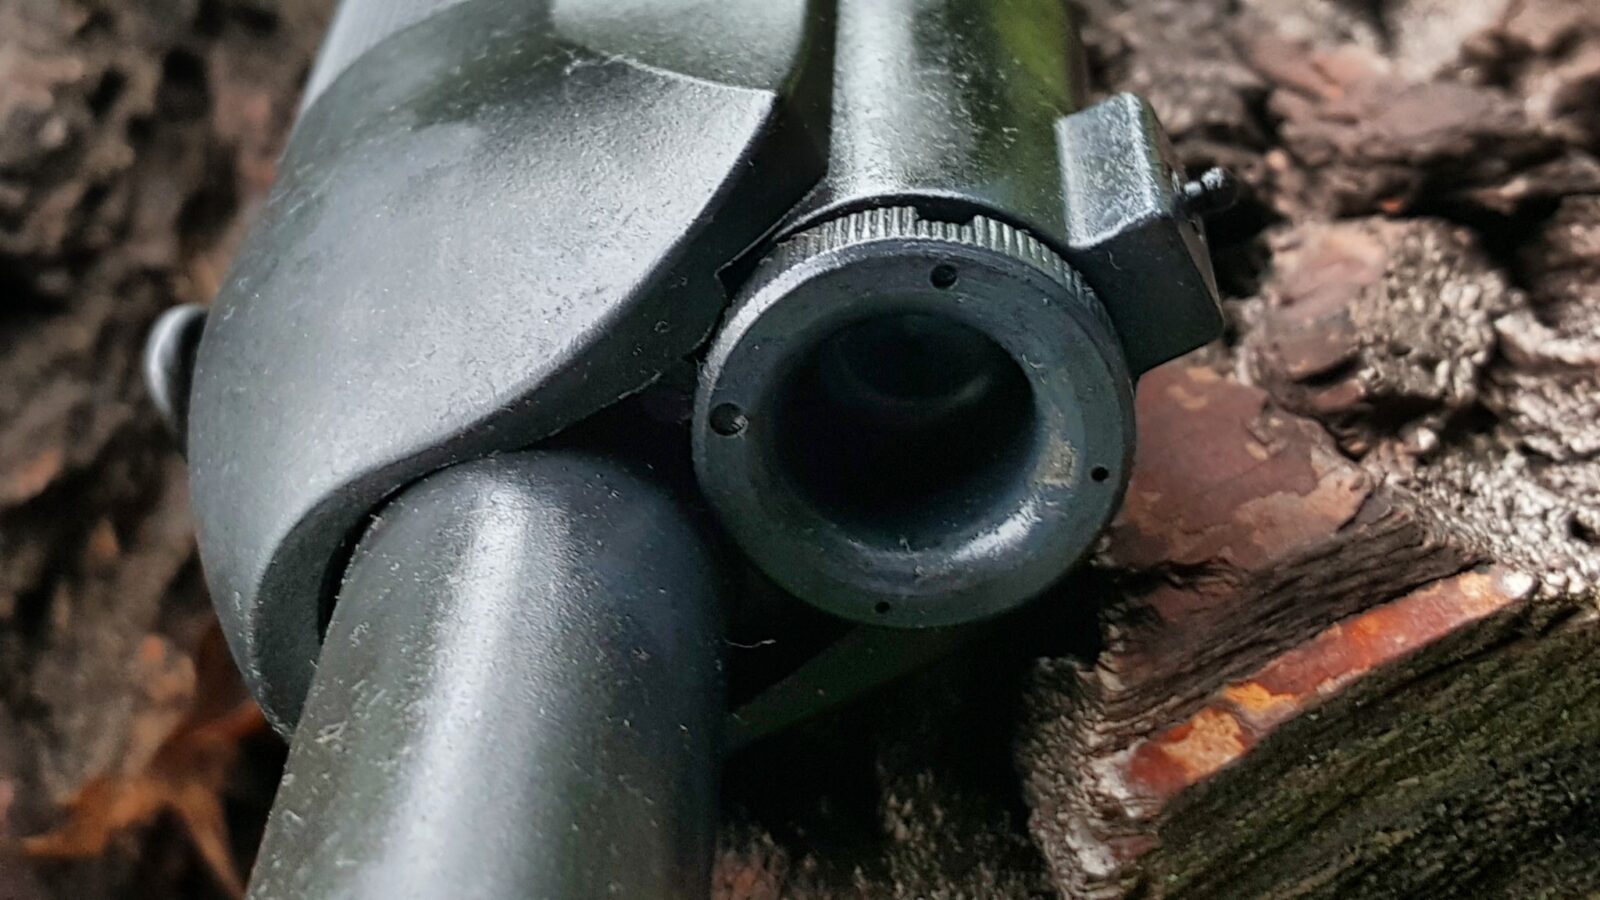
The QBZ-191 (191式自动步枪, 191 Shì Zìdòng Bùqiāng, Type 191 Automatic Rifle) family abandons the bullpup configuration of its QBZ-95 predecessor in favor of a conventional layout. Mechanically, it operates on a short-stroke gas piston and rotating bolt system, a mechanism renowned for its reliability and adopted by many of the world’s most advanced assault rifles, such as the Heckler & Koch HK416 and the FN SCAR. The weapon’s architecture includes features now considered standard for a modern military rifle: a multi-position adjustable stock, improved ergonomics for varied shooting positions, and fully ambidextrous controls, including the fire selector and magazine release.

The decision to abandon the bullpup layout, after investing heavily in it for over two decades with the QBZ-95, is the most telling aspect of the new design philosophy. The QBZ-95, while offering the benefit of a long barrel in a compact overall length, was plagued by inherent design flaws that became increasingly untenable. These included a notoriously heavy and imprecise trigger due to the long linkage from the trigger to the rear-mounted action, awkward magazine changes that required breaking a firing grip, and ejection ports located close to the user’s face, making off-hand shooting difficult. Most critically, however, the QBZ-95 was a product of a different doctrinal era.

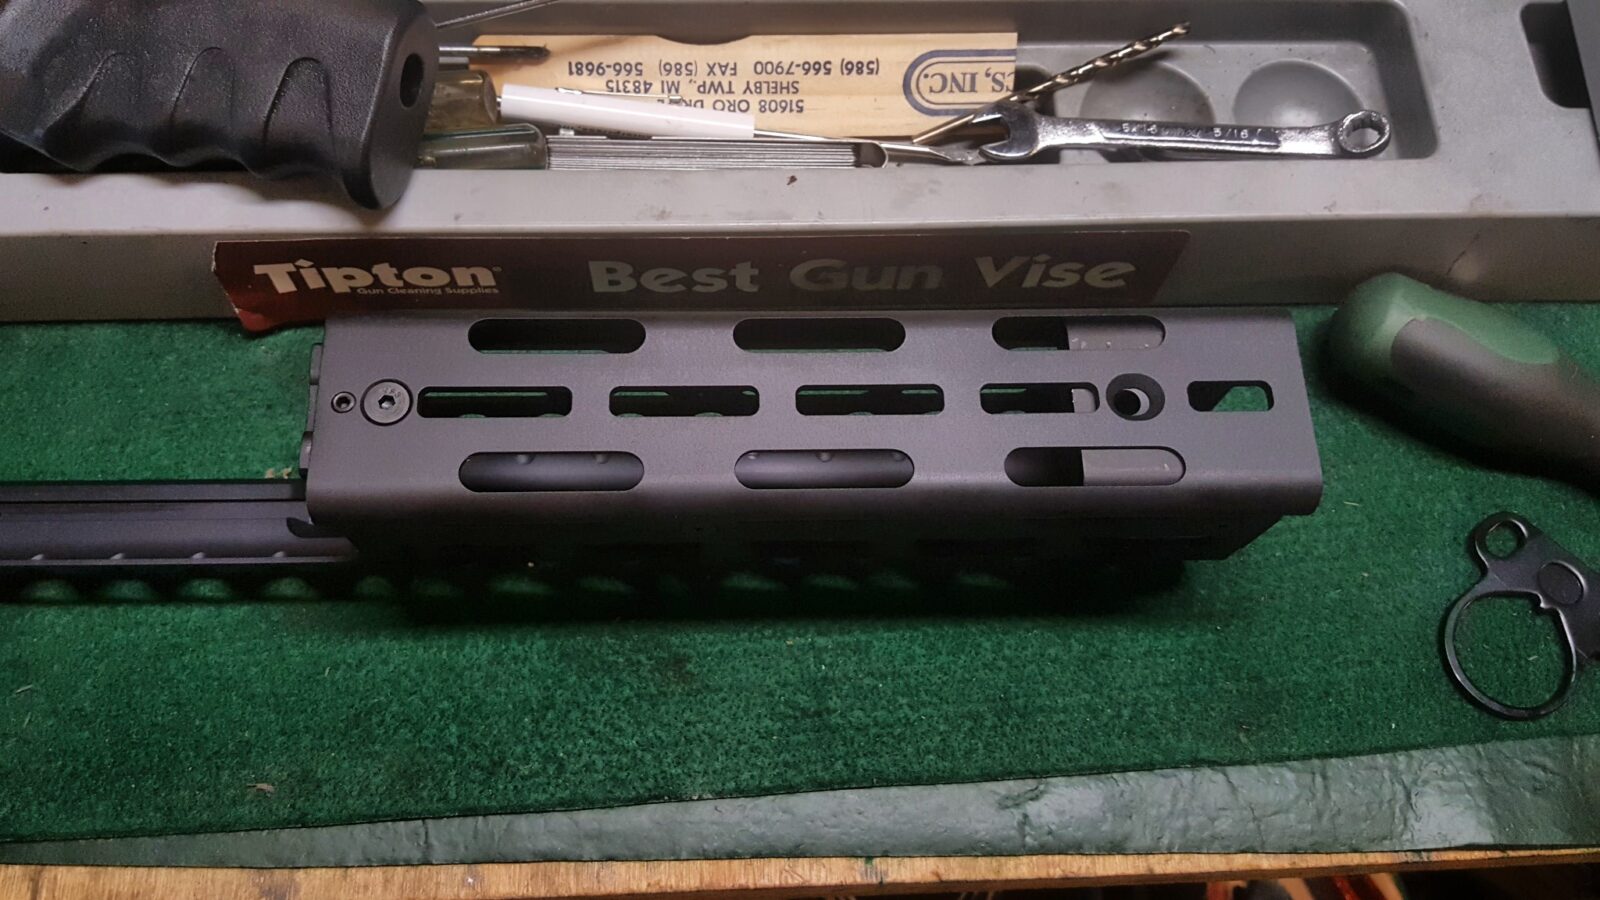
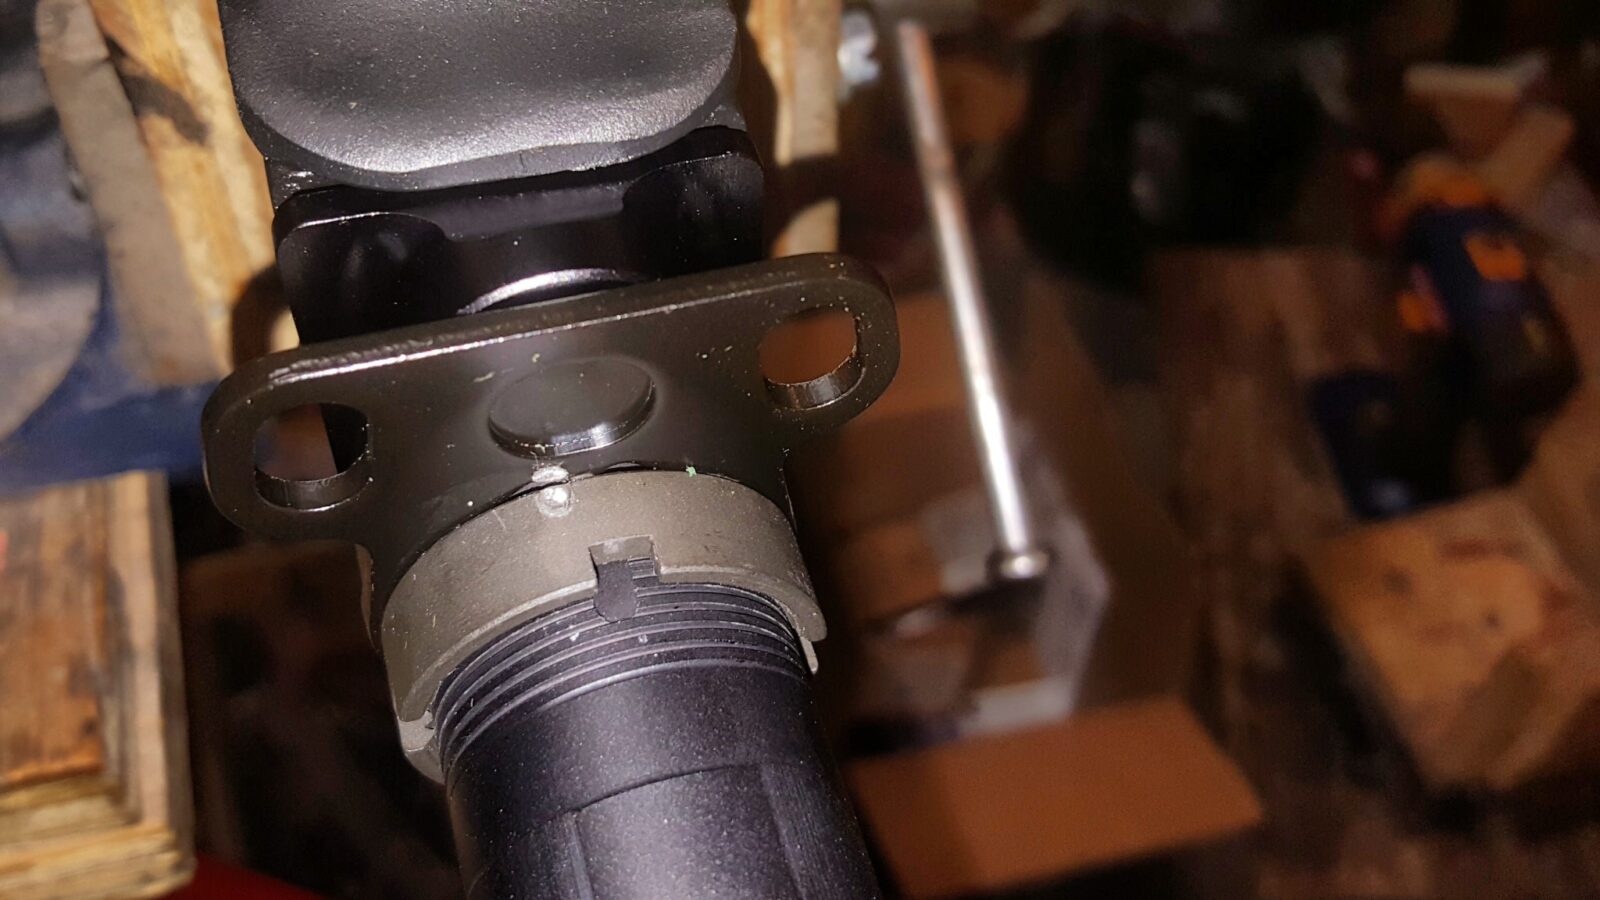
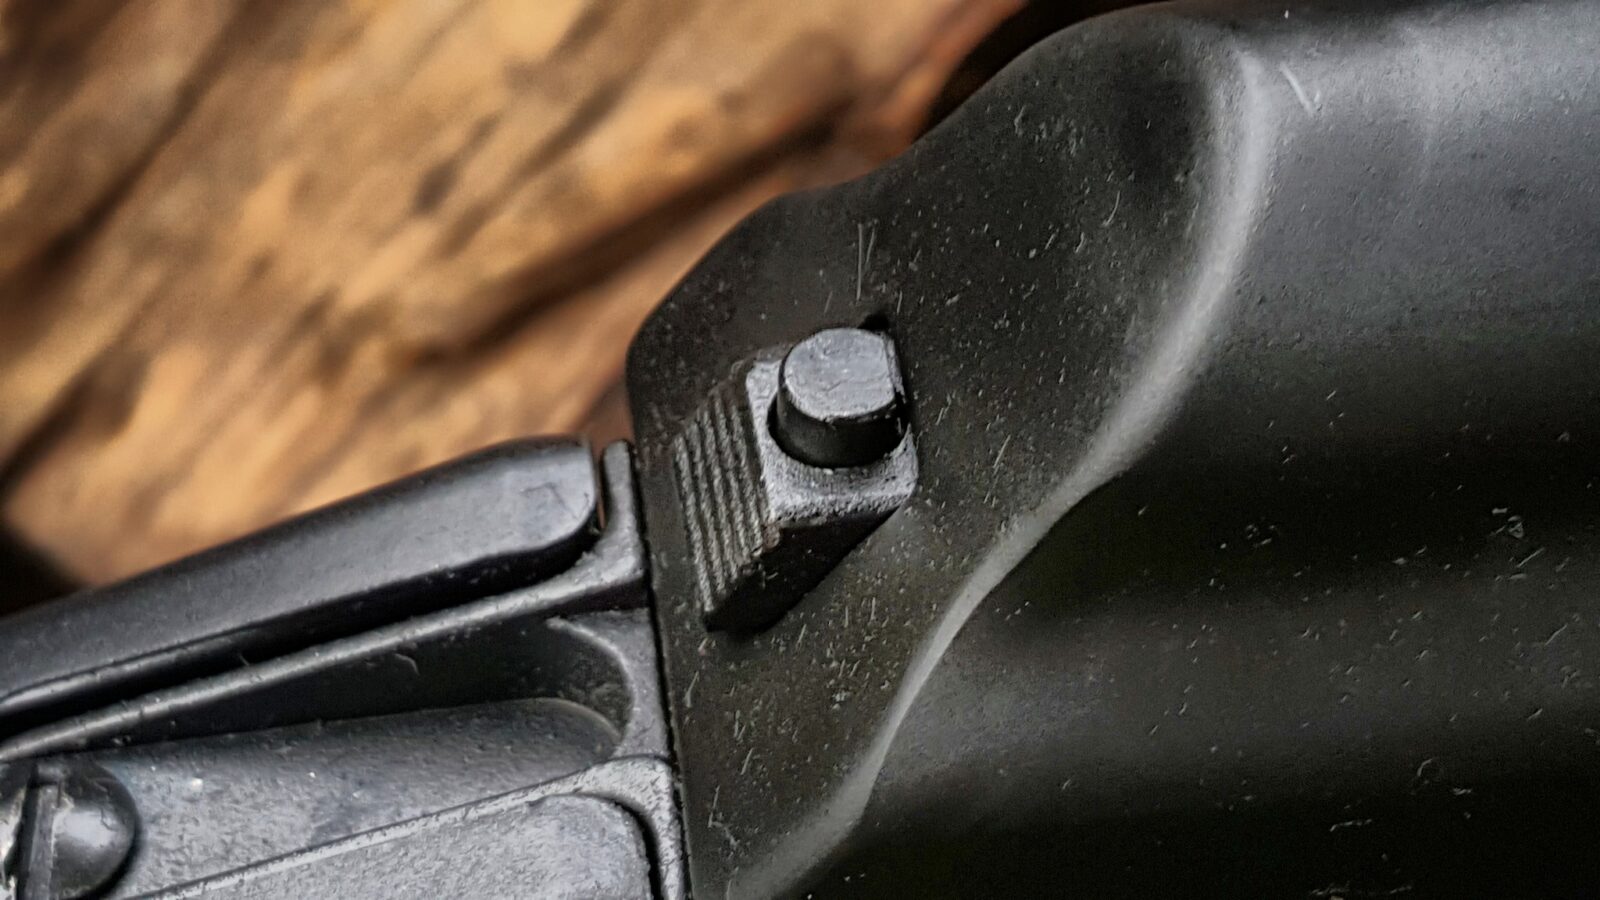
The most significant physical feature of the QBZ-191, and the clearest indicator of the new doctrine, is its full-length, monolithic MIL-STD-1913 Picatinny rail along the top of the receiver and handguard. The QBZ-95 featured only a short, proprietary dovetail mount that was poorly suited for mounting anything other than a single, specific optic. The adoption of the universal Picatinny standard is a revolutionary step for the PLA. This rail provides ample space for the flexible mounting of a suite of accessories in various combinations—for example, a variable-power magnified optic paired with a clip-on thermal or night vision sight, a laser aiming module, and backup iron sights. This physical change is the direct consequence of a profound doctrinal evolution. The PLA no longer views advanced optics as specialist equipment for designated marksmen but as standard-issue equipment for the common infantryman. This signals a massive parallel investment in the domestic electro-optics industry and a fundamental shift in training methodology. The PLA is moving from an “iron sights first” mentality to an “optics first” doctrine, aiming to increase the effective engagement range, first-hit probability, and all-weather, day/night fighting capability of every soldier. This, in turn, enhances small-unit lethality, situational awareness, and autonomy on the battlefield.

Ammunition: The DBP-191 5.8x42mm Cartridge

The development of the QBZ-191 rifle is inextricably linked to the simultaneous development of a new generation of ammunition: the DBP-191 5.8x42mm cartridge. The weapon and the cartridge were designed as a single, integrated system, with each component optimized to enhance the performance of the other. This holistic approach is a hallmark of a mature and sophisticated research and development process.

The original 5.8x42mm cartridge, DBP-87, was developed in the 1980s and was a contemporary of the 5.56x45mm NATO and 5.45x39mm Soviet rounds. While adequate for its time, it and its successor, the DBP-10, lacked the performance of modern intermediate cartridges, particularly at extended ranges. The DBP-191 was specifically designed to overcome these deficiencies. It features a heavier, longer, and more streamlined projectile with a superior ballistic coefficient. This results in a flatter trajectory, reduced wind drift, and greater retained energy at medium and long ranges. The projectile construction includes a hardened steel core for improved penetration against body armor and light barriers.

In weapons design, the internal and external ballistics of the cartridge are the foundational elements that dictate critical design parameters of the rifle, including barrel length, rifling twist rate, gas system tuning, and the practical effective range of the platform. The PLA’s ordnance establishment clearly identified a performance deficit in its existing 5.8mm ammunition and understood that a new rifle alone could not solve the problem. By developing a new, higher-performance round and then engineering a family of weapons optimized to fire it, they have achieved a synergistic leap in capability. The superior performance of the DBP-191 cartridge is precisely what enables the Designated Marksman Rifle variant of the family, the QBU-191, to be effective out to ranges of 600-800 meters and what gives the standard QBZ-191 rifle a tangible performance advantage over its predecessor.

System Variants

The QBZ-191 was designed from the outset as a modular family of weapons, sharing a common receiver and operating mechanism, to fulfill multiple battlefield roles.

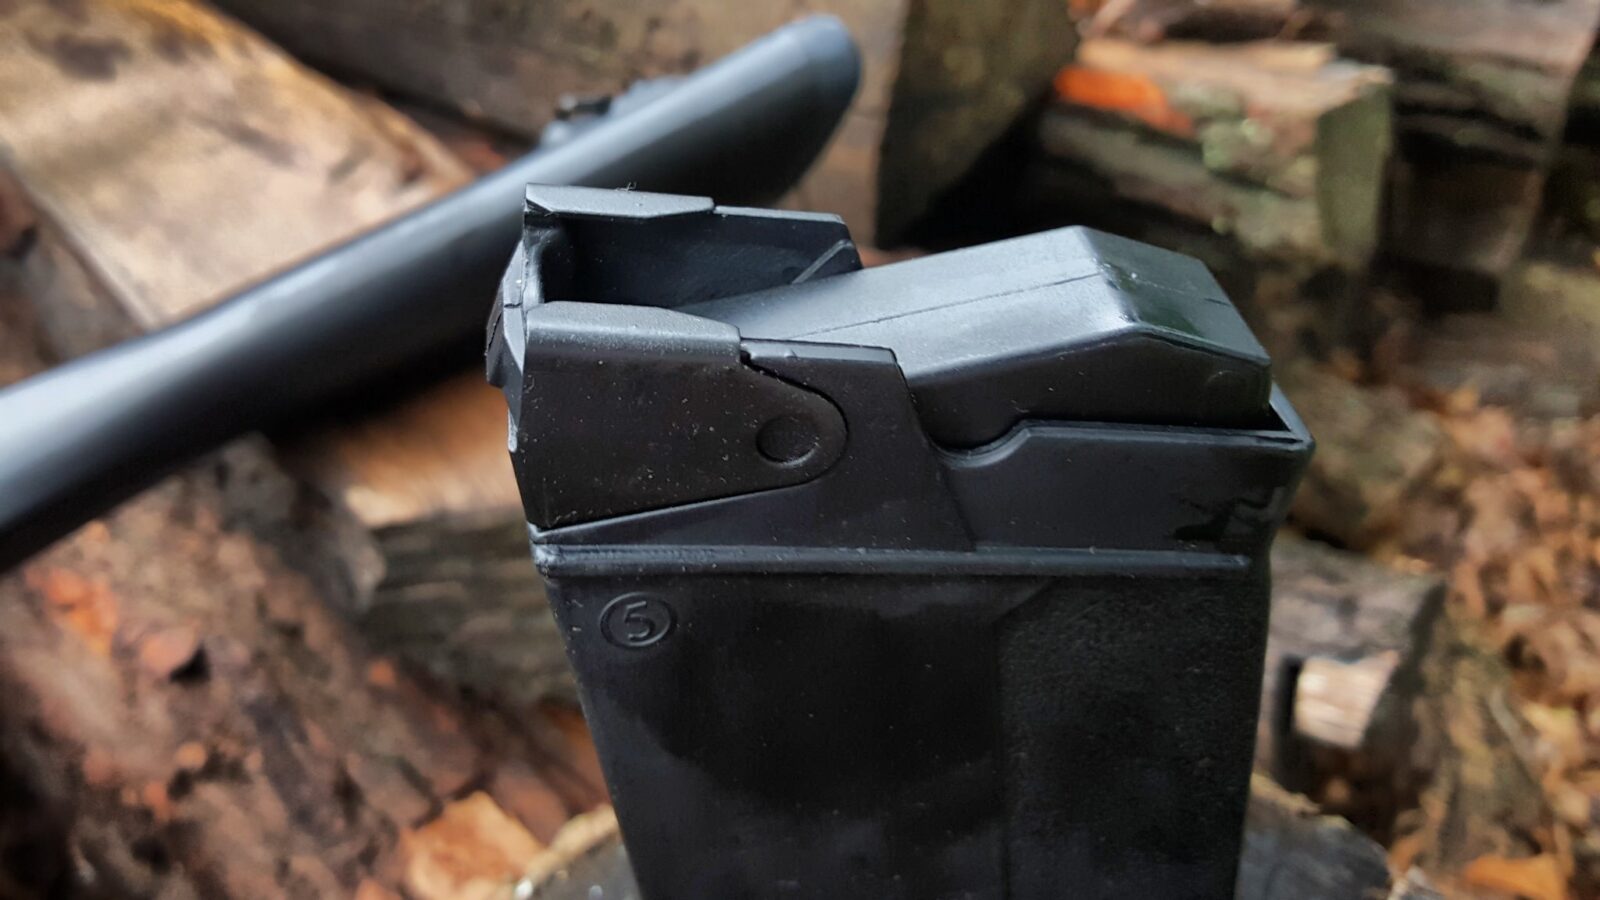
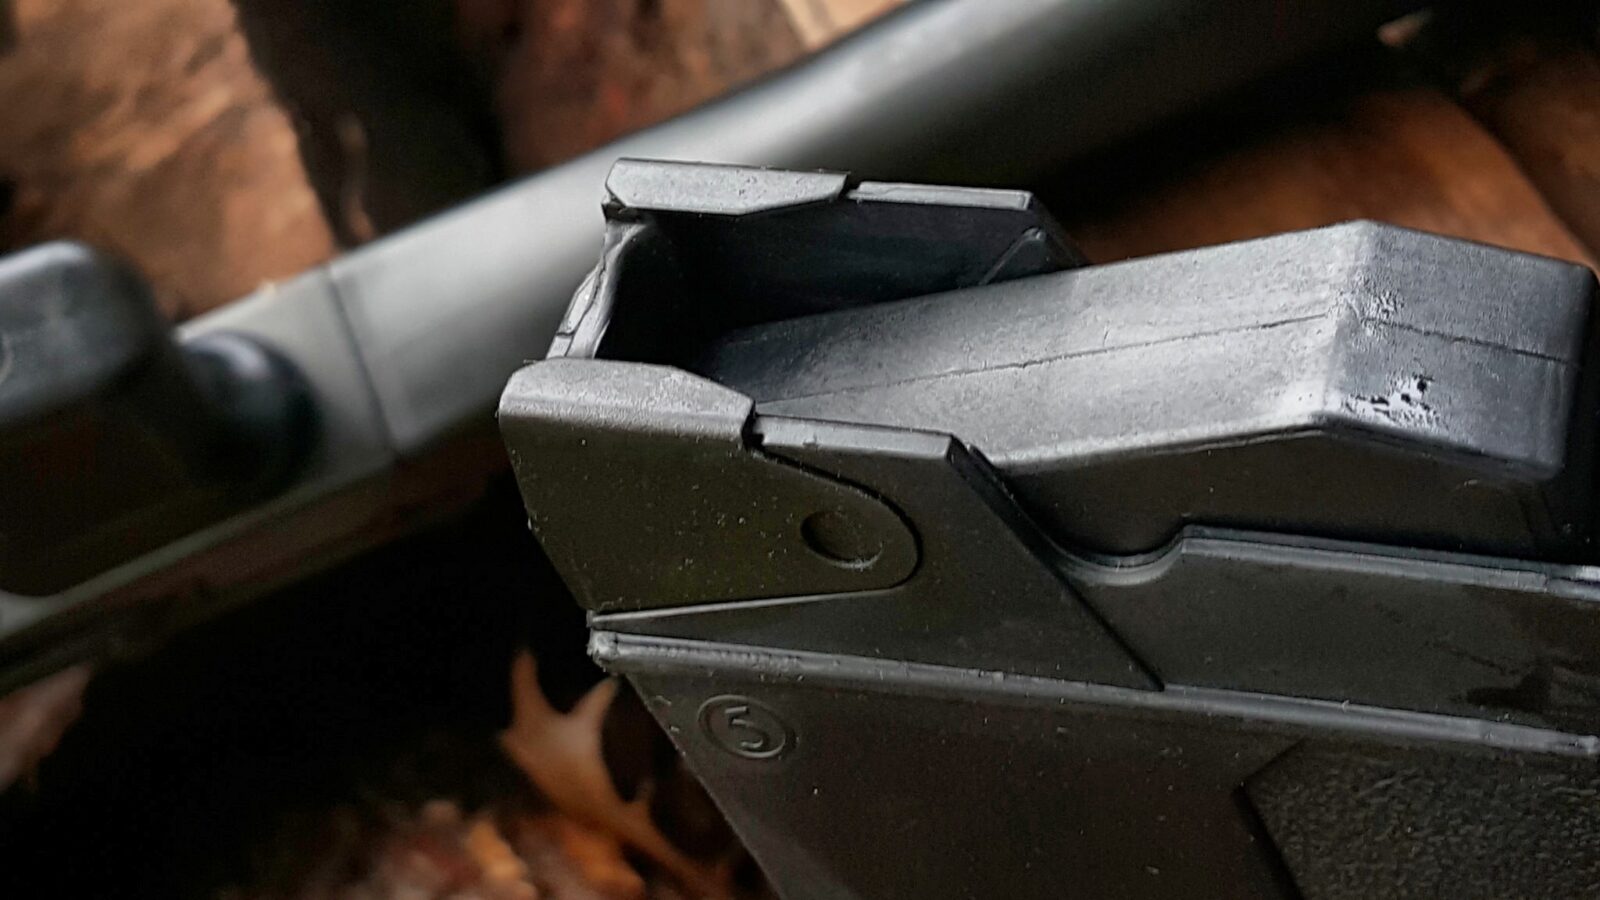
  • QBZ-191 (191式自动步枪, 191 Shì Zìdòng Bùqiāng, Type 191 Automatic Rifle): This is the standard infantry rifle and the core of the family. It features a 14.5-inch (368mm) barrel, providing a good balance between ballistic performance and maneuverability. It is slated to become the most widely issued variant, systematically replacing the QBZ-95-1 in frontline PLAGF combined arms brigades and PLAN Marine Corps units.
  • QBZ-192 (192式短自动步枪, 192 Shì Duǎn Zìdòng Bùqiāng, Type 192 Short Automatic Rifle): This is the compact carbine variant, equipped with a shorter 10.5-inch (267mm) barrel. The reduced length makes it ideal for personnel operating in confined spaces, such as vehicle crews, special forces conducting close-quarters battle (CQB), and naval personnel aboard ships. It serves the same role as the American Mk 18 or the Russian AK-105.
  • QBU-191 (191式精确射手步枪, 191 Shì Jīngquè Shèshǒu Bùqiāng, Type 191 Precision Marksman Rifle): This is the Designated Marksman Rifle (DMR) variant of the family. It is designed to provide accurate semi-automatic fire at the squad level beyond the effective range of standard assault rifles. It achieves this through a longer, heavier, free-floated barrel for enhanced accuracy and consistency, an improved trigger mechanism, and the standard issuance of a new 3-8.6x variable power magnified optic, the QMK-191. The QBU-191 is specifically designed to leverage the superior long-range ballistic performance of the new DBP-191 ammunition, enabling effective engagements out to 600-800 meters.
  • QJB-201 (201式班用机枪, 201 Shì Bānyòng Jīqiāng, Type 201 Squad Machine Gun): While not officially designated as part of the ‘191’ family, the QJB-201 is a new-generation 5.8x42mm light machine gun whose development was concurrent with and complementary to the QBZ-191 program. It is designed to replace the magazine-fed QJB-95-1 Squad Automatic Weapon. The most significant improvement is its switch to a belt-feed mechanism, allowing for a much higher volume of sustained suppressive fire. This addresses a major deficiency of its predecessor and provides PLA squads with a true light machine gun capability comparable to the FN Minimi/M249.

III. Prevalent Service Rifles and Carbines: The QBZ-95 Era

Despite the rollout of the QBZ-191, the incumbent QBZ-95 family of bullpup rifles remains the most numerous and widely distributed weapon system in the PLA’s inventory. Its vast numbers ensure that it will continue to see service for at least another decade, particularly with second-line units, reserves, and the People’s Armed Police, as the PLA undertakes its phased modernization.

QBZ-95/95-1 Family (95/95-1式枪族, 95/95-1 Shì Qiāngzú, Type 95/95-1 Gun Family)

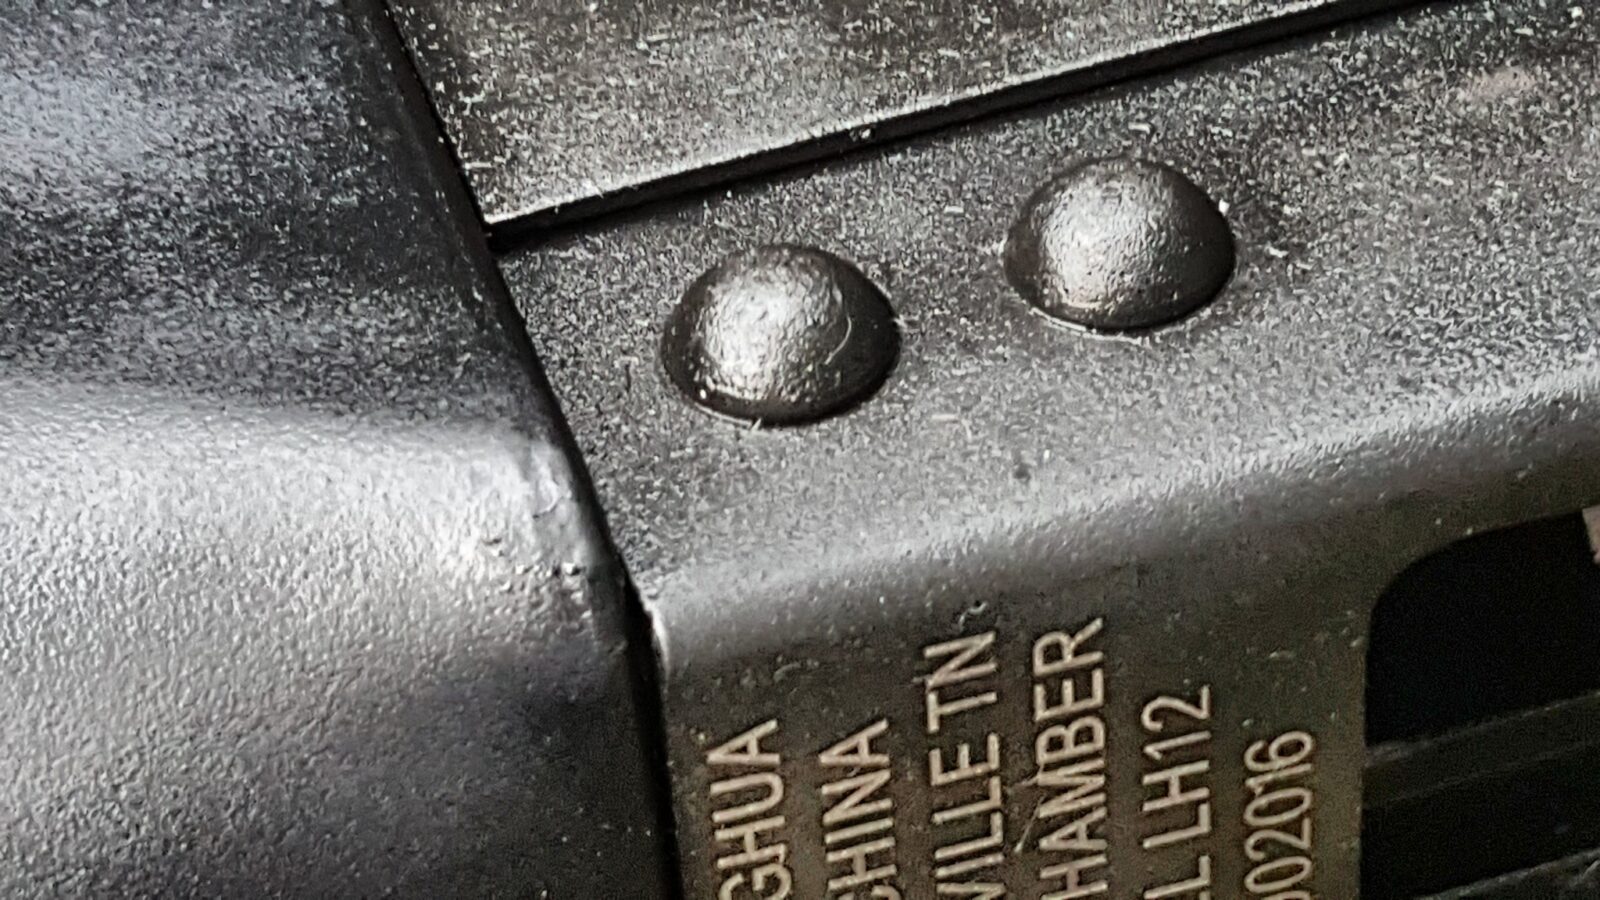
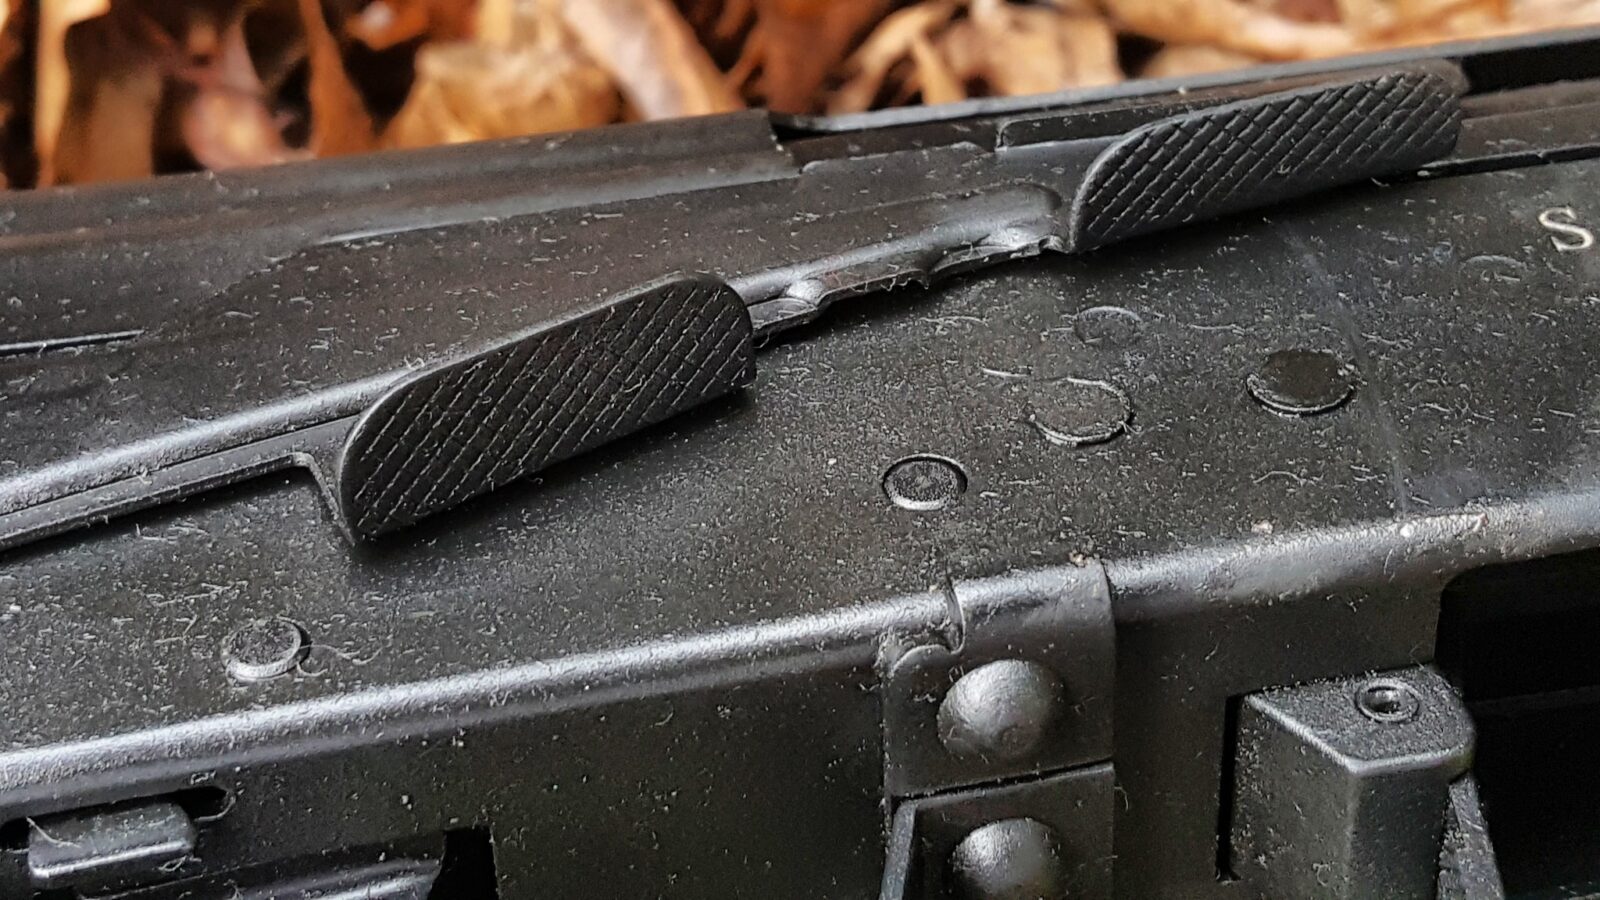
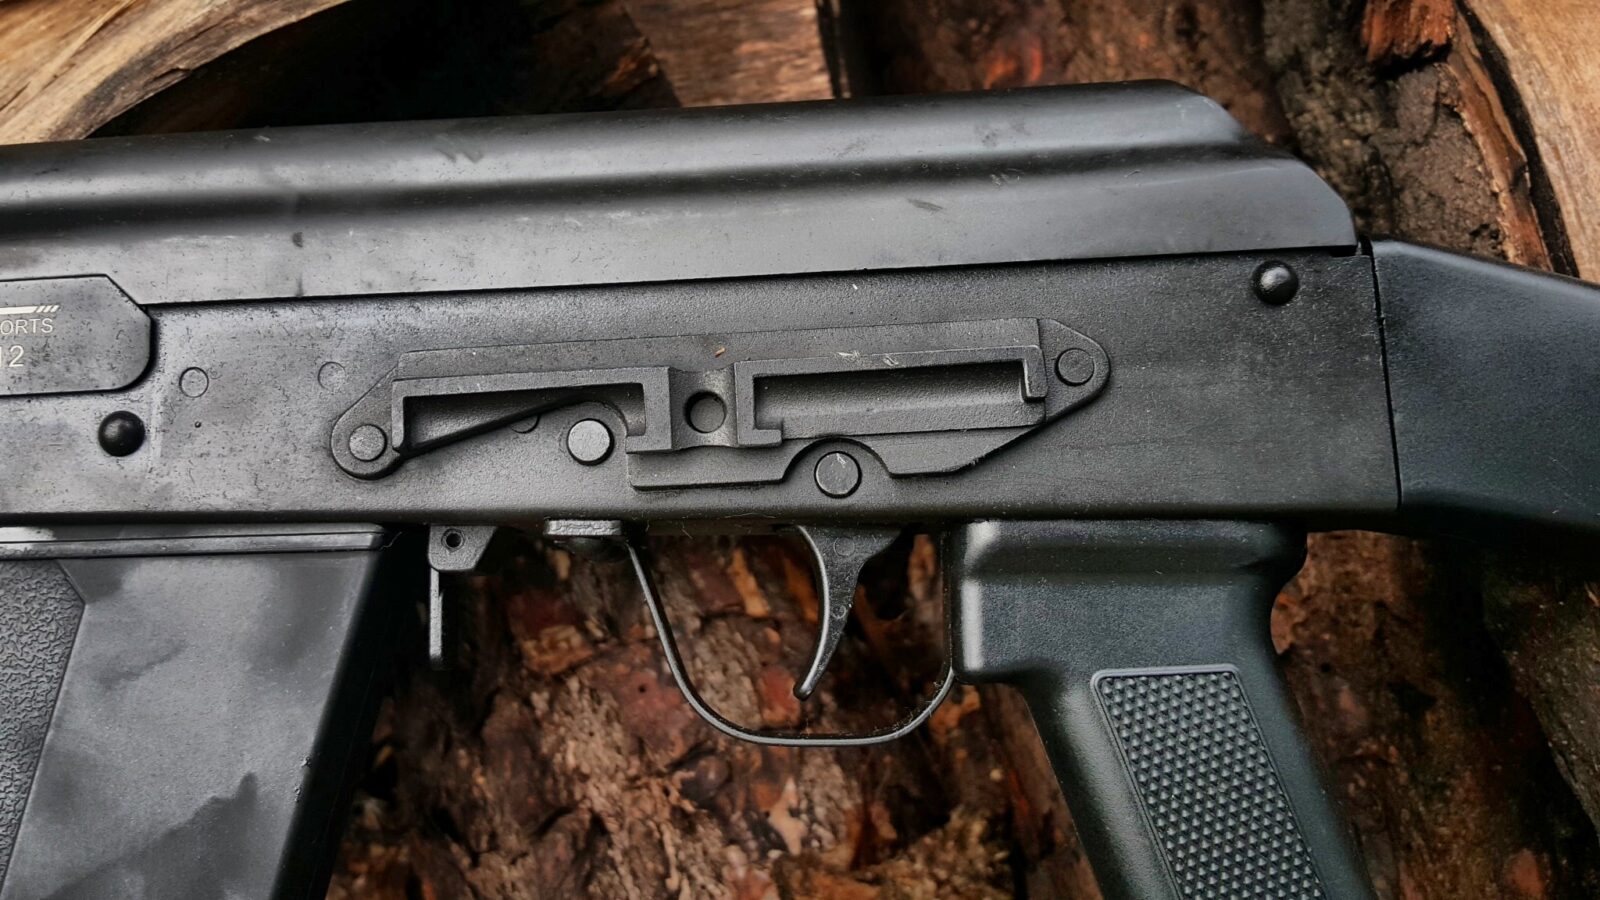
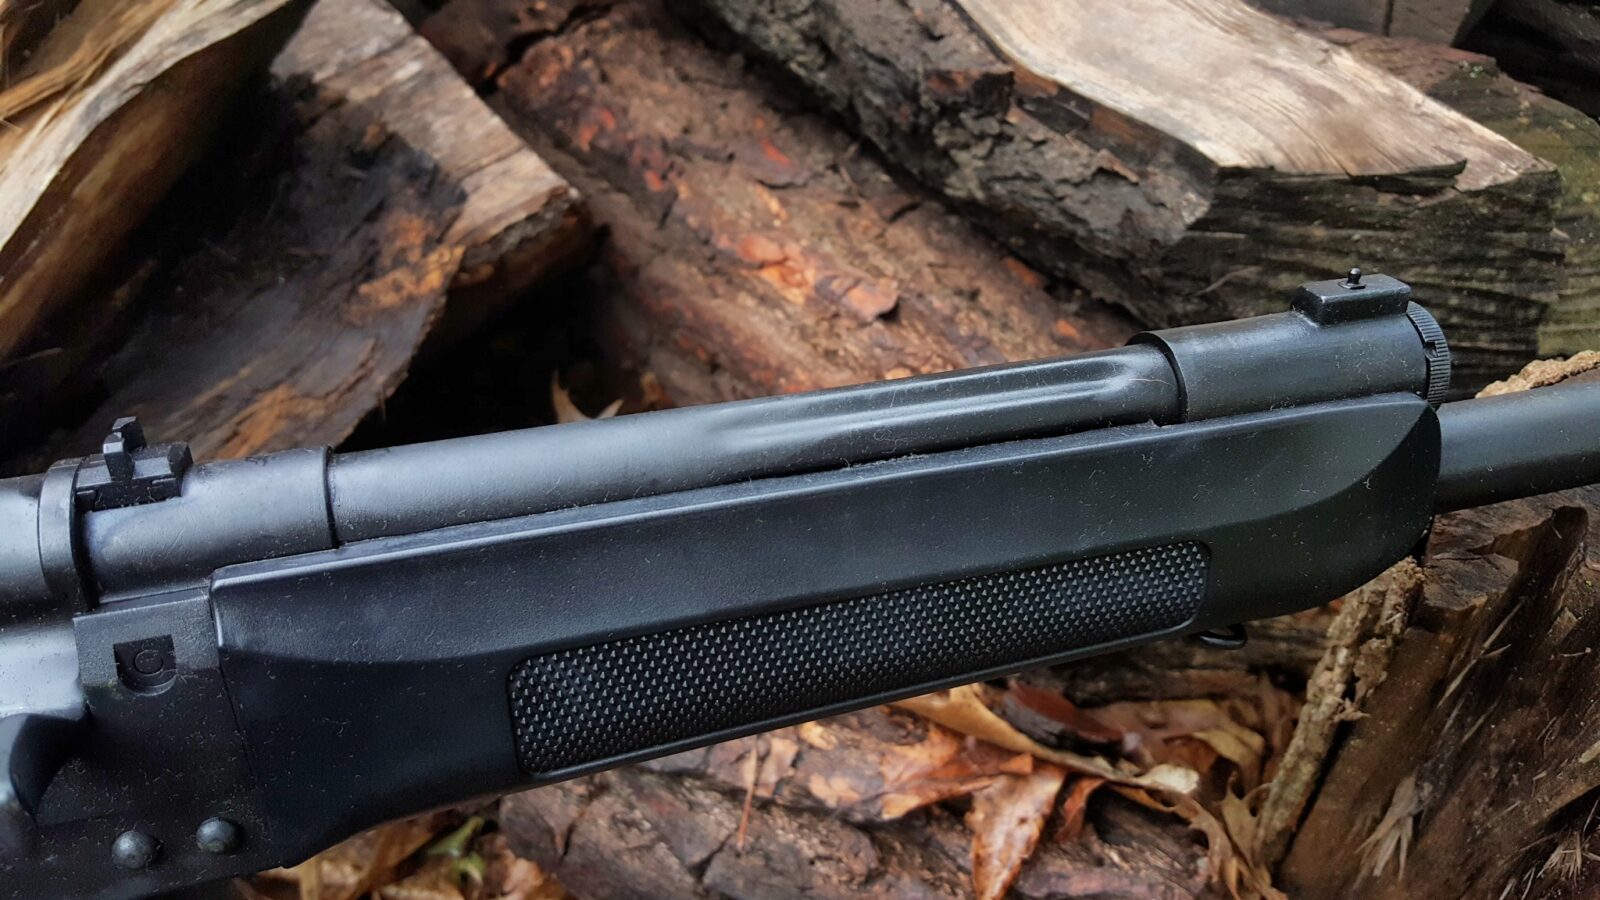
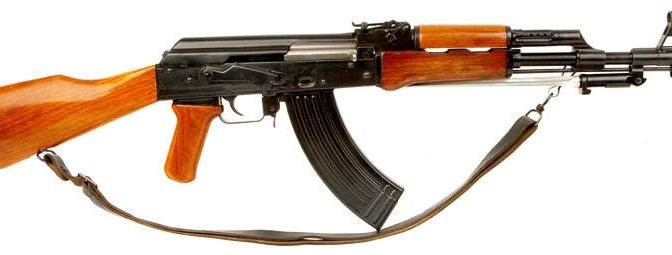
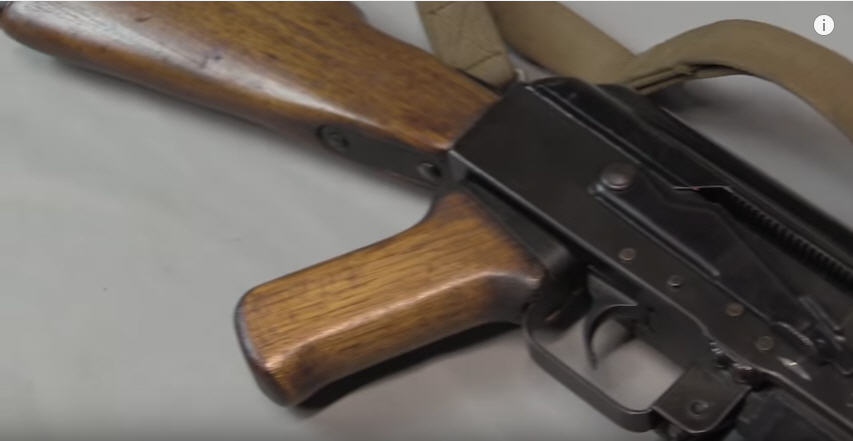
Introduced in the late 1990s to coincide with the handover of Hong Kong, the QBZ-95 was a radical departure for the PLA. It was a gas-operated, bullpup rifle chambered for the then-new, domestically developed 5.8x42mm DBP-87 cartridge. This move represented a major technological leap, transitioning the PLA from its lineage of 7.62x39mm Kalashnikov-derived platforms (the Type 56 and Type 81) to a proprietary design utilizing a modern small-caliber, high-velocity round. The bullpup configuration, placing the action and magazine behind the trigger, allowed for a full-length 18.2-inch barrel in an overall package shorter than many carbines, a significant advantage for mechanized infantry.

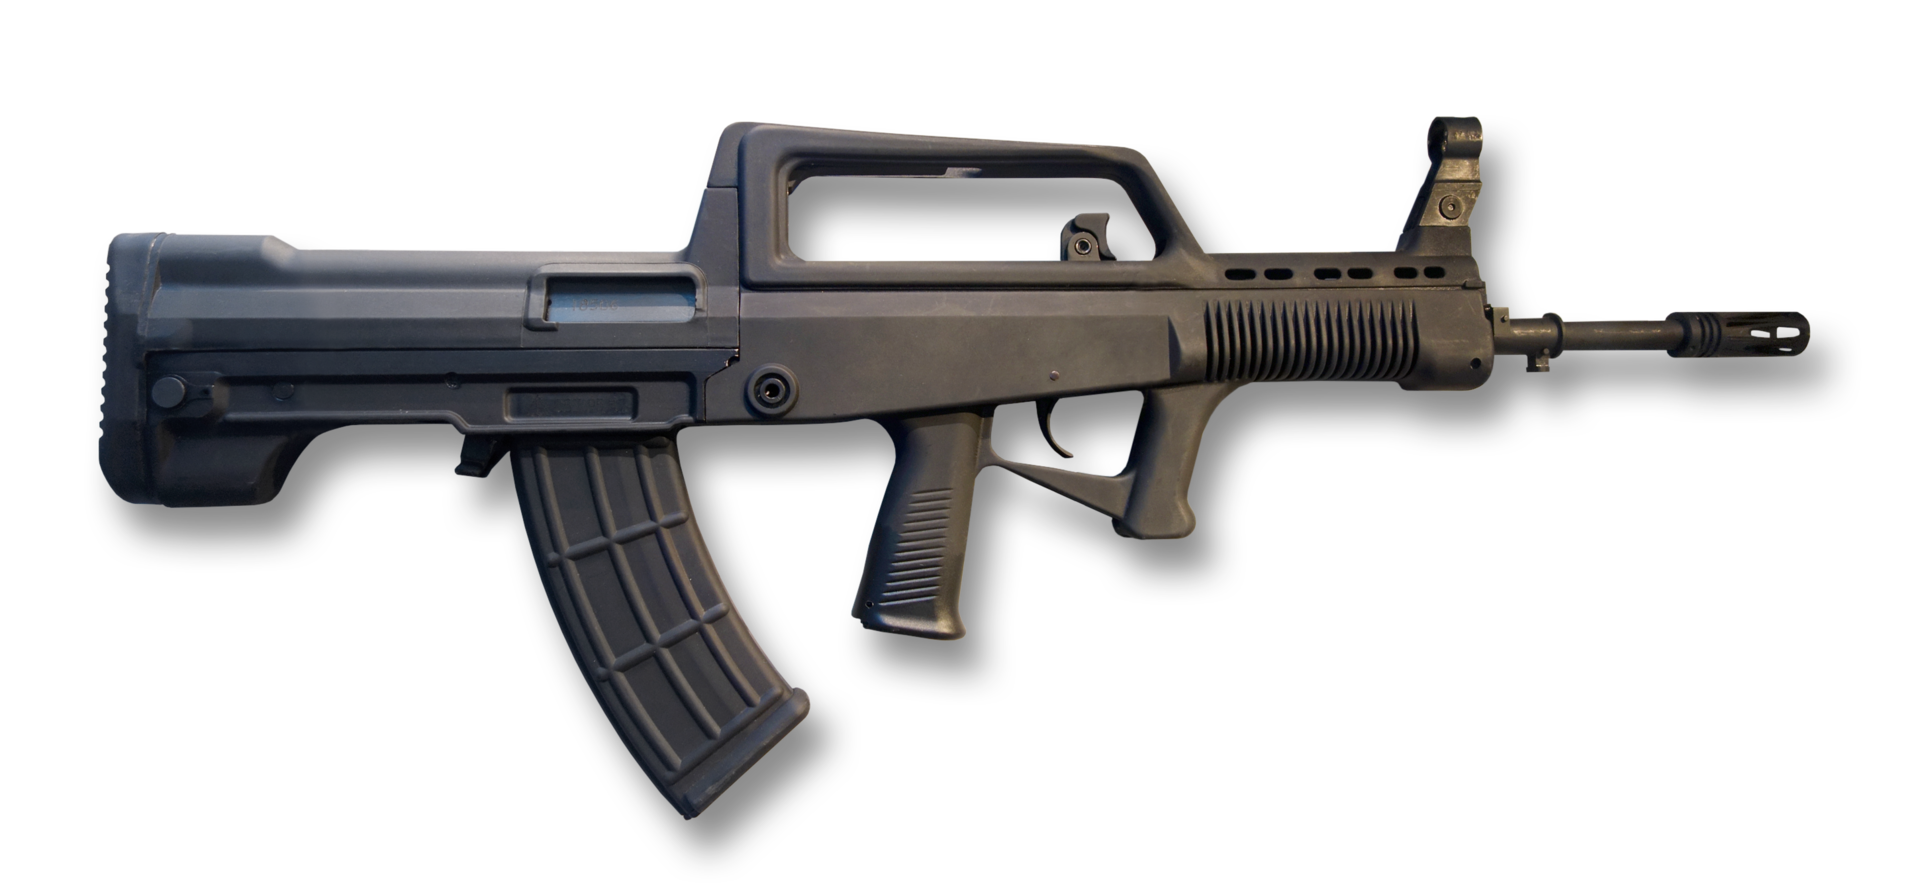
Around 2010, an upgraded version, the QBZ-95-1, was introduced. This model addressed some of the original’s ergonomic flaws, most notably by relocating the safety selector from the rear of the stock to a more accessible position above the pistol grip. It also featured a heavier barrel and was chambered for the improved DBP-10 ammunition, which used a heavier projectile for better long-range performance.

The rapid and expensive decision by the PLA to abandon the entire bullpup concept after only one major upgrade suggests that the perceived flaws of the QBZ-95 were not minor but fundamental to its design. The platform’s legacy is therefore complex. It should not be viewed simply as a failed rifle, but rather as a crucial and necessary transitional system. The QBZ-95 project achieved its primary strategic objective: it forced the Chinese defense industry to master modern rifle manufacturing techniques, including the use of engineering polymers, and successfully introduced a proprietary small-caliber cartridge, breaking the PLA’s long-standing dependence on Soviet calibers and designs. In this, it was an unqualified success. Its secondary goal, to be a world-class fighting rifle, was only partially met. The institutional flexibility demonstrated by the PLA and Norinco in critically evaluating their own flagship product and making the bold decision to replace it entirely is a sign of a mature and pragmatic military-industrial complex, one that prioritizes combat capability over institutional prestige.

  • Variants in Service:
  • QBZ-95/95-1: The standard rifle variant. For two decades, it has been the primary individual weapon of the PLAGF, PAP, and other branches.
  • QBZ-95B/95B-1: A compact carbine version with a significantly shorter barrel. It has been used by special forces, vehicle crews, and naval boarding parties, but its utility was hampered by a severe muzzle blast, flash, and a significant reduction in projectile velocity and effective range.
  • QJB-95/95-1: The Squad Automatic Weapon (SAW) variant. It is essentially a heavy-barreled version of the rifle, designed to be fed from a 75-round drum magazine. While providing more sustained fire capability than a standard rifle, it is not a true light machine gun. It is prone to overheating during prolonged firing and lacks the advantages of a quick-change barrel or a belt-feed system.

Legacy Systems in Reserve/Second-Line Service

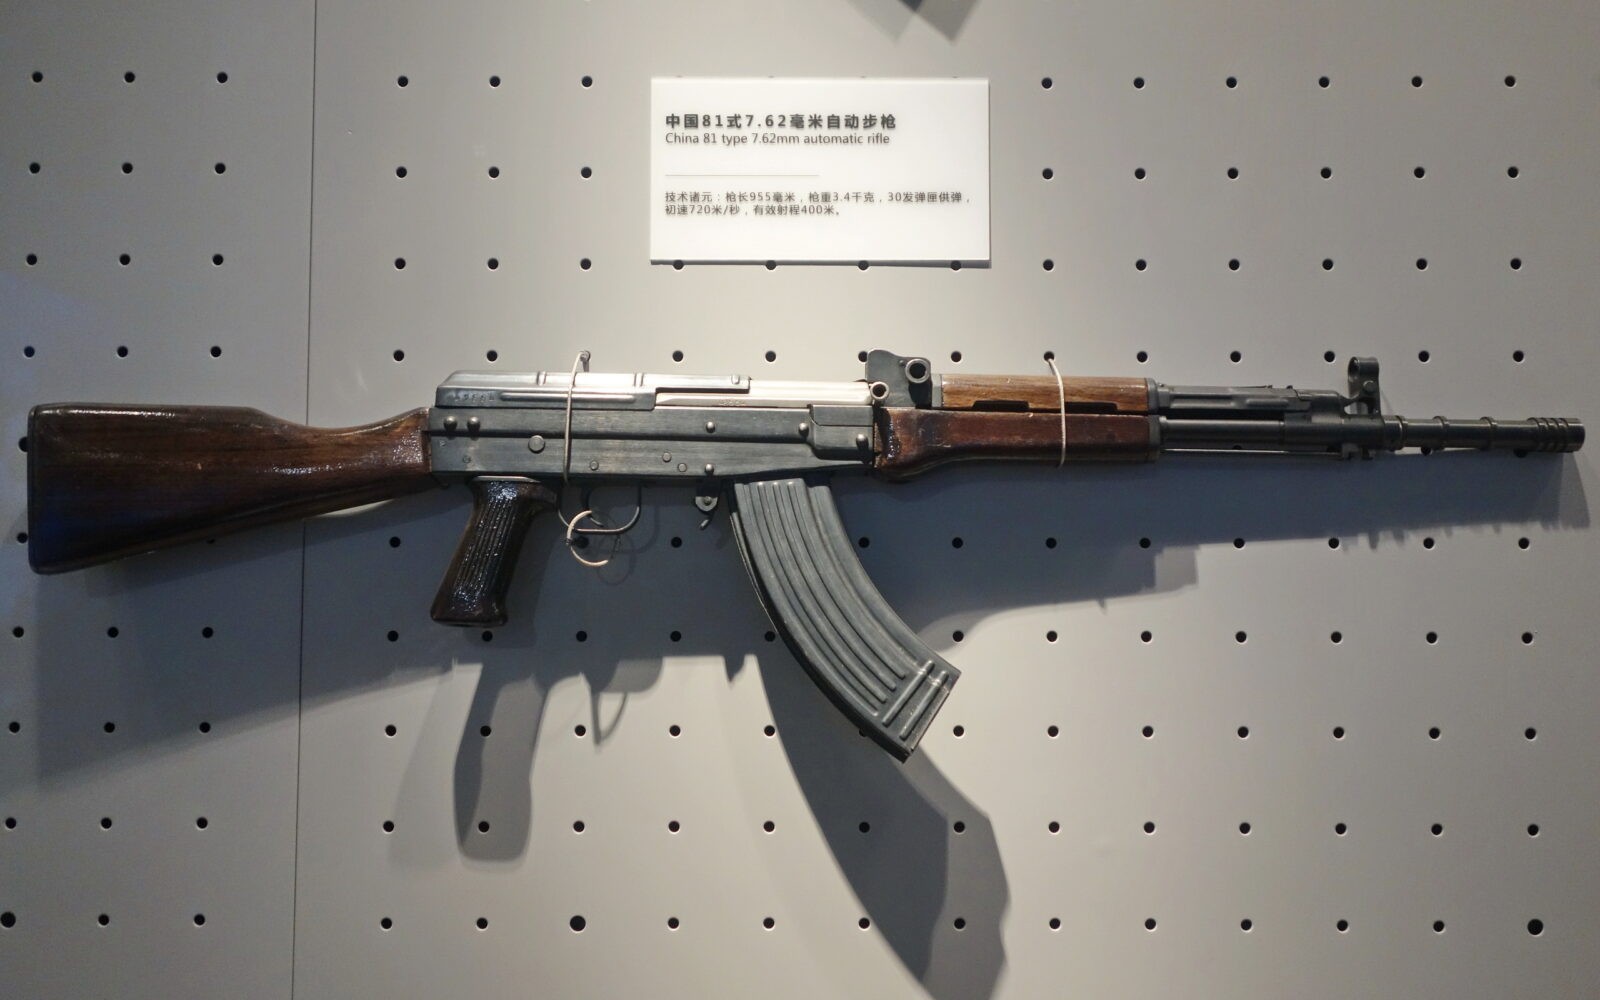
The Type 81 (81式自动步枪, 81 Shì Zìdòng Bùqiāng) rifle, a 7.62x39mm weapon system, continues to serve with reserve formations, militia units, and some border defense forces. The Type 81, while visually resembling the Kalashnikov, is a distinct design featuring a short-stroke gas piston system (unlike the AK’s long-stroke piston), which contributed to its improved accuracy over the Type 56 (a direct Chinese copy of the AK-47). It is a robust, reliable, and simple weapon that remains effective for its intended role.

Tyoe 81 Rifle. By Tyg728 – Own work, CC BY-SA 4.0, https://commons.wikimedia.org/w/index.php?curid=114962053

The continued presence of the Type 81 and the gradual displacement of the QBZ-95 is not an indication of logistical failure or economic hardship, but rather the product of a deliberate and cost-effective strategy of tiered modernization. Equipping the entirety of China’s massive armed forces—including millions of active duty personnel, PAP, and reservists—with the latest QBZ-191 system simultaneously is financially prohibitive and logistically unfeasible. Instead, the PLA employs a cascading procurement model. New QBZ-191 systems are fielded to high-readiness, frontline combat brigades. Their displaced QBZ-95-1 rifles are then refurbished and re-issued to second-line units, garrison troops, or the PAP. This pushes older but still serviceable weapons like the Type 81 further down the chain to reserve and militia units. This methodical approach maximizes the overall combat power of the force structure by ensuring that even lower-tier units receive upgraded equipment, all while managing the immense cost of a full-scale re-equipment program.

IV. Precision Fire Systems: From Marksman to Anti-Materiel

The PLA has made significant strides in developing and fielding a range of precision fire systems, recognizing the critical importance of engaging targets accurately at ranges beyond that of a standard service rifle. This capability area has evolved from rudimentary sniper rifles to a sophisticated ecosystem of designated marksman, bolt-action sniper, and heavy anti-materiel systems.

Designated Marksman Rifles (DMRs)

  • QBU-191: As detailed previously, the QBU-191 is the PLA’s newest DMR and represents the future of squad-level precision fire. It is being fielded as an integral part of the new modular weapon family.
  • QBU-88 (Type 88) (88式狙击步枪, 88 Shì Jūjí Bùqiāng, Type 88 Sniper Rifle): The QBU-88 was the PLA’s first purpose-built DMR, introduced alongside the QBZ-95 family. It is a semi-automatic, bullpup rifle chambered for the 5.8x42mm “heavy round” (a predecessor to the DBP-10). While officially designated a “sniper rifle,” its performance characteristics and intended role place it squarely in the DMR category. For its time, the QBU-88 was a revolutionary concept for the PLA, introducing the principle of a squad-level precision rifle. However, it is based on the QBZ-95 action and suffers from many of the same limitations, including poor ergonomics, a heavy trigger, and inadequate provisions for mounting modern optics. Its accuracy is considered adequate for its role but is surpassed by more modern designs. The QBU-88 is being actively replaced by the superior QBU-191.

Bolt-Action Sniper Rifles

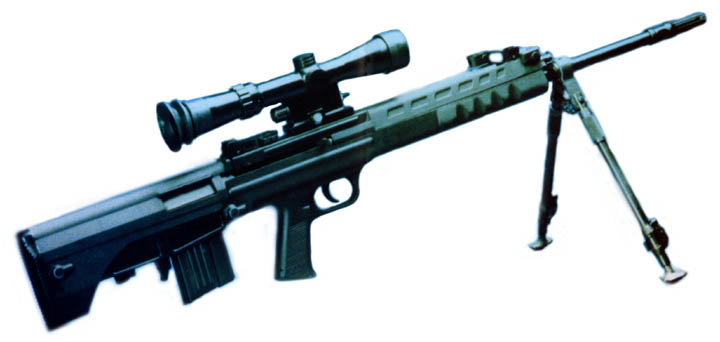
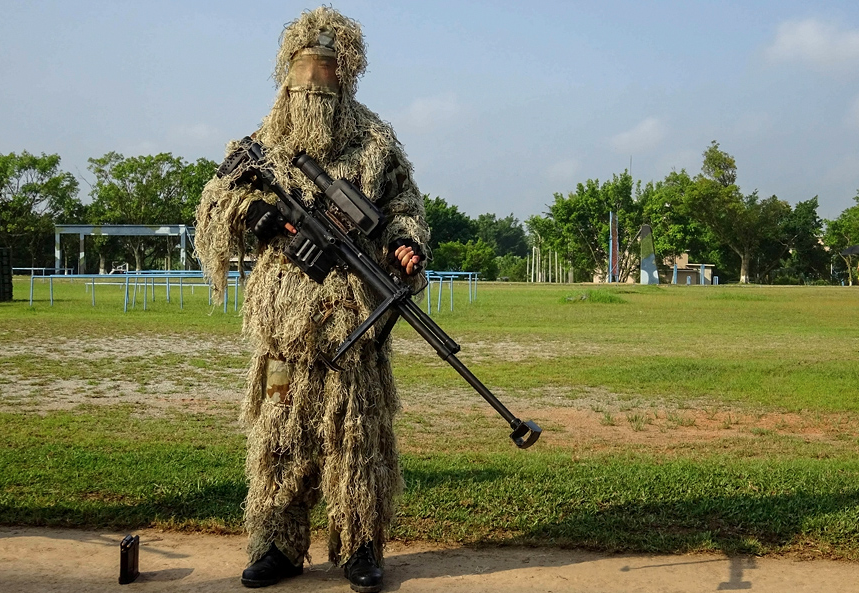
  • CS/LR4 (and variants): The CS/LR4 represents a significant departure in PLA small arms procurement philosophy. It is a modern, high-precision bolt-action sniper rifle system chambered in 7.62x51mm NATO. This system, used by PLAGF special operations forces and elite PAP counter-terrorism units like the Snow Leopard Commando Unit, is a direct equivalent to Western precision rifles like the Remington M24 or Accuracy International Arctic Warfare.
One of the Norinco NSG-1 / CS-LR4 Sniper Rifles that China donated to the Philippine armed forces last June 2017. Photo taken during the Philippine Army’s 121st Anniversary Exhibit at the Bonifacio High Street Activity Center. By Rhk111 – Own work, CC BY-SA 4.0, https://commons.wikimedia.org/w/index.php?curid=67238847

The adoption of a foreign, NATO-standard caliber for a premier sniper rifle is a highly revealing decision. It breaks with the PLA’s long-standing doctrine of logistical self-sufficiency and reliance on domestic calibers. This choice was not made lightly. It indicates that the performance requirements for high-precision, long-range sniping—specifically, consistent sub-Minute of Angle (MOA) accuracy—were so stringent that existing domestic cartridges, such as the 5.8mm or the legacy 7.62x54mmR, were deemed insufficient. The PLA’s ordnance experts and procurement officers made a pragmatic choice, recognizing that the global commercial and military ecosystem for high-quality, match-grade 7.62x51mm ammunition was far more mature and offered superior performance compared to any domestic equivalent. This prioritization of raw capability over logistical purity for a specialized, high-value role suggests a sophisticated, two-tiered approach to ammunition philosophy. For general-issue weapons, domestic calibers are paramount for strategic independence during a major conflict. For elite, special-purpose units where mission success hinges on the highest possible performance, they will adopt the best available global standard.

Anti-Materiel Rifles

  • QBU-10 (10式大口径狙击步枪, 10 Shì Dàkǒujìng Jūjí Bùqiāng, Type 10 Large-Caliber Sniper Rifle): The QBU-10 is a semi-automatic anti-materiel rifle chambered in the powerful 12.7x108mm cartridge, the Eastern Bloc equivalent of the.50 BMG. This is a heavy, team-served weapon, typically deployed on a tripod or mounted on a vehicle. Its purpose is to engage and destroy high-value materiel targets at very long ranges (up to 1,500 meters), such as light armored vehicles, radar and communications equipment, parked aircraft, and enemy personnel behind substantial cover. A key feature of the QBU-10 system is its sophisticated, integrated day/night optic, which reportedly incorporates a laser rangefinder and a ballistic computer to aid the gunner in achieving first-round hits at extreme distances. This weapon provides PLA infantry units with an organic capability to defeat targets that would otherwise require dedicated anti-tank guided missiles or heavier fire support, making it a key asset for long-range interdiction and battlefield dominance.
A Chinese marine holding a QBU-10 in a Ghillie Suit. By Mil.ru, CC BY 4.0, https://commons.wikimedia.org/w/index.php?curid=109882081

V. Sidearms and Close-Quarters Systems

This category includes weapons designed for personal defense, urban combat, and special operations, where compactness, rate of fire, and specialized capabilities like sound suppression are paramount. Recent developments in this area show a clear trend towards standardization on globally accepted calibers.

Pistols (手枪, Shǒuqiāng)

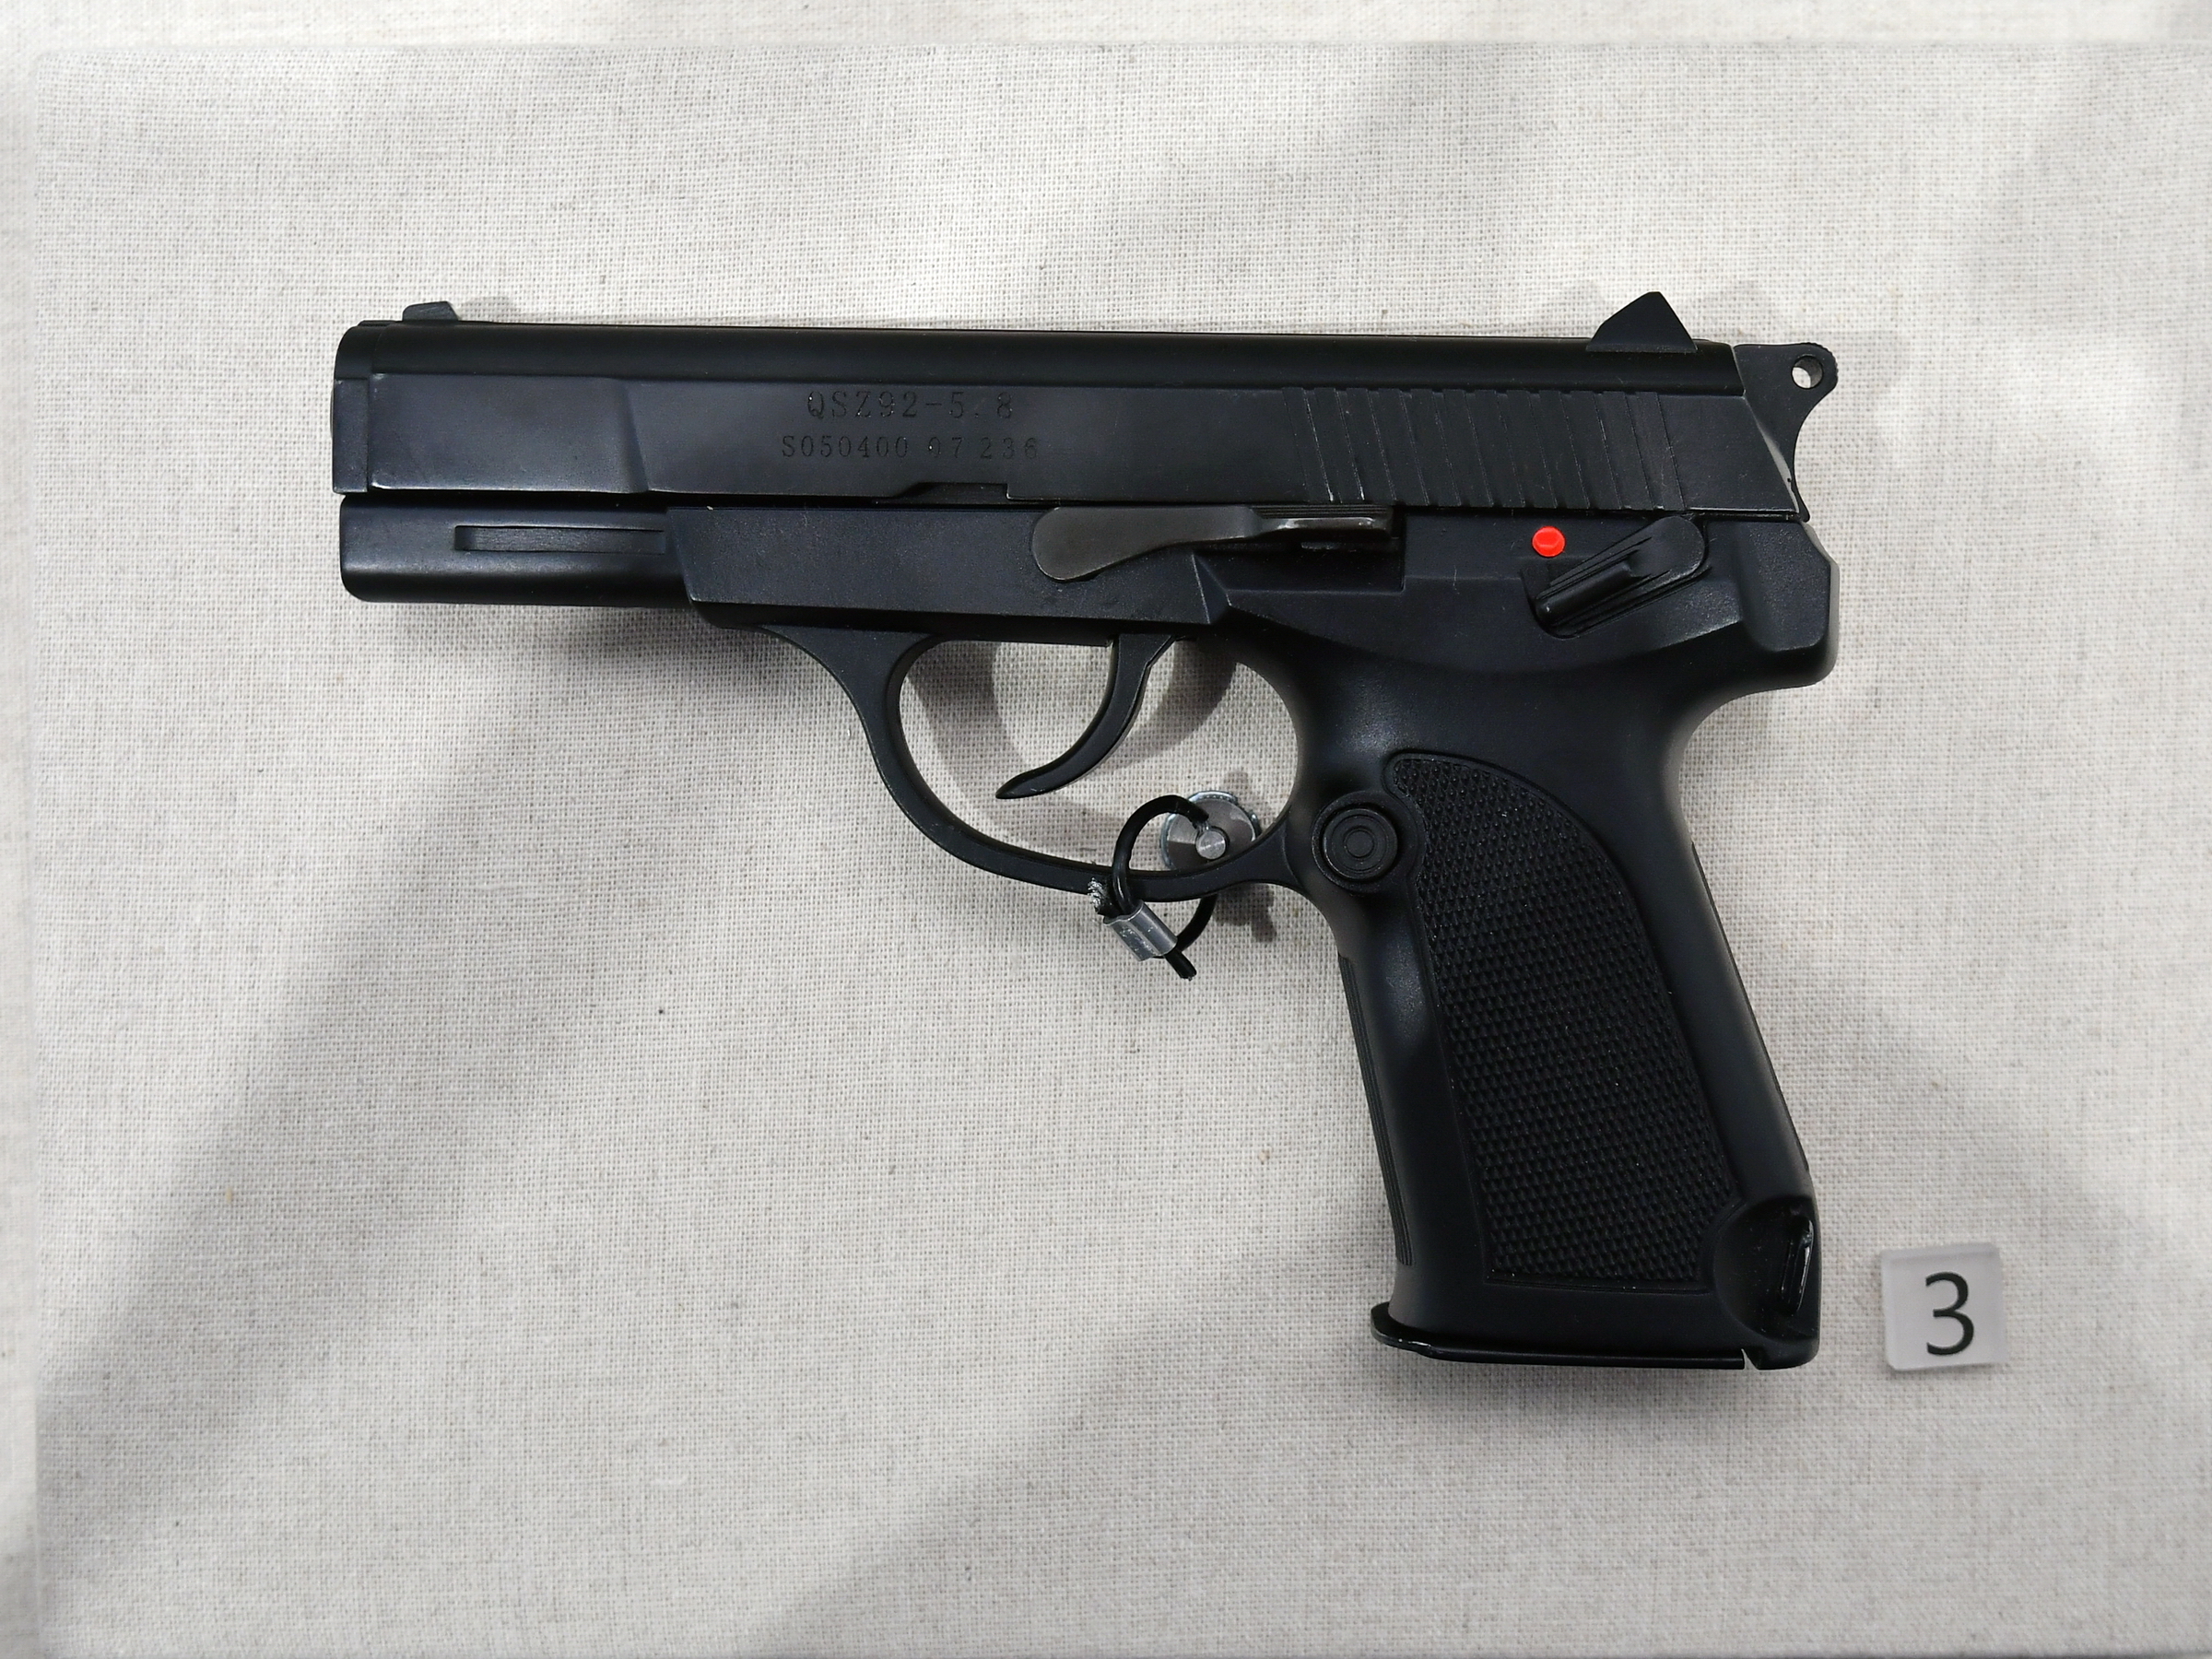
  • QSZ-92 (92式手枪, 92 Shì Shǒuqiāng, Type 92 Pistol): The QSZ-92 has been the standard service pistol for the PLA and PAP for over two decades. It is a polymer-framed, short-recoil-operated pistol. Uniquely, it was produced in two distinct caliber variants. The primary military version fires the proprietary 5.8x21mm DAP-92 armor-piercing cartridge, issued to officers and combat troops. A second version, chambered in the ubiquitous 9x19mm Parabellum, was produced primarily for PAP units and for export. The 5.8mm version was designed with the specific doctrinal goal of defeating enemy body armor, a concept shared by the Western FN 5.7x28mm. However, like its Western counterparts, the small-caliber pistol round concept has been widely criticized for having questionable terminal ballistics and stopping power against unarmored targets compared to larger, heavier conventional pistol rounds.
QSZ92 Pistol. By Tyg728 – Own work, CC BY-SA 4.0, https://commons.wikimedia.org/w/index.php?curid=62580963
  • QSZ-193 (193式手枪, 193 Shì Shǒuqiāng, Type 193 Pistol): The QSZ-193 is a new, compact, striker-fired pistol that has been observed in service with PLAAF pilots and special forces units. Crucially, it is chambered in 9x19mm Parabellum. The emergence of this new 9mm pistol as the apparent next-generation sidearm for specialized roles effectively signals the end of the PLA’s two-decade experiment with the 5.8x21mm pistol cartridge. The decision to standardize on the globally dominant 9x19mm caliber for its new sidearm indicates that the PLA has reached the same conclusion as many Western militaries: modern 9mm ammunition, particularly with advanced hollow-point or controlled-expansion projectiles, offers a superior overall balance of terminal performance, magazine capacity, and controllability, while the perceived advantage of armor penetration from small-caliber pistol rounds is marginal in most real-world scenarios.

Submachine Guns (冲锋枪, Chōngfēngqiāng)

  • QCQ-171 (171式冲锋枪, 171 Shì Chōngfēngqiāng, Type 171 Submachine Gun): A modern, lightweight submachine gun (SMG) chambered in 9x19mm, the QCQ-171 is being issued to special operations forces and other units with a specific requirement for a compact, high-rate-of-fire weapon for close-quarters combat. It features a telescopic stock, accessory rails for optics and lights, and appears to be a direct competitor to Western designs like the Heckler & Koch MP5 or B&T APC9.
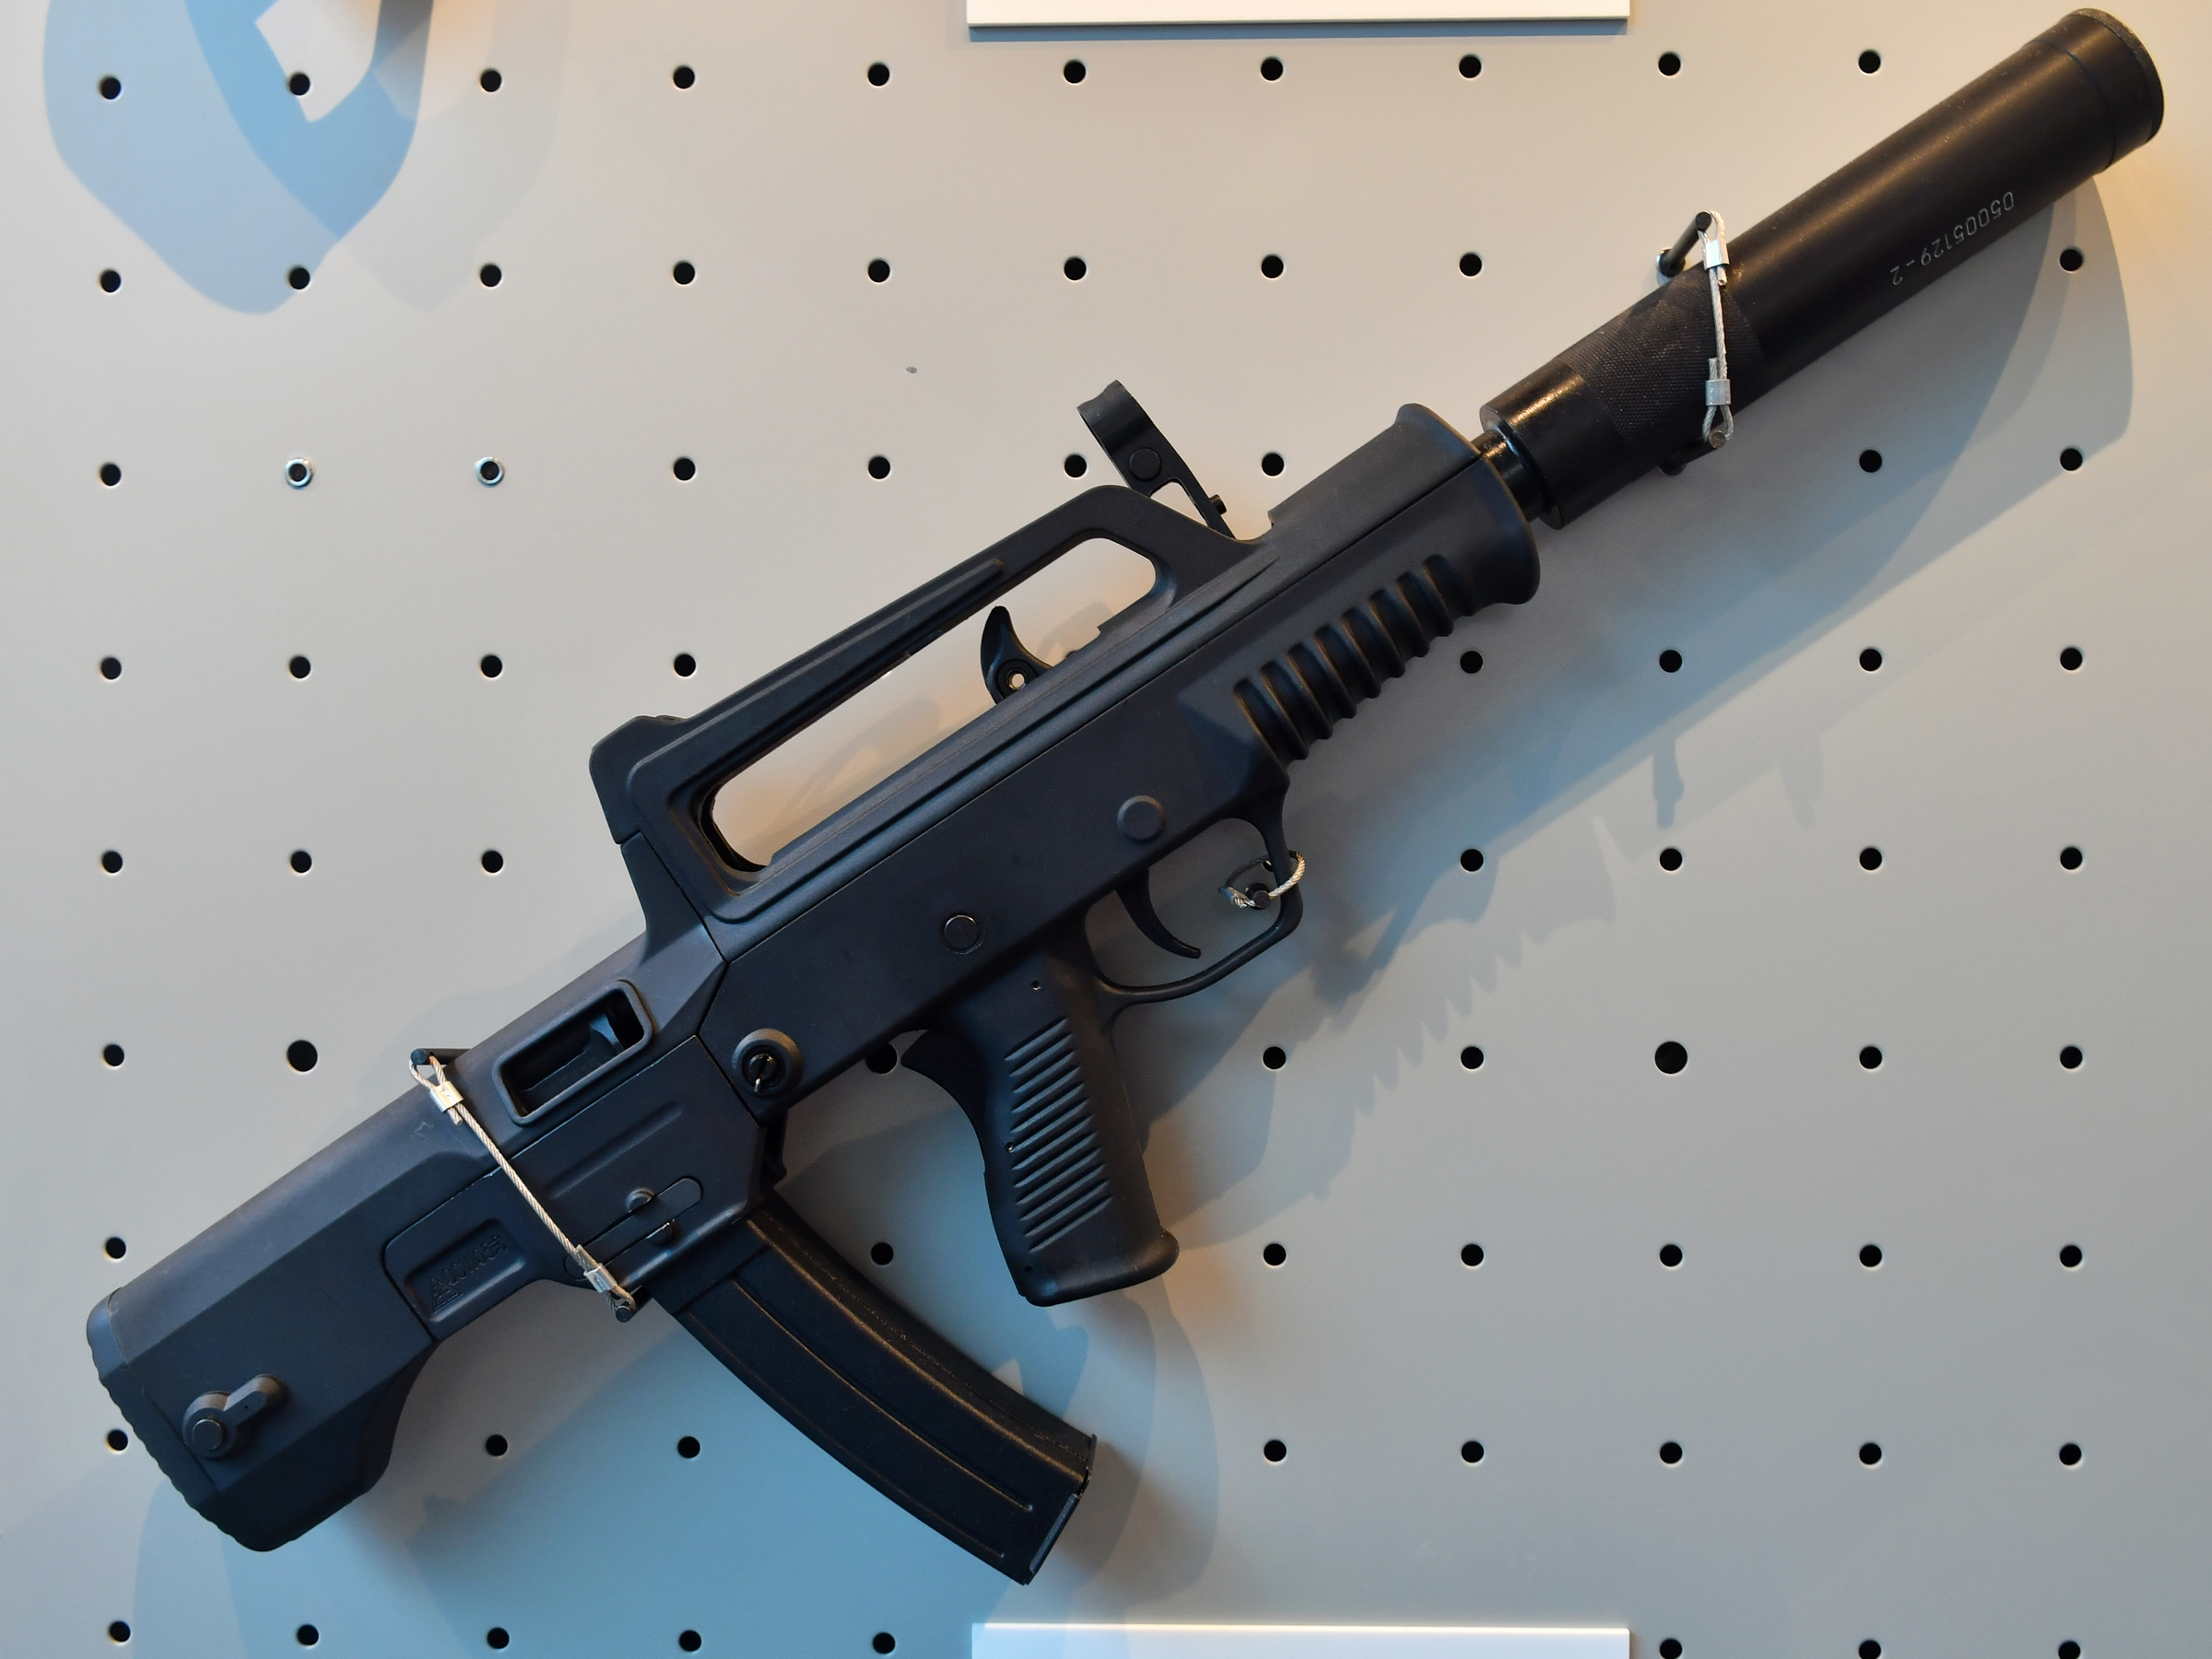
  • QCW-05 (05式轻型冲锋枪, 05 Shì Qīngxíng Chōngfēngqiāng, Type 05 Light Submachine Gun): The QCW-05 is a unique bullpup SMG chambered in the proprietary 5.8x21mm pistol cartridge. Its most notable feature is its large, integral sound suppressor, which makes the weapon very quiet. It is fed from a 50-round, four-column “quad-stack” magazine located in the pistol grip. While effective in its niche role for stealth operations, it suffers from the same ballistic limitations as the QSZ-92 pistol in the same caliber. Its use is primarily confined to PLA special forces and PAP counter-terrorism units. The fielding of the 9mm QCQ-171 in many frontline SOF roles further reinforces the PLA’s strategic move away from the 5.8x21mm cartridge ecosystem.
QCW-5 Bullpup Submachine Gun. By Tyg728 – Own work, CC BY-SA 4.0, https://commons.wikimedia.org/w/index.php?curid=62566026

VI. Crew-Served and Support Weapons

These weapons provide sustained fire support at the platoon and company level, giving infantry units the ability to suppress and destroy enemy positions and light vehicles. This category includes machine guns and automatic grenade launchers.

Machine Guns (机枪, Jīqiāng)

  • QJY-88 (88式通用机枪, 88 Shì Tōngyòng Jīqiāng, Type 88 General Purpose Machine Gun): The QJY-88 was developed as the PLA’s first true General Purpose Machine Gun (GPMG), intended to be fired from a bipod in the light machine gun role or from a tripod in the sustained-fire medium machine gun role. It was designed to replace the aging 7.62x54mmR Type 67 machine gun. However, in a highly unusual design choice, the QJY-88 was chambered in the 5.8x42mm “heavy round”. This decision represents a rare doctrinal mismatch in PLA weapon development. The GPMG concept, epitomized by the German MG3, the American M240, and the Russian PKM, is predicated on the use of a full-power rifle cartridge (e.g., 7.62x51mm or 7.62x54mmR). These powerful rounds are essential for providing effective, long-range suppressive fire and for penetrating cover, light vehicles, and field fortifications. By chambering their GPMG in an intermediate cartridge, even a heavy-for-caliber one, the PLA created a weapon that lacked a significant performance advantage in range and barrier penetration over a modern squad automatic weapon, yet was heavier and more cumbersome. The weapon has been widely criticized as being underpowered for its intended role, and the notable lack of a clear successor suggests that the PLA is re-evaluating its entire machine gun doctrine.
  • QJZ-89 (89式重机枪, 89 Shì Zhòng Jīqiāng, Type 89 Heavy Machine Gun): The QJZ-89 is the PLA’s standard heavy machine gun (HMG), chambered in 12.7x108mm. Its most remarkable feature is its exceptionally low weight. At approximately 26 kg (57 lbs) for the gun and tripod combined, it is the lightest HMG in service anywhere in the world, weighing significantly less than the American M2 Browning or the Russian Kord. This light weight is achieved through the use of advanced alloys and a hybrid direct-impingement/short-stroke piston operating system. This makes it more man-portable than its peers, allowing infantry units to reposition it on the battlefield more rapidly. It is used in both tripod-mounted infantry support roles and as a primary or secondary armament on a wide variety of PLA vehicles.

Automatic Grenade Launchers (榴弹发射器, Liúdàn Fāshèqì)

  • QLZ-87/11 (87/11式榴弹发射器, 87/11 Shì Liúdàn Fāshèqì, Type 87/11 Grenade Launcher): The QLZ-87 is a 35mm automatic grenade launcher (AGL) that provides devastating anti-personnel and light anti-materiel fire support for infantry units. It is a selectively-fired weapon that can be fired from an integral bipod in a direct-fire role or from a tripod for indirect fire. It is fed from 6- or 15-round drum magazines. The newer QLZ-11 is a lightened and improved version of the design. The 35mm grenades provide a significant area-effect capability, allowing a small infantry unit to suppress and neutralize enemy troops in trenches, behind cover, or in the open at ranges out to 1,700 meters.

VII. Armament by Service Branch: A Comparative Analysis

While there is increasing standardization around the new QBZ-191 family, the specific small arms loadouts vary between the different branches of China’s armed forces, reflecting their unique operational requirements and mission sets.

PLA Ground Force (PLAGF) (中国人民解放军陆军, Zhōngguó Rénmín Jiěfàngjūn Lùjūn)

  • Standard Infantry: The PLAGF’s frontline combined arms brigades are at the forefront of the modernization effort. Standard infantry squads are actively transitioning from the QBZ-95-1 to the new QBZ-191 as their primary service rifle. A typical squad will be augmented with the QBU-191 for designated marksman duties and the new belt-fed QJB-201 as the squad’s light machine gun. Officers and vehicle crews are typically issued the QSZ-92 pistol for personal defense. Second-line and garrison units will continue to operate the QBZ-95-1 for the foreseeable future.
  • Special Operations Forces (SOF): PLAGF special forces are among the first to receive the full suite of new-generation weapons. They are likely to be fully equipped with the compact QBZ-192 carbine for its maneuverability in direct action missions. Their specialized inventory also includes the high-precision CS/LR4 bolt-action sniper rifle for long-range engagements and the new 9mm QCQ-171 SMG for suppressed, close-quarters operations.

PLA Navy (PLAN) (中国人民解放军海军, Zhōngguó Rénmín Jiěfàngjūn Hǎijūn)

  • Marines (海军陆战队, Hǎijūn Lùzhànduì): As an elite expeditionary force analogous to the USMC, the PLAN Marine Corps is receiving the QBZ-191 family concurrently with the PLAGF’s frontline units. Given their focus on amphibious assault, littoral operations, and potential urban warfare scenarios, the compact QBZ-192 carbine is expected to be a common issue weapon alongside the standard QBZ-191 rifle.
  • Shipboard Personnel: For general security, anti-piracy, and visit, board, search, and seizure (VBSS) operations, compactness is the key driver of weapon selection. Personnel were historically armed with the QBZ-95B carbine, but are now likely transitioning to the superior QBZ-192 carbine. The QSZ-92 pistol remains the standard sidearm.

PLA Air Force (PLAAF) (中国人民解放军空军, Zhōngguó Rénmín Jiěfàngjūn Kōngjūn)

  • Base Security/Ground Personnel: PLAAF ground personnel, such as those in airfield security units, are typically equipped with standard infantry rifles. They currently operate the QBZ-95-1 and will likely be among the later recipients of the QBZ-191 as production ramps up.
  • Pilots: Aircrew are issued compact weapons for survival and self-defense in the event of an ejection over hostile territory. This role was historically filled by machine pistols like the Type 80, but is now transitioning to the new, more reliable, and compact QSZ-193 pistol in 9x19mm.

People’s Armed Police (PAP) (中国人民武装警察部队, Zhōngguó Rénmín Wǔzhuāng Jǐngchá Bùduì)

The PAP is a massive paramilitary force responsible for internal security, counter-terrorism, and border control. Its armament reflects this dual law enforcement and military role.

  • Internal Security Units: The vast majority of PAP units, tasked with roles like riot control and guarding critical infrastructure, widely use the QBZ-95-1 rifle and the QSZ-92 pistol (often the 9mm version).
  • Counter-Terrorism Units: Elite PAP units, such as the Beijing-based Snow Leopard Commando Unit and various regional special police units, maintain a diverse and highly specialized inventory. Their requirements overlap significantly with military SOF but with a greater emphasis on surgical urban operations. They utilize the CS/LR4 sniper rifle for precision hostage rescue shots, both the integrally suppressed 5.8mm QCW-05 and the new 9mm QCQ-171 SMGs for close-quarters battle, and specialized tactical shotguns like the QBS-09 (09式军用霰弹枪, 09 Shì Jūnyòng Xiàndànqiāng, Type 09 Military Shotgun).

China Coast Guard (CCG) (中国海警局, Zhōngguó Hǎijǐng Jú)

As a paramilitary maritime law enforcement agency, the CCG’s armament is more standardized and focused on its mission set. Boarding teams are typically equipped with compact weapons suitable for use on ships, primarily the QBZ-95B carbine and the QSZ-92 pistol. Their cutters and larger vessels are armed with deck-mounted heavy machine guns and autocannons.

VIII. Concluding Analysis: Industrial Capacity and Future Trajectory

The ongoing modernization of the PLA’s small arms inventory reveals several key strategic trends and provides a clear indication of the capabilities of China’s domestic defense industry. The trajectory points towards a force that is rapidly closing the technological and doctrinal gap with leading Western militaries at the level of the individual soldier.

The analysis synthesizes four dominant trends. First is the primacy of modularity and optics integration, exemplified by the QBZ-191’s conventional layout and full-length Picatinny rail. Second is the shift towards a holistic, systems-based design approach, where the rifle, cartridge (DBP-191), and optic (QMK-191) are developed concurrently as an optimized package. Third is the pragmatic adoption of international standards, such as the MIL-STD-1913 rail and the 9x19mm pistol caliber, when they offer a clear performance advantage over proprietary solutions. Fourth is the implementation of a deliberate, cost-effective, tiered modernization strategy that maximizes the combat power of the entire force structure during a prolonged transition period.

The development and mass production of the QBZ-191 family is a testament to the maturity of China’s state-owned defense industry, primarily represented by the corporate giant Norinco. It demonstrates a sophisticated capability for rapid, clean-sheet design, the use of modern materials and manufacturing methods (such as advanced polymers for furniture and aluminum forgings and extrusions for receivers), and the large-scale production and integration of complex electro-optics. The ability to identify the doctrinal shortcomings of a previous flagship system (QBZ-95) and execute a complete and rapid course correction speaks to an agile and capability-focused industrial base.

Looking forward, the full replacement of the QBZ-95 family in all frontline PLAGF and PLAN Marine Corps units is likely to be completed within the next 5-10 years. Future development will likely focus on addressing remaining gaps in the PLA’s small arms portfolio. A high-priority area will likely be the development of a new GPMG, probably chambered in a full-power cartridge, to rectify the doctrinal and performance shortcomings of the 5.8mm QJY-88. Furthermore, the PLA will almost certainly continue the trend of integrating “smart” technologies into the infantry weapon system, including networked sights that can share data, integrated command and control links, and other technologies that further embed the individual soldier into a digital battlefield network. The overall trajectory is clear: China is committed to equipping its infantry with small arms systems that are not merely sufficient, but are technologically on par with, and in some cases potentially superior to, those of any potential adversary.

IX. Appendix: Comprehensive Small Arms Summary Table

The following table provides a consolidated, at-a-glance reference for the primary small arms systems currently in service with the armed forces of the People’s Republic of China.

CategoryChinese Designation (Hanzi)Pinyin RomanizationU.S. English Name/TranslationManufacturerCaliberOperating PrincipleWeight (Unloaded)Overall LengthPrimary Users
Service Rifle191式自动步枪191 Shì Zìdòng BùqiāngType 191 Automatic RifleNorinco State Arsenals5.8x42mm DBP-191Short-stroke gas piston, rotating bolt~3.25 kg~950 mm (stock extended)PLAGF, PLAN Marines
Carbine192式短自动步枪192 Shì Duǎn Zìdòng BùqiāngType 192 Short Automatic RifleNorinco State Arsenals5.8x42mm DBP-191Short-stroke gas piston, rotating bolt~3.0 kg~810 mm (stock extended)SOF, Vehicle Crews, PLAN
Service Rifle95-1式自动步枪95-1 Shì Zìdòng BùqiāngType 95-1 Automatic RifleNorinco State Arsenals5.8x42mm DBP-10Short-stroke gas piston, rotating bolt3.25 kg745 mmPLAGF, PAP, PLAN, PLAAF
Legacy Rifle81式自动步枪81 Shì Zìdòng BùqiāngType 81 Automatic RifleNorinco State Arsenals7.62x39mmShort-stroke gas piston, rotating bolt3.4 kg955 mm (fixed stock)PLA Reserve, Militia
Pistol92式手枪92 Shì ShǒuqiāngType 92 PistolNorinco State Arsenals5.8x21mm / 9x19mmShort recoil, rotating barrel0.76 kg190 mmPLA, PAP
Pistol193式手枪193 Shì ShǒuqiāngType 193 PistolNorinco State Arsenals9x19mmShort recoil, striker-firedN/A (Compact)N/A (Compact)PLAAF Pilots, SOF
SMG171式冲锋枪171 Shì ChōngfēngqiāngType 171 Submachine GunNorinco State Arsenals9x19mmBlowback~2.8 kg~690 mm (stock extended)SOF, PAP
SMG05式轻型冲锋枪05 Shì Qīngxíng ChōngfēngqiāngType 05 Light Submachine GunNorinco State Arsenals5.8x21mmBlowback, integrally suppressed2.2 kg500 mmSOF, PAP
DMR191式精确射手步枪191 Shì Jīngquè Shèshǒu BùqiāngType 191 Precision Marksman RifleNorinco State Arsenals5.8x42mm DBP-191Short-stroke gas piston, rotating bolt~4.5 kg (est.)~1100 mm (est.)PLAGF, PLAN Marines
DMR88式狙击步枪88 Shì Jūjí BùqiāngType 88 Sniper RifleNorinco State Arsenals5.8x42mm (Heavy)Short-stroke gas piston, rotating bolt4.1 kg920 mmPLAGF, PAP
Sniper RifleCS/LR4CS/LR4CS/LR4 High-Precision Sniper RifleNorinco State Arsenals7.62x51mm NATOBolt-action6.5 kg1100 mmPLAGF SOF, PAP CTU
Anti-Materiel10式大口径狙击步枪10 Shì Dàkǒujìng Jūjí BùqiāngType 10 Large-Caliber Sniper RifleNorinco State Arsenals12.7x108mmGas-operated, semi-automatic13.3 kg1380 mmPLAGF
LMG201式班用机枪201 Shì Bānyòng JīqiāngType 201 Squad Machine GunNorinco State Arsenals5.8x42mm DBP-191Gas-operated, belt-fed< 5 kg (est.)N/APLAGF
SAW95-1式班用机枪95-1 Shì Bānyòng JīqiāngType 95-1 Squad Machine GunNorinco State Arsenals5.8x42mm DBP-10Short-stroke gas piston, rotating bolt3.95 kg840 mmPLAGF, PAP
GPMG88式通用机枪88 Shì Tōngyòng JīqiāngType 88 General Purpose Machine GunNorinco State Arsenals5.8x42mm (Heavy)Gas-operated, belt-fed11.8 kg (gun & bipod)1150 mmPLAGF
HMG89式重机枪89 Shì Zhòng JīqiāngType 89 Heavy Machine GunNorinco State Arsenals12.7x108mmGas-operated, belt-fed17.5 kg (gun only)1192 mmPLAGF
AGL87/11式榴弹发射器87/11 Shì Liúdàn FāshèqìType 87/11 Grenade LauncherNorinco State Arsenals35x32mmSRBlowback, semi/full auto12 kg (gun & bipod)970 mmPLAGF

If you find this post useful, please share the link on Facebook, with your friends, etc. Your support is much appreciated and if you have any feedback, please email me at in**@*********ps.com. Please note that for links to other websites, I may be paid via an affiliate program such as Avantlink, Impact, Amazon and eBay.


New SDS 10 Round Magazines At The Range – They Worked Great

As you may have read, my first range session with my new SDS Lynx shotgun didn’t go very well when I used new untested 10 round SDS brand magazines.  I posted my findings and David Fillers of SDS immediately reached out to me to address the issue.

David told me they did have a few quality control problems early on and that he wanted to replace my four magazines.  Note, David said they have sold over 3,000 magazines with just a few problems  and given that I haven’t heard or read about others having problems, it must have just been bad luck for me.  At any rate, I was impressed that he reached out so quick and a few days later the replacement magazines arrived.

To make sure I didn’t have further problems, they had opened each package and tested the followers, which I appreciated.   Let me tell you, the difference was night and day.  The replacement magazine followers were much looser as they approached the top of the mag and felt great from the start.  Exactly what I would normally expect.  Of course, this then begged the question of how would they perform?

About a week after that, I finally got a chance to take the Lynx and the new magazines to the range.  I could tell the Lynx was still wearing in.  Whenever you have a weapon with parkerizing, it is to be expected.  We put about 25 rounds of 2-3/4″ Remington 00 buckshot through it the first time and then I put about 70 more through on this trip.  I’d say somewhere between cumulative round 40-50 (meaning from the fist session and this one), the SDS really started to smoothen out.

How could I tell?  It was cycling faster and it was kicking rounds out very aggressively so I turned the gas port down from wide open to the third widest setting.  I bet I can turn that down again for these higher-power rounds in the near future.

Those 12 gauge rounds are stout.  It’s been years since I shot more than 25 in one session so I was feeling it.  You’ll also notice that my JMAC brake loosened up.  I had hand tightened the jam nut and forgot to secure it with a wrench.  I fixed that problem as soon as I got home.

At any rate, the new SDS 10 round magazines worked great especially once the action started smoothing out.  I tried them all the way full with 10 rounds as well as starting with only five rounds.  I also fired both buck shot and some Brenke slugs.  Thus, I’m happy to report that the SDS magazines appear to be good to go.

There is a good lesson here for all of us – including me – definitely test your gear before you need to rely on it.  Thankfully this was just me getting embarrassed by my buddies at the range razzing me vs. a critical situation.

Now, I next need to point out that I took the CSSpecs magazines with me also and all they did was jam so I need to contact those folks and work on them next.


If you find this post useful, please share the link on Facebook, with your friends, etc. Your support is much appreciated and if you have any feedback, please email me at in**@*********ps.com. Please note that for links to other websites, I may be paid via an affiliate program such as Avantlink, Impact, Amazon and eBay.


Tuning SDS 10 Round Magazines for Saiga and Lynx Shotguns

Well, Scott, Brooks and I went shooting a few weeks back. I was really excited to take my new SDS Lynx out and I had bought four brand news SDS 10 round magazines that I took out of the wrapper and threw in my range bag. That turned out to be a mistake. The photo above is of Scott trying to clear yet another jam from the Lynx with one of the 10 round magazines inserted – they had feed failures constantly.

One of the things I was told years ago was to test everything before you rely on it. Now granted I was just going to the quarry to shoot with my friends but I really should have tested those magazines. Of the four, only one kind of worked. The followers were all hanging up about an inch from the top. The five round SDS magazine that came with the shotgun ran great but five founds at a time is not the most exciting thing. It was frustrating and disappointing at the same time.

The Lynx and the mags went back in the gun case and I felt pretty stupid for not checking the mags before going. On the other hand, they were brand new and should have worked. I was more than a bit miffed also – clearly there was a manufacturing issue, Followers should spring to the top of a magazine like a rocket – not get stuck part way down. A person should not need to buy magazines and then tune them inside – getting them to fit an AK-style weapon, sure that happens all the time, but not needing to redo the internals.

In the following photos notice how the followers are not all the way to the top compared to the small 5 round magazines.

At that point I made a decision – the SDS magazines really did look well made and rather than send them back, I decided to tune them and document what I did to share with others.

The Lynx shotgun uses Saiga magazines so this design is common and writing up what to do might very well help others out. So with my mind made up, it was just a matter of finding the time to do it.

A couple of weeks went buy before I could dig in but finally the time came. I’m going to try and show you what I found and explain what you need to do to correct it. You’re going to need a Dremel (or similar rotary tool), rubberized polishing bits, felt/wool polishing bits, and a plastic polish – I use Plastix a lot but even toothpaste would work. Yes, toothpaste is a very fine grit polish – you can even use it to polish plastic headlights.

Disassembling a SDS Magazines

The SDS magazine comes apart just like any AK magazine – you push the button on the bottom with a screw driver and slide the floor plate off of the magazine body. Now take a look at it. It can only push off one. All of the magazine Parts in the SDS can only go one way.

So push the button down and shove the floor plate in the direction of the opening. You may need to use a small Mallet or something hard to give it a little bit of a whack to get it started.

Now once you get that floor plate off the rest is going to want to spring out so use your thumb to keep it from flying across the room or in your face.

Fixing The Problem Area

The problem area in the magazines seem to be in the upper inch to inch and a half. You’ll see a mold seam that needs to be erased using the Dremel tool with the rubberized abrasive tips as well as it being tight in general all the way around.

So the first thing I did was to use a small rubberized abrasive tip to erase the mold seemed entirely that runs around the inner area of the magazine. In the next two photos you’ll see a shiny protruding lip inside the magazine that is just above the follower — that is the mold seam I am speaking of. It’s important to note that the follower is binding even before getting to that seam.

I used a small rubberized fine abrasive tip in my Dremel to literally erase the mold seam flush with the rest of the mold body.

At this point I blew out the magazine body with compressed air and the overall fit of the follower to the magazine body was just too tight. It and the body needed to be thinned a bit – not a bunch, just a bit.

In terms of the trimming, I would definitely recommend that you use the abrasive tip to remove just a little and test over and over. I can’t stress this enough – don’t try to do it all at once. As the saying goes, it’s easier to take more material off than to try and put it back on.

I wound up switching to a bigger rubber abrasive wheel when I did the follower and as far as I could reach in with the bit on the Dremel. The bit is still fine, I would not recommend using anything very aggressive. I used this bit on the follower and the inside of the magazine body. You just need to take a little bit of material off. I went all the way around the magazine body and the follower in that top area. You’ll see just below the scene there is a little elevated area inside the magazine that guides a follower up into position that is too tight.

Now I found I needed to do a second step to really smooth things out. The abrasive bit leaves a rough surface and the next thing I did was to use a felt bob/bit with felt on the end in my Dremel along with Plastix polish to finely polish all the surfaces. I tried skipping this step with a couple of the magazines and the end result was so much better that I went back and polished the surfaces I worked on in all of the magazines.

The polishing with the Plastix really made a big difference and I would recommend you do it as well. You could tell the parts were smoother. Definitely wipe everything down and do not leave the grit in the magazine.

Next, I sprayed the Dupont Teflon dry film lubricant in the magazine body and on the follower. I would not recommend using oil or anything that leaves a residue that dirt will stick to. Instead you want something that is going to leave a dry film behind. This really fixed everything once and for all.

9/21/23 Update: Dupont no longer sells a Teflon spray due to environmental and health concerns. They sell a ceramic-based spray now that I use instead.

I then reassembled the magazines. As mentioned the parts can only go one way. I never took the spring off the bottom plate so I didn’t have to worry about its orientation.

I went ahead and did one final spray of Teflon around the follower and let it run down in. While it is still a liquid, the lubrication will not be very good. You need to let it dry. In my case, it shot up like a rocket. Job done.

End Result

The magazines all seem to work fine now. I think the problem was a combination of the mold seam and that inside area being just a tad too tight. I hope this post helps you out. Small side note to SDS – you really ought to fix this.

10/15/18: First thing this morning SDS reached out to me and is sending replacement magazines. I will test them and report back. They have sold over 3,000 magazines with just a few problems so I might just literally have a bad batch.


If you find this post useful, please share the link on Facebook, with your friends, etc. Your support is much appreciated and if you have any feedback, please email me at in**@*********ps.com. Please note that for links to other websites, I may be paid via an affiliate program such as Avantlink, Impact, Amazon and eBay.


THE LYNX 12 – POST 3 OF 3: Adding the Customizations

This is the third post in a three part series about customizing a Lynx 12 Shotgun.  In the first post, I wrote about my “out of the box” observations and in the second post, I disassembled the Lynx and also recorded observations.  In this final post, I’ll add in my planned customizations and explain my rationale for each.

Palmetto State Armory has SDS Lynx 12 gauge shotguns for sale – click here to go to their order page.

Installing the Rifle Dynamics AK to M4 Adapter

I like M4 stocks and did some digging around.  In the past, I have used Ace/Double Star and other modular adapters.  The problem with them is that unless you cut the tang off the rear trunnion, you have a rather long receiver block sticking out of your rifle and I wanted to avoid that.

I do a lot of surfing and a new style of adapter had caught my eye made by Rifle Dynamics.  They have an AK to M4 stock adapter that rides over the tang vs. behind it.  This design gets rid of the receiver block sticking out or the need to alter the rifle.  Brownells carries them. Note, the PSA adapter is almost identical.

The unit comes with clear instructions but do read the little yellow supplement they include.  After getting feedback about the angle the unit positions the buffer tube at, they added two small Delrin washers that need to be installed also.

Installation took about 10 minutes – in large part because I was snapping photos but also because I didn’t want to rush and make a mistake.

So the big L-Bracket just goes under the tang and is screwed into place.  I put Blue Loc-Tite on both screws to prevent them from loosening up.  Based on past experiences with stocks that loosened up using modular mounts, be sure to use some form of thread locker.  I did not tighten the screws down yet because I wasn’t sure if I would need to wiggle the tube adapter into place or not.

So with the L-Bracket in place, I then attached the Tube Adapter.  The Delrin washers go between the Tube Adapter and the L-Bracket.  I applied Blue Loc-Tite to these screws also.

I then tightened down all the screws and that was it.

Adding a C&H Mercury Buffer to the M4 Buffer Tube

Based on past experience with other similar firearms, I knew the Lynx would be front heavy plus I knew 12 gauge shotguns in general have a fair amount of recoil.  Both of these could be addressed by installing a C&H Mercury Recoil Suppressor.  I use the model 100785 as I know it will slide down the buffer tube of an M4 given the suppressor measures 7/8″ x 5″.  You wouldn’t use this in a normal AR because the buffer tube would have the buffer and spring inside.  However, in our case, an AK does not use the buffer tube so that means we can do whatever we want.  I ordered by unit from MPC Sports, where I have bought them in the past.

I’ve used these a number of times over the years in shotguns and rifles to add weight to the rear and to reduce the recoil.  This last part is interesting.  Basically you have a 7/8″ diameter heavy tube that is 5″ long that is hollow.  Inside it is partially filled with liquid mercury and then very tightly sealed — there is no way it is coming out.

What happens is that when the firearm is fired and the rearward motion starts, the mercury liquid sloshes in the tube.   The tube goes back and the mercury partially stays in place until it is hit by the front of the tube.  This helps to split the recoil impulse into two parts – the initial impulse and then when the mercury hits.

If you can’t afford a mercury buffer you could always fill the rear 5-6″ with bird shot and then cap it with a thick layer of epoxy.

The Mil-Spec six position buffer tube is a straight forward unit made by Expo Arms and I bought it from Primary Arms.  You will still need to get the castle nut and end plate of your choice.  Primary Arms, Brownells and Palmetto are all good places to check.  I really do not recall where I got the castle nut and end plate I used on this project – they were in a parts bin.

Installation is very simple because all you need to do is epoxy it into the buffer tube.  I would recommend scuffing the tube with a bit of sand paper so the epoxy can stick well and then spray down the supressor and the inside of the buffer tube with brake cleaner.

Not all epoxies are up to the task.  I’d recommend Brownell’s Acra-Glas liquid epoxy for this (not their gel version).  I use 10cc syringes to meter out 4 parts resin to 1 part hardener.  I mixed up and used 4 batches so 16 cc of resin and 4 cc of hardener.  Make sure you stir it completely.  The stuff has a long pot like so really mix it well.

I secured the buffer tube in my vise and made sure it was vertical.  Next, I poured a bit down in the tube first – just enough to put a thin layer at the bottom and inserted the suppressor into the tube and poured in the remaining epoxy.  It will need to sit and cure for 2-4 hours before you can handle it.  I keep an eye on the remnants in the mixing cup to see when it is hard enough to handle as the temperature will affect how long it takes.  Note – it needs to cure 24 hours to reach full strength and you’d want that before firing the weapon and subjecting the epoxy to stress.

At any rate, after pouring, wipe off any epoxy you may get on the tube.  Brake cleaner on a rag will help until it cures.  After that, it would likely require sanding to remove so be sure it is clean before you walk away.

So with that done and curing I moved on to the grip.

Installing the Ronin’s Grips AK-12 Grip

The Lynx comes with a basic pistol grip but I wanted to use one of my AK-12 grips.  These are very ergonomic and feel really good to me.  I wear an XL-size glove and both the size and angle work for me.

I replaced the small 5mm bolt with one of our 6mm alloy bolts and also used a 6mm grip nut that I had in my parts bin to secure the grip in place.

In the same manner as other AKs, the grip nut sits in the square hole behind the trigger guard and then the grip sits on the other side and the bolt pulls them together with the receiver sandwiched in the middle.

Adding a Chaos Saiga 12 Apollo 12 Extended Rail

The Lynx can use Saiga handguards so you have a lot of options.  Note that I am using a Chaos rail and Chaos has since gone out business.  The rail in question was their Apollo 12 Extended M-LOK Rail.

Installation is pretty easy.  You will need to remove the original sights though.  A small punch can be used to drift out the rear sight and either a small wrench or pliers can be used to unscrew and remove the front sight.  I’d recommend having a Zip Loc bag or something to store these parts in just in case.

Unscrew the four screws on the sides to split the rail system into its two halves.  The bottom slides into position.  Use their screw to secure the front.  Use Blue Loc-Tite on it too.   In the rear by the receiver is a set screw.  Back it out, apply Blue Loc-tite and then screw it down.  It will push on the barrel lock the handguard into position so it will not wobble.

With the base secure you can install the top half when ready.  Notice how I said that.  What I found is that the bolt carrier must be installed and the dust cover installed before you install the top half.  So, I went ahead lubricated the shotgun and closed it up before I installed the top rail.  This also brings to light that the screws will need to be removed to gain access to inside the shotgun for cleaning.  Time will tell how well that works out.  If it drives me nuts, I’ll cut the rail off flush with the gas tube seat.  Right now though, I sure like how it positions my red dot.

Lubricating the Lynx

As mentioned above, I had to install the bolt carrier assembly and dust cover to then finalize the rail.  I am doing something different with the Lynx.  A month back I started using Super Lube synthetic grease on my Uzi and it worked great.  With the Lynx having the heavy parkerization on everything, I used Superlube to grease the rails and all sliding surfaces.  I used a precision oiler with Mobil 1 5w-30 full synthetic on all of the rotating parts.  Boy did this combination make things operate smoothly!

Installing the M4 Mil-Spec Buffer Tube

By now, the buffer tube with the mercury suppressor was cured enough to be safely installed.   Basically, it is installed the same as on an AR but it is much heavier.  Thread the castle nut all the way to the end of threads, install the end plate and then screw the tube into the Rifle Dynamics stock adapter.  Note need to buy the end plate and the castle nut – they typically do not come with a buffer tube.

When you are almost out of space to screw the buffer tube because of the end plate riding in the groove, stop, push the end plate into the adapter and tighten the castle nut down using your favorite tool.

While I used the above pictured wrench, I’ve since switched to the Magpul wrench and swear by.  It’s the best wrench I’ve found for stock work including castle nuts.

In the next photo you can see that I am using a end plate with sling loops plus you can see that I staked the castle nut.  Because of the recoil of the 12 gauge, I created a small divot with a center punch – this is known as “staking”.  It will mechanically lock the castle nut in place.   I could have put Blue Loc-tite on the castle nut but I went old school.

I then used a cotton swab and some Brownells Oxpho-Blue to cold blue the bare metal to a black color and then wiped it down with WD-40.

Installing the Magpul ACS Stock with Limbsaver Pad

I like the Magpul ACS stocks.  They are comfortable, have a locking lever to keep them from wobbling and have storage compartments you can either really use for storage or fill with epoxy and bird shot to further adjust the weight and balance of a rifle.

As luck would have it, I don’t have a photo of the stock before installation but will tell you that the one challenge is to lift the locking pin.  Magpul gives you a dummy cartridge to help with this but I made a tool to hook the pin and lift easy as can be.

Now one thing that is nice with hard recoiling firearms is a decent recoil pad.  I’ve long been a fan of Limbsaver pads and they make a model specific for the Magpul ACS, ACS-L, CTR, MOE, STR and UBR.  It’s nice and thick and provides a lot of cushion especially compared to the original pad it replaces.

I purchased the Magpul ACS for Mil-Spec buffer tubes from Primary Arms and the recoil pad off Amazon.

Installing the JMac RRD-4C 12 Brake

If you want to tame recoil, a good brake is essential.  Justin McMillion and his company JMAC Customs make some great brakes so reaching out to him for a brake made perfect sense.  He recommended their RRD-4C “12” brake.

The first thing I noticed was it’s size – it’s huge and badassed looking.  Installation is a breeze.  Unscrew the thread protector from the Lynx to expose its threads.  Screw on the jam nut as far as you can and then thread on the brake as far as you can.  Back it off enough that the brake is flat and the chambers are venting up as shown below.  Then tighten the jam nut up against the back of the brake to lock it in place.

Installing the Crossfire Red Dot and American Defense Quick Release Lever

My go to red dot these days is the excellent Vortex Crossfire unit.  It’s small and only has a 2 MOA dot.  It comes configured for an AR but you can remove the tall base and use the supplied shorter one for a lower mount.  Recently, I started using American Defense bases  because they have a solid quick release lever so you can remove the red dot quickly.  The base required is the AD-T1-L STD.

You just unscrew the four little screws on the bottom  of the optic, apply Blue Loctite on the screws and attach it to the new base.  Not hard at all!  The results are totally worth it.

Caution about eBay:  Watch out for cheap counterfeit products on eBay.  I would recommend buying the optic and mount from a reputable dealer to make sure you are getting the real deal.  The cheap knock offs just do not hold up.

Streamlight TLR-2 HL G

I installed a small 5 slot Magpul M-Lok aluminum rail section on the bottom front of the handguard to hold a Streamlight TLR-2 HL G 800 lumen light and green laser.  I have found they hold up remarkably well.  In this age of cheap Chinese products, I would recommend buying a light that will work when you need it most.

To mount it, follow the directions with the light to install the key for the Picatinny rail.  It comes with several and then it just screws onto the mount with the thumbscrew,

Caution about eBay:  Watch out for cheap counterfeit products on eBay.  I would recommend buying the Streamlight from a reputable dealer to make sure you are getting the real deal.  The cheap knock offs just do not hold up.

The End Result

I am very happy with how it turned out.  The balance is great and the red dot is located just right – when I bring the shotgun up – the dot is right where I need it.  I definitely need to take it to the range and like how it turned out.  By the way, the magazine you see is the new SDS 10 round unit.

I hope you enjoyed these blog posts.  There will be more to come 🙂


Note, I have to buy all of my parts – nothing here was paid for by sponsors, etc. I do make a small amount if you click on an ad and buy something but that is it. You’re getting my real opinion on stuff.

If you find this post useful, please share the link on Facebook, with your friends, etc. Your support is much appreciated and if you have any feedback, please email me at in**@*********ps.com. Please note that for links to other websites, I may be paid via an affiliate program such as Avantlink, Impact, Amazon and eBay.


The Lynx 12 – Post 2 of 3: Disassembly and Observations

In the first post, I documented my favorable first impressions of the SDS Lynx 12 shotgun.  After posting, at least 10 gentlemen have come forward stating how much they like their Lynx 12 shotguns and nobody reported any problems.  In this post, I’ll write about taking the shotgun apart in order to install my planned customizations, which will be in the next post.

Palmetto State Armory has SDS Lynx 12 gauge shotguns for sale – click here to go to their order page.

Call me old school, but the first thing I did was to read the manual 🙂  The next thing was to hose down the hole shotgun and wipe it down to remove all the odd smelling rust preservative.  I really didn’t care for the tacky feel to be there while working on it.  Once removed, I sprayed on Rem Oil to prevent rust while I was working on it.  Rem Oil is nice and thin and doesn’t have too much of a smell.  It’s my go to for situations like this.  If you do remove the preservative, just be sure to apply whatever oil or rust inhibitor you prefer.

Removing the Dust Cover and Recoil Spring

The dust cover comes off by pushing the release latch (the little button that sticks up) on the recoil spring and pushing the whole assembly forward while lifting the dust cover up and off the receiver.

You’ll notice I have the Lynx sitting in my Tipton vise.  I’ve had it for years and it really makes working on long arms way easier.

With the dust cover off, you can get a good look at the recoil spring  assembly.  Some guys will call this the operating spring or the return spring but basically it absorbs the energy of the bolt carrier assembly coming back after firing and then when the spring has enough energy, it pushes the bolt carrier assembly forward to then cock the trigger and strip a round off the magazine and go back into battery.

Compared to a regular AKM, you will notice the release latch and the rubber buffer assembly at the rear.  I find the use of a buffer interesting.  Normally the spring should absorb the energy and my bet is that the designers put it there in case the user either adjusts the gas regulator such that the system is over-gassed and the carrier comes back with more force than the spring alone can handle or they put it there just in case of a round that generates more pressure than what the spring can handle but the gas regulator doesn’t exactly have the right setting — imagine needing a gas setting of “3.5”. At the third position there is too much gas but at 4 there is too little.  I have little doubt it is a good idea.  I’d recommend to keep a spare buffer on hand and inspect the one in the shotgun regularly.  It ought to last a long time under most conditions but the buffers are dirt cheap.

To remove it, push forward on the rear part that normally protrudes from the dust cover.  It should slide forward in the slot that holds it on the trunnion until it is free and you can then lift up and pull back to remove the assembly from the bolt carrier and shotgun overall.

You will also note that the designers made the recoil spring assembly two parts – the rear is a tube like an RPK or older milled AKs with one spring.  There is then an additional cover that rides on that rear tube and normally closes the otherwise enlarged ejection port in the dust cover.  In front of that is then a floating spring.

Removing the Bolt Carrier Assembly and Looking Inside the Receiver

First, remove the bolt carrier assembly.  It slides to the rear of the receiver and can then be lifted up out of the receiver.  Note – it must be fully to the rear or the receiver’s guide rails will retain it.

It’s interesting how the bolt carrier is short.  In the gas tube, which is pinned in place, is a disc, that some call the “gas puck” or just “puck” which is the gas piston.  Unlike an AKM, the gas tube is held in place by the gas tube seat (it reminds me of a rear sight block in a way) that would need it’s retaining pin to be punched out to be removed.  When you tilt the shotgun forward and back, you can hear the puck moving back and forth in the gas tube.  I didn’t take the gas tube assembly apart but it looks straight forward enough.

The carrier is holding a really massive bolt.  It operates very much like any AK – the bolt head has a cam that travels through a slot in the carrier that in turn rotates it into or out of battery.

By moving the bolt head to the rear, the cam can be rotates out of the slot and the bolt head then removed from the carrier.

Look at the size of the extractor!

Interestingly, the firing pin has a spring pushing it backward compared to the floating firing pins you normally find in an AK rifle.  In this photo you can see the tail of the firing pin pushed out the back of the bolt body by the spring.

Looking down in the receiver was a very typical looking fire control group.  Note, it has been tweaked slightly to work in a Saiga or Lynx so if you want to replace the fire control group you will need to either buy one made for the the Saiga or Lynx or you will need to make some modifications.

Normally I replace the fire control group (FCG) with a US made set but the Lynx’s trigger is surprisingly decent.  Not great, but decent.  It was gritty from the parkerizing and lack of use but I figured grease and time could cure that.  I may well swap it out in the future but time will tell.

The Pistol Grip

Now I did run into one surprise that I did not expect – see the grip nut below?  I figured it would be a regular AKM nut meaning threaded for a 6mm diameter x 1.0mm pitch screw.  It’s not.  I did not expect this but the grip screw is actually smaller than an AK’s.  The screw is actually 5mm diameter x 106mm long.  I did not bother finding out the pitch by the way because it would not be staying!  Instead, I focused on the hole in the receiver – it was the same size as a normal AKM grip nut.  Whew – Problem solved.  I would replace it  with a beefier AKM nut and one of our high-strength alloy grip screws (I’ll detail that in the next post).

To remove the grip, there is a blade screw head on the base.  Simply unscrew it and remove the grip and the grip nut.

Removing the Buttstock

The plastic buttstock is held in place by two machine screws on the top of the rear trunnion.  The rear trunnion is an AK-74 forked style with the front portion open.  The stock with its lightning cuts on the side harks to the 74 also other than having a recoil pad thicker than what you would find on a 74.

Given how front heavy the shotgun felt, I was not surprised to find out that the buttstock was actually hollow.  The Chinese installed threaded inserts for strength.  I think that is commendable actually.  The fit of the buttstock to the receiver is both well done and very tight.  This is what will bear the recoil – the screws are just there to hold it together.

Because of the tight fit, I secured the rifle in my vise after removing the selector lever.  I then used a wood dowel and hammer to tap on the lip of the stock to push it backwards out of the receiver.  It really didn’t take much force to get it out.  For those of you who have tried to get an old varnished AK-47 stock out of a receiver, you know exactly what I mean and the Lynx requires just a small fraction of that.

The Forearm

The sporting looking forearm is held in place by a 5mm diameter x 11mm long screw.  Unscrew it and push the handguard forward past the gas tube and then pull it off the barrel.  Mine was a tight fit so I did need to pull it off the barrel and not just lift.  I did use a small piece of wood and a hammer to get it started out of the receiver.

Done

At this point, I had the shotgun all the way apart other than the muzzle cap.  I left that on to protect the threads while I worked.  The next blog post will detail the customizations and a few surprises that happened along the way.


If you find this post useful, please share the link on Facebook, with your friends, etc. Your support is much appreciated and if you have any feedback, please email me at in**@*********ps.com. Please note that for links to other websites, I may be paid via an affiliate program such as Avantlink, Impact, Amazon and eBay.


The Lynx 12 – Post 1 of 3: Unboxing and First Impressions

For some reason, I never really got into the Saigas when they were the hot conversion ticket. I guess it was because I was mainly working on rifles and had a Vepr 12. At any rate, when I heard from Paul Popov that SDS was importing a Saiga-12 clone known as the Lynx 12 from China where it was made in the same factory that made the Type 56 AKs.  Even better, it did not need the conversion and the street price was about $499, I contacted Scott Igert, my friend who owns Modern Antique Firearms in Benton Harbor, MI, to order me one.

Palmetto State Armory has SDS Lynx 12 gauge shotguns for sale – click here to go to their order page.

In short order the shotgun arrived and then promptly sat idle as I was busy with a ton of other projects. Scott nudged me along to take a look as he was curious about the Lynx 12 also as were clients of his. That prompted me to get my act in gear and take a close look at the shotgun by taking it apart to install a bunch of modifications I had planned.

The first step was to give it a careful external exam. The Lynx had a nice heavy uniform dark parkerized finish – probably a manganese “park” given the color.  There was some type of preservative on it that had the most interesting smell.  I have no way to describe it other that to say it did not smell like the typical cosmoline-ish anti-corrosion coatings I was used to.  Note, parkerization does not prevent rust but what it does do is create a textured surface that oil, preservatives or even weapons finishes can “grab” hold of an stay in place.  For example, when I build an AK, I have found that abrasive blasting, followed by manganese parkerization and then Norrell’s Molyresin is a remarkably durable finishing process.  By the way, I have a post on how to do make and apply your own manganese parkerization.

The rivets were pretty good – in a few cases the domes were flatter than others, which is me nit picking, but they all were sitting nice and snug against the sheet metal.  Rivets are pretty amazing and result in strong attachments of the forged trunnions to the sheet metal as long as they are formed properly and the Lynx’s rivets are solid.

I found it interesting that the front trunnion sits on top of the sheet metal receiver.  The fitment was pretty good.

There were reports of early models having sharp edges but I did not see any.  All edges and the parkerized finish were well done.

I did notice that the rear stock screw as a bit chewed up by whomever installed the rear stock.  Normally you see this when someone uses a screw driver blade that is too small.  Not too bad and since I planned on replacing the rear stock, I really wasn’t worried about it.

The selector lever was noticeably loose.  On most AK rifles, it takes a bit of effort to move the lever between the safe and fire positions.  The lever on the Lynx moves very easily.  I’ll bend the lever slightly or use a center punch to increase the depth of the detent.  Again, not a big worry.

Because the shotgun is brand new and the fire control group and the inside of the receiver are all parkerized, the action was pretty rough.  This was to be expected – the parts need to wear in.  I knew from experience that cleaning and better lubrication would help.

The muzzle cover was easy to remove and threaded nicely.  It is threaded to use Saiga chokes and brakes.

The dust cover has an additional retainer spring and pin that you do not see on most AKMs to hold the dust cover in place.  Notice the attention to detail that the retaining button is shaped to allow the dust cover to clear it better.

A nicely done optics side rail is already installed and begging to be used.

It’s a good thing that is there because I really think you will want to run a red dot either via a scope mount or on a front rail.  The Lynx’s sights are to the front and rear of the gas tube.  The rear has a dovetail and can be drifted with a pin punch to the left or right.  The front sight is threaded and can be adjusted up or down.  They definitely are functional but I don’t care for them at all to be perfectly honest.

The gas regulator is pretty slick and how has four settings for you to choose from.  The SDS website describes the settings thusly:

…smallest dot = basically no gas, no rounds will usually cycle when the regulator is on this position. Next smallest dot = “00” buckshot, high velocity rounds and slugs. Next to largest dot = all things in between your results and field testing will be required to see what your individual shotgun will run in this setting. Largest dot = birdshot and other lower powered ammunition.

You’ll notice it has an AK-74 looking buttstock but it is actually hollow and very light.  It’s nicely formed and installed but the net result is that the shotgun is light overall but very front-heavy.  I planned to replace the buttstock, grip and forearm from the start and I will describe what was one and why in future posts in this series.

It uses Saiga magazines also.  One five round mag comes with the shotgun and SDS now sells 10 round magazines also that you can readily find.  It’s actually harder to find spare five round SDS-brand magazines right now than the 10 round units.

By the way, if you are interested about how it shoots, I haven’t had a chance to take it out yet.  In researching the shotgun and how durable it was, I talked to Paul Popov and he has 350 rounds through his with no signs of trouble.  I also talked to Justin McMillion at JMAC Customs and they have put through about 500 rounds also with no problems showing up.  Here is a great overview video from Justin and his wife Ashley:

To sum it all up, I was pretty impressed with my initial just out of the box assessment.  I’m certainly not done though as I bought the Lynx specifically to customize and blog about.  The custom Lynx 12 blog series will have two more posts – one about disassembly and then one with the customizations I made.


If you find this post useful, please share the link on Facebook, with your friends, etc. Your support is much appreciated and if you have any feedback, please email me at in**@*********ps.com. Please note that for links to other websites, I may be paid via an affiliate program such as Avantlink, Impact, Amazon and eBay.


Finding Parts and Accessories for Norinco Firearms

Because I make and sell a variety of AK furniture, I often get asked about where to find parts and accessories for a given type of firearm.   One brand that comes up quite a bit is Norinco.

Norinco, or China North Industries Group Corporation Limited (中国北方工业集团有限公司), is a huge defense conglomerate and makes everything from small arms to big weapons systems such as tanks and missle systems (click here if you want to visit their site).  They were established in 1980 and began selling small arms to the US domestic market not long after that.

Unfortunately, they ran into a number of legal problems.  In 1993, importation of most of their firearms and ammunition was blocked other than sporting shotguns and shotgun ammo.  In 1994 US Customrs conducted a sting on the importer and in August 2003, sanctions were imposted that effectively blocked their remaining lines of firearms and ammunition not already banned.  In short, Norinco is very much still in business in China and exporting to clients elsewhere – just not in the US.

This unfortunate series of events leaves US owners of Norinco firearms such as their Type 56 SKS carbine, Type 56 assault rifle (and specifically the civilian MAK-90 and NHM-90 rifles), the NDM-86 Dragunov clone DMR, their various other rifles, pistols and shotguns wondering where to find parts.  As for myself, I wish I could afford an NDM-86!

There are two reputable businesses I have dealt with who carry Chinese firearm parts – one is Numrich and the other is PolyTechParts.  Of course, there is Gunbroker and the many sellers who use it as well.

There is another surprising source – eBay.  Below is a live feed of Norinco parts for you to peruse plus they have much more:


Just to be clear, I am not a Chinese firearms expert.  I get asked questions and have done some searching to try and help clients but that’s it.  I created this blog post to have a quick link to email people when they have questions about where to find parts and I hope this helps you out.


If you find this post useful, please share the link on Facebook, with your friends, etc. Your support is much appreciated and if you have any feedback, please email me at in**@*********ps.com. Please note that for links to other websites, I may be paid via an affiliate program such as Avantlink, Impact, Amazon and eBay.


Photo of the Type 56 is by Dhalikar – Own work, CC BY-SA 3.0, https://commons.wikimedia.org/w/index.php?curid=25006497

Video: Chinese Type 56 AK-57 (Shooting and History) by Forgotten Weapons


This is a cool review of an actual North Vietnamese Army (NVA) Chinese Type 56 AK.  It was a captured rifle and brought back to the US.  Ian of Forgotten Weapons does one of his usual exemplary reviews of the rifle and discusses its history.


If you find this post useful, please share the link on Facebook, with your friends, etc. Your support is much appreciated and if you have any feedback, please email me at in**@*********ps.com. Please note that for links to other websites, I may be paid via an affiliate program such as Avantlink, Impact, Amazon and eBay.