Category Archives: Home Repair

An Update On My Char-Griller Competition Pro Grill

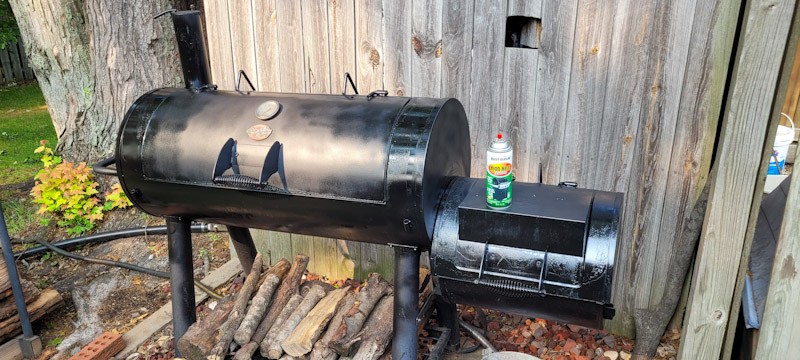
Back in July of 2020, my kids bought me my first new grill in years – a Char-Griller model 8125 grill that I then converted to use firewood. I wrote a blog post about the conversion work including making the firebox and adding in heavy aftermarket grates [click here to read it]. At any rate, here we are three years later and thought I would write an update – why? Because I love grilling and smoking.

All in all, the grill has been great other than the ultra cheap low temp paint they coated the grill with at the factory. That stuff would regularly bake off in an unchanged area and then I would have to touch it up with Rustoleum High Heat Ultra – that’s the best paint I have found for a grill.

Way back when I bought a cover for the grill and was pretty good about keeping it on for the first year. For the last two years it has largely stayed off because I would forget it at first and then the rodents got to it and it has a bunch of holes now.

At any rate, I was grilling this spring before we were going to have a bunch of relatives over and realized I really needed to wire brush the grill to get off loose paint and rust and then put on some new coats of paint.

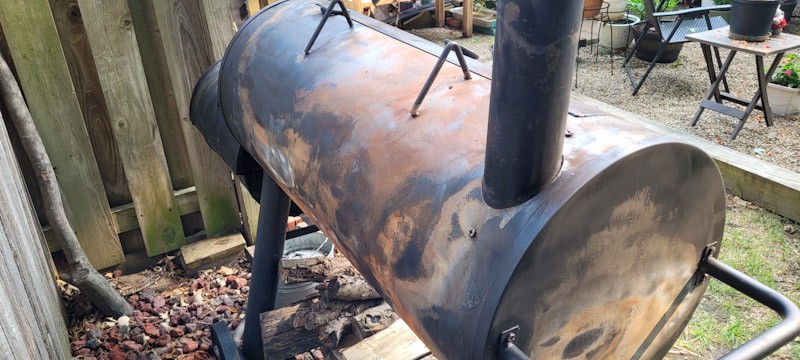
The rust was superficial and the trick is to keep it that way – either keep paint on it by touching uop the spots needed or if it is past that, like this one is, wirebrush and paint it when needed.
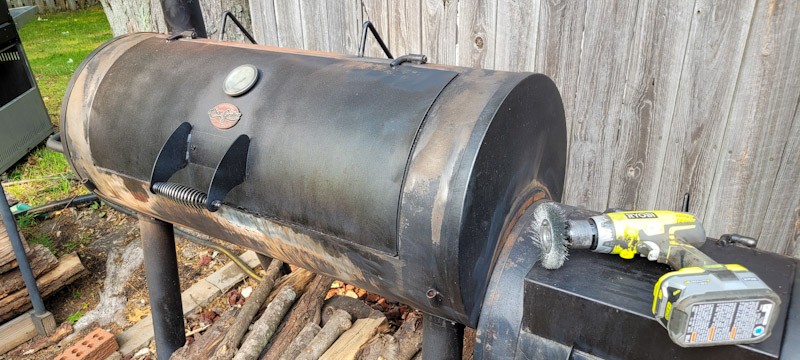
I use a circular wire brush in my drill to go all around and remove as much surface rust and loose paint as I can.
Go all around and get the front, back and sides – don’t forget the bottom either. If yyou keepo your grill painted it will last for years and years. Kind of an interesting note, the firebox I added worked wonderfully – the botttom is in great shape with hardly any rust or loose paint. If the burning wood were to sit right on the bottom steel of the grill, it would be in far worse shape.
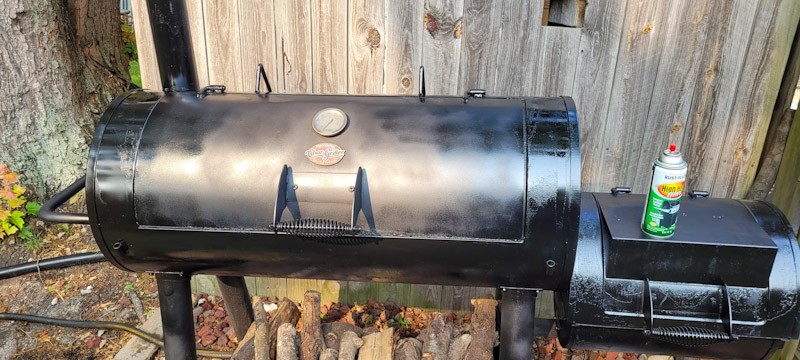
Rustoleum High Heat Ultra – specifically the Ultra blend – is the best paint I have found for the grill. No finish is perfect and this grill gets real hot as I burn down wood to embers so the finish will burn/oxidize over time. I keep a can on hand and do spot touch ups regularly but sooner or later you will need to wire brush and redo certain areas.
Follow the instructions for curing the paint. I’ve found it makes a world of difference if you do. I apply 3-4 coats on the areas that get really hot – for me it is the two ends of the main body and nearly the entire back plus the front below the door.
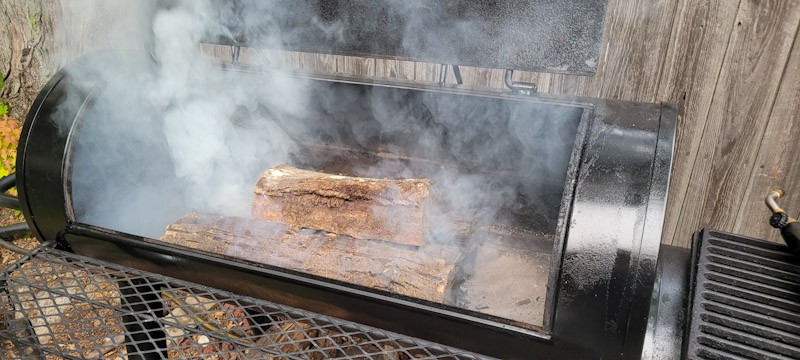
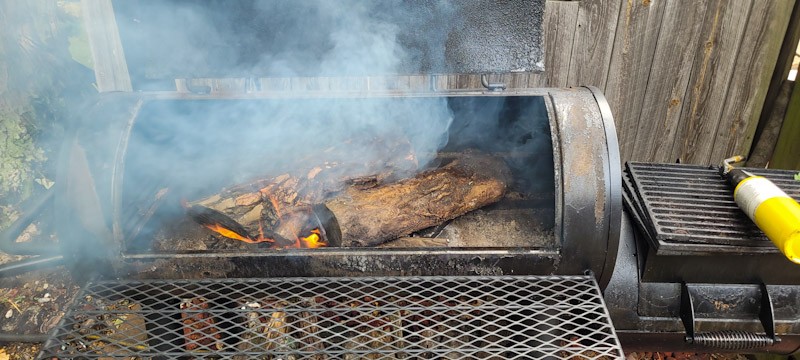
Here I had just started a fire and was getting ready to grill. Again, this is after curing the finish per instructions.
I’m letting the wood cook down. You can see why the sheet metal gets so hot.
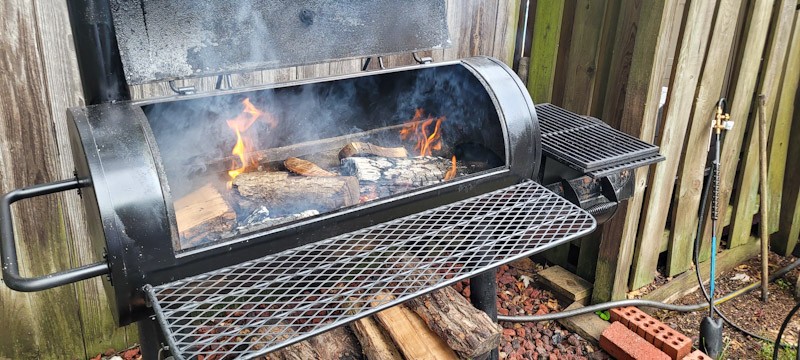
Kind of off topic but this is what I was grilling chicken that night – I do find the use of hot and cold zones (or some folks call them direct and indirect heat zones. Here, the open lid has really allowed the embers to flare up and I then closed the lid and to dampen (reduce) the flames by controlling the amount of air that can get to the chicken.

By the way, the aftermarket grates I put in it have been awesome from the start. They’re nice and thick and cook the food evenly. Totally worth it. There are photos and information about them in the first post.

Summary

I still like my Chargriller. It was a great gift from my kids and by keeping it painted it ought to last a long time. If you need to touch up your grill – definitely try out Rustoleum High Heat Ultra. I’ve found it to hold up the best but you will still need to do touchups.


If you find this post useful, please share the link on Facebook, with your friends, etc. Your support is much appreciated and if you have any feedback, please email me at in**@ro*********.com. Please note that for links to other websites, I may be paid via an affiliate program such as Avantlink, Impact, Amazon and eBay.

Use Super Glue to Seal and Stabilize Wood

Have you ever had wood that is in tough shape or is too soft to work with? A quick fix is to use super glue on the wood and let it set. Let’s talk about this for a minute.

Super glue is actually a family of glues called “Cyanoacrylates“. The patent for the original product goes back to 1942 when BF Goodrich was looking for a clear adhesive for gun sights in WWII. As they say, the rest is history.

There are many different brands and types of super glue. For the brand, I stick with name brand and usually get biggger bottles from firms such as Bob Smith Inc (BSI), Starbond, Loctite, Gorilla Glue, etc. With the no-name generics, you never quite know what is really in the formula or how good it is.

The glues are available in different viscocities/thicknesses also ranging from Super thin to normal, to gel, etc. For our purposes, we want th thinnest glue we can buy. Why? Because it will really soak into the wood and follow all of the little cracks that are opening, seal and reinforce them.

So, when I say I am using it to seal and stabilize, what do I mean? To seal means that water can’t get in. To stabilize means it is soaking into the soft wood, filling small cracks and when it dries it will harden the treated area. I’ve used this to fill small cracks in wood rifle stocks, knife handles, tools, furniture – anything with wood.

Super Glue is good for stabilizing but not filling an area. If you need to build something up, fill in a gap, or rebuild an area, then use an epoxy.

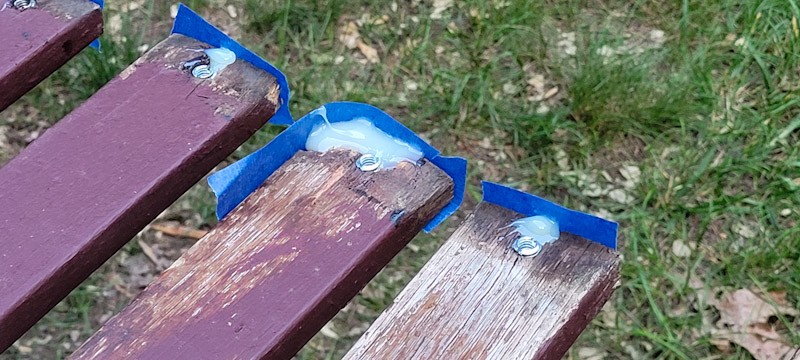
These slats bench slats had chunks of wood missing that I built up using epoxy. I sanded them down flush and then applied two coats of thin CA glue to the surrounding wood to stabilize it. I then used an opaqe wood deck stain and you couldn’t even see the repairs.

I apply several coats. The first one I apply quite a bit of glue and just let it keep soaking in. You’ll see it following cracks and what not. Once I get the surface soaked, I stop and let it cure. I typically wil do 2-3 coats/applications depending on how bad the wood looks. Usually after the second coat everything is sealed stabilized.

As it cures you will see a light white-ish smoke. Don’t get the fumes in your eyes or it really stings – you don’t want to breath them either. Small pieces like a knife handle aren’t too bad. For pieces bigger than that, all of the fumes really make this something you either want to do outside or in a room with really good ventilation.

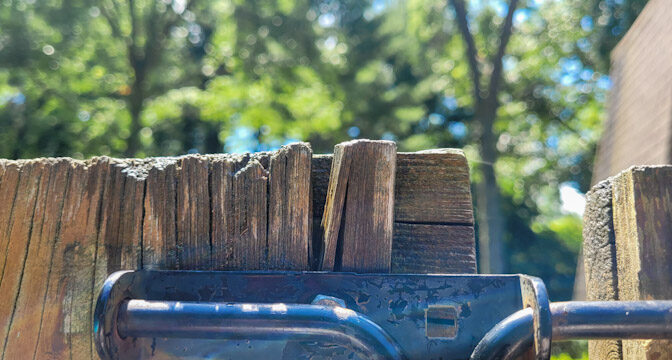
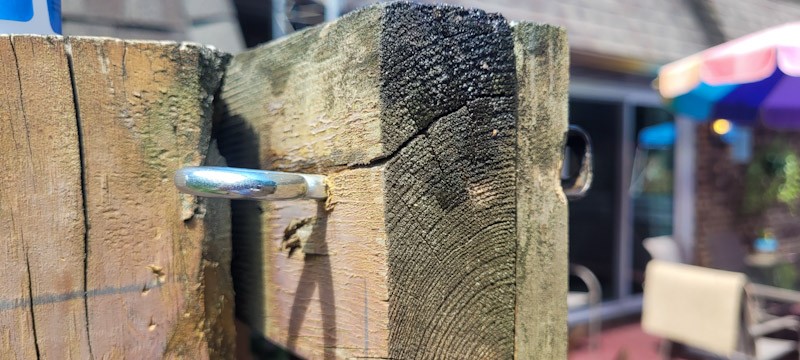
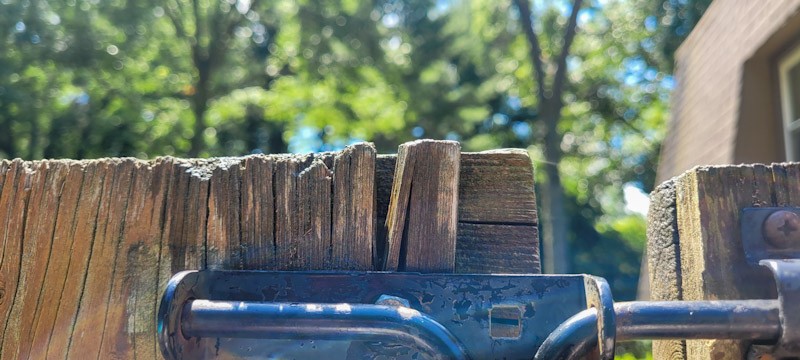
Let me show you a few photos form a recent project where I needed ro reinforce the area around a wood gate latch. The wood was in really tough shape and I didn’t have the time to go to buy the lumber, cut it and make a new one. I keep thin super glue in stock at all times for all kinds of projects so I just did that

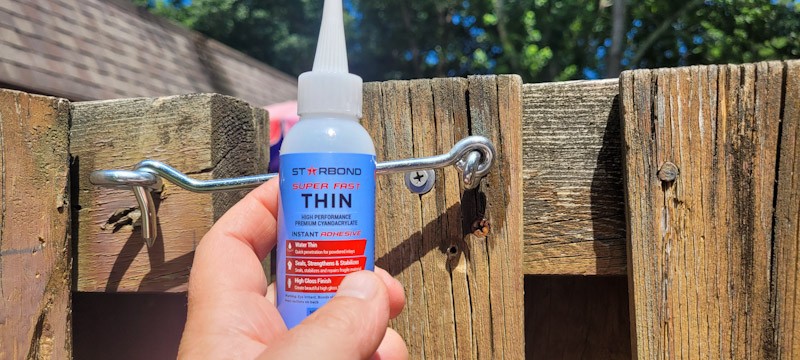
Starbond makes good CA glues from my experience. I’ve used a number of their forumlas and been happy with the results. As you can see, the wood is in tough shape. It probably should be replaced but I don’t have the time.
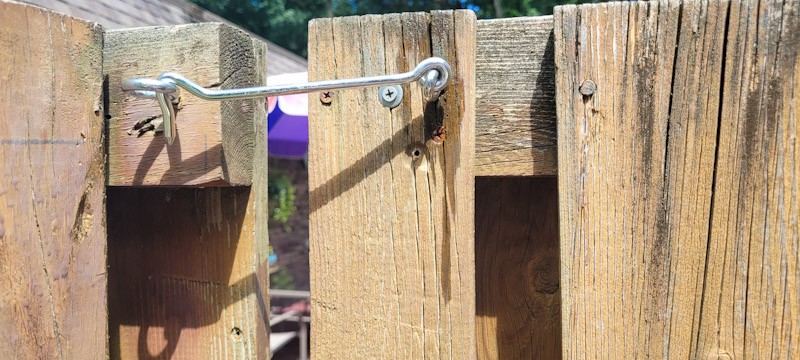
I let gravity work with me and apply the glue to the top of the wood and let it soak into the end grain. I could see it going down the board and the wood looking wet where it travelled. You’ll use a fair amount of glue doing this, I went across the entire top of that board and watched for the glue to penetrate – in this case I wanted it down near the screws. When it the glue cures, the stabilized wood will still a bit darker than the surrounding untreated areas.
This board was in really tough shape. It soaked in a lot of glue and I kept adding it until I saw it saw it in that big crack.
Here, the CA can help seal the top and stop the small cracks but there is no way it can fill the big crack.

Summary

You can definitely use thin super glue to seal and stabilize wood. Use a reputable brand and work in a well ventilated area. What I have been using the most lately is Starbond and they have a full lineup – click here to see them on Amazon.


If you find this post useful, please share the link on Facebook, with your friends, etc. Your support is much appreciated and if you have any feedback, please email me at in**@ro*********.com. Please note that for links to other websites, I may be paid via an affiliate program such as Avantlink, Impact, Amazon and eBay.

Add A Pool Ionizer to Save Money on Chlorine, Clarifier and Your Time!

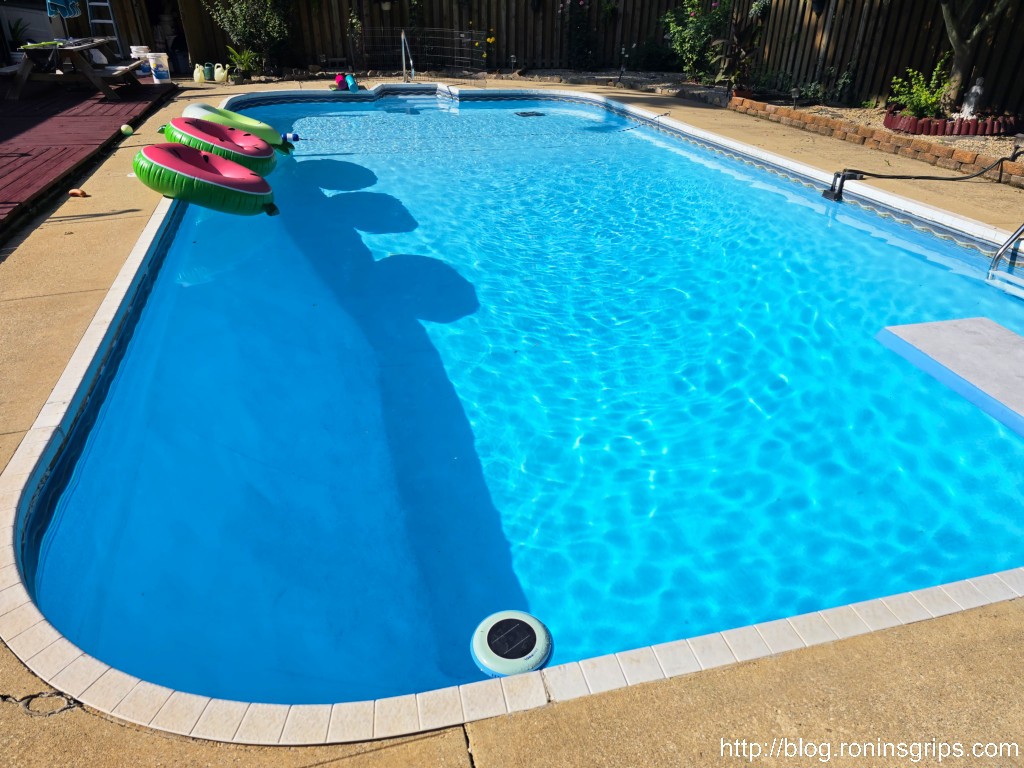
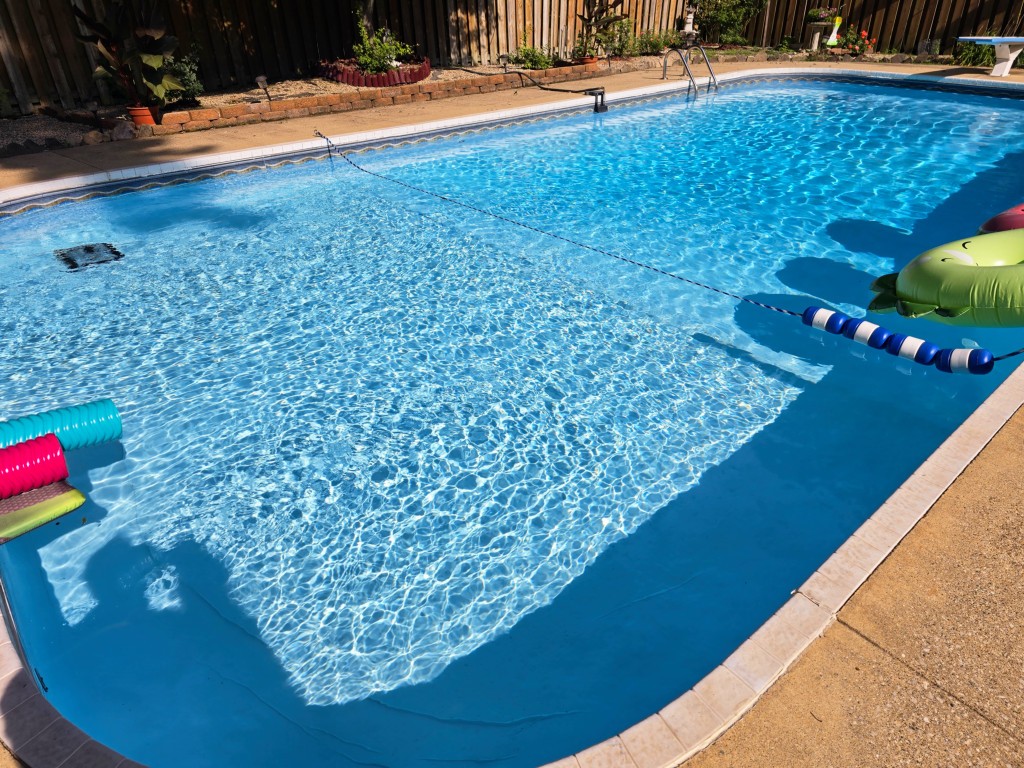
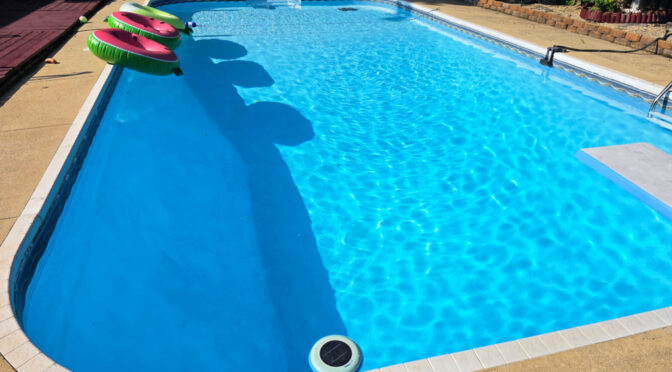
We live in Southwest Michigan, have an older 40,000 gallon in-ground pool surrounded by trees and all kinds of vegetation. It seemed like trying to keep the pool clean was a never ending job. In July 2022 a friend recommeded that I buy a pool ionizer to clarify our pool and cut down on algae. The results are promising so let me explain.

Background

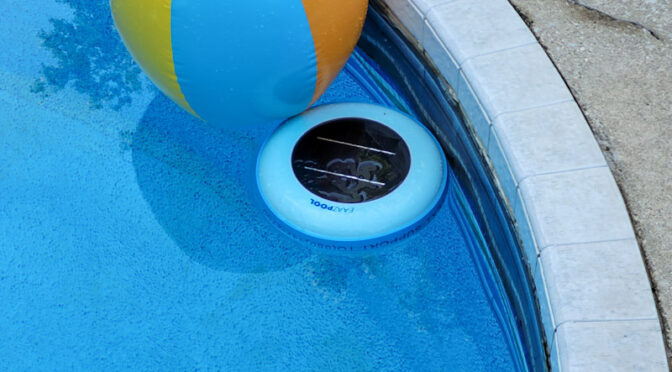
On Amazon there are a ton of companies selling solar power pool ionizers. They basically look like a mushroom with solar cells on a flat top and then a 10-12″ cylinder that goes down in the water. In that cylinder is a mesh basket filter, a steel spring and a copper-silver anode.

The solar cells generate direct current (DC) voltage with the negative going to the copper cylinder-silver anode. The postive voltage goes to the metal spring that is the cathode and it encircles the anode with a slight gap in between. The slight current causes positively charged copper-silver “cat-ions” to come off the anode and then they float in the water until they bond with negatively charged microorganisms, such as bacteria and algae, and cause them to break down and due. Your filter then removes them.

Is this dangerous? No, the voltage and current are really low. The use of silver and copper to clean/purify surfaces has been known for hundreds of years. So, it’s definitely proven.

What did I buy?

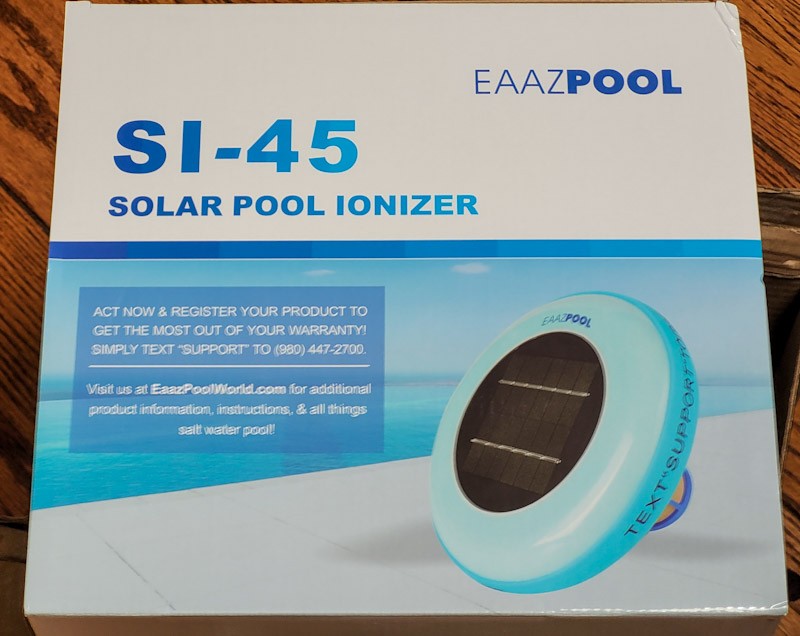
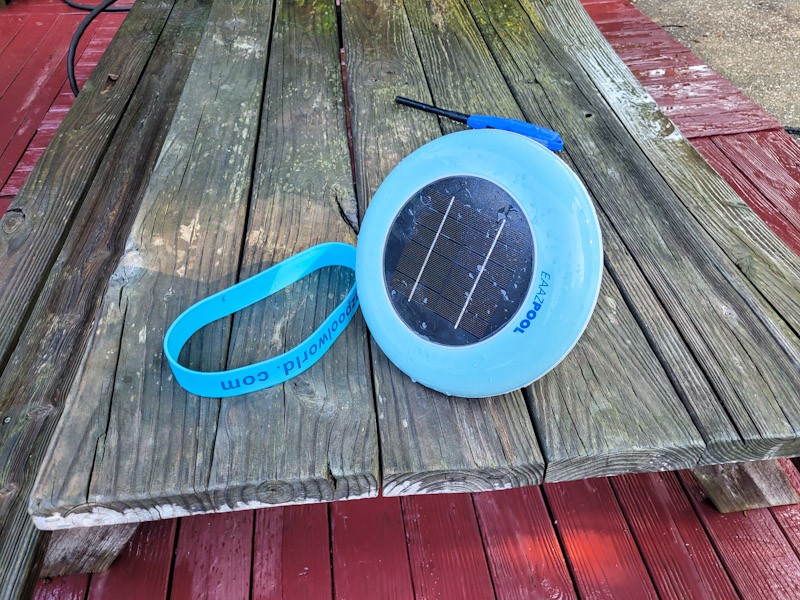
Well, I read reviews on Amazon plus the friend recommended the model I bought. I went sith the EAAZPOOL Solar Ionizer for a 45,000 gallon pool. They make one for smaller pools but I needed this larger one.

The unit arrived nicely packed. I have not needed to use their customer support so far.

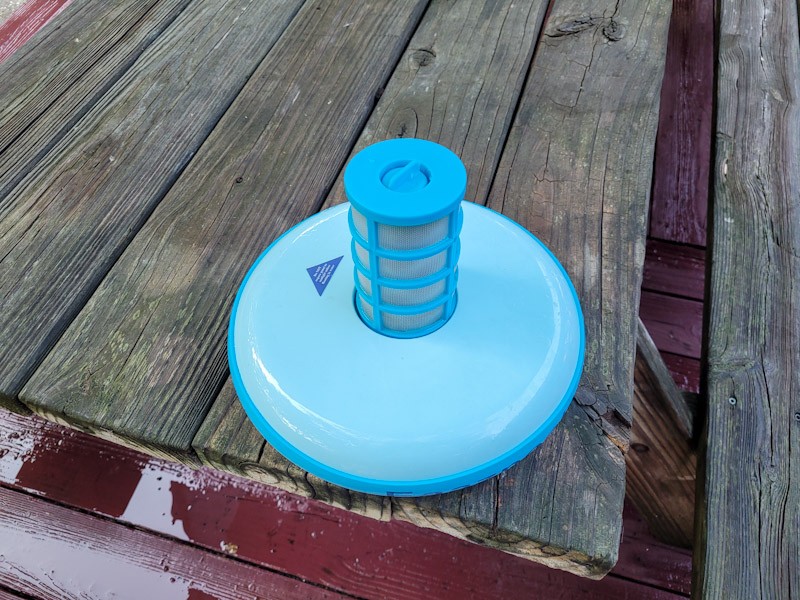
Assembly is super easy – turn the solar cell covered main unit upside down, screw in the anode on the bottom, put the spring in place, put the basket on and then use the plastic thumb screw to hold everything in place. It also comes with a big rubber band that you put around the outside of the main body to further seal the seam where the top and bottom halves of the case come together. You then place it in the water and it runs when the sunlights hits it.

Put the rubber band arund the “equator” or outside midde of the unit to further seal it. Note, you need to set the unit in the pool. I tossed it in once and the rubber band popped off. No harm done – I just fished it out and put the band on – no more tossing it in either.

If you disassemble the unit in a few days and check you will notice the surface of the copper-silver rod will be getting discolored and over time it will even become pitted.

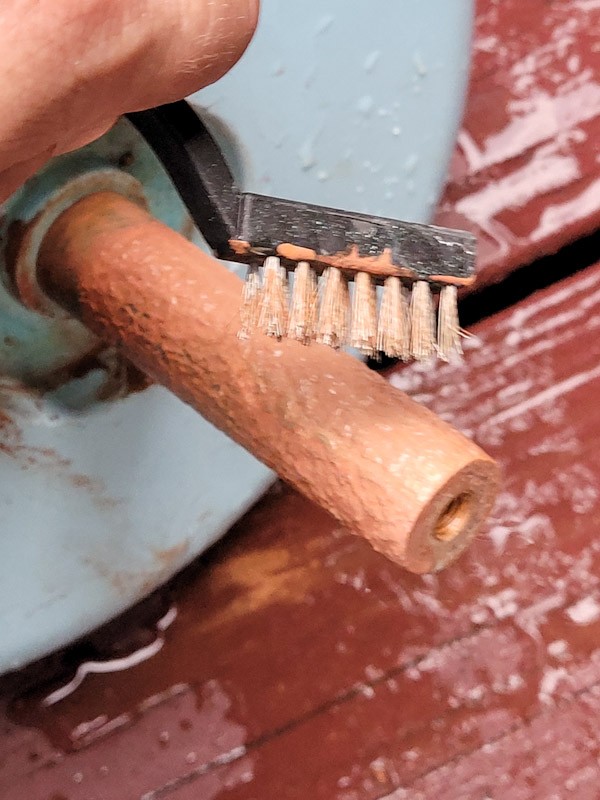
About once a week you take the unit part and wire brush the anode and the wire cathode, plus rinse out the basket.

To take the unit apart, turn the plastic butterful screw counter-clockwise until it pulls out.
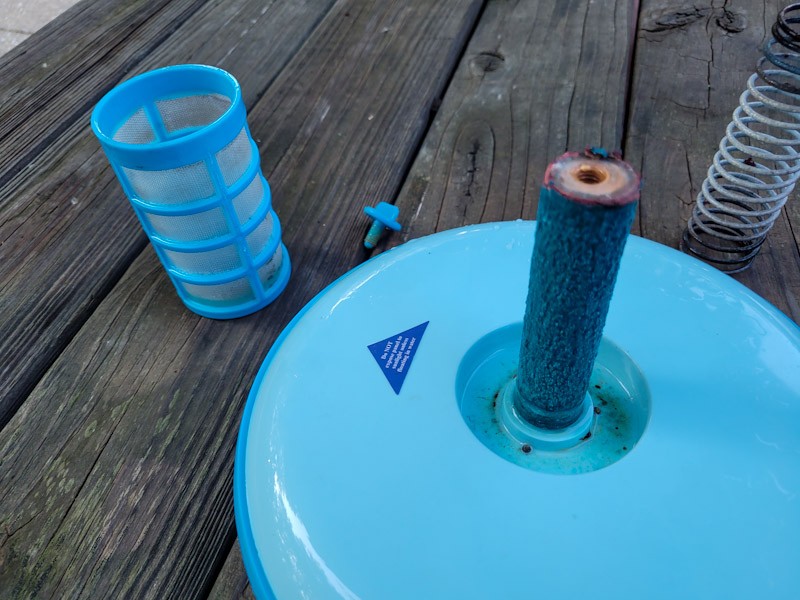
The basket and the spring cathode lift right off the unit. You can see the green corrosion. That’s after about 1-2 weeks.
The corrosion brushes right off – not hard to do at all. I just clean it right on the unit and the spring also. I then rinse it all off.
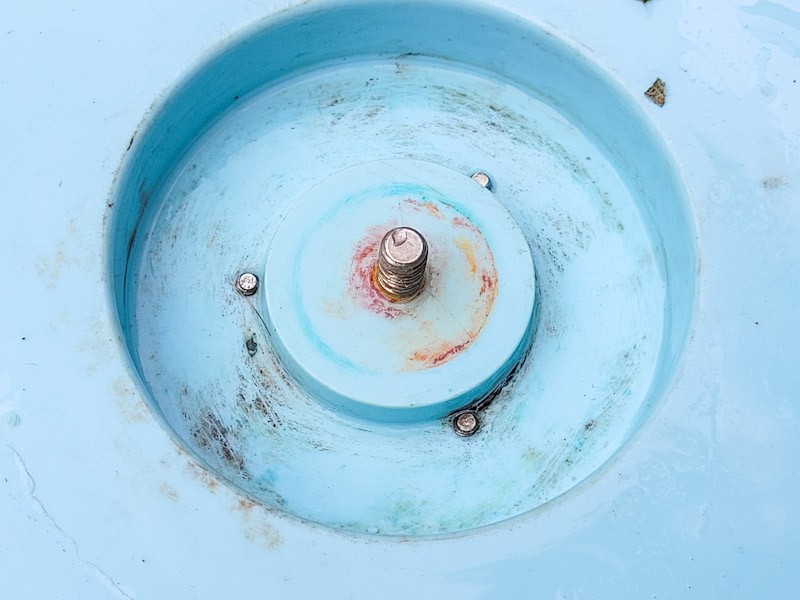
This is what the bottom looks like – the copper-silver anode screws onto the screw stud you see. The cathode wire sits on the silver metal contacts you see. The basket sits in the al perimeter.

Results

For us, the most striking difference was the clarity of the water improved. While algae formation decreased some, I had hoped for more. This season I am putting a new anode and cathode in the existing unit and adding a second unit. Our pool only gets direct sun from about 11am until about 3pm because trees block the light so I don’t think enough ionization is happening. I’ll use the test strips they supply to make sure I don’t add too much.

The following are both the unit and the refill kit if you need it – my anode and cathode lasted from July to October just FYI.

Summary

Yes, they do work. Everybody I know with one likes it. My results with the definitely clearer water are promising and I think the second one in my case, with both a big pool and limited direct sun light, will cut back the algae they way I want.

I hope this helps you out. I’ll post an update this summer once I see how using two units works.


If you find this post useful, please share the link on Facebook, with your friends, etc. Your support is much appreciated and if you have any feedback, please email me at in**@ro*********.com. Please note that for links to other websites, I may be paid via an affiliate program such as Avantlink, Impact, Amazon and eBay.

Use A Pool Leveller To Keep Your In-Ground Pool Full This Year: Fill-O-Matic Brand Worked Great For Me

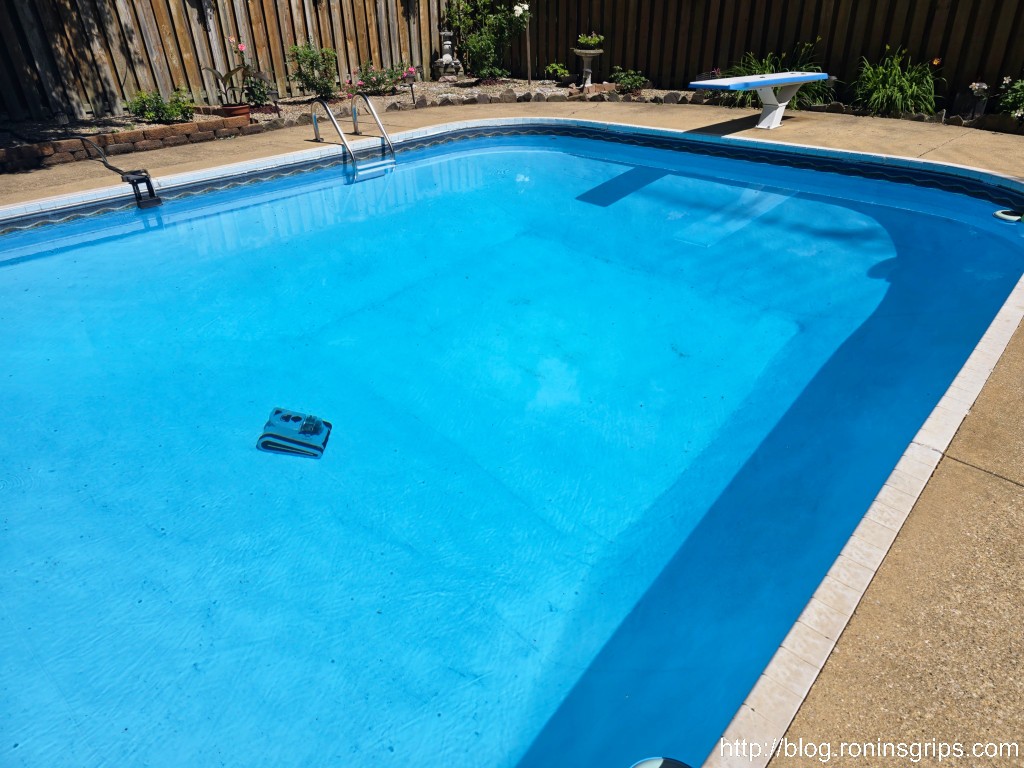
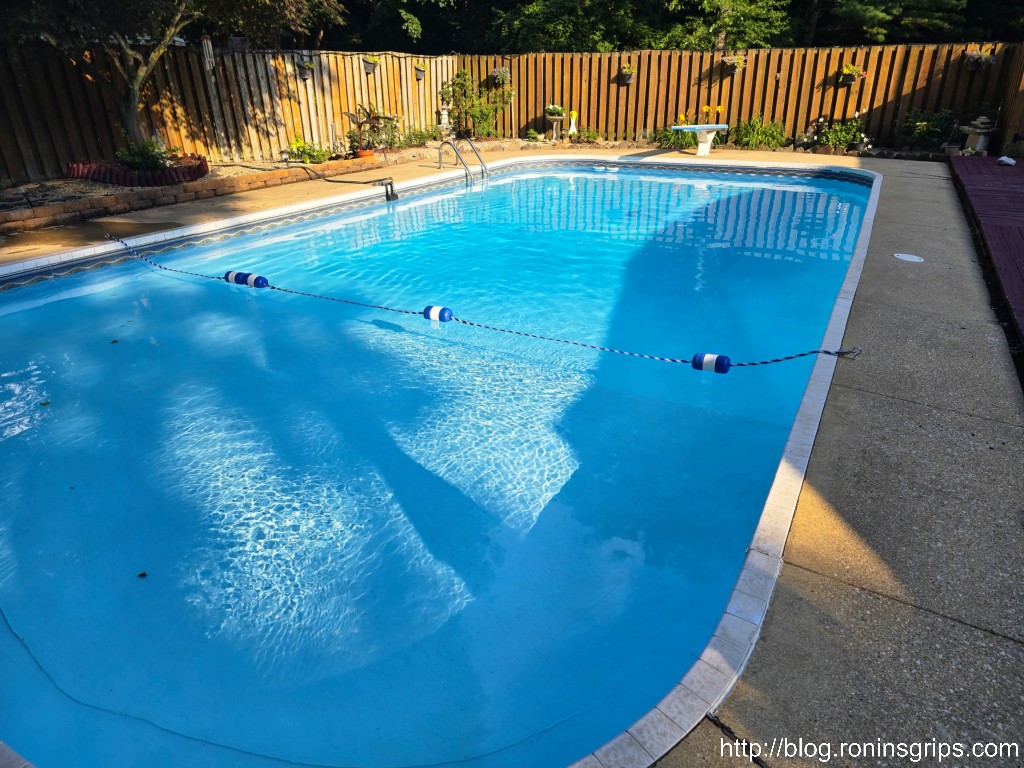
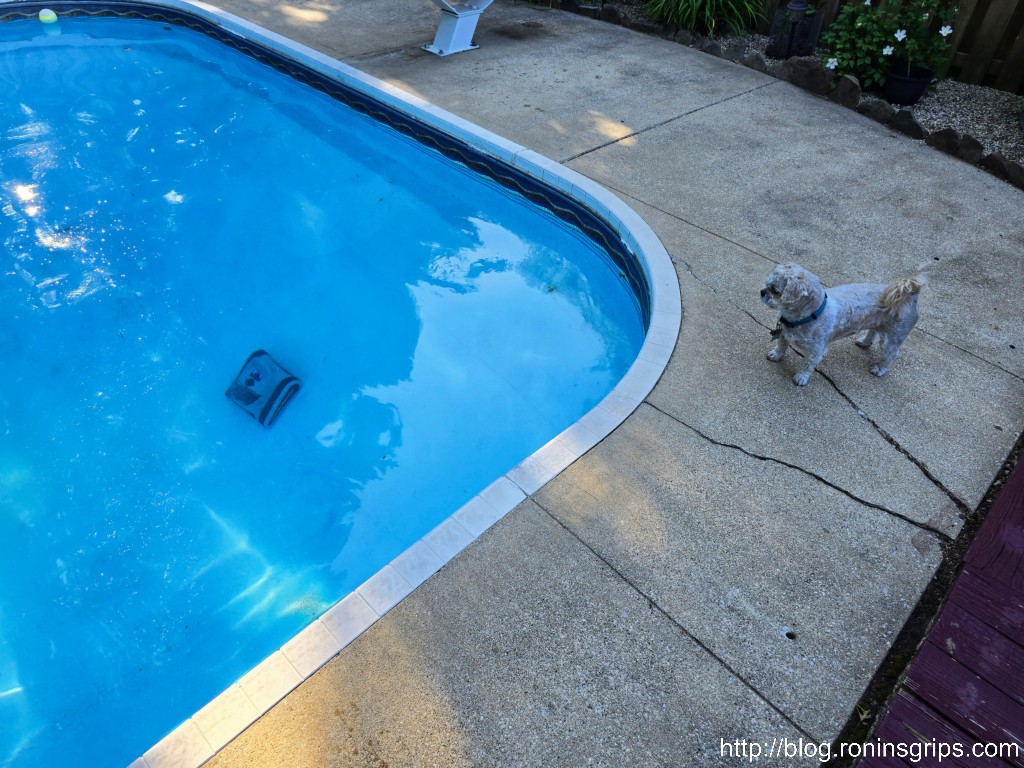
We have an in-ground pool that was built in the 1970s. Every year when I open it, I wonder what all will be wrong. Starting some years ago we developed a small leak – most likely in a line somewhere. Between that and evaporation, it used to be a challenge to keep the water level correct. This was a big deal because if the water dropped below the skimmer then the pump would run dry and nothing got filtered. Notice how I put that in past tense? It’s not a problem any longer.

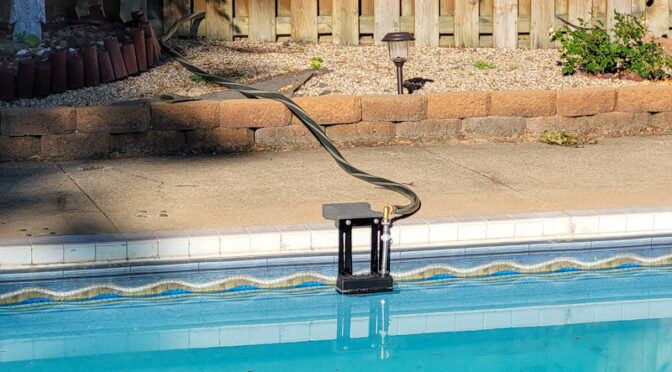
In October 2021, I bought a Fill-O-Matic automatic pool leveller. The brand sounds like a gimmick but it really works – I bought mine based on a referral actually but ran out of time before the season ended. However, right at the start of the 2022 pool season in Michigan I installed it and it couldn’t be more simple – you basically adjust the height to where you want the water, connect a host, turn on the water and away it goes.

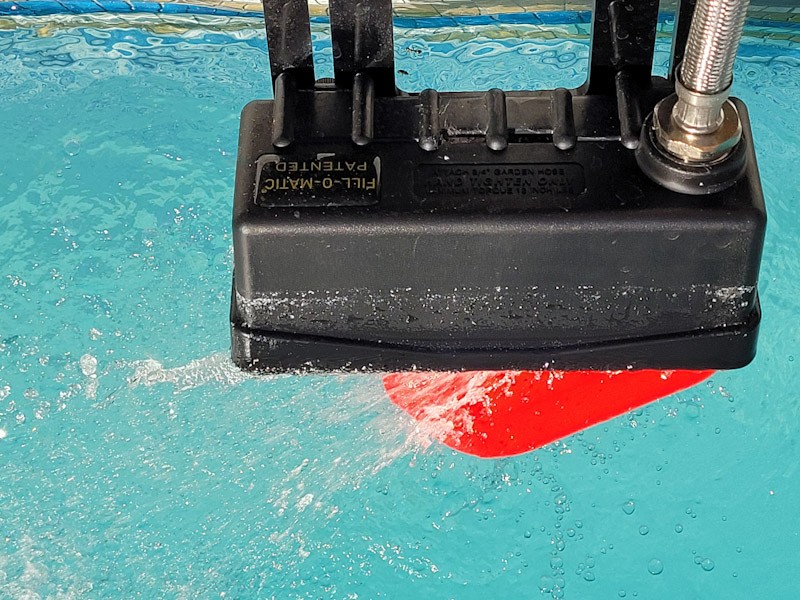
It’s basically a float valve that moves up and down. When water is added, it moves up and eventually closes the valve. When it goes down, it reaches a point where it opens the valve and it does it in degrees – if the float goes down a bit, the valve only lets a little bit of water in.

The red plastic is the float. When it goes down, the valve gradually opens and water comes in as you can see. When the float goes up, the valve gradually closes.
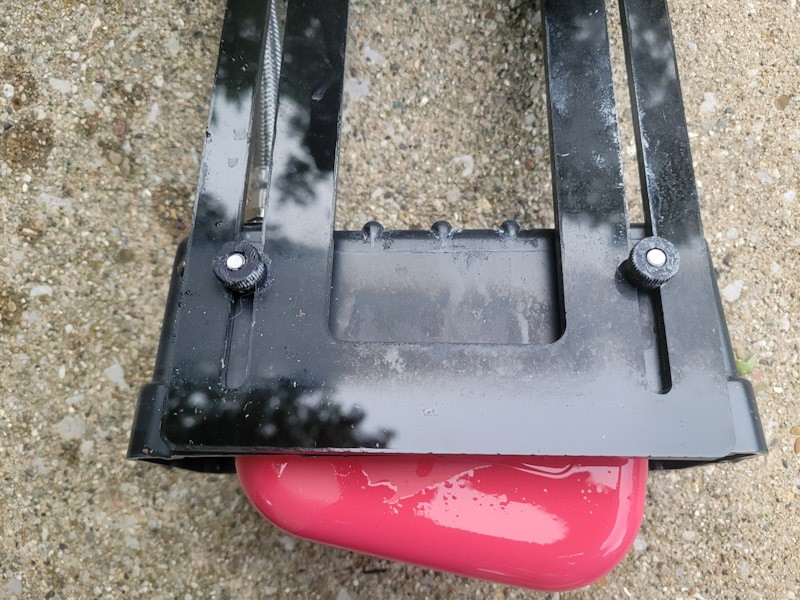
This is the back of the unit – when you loosen the black finger nuts shown, you can then slide the float up and down and thus control your water level.

What I found was that the unit ran almost constantly but the amount of water it was adding in was small. It’s a very simple well made quality mechanical device and that’s good – that also means it will be reliable.

Summary

I ran it all of 2022 without a problem, rinsed it off before storing it and absolutely plan on using it this year again. By the way, it’s made in the USA and I actually corresponded with the inventor over some question I had – I recall he answered quickly and it addressed whatever it was that I asked. When I searched on Amazon for the product, I notice there are cheap import knock-offs. Be sure to the original Fill-O-Matic.


If you find this post useful, please share the link on Facebook, with your friends, etc. Your support is much appreciated and if you have any feedback, please email me at in**@ro*********.com. Please note that for links to other websites, I may be paid via an affiliate program such as Avantlink, Impact, Amazon and eBay.

There Is A Great Counter Top Ice Maker Available That Is Very Affordable On Amazon

We have an expensive Whirlpool fridge that had (past tense) an ice maker built into the door. It managed to work until its warranty expired and then it stopped. It turns out those things are a known problem and expensive to replace (over $1,000). Well, the chilled filter water still worked so I wondered about other options.

Yes, good old fashioned ice trays are an option but we rarely have room in the freezer section for them, we forget to fill them and they are slow to make ice. It was an option but not realistic in our family.

What I really wanted to do was to find a counter top ice maker. We stayed at a cabin with one last year and it did a pretty good job. I had no recollection of the make or model of it so I turned to Amazon and started reading.

First off, there are tons and tons of options ranging from relatively small counter top ice makers all the way up to commercial units on Amazon. I wanted something that wouldn’t take up a ton of space, had a refillable water supply tank (not plumbed in other words) and could crank out ice quickly.

The good news is that there are a number of units to choose from. I read reviews and went for a combination of great reviews and price to select the AgLucky HZB-12/B. When we bought it, the price was $119.99 and there was a coupon for $10 off. When I checked the price just now, it was $129.99 and no coupon but this gives you an idea of the price.

It scores 4.4 stores with 14,024 reviews and to be honest, I can see why. It does the job very well with some small issues but for the price, I’d buy it again. We’ve used it a ton for a month now and am quite happy.

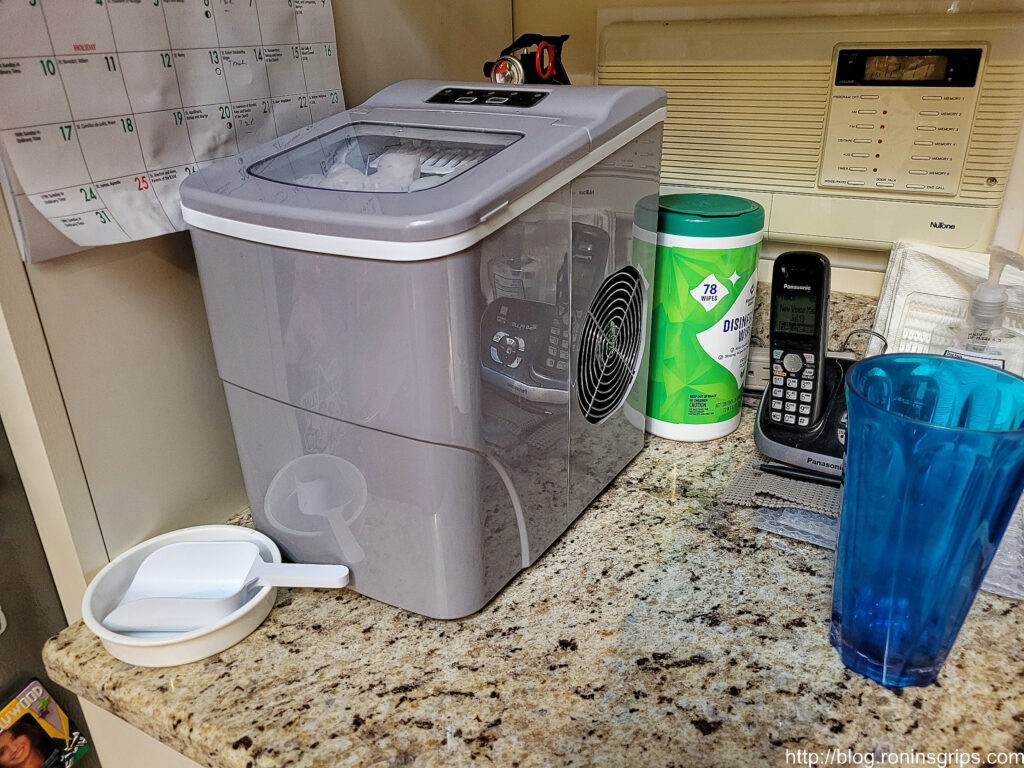
The units is 12.6″ tall, 8.7″ wide and 12.3″ deep. It is not large and there are color options. We went with grey and there is also black and red.

Setting Up The Unit

It comes completely assembled in a sturdy box. You do need to go through the top of the unit and remove the tape they installed to secure everything at the factory. I washed it with mild soap and rinsed it thoroughly. I then ran a couple of containers of test water through the unit to make ice that we tossed out.

It took less than an hour from when I got it out of the box, cleaned and tested it to when we were then cranking out ice. Not bad at all.

Ice Volume

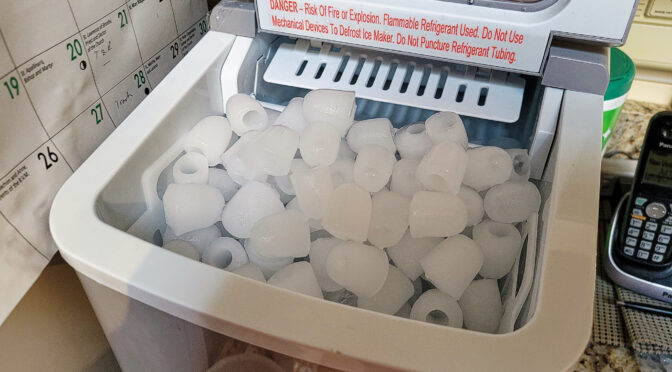
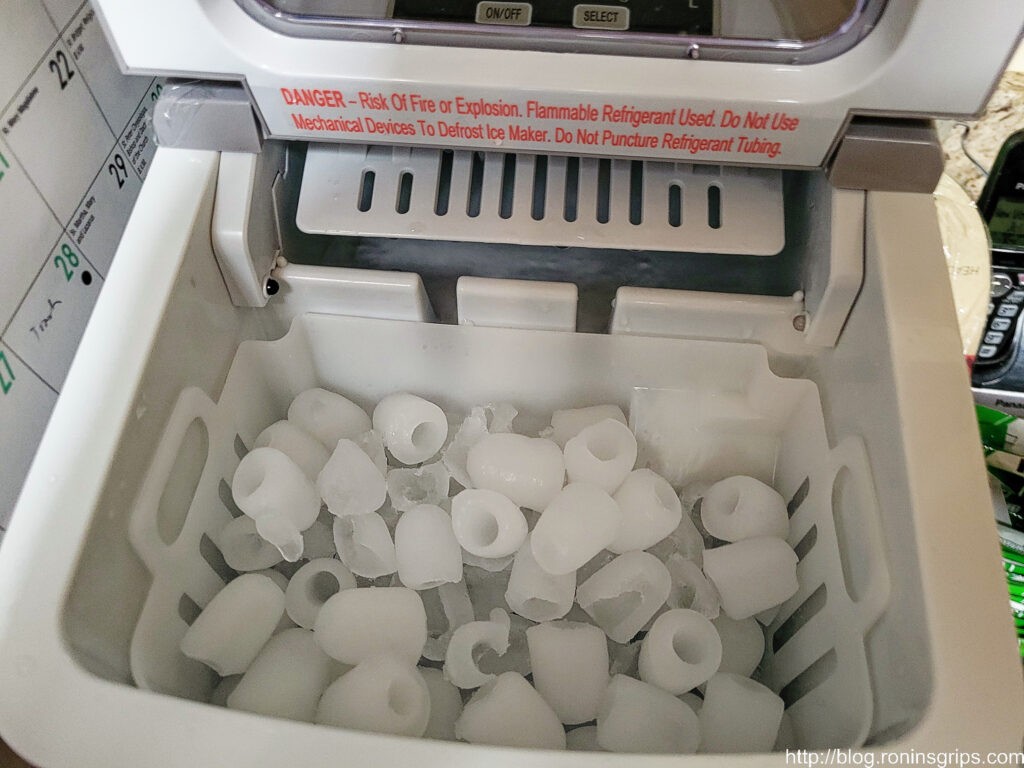
They say it makes cubes every 6-8 minutes and that is about right – it really does. It can crank out 9 ice cubes with each batch at that pace – it’s surprisingly quick especially compared to old fashioned ice trays. By the way, the ice produced is shaped more like a cylinder that is hollow at one end – they are not really “cubes”. I think it can crank the ice out so fast because it focuses on cooling extended metal rods to make the ice.

Definitely use filtered water. We keep a large plastic cup near the unit to refill the unit with filtered water. Yes, there are much more expensive units you can tap into your water line with but we wanted portability

The Basket

The ice basket is in the front of the unit and is not refrigerated. Why, I am not sure – maybe to keep costs down. As the ice melts, it drips and goes into the water tank directly below the ice tray.

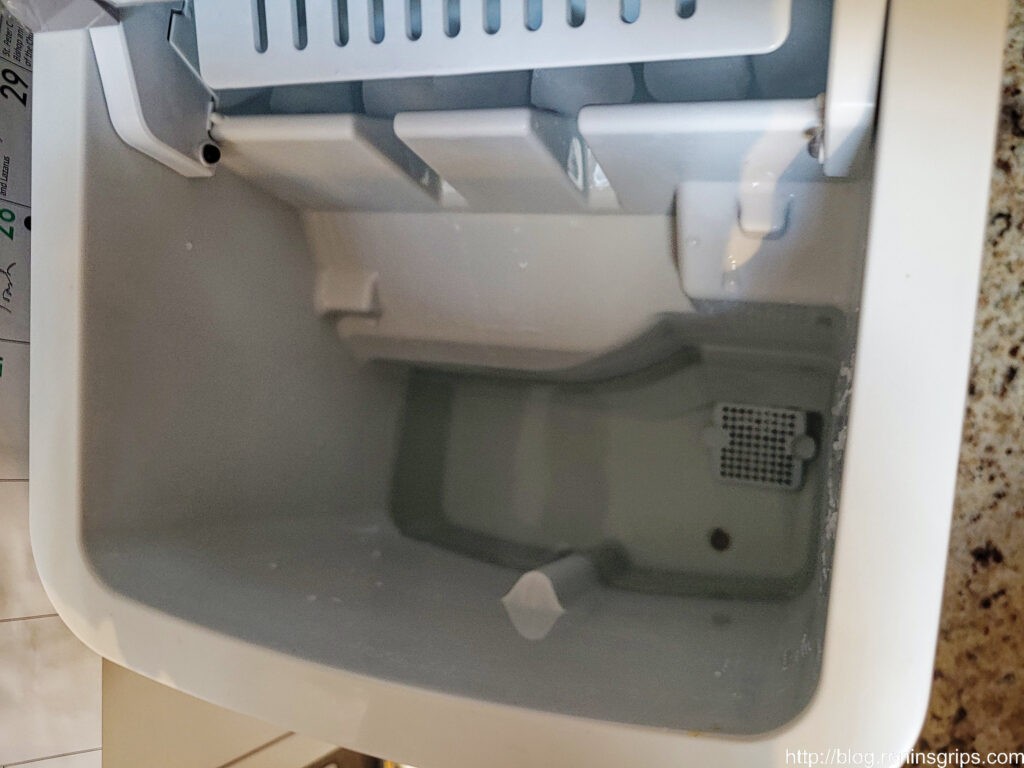
The basket sits in the angled surface and the small column you see at the bottom of the photo. The bottom is actually the front of the machine. You fill the unit with water up to the top of that column or any existing ice will be sitting in water. So, you both get ice out of the top and add water as well.

The basket is also relatively small – the whole unit is small. We keep the provided ice scoop by the unit. If more ice will be needed in the future, we would dump the ice from the bin into a plastic bag and freeze it. To be honest, it works but if you need a bunch of ice fast for a party, you may still want to buy ice.

There is an infrared sensor at the back edge of the ice bin – just above the rear of the basket. If a cube gets in front of it, the unit will assume the bin is full and stop making ice even though the bin has room. I just got in the habit of looking when I walked by and would use the scoop to move the cube out of the way.

Just above the back edge of the basket, find the black dot on the left side and somewhat clear dot on the right side. When ice breaks the infrared beam between the two units, the machine stops making ice. That could be when the basket is legitimately full or if an ice cube happens to be stuck in the way. This is a trivial issue really.

Sound Level Is Acceptable

When the fan kicks in to make ice, it is about 60-62 db at about a 6″ distance according to a sound level app on my phone. This puts it at the level of normal conversation or background noise. 70db, for comparison, is the sound level inside a car or an office. Our house is relatively quiet but we got used to the sound and the sound it makes when the ice drops off the fingers and is pushed into the bin. Sure, I wish it was quieter but for the price, I will happily live with it.

In Conclusion

The AgLucky unit is a work horse. It does its job and is totally worth the price for us — it’s nice to have a ready supply of ice again.


Note, I have to buy all of my parts – nothing here was paid for by sponsors, etc. I do make a small amount if you click on an ad and buy something but that is it. You’re getting my real opinion on stuff.