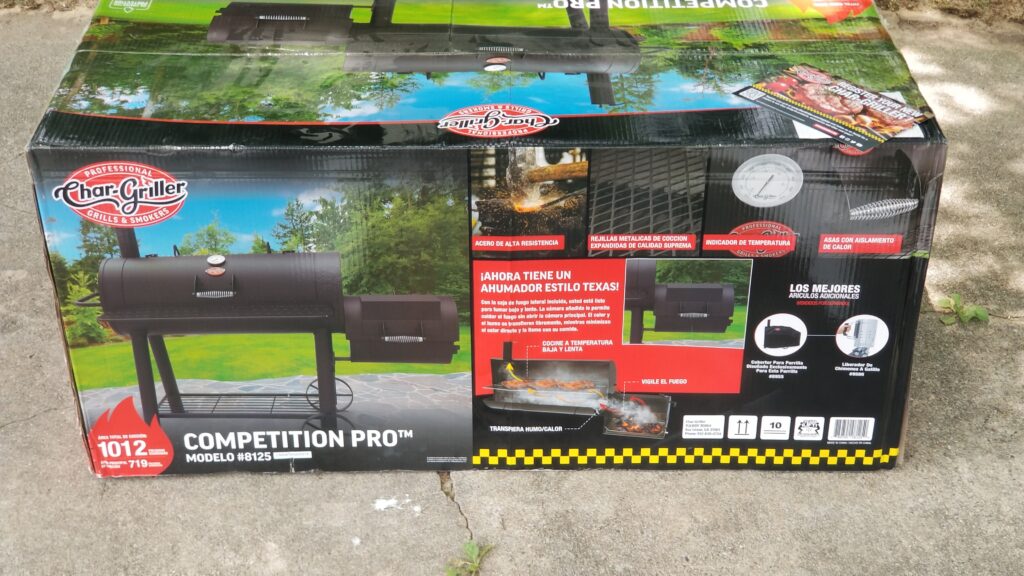
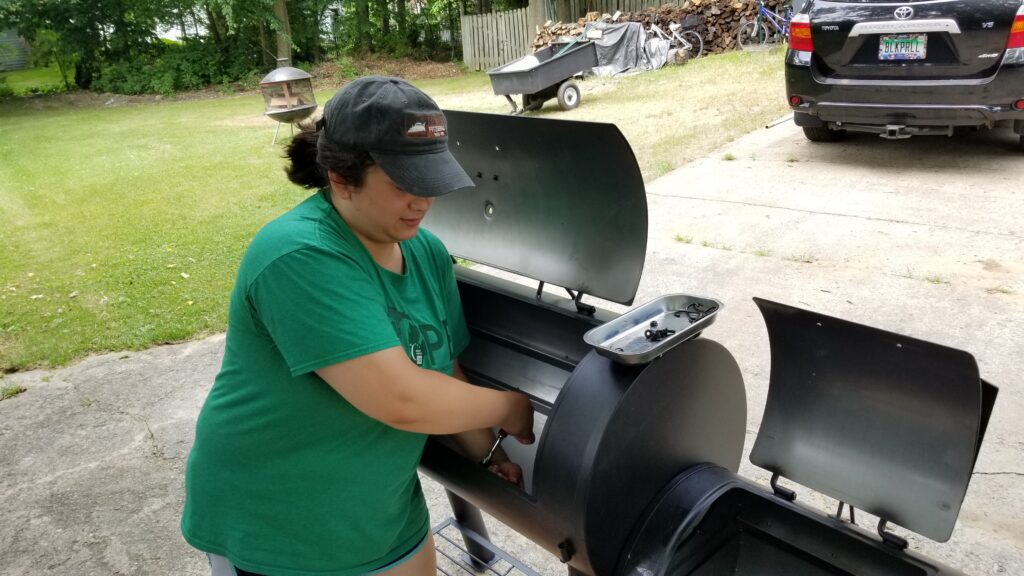
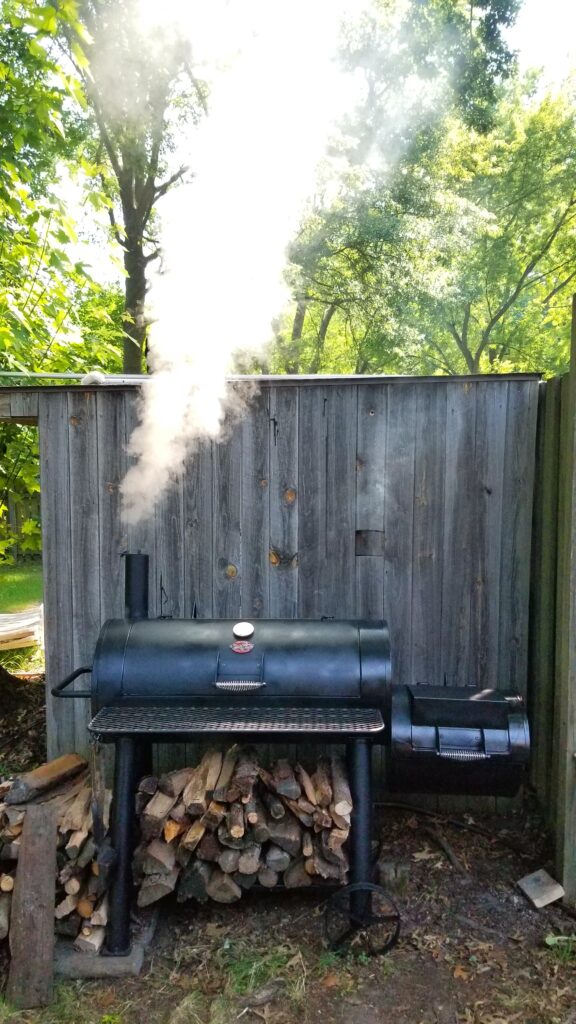
As a father’s day gift this year, my kids chipped in and bought me a brand new grill. My wife helped them hide it and together they surprised me. Man, that really touched me. I’ve had a Char-griller Super Pro 5555 grill for almost 10 years – we’re not exactly sure how old it is but it was rusting through in a number of spots. The kids know that I love to grill and decided to go in together to buy me a new 8125 Competition Pro Offset Smoker Charcoal Grill. I had made a few assumptions about that grill that didn’t quite turn out as expected but with a little bit of work I was able to make a grill I really like.
My biggest problem has to do with my preference to cook with wood and not charcoal and some usability issues this created. Here are my observations after using this for a few weeks:
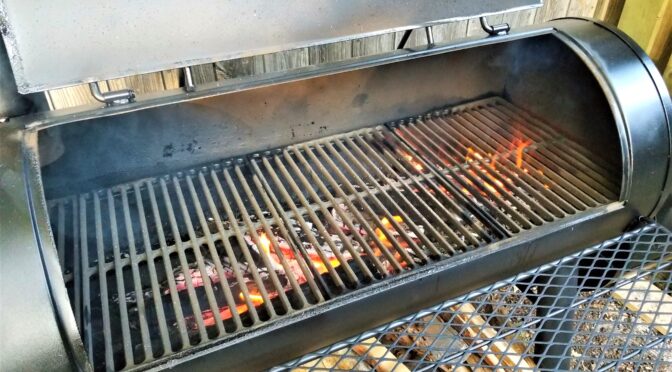
#1 – The 8125 was really designed with charcoal in mind and they say that right up front. It has a fairly small fixed gap between the grate that holds the charcoal and the expanded metal cooking grates. It would work for a layer or two of charcoal but not for wood.
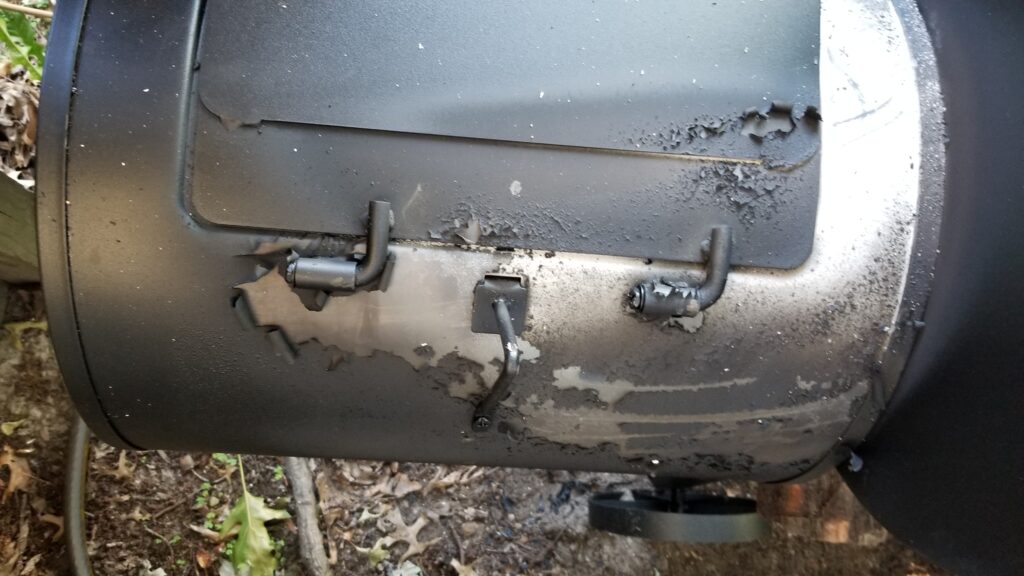
#2 – The paint they put on the 8125 flat out burns right off. What in the world were they thinking? I’m sure this is why the manual says not to exceed 400F but come on. My old grill never did that.
#3 – The expanded diamond-pattern sheet metal is really thin and doesn’t help at all when it comes to transferring heat. I prefer a heavier grate that will help conduct heat to the food.
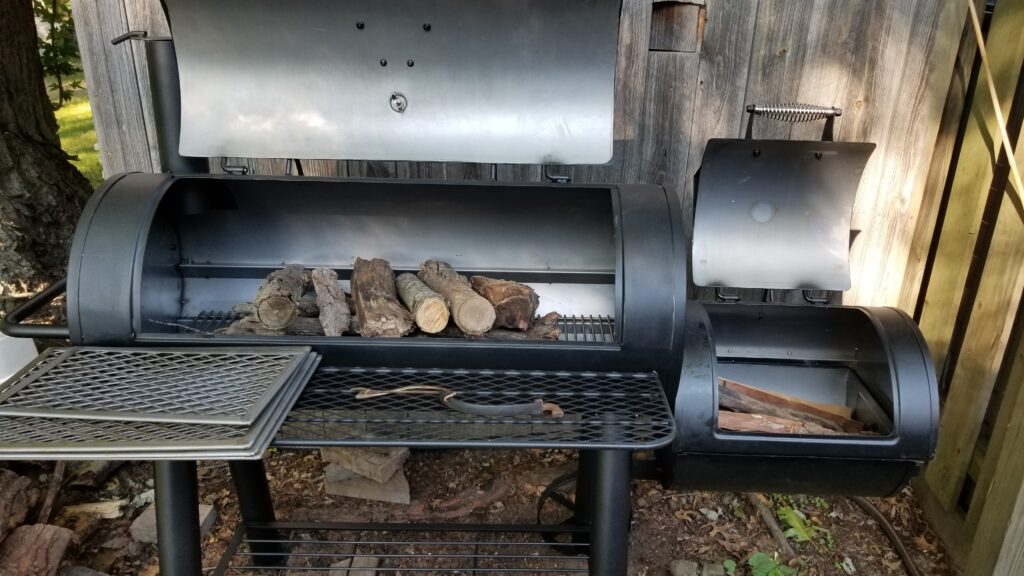
#4 – Maybe because I am using wood but I can’t seem to run the little smoker piece as well as the big section. Not a big deal but definitely an observation. I’m not even going to worry about this and save the little side smoker box for when I do really want to smoke stuff.
So what did I do?
In looking at the grill’s performance there were three things that I needed to do – retrofit it to use wood, replace the thin expanded metal cooking grates with cast iron and to use a high-temp paint vs. whatever stuff Char-griller chose very poorly to use.
Welded Fire Plates To Burn Wood
Okay, my old grill had a relatively thin sheet metal cradle that you could raise and lower to adjust the heat. The nice thing was that I could lift it out and dump the ash. What was real important is that is shielding the bottom from the burning wood. I really wanted that.
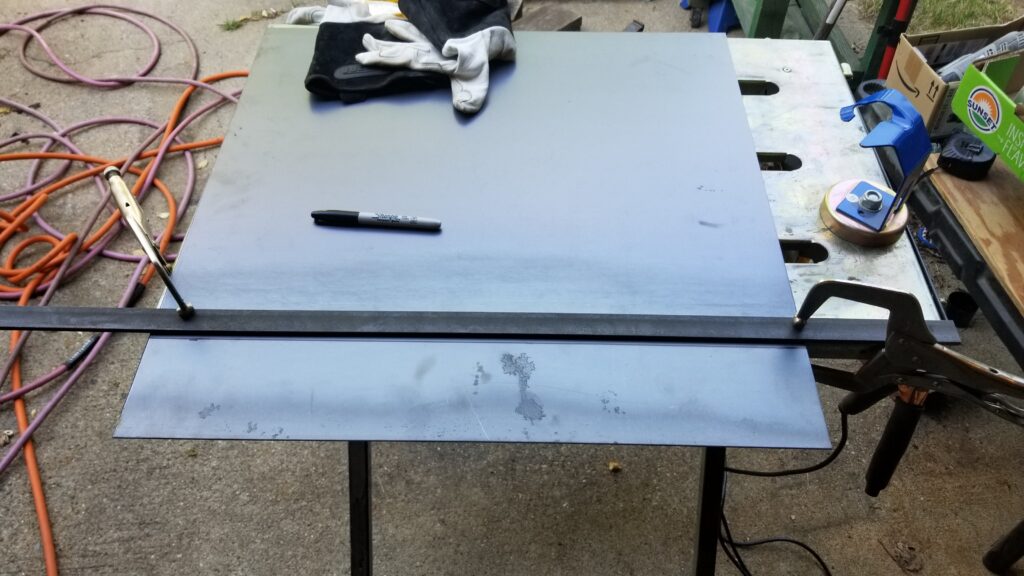
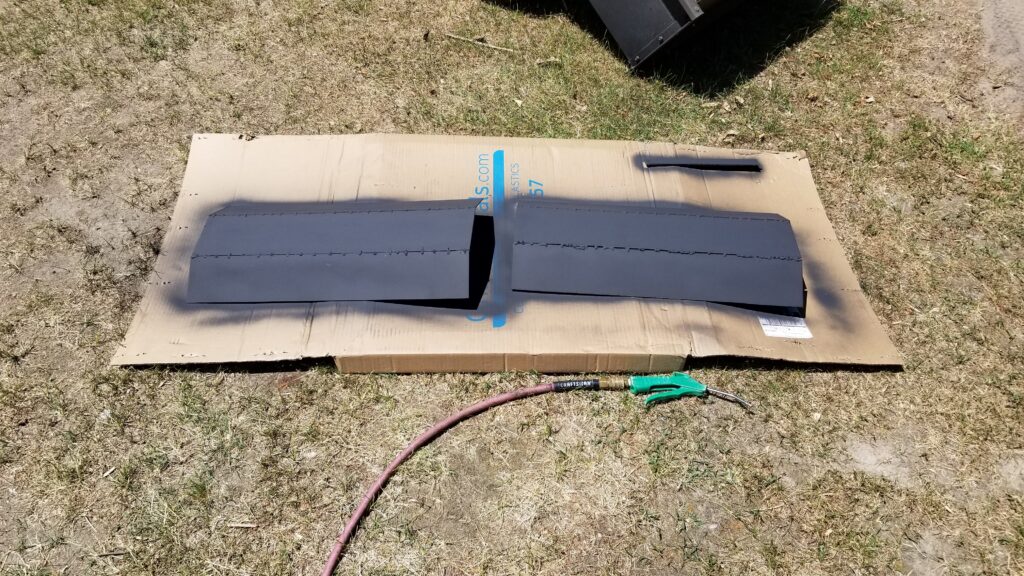
I bought some 14 gauge mild steel and cut it into strips. I did the wings at 4″ and the base at 5″ wide. If I had it to do over, I would have done the base still at 5″ wide but the wings at about 4-1/2″ to get a tad closer to the shelves that are tack welded from the maker. You could go in with a cutting disc, cut the tacks and remove the lower shelf supports really easily if you wanted to. I decided to just leave them.
Yes, I did think about doing more strips because the grill’s bottom is round. That would have let me follow the contour even more closely but I just wanted to keep it simple. If I were to go this route, I would cut the strips such that they came close to 14-15″ across or whatever you want really.
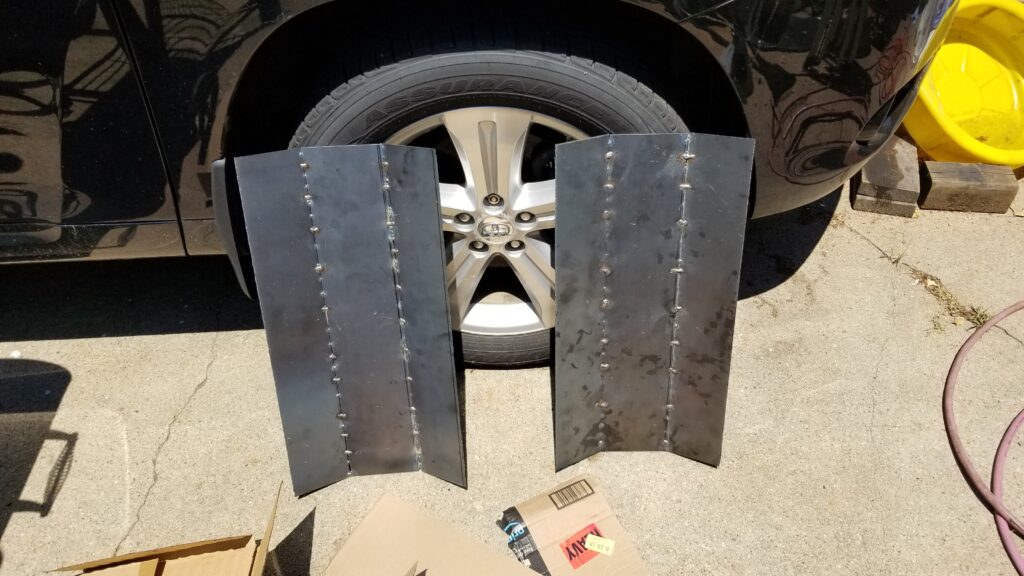
To form the angles, I actually took a simple short cut. I did three small tack welds to hold the plates together – one at each end and one in the middle. I then took the assembly to the grill and pushed/whacked it into place. This caused the sides to bend up and I got just the angle I wanted with the base plate centered. I then removed the unit and did the final welds all the way around.
Now the interior length of the grill is about 40-3/4″. The 14ga sheet metal I bought was 24″. I thought about cutting and welding the sheet metal but instead decided to let the two pieces simply overlap in the middle.
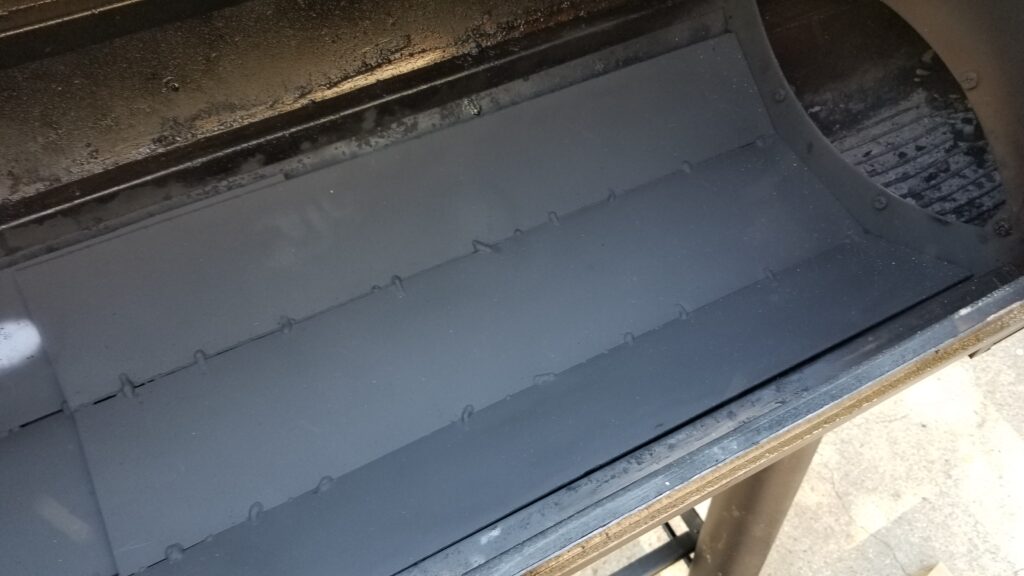
There are rivet nuts installed at each end of the grill to hold the legs. These stand that plates off from the bottom of the grill at each end. I put a spare piece of folded 14 ga sheet metal in the middle to lift the plates off as well.
Here’s what Rust-oleum recommends in case you have access to a big enough curing oven: “Bake at 400°F (204°C) for 30 minutes and allow 30 minutes to cool. Bake at 600°F (315°C) for 30 minutes and then allow 30 minutes to cool. “
In my case, I loaded the smoker up with wood and used it to heat the grill. I’d open both dampers and hit the recommended temp for at least the allocated time and then close the both dampers to smother the fire and let it cool down. My thinking, and time will tell if I am right, is that you need to hit the target temperature for bonds to be made and then cool down sets them — at least that’s what I think is happening. If it all flakes off then my assumptions will be proven flawed.
Note, I did install new grill plates and baked them at the same time so let’s talk about them next.
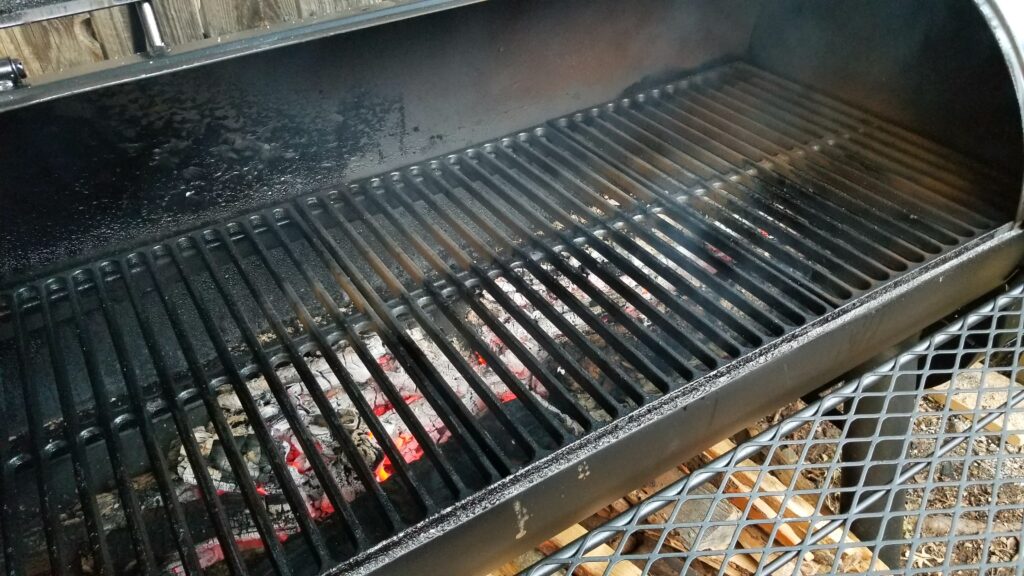
Bought Quality Cast Iron Grill Plates
Alright, the expanded metal cooking plates really are a joke. I’m sure they made sense to someone looking to cut cost but you really want a nice thick metal to sear meet and also to evenly spread the heat. My old 5555 grill had cast iron and they really did a nice job. Based on that, I really wanted to upgrade to heavy cast iron.
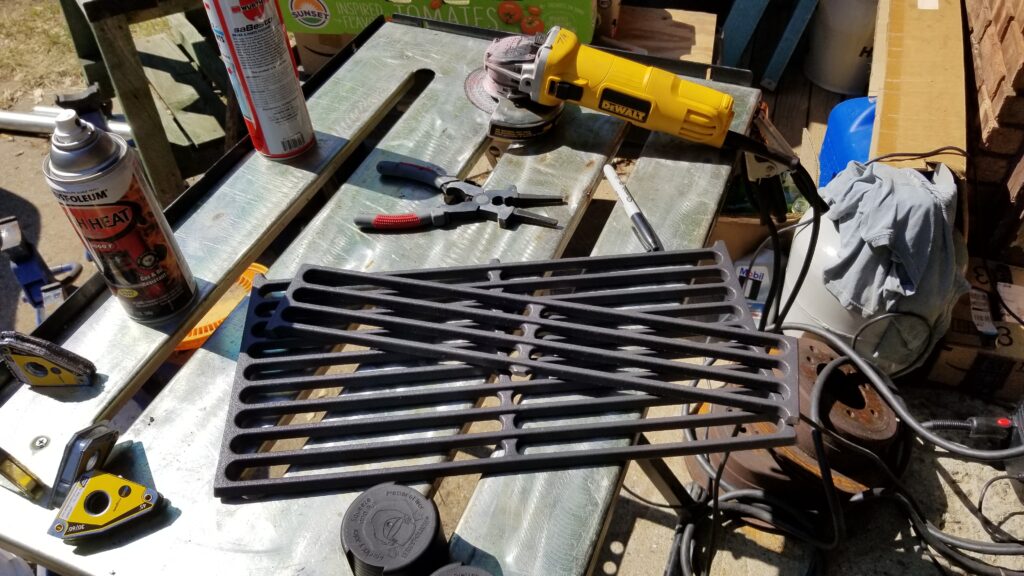
I did a lot of digging and hit on the perfect cast iron cooking grates on Amazon. These things are amazing!

The grates are Vicool model 7526s https://amzn.to/3uWdwgwand measure just over 17-1/8″ deep and about 11-7/8″ wide and almost a 1/2″ thick — they are heavy! The grates come two per package and this meant I would need to order two sets to go the length of the grill.
The inside of the smoker has tabs to limit travel of the grates they installed. I could set in three complete grates. For the last grate, I marked where I needed to cut it and used a grinder with a cut off wheel to cut the last piece to size and drop it in. Since I don’t grill to the far left, that’s where I put the partial piece. It really turned out nice — I am very, very happy with these grates and definitely recommend them (the link is above or click here for the Amazon page).
One last comment, these grates are heavy. Click here for the cast iron grate lifter I bought off Amazon.
By the way, there are a ton of replacement grates on Amazon. I can vouch for the Vicool ones – but click here if you want to see other options – look at the reviews and make sure they will fit, or can be made to fit, your particular grill. Amazon often tosses in stuff on searches that will not fit a given model so be careful and check.
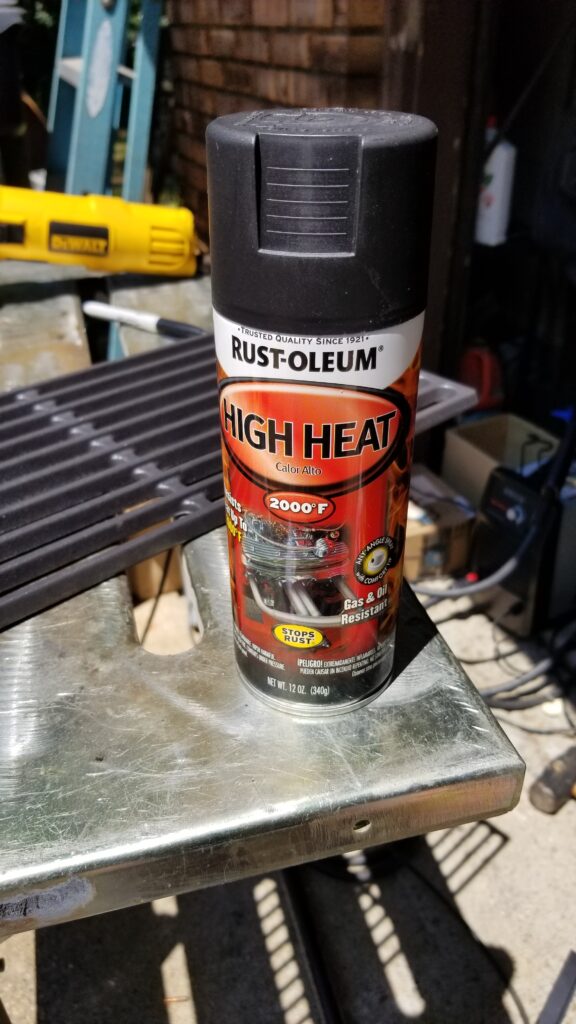
Started Touching Up With Ruse-Oleum High Heat Ultra Spray Paint
The paint that Char-griller put on a supposed competition-grade smoker sucks. I’m not going to mince words – somebody made a very, very poor design decision. Yes, in their documentation they say not to go over 400F but why the low limit? Of course the cooking chamber or the side unit will go past that.
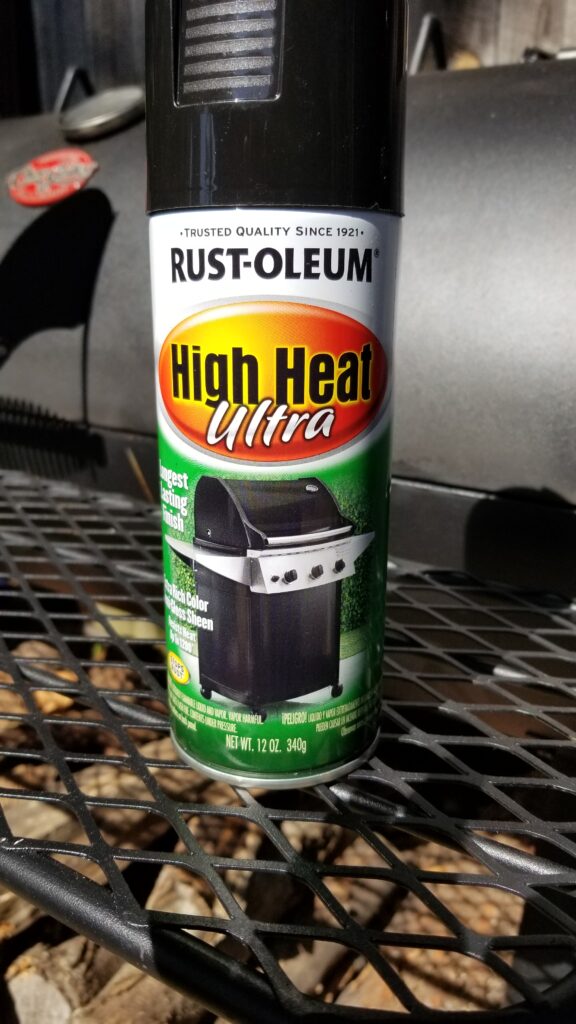
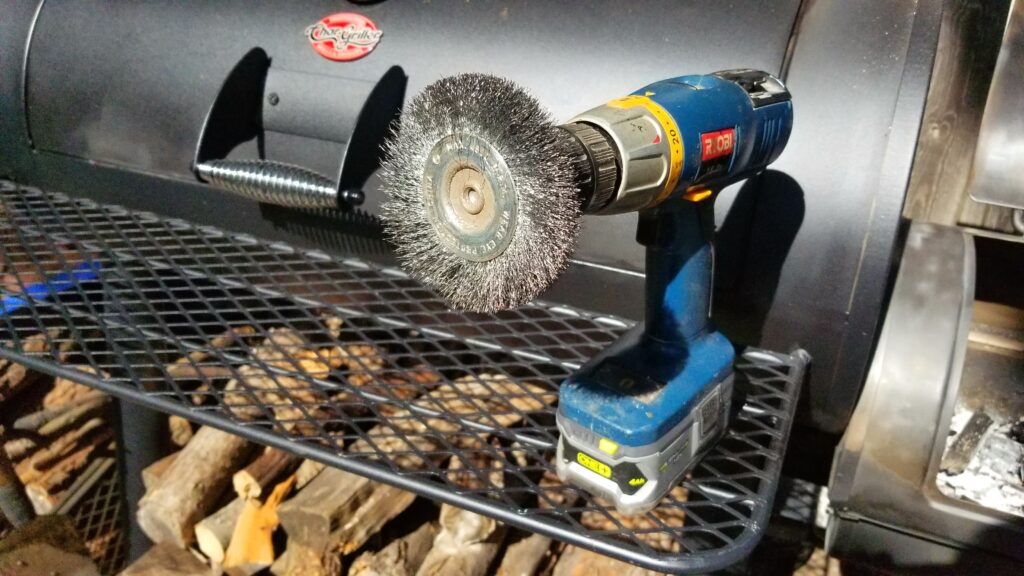
Dealing with it is a nuisance but not hard and there is a good paint to use to do the touch ups. Rust-oleum High Heat Ultra comes in a semi-glass black version that works great. I use a wire brush wheel on my cordless drill to remove the loose paint and then apply 3-4 coats of the High Heat Ultra. Let it dry for at least an hour and then heat it up to 400F to cure it. Note, they do not recommend it for direct contact with flames which is why I used the 2000F paint mentioned above on my fire plates.
So far, this paint has held up with no problems. When ever the original paint curls back, I wire brush it and apply the High Heat Ultra. It’s annoying but I don’t feel like using a chemical stripper to remove all the old paint so I just keep doing this over and over.
If you have a BBQ or grill that you want to touch up, this stuff rocks and you’ll see why so many people recommend it.
A Cover
I do want this grill to last so I bought a cover that fits it pretty well. It’s made by iCover and is intended to fit 60″ offset smokers. I bought it due to reviews and wanted to save some money compared to the Char-griller cover and am happy with what I got. We’ll see how it holds up over time including Michigan winters.
Hint: Break In The Grill
If you don’t break in your brand new grill, you run the risk of your food tasting funny not to mention eating some chemicals you really shouldn’t be. Before you use a grill to cook food, get it good and hot – 350-450F and hold it there for at least a half hour to get rid of paints, oils and what not. For example the 8125 came coated in some kind of oil or corrosion protection agent that needed to burn off. After that, I close the dampers and let a good coating of smoke go around and coat stuff inside and let it all cool down. After that, you ought to be ready to use it for cooking.
Conclusion
My kids really surprised me this year. They knew my old grill was on its last legs and really wanted to get me something nice. They were way more upset than I was when the paint started coming off and that it really couldn’t handle the wood I wanted to burn. To be honest, the 8125 is a pretty good platform to make improvements on because they did use relatively thick sheet metal in the construction. You can take the base 8125 and make it do just what you want – that’s what I did and I honestly had some fun working out the details. I am thrilled with the result and want my kids to know they are awesome!!
7/21/2023 Update: I published a blog post yesterday about how the grill is holding up and refinishing it. Click here if you’d like to see the post.
Please share the link on Facebook, Forums, with colleagues, etc. Your support is much appreciated and if you have any feedback, please email us in**@*********ps.com. If you’d like to request a report or order a reprint, please click here for the corresponding page to open in new tab.