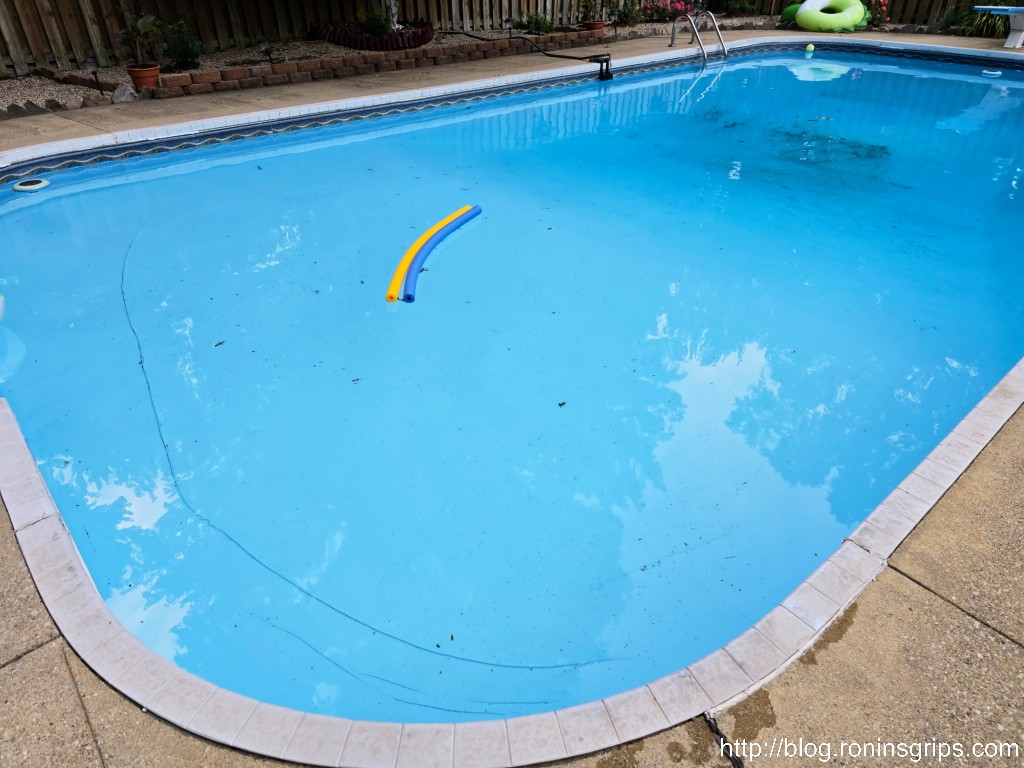
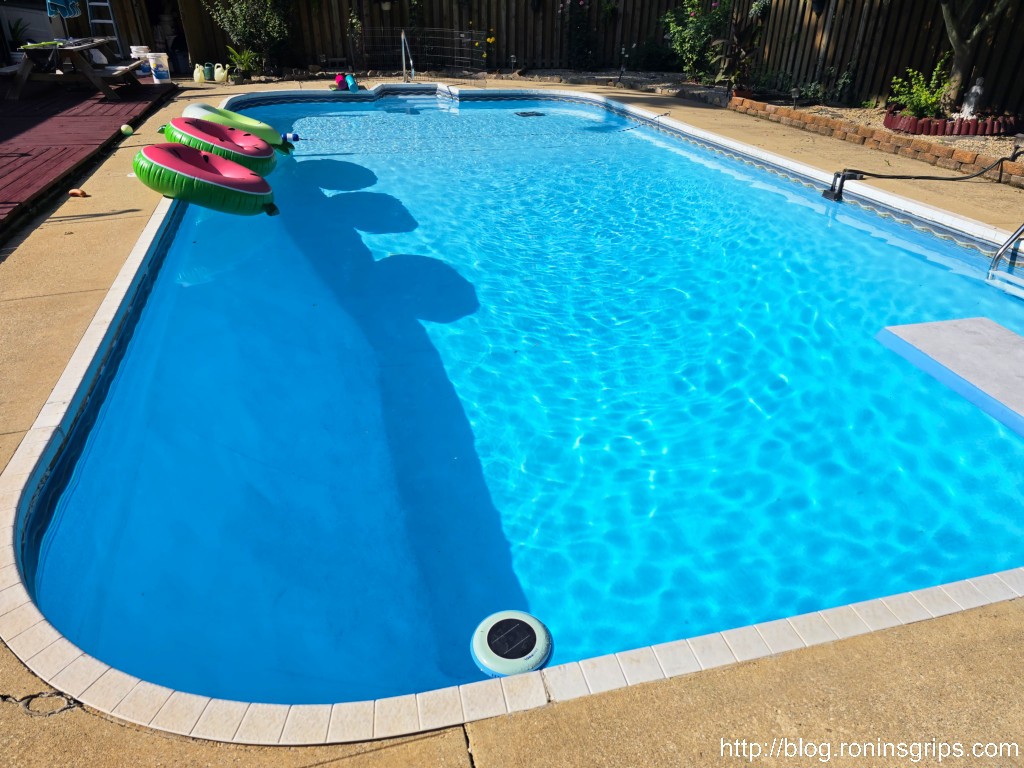
We bought our home in 1998 and it came with a 20×40 in-ground pool. Here we are 26 years later and I will tell you that a pool is way more maintenance than you think if you’ve never had a pool. We have tons of great memories of the kids growing up, pool parties with them and family visits that have made it worth it. These days, the hardest thing for me is the routine cleaning of the pool because it takes so long. It could take anywhere from 30 minutes to two hours depending on how dirty it was because I didn’t have time to keep it clean continually. I have to balance a day job, my own business and family — that doesn’t leave time for pool cleaning.
This past spring (May 2024), before we even opened the pool, my wife I are started wondering if a pool robot might be worth it because I just do not have the time any more to do it. We’d dismissed this in past years due to the cost. Well, it was time to revisit that.
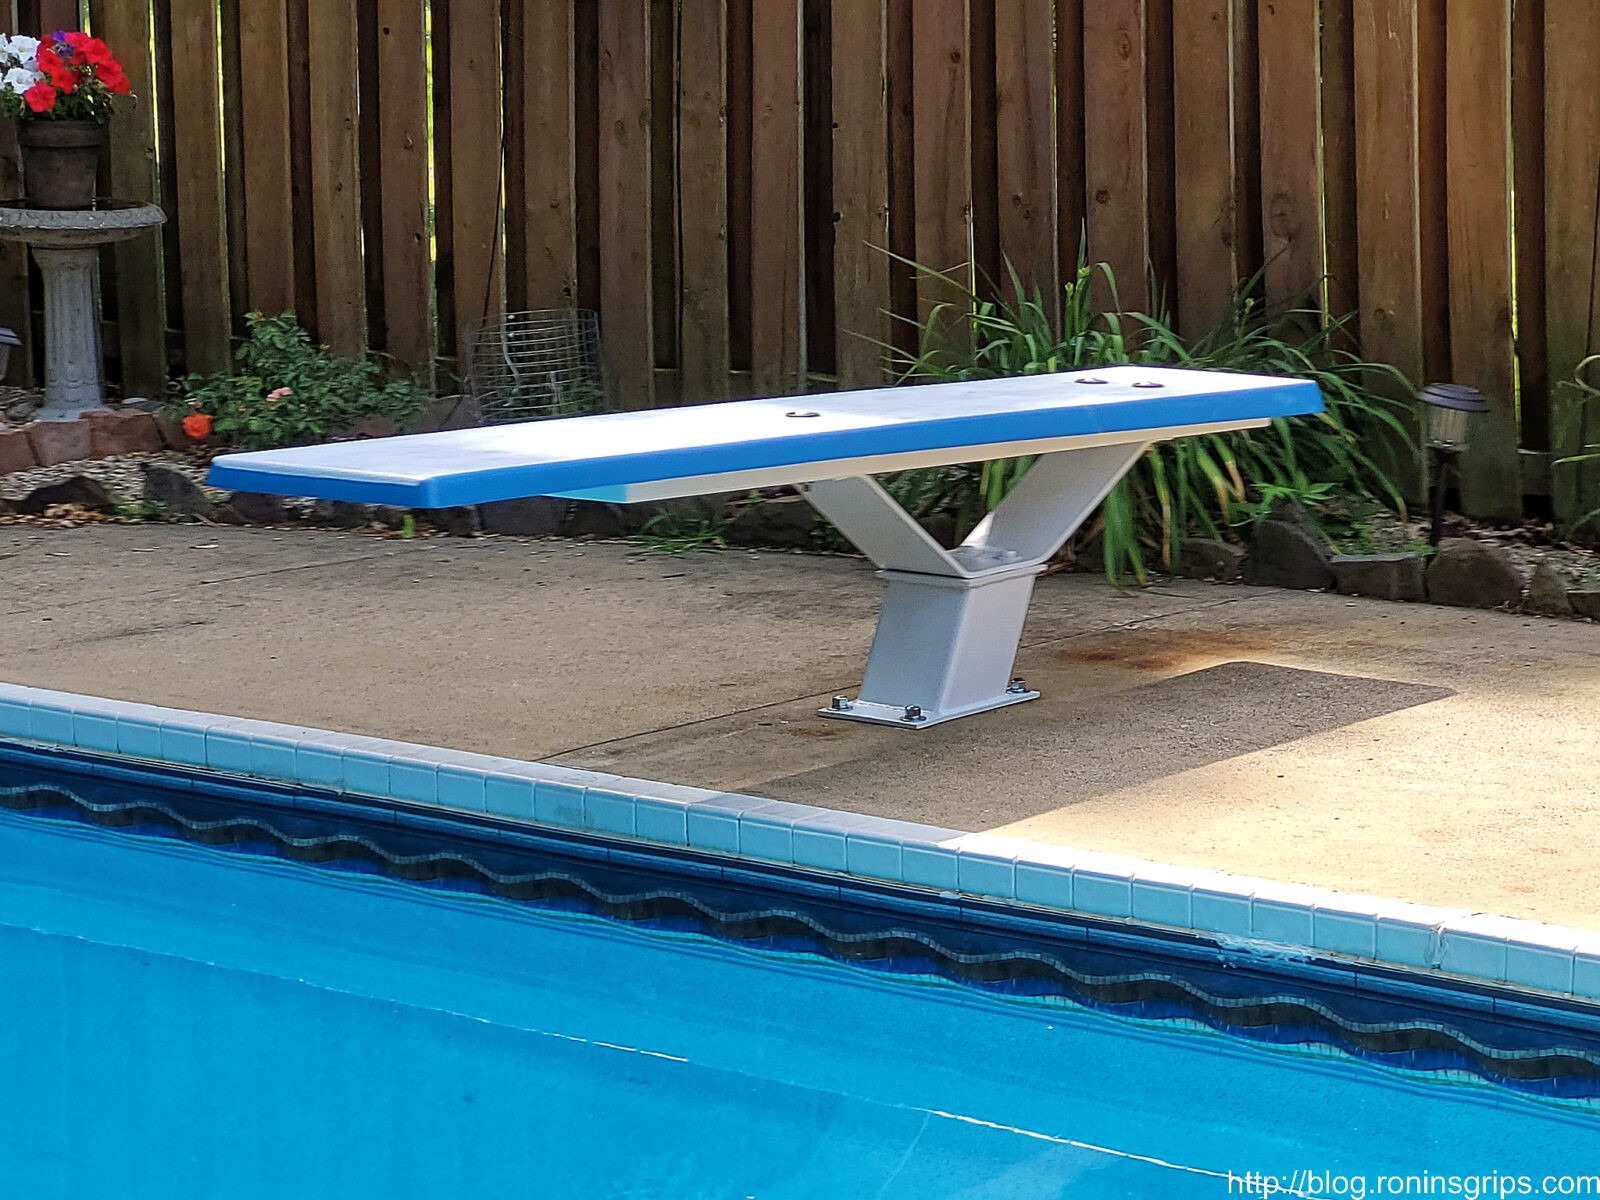
Prices had dropped a lot and there were tons and tons of options on Amazon. There are pool robots out there with all kinds of price points and we paid close attention to the size pool the manufacturer said they could handle and what angles. The last part mattered because our pool has a 3-4′ shallow end and then about a 9′ deep end with an angle at the transition between the two and angles near the bottom of the deep end. We also wanted it to be battery operated.
After reading a many, many reviews and visiting websites, we decided to buy the 2024 edition of the Seauto Crab [click on this link to open the listing at Amazon in a new tab]. At the time, with a coupon applied and taxes added in, the total was $423.99. It may seem like a lot of money, and it is, but there are far more expensive robots out there and we had to do something. In checking the pricing now, it’s $359.99 before tax with free shipping.
Now, most robots get very mixed reviews and the Crab was no different. My strategy was to order it, put it to immediate use and rely on the Amazon warranty. If you have an electronic device, the odds that it will fail are the greatest within the first 30 days statistically so use the heck out of it and find out. Absolutely do not let it sit in the box – put it to immediate use. Amazon will back you up if there is a problem in those first 30 days.
I timed the purchase so we would get it, charge it and drop it in the pool. There was a few day delay when UPS accidentally routed the box to Texas and then set it back to Michigan but it was delivered on June 17th and was first dropped in the water on the 18th.
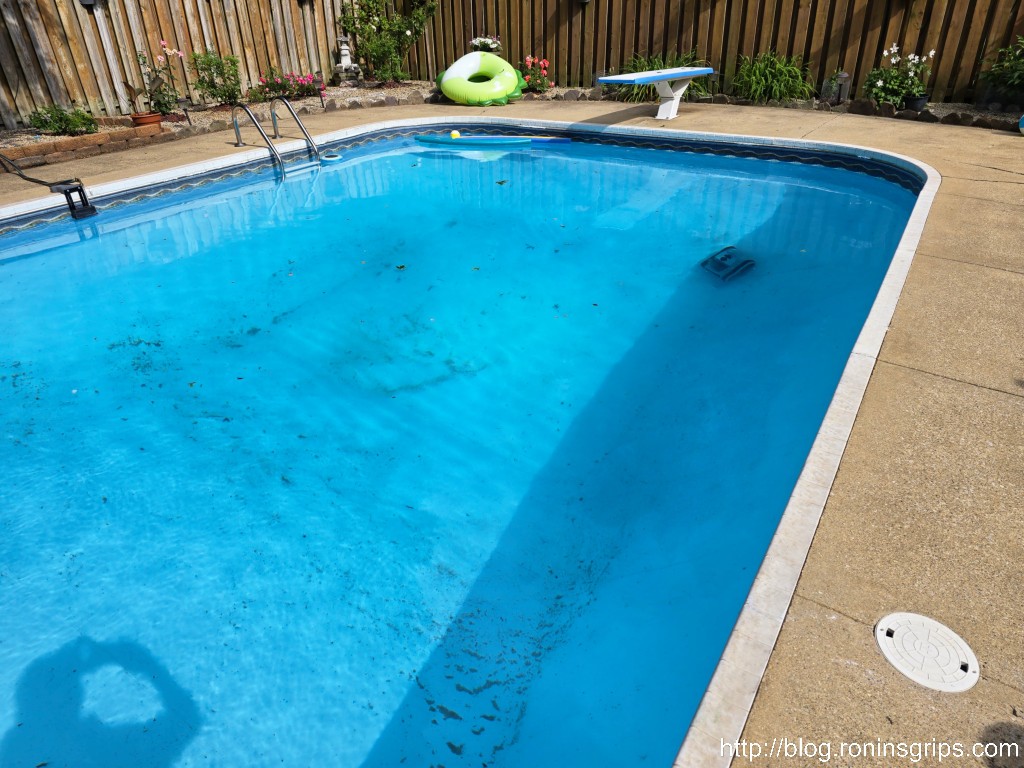
We had just opened our pool and did the initial vacuuming but it was still pretty messy. I was charging and deploying the Crab 2-3 times per day for the first week. It tapered off to the point where I now do it daily – by the way, I am writing this on August 9, 2024.

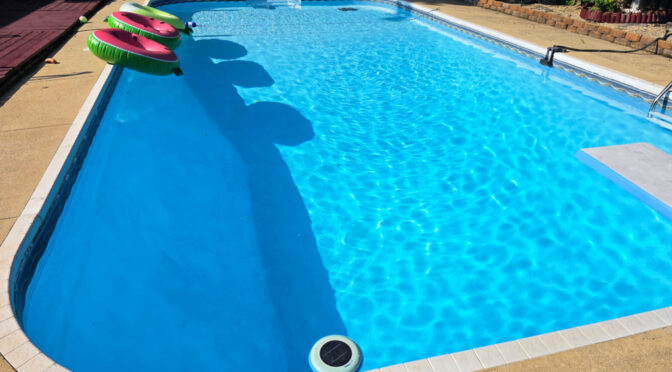
I did some math and we’ve used it 53 days now and well over that many times so maybe 75 times on average let’s say. As I am writing this blog post, it’s out there doing its job cleaning the pool and our pool has never been this clean.
Let’s Get Into Some Details
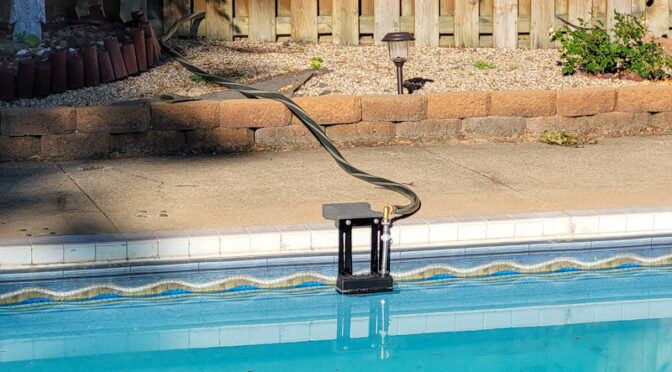
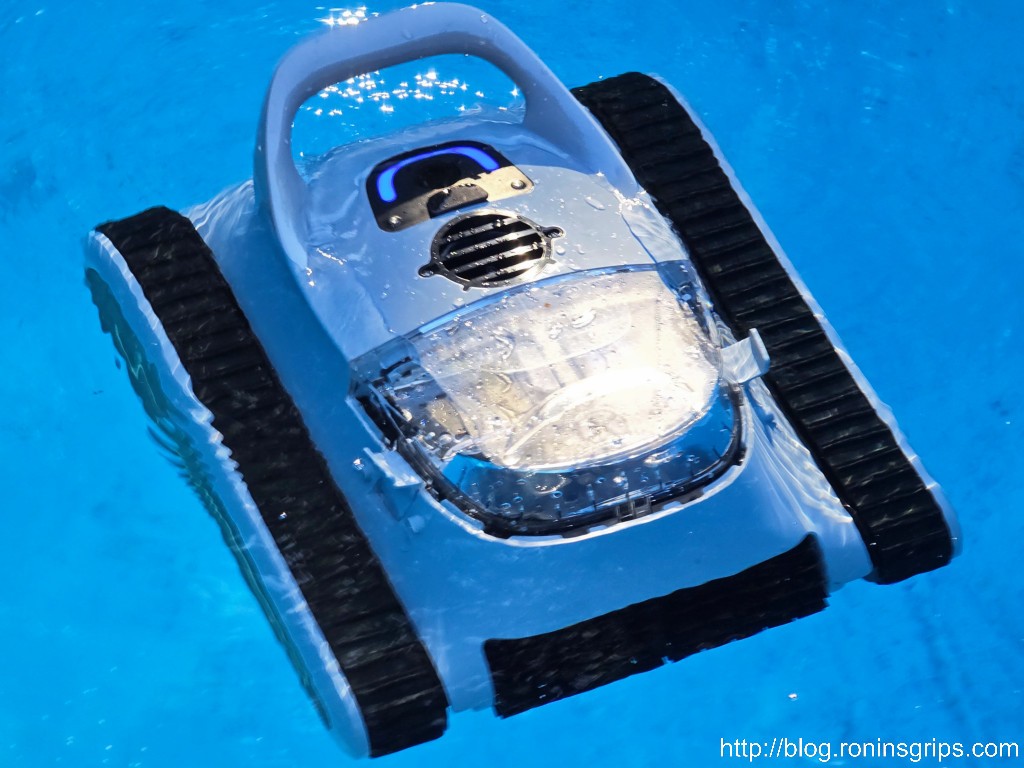
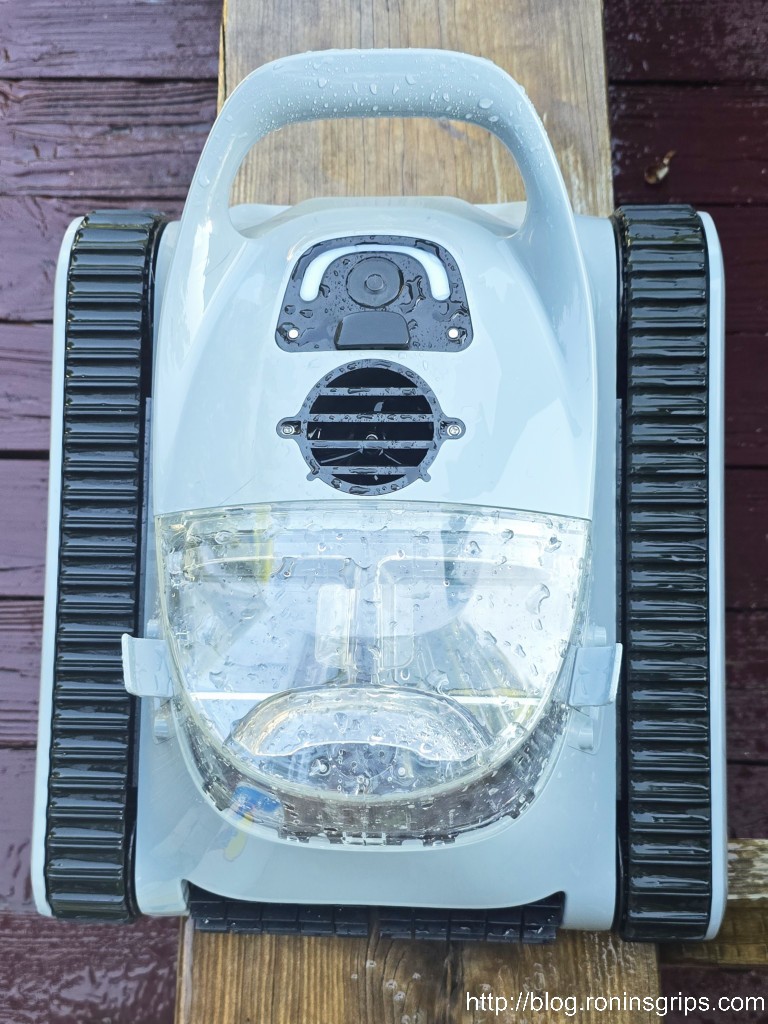
The unit arrived fully assembled and consists of the Seauto Crab unit, a charger and a retrieval hook that goes on your pool pole – assuming you have a standard full size pool pole. All you need to do is charge the unit for the first time. The top LED will turn blue when charged and then turn off after a few minutes.
The manual is a quick read – no huge insights but it does help you learn more about the unit and what the color codes of the top LED mean.
When you plug in the charger, a light on the unit turns red and goes out when it is done. The unit will run about 2-2.5 hours on a charge. The overwhelming majority of the time at least, it gets near a wall and shuts itself off. I don’t know if it’s by luck or design but I can only think of one time out of 75+ cycles where it was towards the middle of the pool. It makes retrieval with the pool pole and hook very easy.

There is an app for it and it let’s you set the speed of the robot and whether it just does the floor, walls or both (All cover mode). When we first started cleaning the pool, it was pretty dirty on the bottom so I set it to slow and floor only with the app each time – it doesn’t recall the setting.
The app connects to the robot via Bluetooth and it doesn’t take very much water to block the signal so I would set it before I put it in the pool. Now, I just drop it in the pool in all cover mode.
I should point out a reason you need the app – once or twice it has automatically downloaded and installed a firmware update to the Crab. Obviously there’s some type of computer in there.
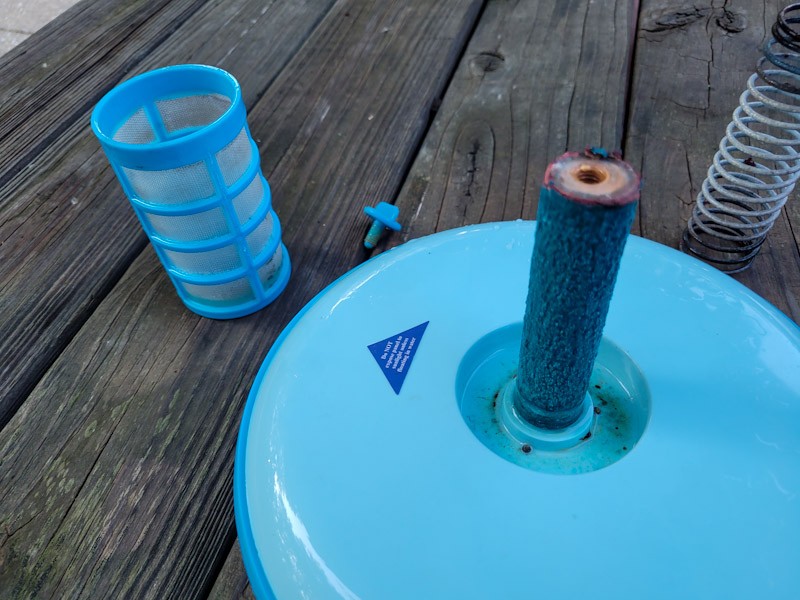
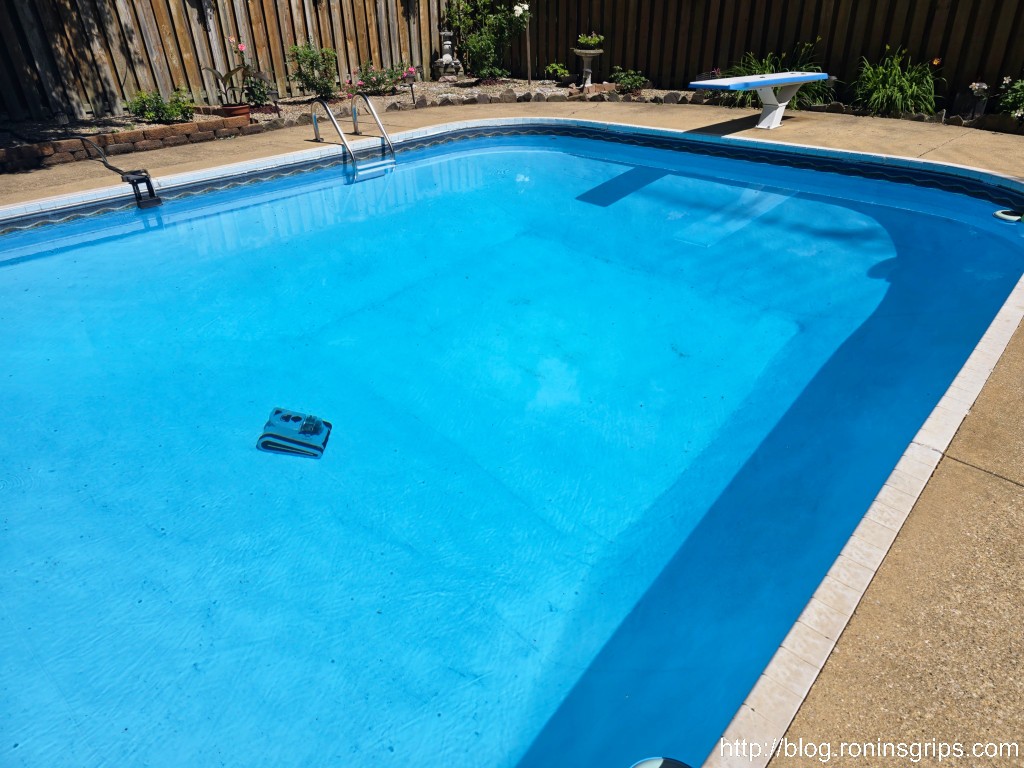
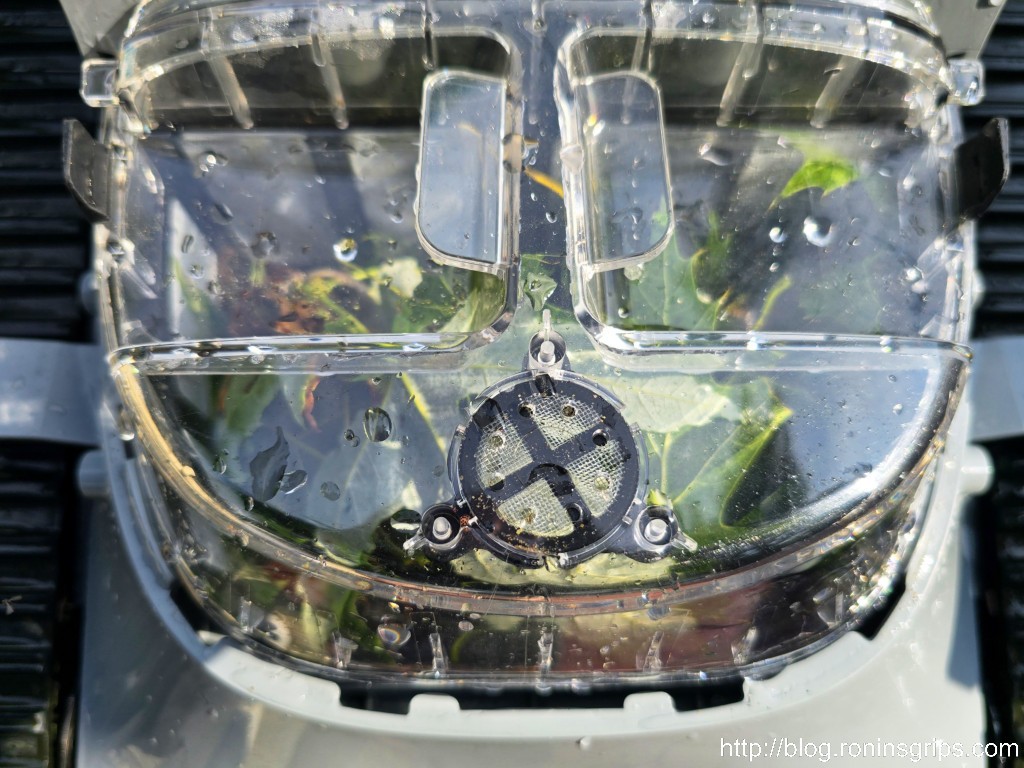
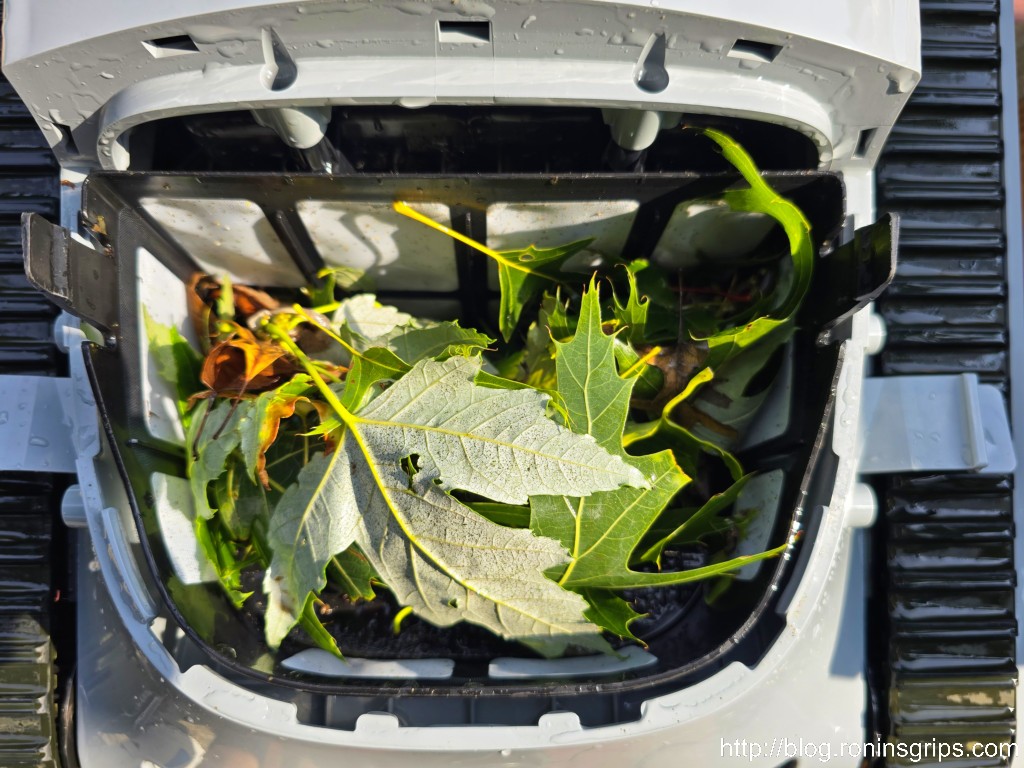
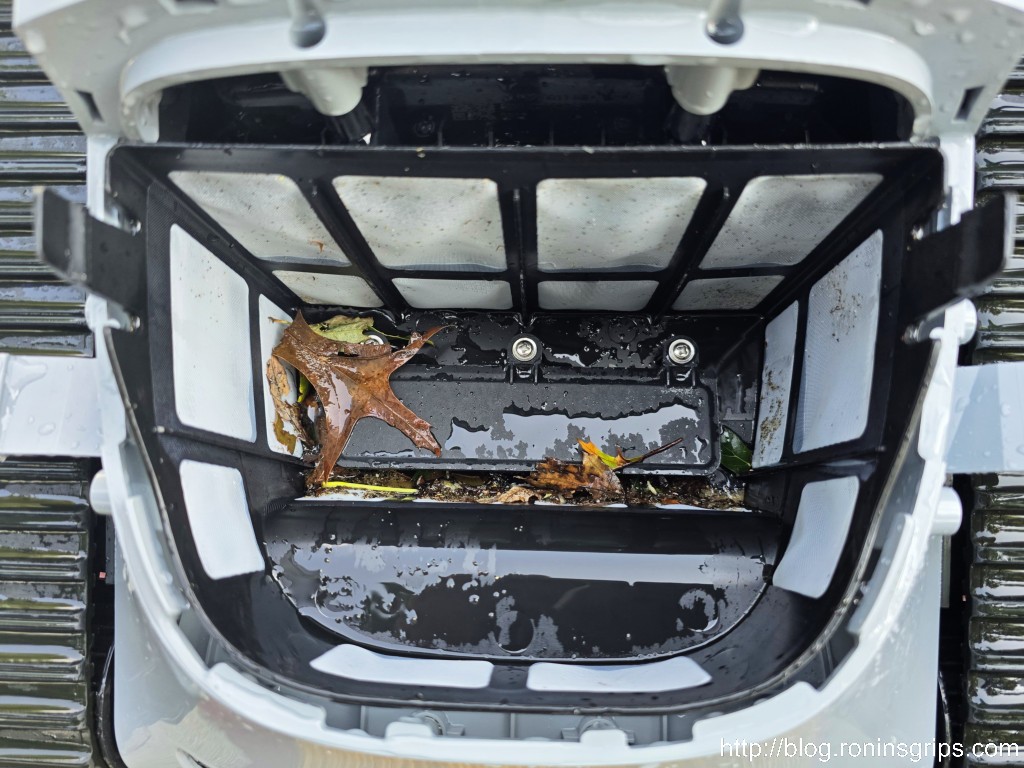
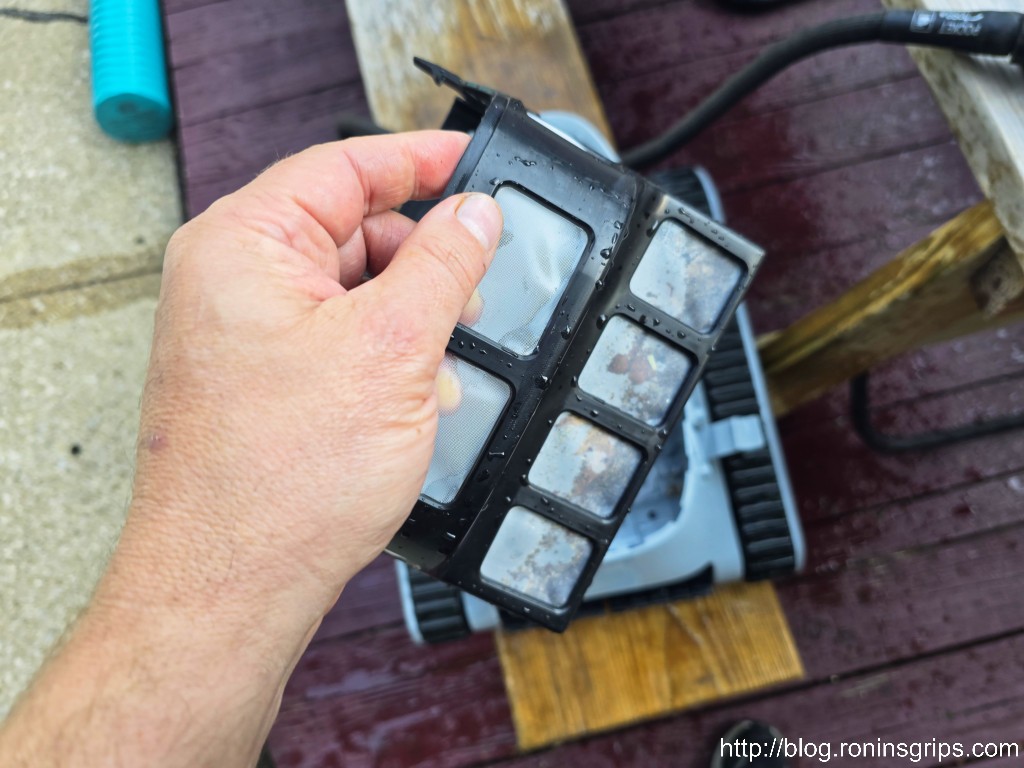
It actually does a really good job cleaning. Debris is sucked into the bottom and filtered through a very fine mesh basket. If there is something that will not fit in the bottom slot, it’s not going to be able to pick it up but that thing vacuums up all kinds of stuff. If the baskets gets plugged up, I imagine it would no longer be able to clean but I didn’t encounter that – maybe at the start but not that I can recall.
I honestly did not know what to expect. Did it have sensors? Would it move in a grid? Did it know where it had gone? Well, it does its job through random motions. It can’t do our entire pool and the walls in one charge. When the pool was really dirty, I could see it was making progress each time. Now, it is maintaining everything.
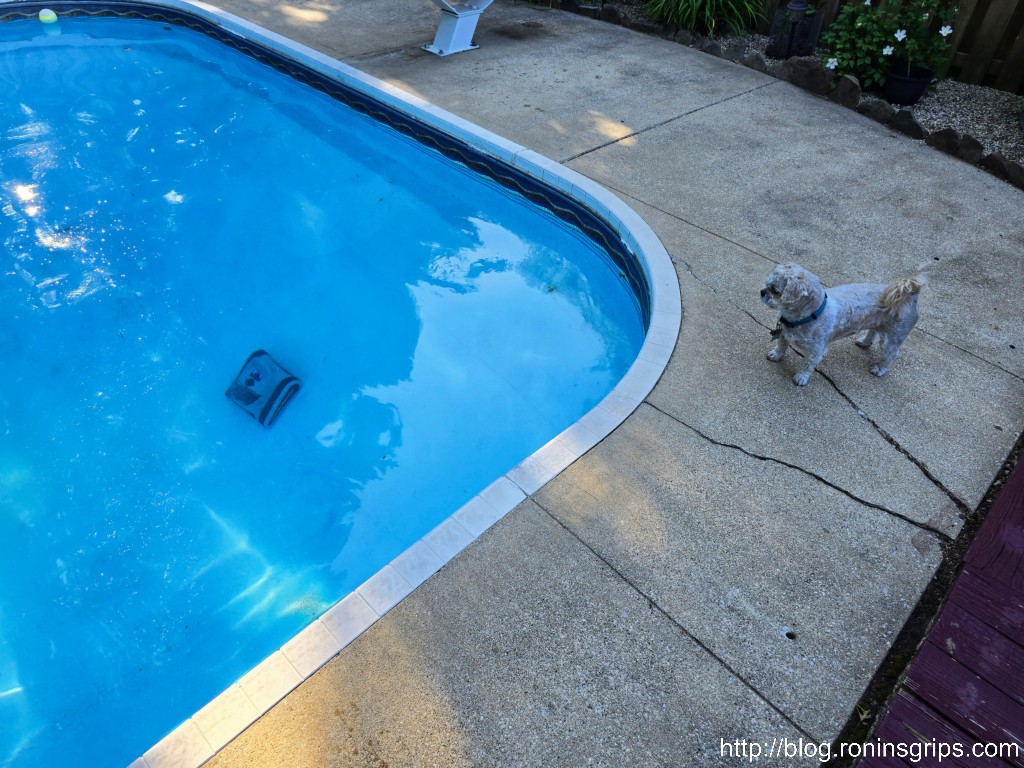
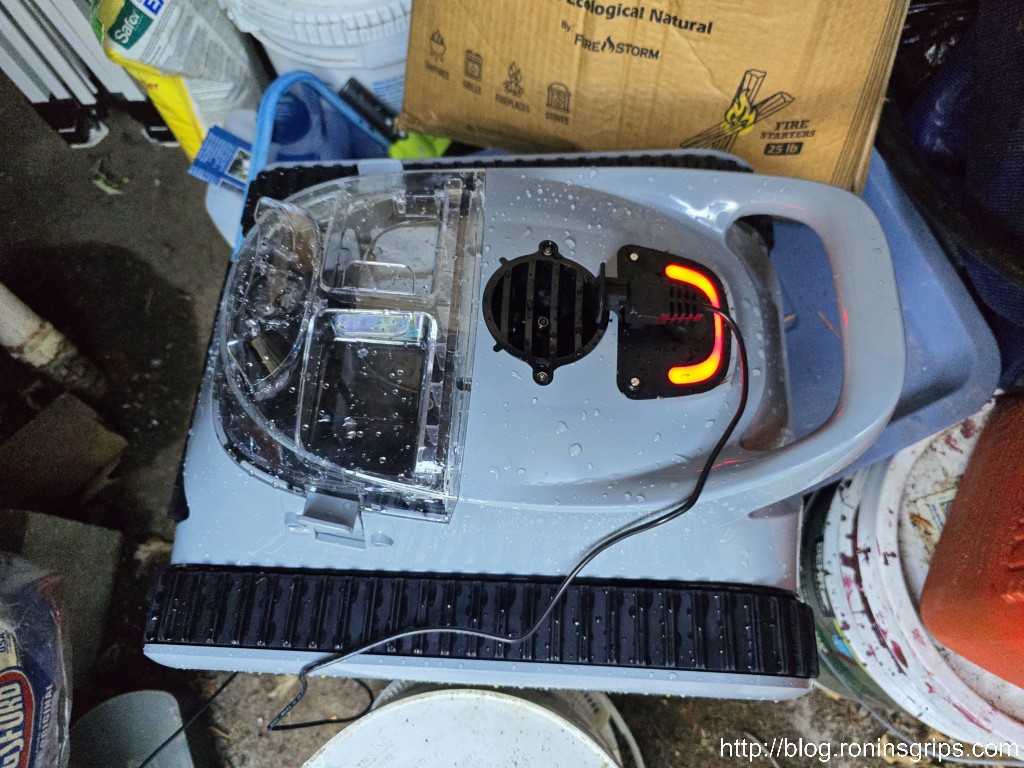
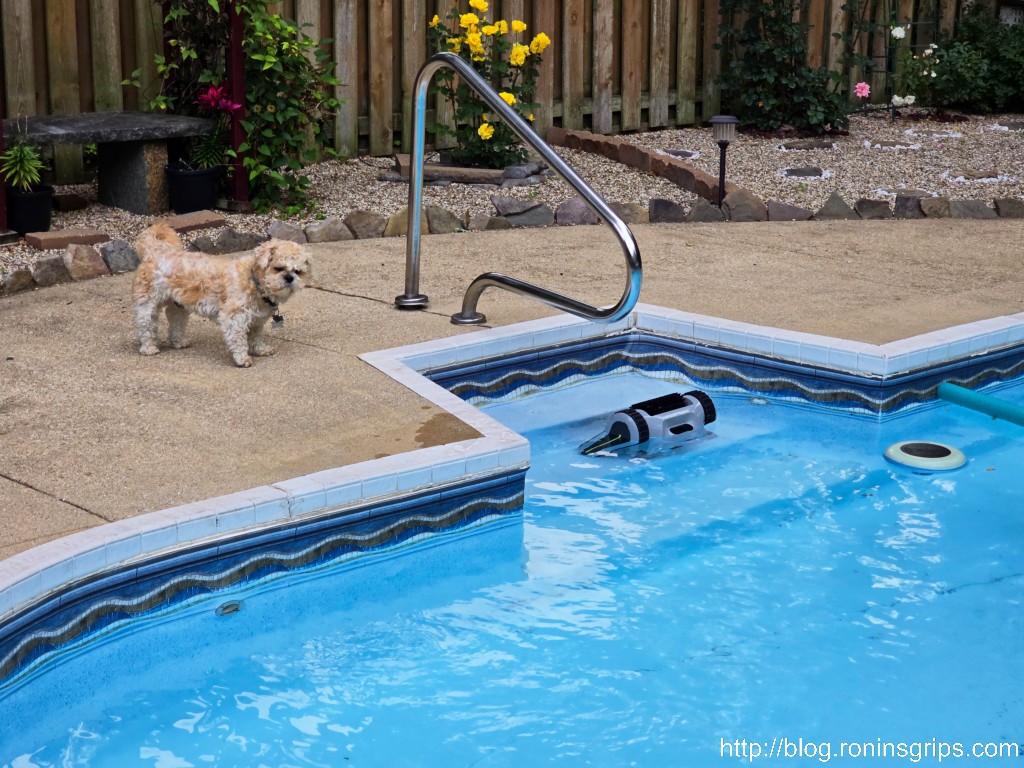
It’s fascinating how it does walls. It has a thruster (enclosed propellor) on the top. It turns on, the Crab engages it’s tracks and it goes right up the pool wall. There are sensors on the top that tell it when it has gone out of water and it goes back down. When it first did it, one of our dogs just did not know what to make of it and stood on the edge of the pool a few feet away just watching it.
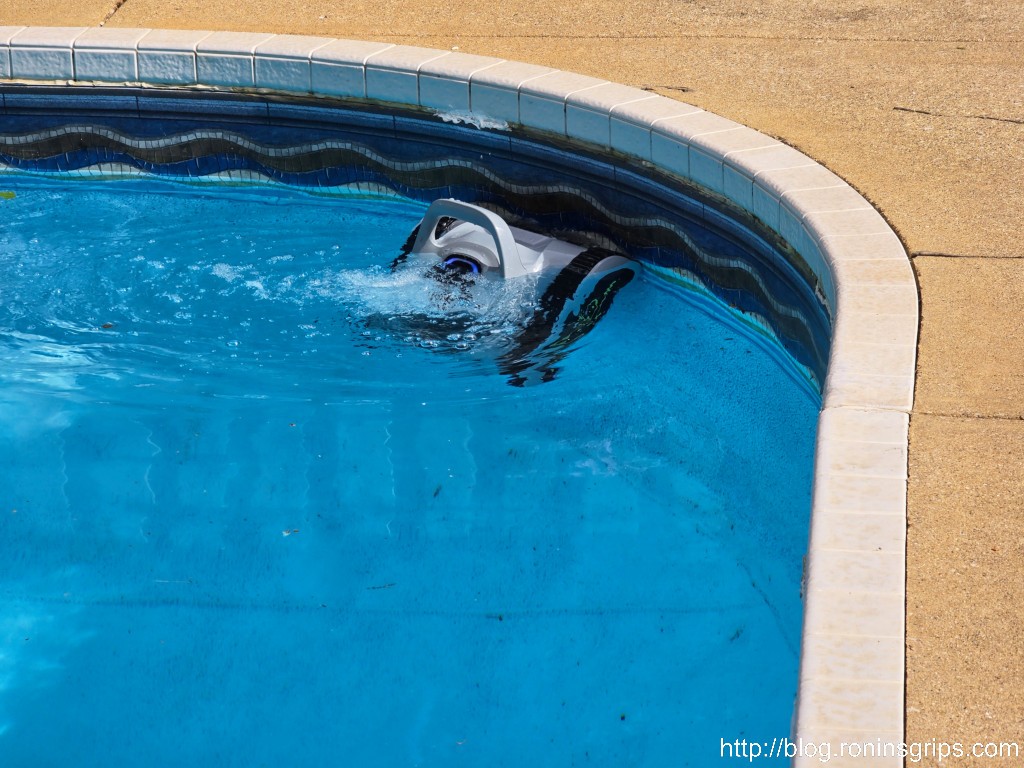
Somehow, the thing remains upright. I carry it by the handle and place it in the water. It sinks down and engages its thruster – maybe its orienting itself I am not sure. If it is clipping right along and goes down the decline into the deep end, it actually pops a wheelie with the front of the crab lifting up slightly as the unit propels itself downward with the rear tracks and flap wheel.

I should point our locomotion is via a rubber track/tread (like a bulldozer or tank) on each side. There are flap wheels in the front and back that are cleaning the surface and funneling debris towards the inlet where the filter basket is at.
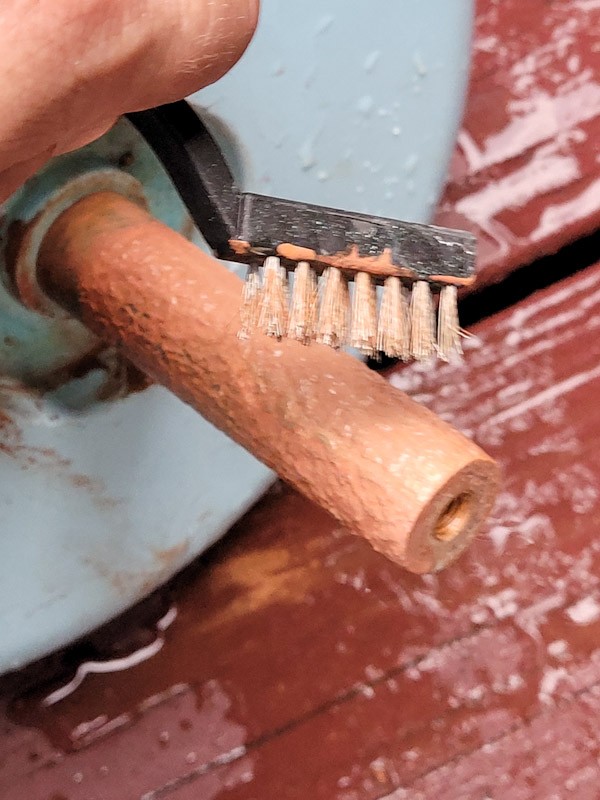
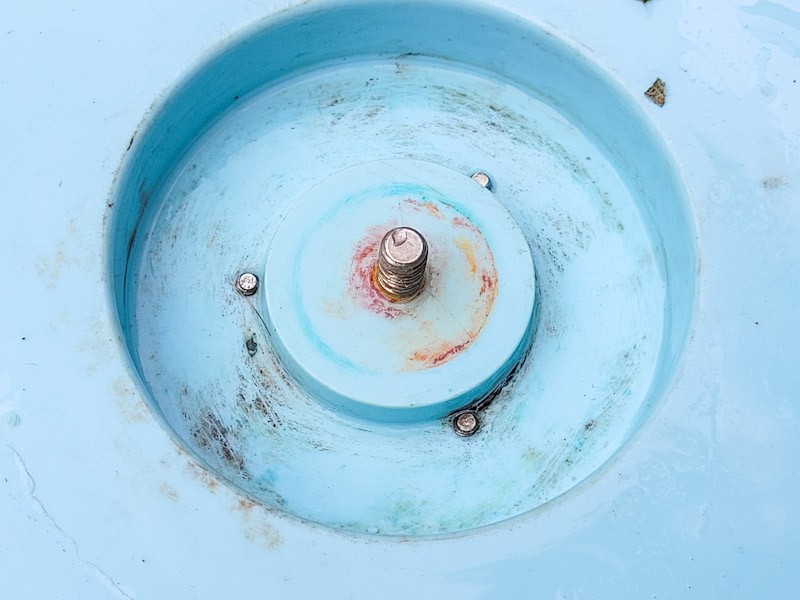
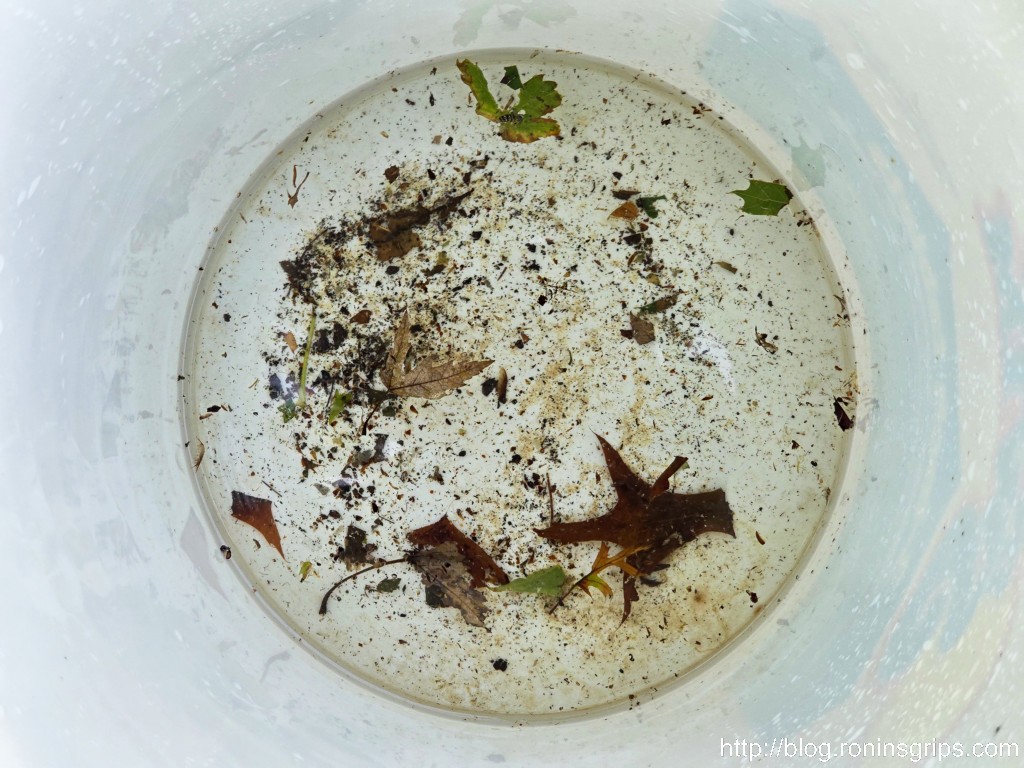
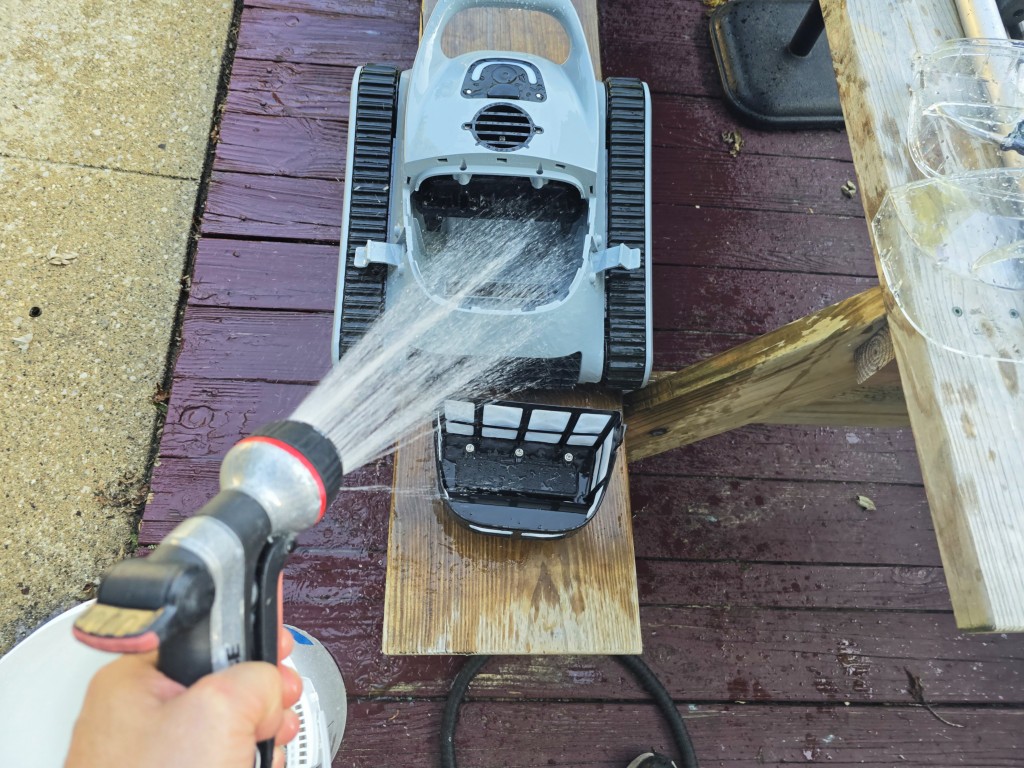
Like I said earlier, it runs until power gets low, seems to almost always stop by a side and I fish it out. You take the clear top cover off and then the cover of the filter basket. I use a hose and water to clean the mesh filtering basket and spray the debris into a bucket. I then toss the water and debris into a corner of the yard. It takes less than five minutes to clean everything. I do like to rinse the unit off so the chlorine contact is lessened. Chlorine is an oxidizer and it will take its toll on plastics and rubbers over time.
I did find one small issue – the clear top outer cover doesn’t readily just go into place on our unit. You never want to force or whack plastic into place because eventually it will snap. I found a workaround – If I put the cover on and stop just short of all the way down and lightly pull the left side outwards, it goes right on without forcing. It might just be our unit that has that issue but that’s the only “trick” I can think to pass along.
I then put the unit in our pool shed on a plastic bin that just happens to be there and plug the unit in to charge. I think it charges in about three to four hours – I’ve never stopped to really time it.
That’s it. I’m perfectly happy with it and so is my wife. She’s actually given it a pet name of “Flounder”. I usually call it the pool robot still but she and the kids now call it Flounder … ok, whatever works 🙂
In looking at reviews on Amazon, I’d take them with a grain of salt. I never expected artificial intelligence, a miracle worker or a $400 robot compared against a $2,500 robot. I also knew that I needed to put it to immediate use and that it might fail – it didn’t. If it had, I would have worked directly with Amazon to get a refund. I didn’t need to.
How long will it last? I honestly don’t know. I will rinse it down and store it indoors when Winter comes and we’ll see next Spring. We still have until late-September when we close the pool for the season. If something changes, I’ll update this post.
Would I recommend the unit based on experience? Yes, I definitely would. You have to understand something – our pool has never ever been this consistently clean. I still have to add chlorine, keep the water chemistry in check, clean the copper ionizers and the skimmer but my time vacuuming has gone away – I haven’t vacuumed once since we bought the crab. I have used a leaf bag on the pool pole a few times but boy did I free up time and get a clean pool.

Summary
Our experience with the Seauto Crab 2024 edition has been great. I would even use the word “amazing” to describe the unit. If you want to cover yourself, buy it off Amazon (I did), run the heck out of it and if there is a defect, it will probably happen in the first 30 days while Amazon’s warranty coverage is still active.
If you’re looking for a $350-400 price point pool robot, it’s doing a great job for us. Hopefully you will have the same experience as us.
I hope this post helps you out. To be clear, I wasn’t paid to write this and have no affiliation with Seauto. I’m sharing our experience with the crab and if you want to buy it from one of the Amazon links on this page then great – I’ll get a small commission and want to be clear that I wouldn’t write this if it was a disappointment.
Click here for the listing on Amazon.
Note, I have to buy all of my parts – nothing here was paid for by sponsors, etc. I do make a small amount if you click on an ad and buy something but that is it. You’re getting my real opinion on stuff.
Please share the link on Facebook, Forums, with colleagues, etc. Your support is much appreciated and if you have any feedback, please email us in**@*********ps.com. If you’d like to request a report or order a reprint, please click here for the corresponding page to open in new tab.