Have you ever been stuck between a rock and a hard place because you need to get something done but a vendor fumbles the ball … badly? That happened to me recently. We have a home made in the 70s and the pool is the same. While we have replaced the liner a number of times over the years, it was the original slowly falling apart diving board. We actually bought our home in 98 and the previous owner had put a 2x8x6 between the board and the spring to keep it alive.
Let’s fast forward to about a month ago. We were getting ready for a family reunion to be held at our place so I got the pool ready for the summer and decided I better check the diving board. Oh man, it was shot. The fiberglass underneath had torn around the board it encased and there was just no way it was safe.
One thing I have learned about pools over the years is that you can usually find parts. So, I new it was an 8′ residential diving board and the hole pattern for mounting it was 4.5″ on centers in the back and the front single hole was 36″. I did some digging and the hole pattern and distances from the back and sides corresponded with the SR Smith 8′ Frontier II board.
A number of vendors carried it online and the problem was that I needed it with only about a two week lead time before people started arriving for the party. InTheSwim said they had it and it would arrive in time. I used my wife’s card on the website and it wouldn’t go through so the website gave me an 800# to call. I did, the lady told me it was a fraud screen, I approved a text message sent to my wife’s phone and the InTheSwim operator told me it was all set and I should get an email shortly. She never said she resubmitted it … About an hour later, still no email so I called and I am pretty sure the same lady answered and said the order was fine …. in fact it was not.
After a week of no updates, I called and after confusion on their part, they found the order in limbo, fixed it and told me it would probably still make it in time. Okay… I kept tabs on it and finally called and said I needed the board. They told me it would not even ship until after the party. I asked that they expedite it, that I would even pay for it and they said they had no way to do that. I then told them in no uncertain terms to cancel the order. If that reads like a rant, it should. I hate it when a vendor fumbles the ball and literally does nothing to make it right.
I was left with two options – disappoint a bunch of relatives or figure out how to fix the board. I decided to do the latter and I suspect this is the part of the post you really care about.
What went wrong with the board?
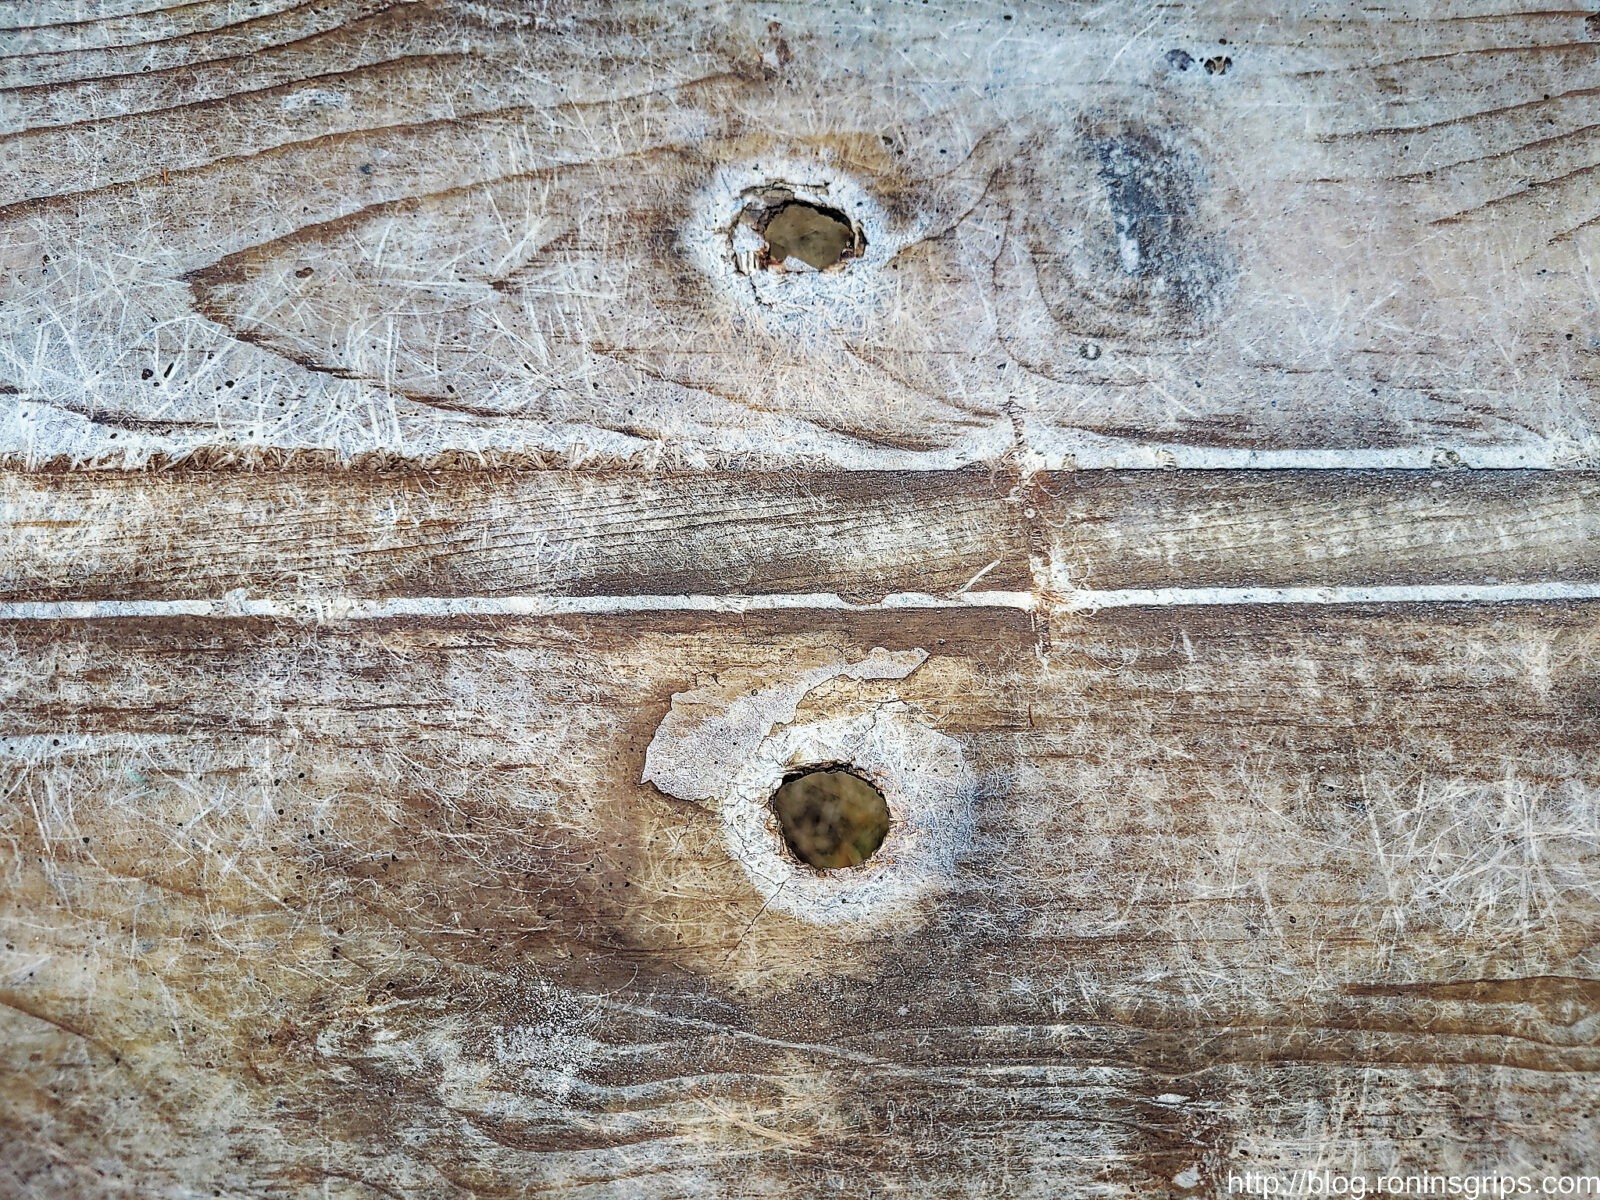
Many, if not most, residential diving boards have a fiberglass top, sides and bottom but the core is wood. Through the in the fiberglass rotting wood was plainly visible. I put the board on sawhorses, put the old supporting board underneath it and flipped the diving board over to access the bottom. Again, the diving board was resting on the old supporting board – I new that if I didn’t support it, the odds were high that it might snap. Once supported, I used a diamond masonry cutting wheel in my 4.5″ Ryobi cordless grinder to slice off the torn fiberglass to see what was going on. I had a hunch that If I could salvage the top of the board, I could fix the bottom and I was right.
| Important Safety Comment: Wear eye protection and a quality face mask (N95 or better) when you are cutting or sanding on fiberglass. You don’t want stuff getting in your eyes or lungs. I also wear gloves to protect my hands. |
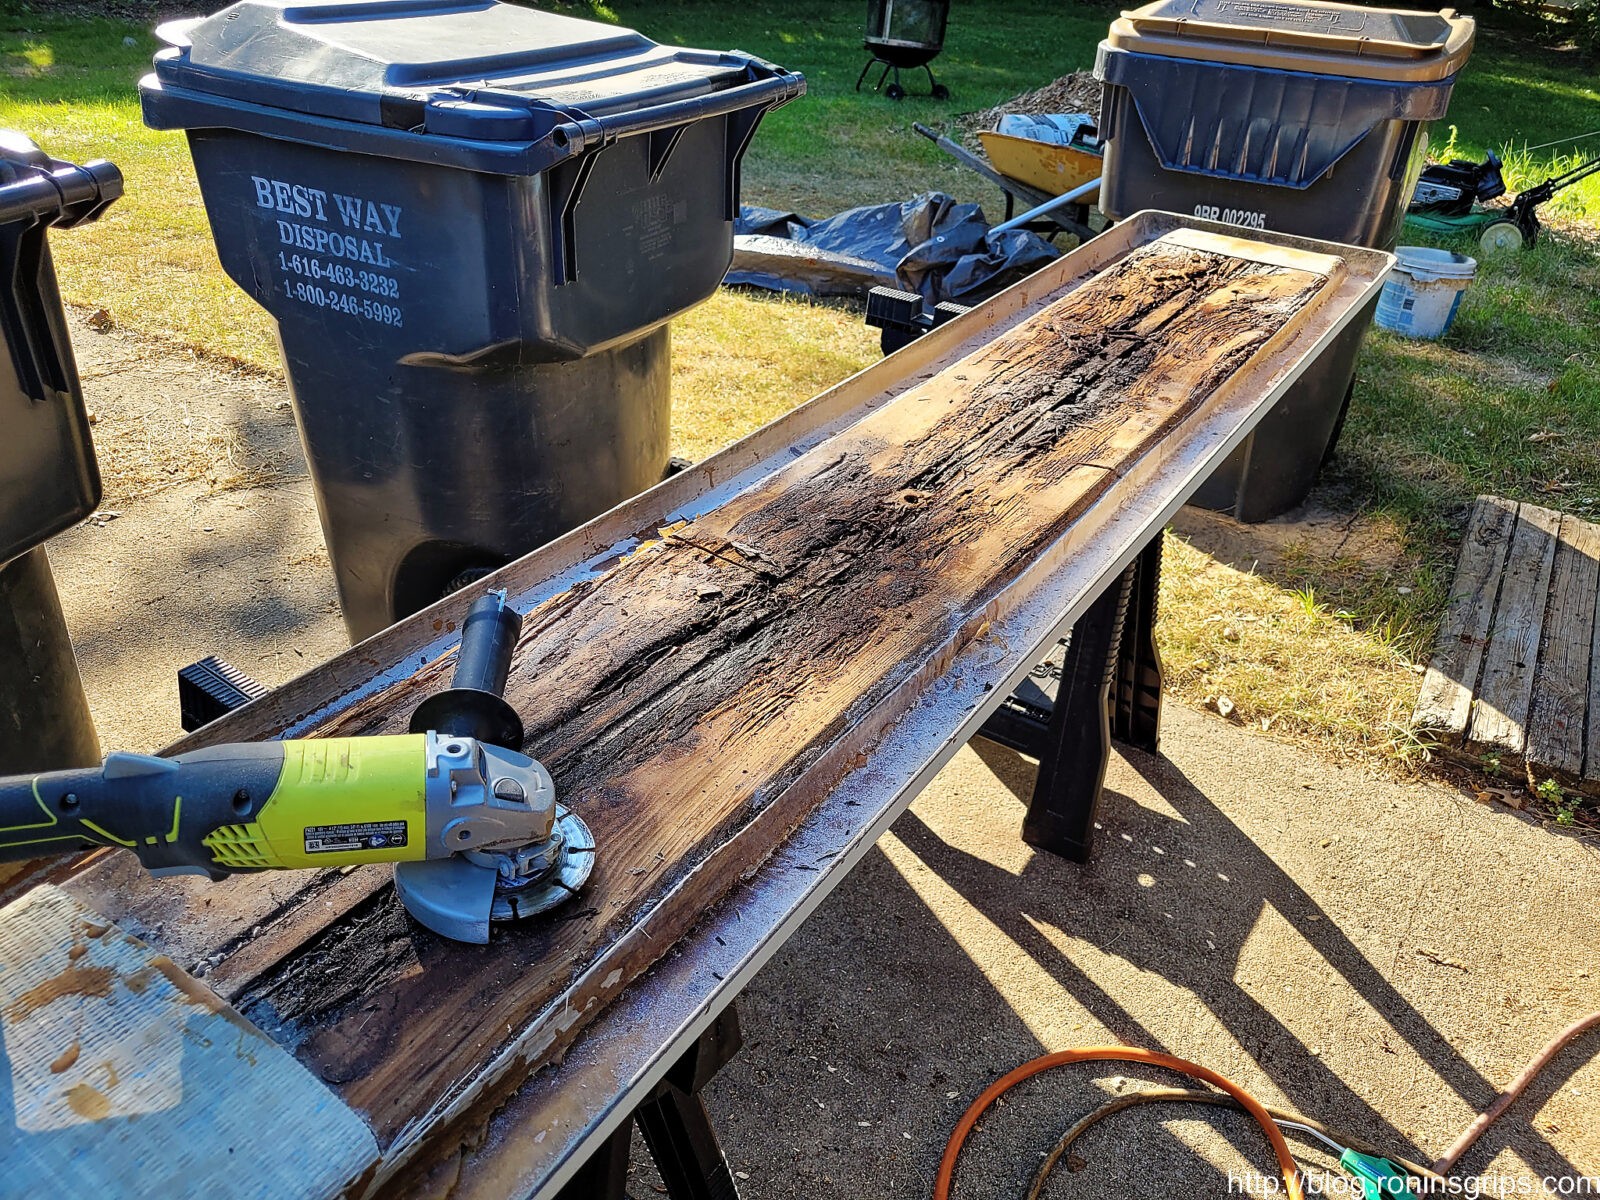
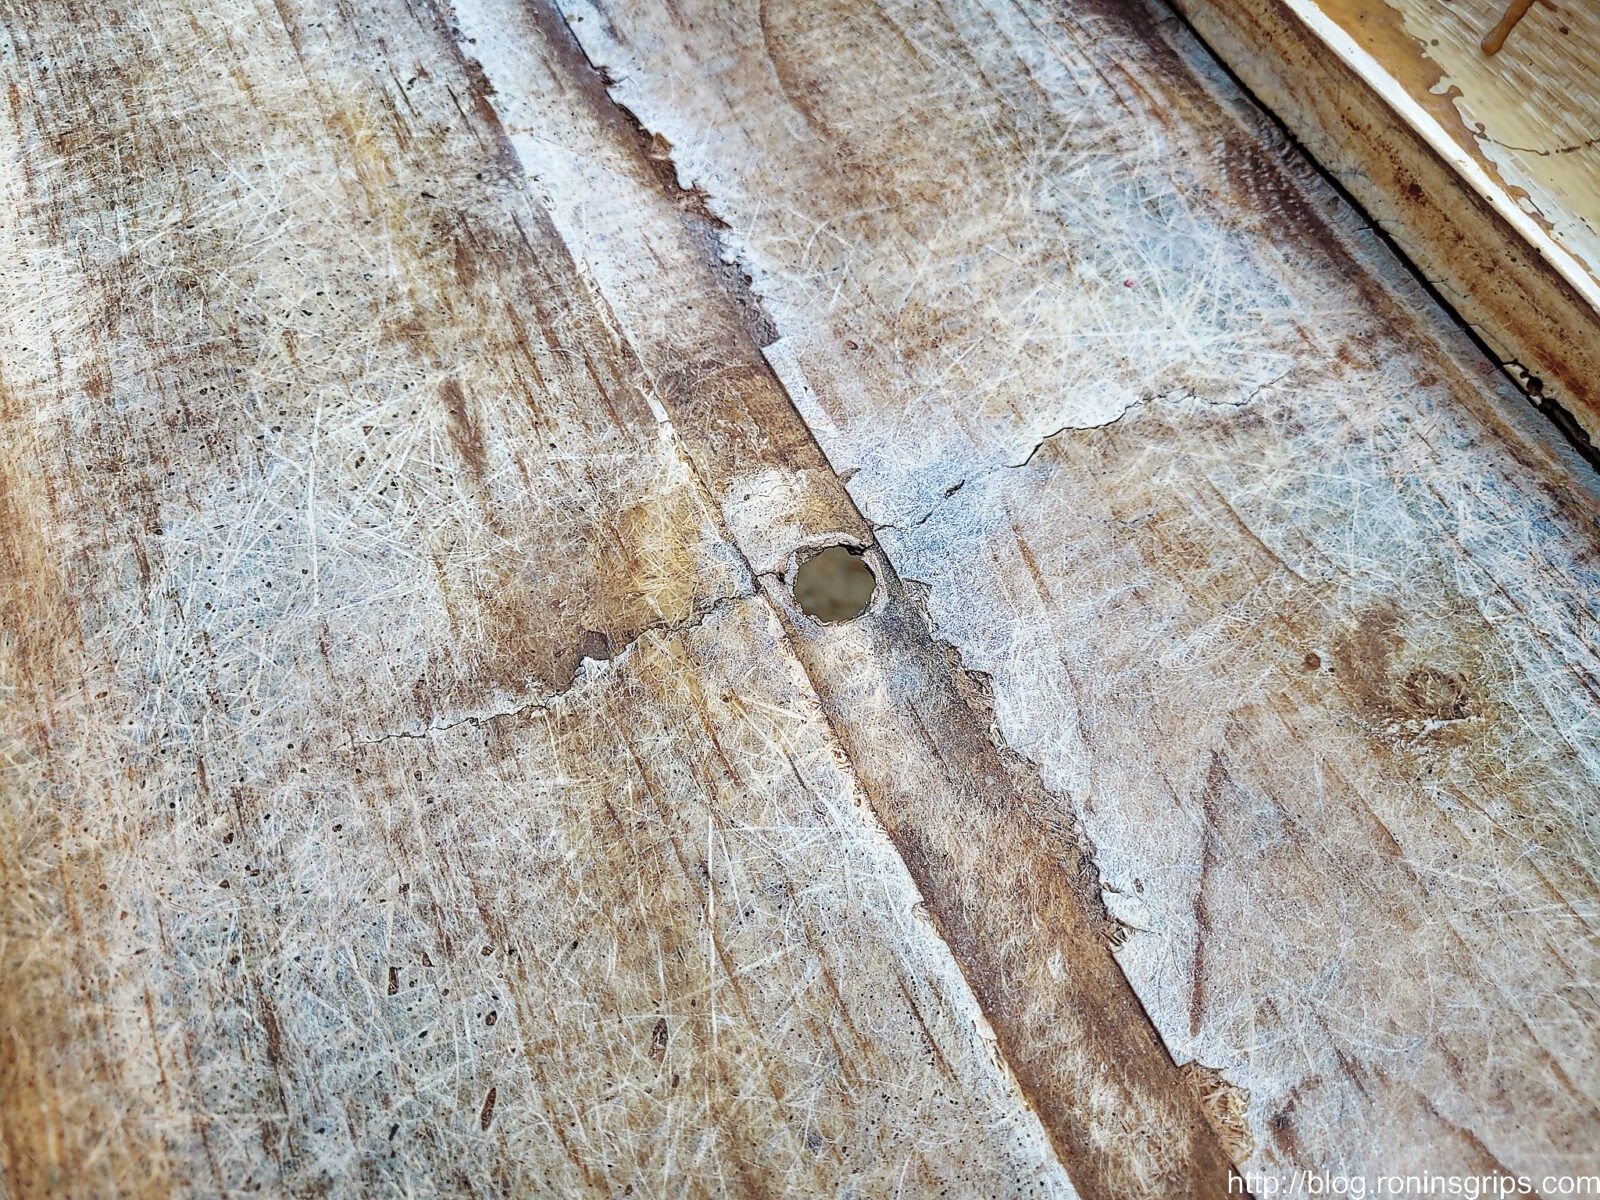
Once I cut open the bottom that held the wood, I could see it needed to be replaced. What was there were three pieces of wood and there was a cap on each end with nails that held it together. Over the years as holes and cracks opened up, water got in and slowly rotted the wood. I really wasn’t surprised when I went to lift the board off the spring – it weighed a ton due to the waterlogged wood.
The wood wouldn’t lift right out so I would prop it up and cut it with a small hand held Ryobi circular saw into thirds. I used a small pry bar and lifted the sections out. I didn’t cut all of the fiberglass out yet thinking that I might use some of it to make things stronger. In hindsight, I’d now tell you to remove all of the hold fiberglass wrapping on the bottom -there was no need to save it.
Wood and Fiberglass
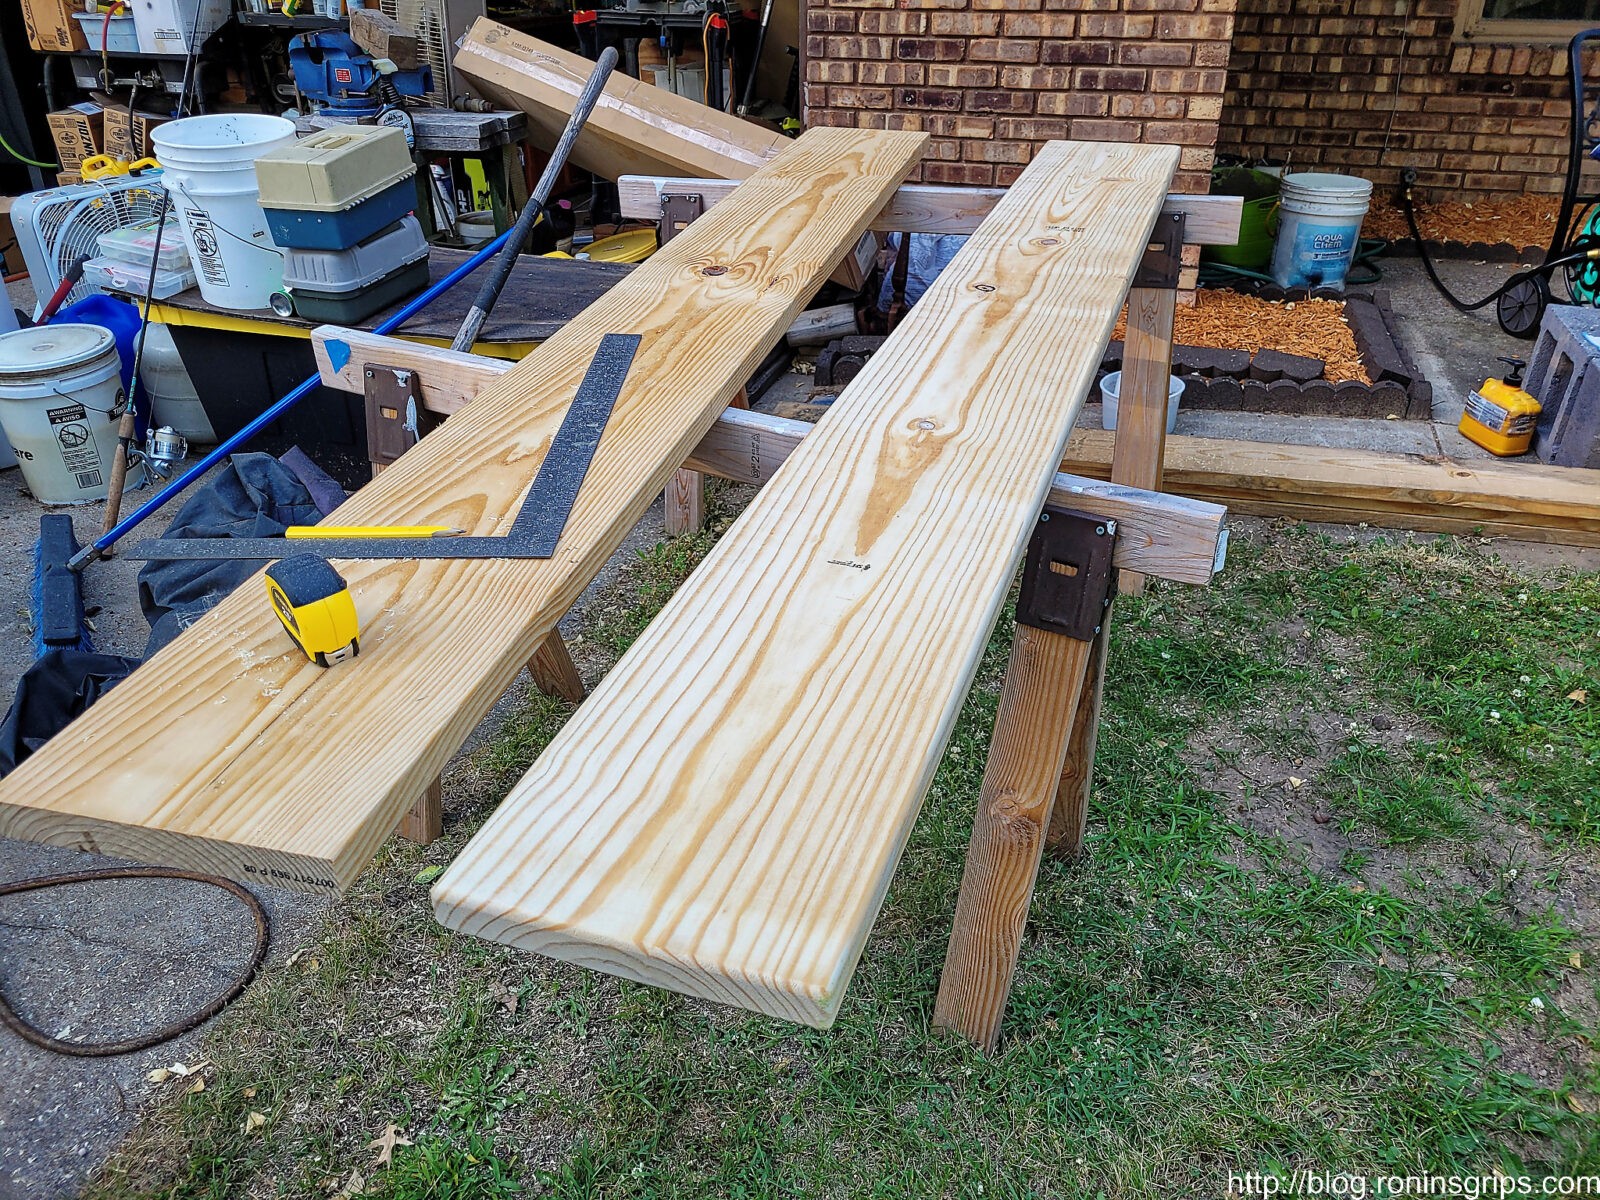
In a perfect world, I would have the exact same size of wood and better yet, treated wood, to replace the rotten wood. I didn’t have time for wet treated wood to dry so I went to Home Depot and bought two 2x12x8 pieces of dry pine lumber. One to go in the board and one to still support it even though it probably wasn’t needed.
I also stopped by the adhesives section of Home Depot and picked up two 1-gallon jugs of Bondo fiberglass resin and three packages of fiberglass cloth – if I had it to do over, I would have bought a couple more for complete overkill in terms of strength. I knew I had a spare cloth at home so I had four fiberglass cloths total. I also bought a spare package of hardener just in case.
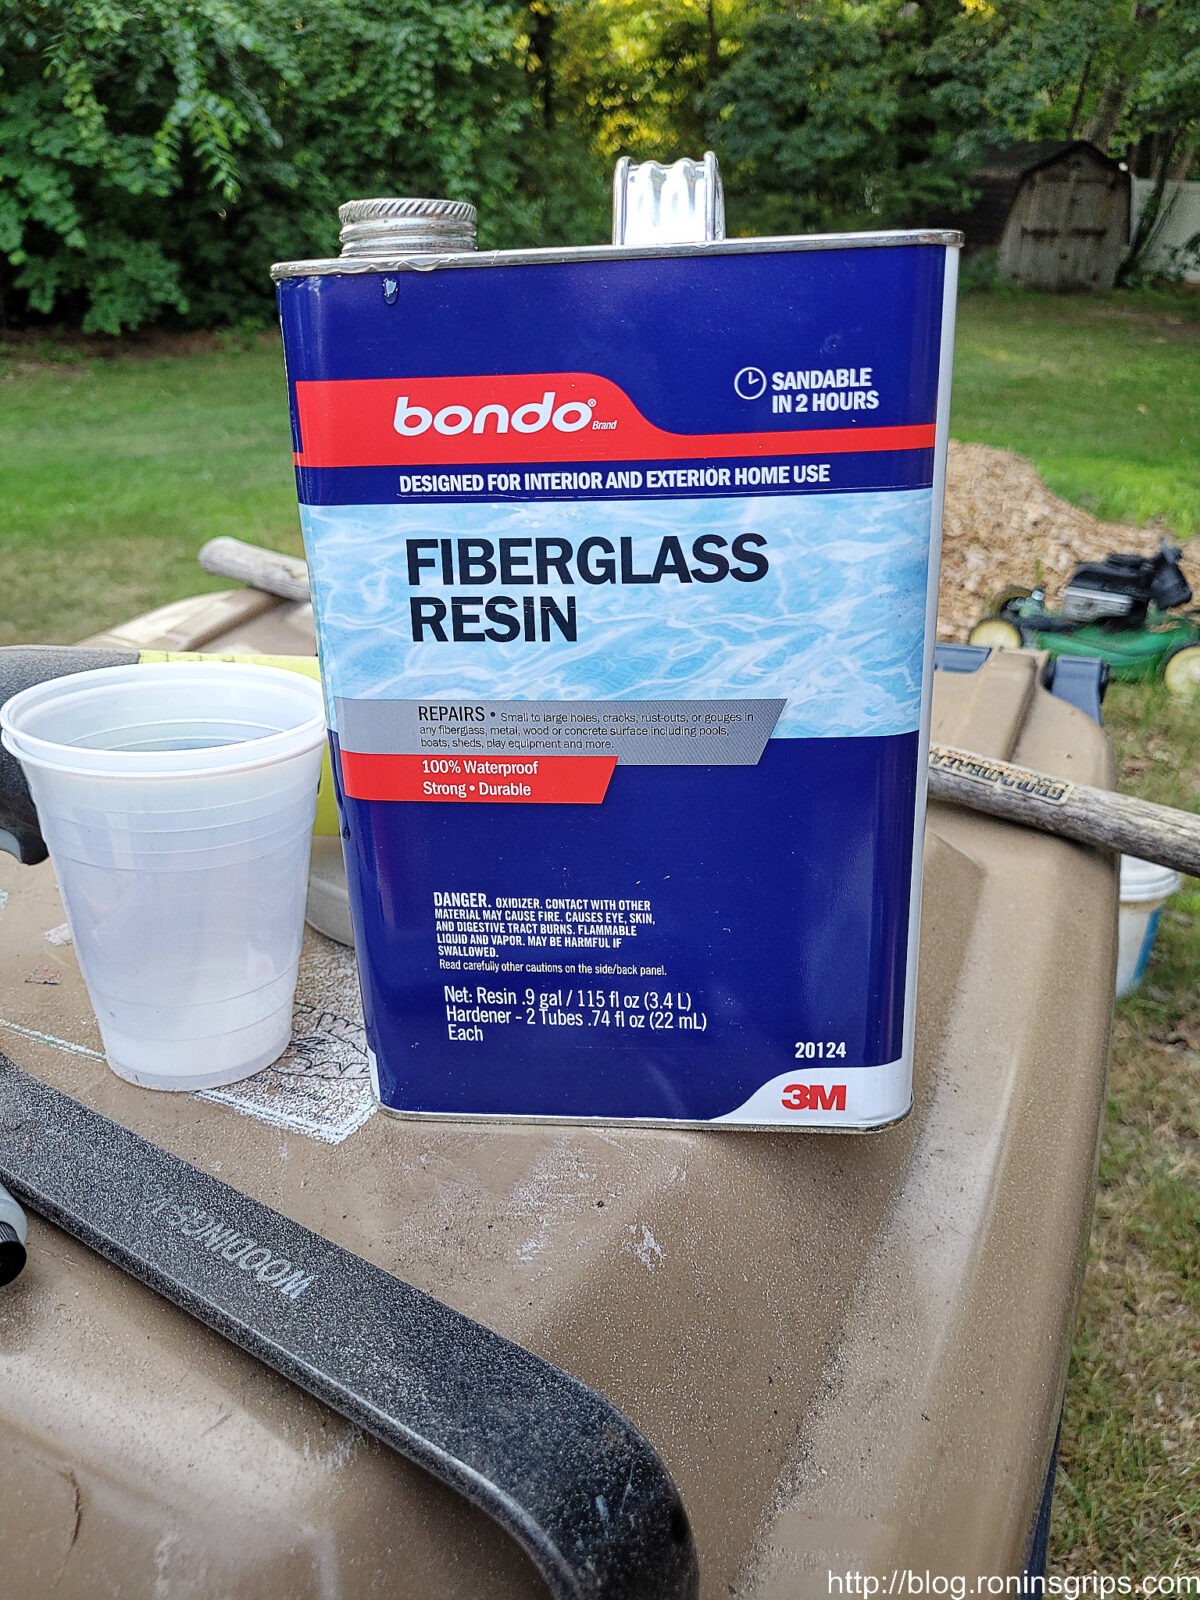
Note: The Bondo fiberglass system uses a polyester resin vs. true epoxy. Polyester is cheaper than epoxy but not as strong. I’m pretty sure it will hold up and we’ll see over time. I’m writing this post a week after our reunion and the board looks just fine – no cracks.
Cleaning Up The Board and Preparing It
With the wood out, I then removed all of the debris to get a better look at what was going on. I removed almost all of the old fiberglass that was holding the old board – I now know I could have removed all of it.

Preparing The Wood
The wood was completely dry – let me stress that. If you seal in wet wood, it will rot so make sure your wood is dry.
One thing I noticed with the rotted wood that I pulled out was that they had rounded over all of the corners/edges of the wood to not stress the fiberglass. That made a lot of sense to me. I put a 3/8″ carbide tipped round over bit in my trim router and rounded over the new board too and then sanded it with 80 grit sandpaper to prepare the surface for maximum adhesion.
I did test fit everything before I went to the next step. You don’t want to mix up resin and get part way in only to find our boards are the wrong length.
Gluing The Board In Place
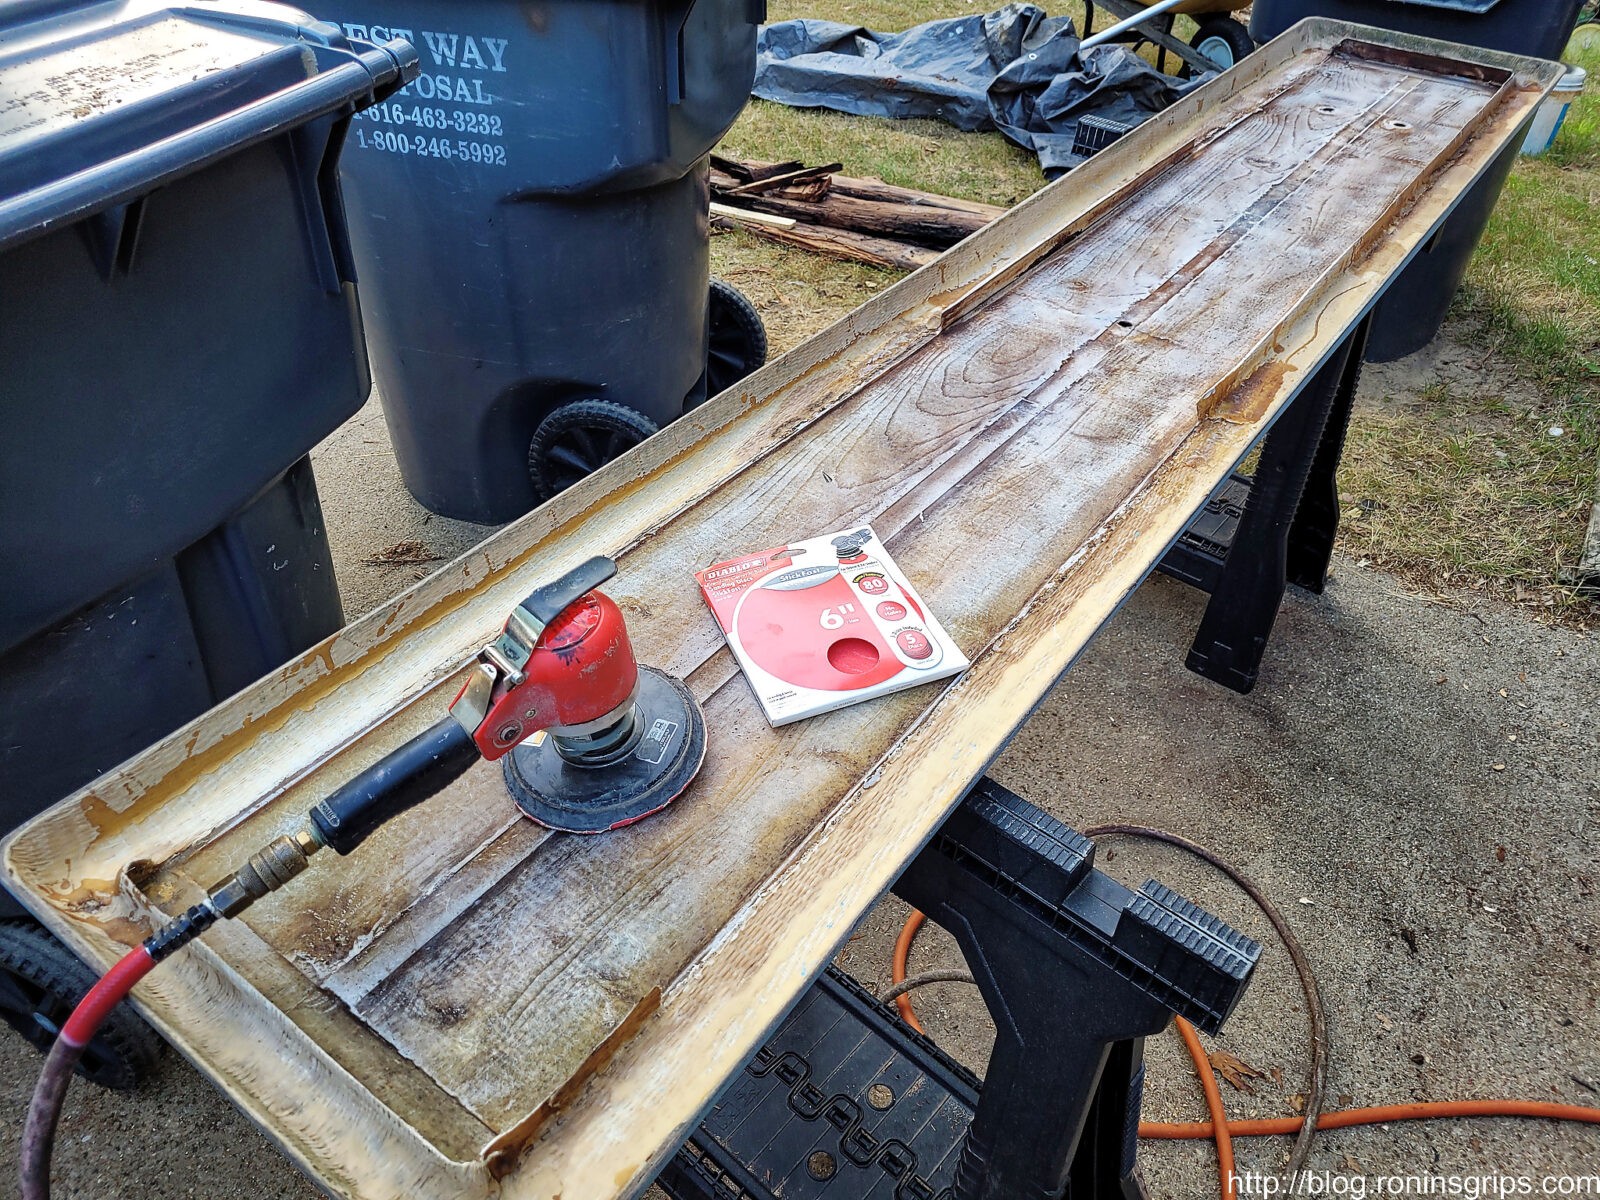
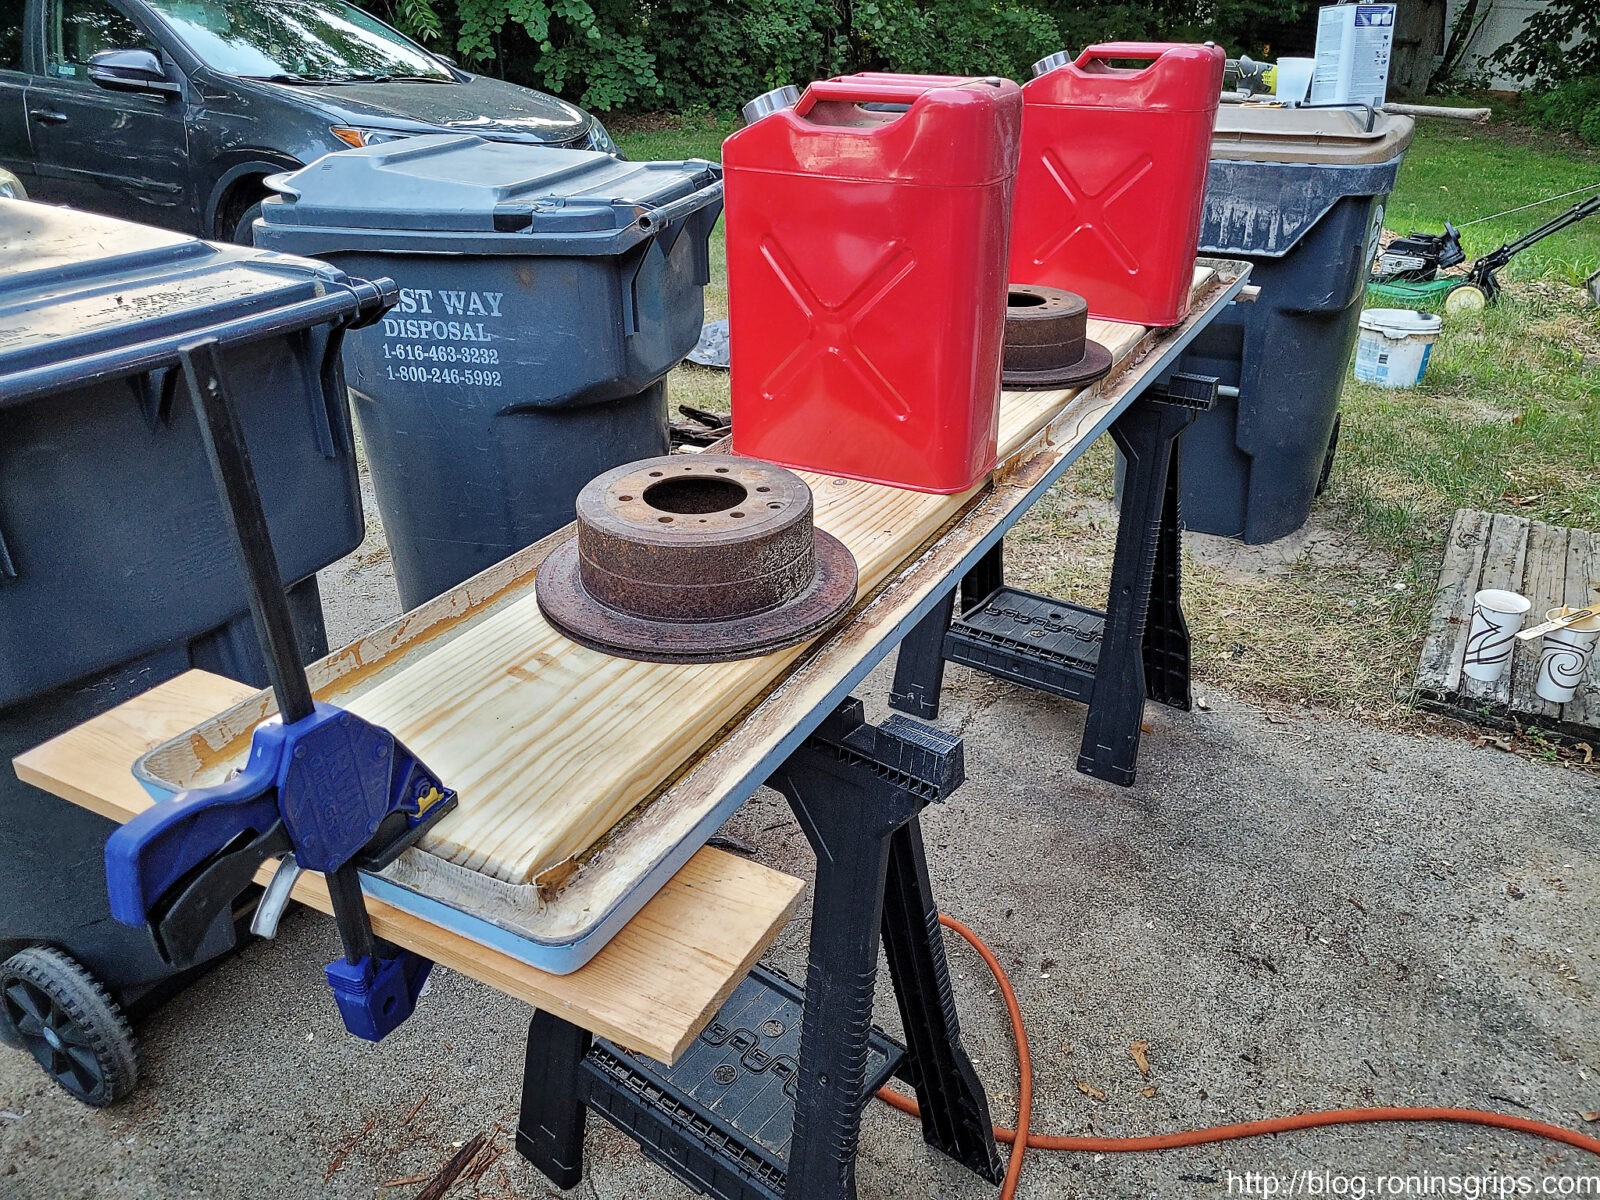
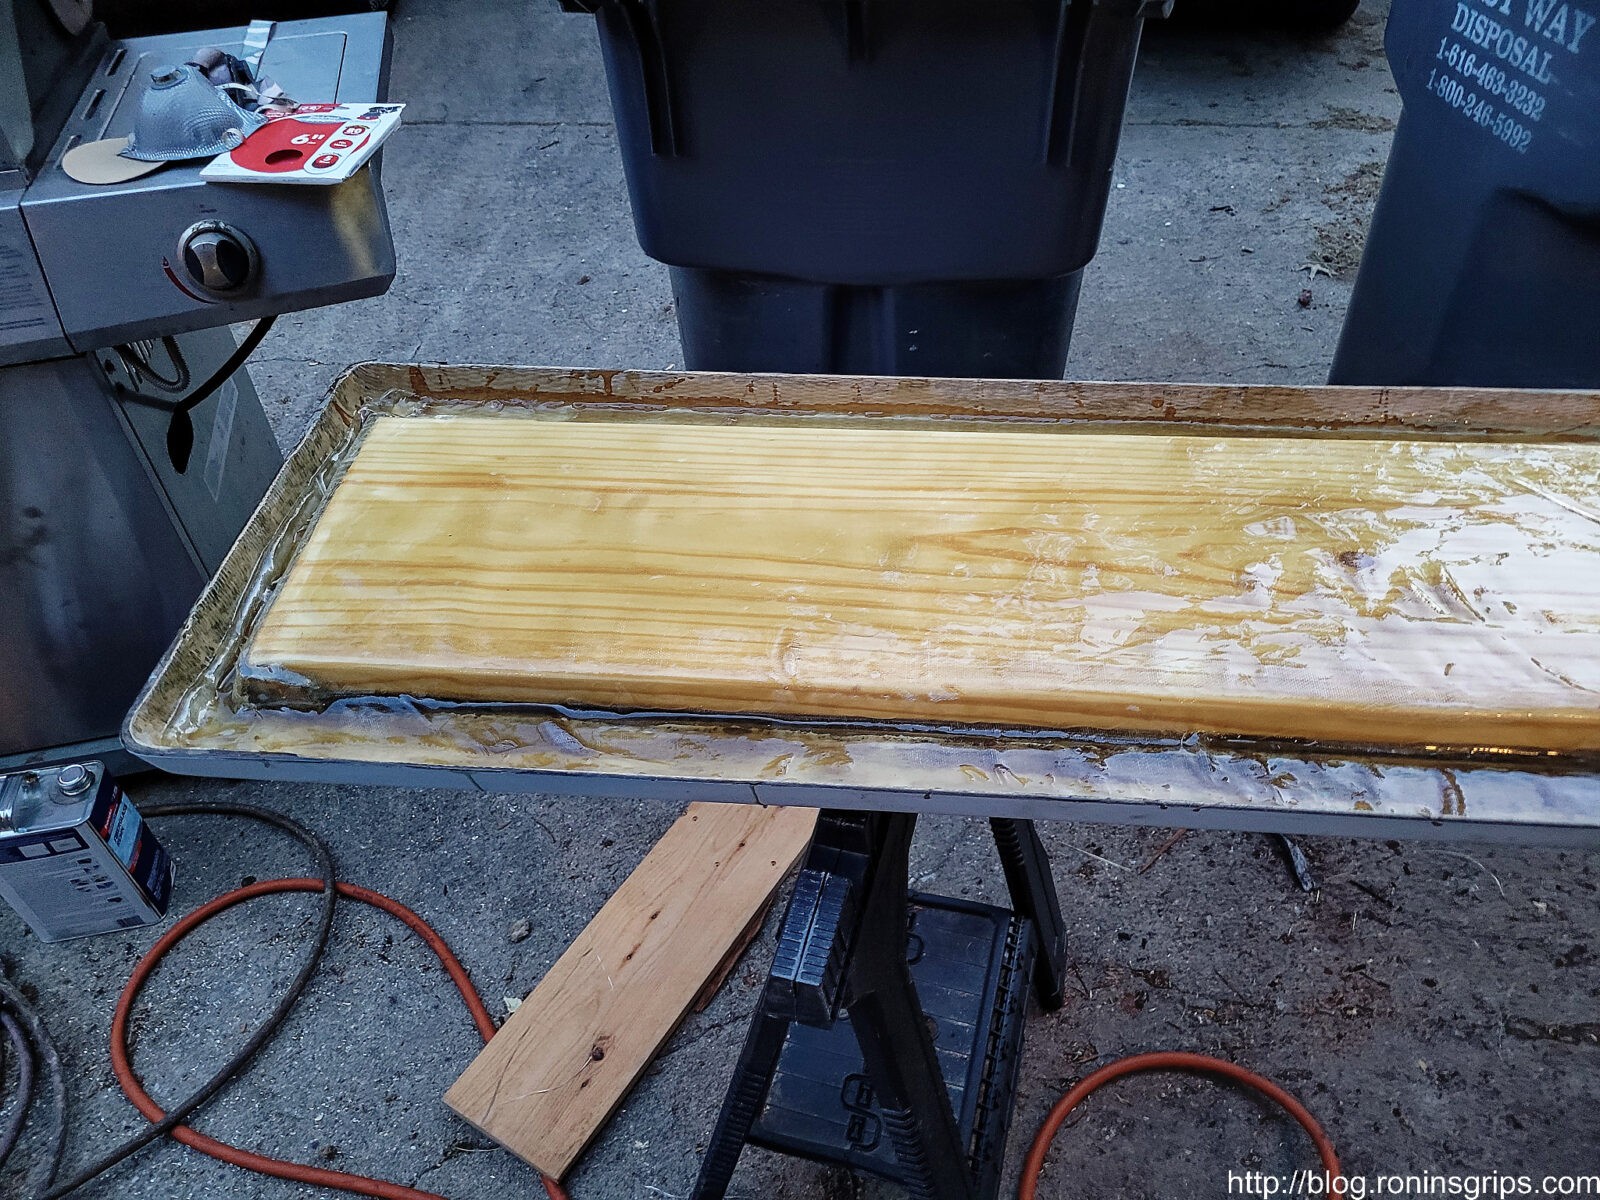
Okay, to close the bottom back up, I did it in steps. For the first one, I mixed up 32oz of resin, liberally brushed it in the bottom of the board really thick. I then clamped the ends and put weights in the middle to keep everything pushed together. You need to have this planned out because once the resin sets, it’s game over. I had the clamps and everything ready to go.
The next step was to put down the first layer of fiberglass cloth. I laid the cloth on top of the board and trimmed it to fit inside and just up the sides. I then mixed up a 32 oz container [don’t forget to do a double pour and use the right amount of hardener] and rapidly brushed it on very thick to the front area I was working on, applied the cloth and then another coat of Bondo on top. If you’ve not done fiberglass before, start with one section and learn. You want to get the cloth in place and wetted down with the liquid before it all sets. Also, have a bunch of nitrile gloves near by or you will get this stuff all over your hands no matter how hard you try. I wear gloves and have at it. I use my hands to rub the liquid into the cloth.

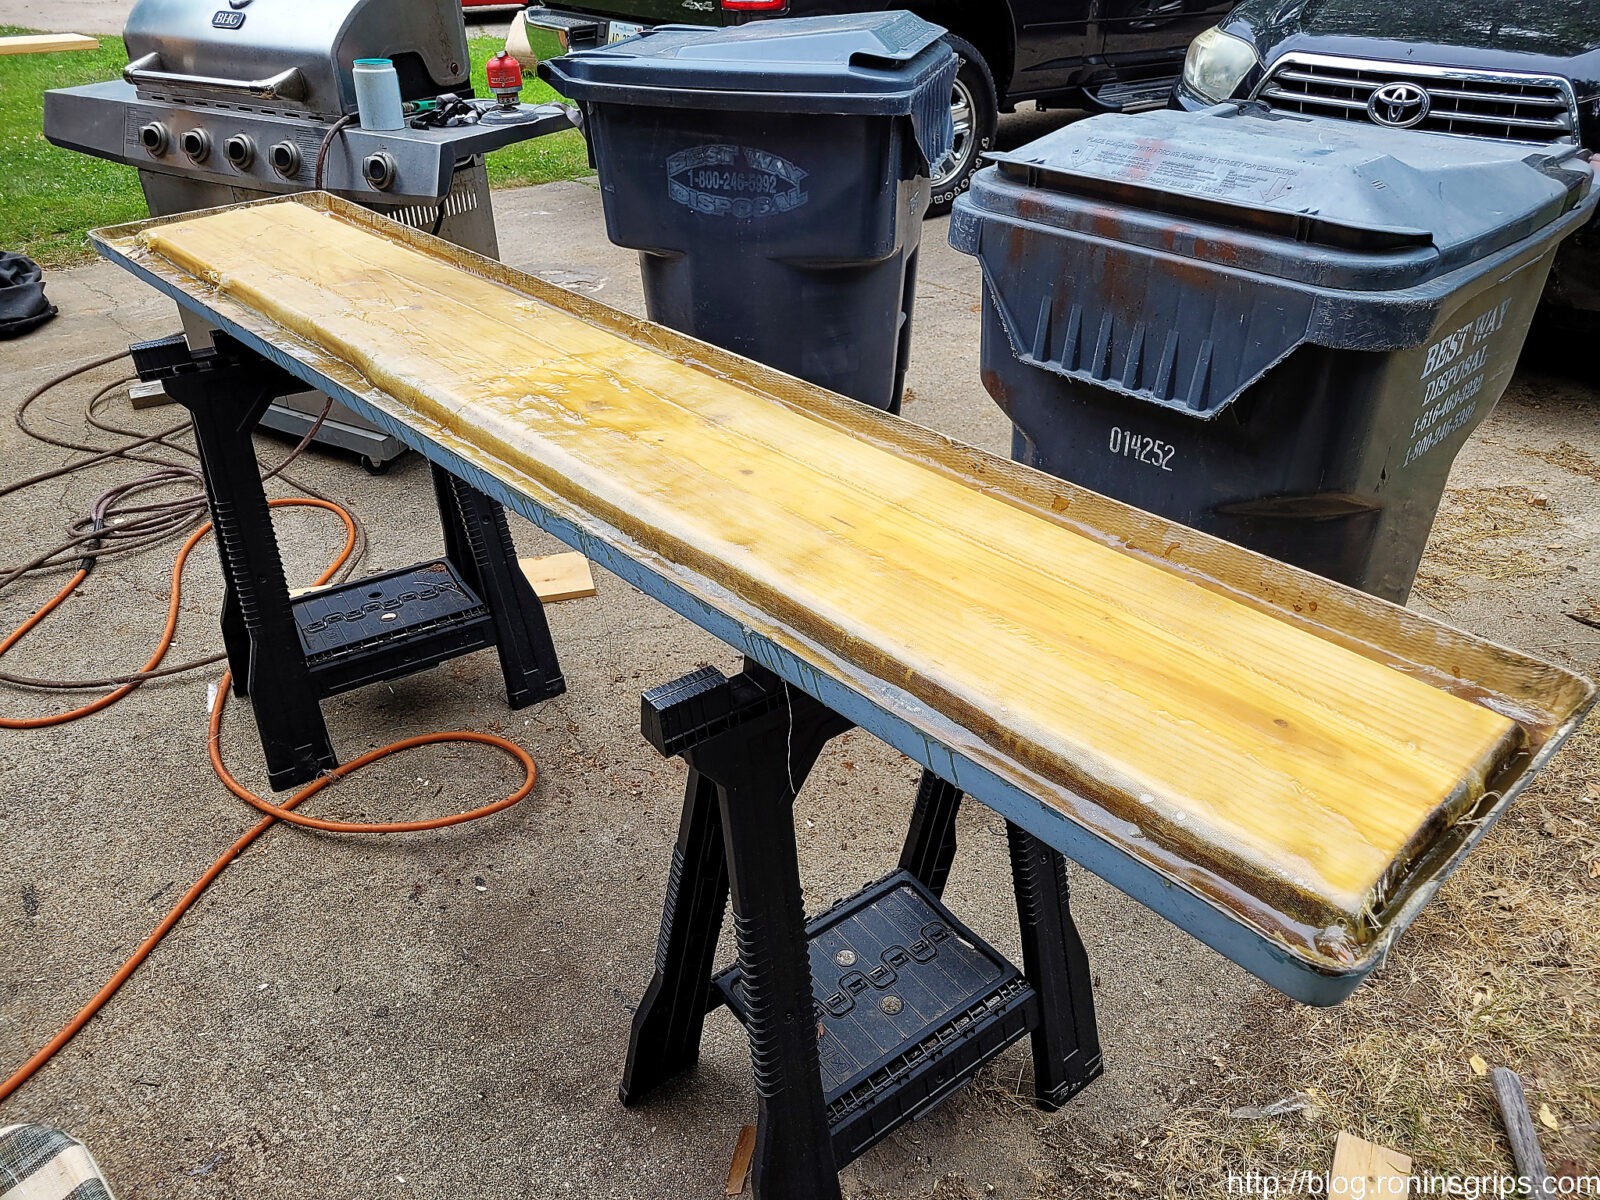
So I did the front, the back, then the middle. I used the full length of the cloths and overlapped at the middle. At this point, it was rock hard and I really wished I had just cut out all of the old fiberglass walls that surrounded the old wood. I thought it might make it stronger but then realized this wasn’t the case. I sanded again and cut my fourth and last cloth down the middle. I applied one length on the left and one on the right to strengthen those areas that still had the remnant walls that I should have removed.
Drilled The Holes
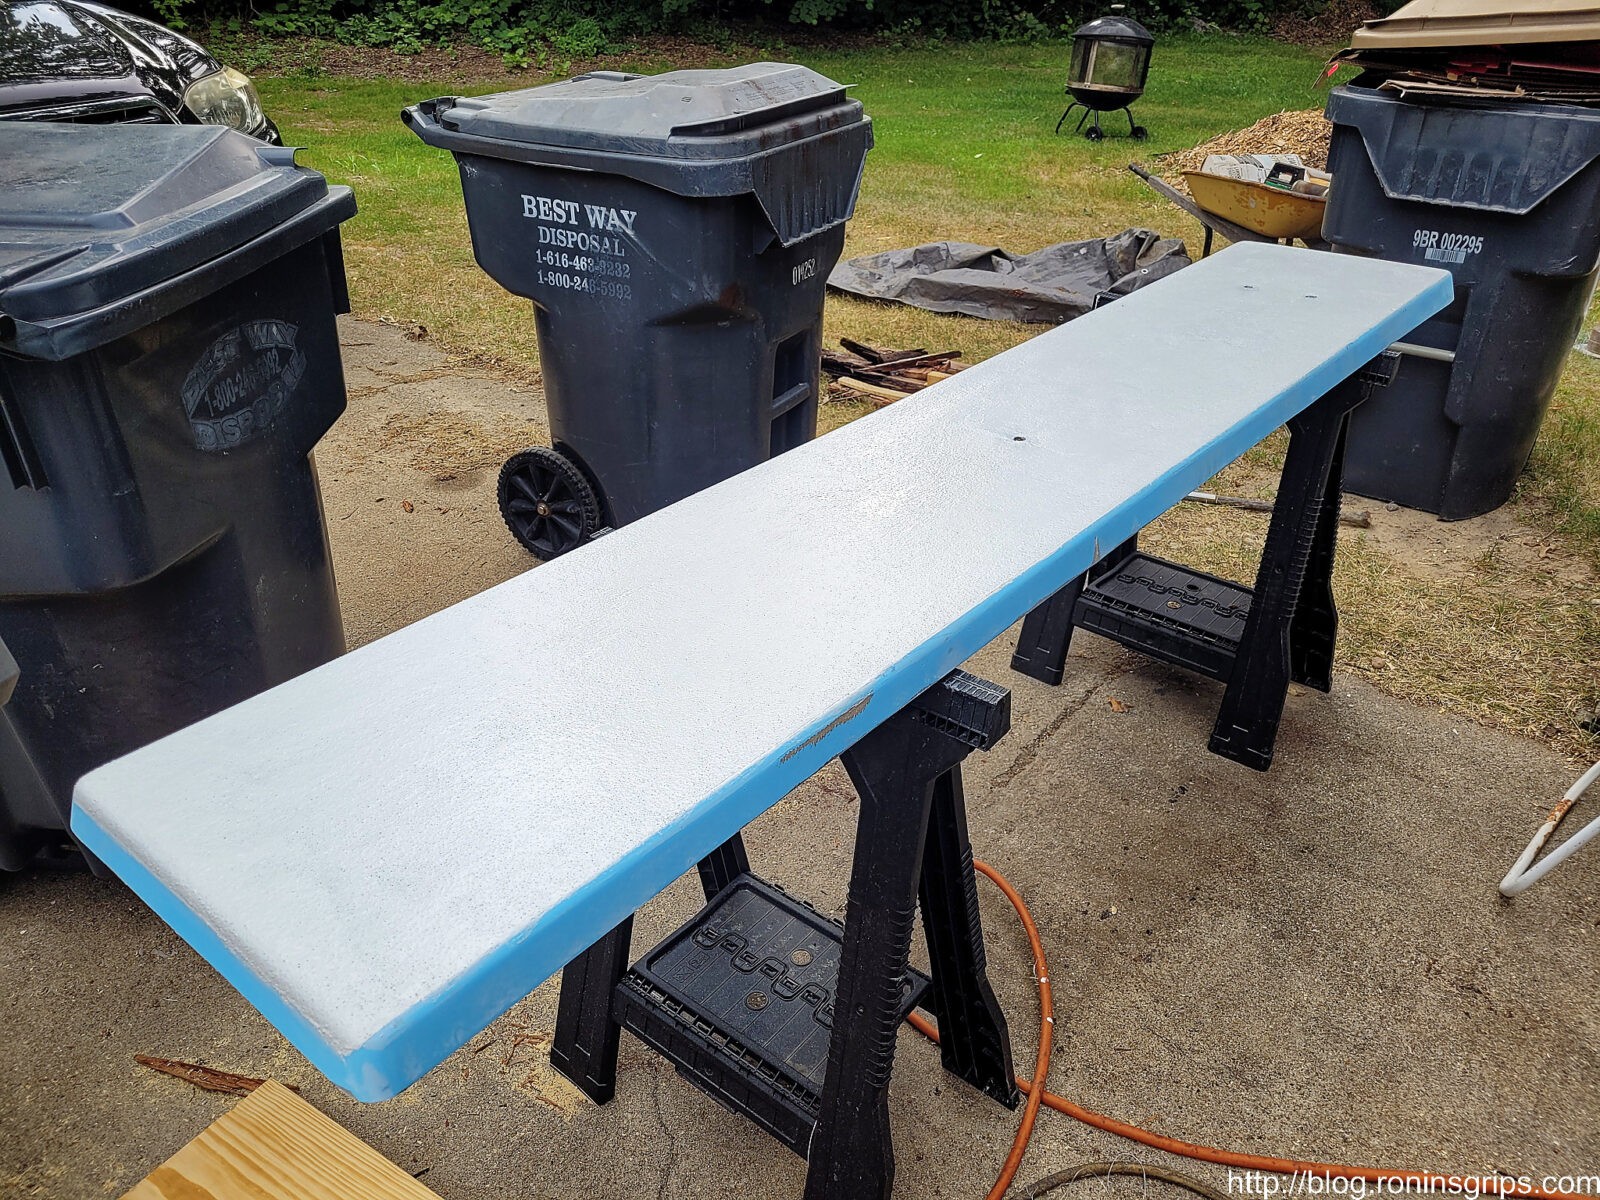
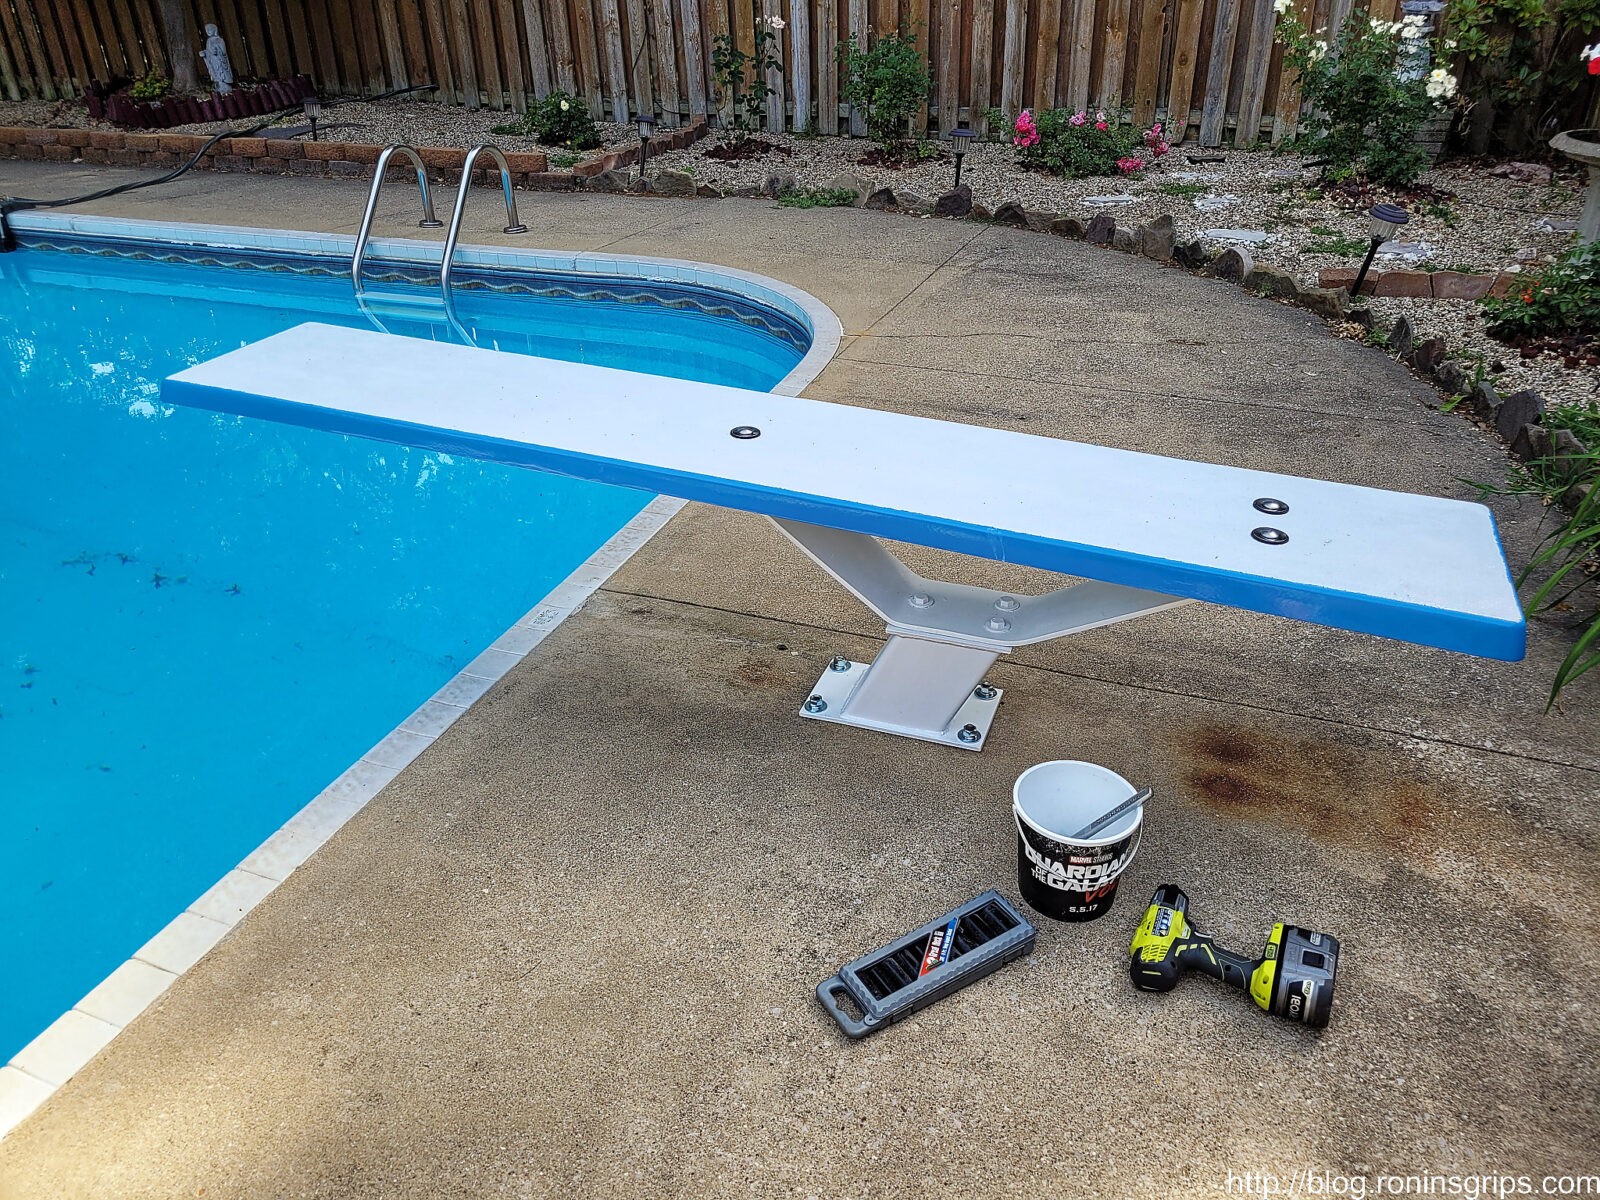
Before painting, I flipped the board over, removed the Gorilla tape. The brownish color of the Bondo clearly showed me the old hole positions and drilled two 1/2″ holes in the rear and one in the front using the clearly visible filled in holes. I carefully pushed the support board under, clamped it in place and drilled it as well.
Painting The Board
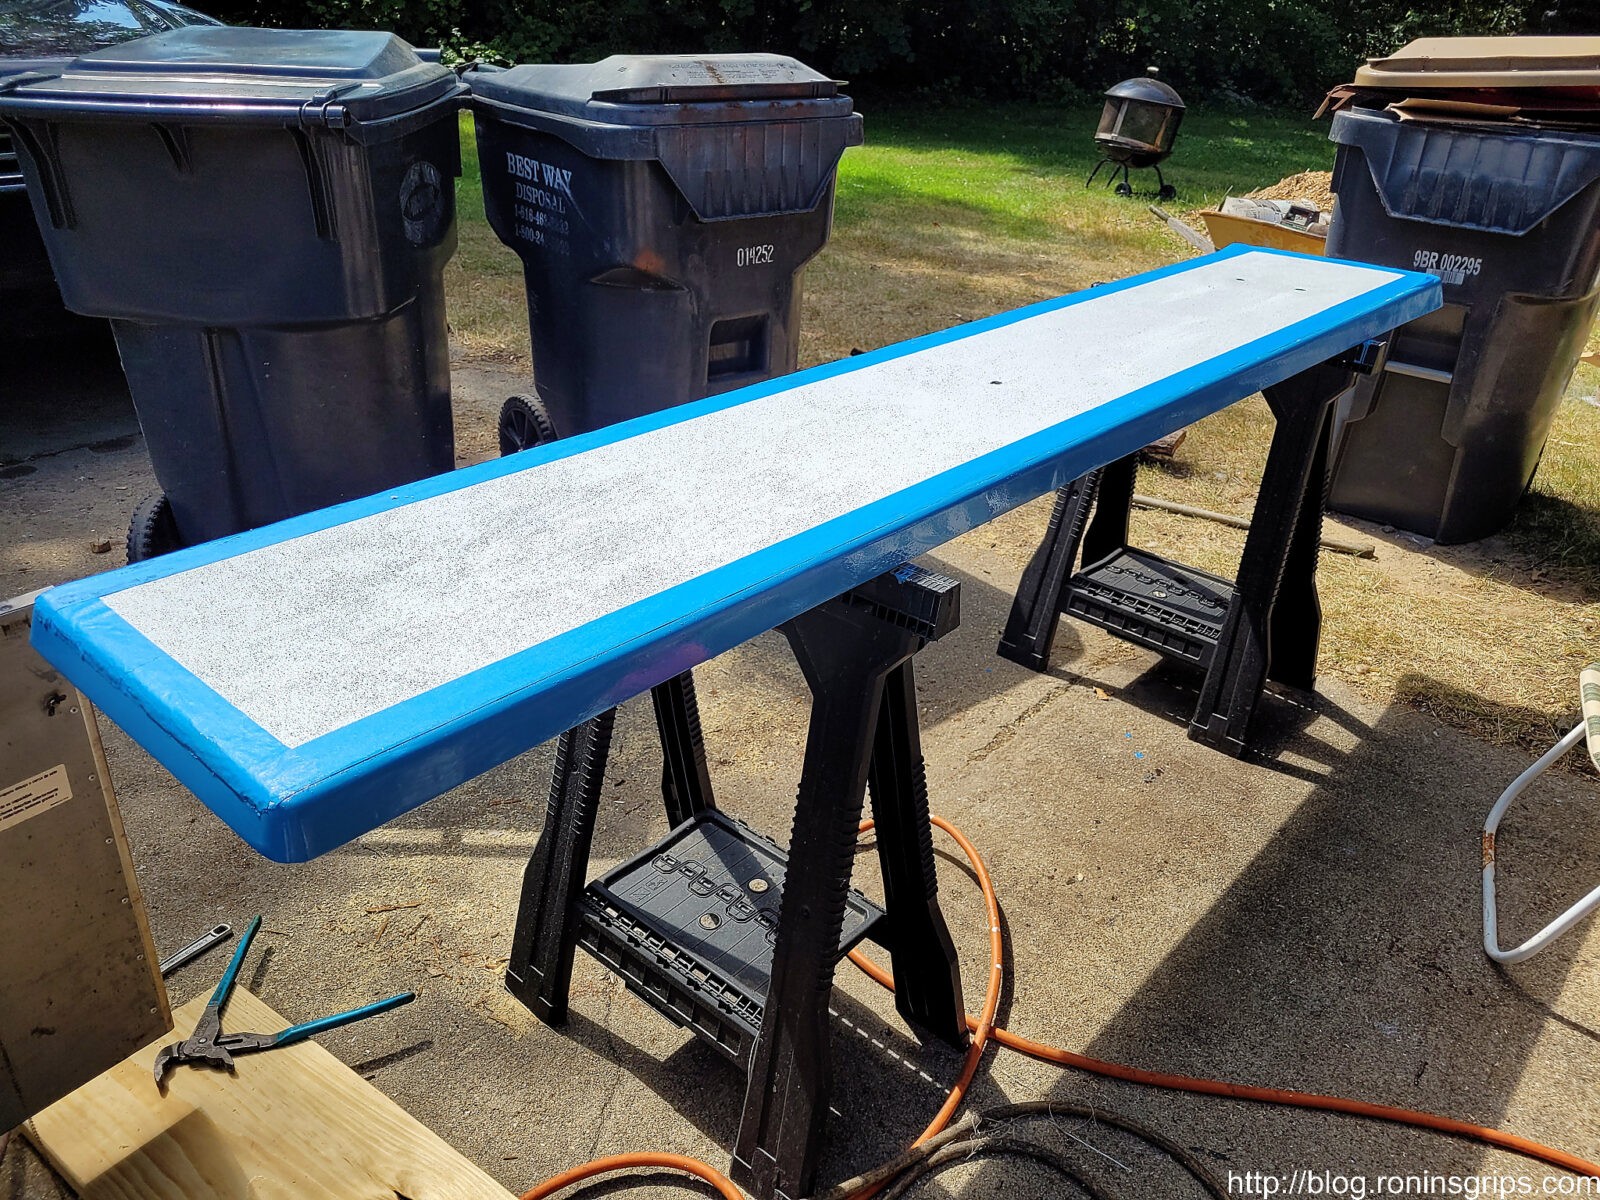
To paint the board whatever color you want, use boat paint – what they call the top coat or deck paint. Years and years ago, I painted our board because it looked really tough and found out you had to add non slip grit to the paint or people would slide off. Yeah, there’s a story there about a teenager falling off so make sure you get the non-slip additive for whatever paint you buy.
I used Rust-Oleum’s Topside White for the board and a Ocean Blue paint made by Pettit for the trim. The only reason I went with the Pettit paint was that the local boat store carried it and Lowes didn’t have the blue colored Topside paint.
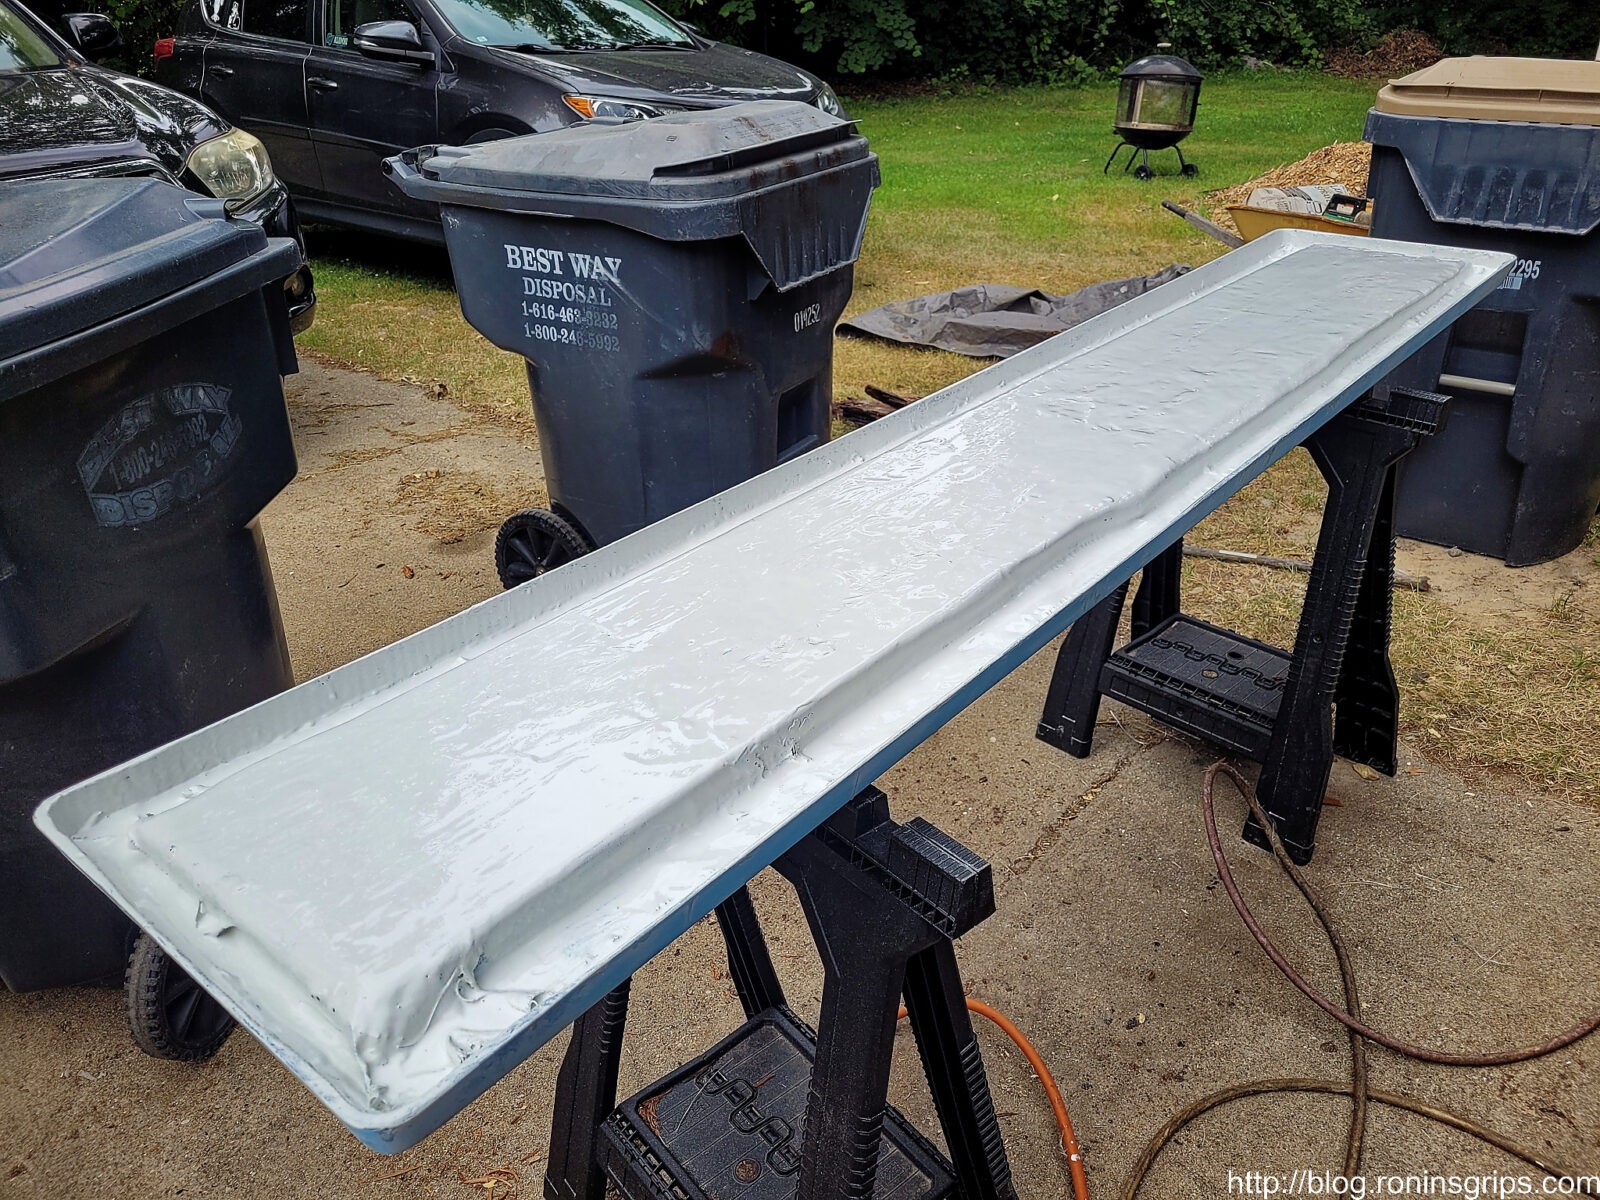
So, when you are applying this, do it in a well ventilated area, make sure it isn’t going to rain if you are outside (I was in my driveway) and follow the guidance carefully. One thin coat a day. If you try and do a thick coat or too many coats, the paint will not cure to a hard finish and stay in an odd tacky/smudgy state. I had this happen to me years ago because I’m not patient but I sure hard to learn patience with some of the specialty paints.
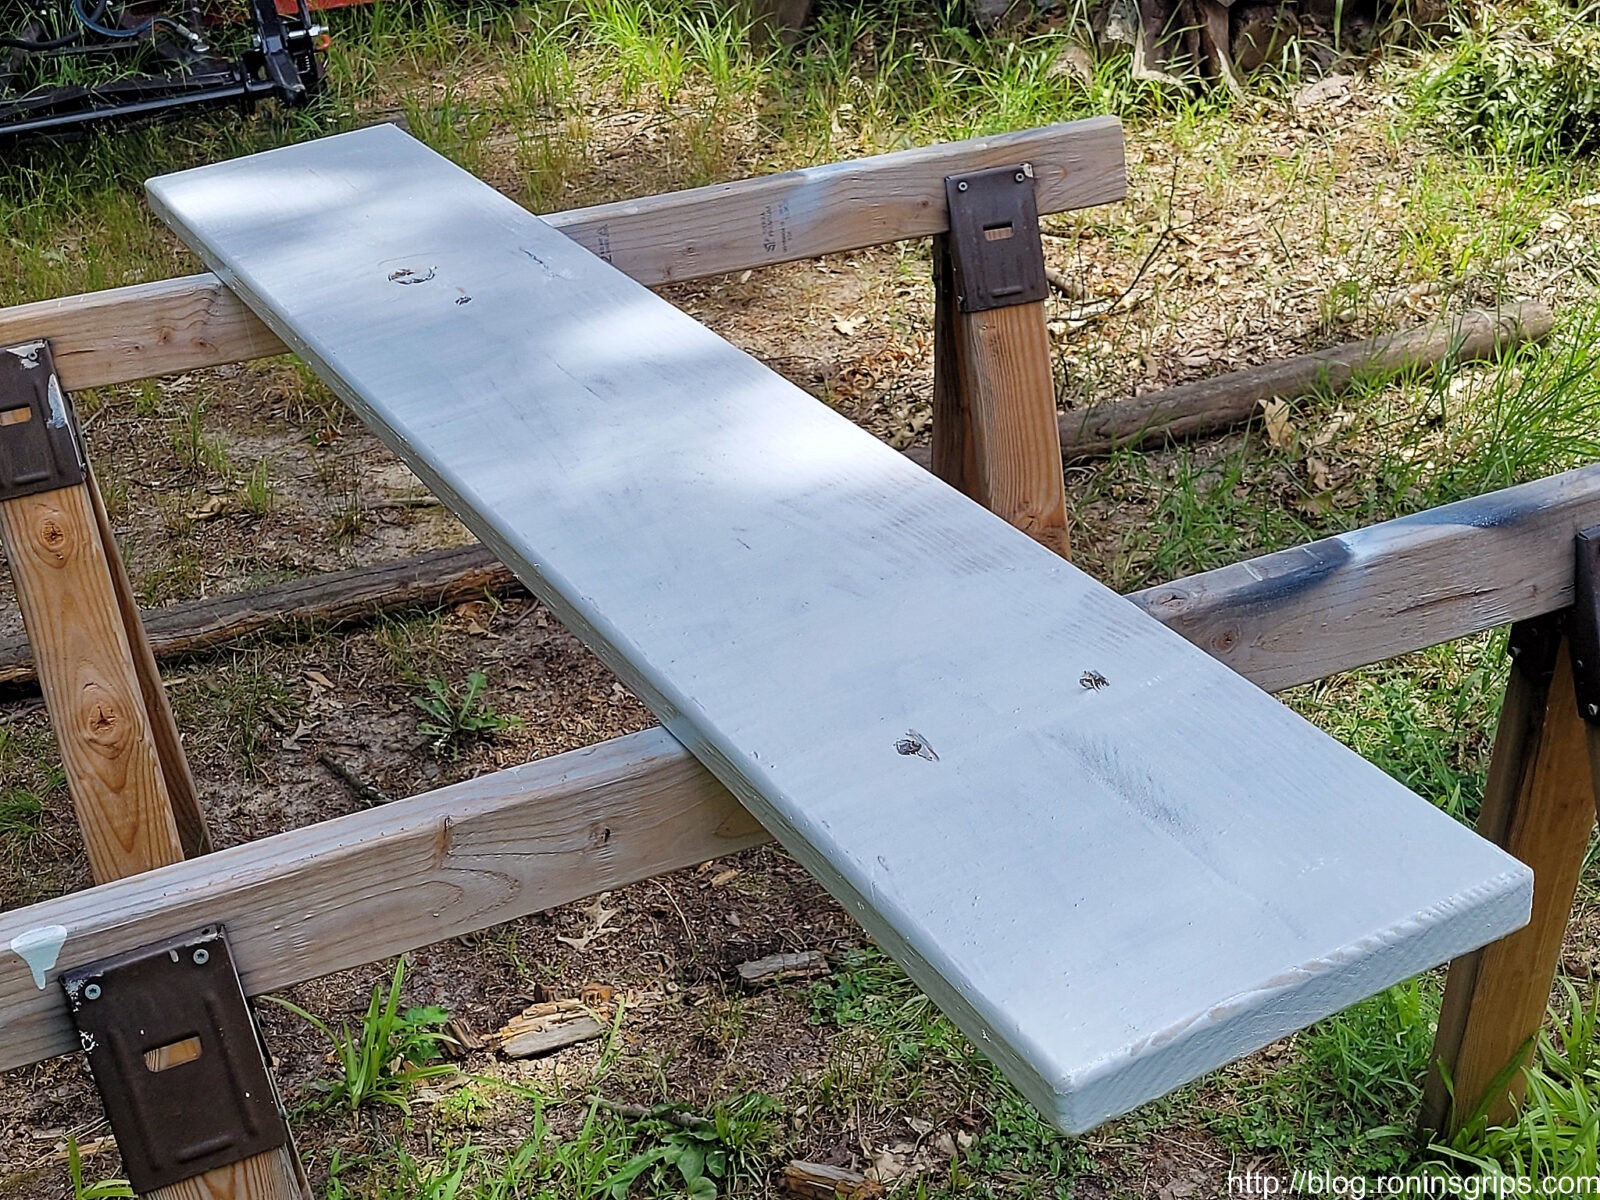
I did two coats of regular white Topside paint on the bottom to protect the fiberglass from UV rays (they really mess up plastics, epoxies and what not unless they are designed for them) and I applied two coats of the white with the grit mixed in on the top.
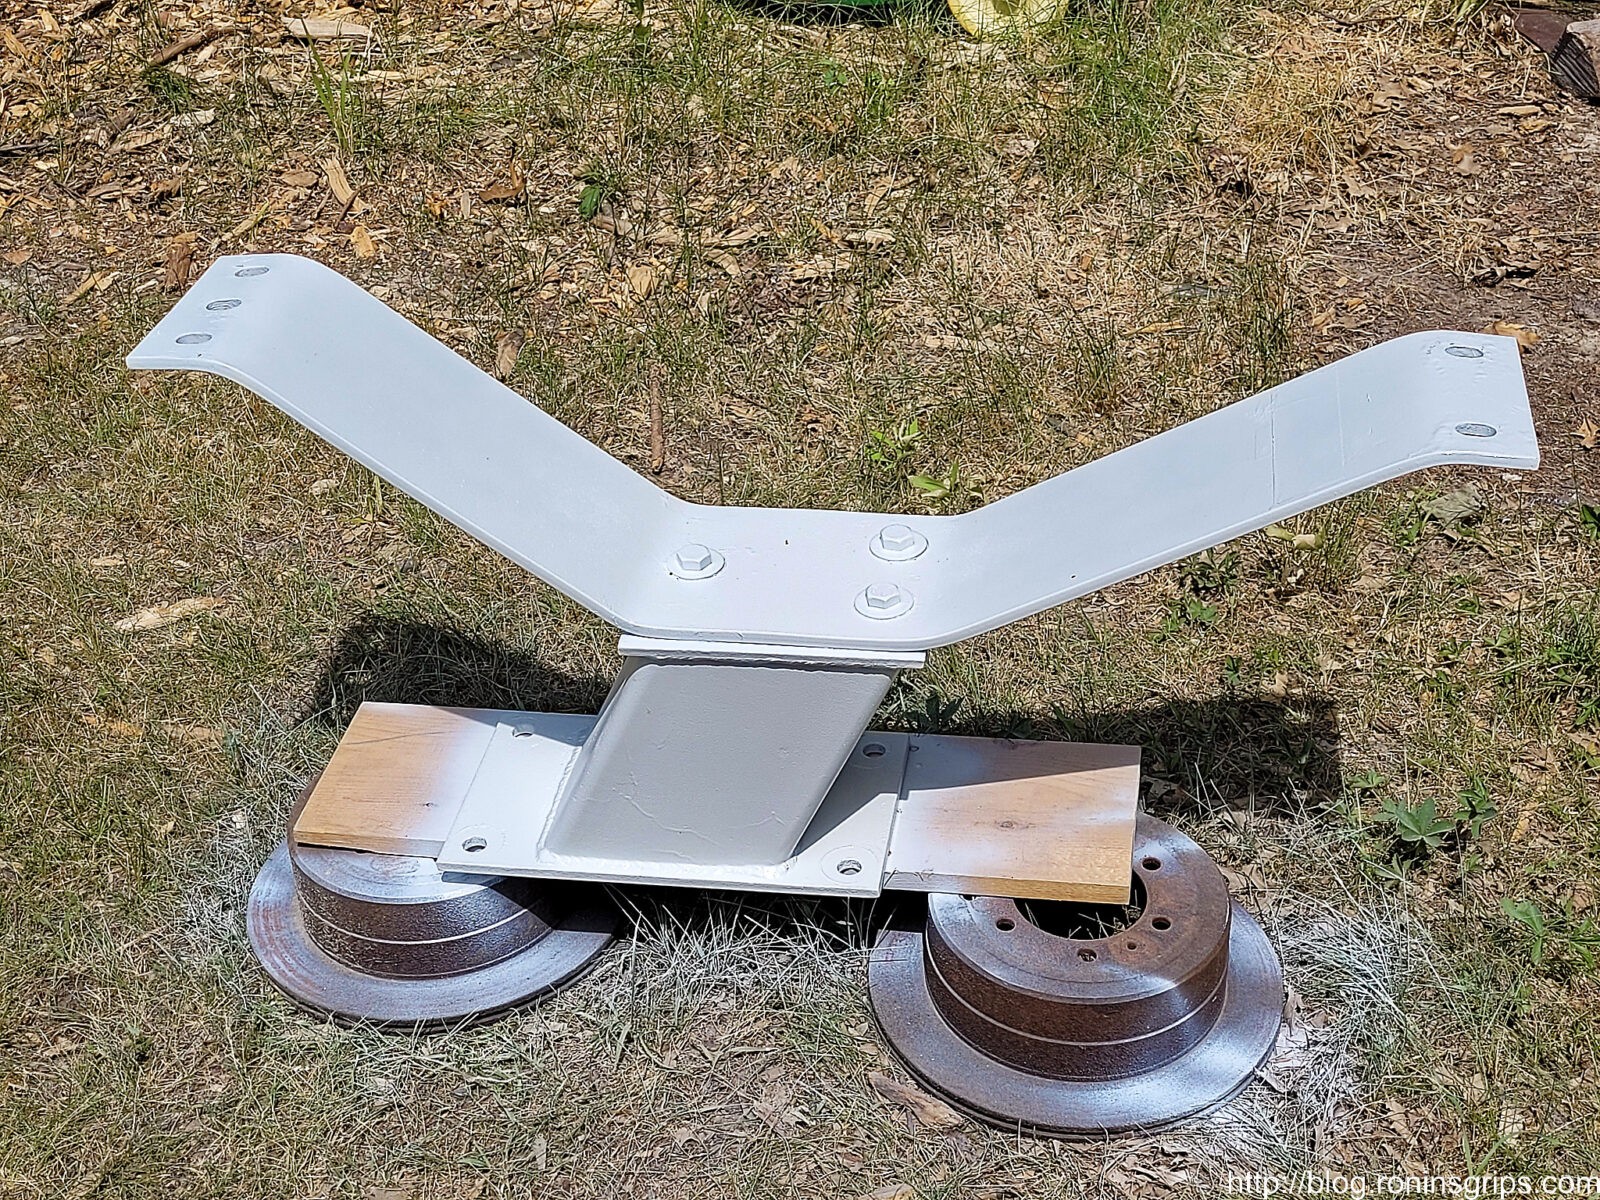
Painting The Pedestal and Support Board
While waiting for coats of paint to cure on the board, we removed the pedestal and spring unit, wire brushed it, sprayed it down with brake cleaner and sprayed on three coats of white Rustoleum spray paint.
Wrapping Up
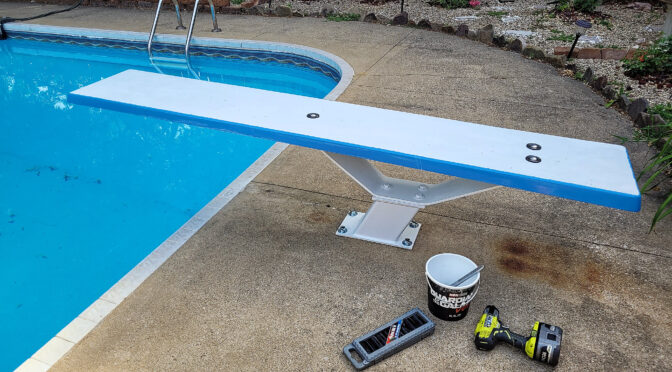
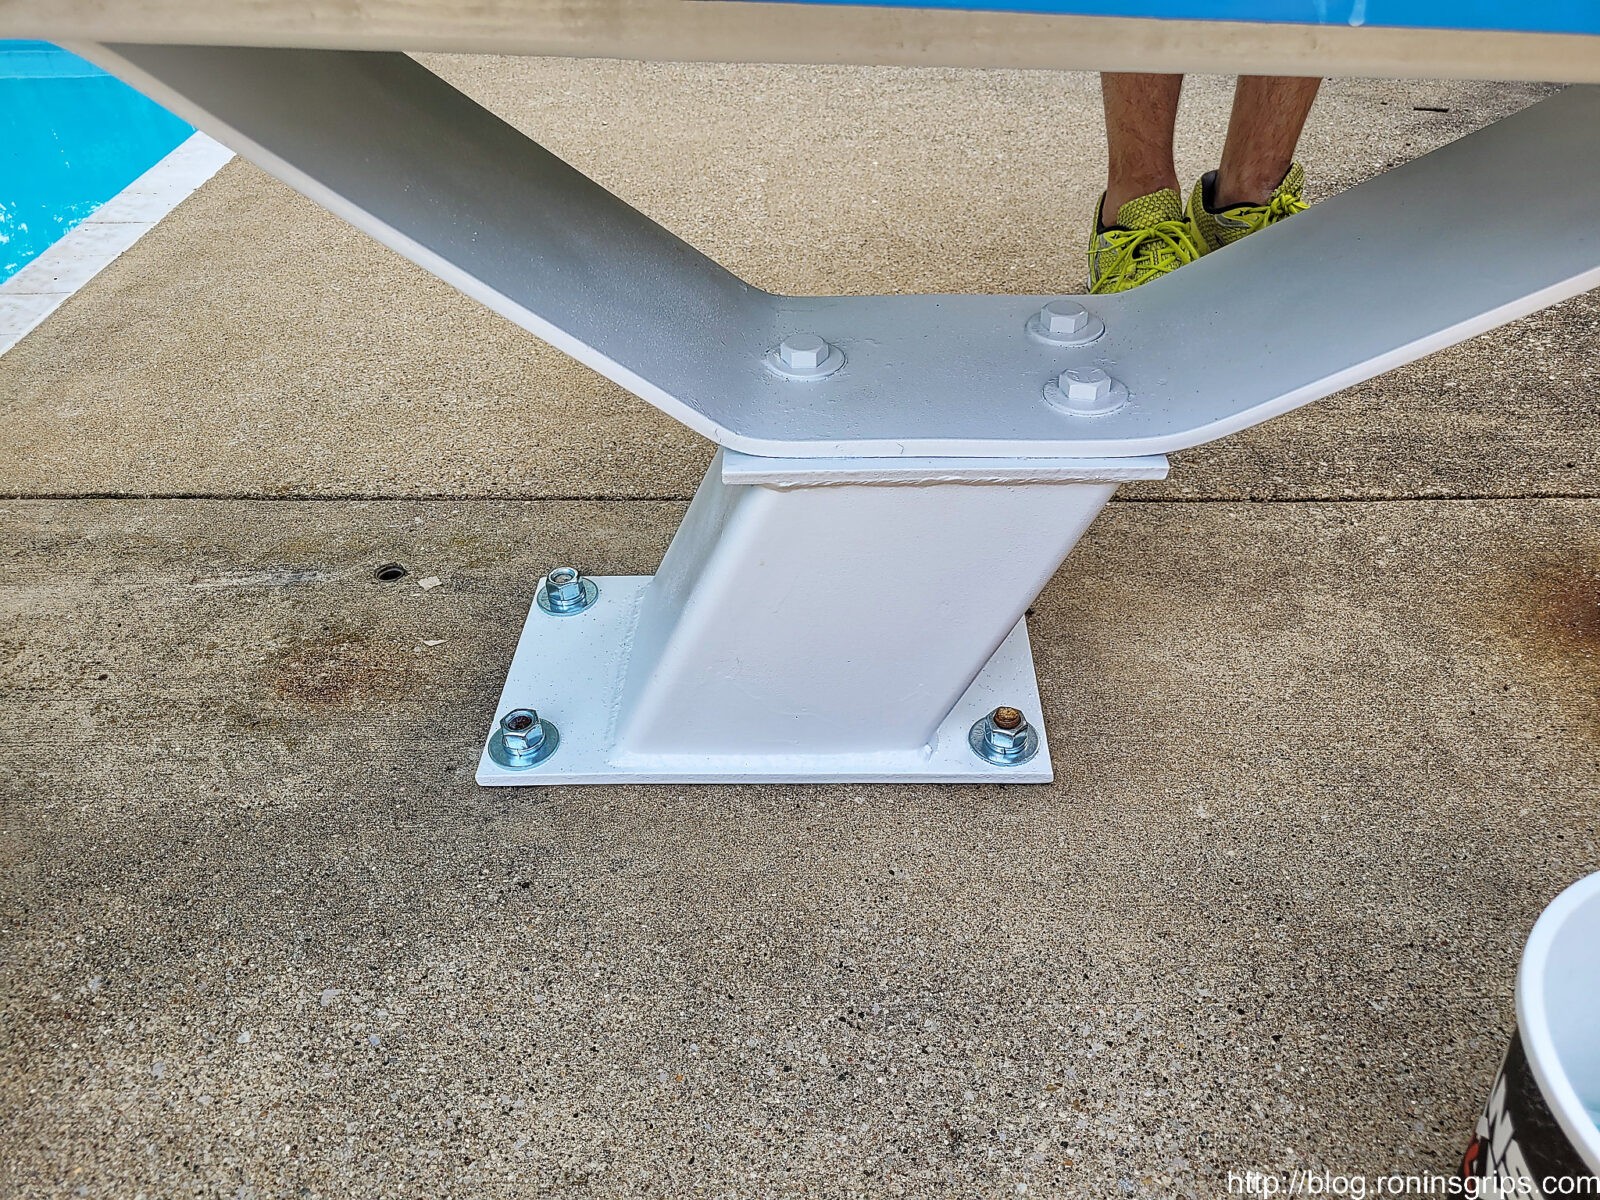
We reinstalled the pedestal and spring unit first. I bought new stainless nuts and washers so it looked better.
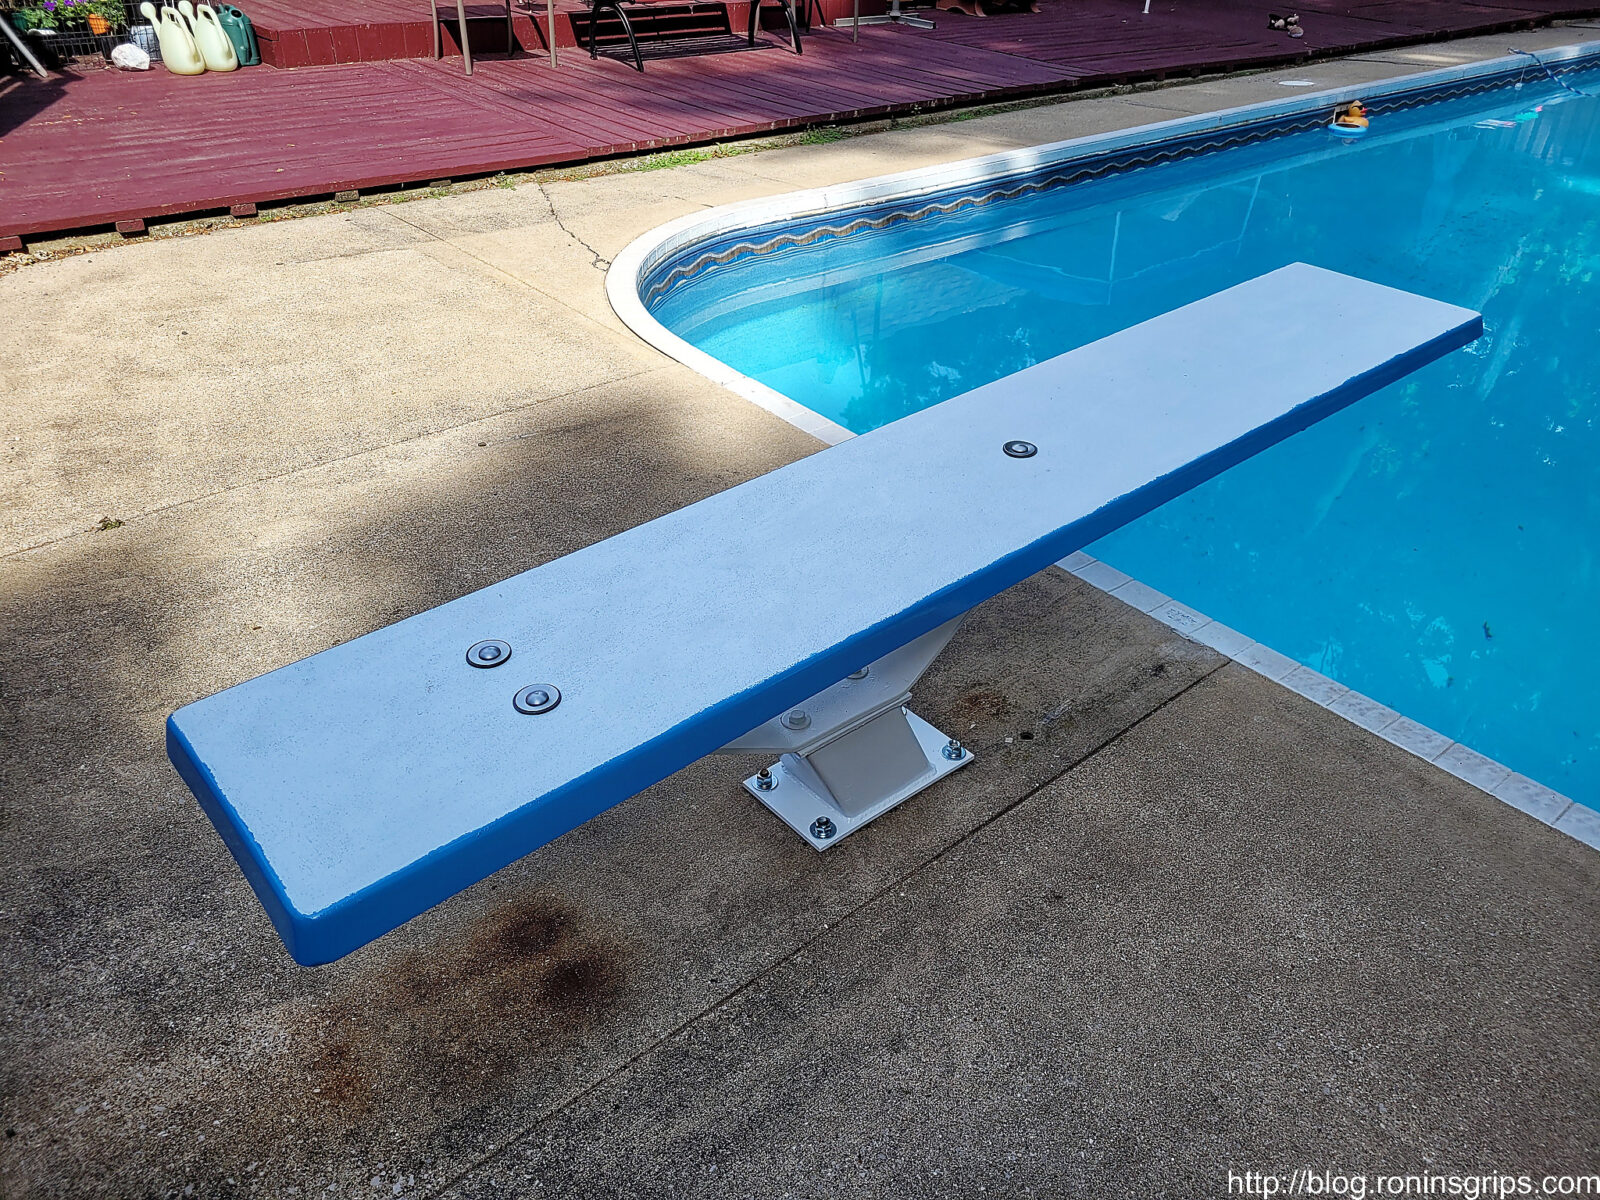
In Closing
InTheSwim really damaged their reputation with me. On the other hand, this was done in a matter of days, cost us about $300 vs $800 (for the wood boards, hardware & paint) and all the kids at the reunion had a blast. So, problem solved — it worked out to our advantage actually. I’m curious to see how it holds up over time and I have high hopes given how it turned out and performed at the reunion.
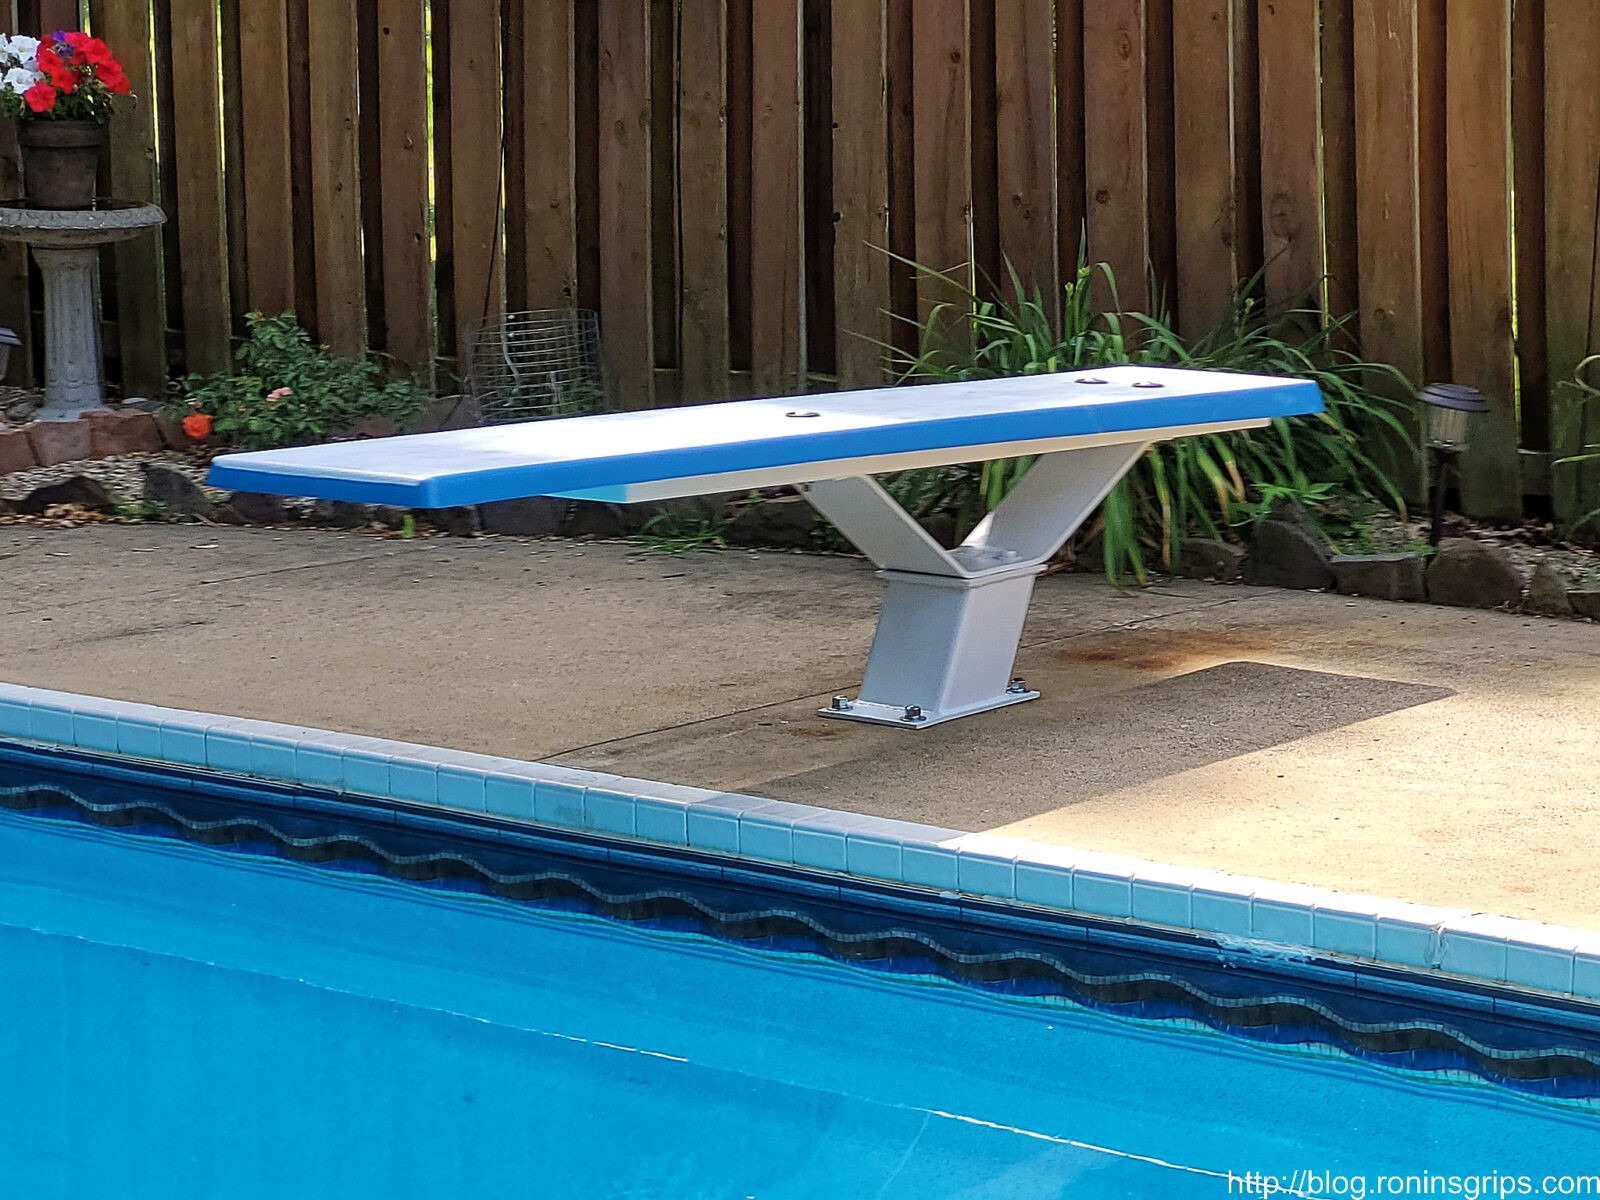
If you have a diving board, I’d bet you could do the same and save time and money as well. I hope this gives you some food for thought.
7/23/2024 Update: where a number of kids used the diving board and it held up just fine.
6/15/24 Update: Just finishing opening the pool for the summer. The board is holding up just fine.
5/23/23 Update: Board is holding up great and we’re getting ready for another summer. I just inspected it yesterday – no cracks or any signs of issues.
Note, I have to buy all of my parts – nothing here was paid for by sponsors, etc. I do make a small amount if you click on an ad and buy something but that is it. You’re getting my real opinion on stuff.
Please share the link on Facebook, Forums, with colleagues, etc. Your support is much appreciated and if you have any feedback, please email us in**@*********ps.com. If you’d like to request a report or order a reprint, please click here for the corresponding page to open in new tab.