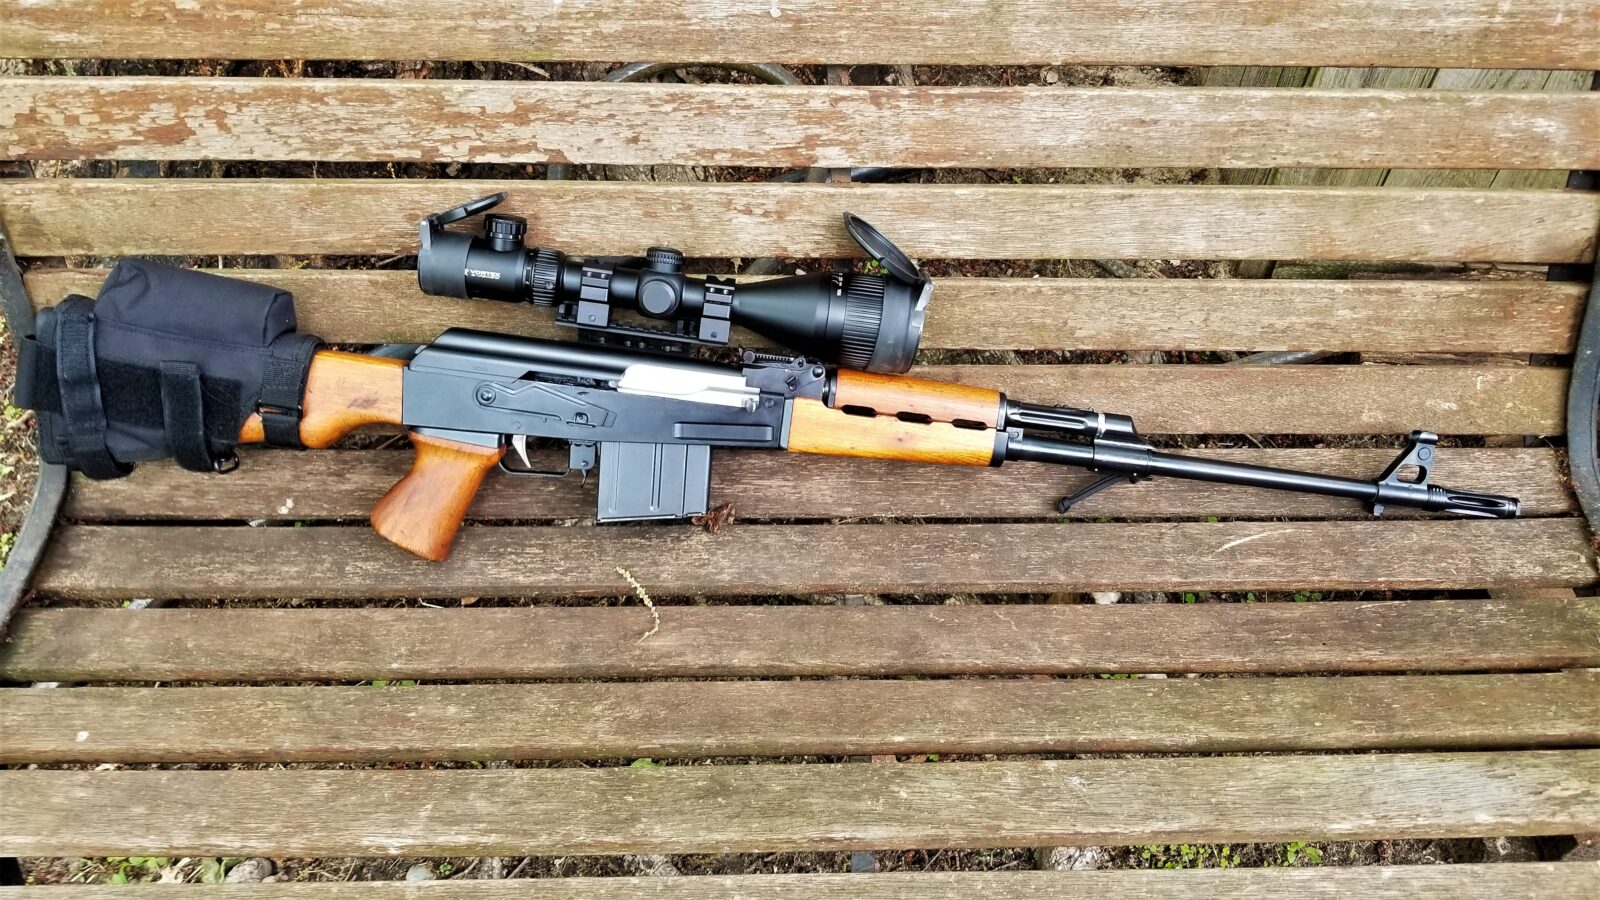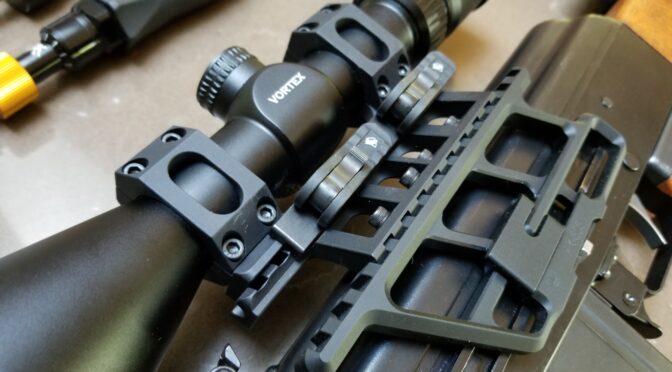
When I was adding the big Vortex Hog Hunter scope to my M76 with RS Regulate side mount optics rail, all I had to prototype with were UTG rings. While the UTG rings aren’t too bad, I have stopped using them with centerfire rifles because they have a rounded screw that passes through the Picatinny rail rail slot. It’s rounded shape and only partially filling the slot risks damaging the rail and the zero shifting because the ring(s) can move.
What is really needed is a quality ring or scope mount that uses a bar that properly fits into the Picatinny Rail slots and locks the optic securely and consistently into position. American Defense mounts are that way and they have an excellent locking lever.
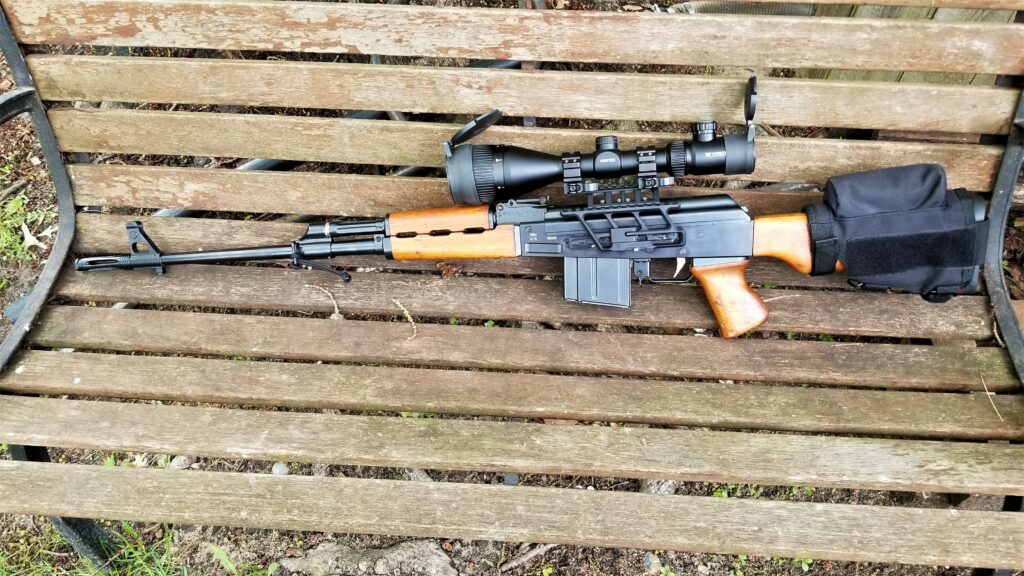
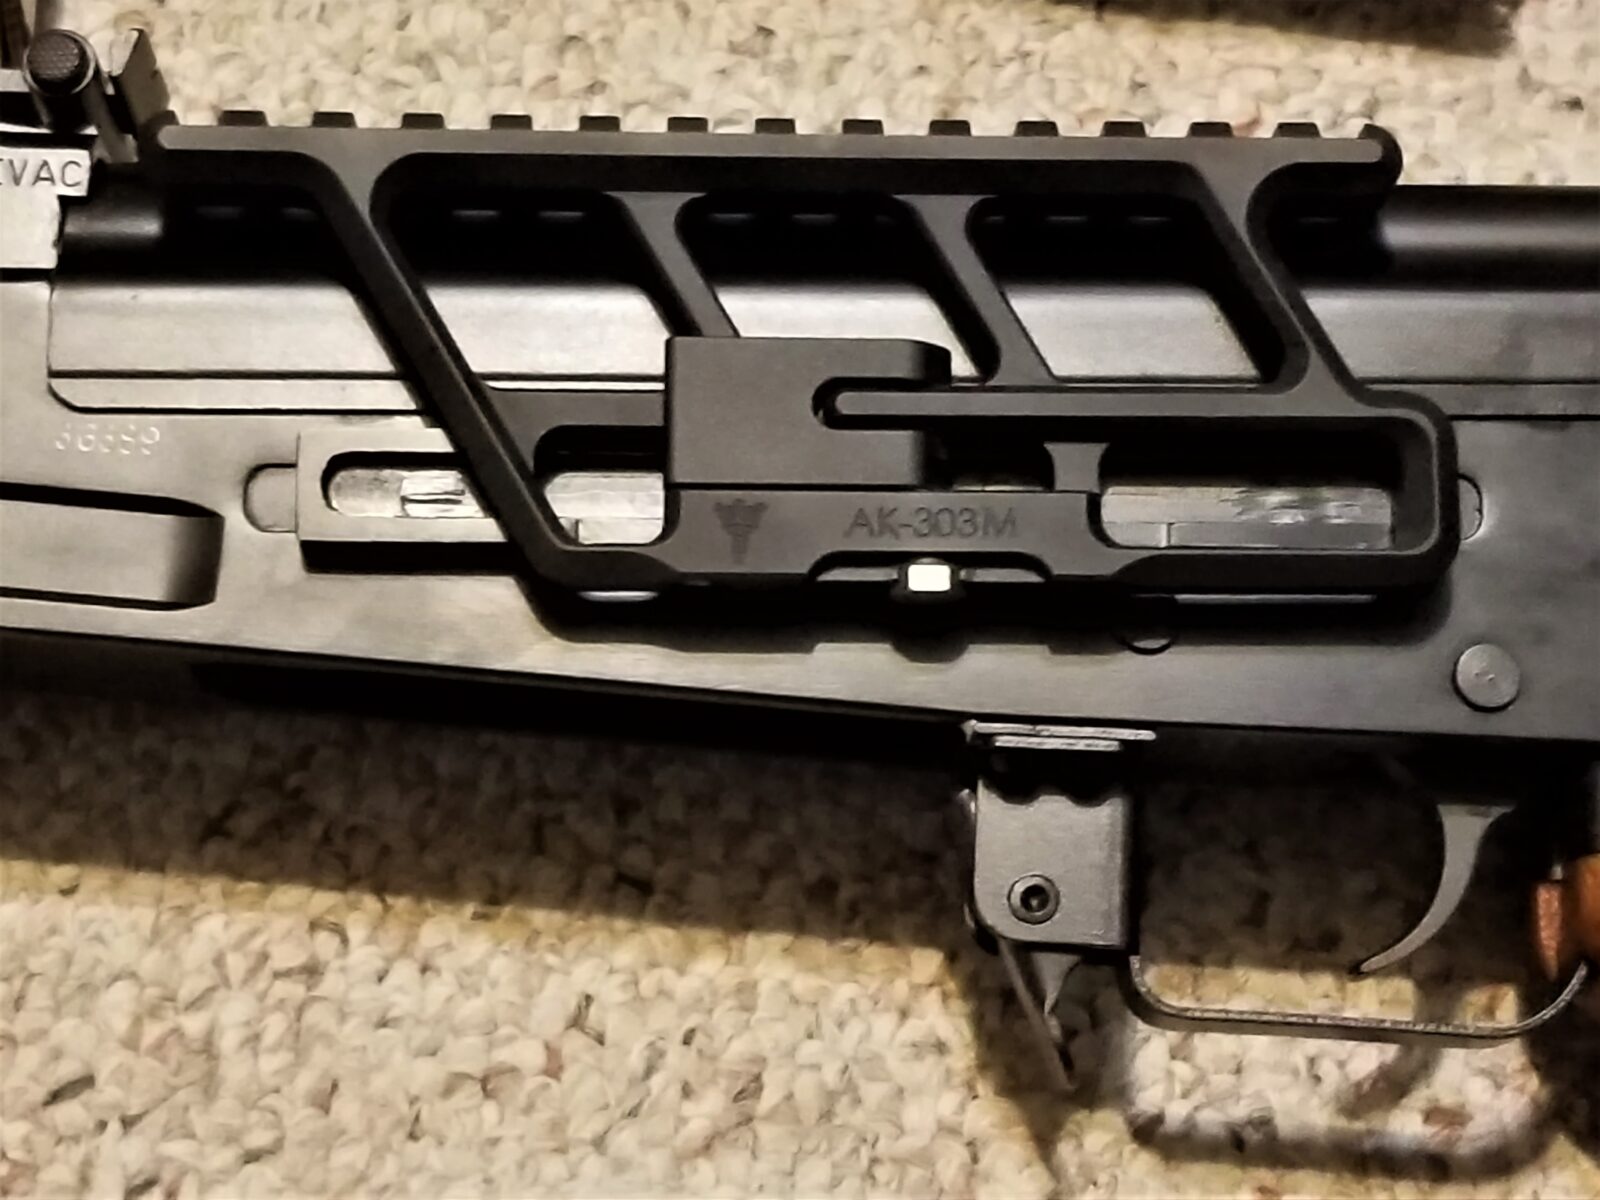
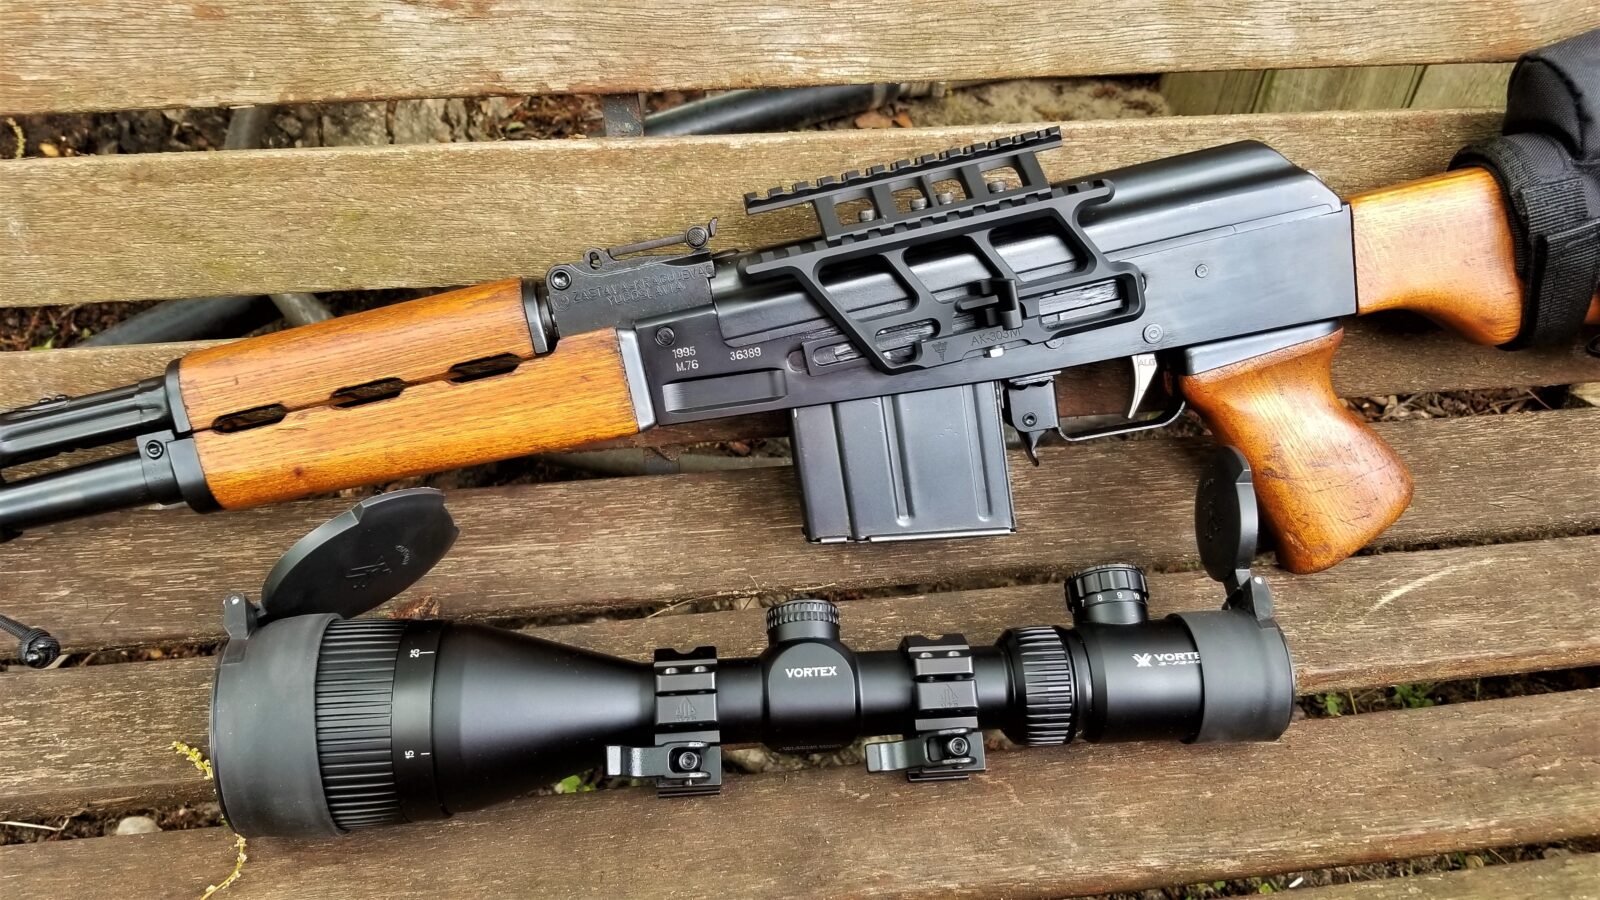
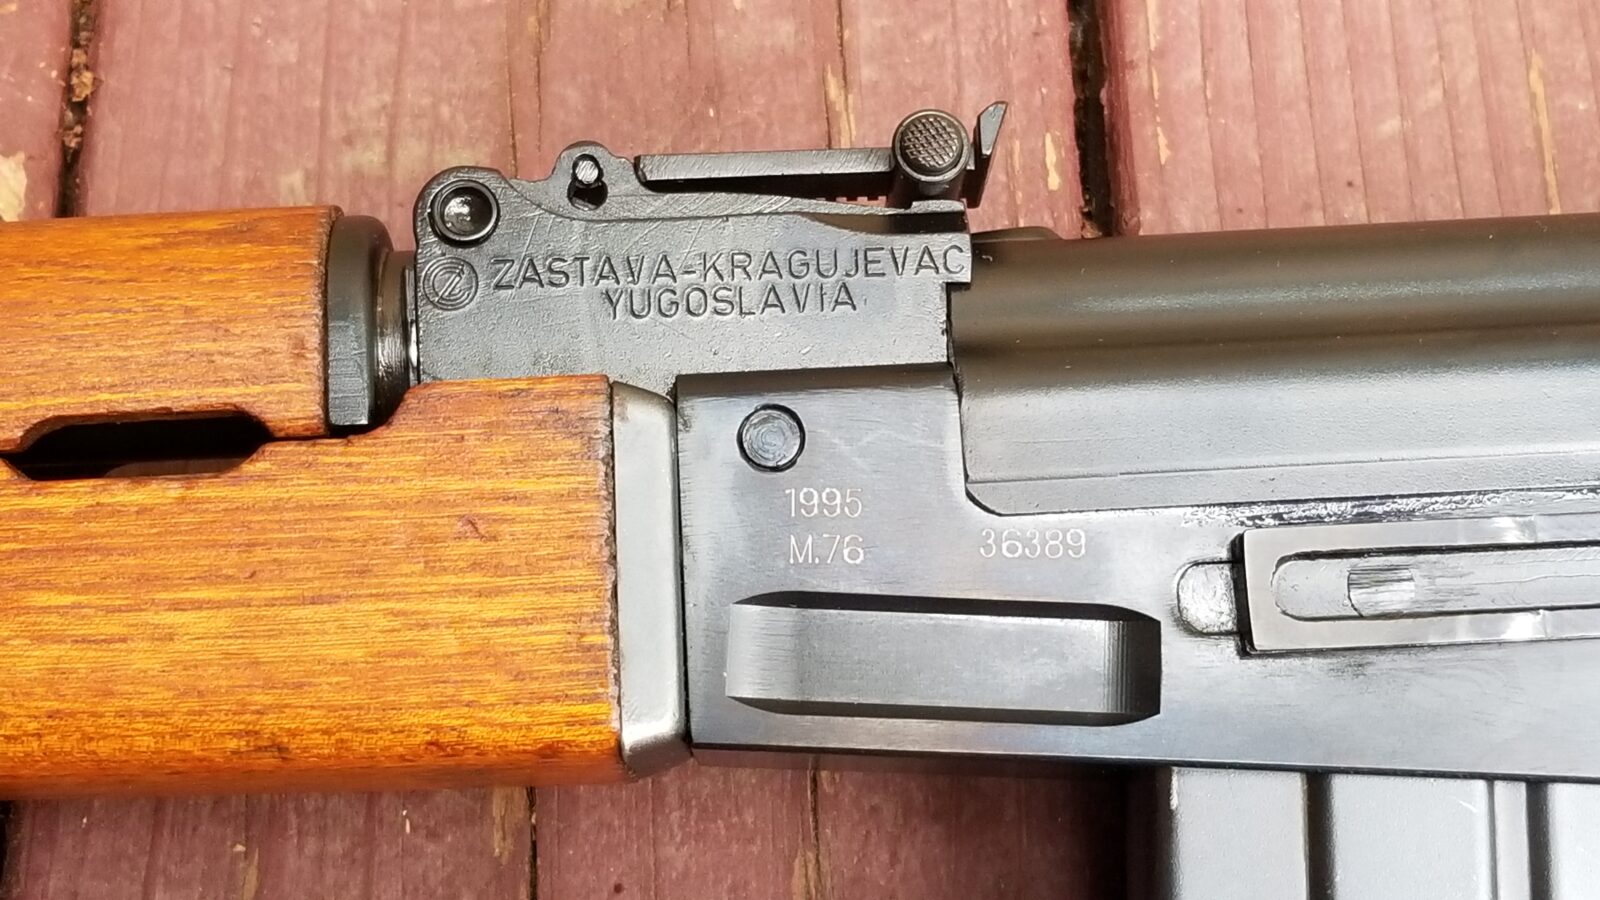
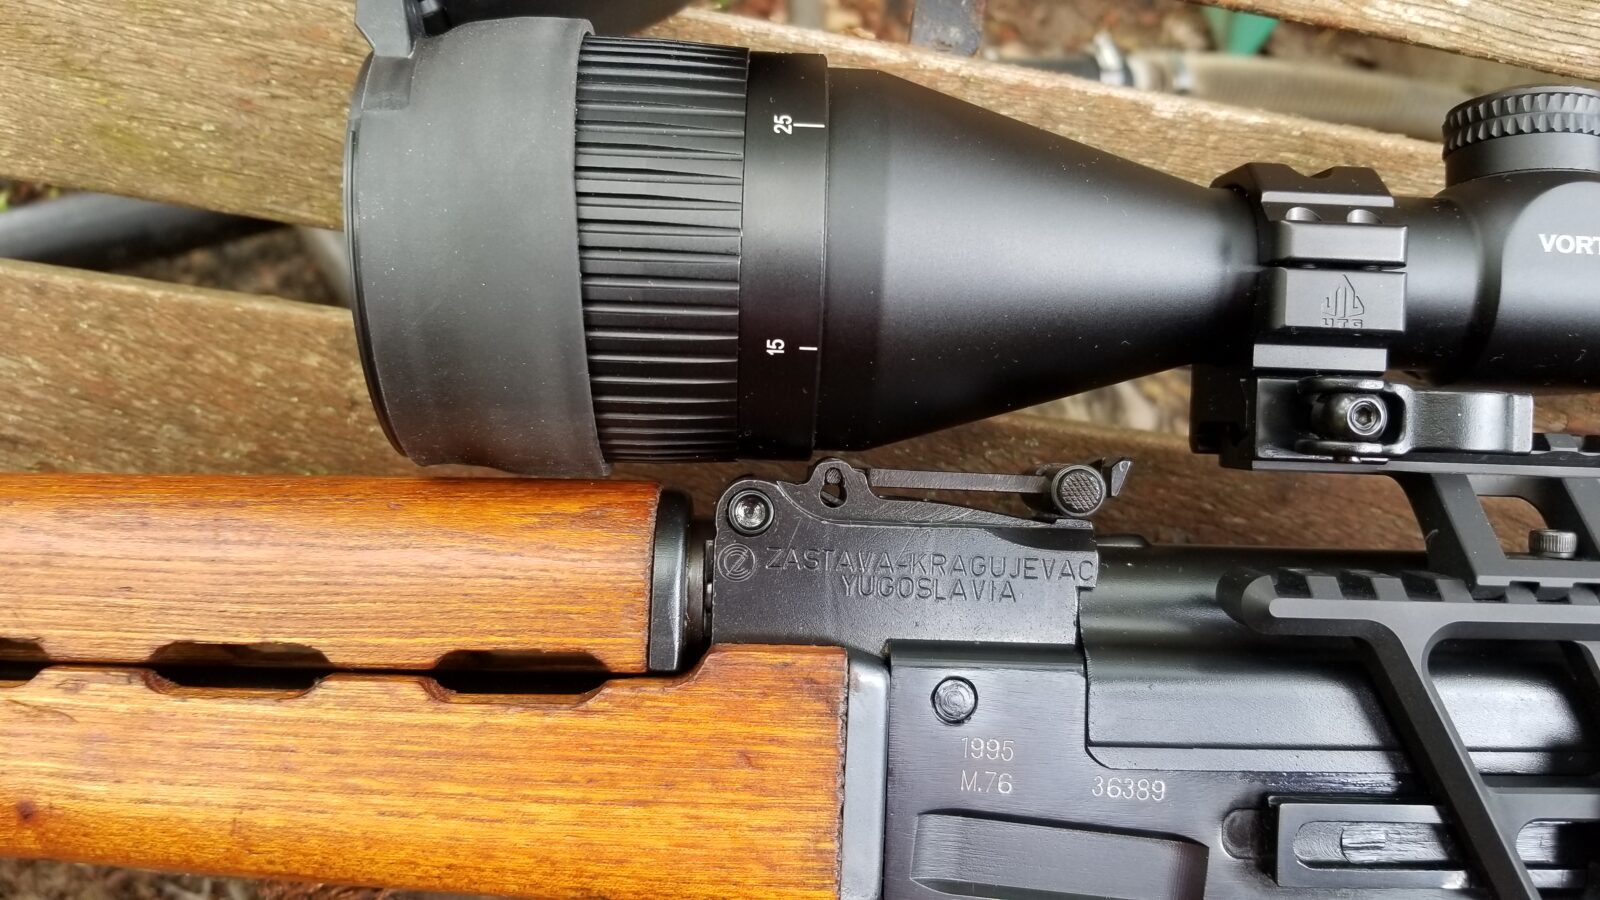
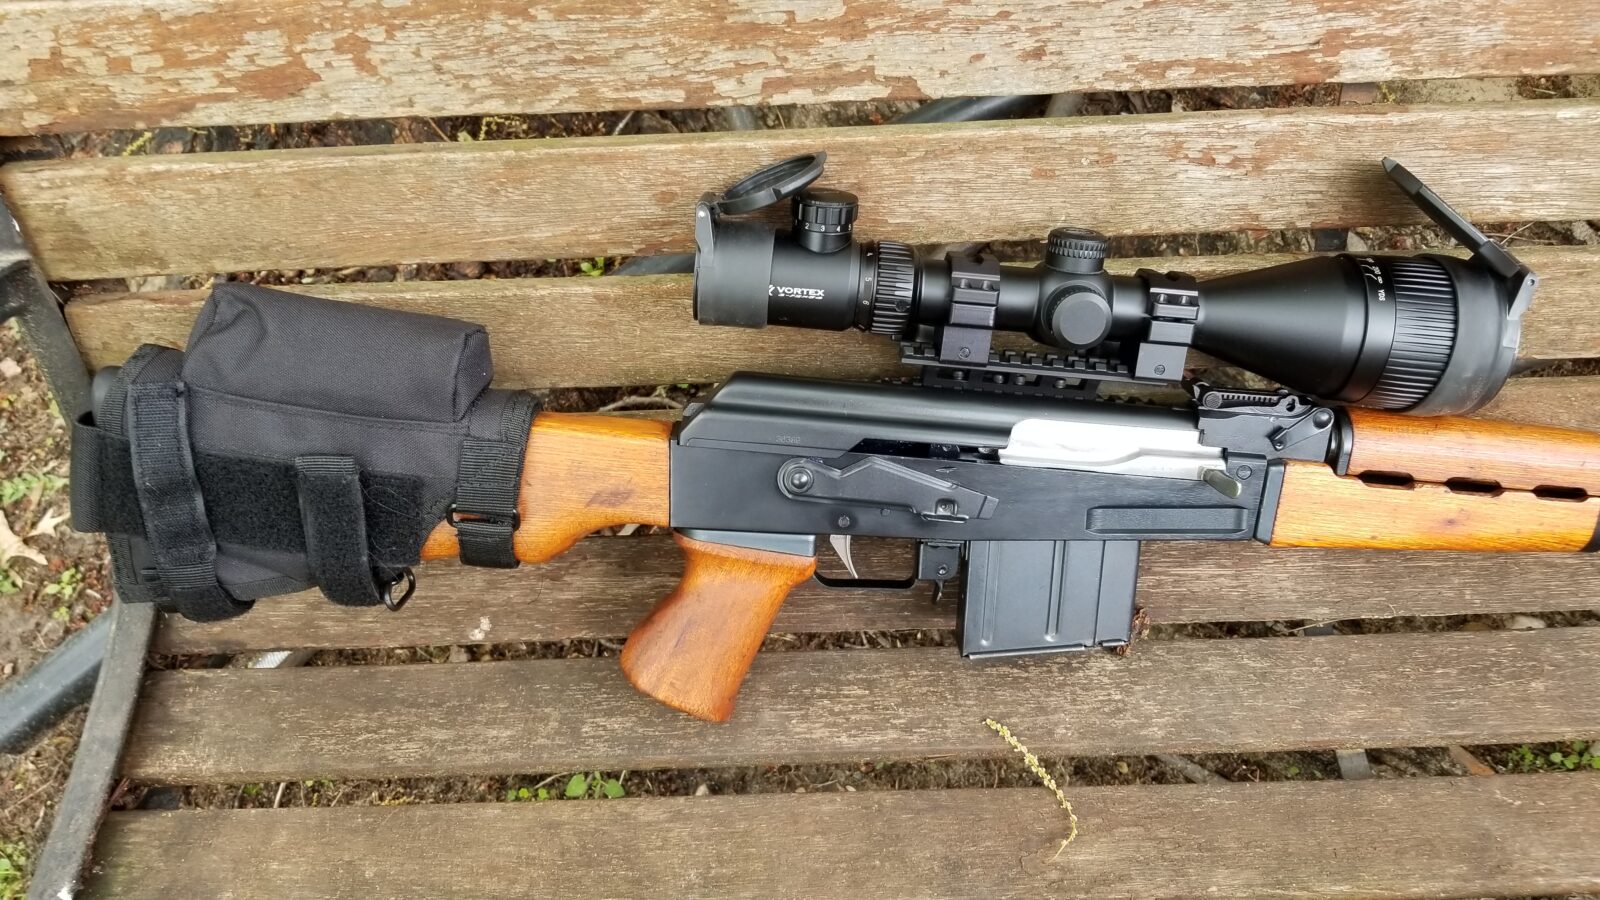
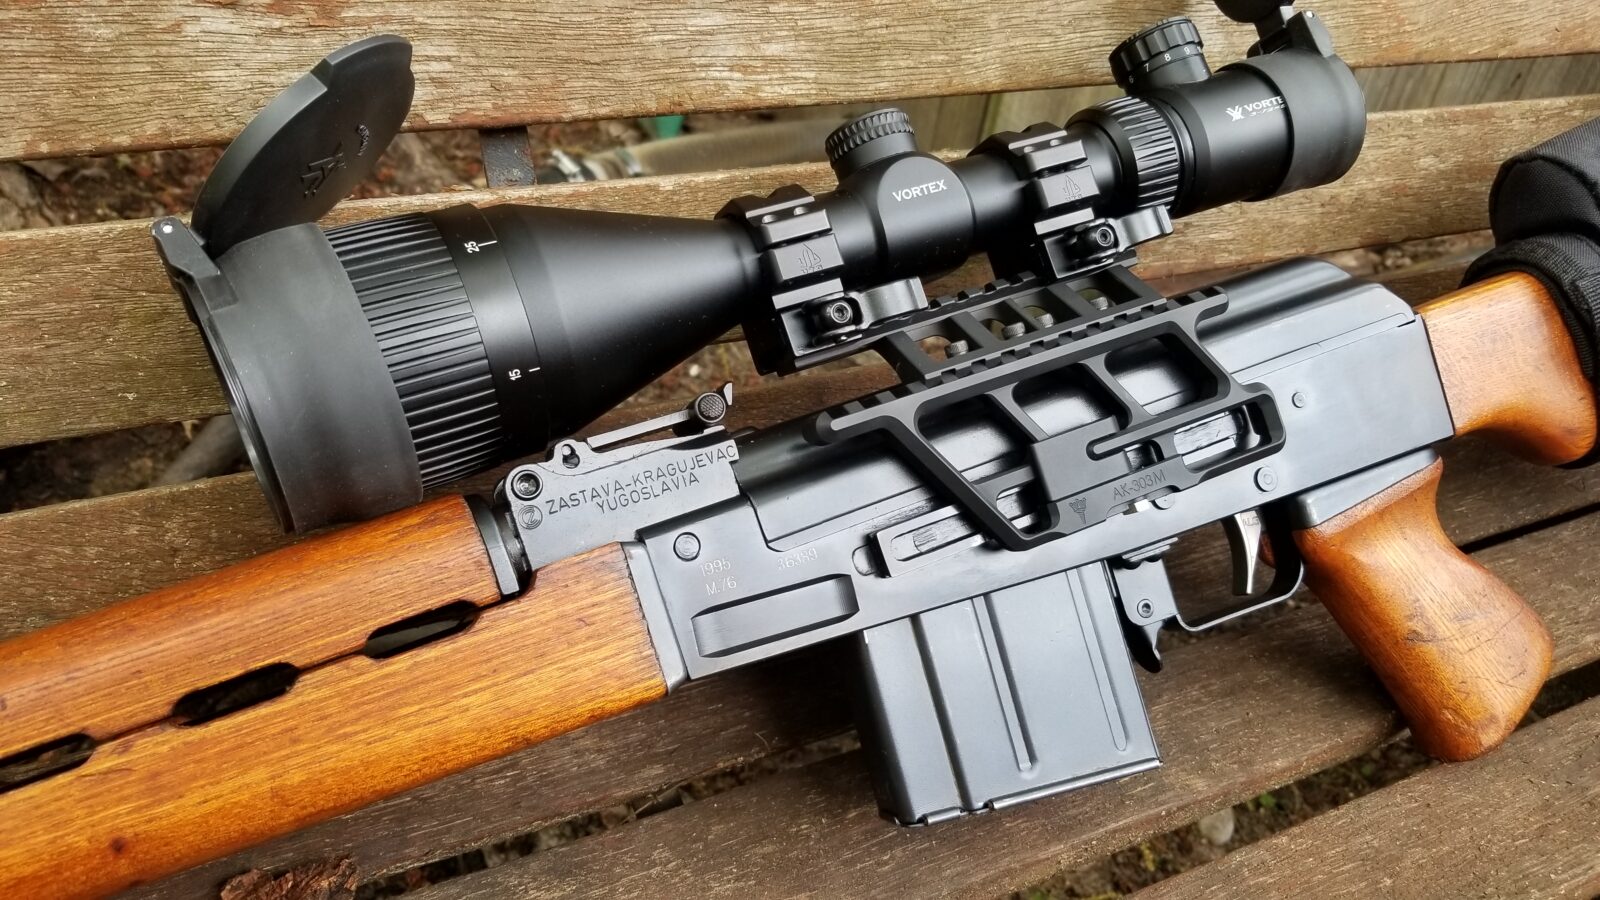
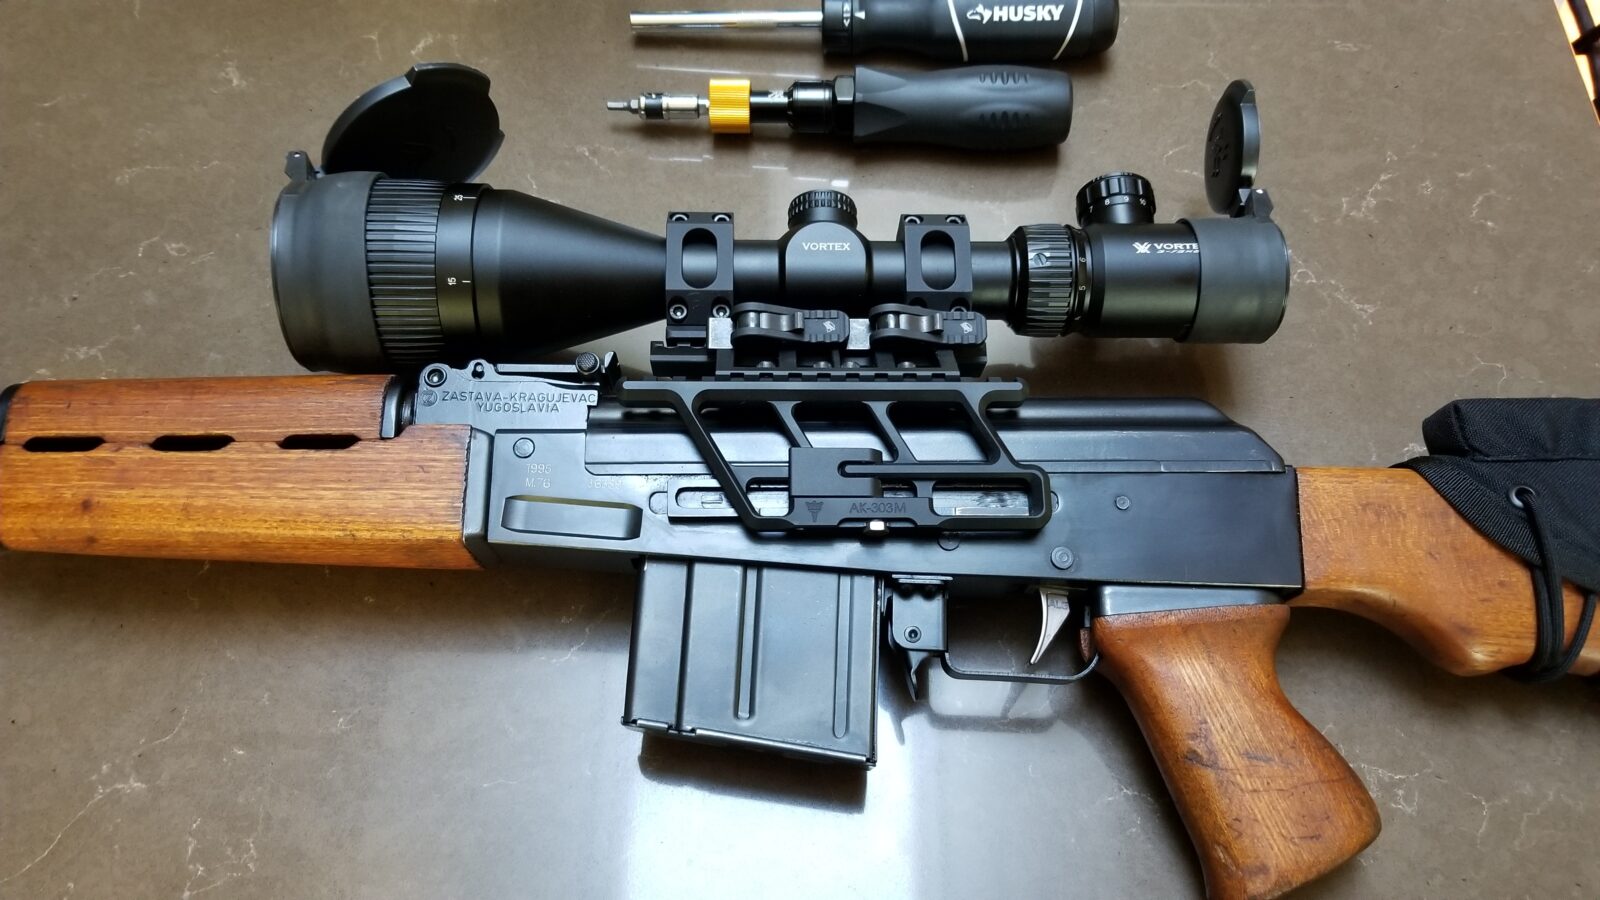
I started using American Defense mounts for my Vortex Crossfire Red Dot optics a little over a year ago and was very satisfied with them and very impressed by their quick release lever design. So, when I needed a new mount for my M76 that was strong enough to hold the big Vortex Hog Hunter scope on my M76 and would clear rear sight block but also be close to the bore, the American Defense AD-RECON-SL immediately came to mind.
American Defense AD-RECON-SL
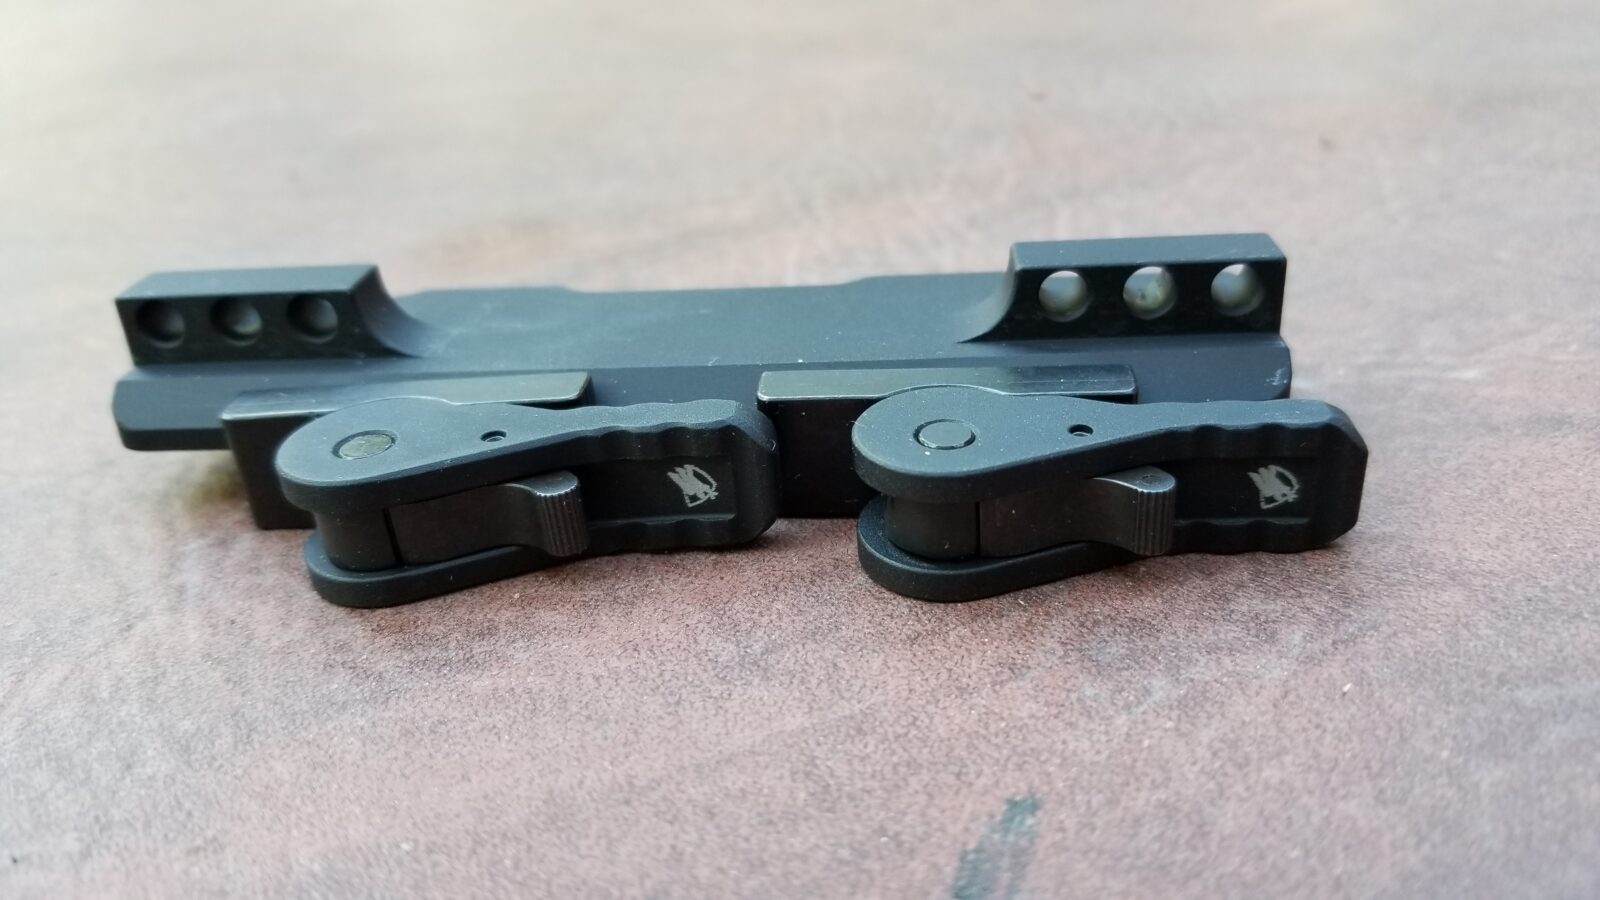
American Defense started with their QD Auto Lock System – the quick release lever system they developed. – and have branched into a variety of offerings from there including scope, bipod, light, laser and other mounts. In short, they are capitalizing on their really rugged QD levers.
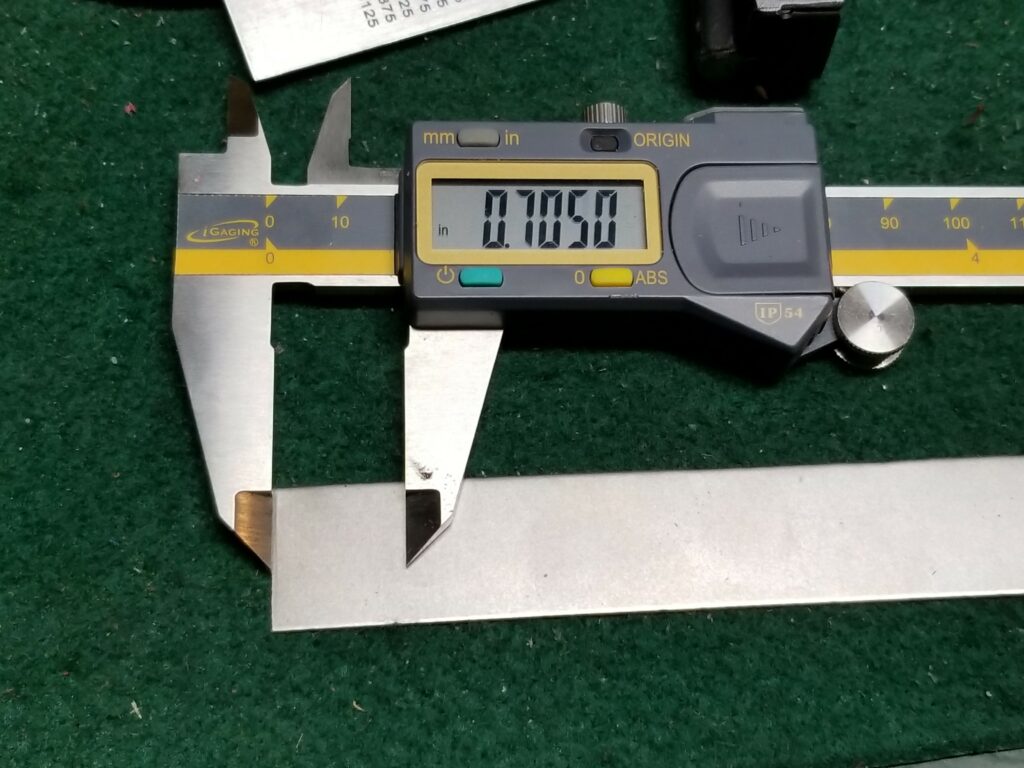
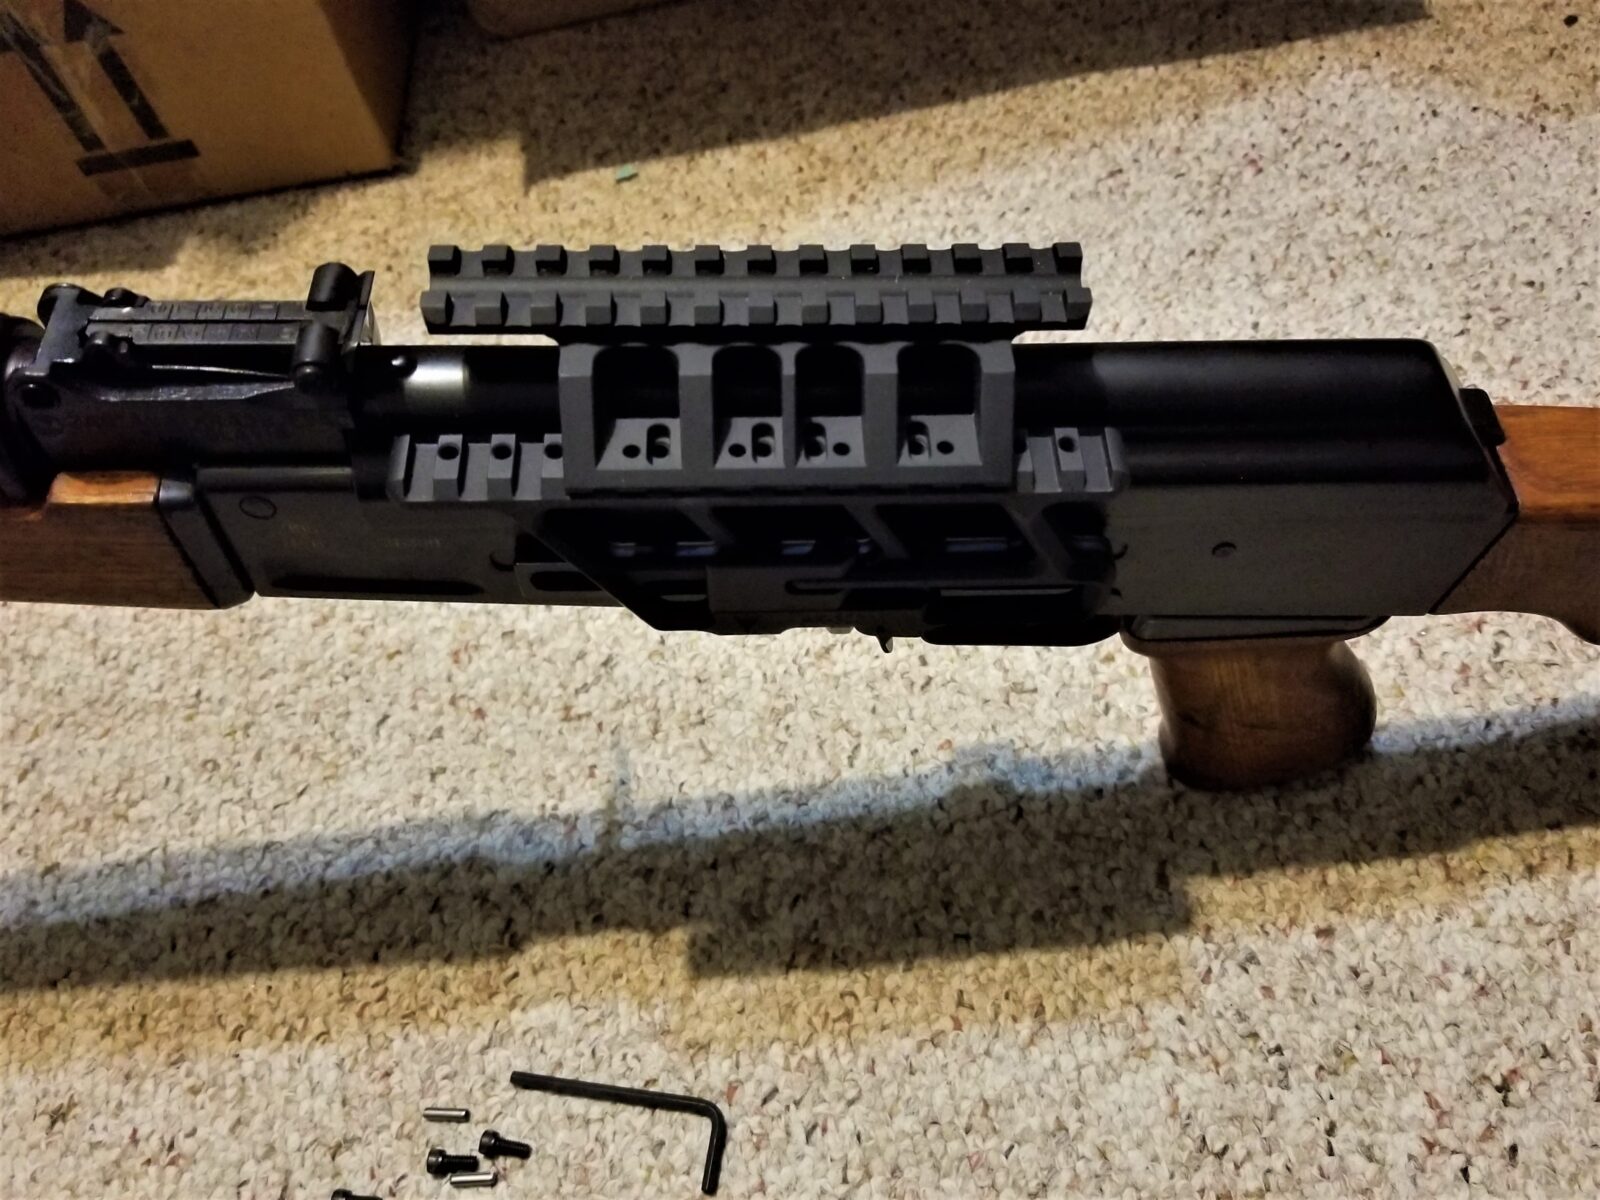
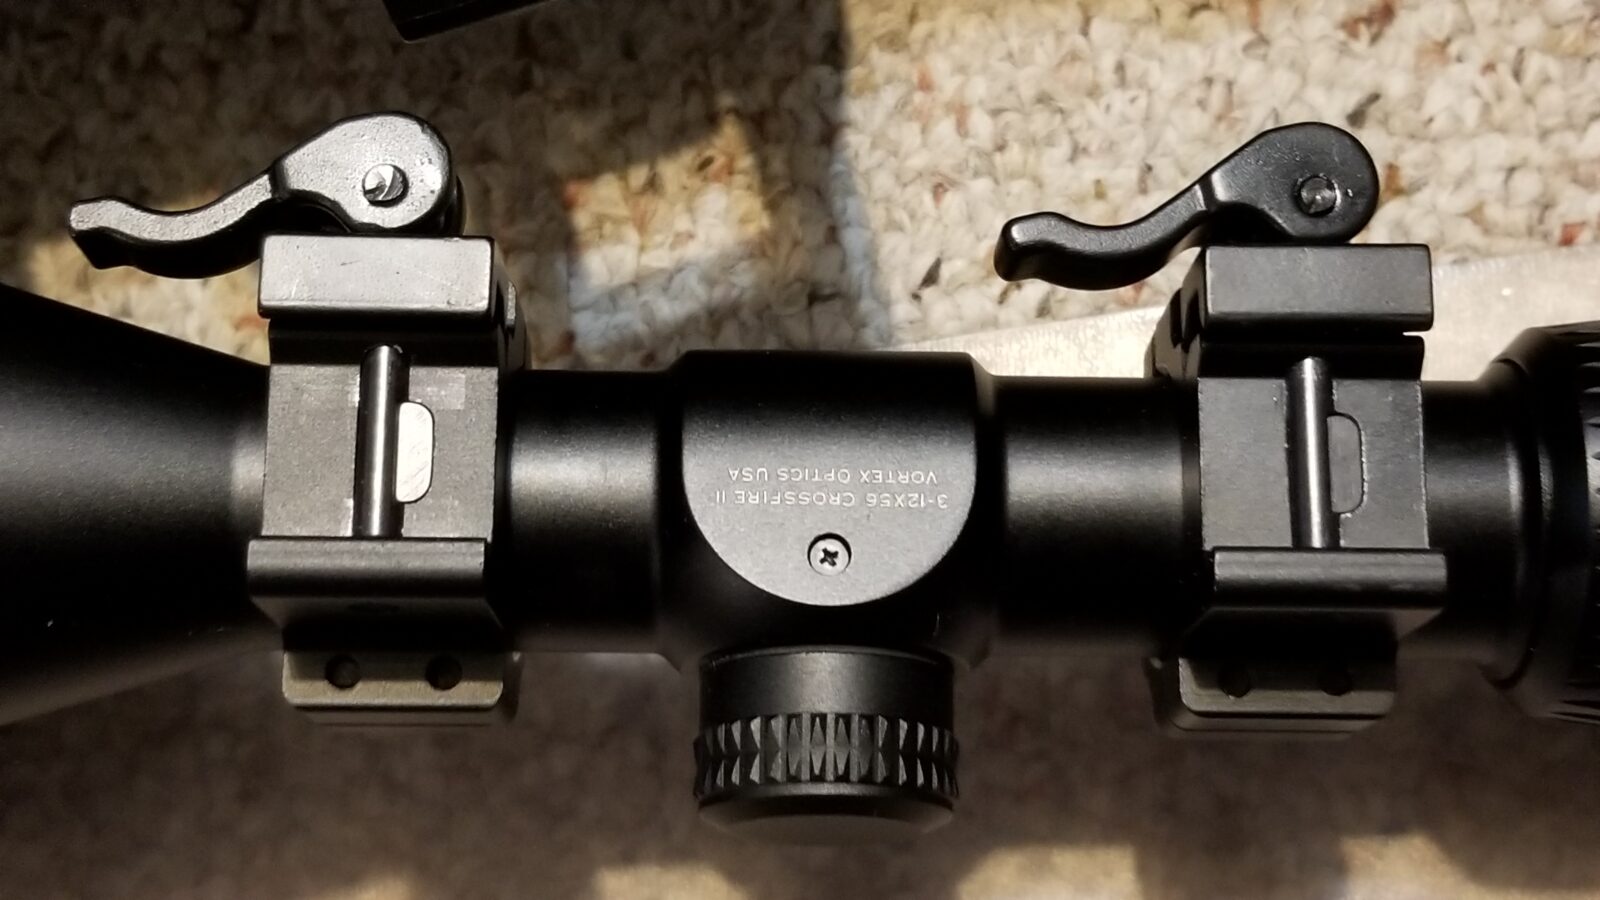
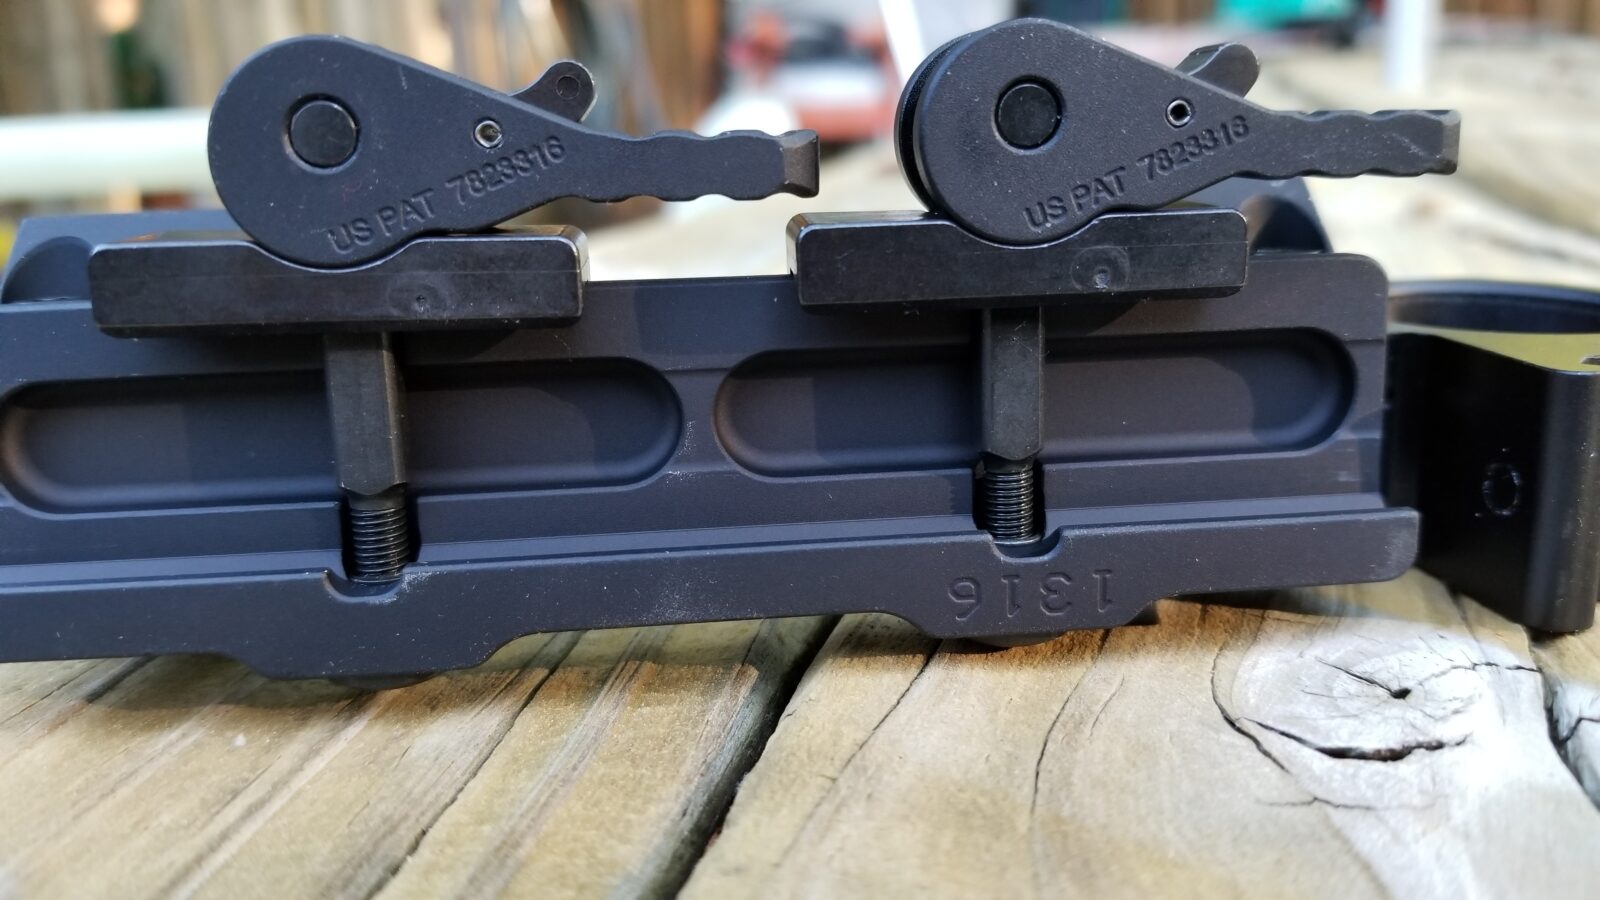
So, the first thing I did was to measure the UTG mount from the top of the rail to the optic center, which I used the top of the lower half ring. That measure came to about 0.975″ and I knew any mount I bought had to be at least that or bigger. The front objective was all but touching the gas tube cover with those UTG low rings.
The AD Recon series has a variety of heights and offsets to select from and they publish specs for you to make an informed decision. In my case, because the RS!Regulate side mount already has front-to-back adjustment, I didn’t feel that I needed any offset but I did want to find as low of a scope mount as I could.
In looking at the specs, the AD-RECON-SL seemed to fit the bill. It had no offset and was their lowest mount with a 1.110″ center for scope with a 30mm tube. it was a tad higher but the slightly higher 0.135″ difference really didn’t worry me so I went ahead an ordered one.
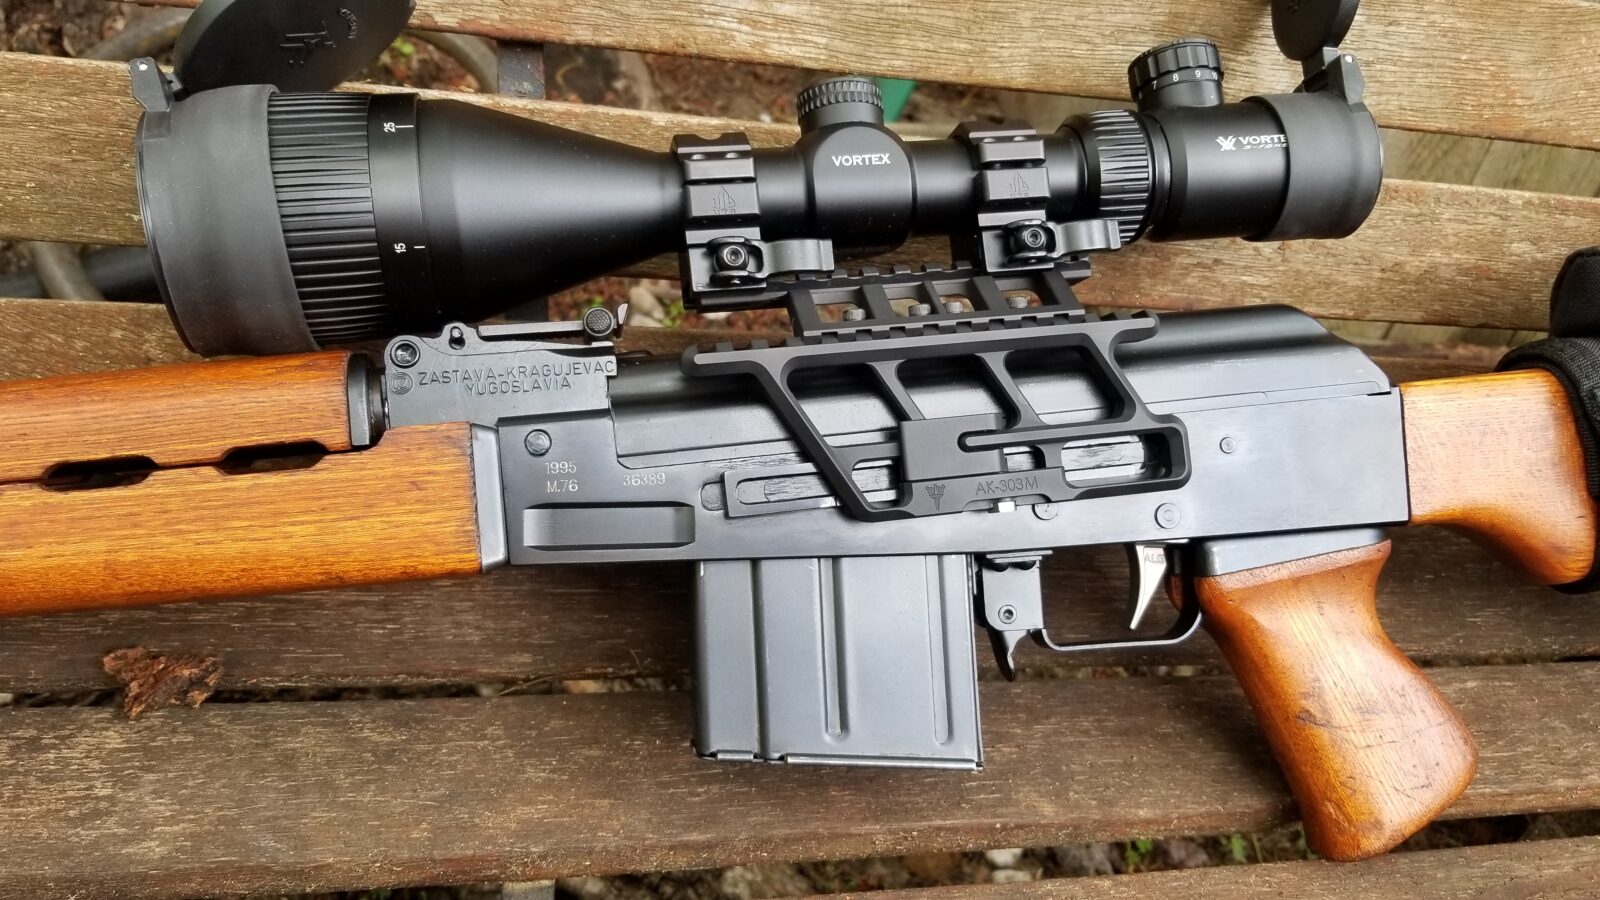
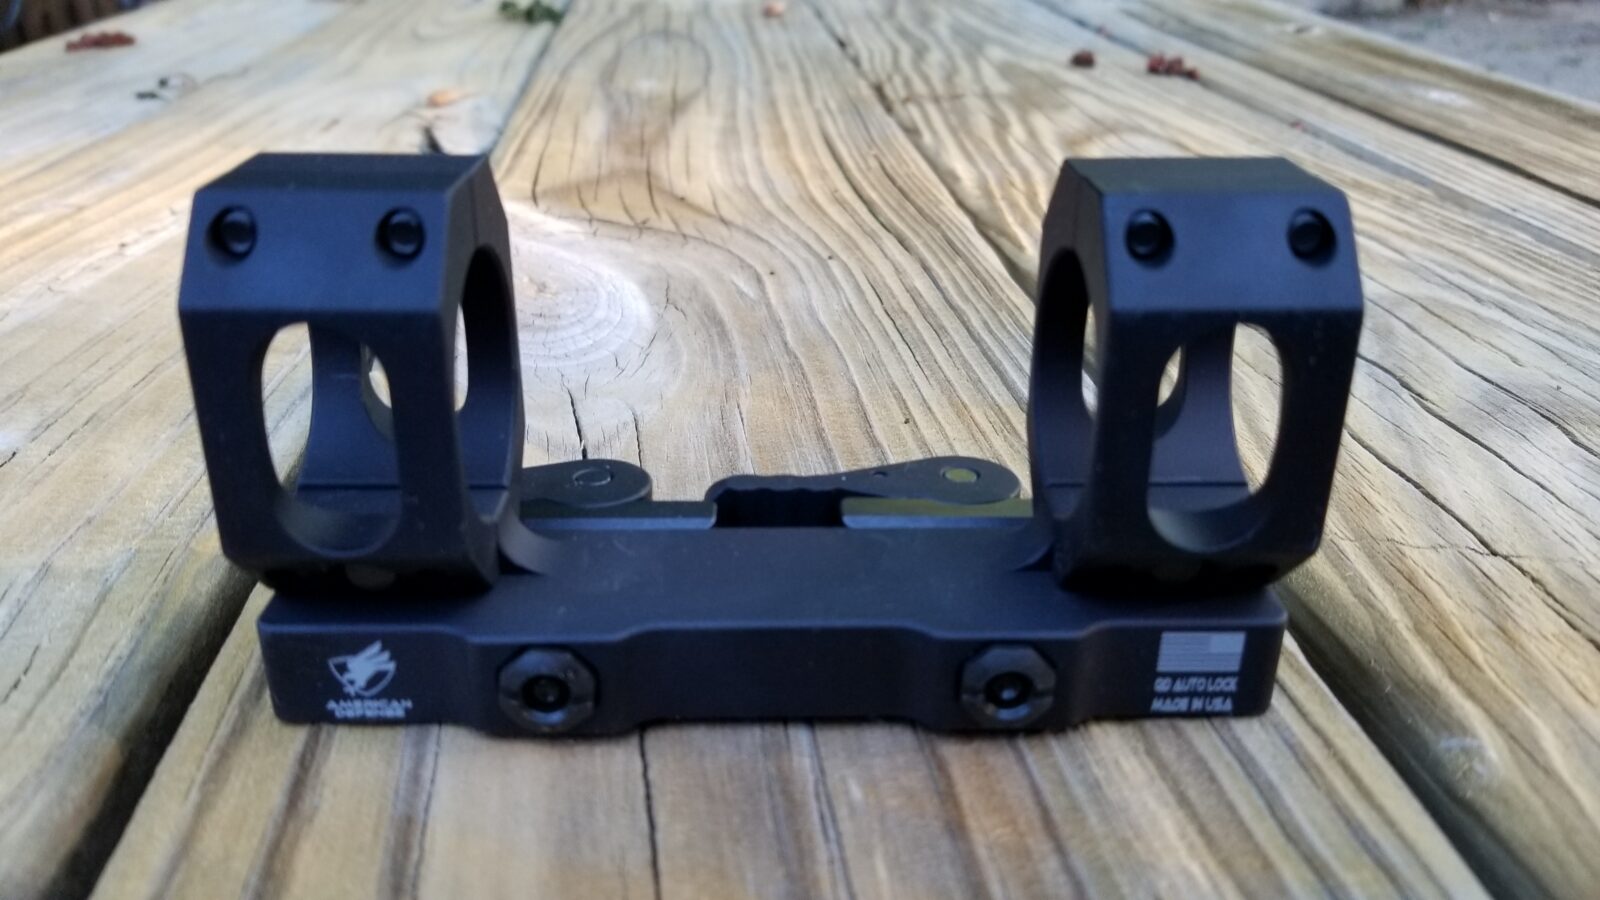
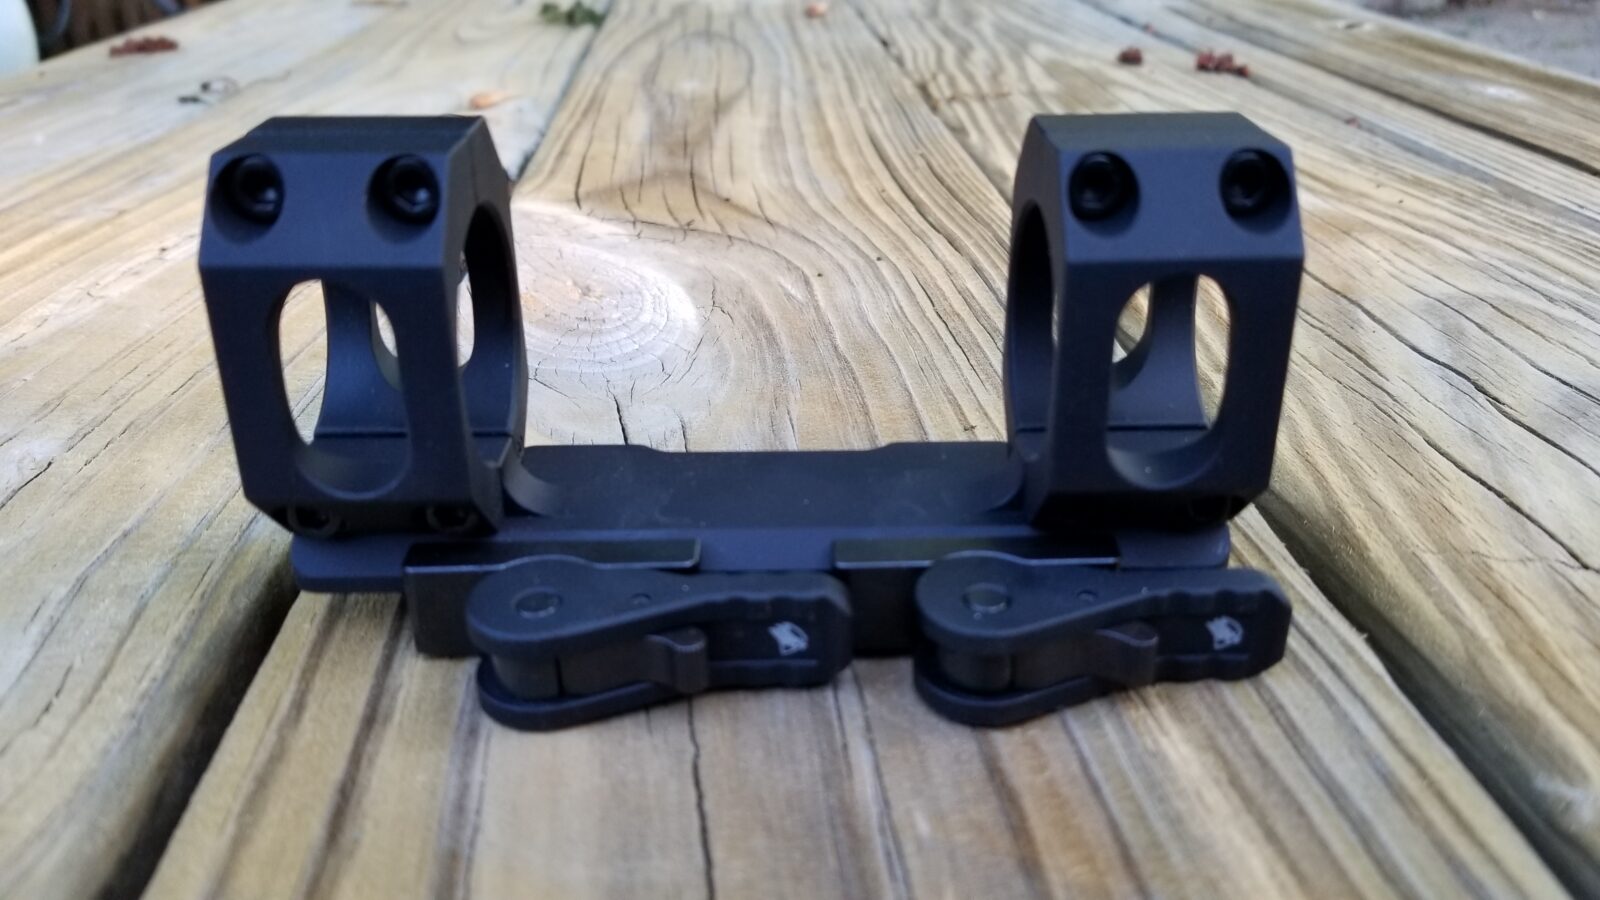
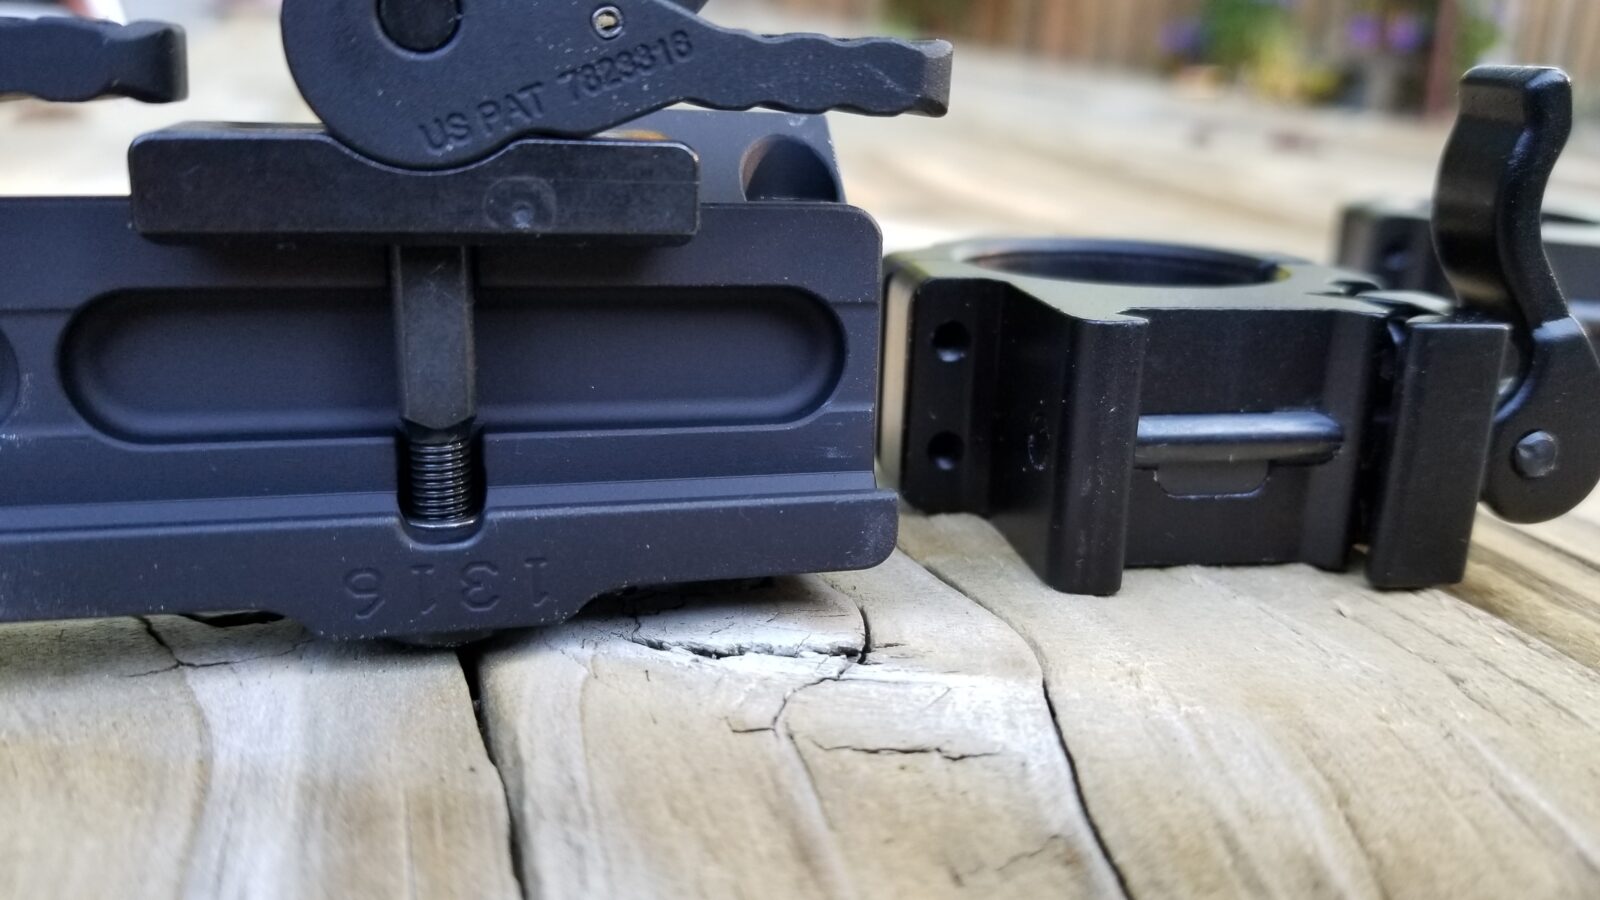
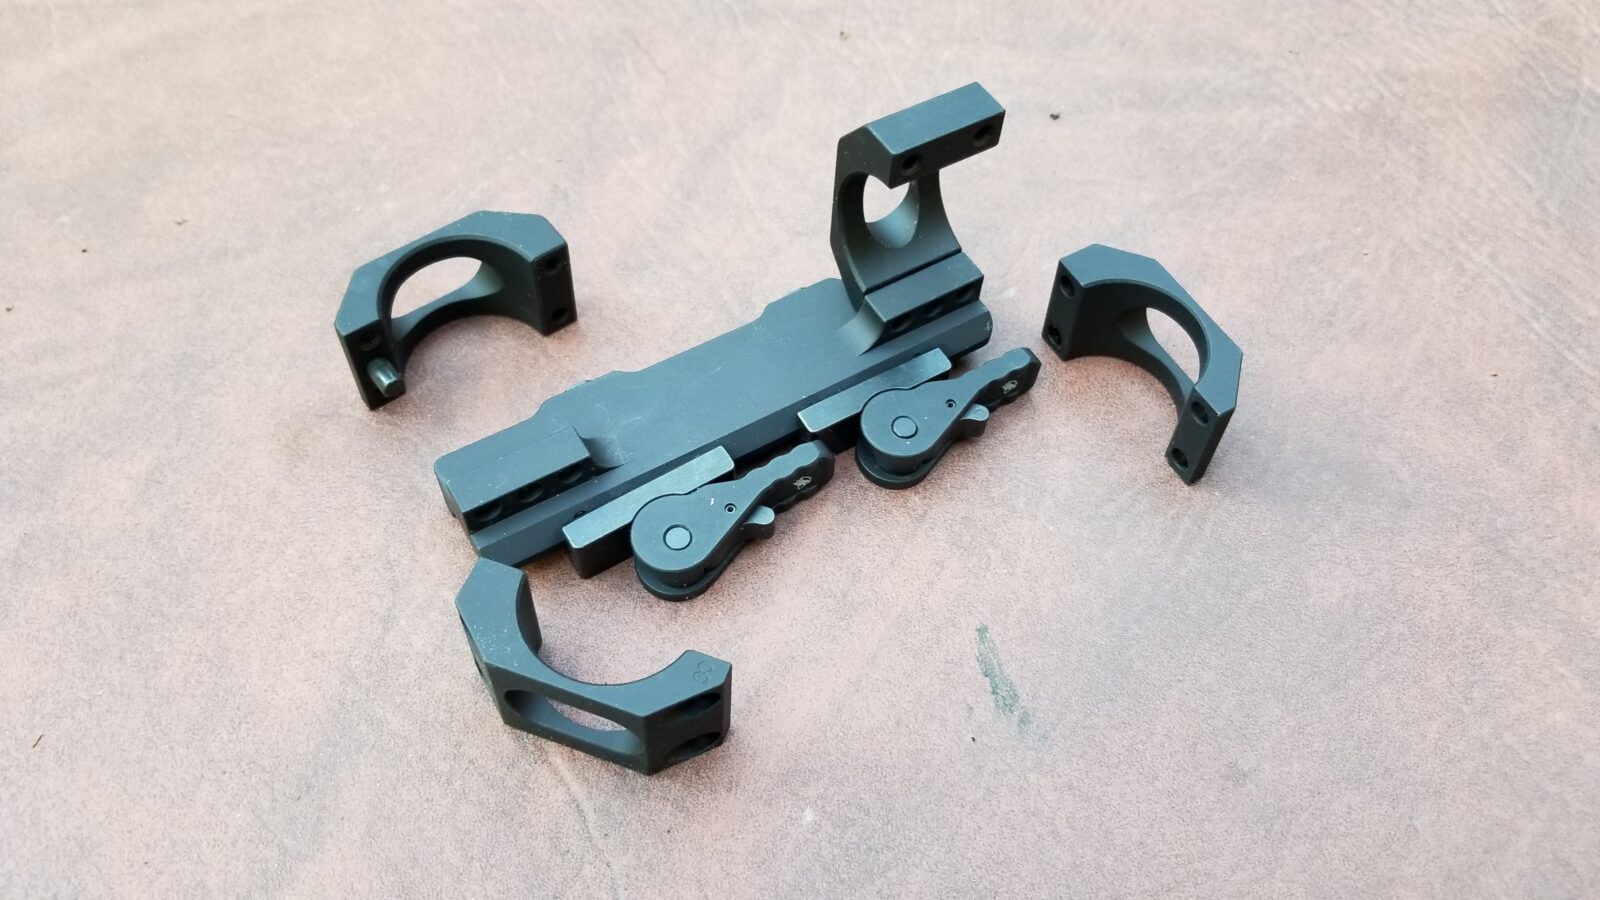
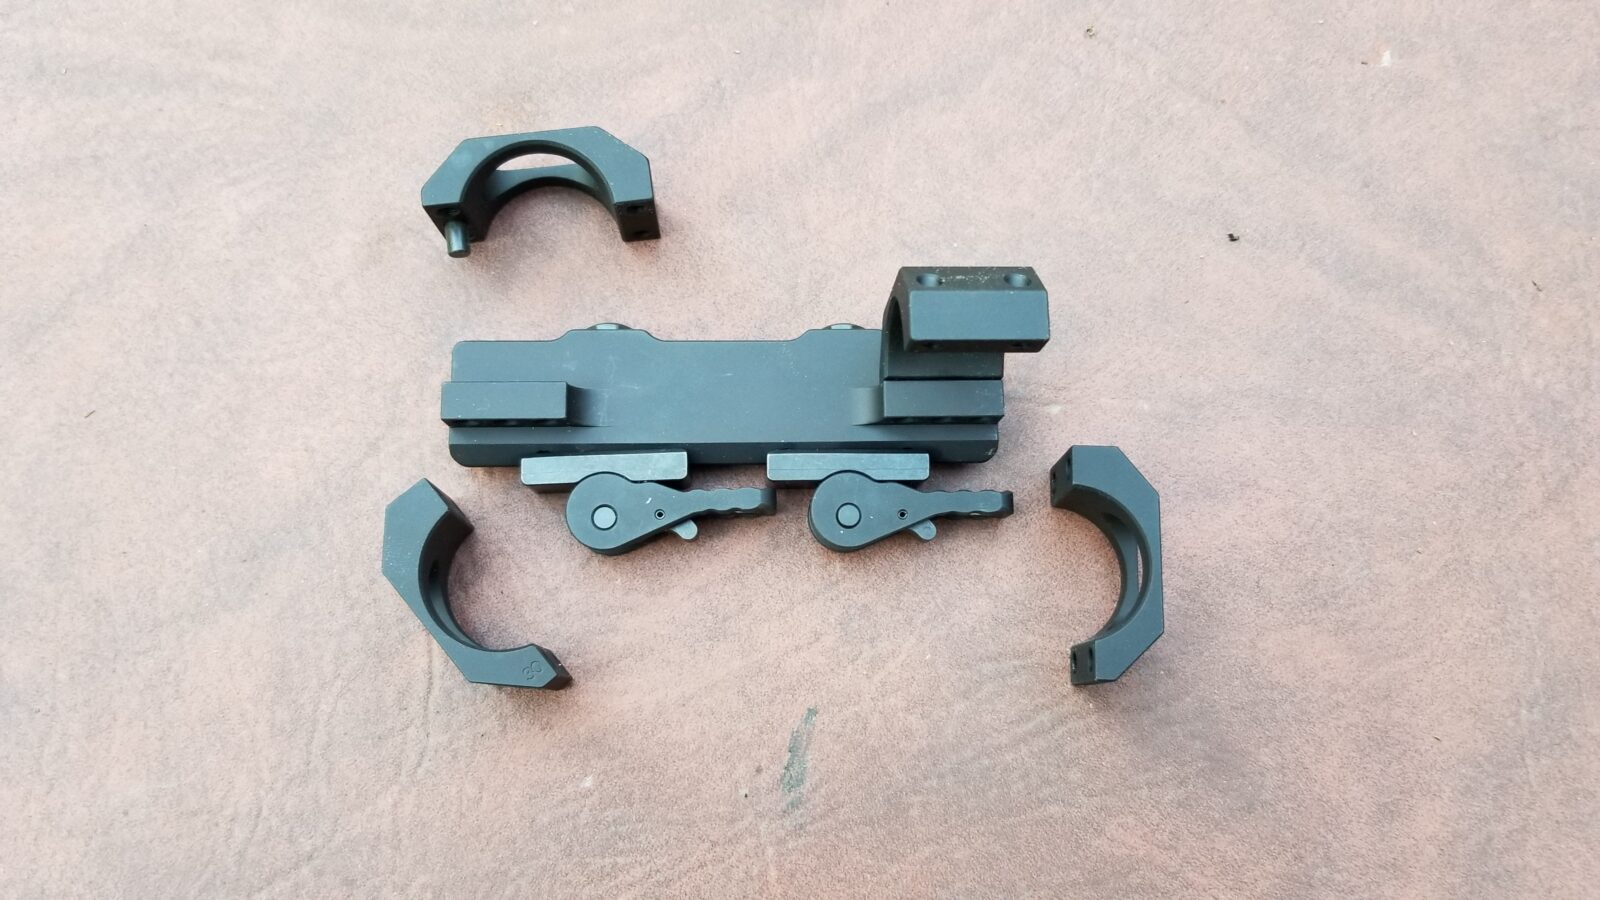
Folks, the AD-RECON-SL did not disappoint. It is really a gorgeous piece of engineering. The fitment is excellent and is finished in a black hard coat. Here are some photos:
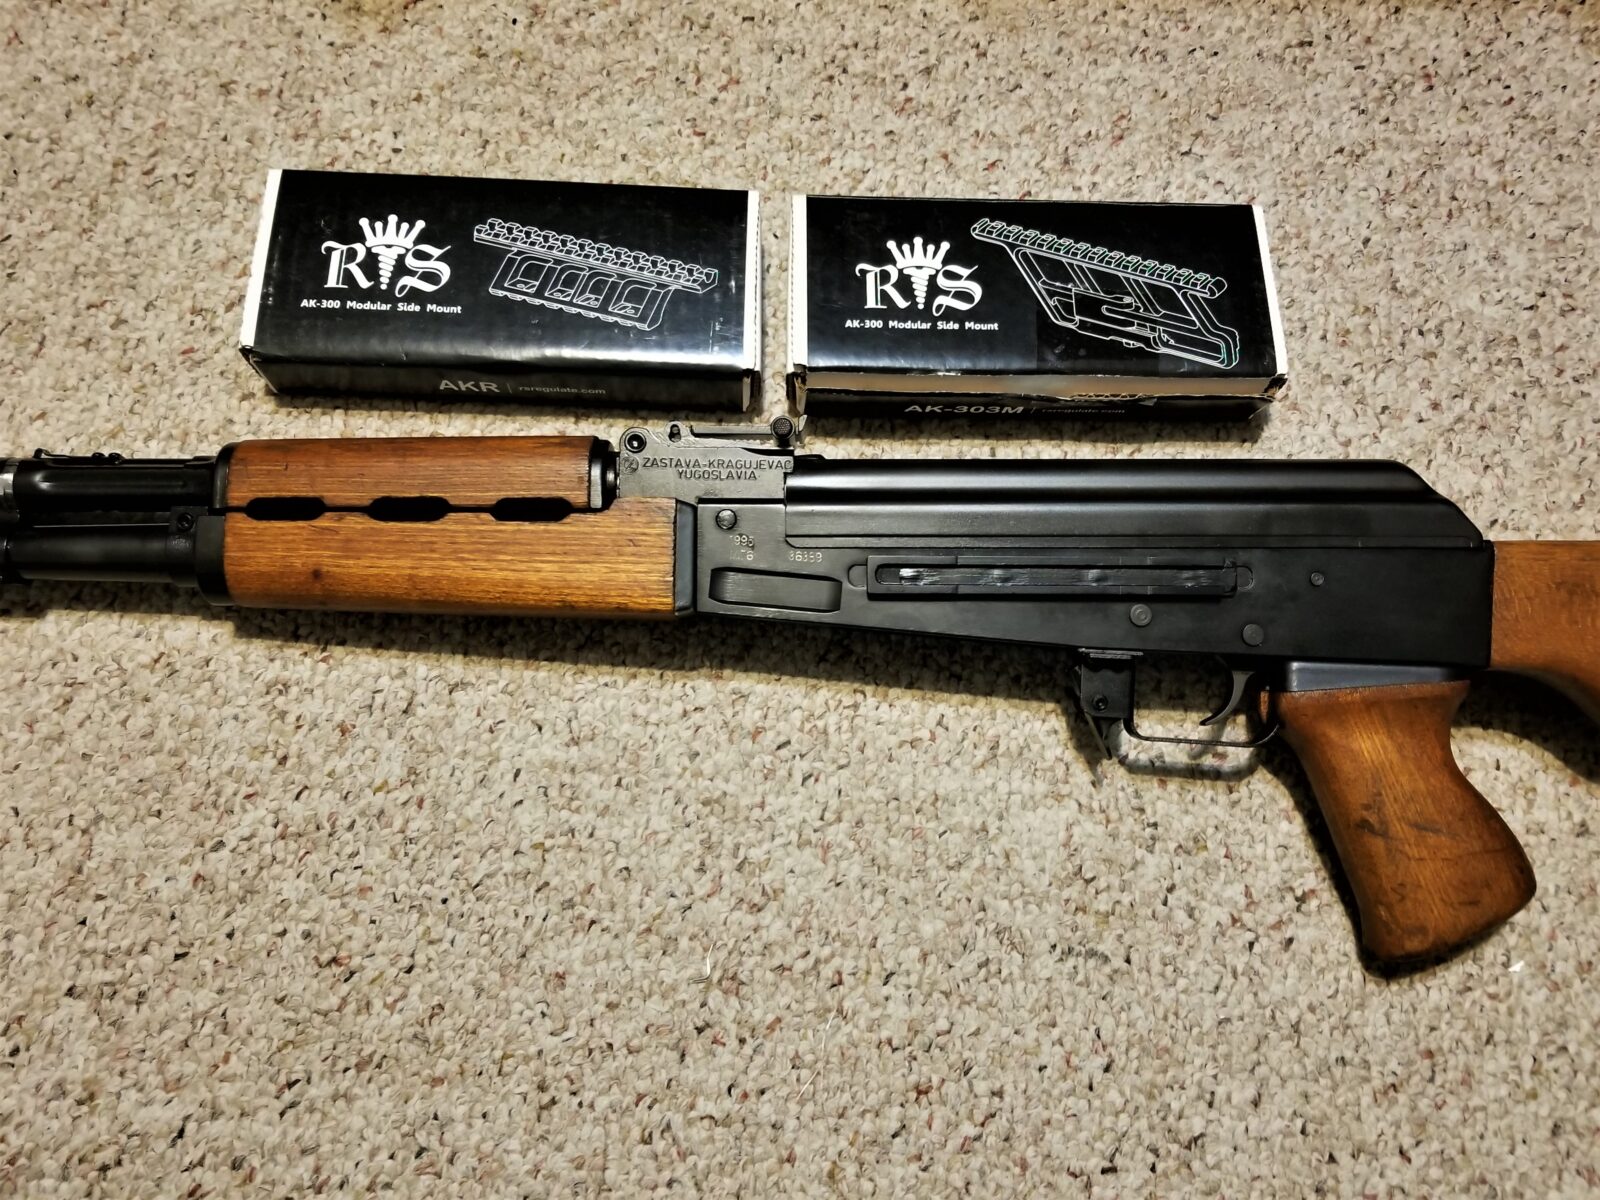
But Why Have QD Rings on a RS Regulate Mount?
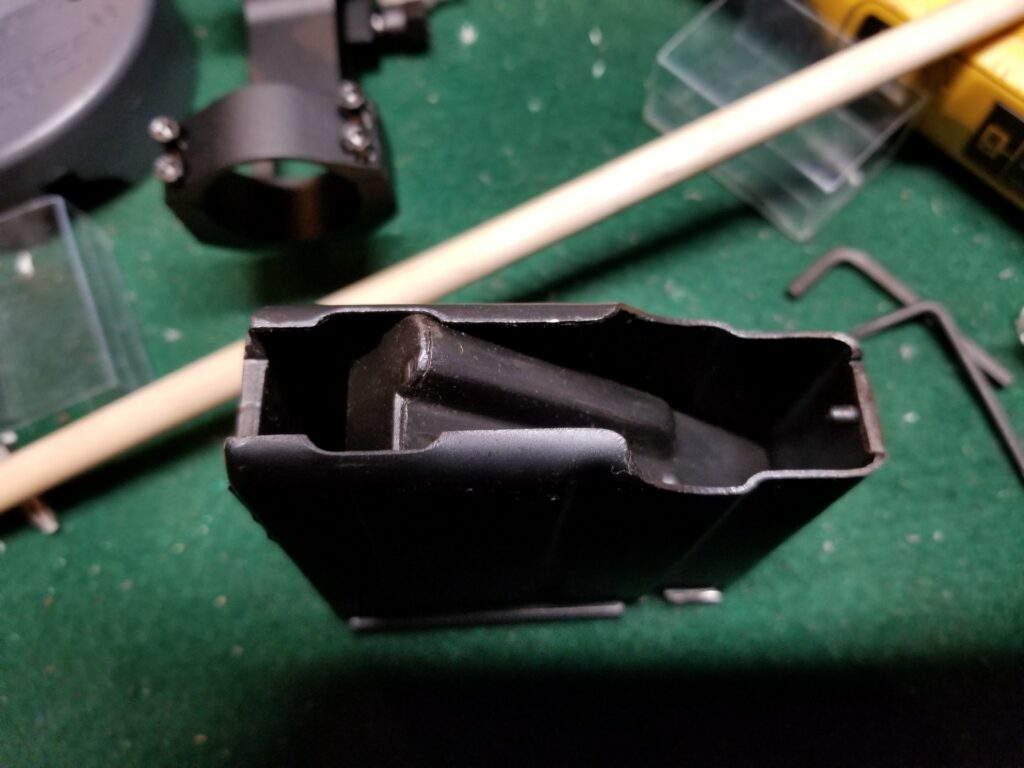
I do need to explain this. I can bet that I will need to take the dust cover off for some reason and don’t want to rely on tools. If I am hunting, I may not have any tools with me and need to clear a jam or something. That means I need a way to remove the scope and rail to get access to the dust cover.
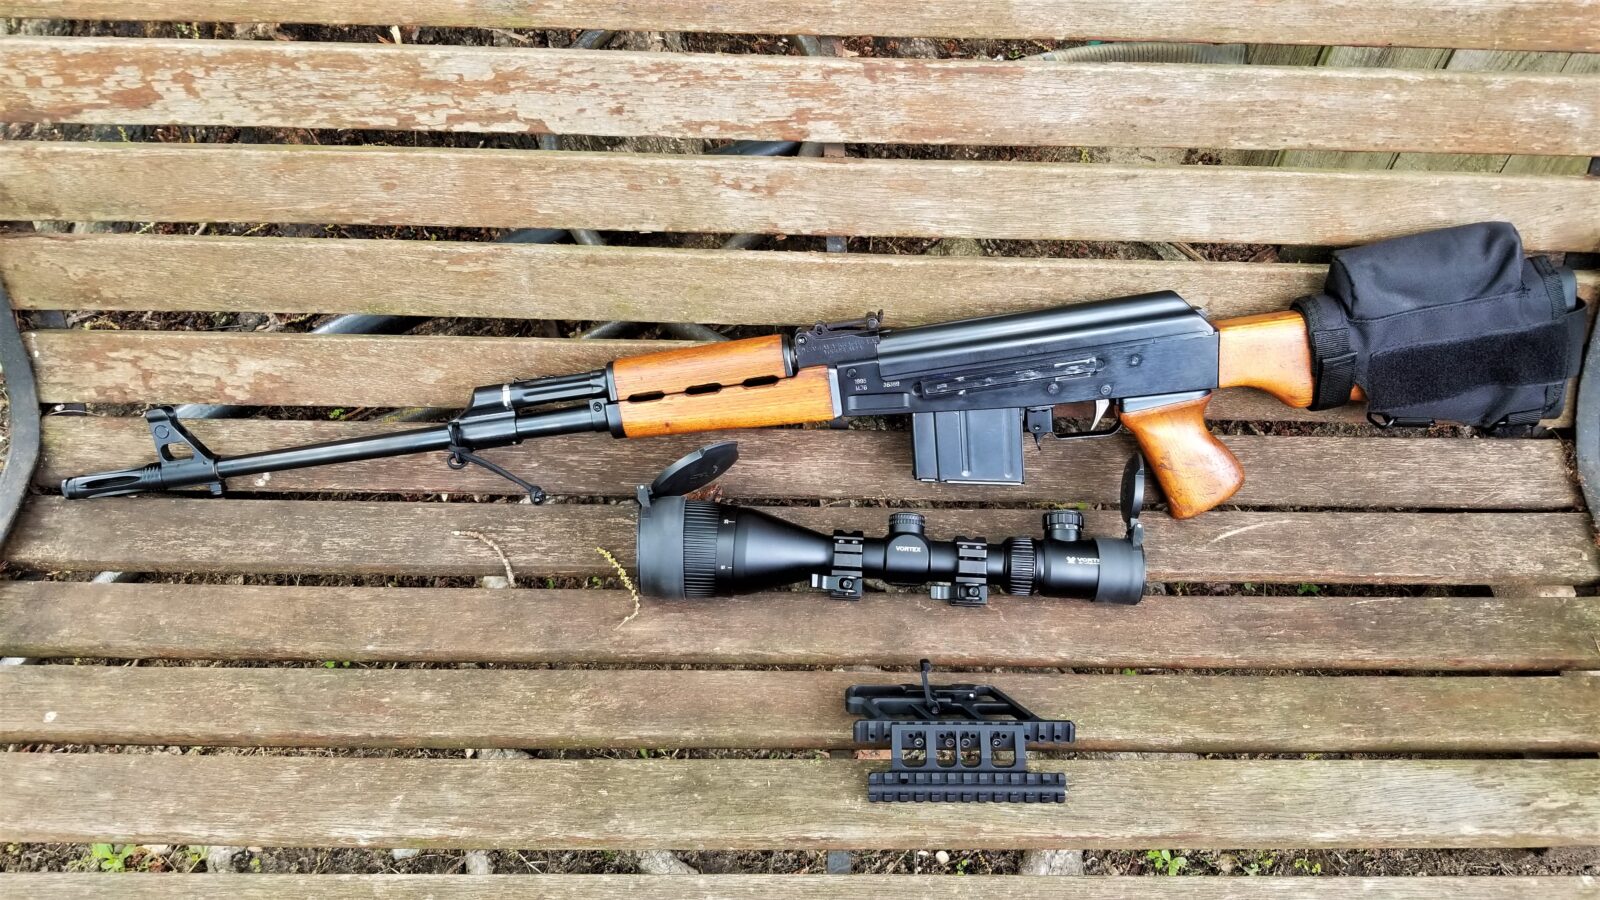
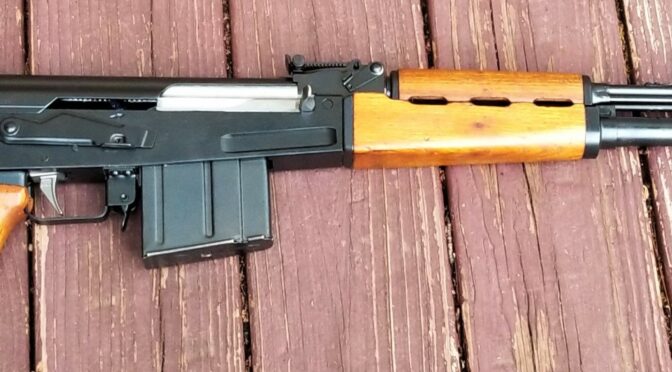
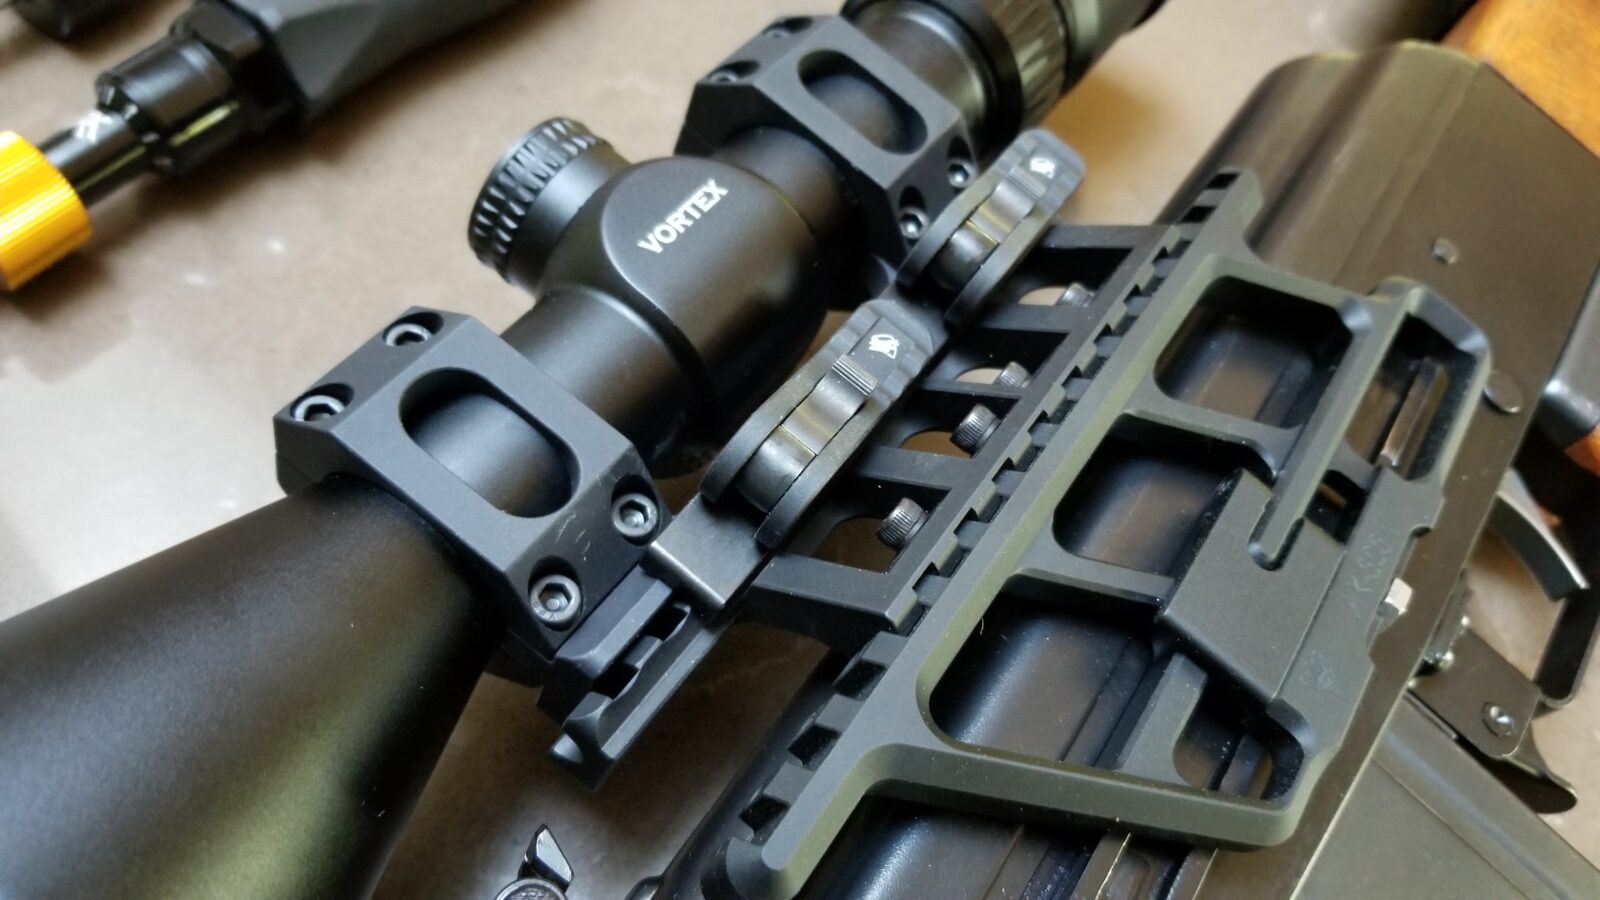
The RS Regulate’s lower rail does have a quick take down lever that solidly clamps on the M76 rail. That is not the issue and may make you wonder I need another quick release system. The challenge is that the Hog Hunter scope has a giant 56mm front objective for gathering as much light as possible in low-light situations such as dusk. It will hit the M76’s rear sight block if pulled straight back when mounted as low as I want. The solution is to use the AD-RECON-SL optic mount to enable me to lift the scope off the RS Regulate’s top rail and then I can slide the RS Regulate assembly off. The combination definitely works.
Installation
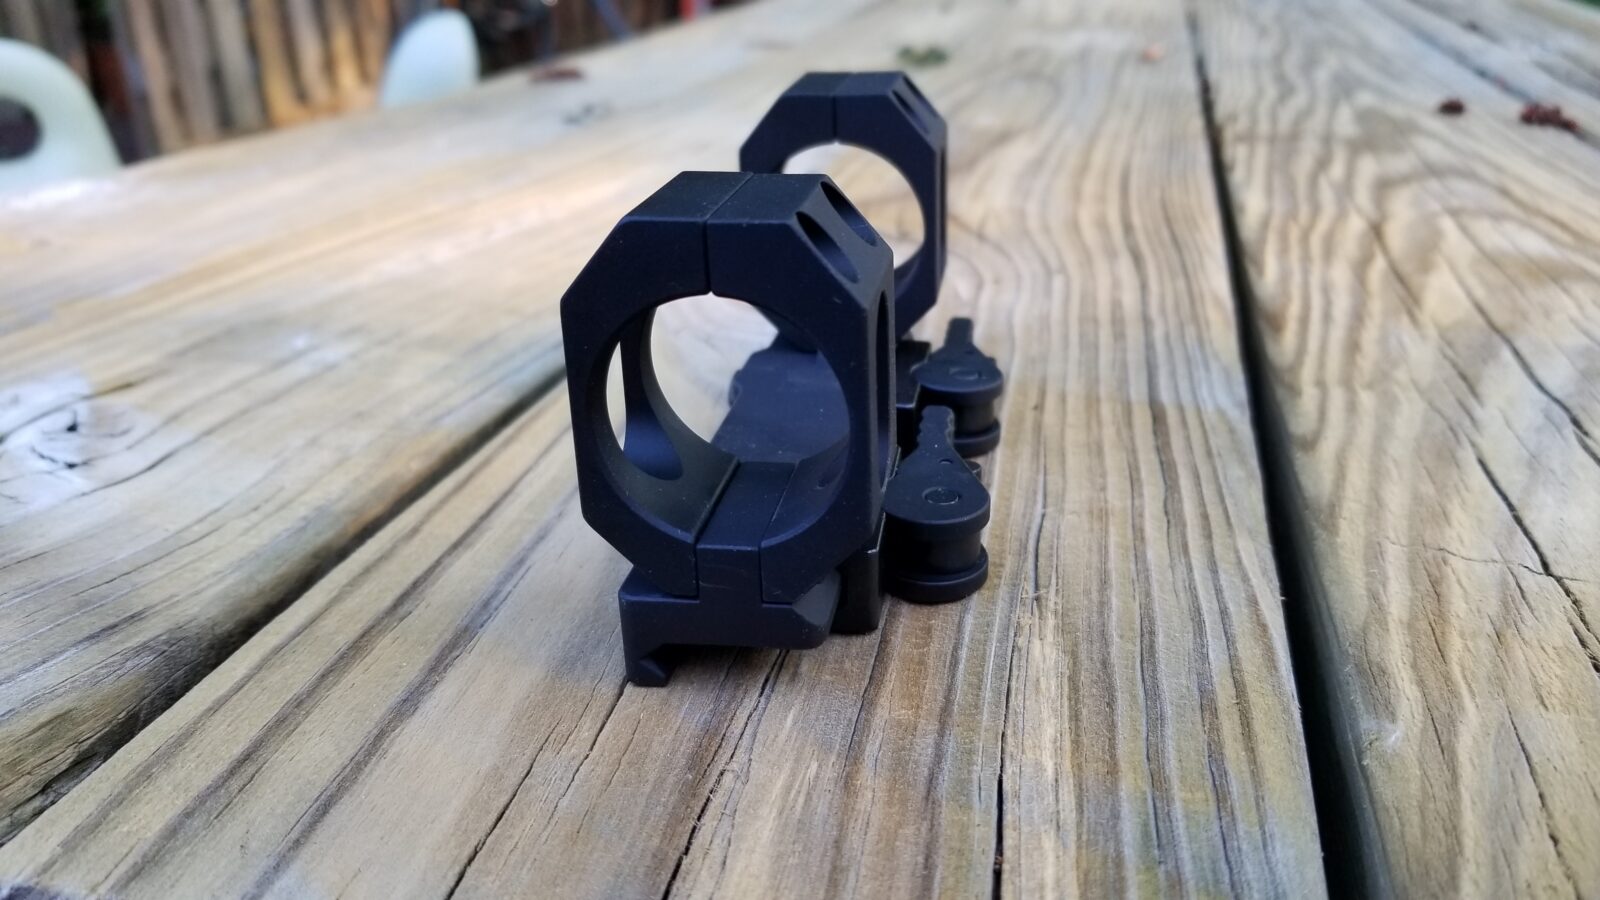
Taking the mount apart was easy – remove the four screws on each ring. I was pleasantly surprised that they used a precision pin to guide the rings into position and not just the screws. Again, this makes it stronger and more consistent.
There is an installation detail that you may not guess and they detail it in their installation instructions – you install the bottom screws first and tighten them down to the 20-25 in/lbs torque spec first. For folks not used to working with small fasteners, please note that is inch pounds and not foot pounds).
The bottom is torqued down first and then the top. There will be a small gap at the top. This method of bottom then top torquing centers the optic in their design. The only thread locker they will recommend is VC-3 Vibra-tite and the use of anything else will void the warranty. I’ve used a lot of Vibra-tite with Kydex holsters – it’s interesting in that you clean the fastener, apply the VC-3, let it dry and then assemble. It creates a rubbery surface that pretty much negates vibration. It also stays put when you unscrew and reinstall screws. It’s interesting stuff. They include a small packet of it with the mount but I also keep it around for working with Kydex fasteners and other situations where I expect there will be a need to uninstall and reinstall or adjust screws.
In Summary
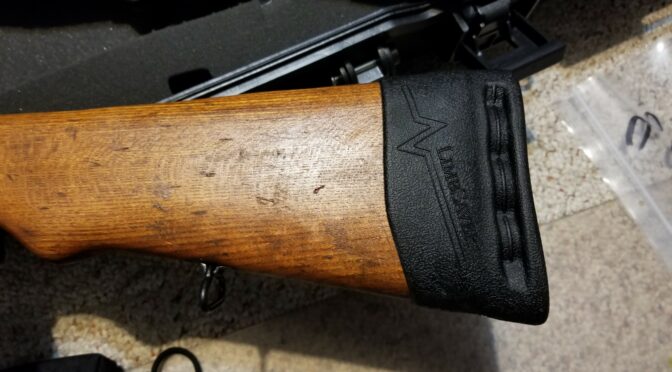
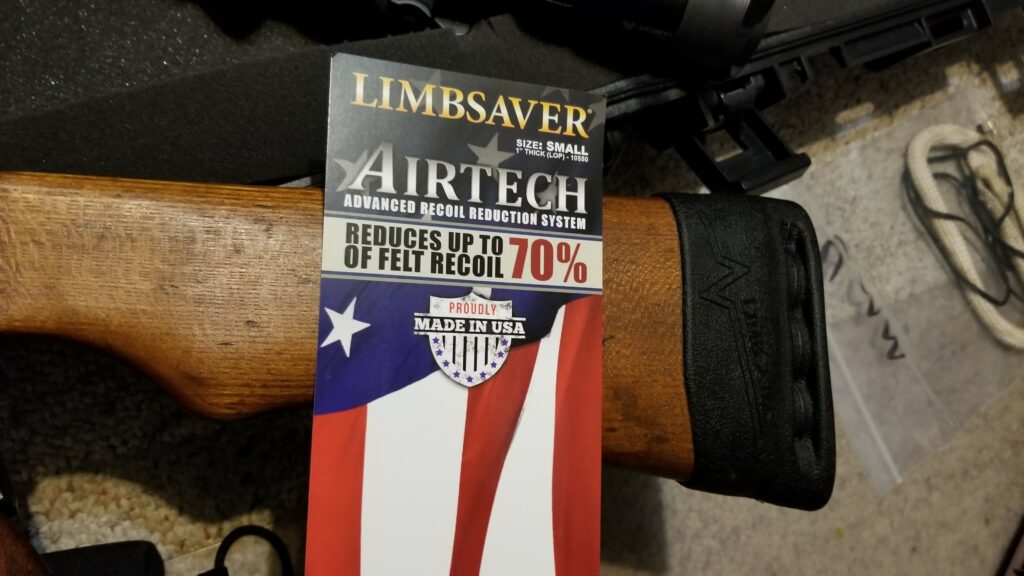
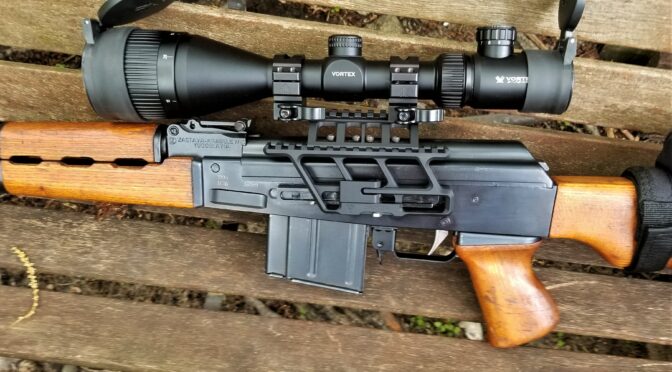
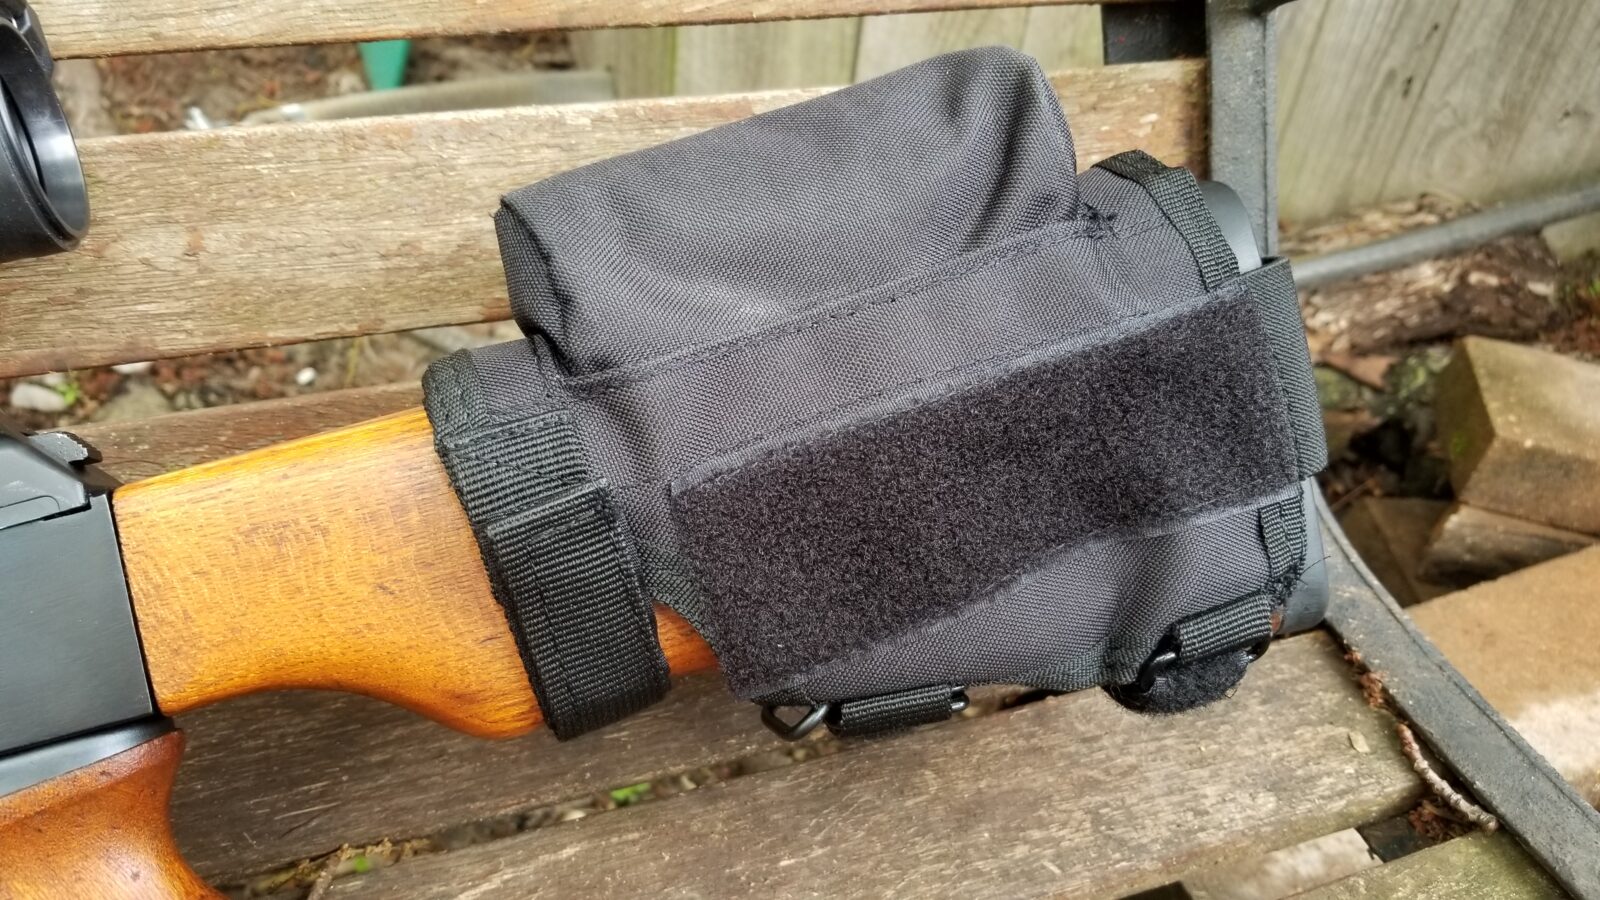
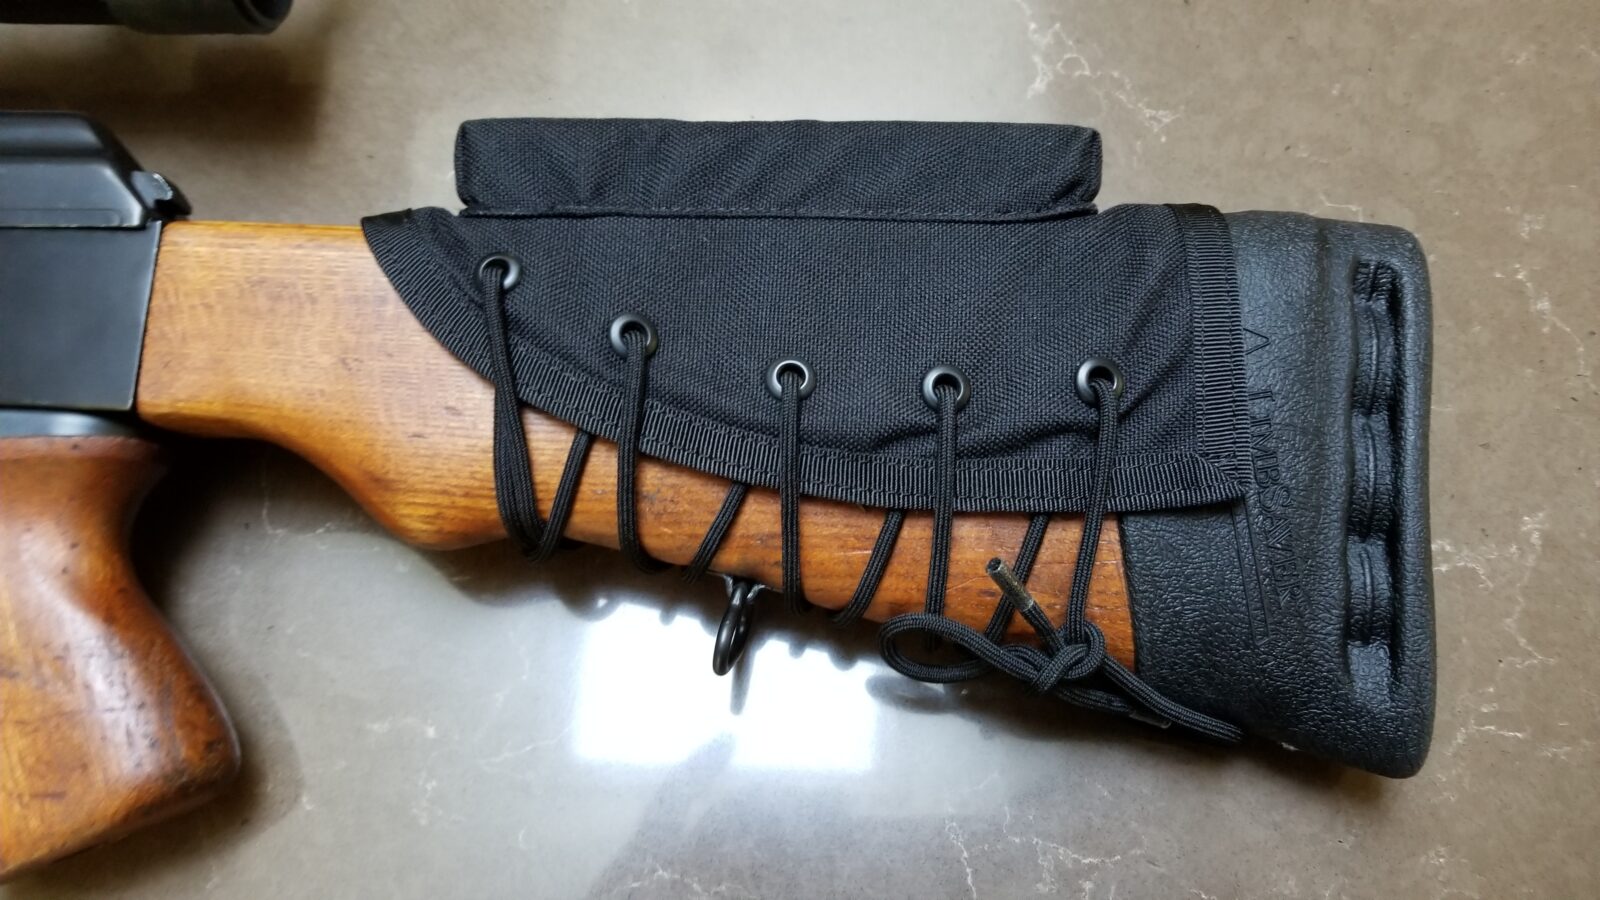
The combination of the RS Regulate side mount system and the AD-RECON-SL optic mount is absolutely rock solid as in zero flex at all. even with the big and heavy Vortex Hog Hunter scope. I really think I have the ideal optic solution now for the rifle. The length of pull is better thanks to the installation of a SVL slip-on Limbsaver pad. I still need to find a better cheek piece to get my eye just the way I want it comfortably behind the scope and have some options to try. Last thing to report is that I did do some work on the firing pin but haven’t had time to test the rifle again.
Please share the link on Facebook, Forums, with colleagues, etc. Your support is much appreciated and if you have any feedback, please email us in**@*********ps.com. If you’d like to request a report or order a reprint, please click here for the corresponding page to open in new tab.