Category Archives: Serbia

Part 3: Two Rivers Arms Yugo M76 Rifle – The Trigger

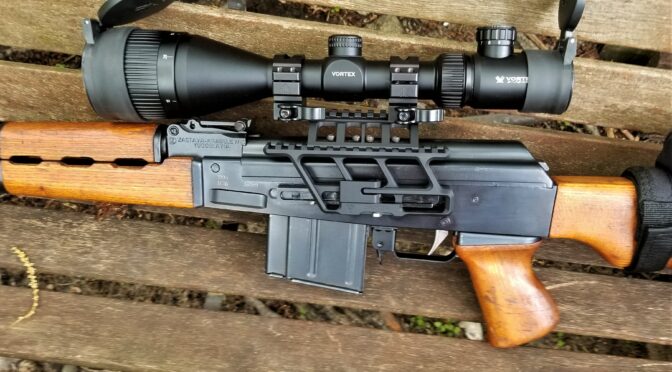
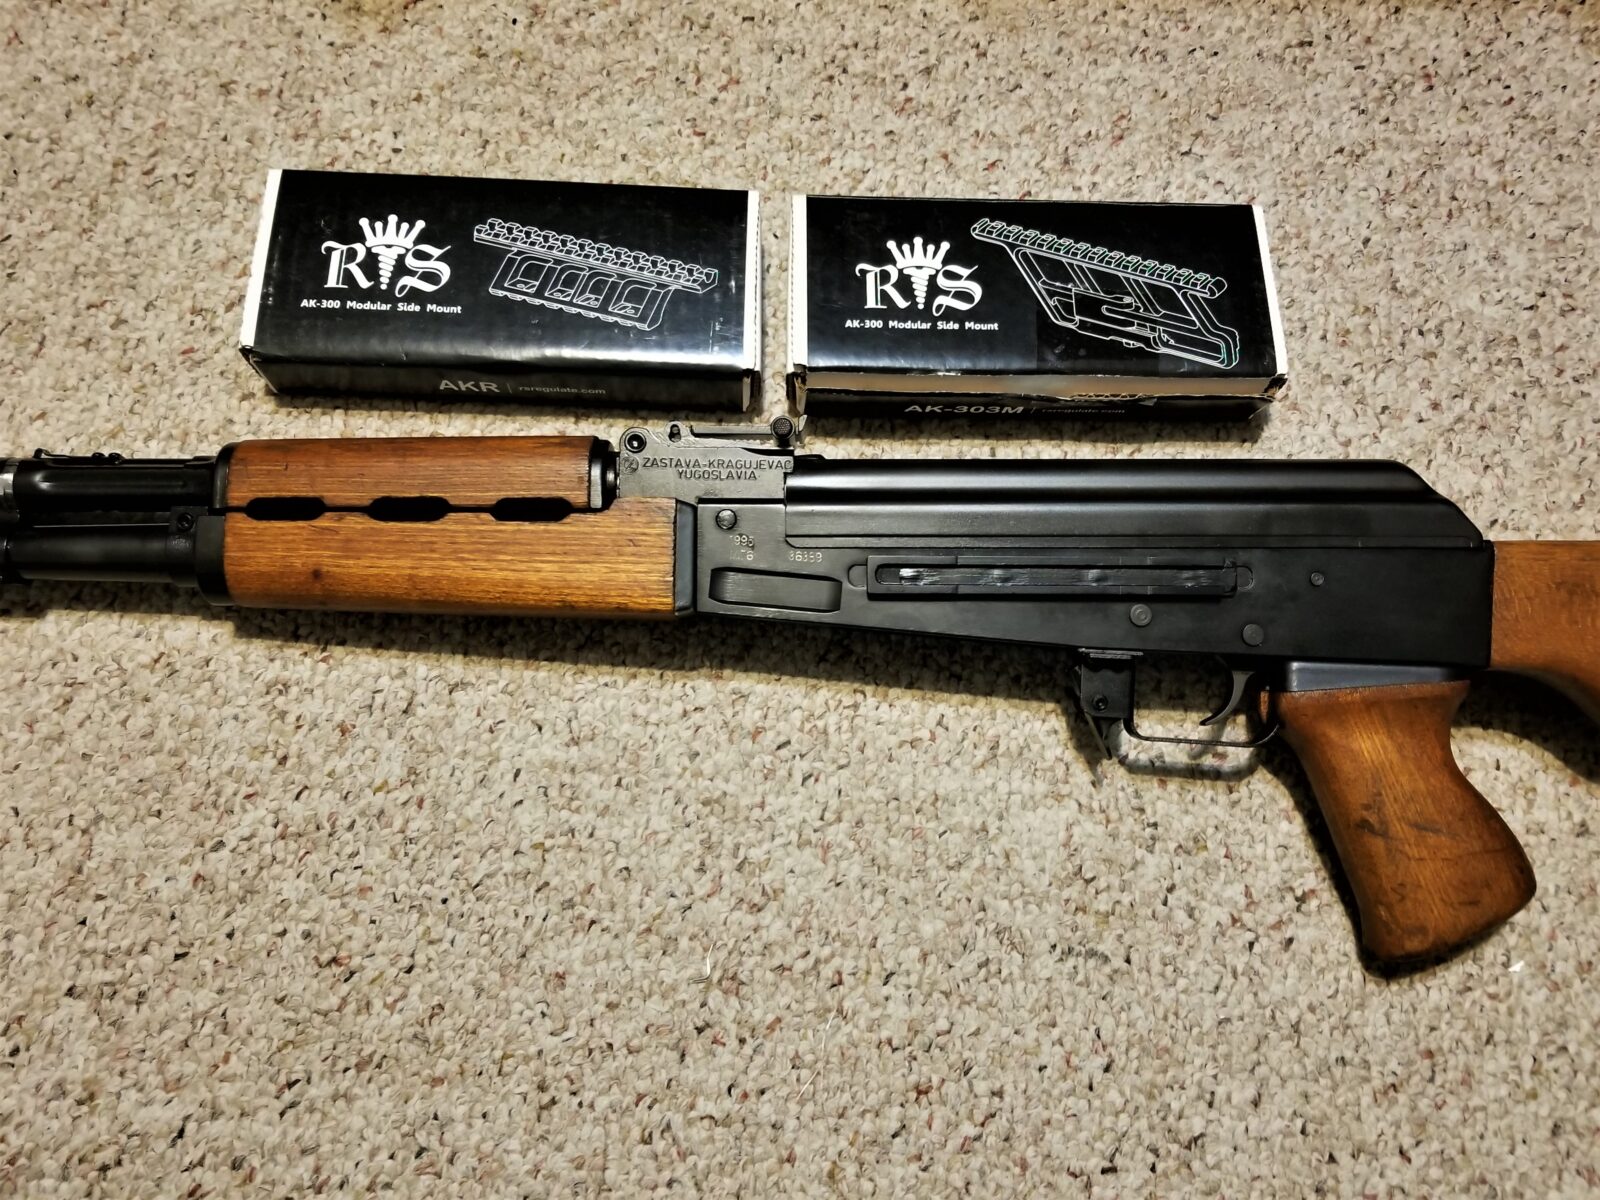
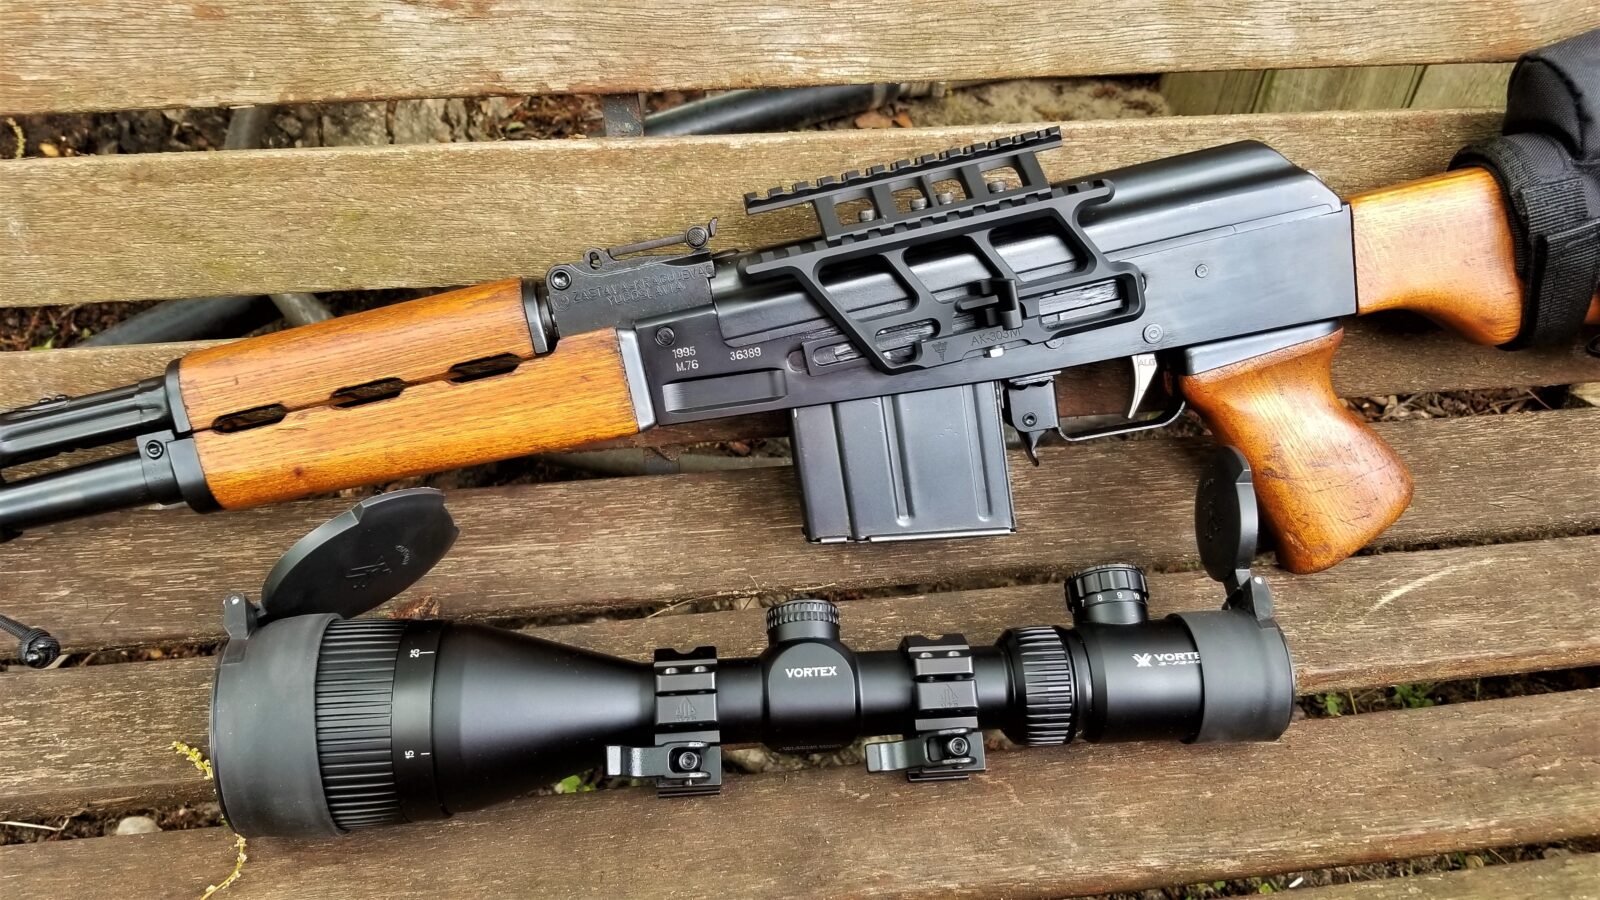
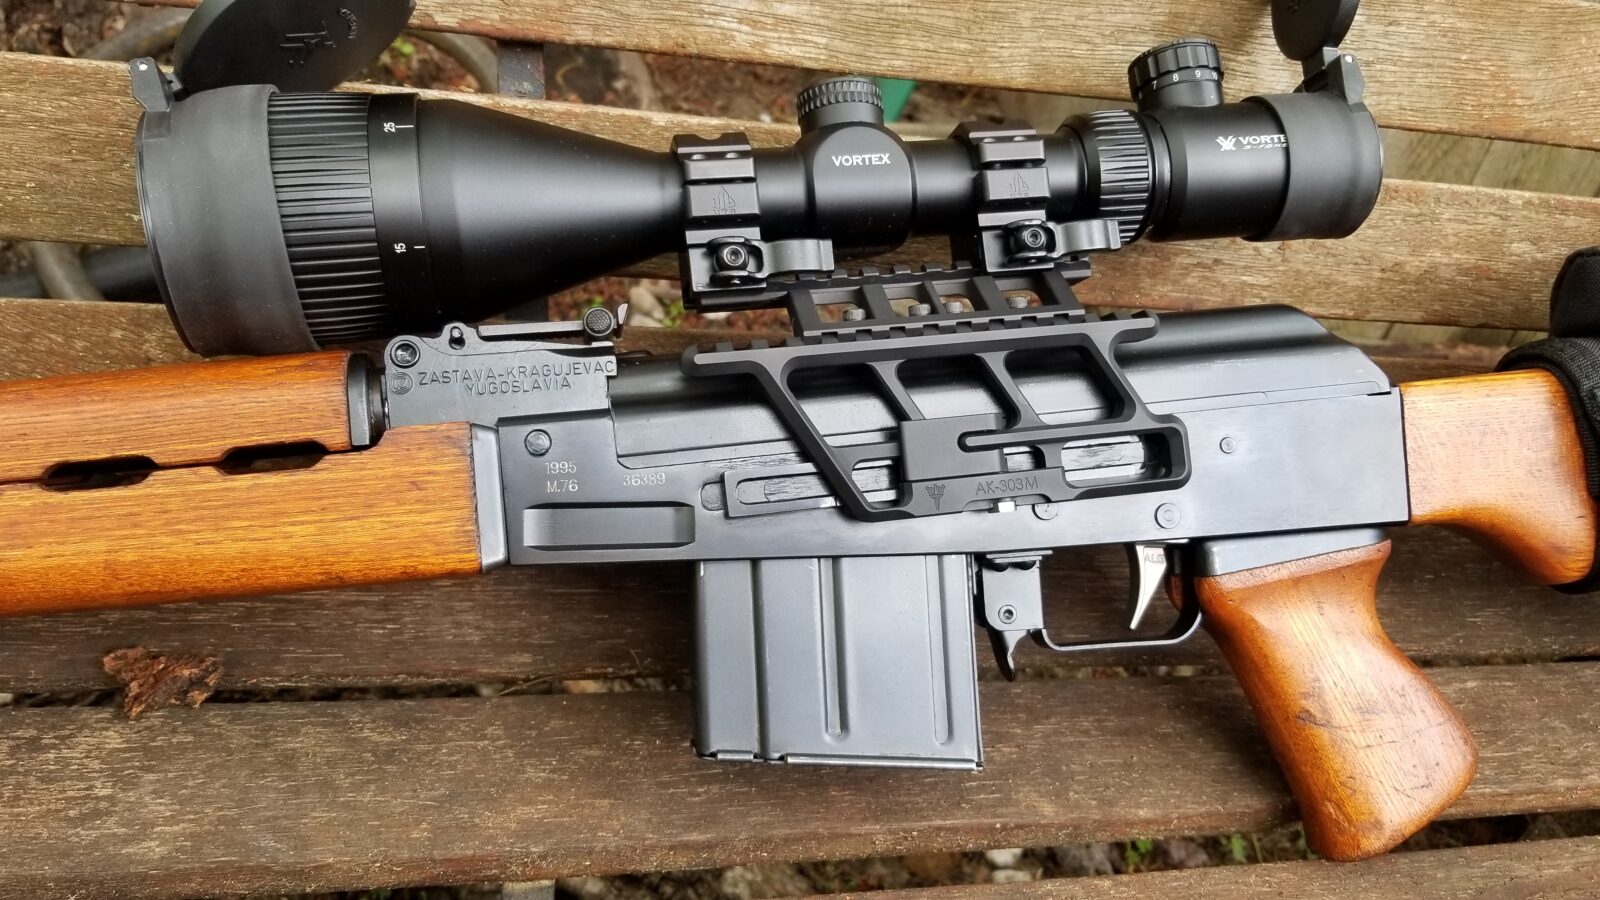
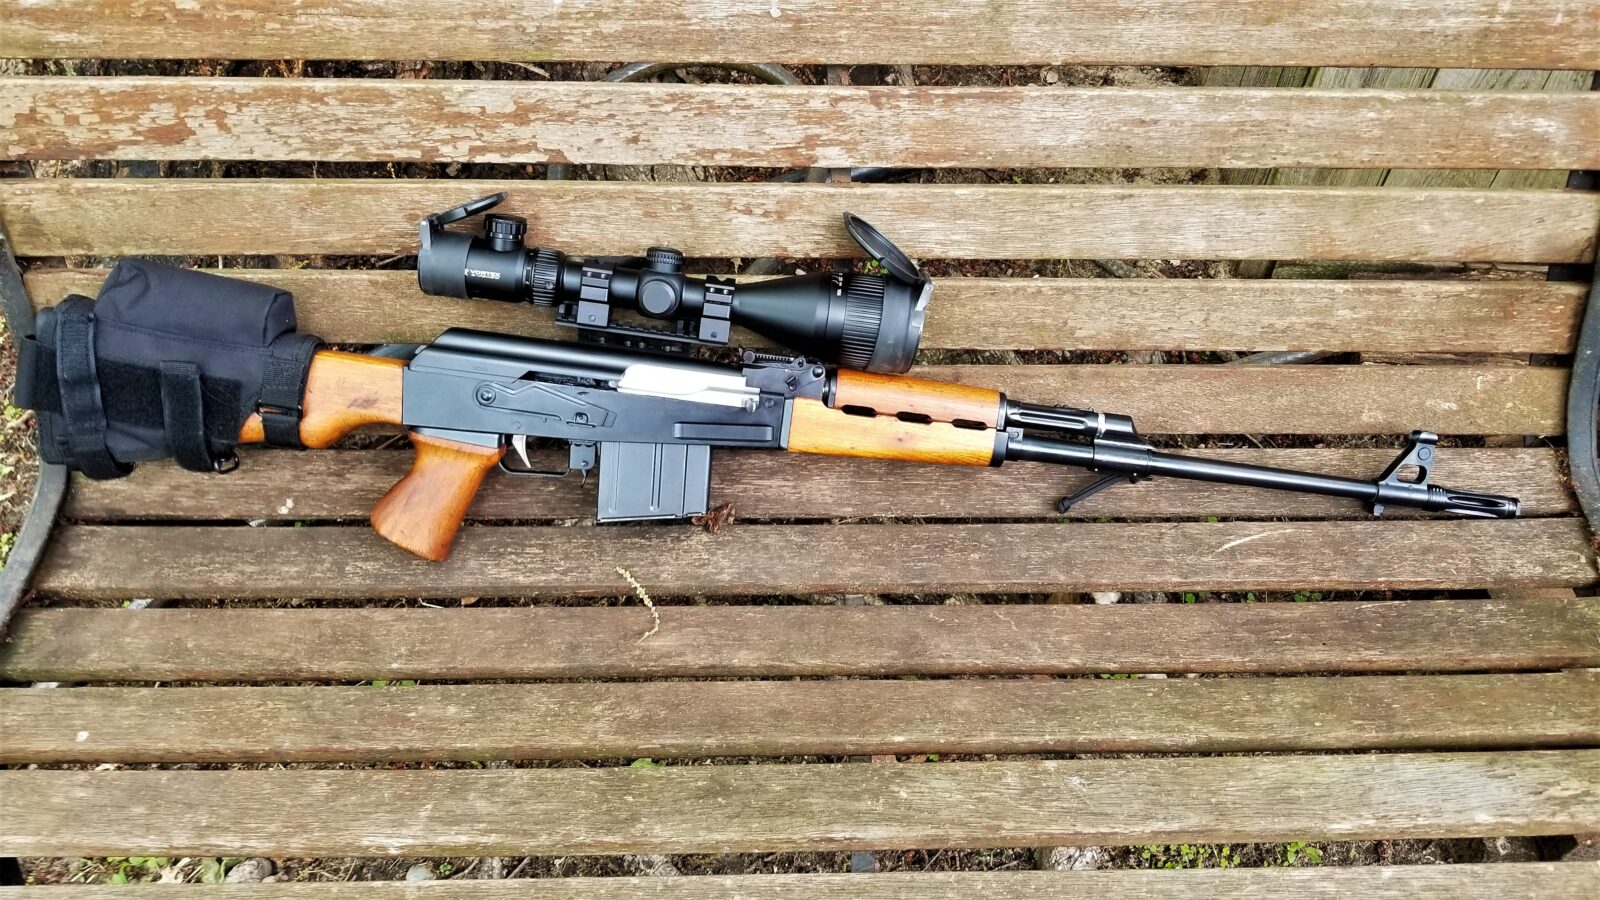
When I sent the M76 to Two Rivers Arms to build, I was still using Tapco G2 triggers in my AK builds. Since then, I have moved to ALG Defense’s AK Trigger Ultimate With Lightning Bow (AKT-UL) for anything I’ve built in the last two years. Folks, these are wicked triggers and absolutely hands down my favorite AK triggers.

The top trigger is the ALG AKT-UL. You can see the distinctive shape and the silver colored Nickel Boron finish. The bottom is the Tapco G2 I originally sent to Two Rivers to use. The AKT-UL comes with a new disconnector spring but uses the existing hammer spring. ALG does sell a heavy hammer spring separately if you want it. The extra spring is an auxiliary trigger spring for increasing the pull, which I don’t use. One small pin can be installed and filed down as needed if the safety doesn’t block the trigger sufficiently. I have not needed it so far on any of my rifles. I think the second pin is just a spare.

Not only does the AKT-UL give you three compliance parts as it includes the hammer, trigger and disconnector but the feel is amazing. Now if you know how to tune a G2 trigger, you are used to having a fairly decent AK trigger. The AKT-UL units step it up a notch for sure. ALG does have a shorter and more crisp pull for sure plus they will tell you the trigger has about a 3.5 pound pull which you can tweak a bit by bending the hammer spring.

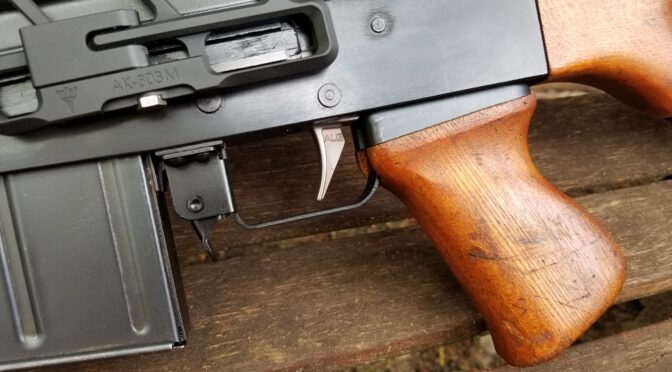
I got out my Lyman digital trigger gauge and did 20 pulls. The average was 3 pounds 13 ounces and the nice wide trigger shoe makes it feel less.

This is a peek in the M76 receiver as it came from Two Rivers. You can see the Tapco G2 fire control group, orientation of the hammer spring and the pin retaining wire that I am not a huge fan of and replace with a plate. This layout is what you see in most AK rifles unless you get into specialized trigger systems on some of the more modern military designs. For a new person, note the orientation of both the hammer and its spring.

Installation Notes

Safety First Always – Make Sure Your Weapon Is Unloaded! Always assume a weapon is loaded until you confirm it is not. Keep ammo away from your work area and don’t test fit with live ammunition.

Second – read their instructions – they work and you have options. This is not one of those cases where the instructions suck – they are actually quite good. The come with the trigger plus ALG makes them available online – click here to read the instructions for both the Enhanced (EL) and Ultimate (UL) triggers.

I really don’t have any surprises to report. It installed the same as any other AK fire control group and I didn’t need to use any pins and I certainly didn’t want a heavier pull so I didn’t use the auxiliary trigger spring either:

1. Install the hammer with the ears to the rear and spring around the back of the hammer. If it fights you during installation and the little legs that sit on the trigger are facing down, odds are you have the spring installed right. I lubricated all pins with Super Lube Grease before installation. That stuff is my favorite grease now.

Here, the new hammer is installed. Note how the “ears” of the hammer are facing towards the back of the rifle. It’s a common mistake for people new to the AK family of weapons to think that is the part that hits the firing pin but it is not. Also, note how the spring is going around the hammer. You can’t see them but the legs of the hammer spring are facing down. I use needle nose pliers to lift them around out of the way to install the trigger and then set them on the back legs/bars of the trigger.

2. Here’s a tip you will not see in the instructions. A trick I was taught years ago is to use a slave pin that will allow you to assemble the trigger, disconnector and its spring outside of the rifle. This makes it sooooo much easier!! What you do is cut a spare fire control pin or a piece of 5mm stock (0.1969″ or 13/64″ – cheap drill bits work great) down so it fits just inside the trigger pin hole from left to right and slightly taper the ends using a file or sandpaper. Trust me, if you don’t take a few minutes to do this, it is a heck of a juggling act to get the trigger in place with the pin pushed through while keeping the disconnector and its spring in place (don’t forget the little disconnector spring!!).

Here, you can see the slave pin and how it is holding the disconnector nicely in place. I’m not sure why ALG added the window in the disconnector to see the spring but it sure is handy to confirm the spring is there. Perhaps that is why they did it.

3. The trigger is installed by lowering it into position, pushing a fire control pin through the receiver and into the trigger carefully pushing the slave pin out the other side where you can grab it. Note, you will need to wiggle the trigger around some and I just do that with my right hand as I feel the pin through with my left.

4. Next, I used one of our fire control group retaining plates to secure the pins in place instead of the retaining wire. The wire is fine and you can use it if you prefer – I simply don’t care for them. Unlike some plates on the market, our plate is approximately 1.186mm thick and completely fills the groove of the pins to keep them from walking left or right and potentially falling out of the receiver.

Top is our AK fire control group plate. Below it is the type of retaining wire you would see in a M76. AKMs are a bit different due to the differences for automatic fire.

You install the plate by inserting the nose groove into the hammer pin and then rotating the plate down so it secures the trigger pin as well. The rear hole of the plate, the only hole really,is where the selector/safety lever passes through and locks it into position.

This photo shows how the front of the plate engages the hammer pin and the middle groove secures the trigger pin.
Here. everything is installed except for the selector/safety lever so you can see the fire control group and the plate.

That’s it for the trigger. Next up was the need to fix the magazines so they would not nose dive when empty and hit by the bolt carrier. That will be my next post.


If you find this post useful, please share the link on Facebook, with your friends, etc. Your support is much appreciated and if you have any feedback, please email me at in**@*********ps.com. Please note that for links to other websites, I may be paid via an affiliate program such as Avantlink, Impact, Amazon and eBay.


Part 2: Two Rivers Arms Yugo M76 Rifle – Mounting the Optic

I let the cat out of the bag a bit with my first post – I don’t like the Communist offset scopes. Yes, they are traditionally correct but I prefer a scope mounted on the centerline of the rifle with better optics including variable magnification. I had a combination in mind right from the start – the RS!Regulate mounting system and a Vortex Hog Hunter scope – why? Because I actually want to use this rifle to hunt hogs.

RS Regulate Mount

Based on past projects, I knew that the best mounting system for my project would be the RS Regulate system. The reason I am so adamant about this is that the design allows for a ton of flexibility in terms of front to back movement as well as left to right. Specifically, I chose the AK-303M lower rail and the AKR upper.

You basically install the AK-303M lower on the side rail. You can adjust the screw under the lever to adjust how much tension is applied when the lever is locked down.

My next step was to install the AKR top section and located it about three slots back as a starting point. In my case, that worked just fine. I then eyeballed the left to right location over the centerline of the rifle and installed the screws. Note, I do not drill and install the pins until test firing just in case I decide to move the rail around.

Here is my M76 with the two parts of the mount. You can get a good look at the side rail on the receiver as well. Don’t get ripped off by cheap counterfeit products that don’t hold up – only buy your RS Regulate mounts either direct from them or a reputable dealer – not Amazon or eBay. There are links to the mounts at the bottom of this post.

This is the AK-303M lower rail section. You can see the shiny adjustment screw right under the “-30” part of the AK-303M product stamp.
This gives you a good view of the AKR unit and how the ingenious design allows you to basically use an upward facing Picatinny rail on the AK-303M to mate with the downward facing rail on the 303M. The slots are where the screws go and you can see how they enable the left to right movement. The circular holes are where you can drill and install pins *after* you finalize the layout – I would recommend doing this after test firing or even several range visits.

Vortex Crossfire II Hog Hunter Scope

Part of my design criteria for the rifle was to use it for hog hunting. That would entail using a scope that is pretty versatile in daylight as well as dusk. To accomplish this, you need a scope with a big objective to gather as much light as possible (50mm or better), a 30mm tube and good glass to aid in the transmission of the image.

In terms of the reticle, I really did not see a need for something really fancy with tons of MRAD or MOA markings for calculating distance, drop and windage. However, I did know that I would need some form of illumination for low light.

Lastly, in all candor, I knew I was putting an optic on a rifle that would likely shoot 1.5-2″ at 100 yards. I did not need to put a super-high end optic on the rifle – just one that was good enough and reliable.

After doing some reading, the ideal scope with the above design criteria and a very affordable price turned out to be the Vortex Optics Hog Hunter (SKU: CF2-31049). The specs are pretty good:

  • Magnification 3-12x
  • Reticle: V-Brite Illuminated (MOA) – The center 0.5 MOA Red Dot is illuminated and the subtensions are in MOA
  • Objective Lens Diameter 56 mm
  • Eye Relief 3.5 inches
  • Field of View 36.7-9.2 ft/100 yds
  • Tube Size 30 mm
  • Turret Style Capped
  • Adjustment Graduation 1/4 MOA
  • Travel Per Rotation 15 MOA
  • Max Elevation Adjustment 60 MOA
  • Max Windage Adjustment 60 MOA
  • Parallax Setting 10 yards to infinity
  • Length 14.3 inches
  • Weight 21.1 oz (just over 1.3 pounds)
This is the Vortex Hog Hunter 3-12x56mm scope. You can see the RS!Regulate mount on the rifle and also the UTG rings that I used for prototyping. Now you may be wondering why I am using quick release rings on a removable scope mount so let’s discuss that next.

Quick note on the lens caps. They are from Vortex but I am not super excited by that front one. They seem very well made but it is definitely a stretch to get the rubber over that huge front bell. I’m going to stick with them for now.

Figuring Out The Rings

In most cases, you want to mount the scope as close to the center of the bore as you can. This reduces the angle from the center of the scope to the center of the bore.

This is overly simplistic in that it ignores ballistics but it is trying to illustrate that all things being equal, a lower mounted scope will be closer to the centerline of the bore after the zero point and require less adjustment/correction than a higher mounted scope.

So here’s the tough part – any AK-type rifle has a big rear sight block (RSB) that is pinned to the barrel that not only holds the rear leaf sight but also holds the rear of the gas tube in position and the front of the dust cover is inserted into a slot — in short, it has to be here. Thus, any optic must clear the RSB somehow.

The RSB is pinned to the barrel and holds both the rear sight and secures the rear of the gas tube. Problematically, it extends above both the dust cover and the gas tube.

So this means we have two options – either the optic must slide into position and clear the RSB while doing so -or- we vertically lower the scope into position. To slide the scope in either means you go with tall enough rings and/or a small enough front objective that the front of the scope can clear.

The vertical option means we can use both a bigger objective and lower rings but begs the question – what do we do if we need to open the rifle up in the field? That is why I opt for quick release rings. Now, let me point out the photos show interim UTG rings that will not be on the rifle long term. I had them in storage from way back when and used them and some other models to do some “what if” scenarios.

The problem with this model of ring from UTG is that they use a round screw that goes through the Picatinny rail channel – they should be using square stock to securely and consistently secure the ring to the rail. While I do not expect a ton of recoil from the M76, I would rather the rings sit securely in the rail and not move around or place uneven stresses on the rails.

In the next few weeks, the UTG rings will be replaced by an American Defense AD-Recon-SL-30-STD one piece mount. American Defense makes top notch gear. The UTG rings definitely helped me prototype the layout and identify that I needed rings that measured from the base of the ring to the center line at least 0.915″. The AD-Recon-SL will hold to scope just a tad higher at 1.110″ and I am okay with that almost 0.195″ difference. It’s real tight right now as you can see:

Voodoo Cheek Pad

The one thing I quickly found out was that I needed a cheek piece to give me a better weld. I have used Voodoo Tactical cheekpieces a number of times in the past so I used one hear to give me about a 1/2″ lift to better line up behind the scope.

You can access that top soft cavity and add or remove material to give you whatever height and “feel” that you want.
I’m going to do some tailoring of the straps in the near future. While I am using the hook & loop (velcro) straps came with the Voodoo pad right now, I’ve been using this cool industrial hook & loop tape that is double sided with the hook on one side and the loop on the other that ought to really clean this up.

The Result

Right now, I’m happy. I need to get the ADM mount in and get to the range but everything is very promising so far. Everything has trade-offs. To get the extra light at dusk, the scope’s giant objective makes it sit higher. If I wanted the scope lower and didn’t need all the light collection, I would have used a scope with a smaller objective – such as a 44mm.

Okay, in the next post, I’ll tell you about the ALG trigger.


If you find this post useful, please share the link on Facebook, with your friends, etc. Your support is much appreciated and if you have any feedback, please email me at in**@*********ps.com. Please note that for links to other websites, I may be paid via an affiliate program such as Avantlink, Impact, Amazon and eBay.


Zastava USA Confirms They Will Import the M91 and M93 Rifles

I am definitely a long-time fan of Zastava rifles. I’ve owned a number of their Kalashnikov variants over the years including the M70B1, M72B1, M76, M77 and M92. When Zastava announced prior to the 2019 SHOT show that they were forming Zastava USA to handle importation instead of Century Arms, I was cautiously optimistic that we would see at least the introduction of the M91 rifle to the US market.

Zastava USA has a website and they have a PDF catalog with some great looking firearms. What caught my eye were a number of tactical models including some I didn’t expect – the M07, M12, M91 and M93 rifles.

Here are some screen captures from their catalog so you can see what I am referring to:

In mid-March, I emailed them to ask about importation plans and they did confirm that both the M91 and M93 are planned for importation in “early summer” of 2019 but the manufacturer’s suggested retail price (MSRP) has not been set yet.

They did not mention the other models to be clear so I must conclude they are not planning to import them at this time.

I know a lot of us would like to see the M91 come to the US and I’m hoping they price it in an affordable manner. I would really like to see how it performs next to my M76 (8mm Mauser) and M77 (7.62×51) rifles. So, let’s keep our fingers crossed.

Folks, here are online sources for Zastava firearms including the M91 and M92:


If you find this post useful, please share the link on Facebook, with your friends, etc. Your support is much appreciated and if you have any feedback, please email me at in**@*********ps.com. Please note that for links to other websites, I may be paid via an affiliate program such as Avantlink, Impact, Amazon and eBay.


Ian at Forgotten Weapons Does a 2-Gun Match With a Yugo M76!!

Two Rivers Arms recently built a Yugo M76 8mm designated marksman’s rifle for me. I’ve wanted one for years and it was a long but worthwhile wait until it arrived. So, once Tim called and said it was almost ready, I started reading up in earnest and watching videos as well.

That’s where Ian McCollum of Forgotten Weapons enters in. I am a fan of Ian at Forgotten Weapons and both subscribe to his Youtube channel and support him via Patreon. Ian published a video of him using a Yugo M76, or as it is formally known, a Zastava M76, in a 2-Gun match. It’s a quick fun watch to see Ian swinging around the big rifle.


If you find this post useful, please share the link on Facebook, with your friends, etc. Your support is much appreciated and if you have any feedback, please email me at in**@*********ps.com. Please note that for links to other websites, I may be paid via an affiliate program such as Avantlink, Impact, Amazon and eBay.


Two Rivers Arms Built Yugo M72B1

Once in a while I get to have fun.  For years I have worked with Two Rivers Arms making their grips so I knew they did a good job.  Well over a year ago, I bought two Apex M72B1 kits to have as prototypes but never had time to build them.  I must admit I have fun building rifles but the time just isn’t there any more.  So, given our new M72 handguards were almost ready, I called up Tim at Two Rivers and asked if they could build an M72B1 that looked like it came straight from the factory and that is exactly what they did.  Here are the amazing results of their efforts:

DSC_0321

DSC_0323

DSC_0325

DSC_0326

DSC_0332

DSC_0334

DSC_0338

DSC_0339

Note, the following is our Yugo M70/M72 grip:

DSC_0340

DSC_0341

DSC_0342

DSC_0343

Let me give you a quick run down of the parts you see above and a few you don’t:

  • Yugo M72B1 kit from Apex with a new Green Mountain barrel
  • Nodak Spud NDS-9 receiver
  • New virgin stock set from R-Guns
  • One of our Yugo M70 pistol grips
  • Tapco G2 FCG
  • RSA FCG retainer plate (I hate the shepherd hooks)
  • Real Yugo BHO Magazine

Two Rivers did the assembly, engraving, bluing and hooked me up with the right muzzle nut and cleaning rod.  This rifle looks simply amazing.  If you ever are looking for a builder, give them a shout … now if I can just afford one of their Tabuk DMRs some day 🙂  Tim, Shawn & Ed – thank you!!

Two Rivers Arms is at:  http://tworiversarms.com/ 

Our pistol grip is online at:  http://shop.roninsgrips.com/Yugoslavian-M70-M72-M85-M92-Grip-Yugo-M70-M72-M92.htm


If you find this post useful, please share the link on Facebook, with your friends, etc. Your support is much appreciated and if you have any feedback, please email me at in**@*********ps.com. Please note that for links to other websites, I may be paid via an affiliate program such as Avantlink, Impact, Amazon and eBay.


Converted a Base Zastava M77 .308 DMR

I purchased a base Zastava M77 rifle from Bud’s Guns and had the rifle sent to my good friend and FFL, Scott Igert over at http://www.migunexchange.com. To be imported, the rifle was pretty neutered with a thumbhole stock and a tacked on muzzle nut.  We then went to work – the result has our M70 traditional handguard set (the same handguard style is used on the M70 series, M76 and M77 rifles), one of our Bulgy ARM-9 custom grips (my favorite grip hands down right now), Tapco G2 FCG, US Phantom brake, a Desert Fox PK1025 adapter, and an Ace skeleton stock with a 1″ pad.

The original muzzle nut was tack welded on. I removed it with a Dremel and touched up with Oxypho Blue from Brownells.

The original gas tube cover did not use a handguard retainer spring/clip. My gas tube covers really need them to stabilize so I dug around in my parts bin and used one.

The Phantom brake is one I had handy and rather than bother with the detent pin, I used a crush washer.

The FCG retaining wire self destructed as I pulled it out (I hate those things) and replaced it with a plate.  [We have a new fire control retaining plate that is the proper dimensions for all AKM style fire control groups.]

The fixed stock was secured via a long wood screw that went though the integral Yugo grip nut. I was impressed that they did this without harming the 6mm threads in the nut. I just used one of our full length screws and away I went.

Our next post will show the RS Regulate mount and Vortex scope we bought for the rifle.


If you find this post useful, please share the link on Facebook, with your friends, etc. Your support is much appreciated and if you have any feedback, please email me at in**@*********ps.com. Please note that for links to other websites, I may be paid via an affiliate program such as Avantlink, Impact, Amazon and eBay.