
The M76 is a pretty wicked designated marksman’s rifle capable of firing 1.5-2 minutes of angle with the hard hitting 8mm Mauser round. It does have a pretty bad weakness however – the magazines can jam so hard you need a tool to get the follower to come up. There’s a solution and that’s what this post is about.
So, What’s The Problem?
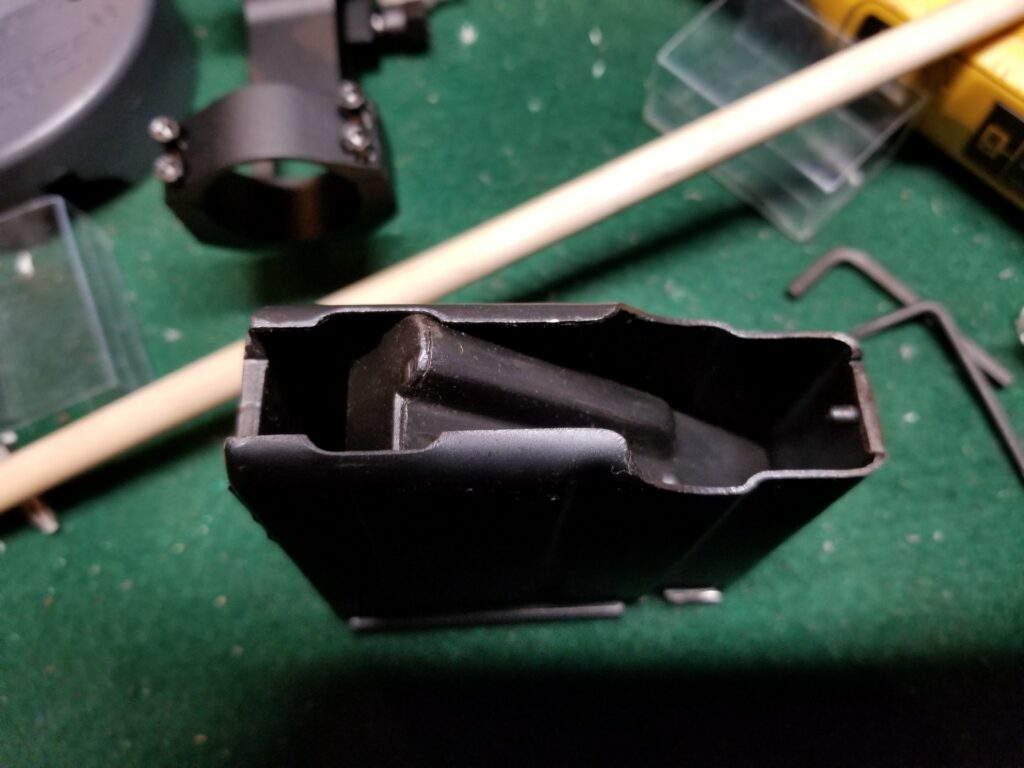
Zastava designed the M76 with a bolt hold open (BHO) follower. In other words, the follower has a big lobe that blocks the carrier from going forward and thus locks the action open. Sounds great, right? It would have been if they had closed the gap between the follower and the magazine body and/or made the skirt of the follower longer.
What happens way too frequently is that when the carrier cycles forward, it hits the bolt hold open lobe of the follower causing the follower’s nose to dive down and jam the follower. Literally, the end result most of the time is that it is a bear to open the action and get the magazine to release — I found I needed to fashion a dowel to hit the rear of the follower to free it up. Not good.
Some guys report more headaches than others and I can’t readily tell you why. Maybe Zastava realized the problem and corrected it or maybe there’s enough variation in the gap between the magazine body and follower that it does not always happen. I have about nine M76 magazines and they all nose dived when hit by the bolt carrier practically every time.

Cleaning The M76 Magazines
I should point out that I bought about a dozen M76 magazines – some from Apex and some from Ivan Drago on GunBroker. They all had a ton of old cosmoline on them and a lot if was on really thick. I pulled the old paper and junk off the eight you see below and left the rest in storage.


The Solution to M76 Magazines and Nosediving
Let’s start with two things that didn’t work just so you know. My first try was to simply polish all the edges. That did not work and neither did adding Dupont Teflon dry lube.
My second try was to use sand paper to round everything over underneath the lips of the body and the outside edge of the skirt. That did not work either – even with polishing and Dupont Teflon dry lube.
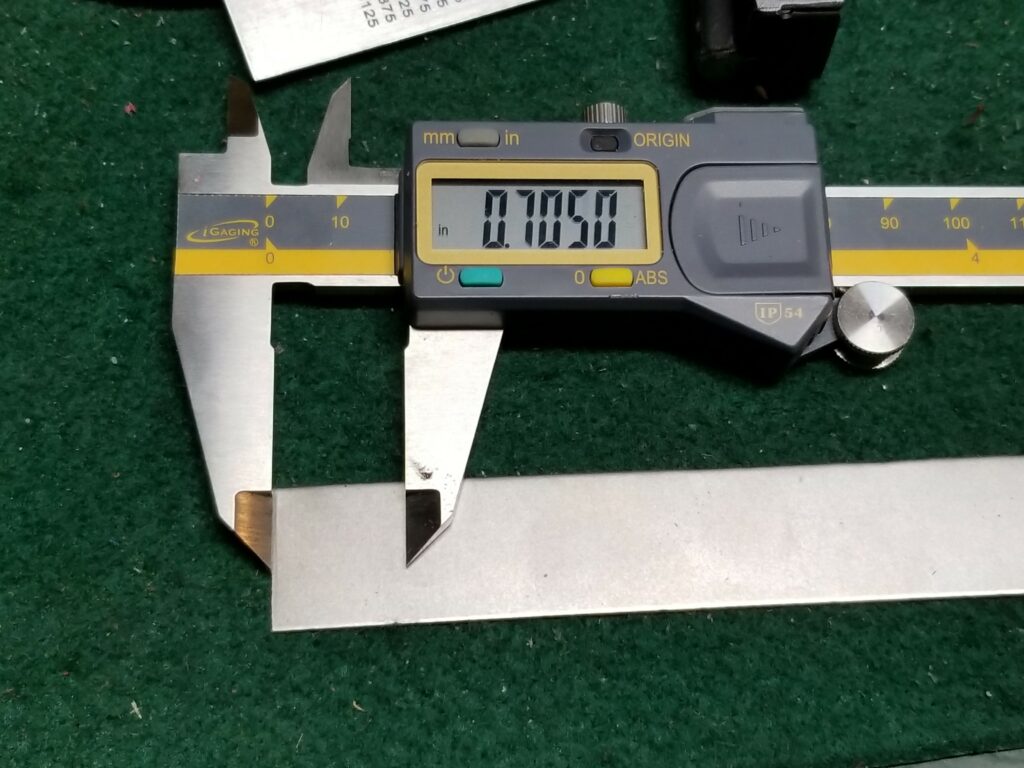
So, with those two failures, I did some searching on the WWW and found that AKblue posted how he welded a small tab of 20 gauge (0.039″) sheet metal to the back of the follower to close the gap. That did work wonderfully for me and let me walk you through the steps.I went to all the big box stores in the area and nobody had 20 gauge sheet metal. I miss 20 years ago when I could go to a local steel store but they are all gone now.
1. I went to OnlineMetals and bought a 12″x12″ sheet of cold roll mild steel – nothing fancy is needed. 12×12 turned out to be way more than I needed. Shipping is what kills you so I wanted to only buy one time even if some experimenting was needed.

2. I needed to figure out some basic template so I could cut out a bunch of tabs to to then try different shapes with by sanding them down. Now I have a big belt sander – you could use a file or whatever works for you.


| Have you ever wondered about spot welders for casual use but thought they might be too expensive or too complicated? Actually, there are a lot of decent import models that will run on 120 volt household current. The thing you do is to buy one of the tong models, take a few scraps of sheet metal and get to know the sound and color when there is a good weld. First, do it and burn hole on purpose to see but don’t go longer than that or you will melt your copper spot welder tips. Next, back off the time and the amount the tons compress until you find a good weld that doesn’t pull apart easily. That’s it. Click here for a listing of tong spot welders on Amazon – be sure there are over 30 ratings and the higher the average score the better. |


Bottom Line
Welding in the tab did the trick. I think it works for two big reasons – it closed up a rather large gap at the rear that allowed the follower to tilt down to begin with plus by making the skirt of the follower a bit longer, it could not tip as much either. I don’t think the exact shape of the bottom of the tab matters a great deal but you definitely must debur and polish each By adding a bit of Super Lube grease to the back, everything slid very smoothly. I am assuming it will not be needed as parts wear in and time will tell.
Also, I bought way too much 20 gauge sheet metal. You could get by with a far, far smaller sheet. I thought I would have to experiment more and it turned out to be simpler than I thought.
When I went to range feeding was great and not one problem with the follower nosediving when the carrier returned on an empty mag. Problem solved.
If you find this post useful, please share the link on Facebook, with your friends, etc. Your support is much appreciated and if you have any feedback, please email me at in**@*********ps.com. Please note that for links to other websites, I may be paid via an affiliate program such as Avantlink, Impact, Amazon and eBay.