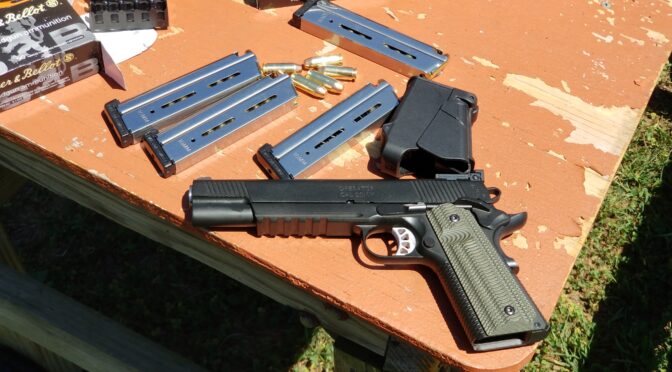
After the very disappointing performance of my new 6″ 10mm TRP Operator at the range, I knew I had two options. First, I could send the pistol back to Springfield Armory for repair or two, I could try just a bit of light polishing first. I had good reason to want to try the second option first.
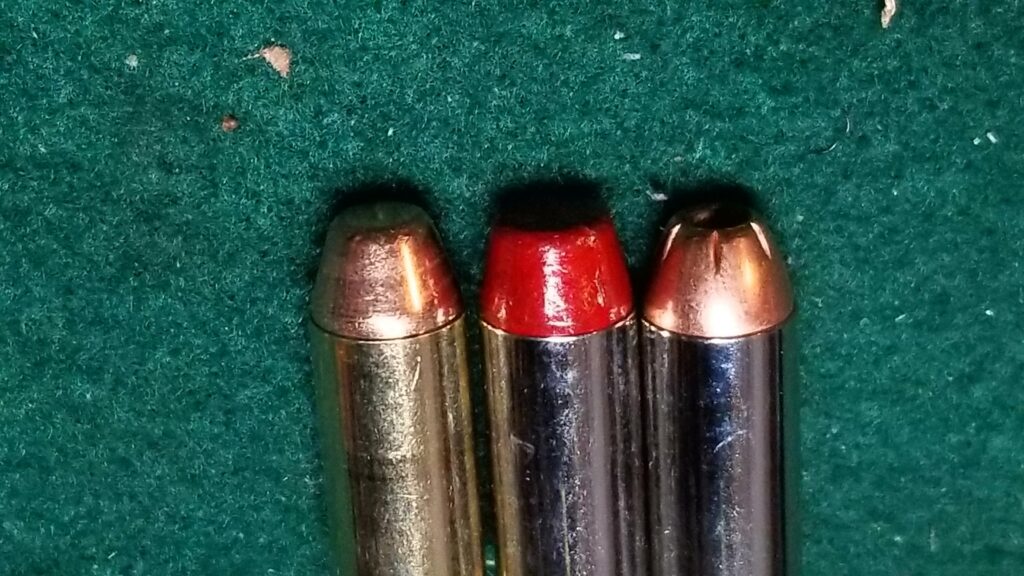
A few years back, I had a Rock Island Armory 52000, that’s their big top of the line doube-stack 10mm, that had problems feeding Underwood ammo but not S&B or SIG. In looking closely at what was going on, I could tell the lip of the case was hanging on the lip of the barrel and not going in. I used a rubber abrasive Dremel bit, rounded the edge of the chamber ever so slightly and the problem was solved.
In looking at the brass coming out of the TRP during test firing, it was getting very scratched and in some cases actually nicked/gouged as it went up the feed ramp and pivoted to then be pushed into the chamber. The rounds that stopped dead and would not feed had to be tapped out with a cleaning rod. They all had a slight nick/gouge in the case where the edge of the barrel literally bit into the brass effectively locking the round in question in place.
I sure wasn’t happy at the range but at least I had a plan of attack. When I had time a few days later, I waded in to try fix the problem.
| Before you ever work on a firearm, make sure it is not loaded. Be sure to check the chamber and do not have a loaded magazine in it either. |
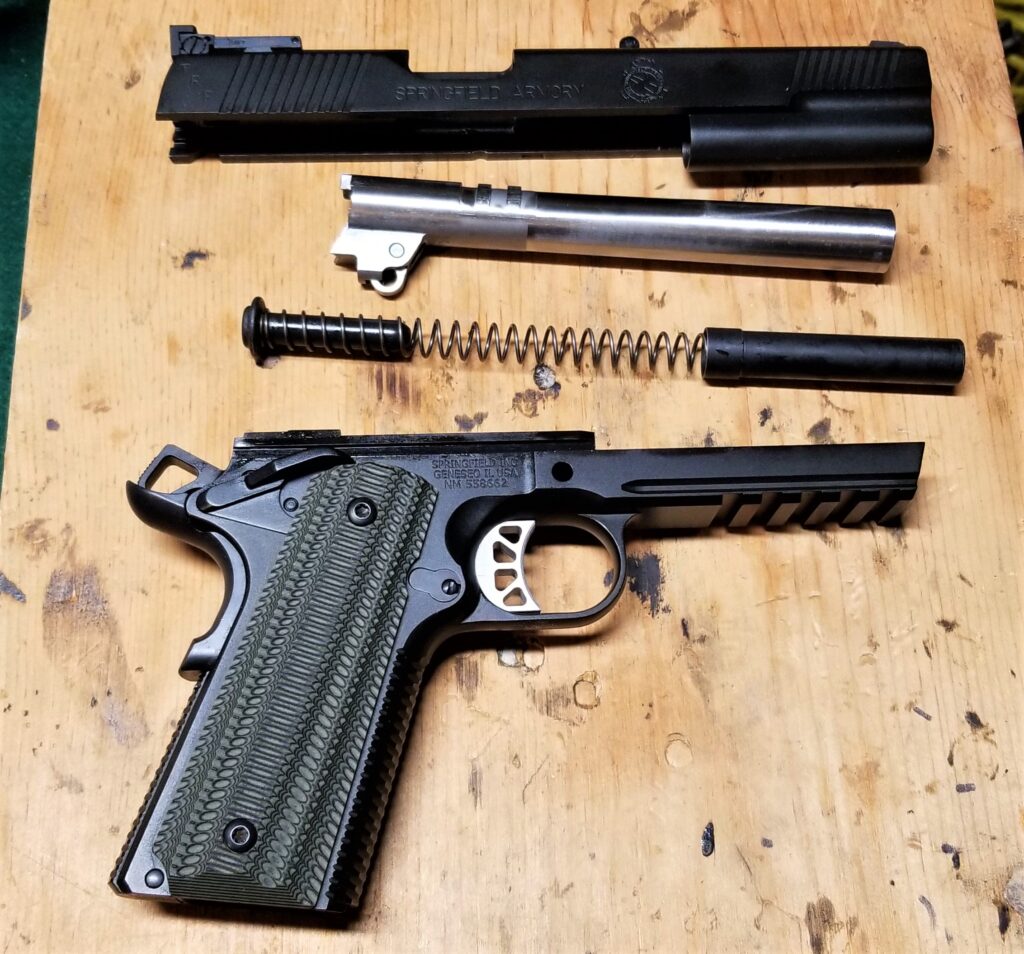
Disassembly
The 6″ TRP is a slightly odd beast. It does not have a traditional guide rod. You disassemble it just like any other 1911 by pushing the slide forward to the point the slide stop aligns with the disassembly notch and pushing the slide stop out. I don’t know of any tricks to unload the unique recoil spring system the 6″ Longslide TRP has.
As you move the slide forward off the receiver, be prepared for the spring to want to jump out so be sure to have a hold of it before you get the slide half way off exposing it forward of the browning link.
The spring system is annoying during disassembly and re-assembly but I am getting used to it. I checked with Wilson and Dawson plus did some googling around and nobody has anything to replace it so I’ll just deal with it.
The Barrel
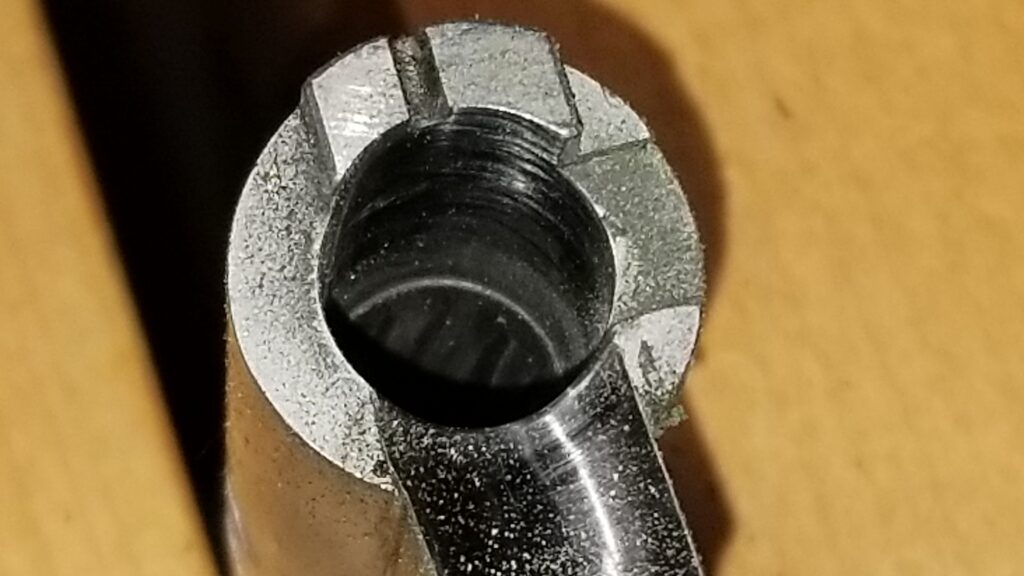
Okay, I took the barrel and looked at the point where the steel transitions from the feed ramp to the chamber. It wasn’t polished and it was practically a knife edge. No wonder the rounds where getting torn up or even caught on that sharp edge.
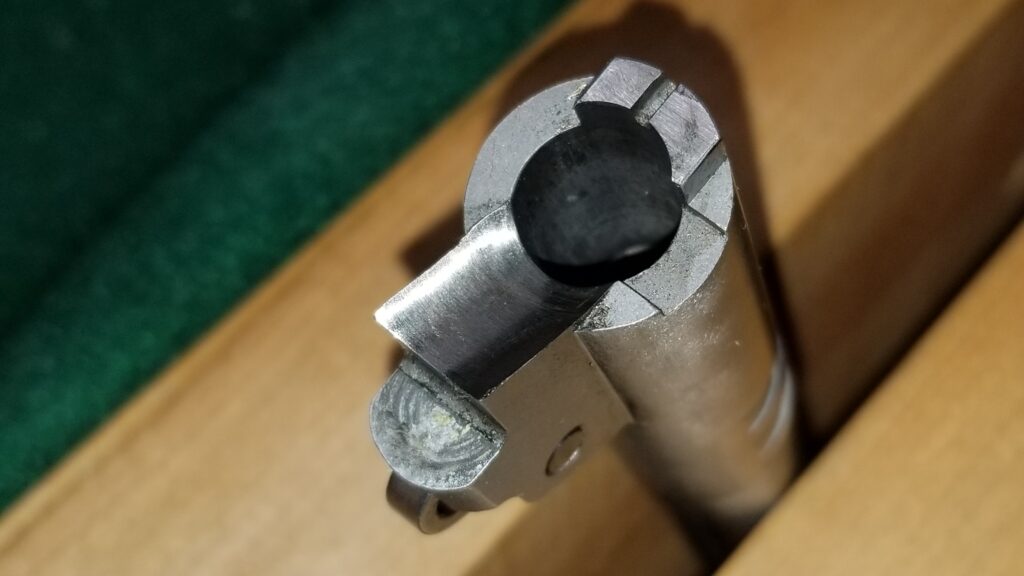
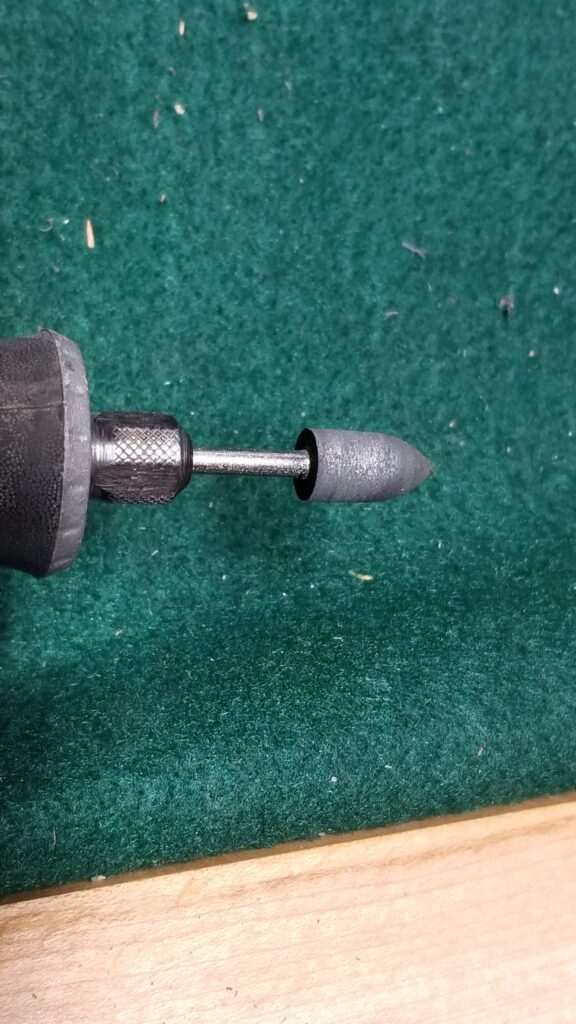
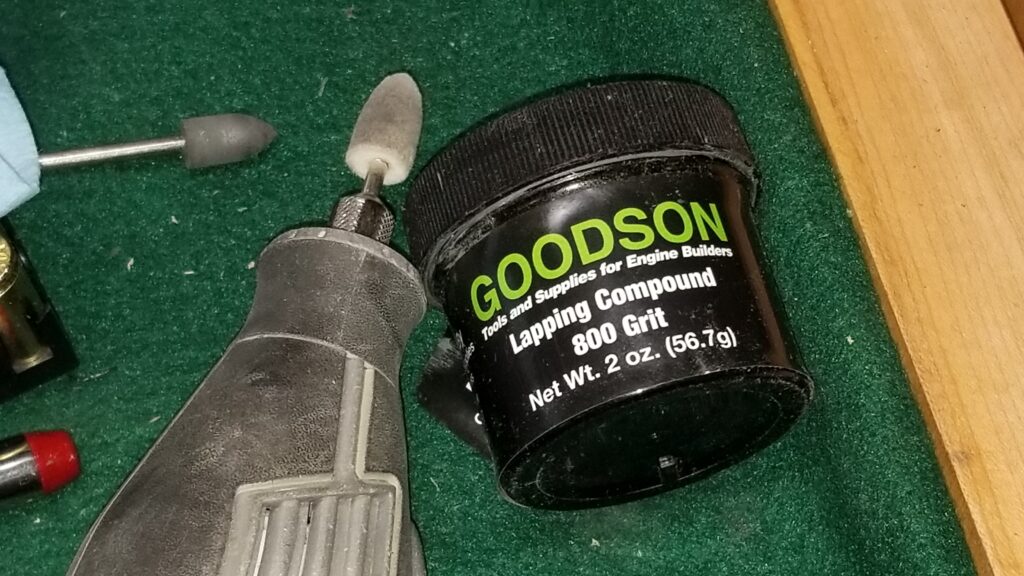
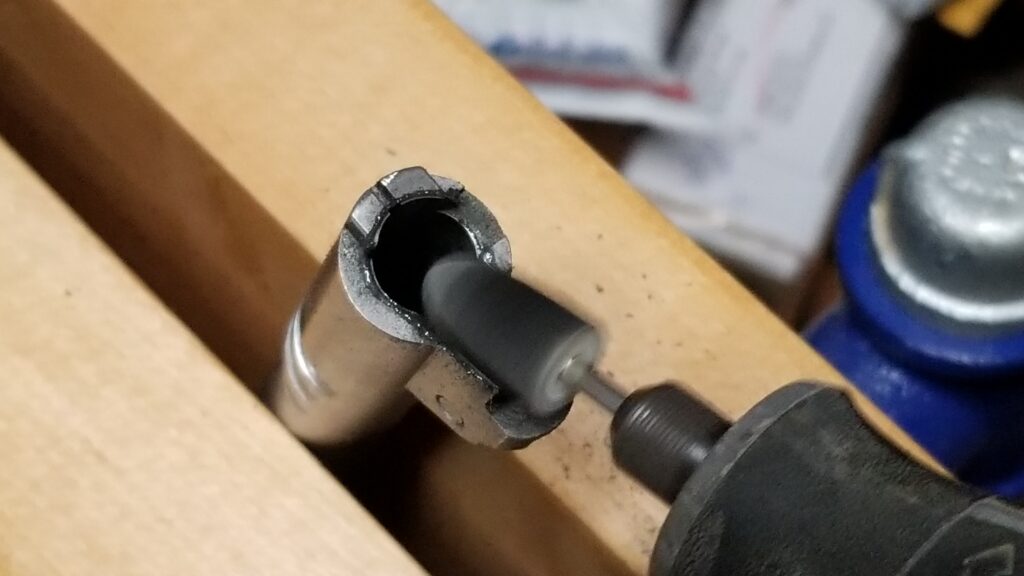
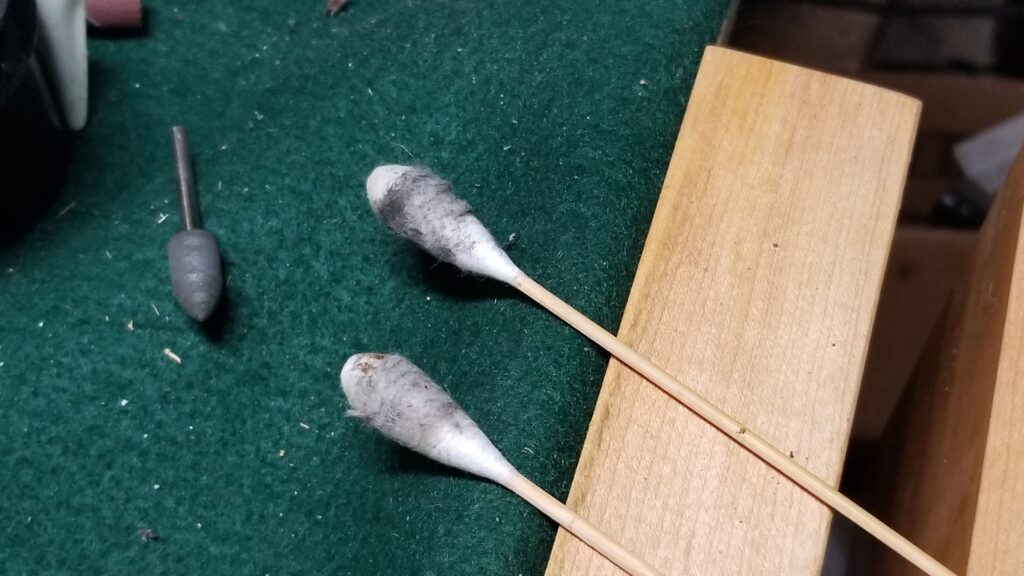
To address this, I got out my Dremel, rubber abbrasive bits, some felt bobs and also a bit of 800 grit polishing compound.
One thing to remember up front – you do not need to take off a ton of material so use a fine grit abrasive and a relatively low speed. You want to work a bit and test until you get it right where you want it.
Greased the parts that slide
When we were at the range, I noticed the action was sluggish at times. This is to be expected during the break-in/wear-in period of any firearm. What I do to help the parts get to know each other is to use an acid brush to apply a light film of SuperLube grease to the parts that slide. Not a ton – just a film. For the TRP, I put it on the slide rails, the bottom of the slide. the exterior of the bull barrel and in the slide where the barrel passes. Wow – what a difference. The slide feels smooth as glass now. I also again put a drop of SuperLube oil on the trigger, hammer, browning link, etc.
Re-assembly
Putting it back together takes some practice – re-install the barrel and try to hold the recoil assembly in place as you slide on the receiver. For me, it’s easier if I do it with the slide inverted (bottom up), hold the slide and spring with the left hand while guiding the receiver into place with my right. One the receiver is on about half-way, the spring is adequately captured. Now, this also means that when you go to re-install the slide lock, you are fighting the tension of the spring. I support the pistol on a table during this step and am getting better at it. If someone has found a magic trick, please email me 🙂
Test Feeding
The proof is in the pudding right? I had to test in my shop vs. the range so that meant I needed to be very careful about where the pistol was pointed. Do what you are comfortable with and be safe.
I loaded up three magazines with three rounds of each to start. All hand cycled just fine. Prior to the above tuning, I could not do that. I then loaded up full mags of each and repeated the tests – everything hand cycled just fine.
Conclusion
I hope to get to the range at some point this week to verify the results. I fully expect it is good to go now. Also, let me again use this opportunity to point out this is why you always need to test your combinations of pistols, magazines and ammo. The TRP Operator is an excellent pistol but I knew not to rely on it out of the box. There are just way too many variables to take that gamble.
2/16/2021 Update: Read this post where I list the Q&A between readers and myself about the TRP.
Please share the link on Facebook, Forums, with colleagues, etc. Your support is much appreciated and if you have any feedback, please email us in**@*********ps.com. If you’d like to request a report or order a reprint, please click here for the corresponding page to open in new tab.
Sources For the 10mm TRP Operator and Ammo
Here are some reputable vendors you can order either the 5″ or 6″ TRP Operator plus ammo: