Tag Archives: Vepr

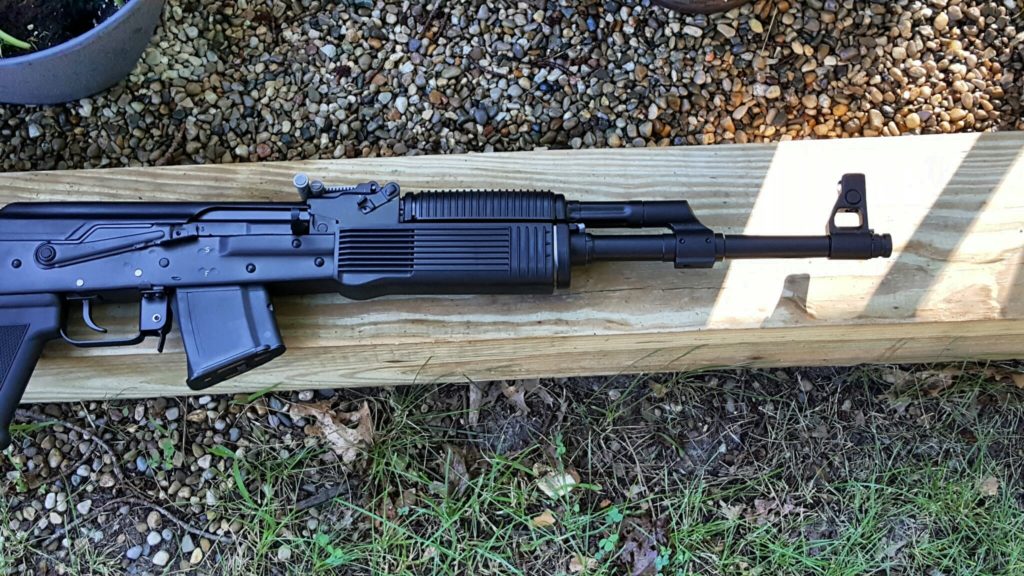
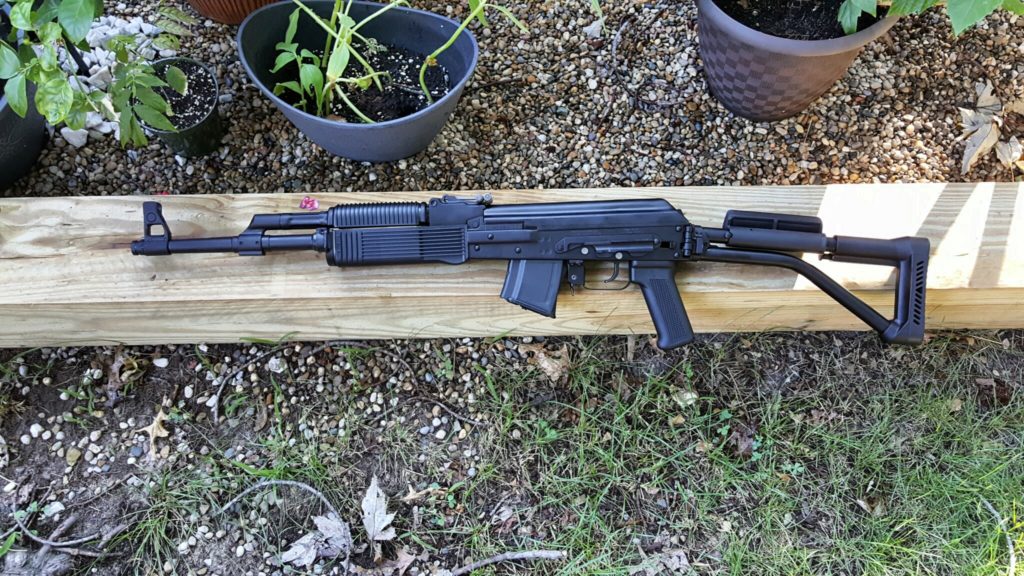
A Chaos Rail on a FM-AK47-21 Vepr Rocks!

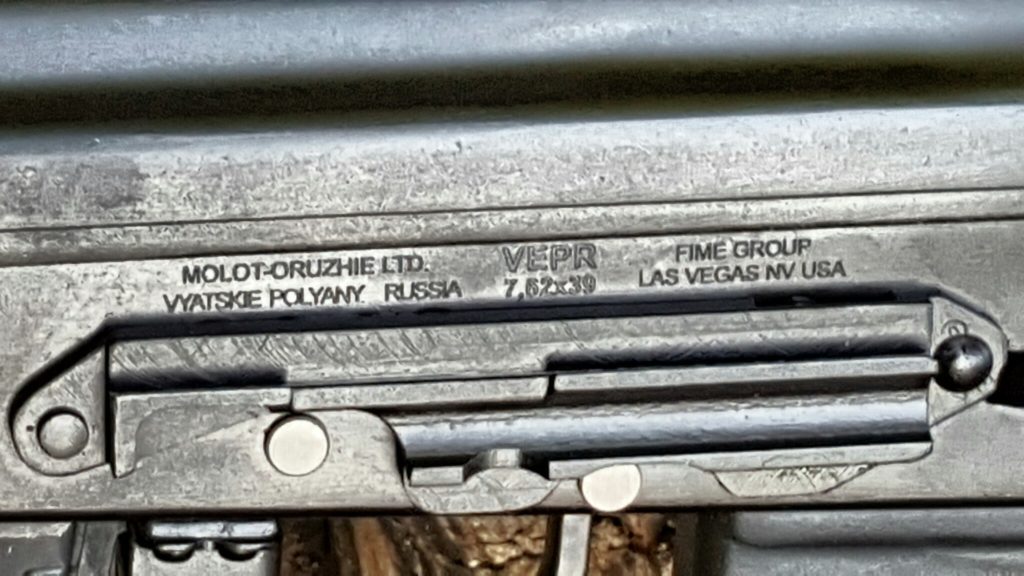
When the government announced they were going to ban the further import of Molot firearms, I jumped and bought one of the Fime FM-AK47-21 side folding AK-47 Veprs.
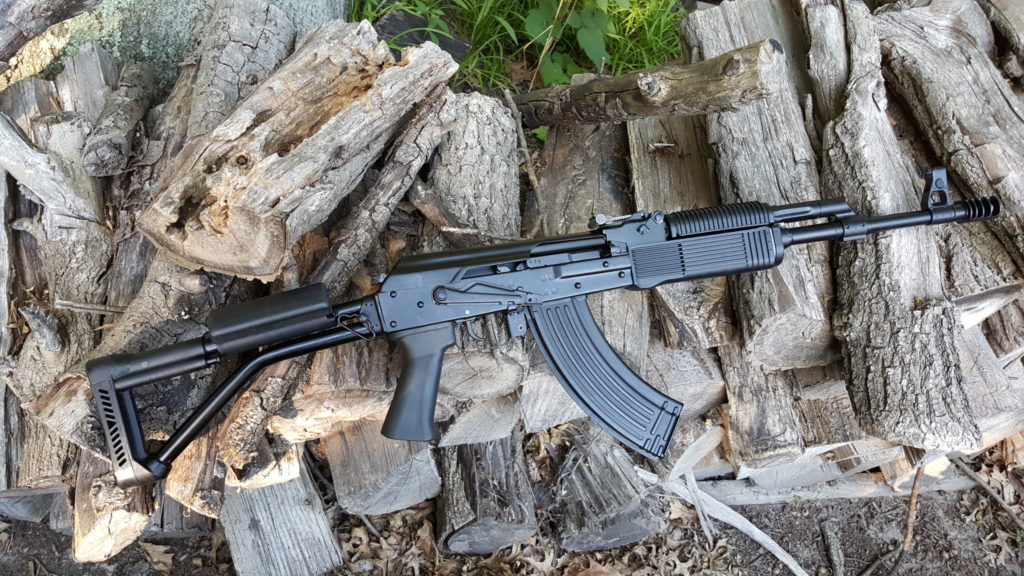
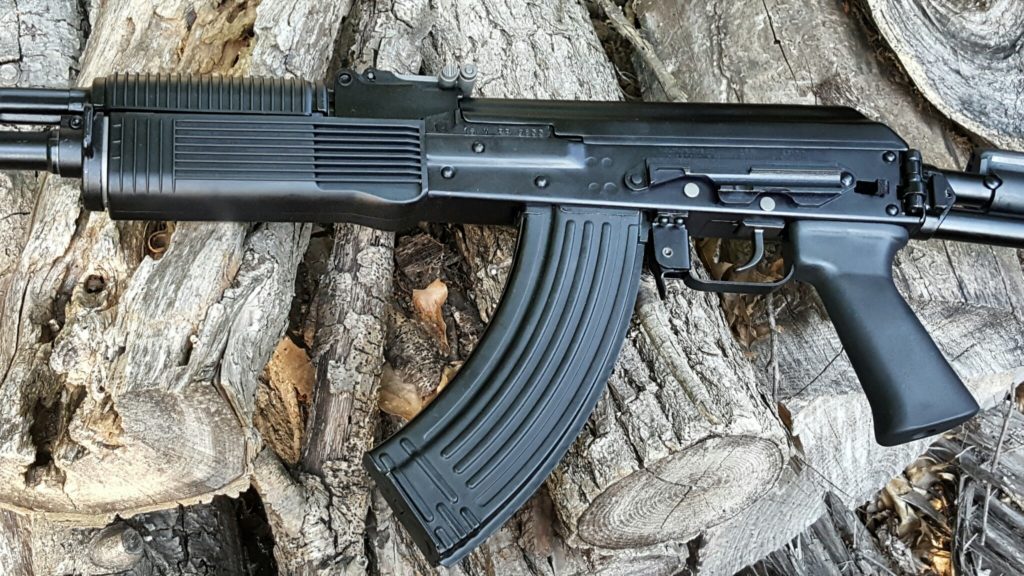
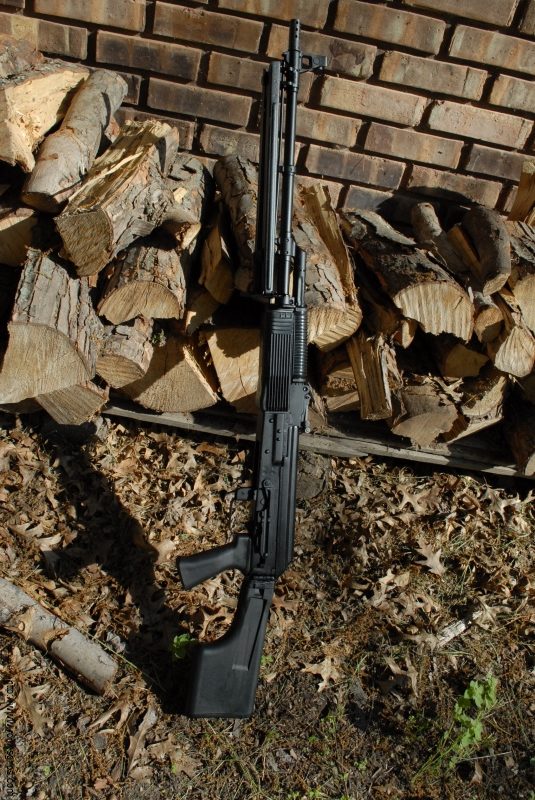
The rifle was absolutely awesome except for one regard – I really did not like the ribbed RPK handguard. Now this is the handguard on the Russian RPks and the ribs help with cooling and moving the hand away from the surface of the handguard — the design is genuinely thought out … but I do not like the feel. It’s as simple as that.

With that in mind, I started digging on options. On one hand I could make a new polymer set based on a mint RPK handguard set I picked up along the way. After a while, I changed my mind as the time and cost to create the molds didn’t make a lot of business sense as the Veprs weren’t going to be imported and demand would presumably be low and I would not recover the investment.

So, I researched other options and a firm I didn’t know much about kept popping up – Chaos, Inc. [Note: Chaos has gone out of business. Not sure why.] They made a well regarded handguard that looked great to me and reports on the feel and quality were very good. An important design point is that it connects like a handguard and doesn’t clamp anything on the barrel to transfer heat. That was a beef I had with the Midwest Industries rail design I tried years ago. It required the installation of a clamp on the barrel.

At any rate, I decided on the Chaos Apollo FM11L Keymod handguard. By the way, Chaos does not list on their website that this FM11L will fit the FM-AK47-21 side folder so I called them. The guy I talked to said they would take a return if it didn’t fit and I didn’t beat it up. I was pretty sure it would fit so I went ahead and ordered it.

The rail arrived about a week later and decided to install it when time permitted. The following is a quick overview of the steps required:

1] Make sure your rifle is unloaded! I can’t stress this enough.

2] Push in the dust cover retainer at the rear and remove the cover.

3] Remove the operating rod and the bolt carrier group.

4] You will need to rotate the gas tube retaining lever to remove the gas tube. Now this thing is on incredibly tight. I thought Zastava had very tight levers but they have nothing on Molot. You will either need non-marring pliers or a polymer or wood punch to swing the lever up clockwise until the gas tube assembly can lift out.

5] On the right side of the lower handguard retainer, you will see a small lever laying parallel with the barrel. It will need to be rotated 180 degrees towards the muzzle and this is another incredibly tight fit. I had to use stout needle nose pliers in order to rotate it. Once rotated, you can slide the handguard retainer forward. You may find you need to tap it a bit with a rubber mallet – I did.
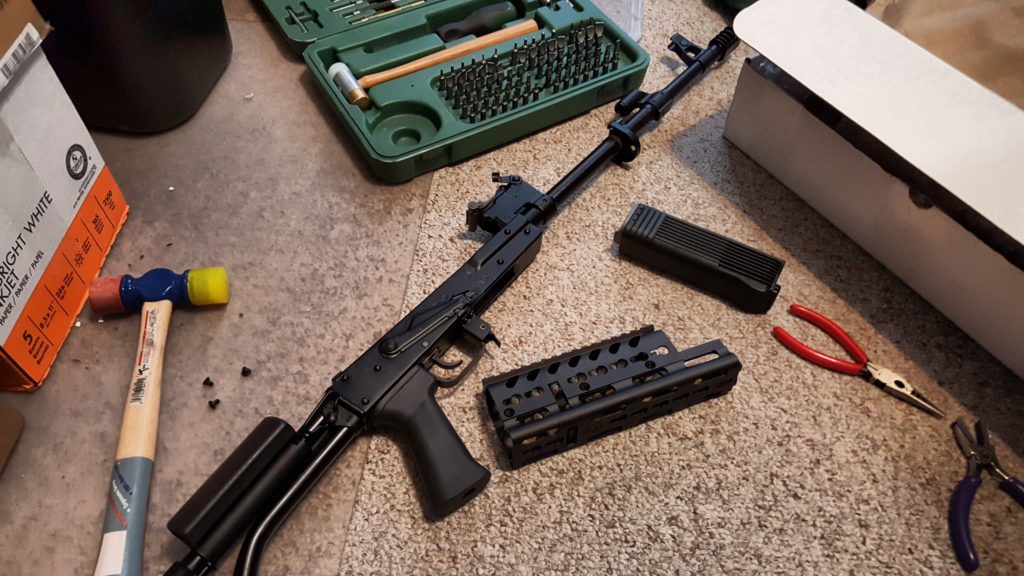
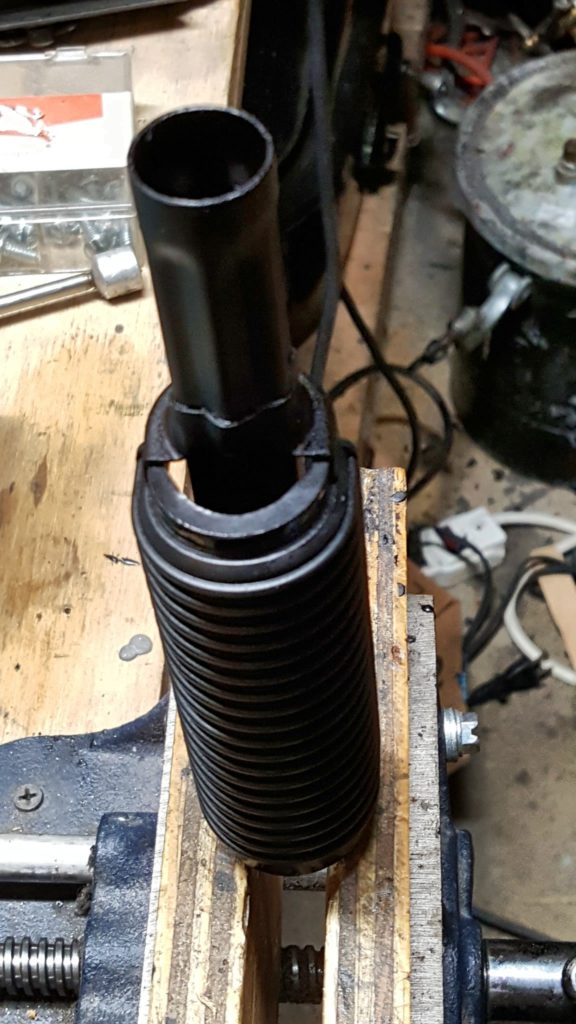
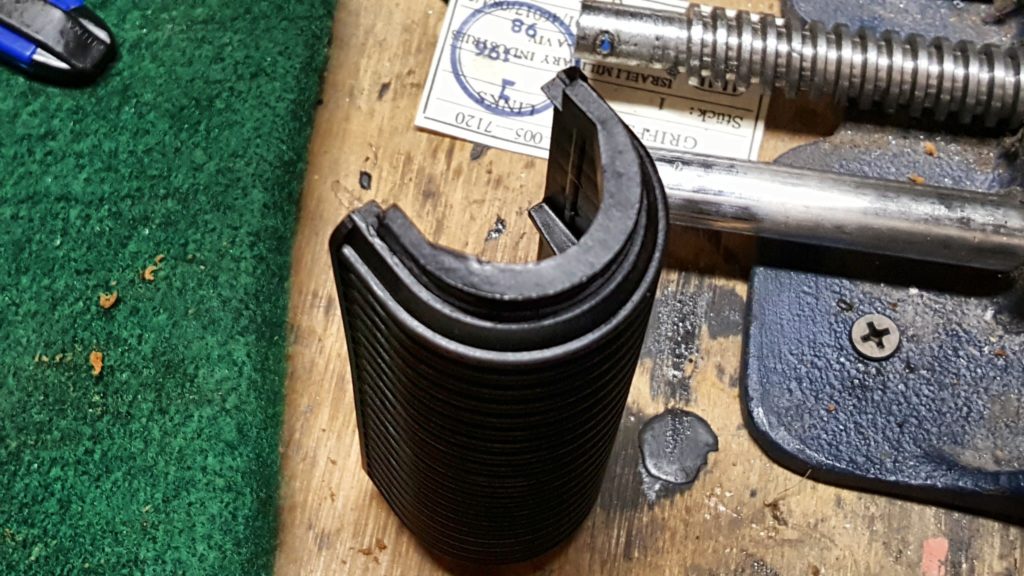
6] Now, you need to remove the gas tube cover and this is one of the questions I get asked most frequently. The cover is a semi-circle and rotates out of the semi-circular shaped retainers. Clamp the forged steel end (not the tubular end or you will crush it) and firmly rotate the cover. You may find it turns easier clockwise or counter-clockwise and either way is fine. Rotate it 180 degrees either way and then you can pull it away from the tube.
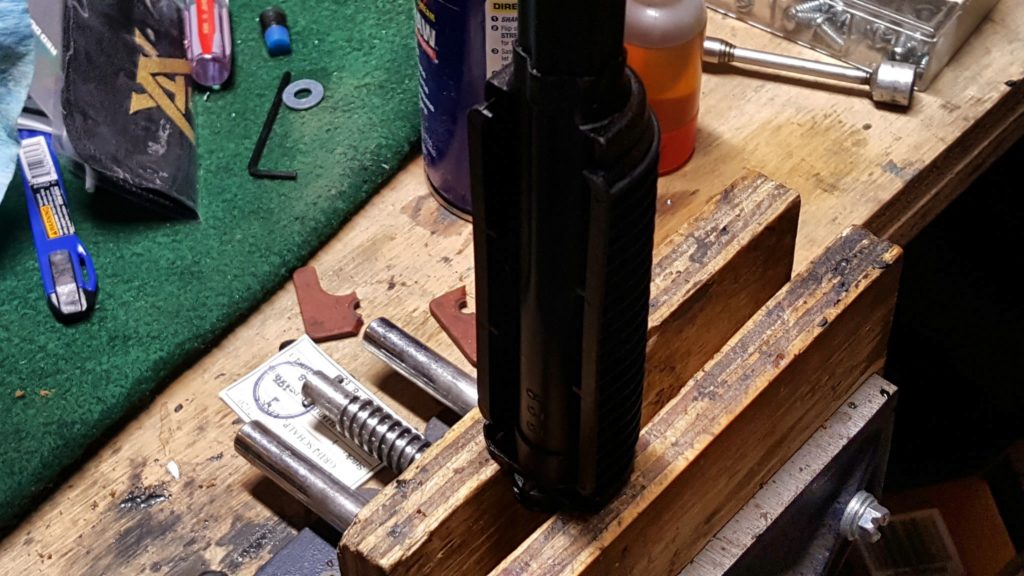
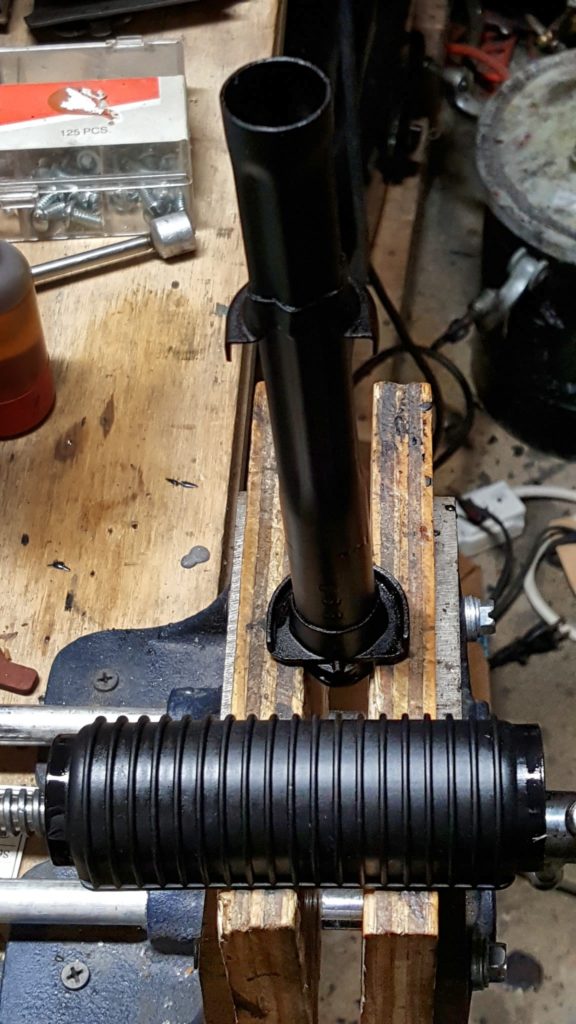
7] Next up is to install the Apollo FM11 lower. This is where their engineering prowess really shows. Their rail is two parts so remove the three hex screws from each side and set the upper half to the side for the moment.
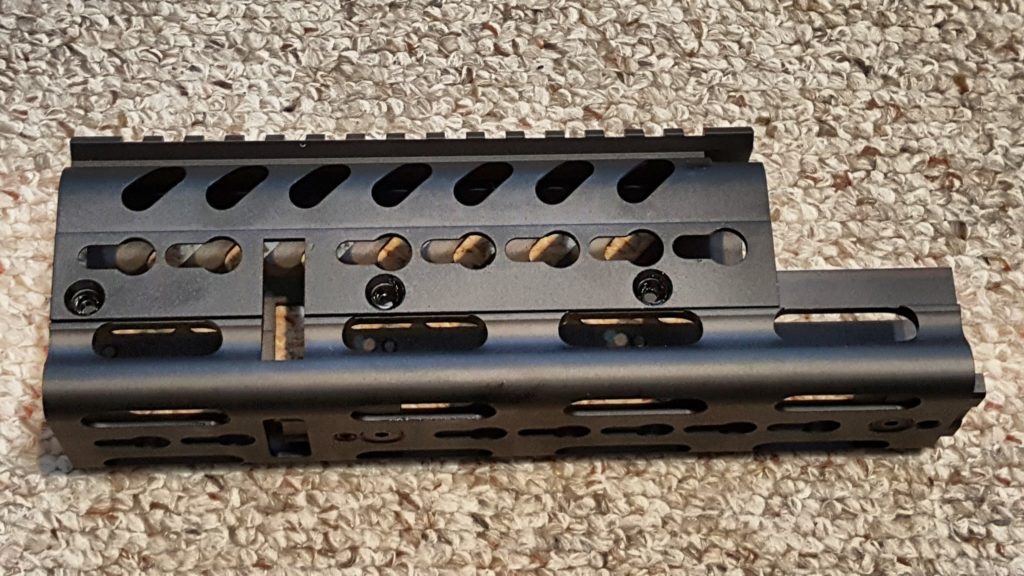
8] Now unscrew the bottom screws and slide the internal aluminum part backwards out of the way. This part will actually slide into the handguard retainer and lock the unit into place. This is why there is a slot for the retainer. Look at the fitment of the parts – they thought this out. Be sure to screw in the set screws also to lock things in place.
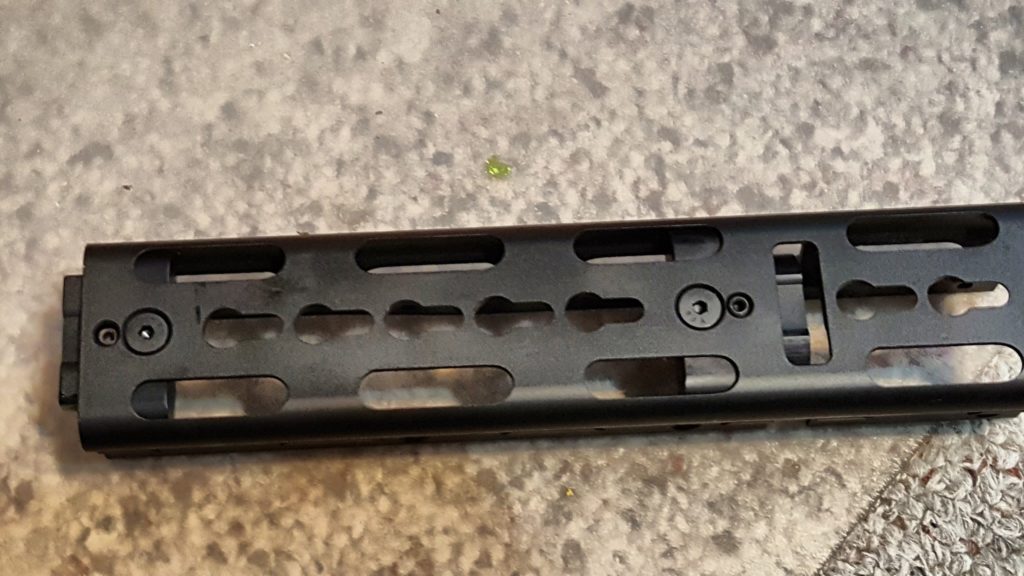
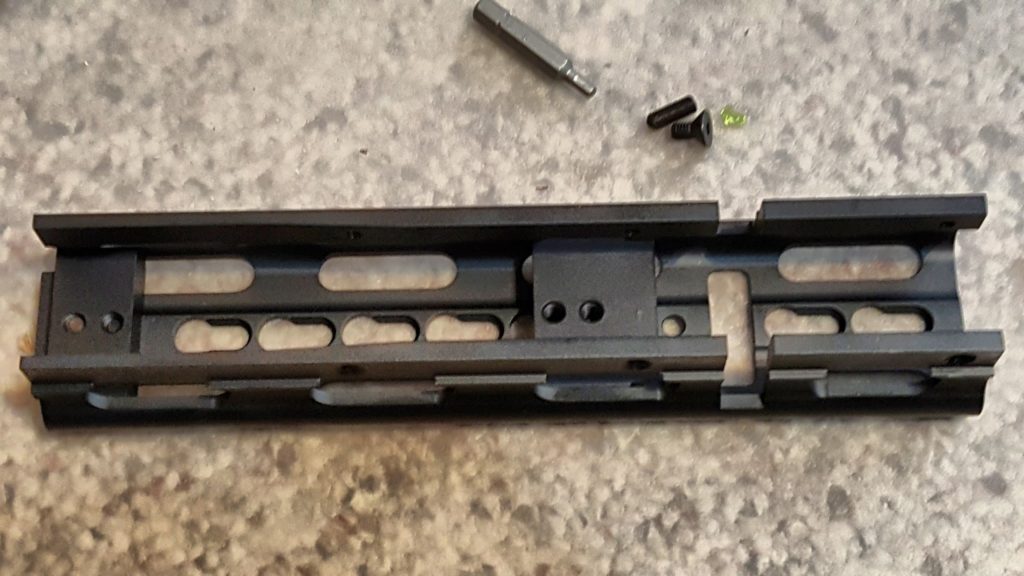
9] For the next part, you install the lower by putting the rear tab into the front of the receiver just the same as any AK-style handguard. Now the front requires you to get the retainer in the right place to nestle into the lower. Get the angle right and slide the internal aluminum retainer part into the handguard retainer and screw the internal part back together. The angle must be right so if you can’t get that internal insert to slide into place, move the handguard’s front up and down until it does. Then swing the handguard retainer lever back into position – it will be a tight fit so tap it into place with a rubber mallet. It would not take a ton of pressure – if it does, check fitment. Over the years I have read guys put a ton of pressure on the levers and snap them – the pressure required is firm and you should see movement as you tap the lever into place. They key is tapping and not trying to do one big “mongo smash” hit to rotate the lever. Once done, the lower should be absolutely rock solid – mine sure is.
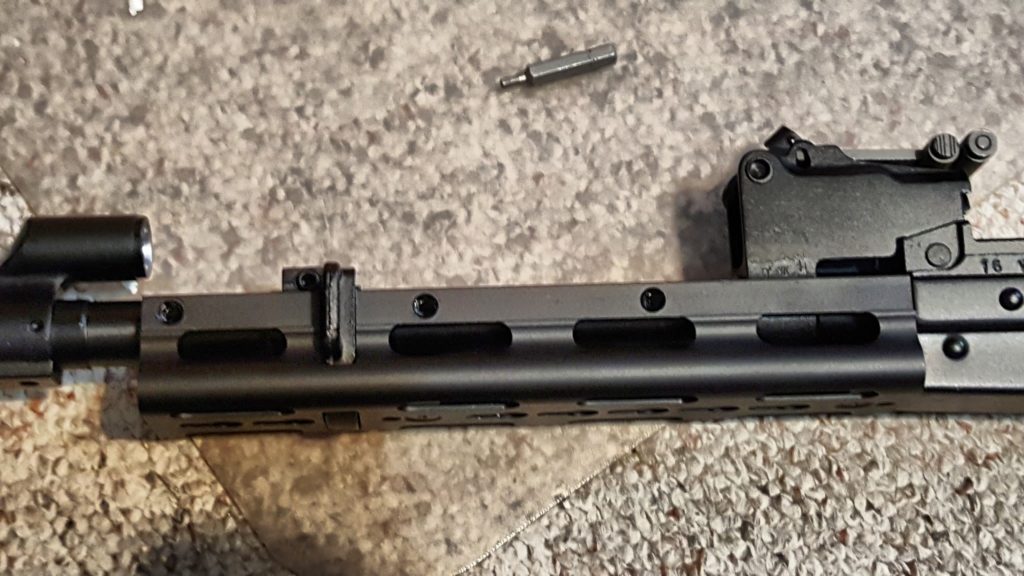
10] I then installed the gas tube. Nothing attaches to the gas tube so you can remove or install it as needed. I then used my rubber mallet to tap the catch lever back into position.
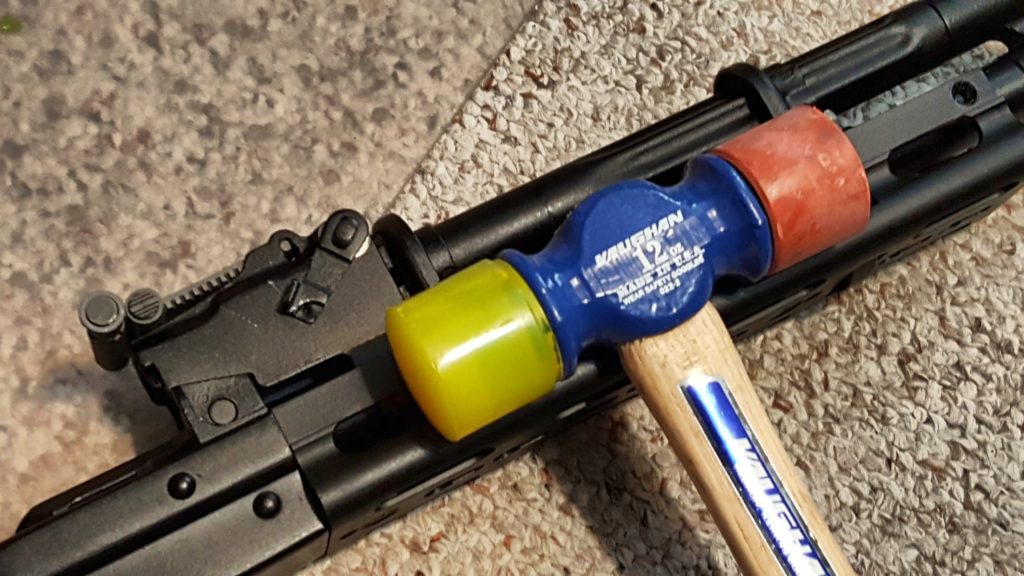
11] I then installed the gas tube cover by lining up the holes and installing the screws.
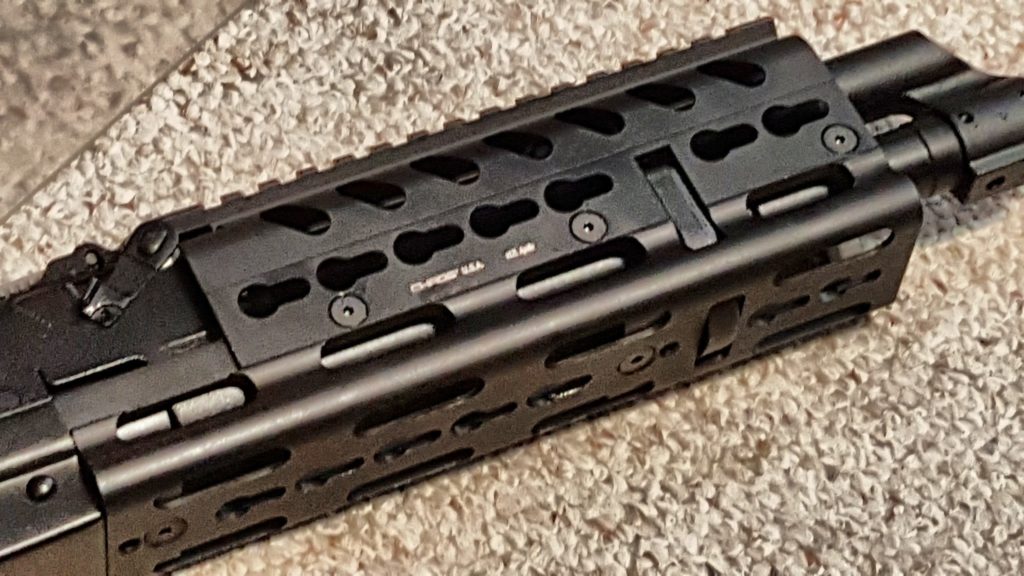
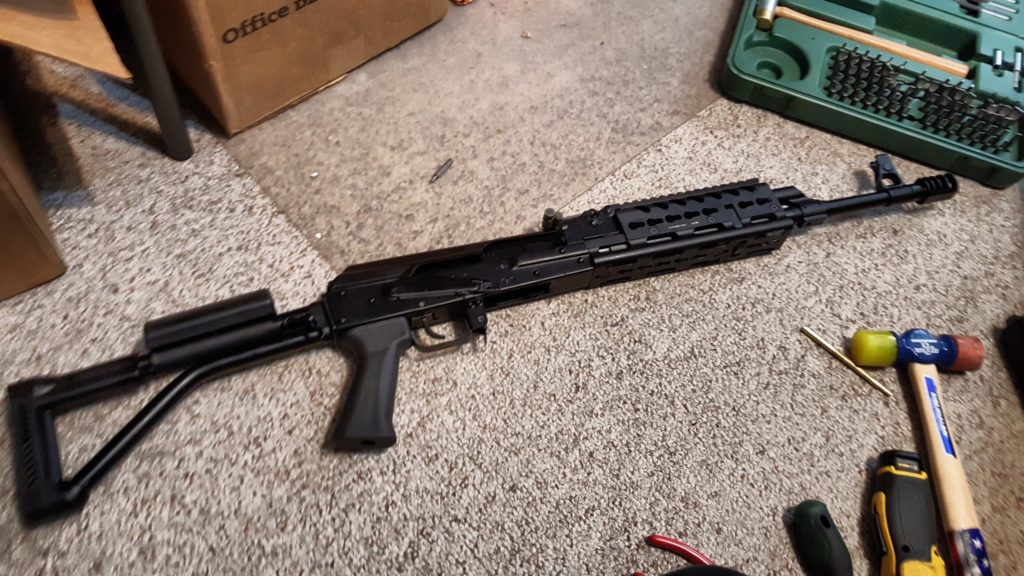
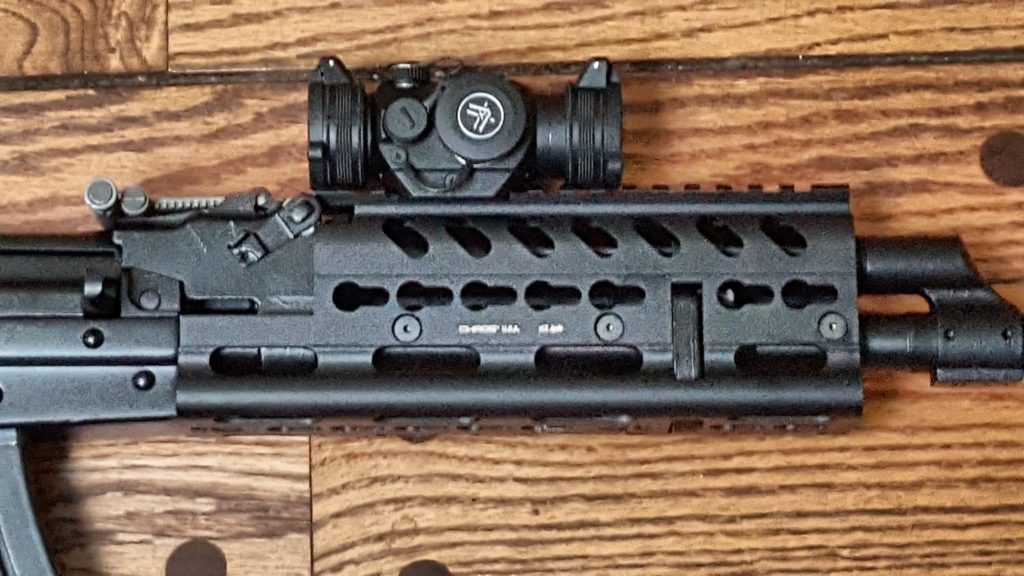
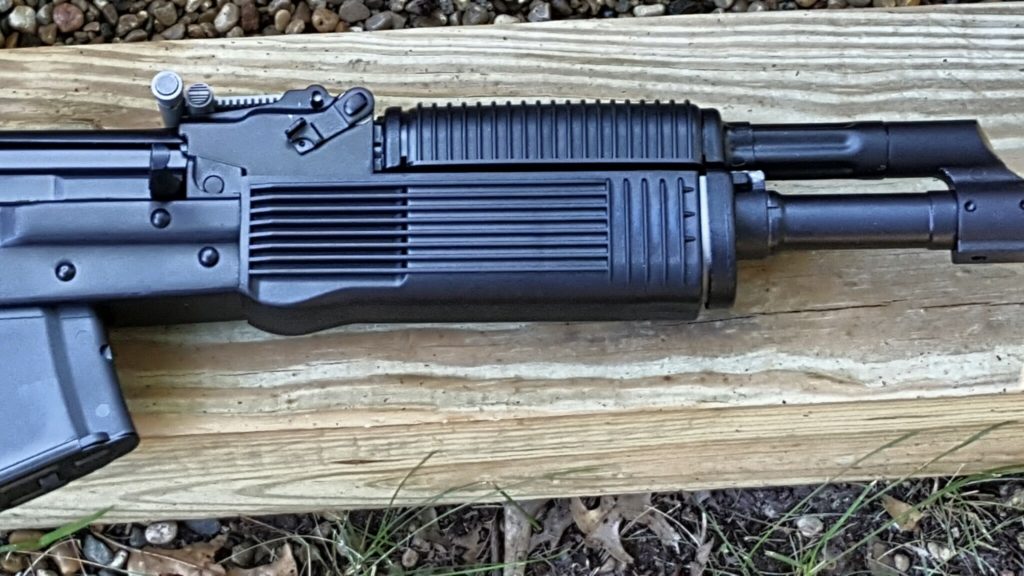
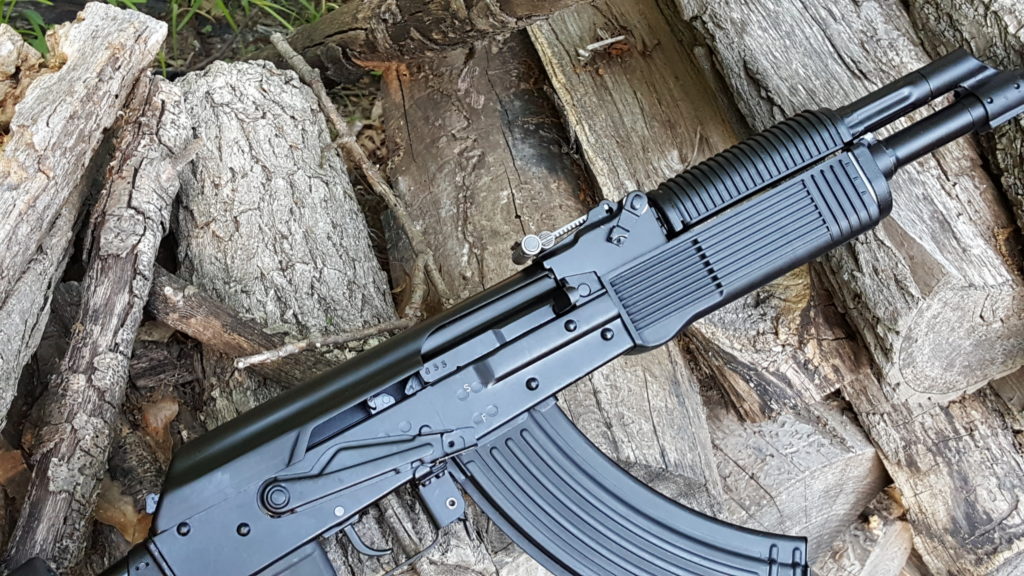
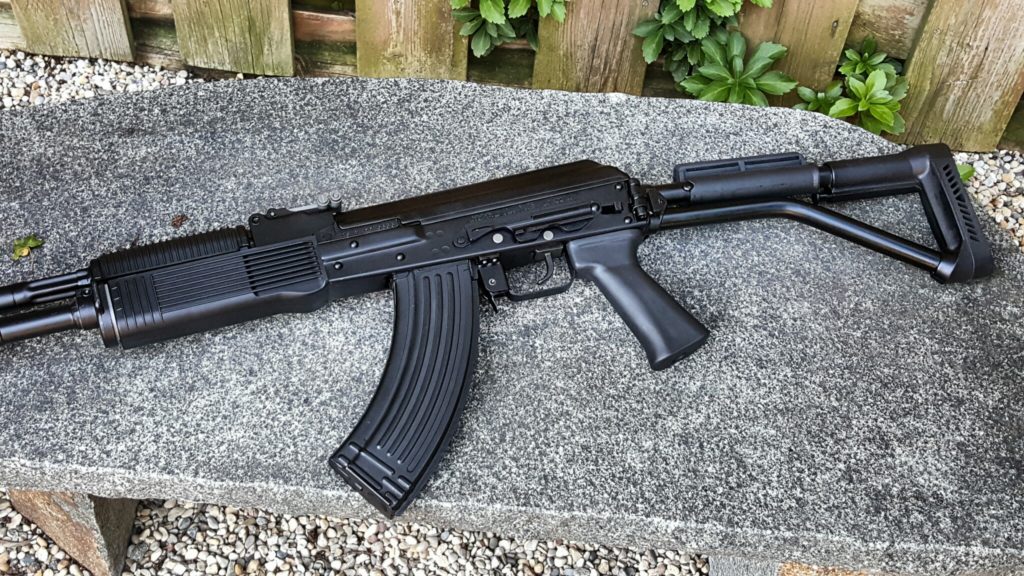
At this point it is done. I installed a Vortex Sparc II nice and low on the rail. I like the cheekweld when I rotate the cheekpiece into position. It does NOT co-witness with the iron sights but I really didn’t care about that – I can remove the sight real fast if I ever need to.

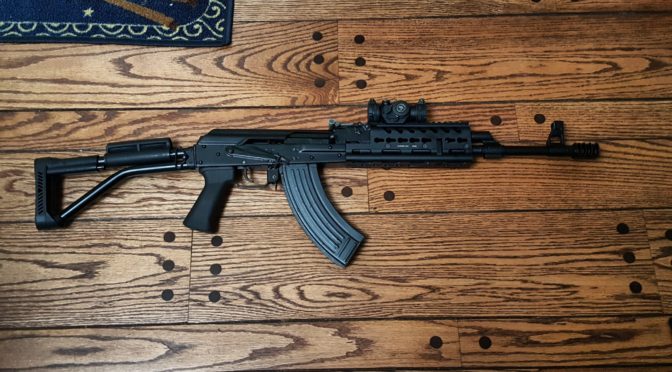
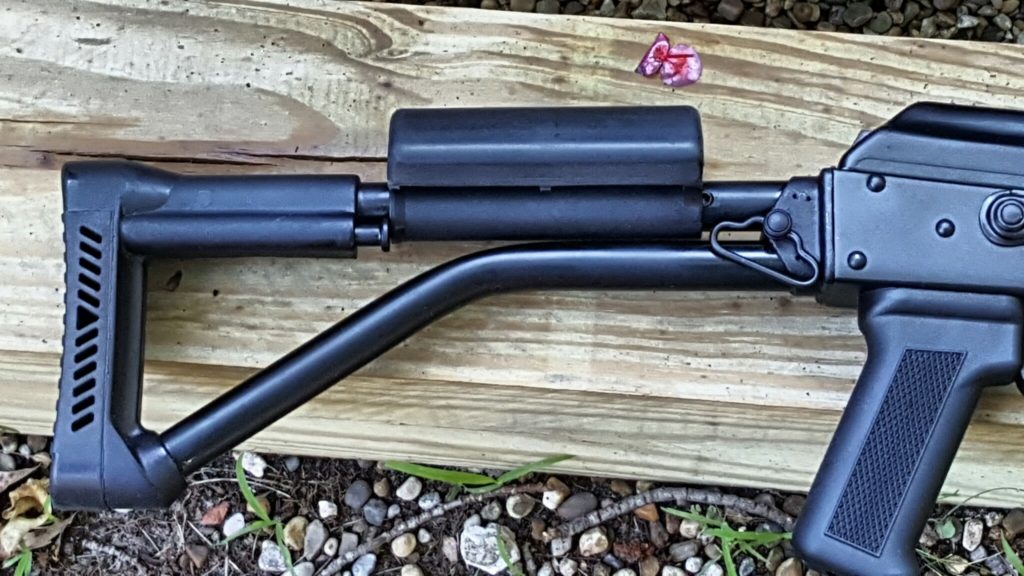
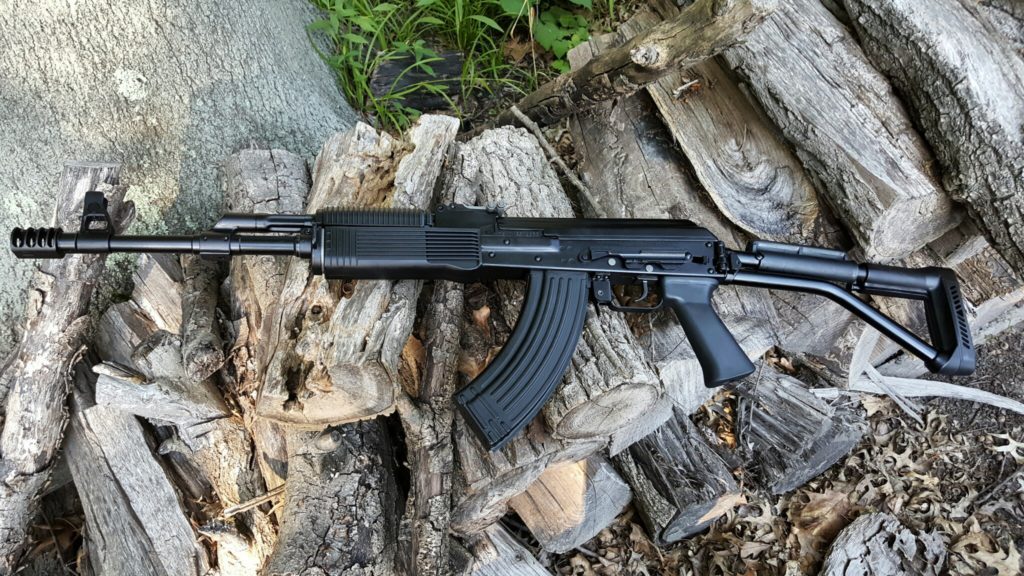
I really, really like the fit and feel of this rail. My side folder can lock folded. I did not need to change anything to support the folder.

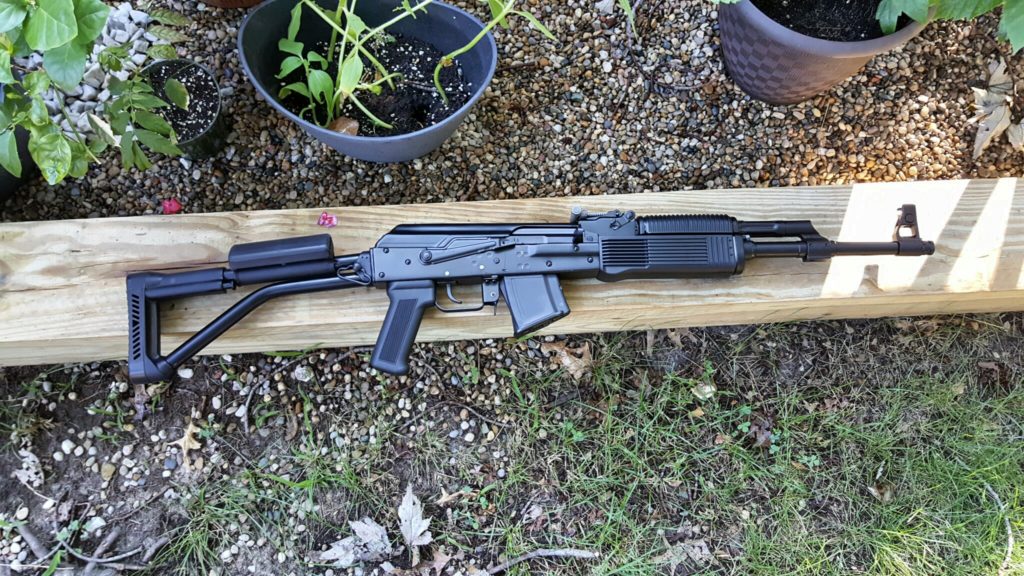
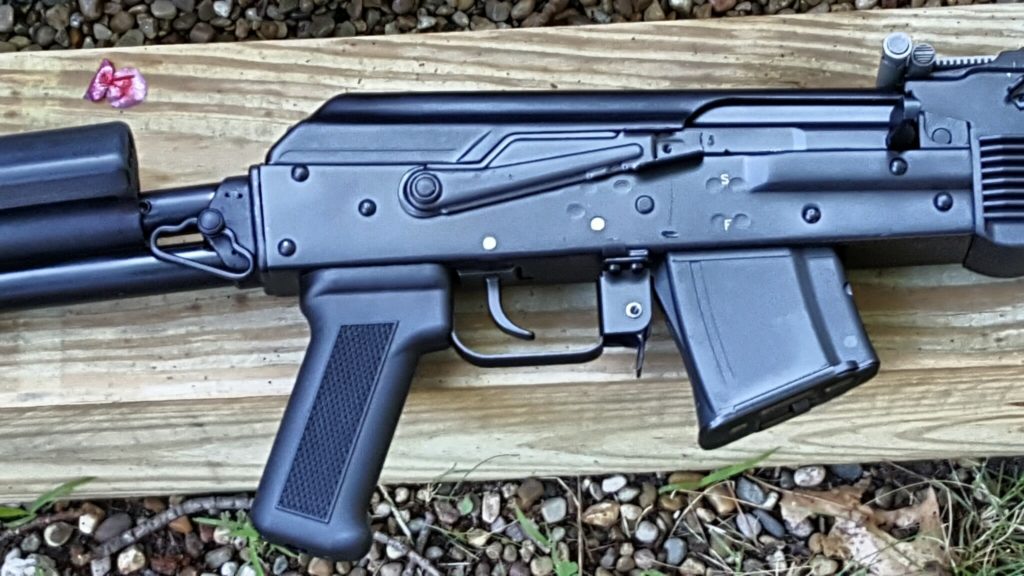
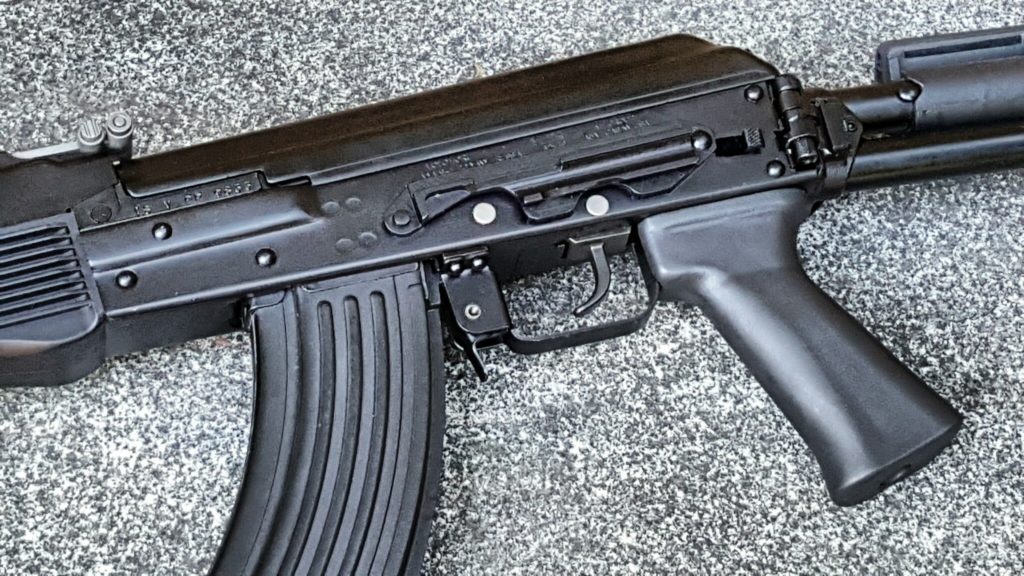
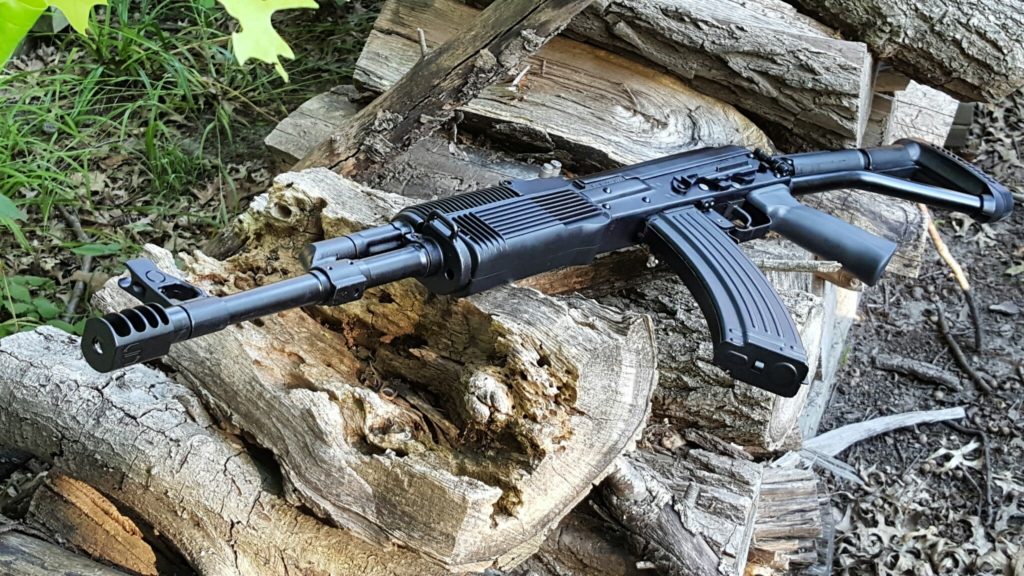
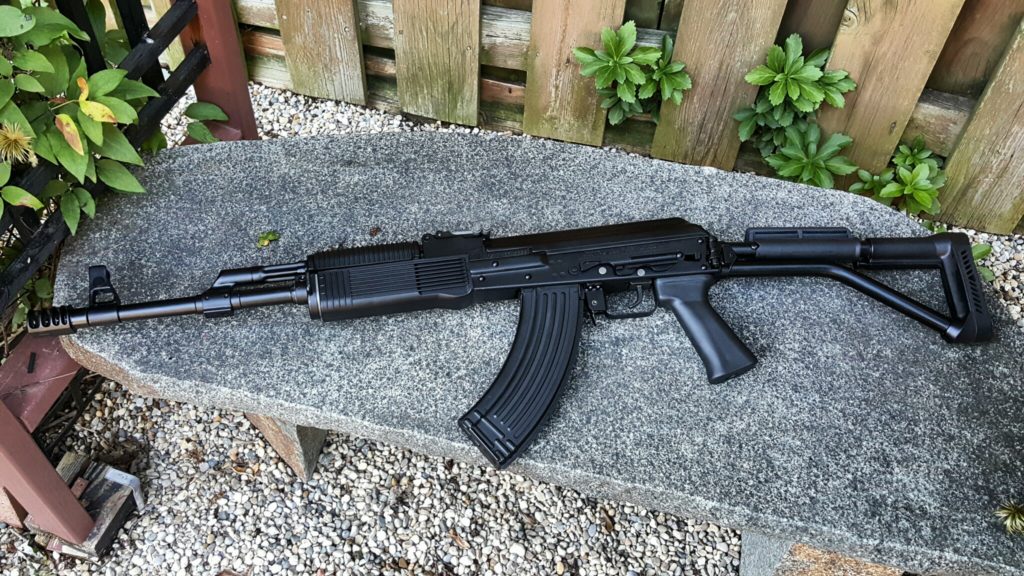
Here is the end result:
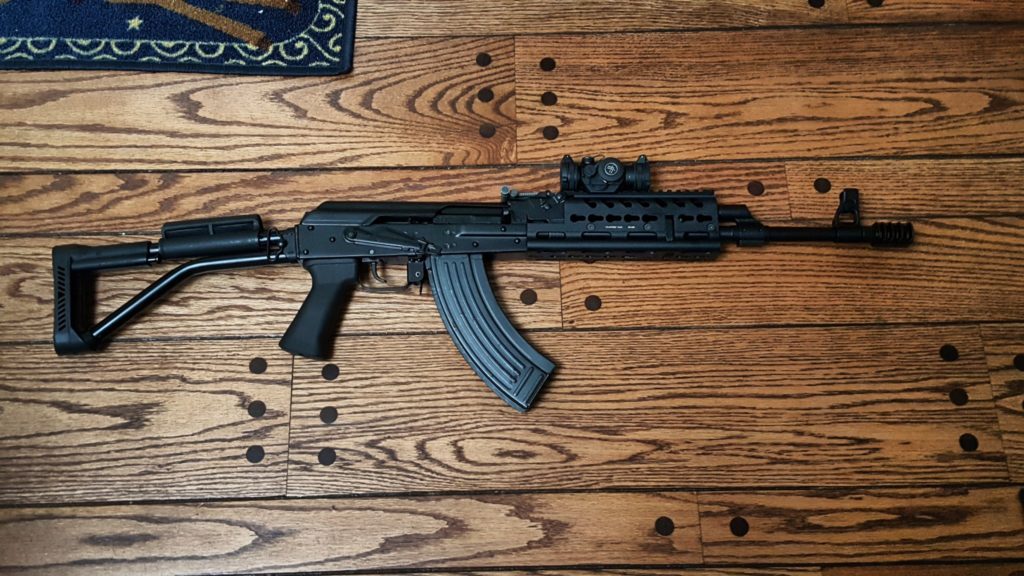
I hope this helps you out!


If you find this post useful, please share the link on Facebook, with your friends, etc. Your support is much appreciated and if you have any feedback, please email me at in**@ro*********.com . Please note that for links to other websites, I may be paid via an affiliate program such as Avantlink, Impact, Amazon and eBay.


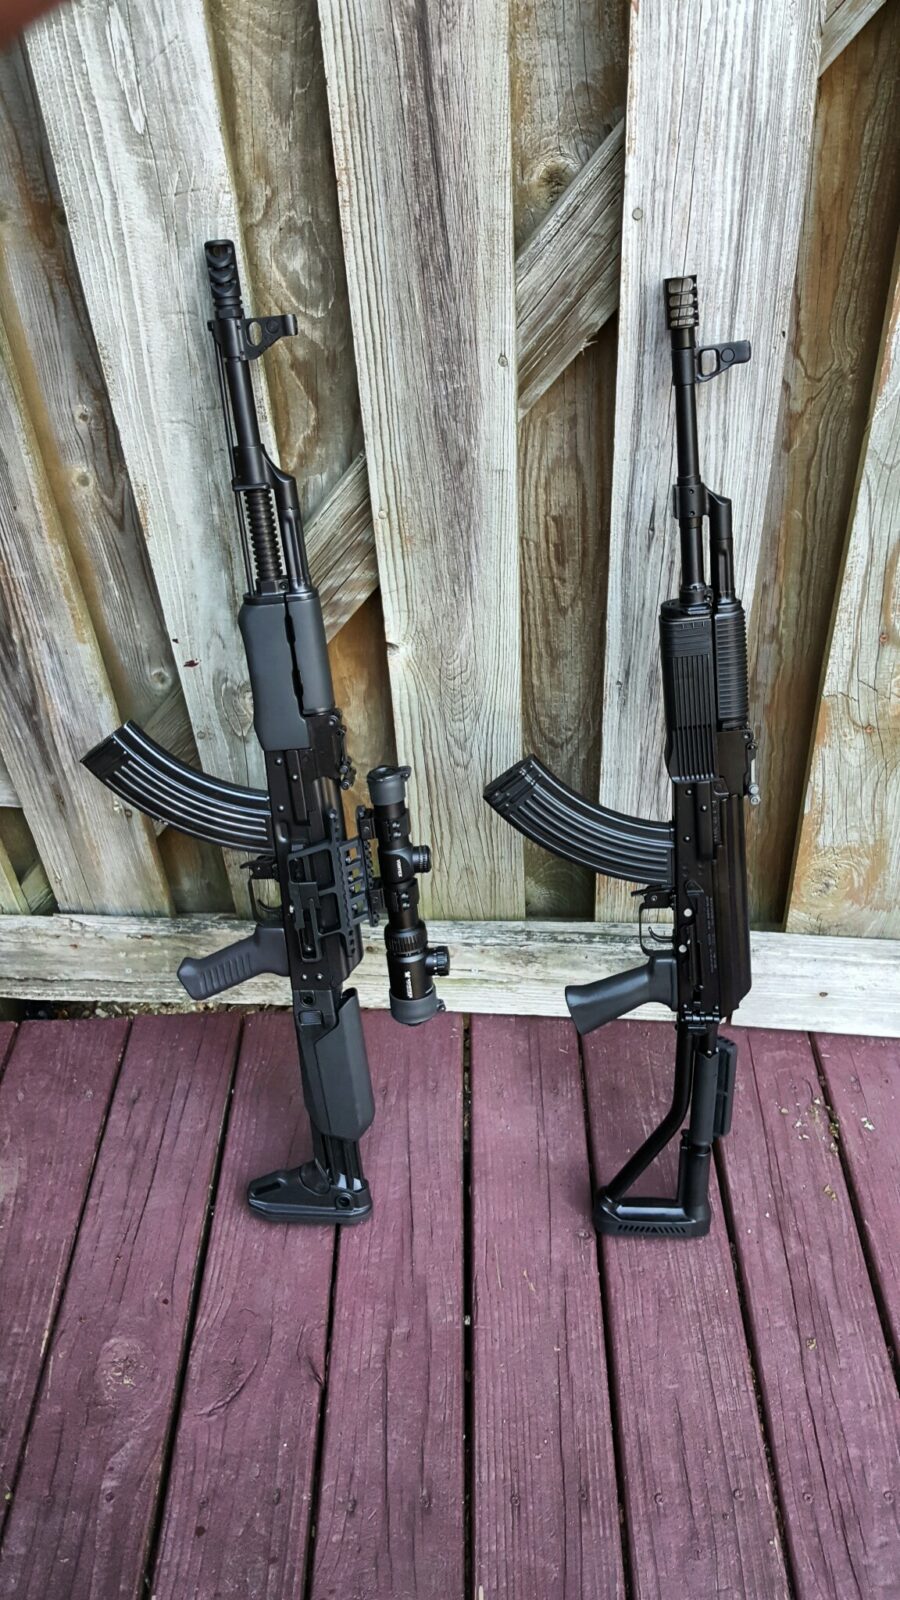
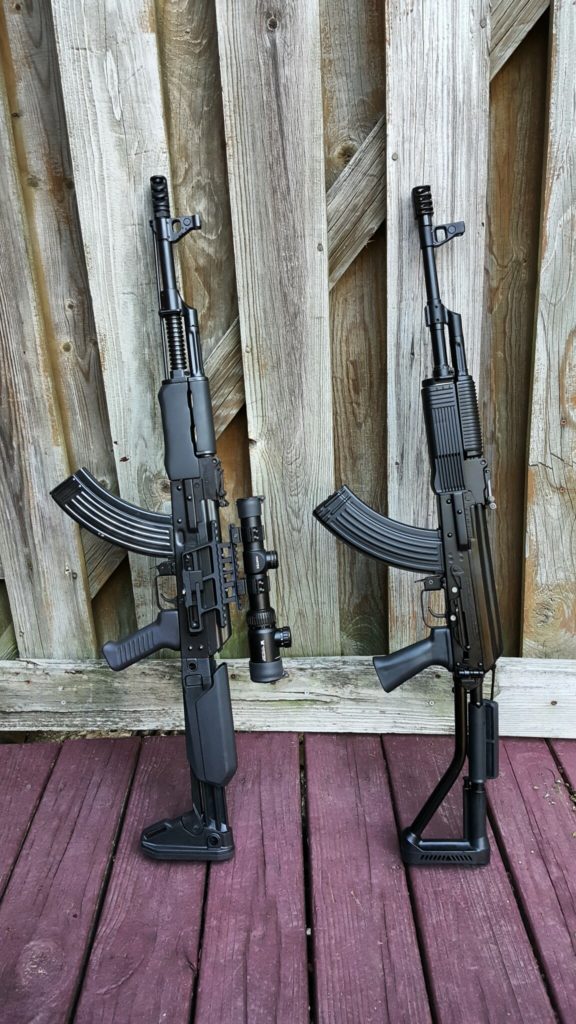
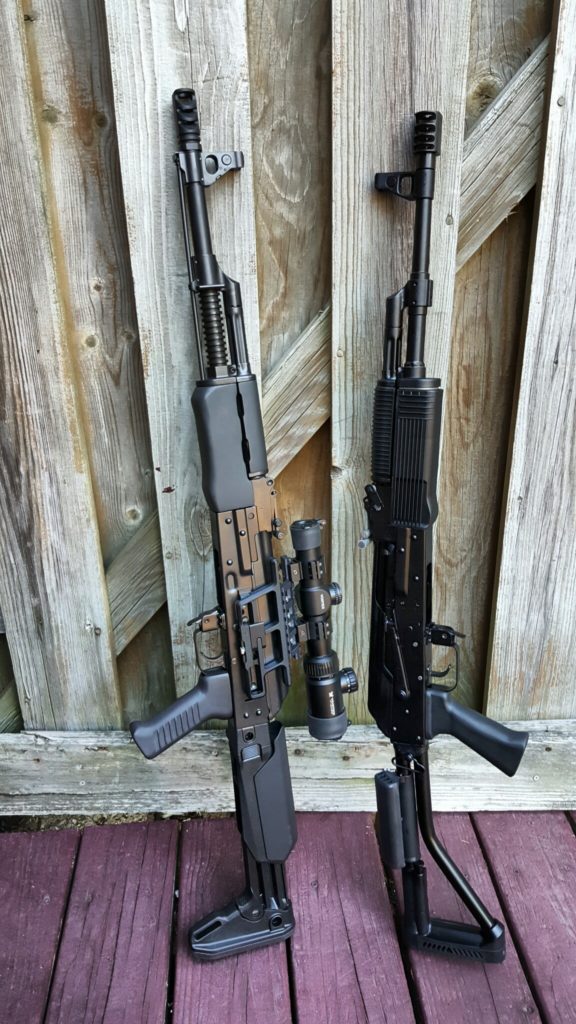
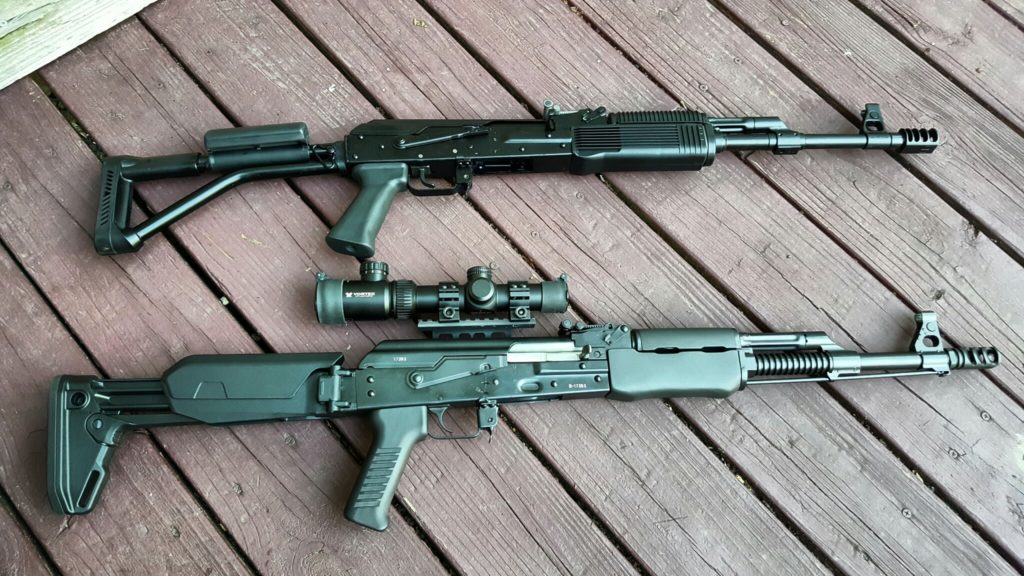
The Custom Yugo M72 Carbine and Vepr FM-AK47-21 Meet

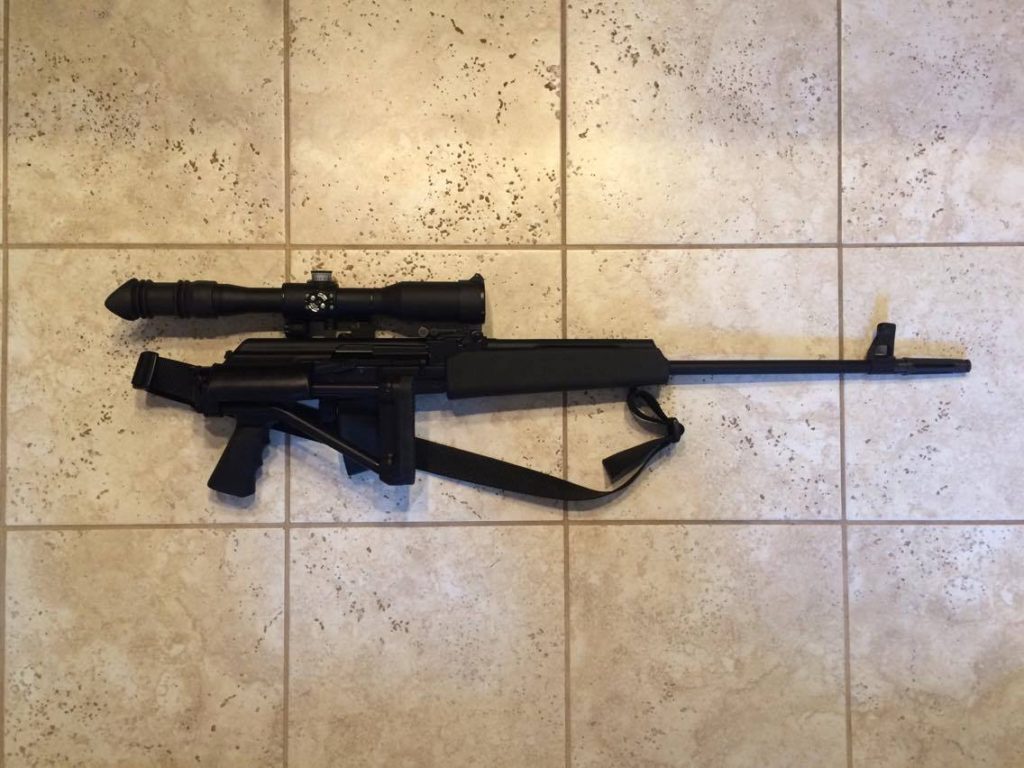
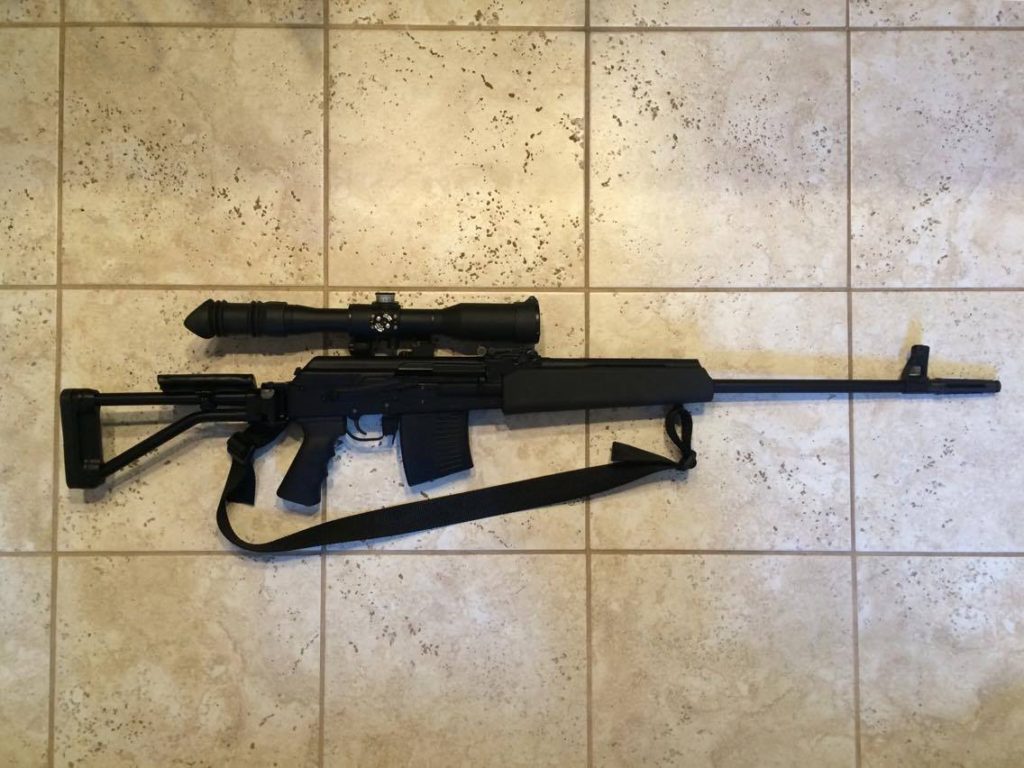
Okay, I had them both out to shoot photos so I had to take some side by side photos.  In case you want to read the blog posts about each rifle, click here for the Yugo M72 Carbine or here for the Vepr FM-AK47-21.


If you find this post useful, please share the link on Facebook, with your friends, etc. Your support is much appreciated and if you have any feedback, please email me at in**@ro*********.com . Please note that for links to other websites, I may be paid via an affiliate program such as Avantlink, Impact, Amazon and eBay.


Finally got a Russian Vepr 7.62x39mm Side Folder – The FM-AK47-21

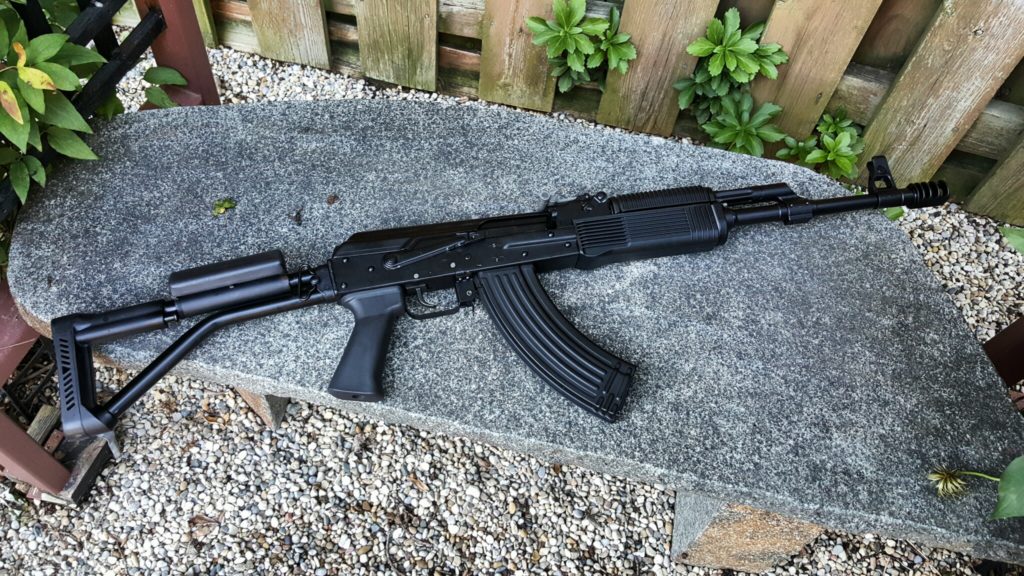
Well, the when I heard the Treasury Department blocked further importation of Veprs, I jumped and bought the FM-AK47-21 that FIME imported.  I’ve owned a number of Molot Veprs over the years so I knew I would be getting a quality rifle.  I’d not bought one earlier because I didn’t see the need to rush – then the Treasury blocked them and that caused me to pull the trigger.  So, I rushed and ordered one from Classic Firearms and had it delivered to my FFL, Scott Igert of Modern Antique Firearms.  Here’s what showed up:

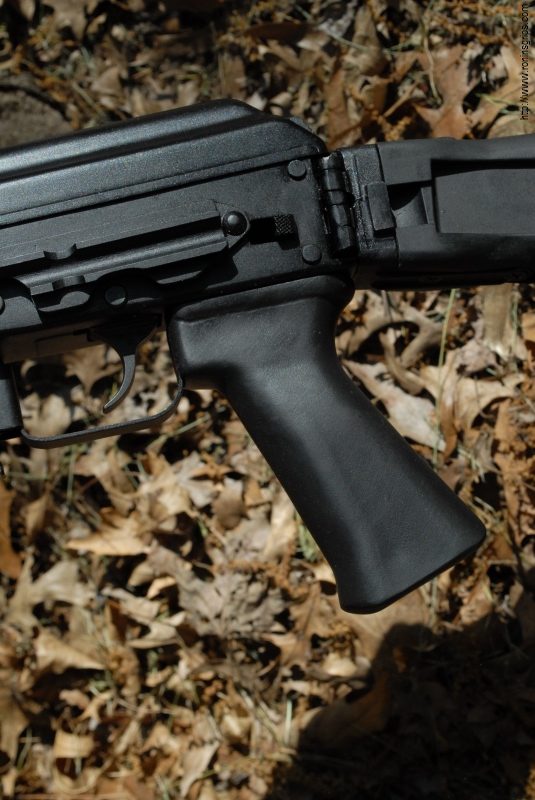
It’s one solid rifle.  As usual, Molot did a great job – fitment is excellent, heavy 1.5mm RPK receiver, heavy barrel, RPK recoil spring guide rod, pretty good trigger and cool folding stock.  Things I don’t like – the folder hinge is going to make installing an optic rail interesting, the grip is way too small for my hands (Gee, I know a guy who makes grips that will fit).  I’m also not a huge fan of the ribbed RPK handguard.  I get that it would help with insulation on a full-auto RPK but I find the ribs annoying.  I may make a polymer version of the Russian wood originals – it’s something I’ll need to think about.

It shipped with a tiny 5 round magazine but at least it is a double stack.  I’ll replace it with normal AK mags.  I bought a bunch of rock solid Romanian steel mags years ago and that’s my go-to magazine for reliability and looks.  I used a Romy for the photos in this post.

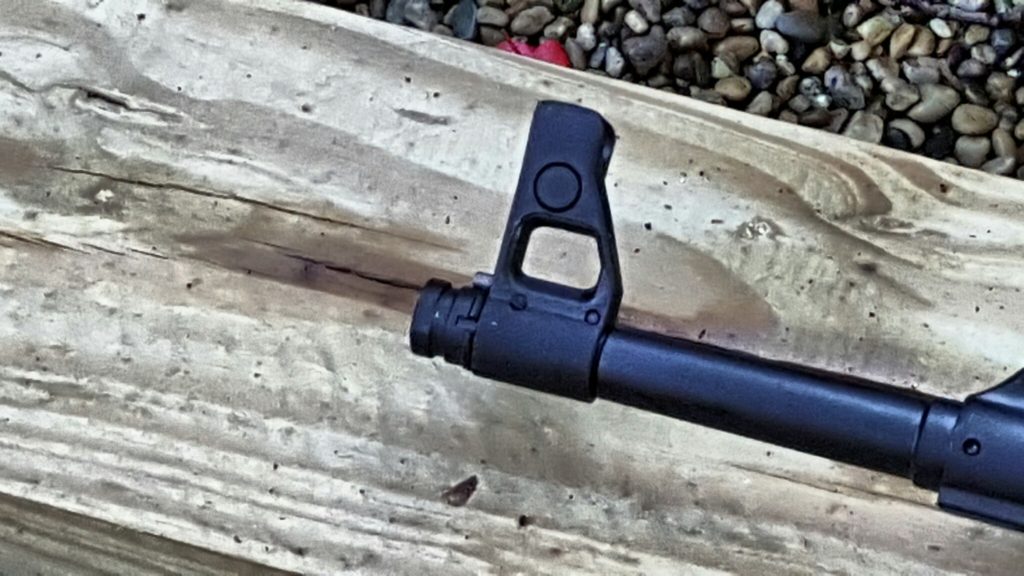
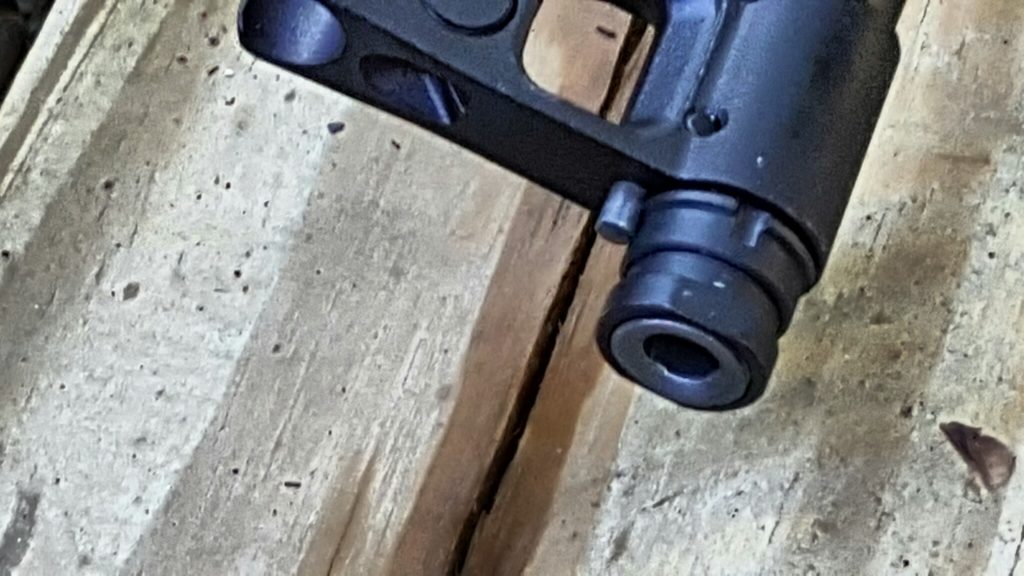
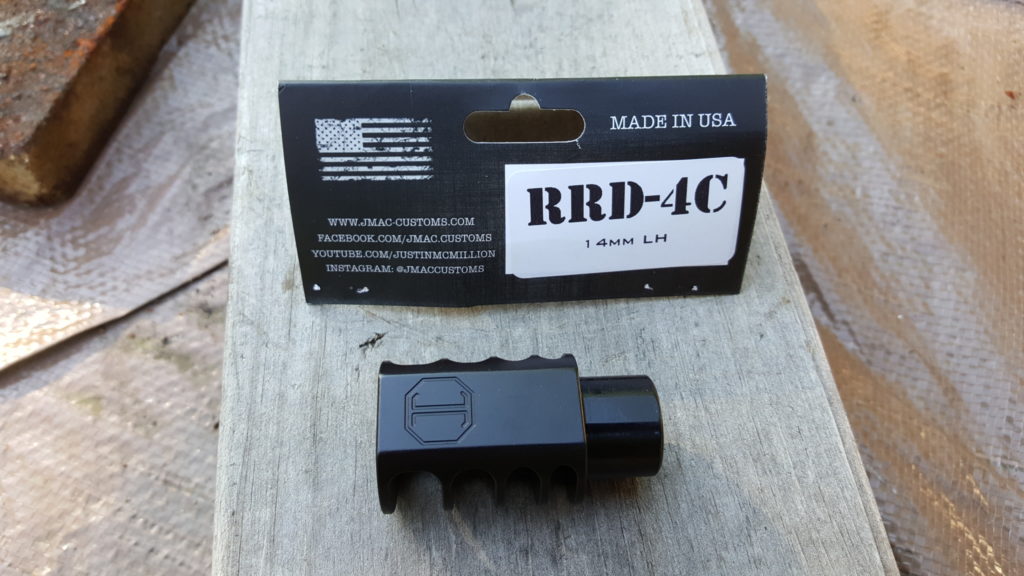
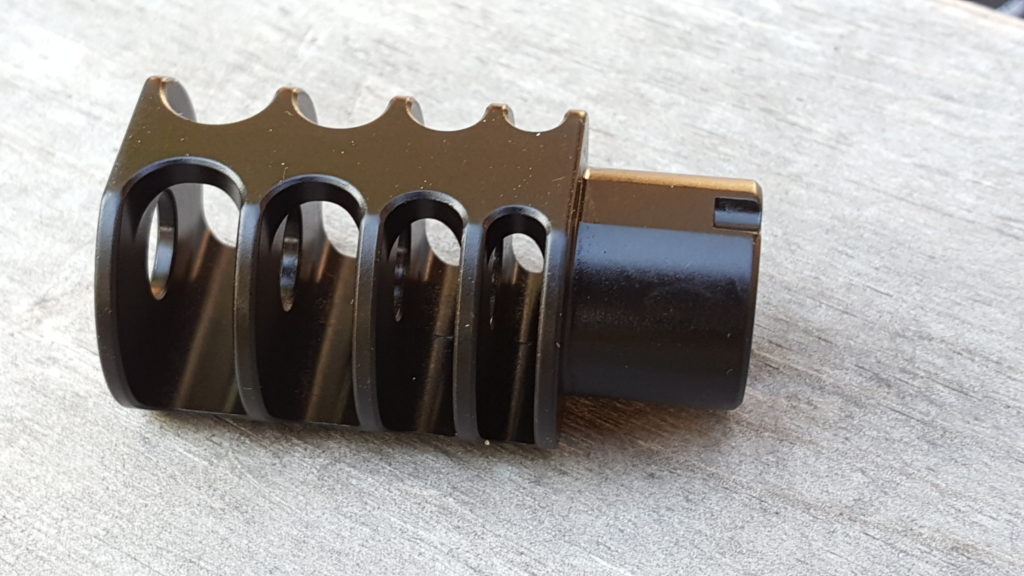
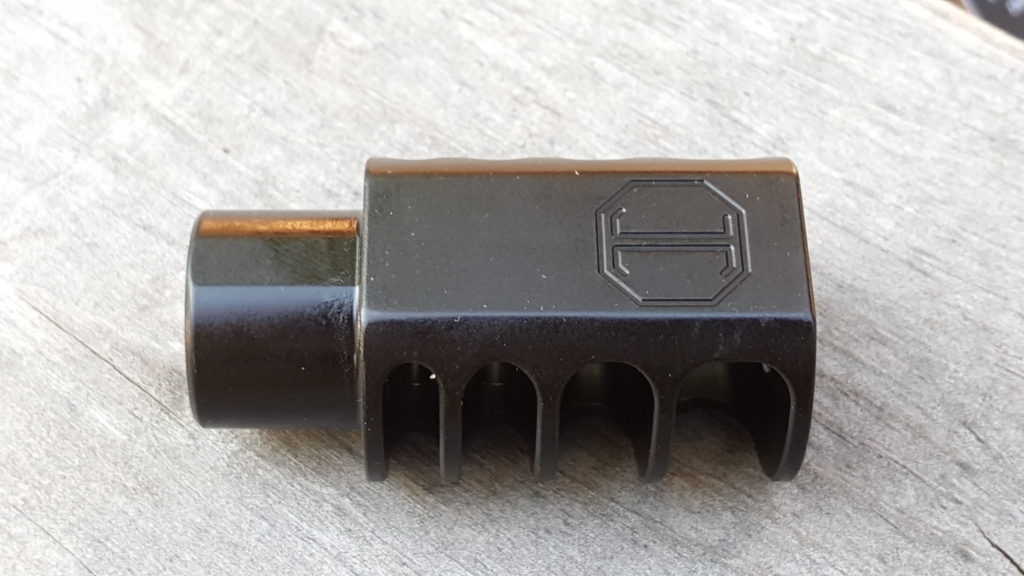
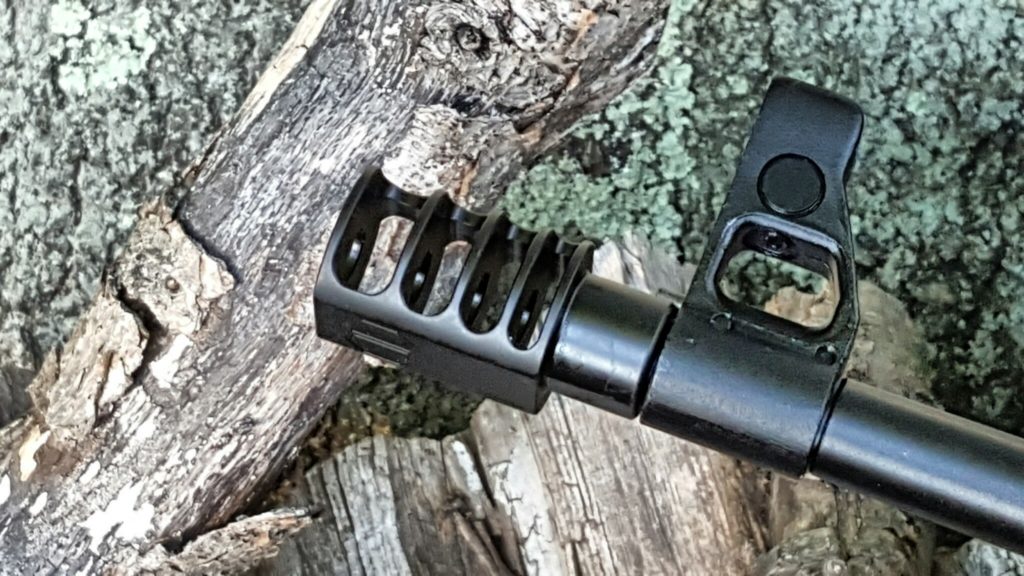
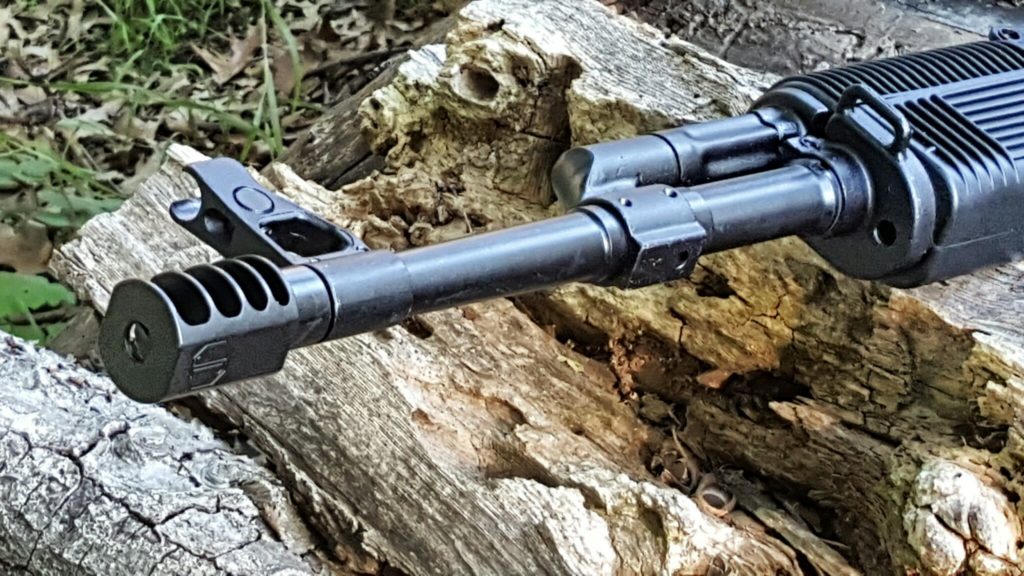
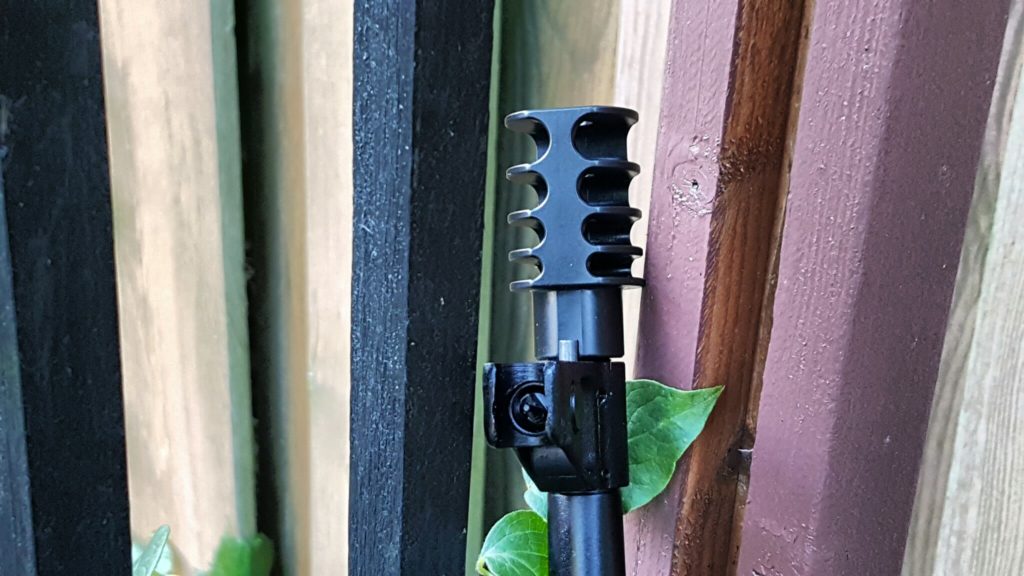
So, I decided to go ahead and make some changes right up front.  I wanted a good muzzle brake so I reached out to Justin McMillion at JMac Customs.  We talked about my desire for a good brake and he recommended his RRD-4C which comes with the required 14mm x 1mm left hand thread.  He shipped fast and the quality of the machining and finish are excellent.  I like the way the porting is done.  With the top opened up, the gasses will vent up pushing the barrel down.

To install it, I pushed the spring loaded detent to release the muzzle nut and then turned it clock wise for removal – AKs are reverse threaded so you do the opposite to remove or install them.  I then threaded the RRD-4C on and was done in just a few minutes.


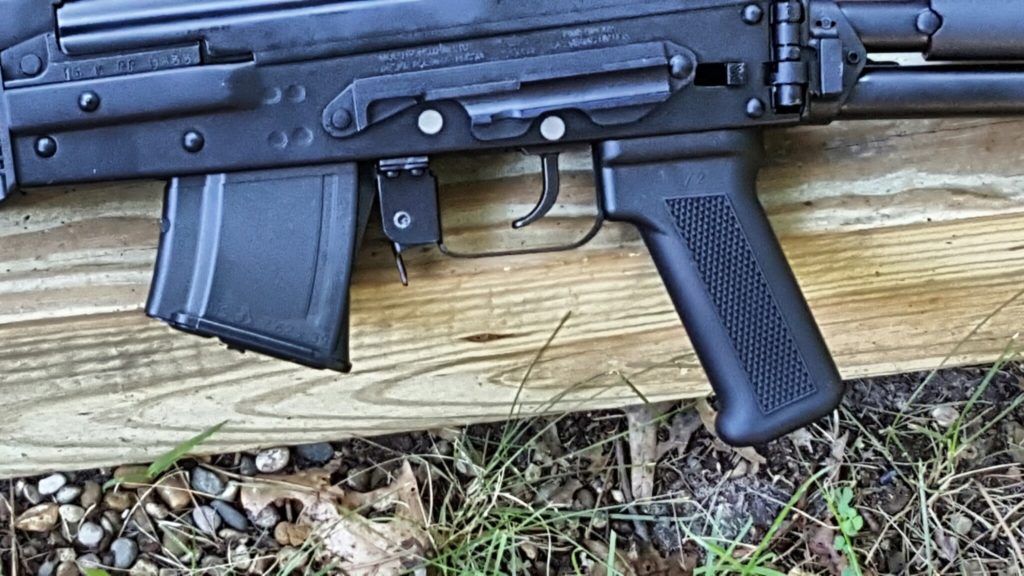
Next, I cast, drilled and finished a black Molot Generation II grip for the rifle.  I thought about using a Bulgarian ARM-9 but decided a Russian designed grip made more sense on a Russian gun – or at least it made sense to me.  I may yet go to the ARM-9 but the Molot Gen II feels pretty good.  To install it, I then removed the dust cover (you will need to hold the grip nut in place later), took out the recoil spring assembly, unscrewed the original grip and removed it.  I then held the grip nut in place with one hand and installed the Molot Gen II using one of my heavy duty grip screws (they have a bigger head and are an alloy hardened to 12.9) to secure the grip.

So here is the rifle at this point.  I’ll decide about the optics later.  I may well go with a RS!Regulate mount and Vortex Strike Eagle but that is a project for a later date.


If you find this post useful, please share the link on Facebook, with your friends, etc. Your support is much appreciated and if you have any feedback, please email me at in**@ro*********.com . Please note that for links to other websites, I may be paid via an affiliate program such as Avantlink, Impact, Amazon and eBay.


News: Vepr rifles now on the banned list – June 20, 2017

Well, this sucks – Molot, the maker of Vepr rifles and shotguns has been added to the treasury’s list of people and organizations US businesses can’t engage in commerce with.

Here’s the website source:  https://www.treasury.gov/resource-center/sanctions/OFAC-Enforcement/Pages/20170620.aspx

MOLOT-ORUZHIE, OOO (a.k.a. OBSHCHESTVO S OGRANICHENNOI OTVETSTVENNOSTYU ‘MOLOT-ORUZHIE’; f.k.a. OBSHCHESTVO S OGRANICHENNOI OTVETSTVENNOSTYU PROIZVODSTVENNO INSTRUMENT KACHESTVO), 135 ul. Lenina, Vyatskie Polyany, Kirov Obl. 612960, Russia; Registration ID 1094307000633 (Russia); Tax ID No. 4307012765 (Russia); Government Gazette Number 60615883 (Russia) [UKRAINE-EO13661] (Linked To: KALASHNIKOV CONCERN).

Notice the part I set in bold black – linked to Kalashnikov Concern.  It may be because Molot was bankrupt and the speculation was that only Kalashnikov Concern was in a position to buy them.

FIME has not commented yet – they are the importer and their website is at:  http://www.fimegroup.com/home.php

So, we’ll see what happens next but do expect supplies of Vepr rifles to be limited/run out on the primary market and prices to rise.

How to cut the folding stock weld on a Vepr IV

Back in 2014 I bought one of the 5.56 Vepr IV RPKs.  Boy was it nice but it had a folding stock that was spot welded.  I installed a Tapco G2 FCG, the appropriate muzzle device and one of my Molot Gen 2 grips and then US mags.  I’d planned to replace the gas piston but wound up selling the rifle to fund other projects.  I did, however, snap some photos.

The rifles were amazingly allowed into the US and were gorgeous but I could not abide by the tack welded open stock or funky US grip.  First, I removed the butt stock to get it out of the way and protect it.  I then used my cordless Dremel with a cut off wheel to slice the tack weld enough to pull it open and then sanded the edges smooth.


I then applied Brownells’ Oxpho Blue to the fresh bare steel to blacken it.  The end result – you’d never know the tack was there.


To the left is the grip that IO put on the rifle when they imported it.  To the right is my Molot Gen 2 grip and it is in subsequent photos also.  We make each grip by hand here in Michigan so they count as a 922r compliance part.

Like so many of my firearms, it sat in the safe for a year or two and I never hard time to fire it.  Eventually, I decided to sell it to fund other projects.

7/20/19 Update:  This rifle is #1 on my list of “I wish I never sold it”  They are worth a fortune now.


If you find this post useful, please share the link on Facebook, with your friends, etc. Your support is much appreciated and if you have any feedback, please email me at in**@ro*********.com . Please note that for links to other websites, I may be paid via an affiliate program such as Avantlink, Impact, Amazon and eBay.


Check out Frank’s New Hog Rifle – A Vepr With Our Stock Set

Check out Frank’s New Hog Rifle – A slant back Vepr With Our Stock Set.  What Frank did that I think is really neat is that he machined the slots into our Vepr handguard.  The urethane pastic we use is glass fiber reinforced and acts like a hardwood – you can easily route or mill it with a cutting bit.


VEPR Hog L VEPR Hog R

If you are interested our Vepr furniture, you can buy individual pieces or the set at:  http://shop.roninsgrips.com/Vepr-Furniture_c16.htm


How To Install Ronin’s Grips’ Vepr Furniture Set

Ronin’s Grips Vepr Furniture Installation Notes

Version 1.7  1/27/2014

First and foremost, please ensure your rifle is unloaded and a round is not in the chamber.  Please be safe!

In general, the urethane plastic we use for the buttstock and handguard will behave like hardwood when it is being cut.  Thus, if you choose to install something, follow the guidance for a wood stock in terms of hole sizes to drill, tools to use, etc.  Note, the plastic has very little give and forcing parts together will risk stress fractures.  Make sure they seat/fit in a square even manner.

The following are installation notes for each component of our Vepr rifle furniture system.  What you need to install will depend on what you purchased.

Buttstock

The buttstock is attached to the rifle’s rear trunnion via two #10×7/8” screws.  The urethane plastic we use is very hard and ideally the hole for the screw should be drilled with a #21 (0.1590”) drill.  Take care to ensure the stock is centered before locating and drilling each hole.

Tip:  If for some reason you need to drill a new hole, the old hole can be filled with quality epoxy cement and allowed to cure per the instructions of the glue. To fill a deep hole, either run the epoxy down the side or use something long and thin, such as a toothpick, to get the epoxy to the bottom.

For durability, use a longer setting high-strength epoxy as the quick 90-second, 5-minute and 10-minute epoxies are prone to “sugaring” or breaking down with constant jarring.  JB Quickweld, Brownell’s Acraglas (our recommendation) and DevCon industrial epoxies (such as “Plastic Steel”) are all good choices.  If you want to color the epoxy black, add a bit of black powdered tempera paint to the mix while stirring thoroughly.

Please note that if you buy the buttstock without a recoil pad, you must add one to protect the end of the stock from abrasion.

Optional Recoil Pad

The recoil pad is secured to the rear of the buttstock via two #10×3/4” screws.  Again, be sure to drill a hole first with the recoil pad centered on the stock.

If you want to blend the pad to the stock, put a thin film of black RTV silicone on the buttstock and use your finger to smooth the edge between the stock and the pad.  This is for looks only – the screws must still be used to secure the pad in place.  If you decide to do this, fit the pad first and have everything ready.  Then remove the pad, add the thin amount of RTV, put the pad back on, tighten the screws and then blend the silicone with your finger.

Handguard

There are two key things you need to know about the handguard:

First off, there is a special 13mm wide x 5mm thick spacer in the bag with the screws.  It must be used between the handguard and the barrel lug to get the angle correct.  The original Vepr screw is used and the special spacer is mandatory.  If you lose the spacer at some point down the road, stack 6mm washers from the hardware store to get the necessary space between the barrel and the handguard.

Second, with the spacer on the screw, swing the handguard into place but do not tighten the screw.  The Vepr handguard sometimes fits tightly and you don’t want to adjust the screw hole if the unit isn’t fully seated at the rear in the receiver.  Carefully remove the screw, leaving the spacer properly positioned and look down in the hole and check the alignment between with the screw hole in the forearm and the hole in the barrel lug.  You may need to use a circular file to carefully “slot” the handguard hole just a bit to get proper alignment.   It is very important that you make sure the handguard is fully seated to the rear before you make any changes. Take a little off and test over and over– go slow and don’t rush.  Use the oblong washer that came with the stock to reinforce the hole.  If the handguard does not rest squarely against the receiver you will risk the handguard cracking by the barrel lug as it will be placed under undue stress during firing.  So, take your time slot the hole as needed.

Care of the Handguard and Buttstock

The handguard and buttstock are made from our proprietary urethane plastic that is machinable.  This means you can drill, cut, sand, abrasive blast and so forth.  When we build the furniture, we sand to 180 grit and then use 80 grit AlOx blast media at 90 PSI to frost the plastic.

If something chips or gets scratched at some point in the future, sand with 80 grit, then 100-150, then 220, then 320 then 400.  Another option is to repair the scratched area and then abrasive blast after 150-180 grit sand paper is used.  When making the furniture, we use an abrasive blaster with 80 grit aluminum oxide media at 90-100PSI to create a non-slip surface.  After either sanding or blasting, you can apply a wax based finish as a “top coat”.  The recommended sealer is actually a beeswax blend developed for boots called “Sno-Seal” by ATSKO.  In general, you could use any wax based finish such as clear or black shoe polish, that is then buffed with a cloth.


Thank you for purchasing our furniture.  We truly hope you enjoy it.