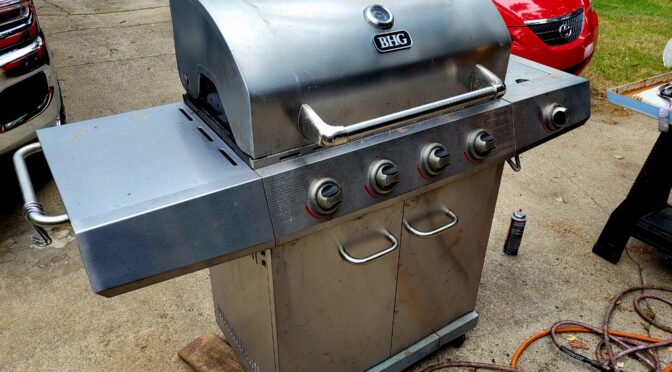
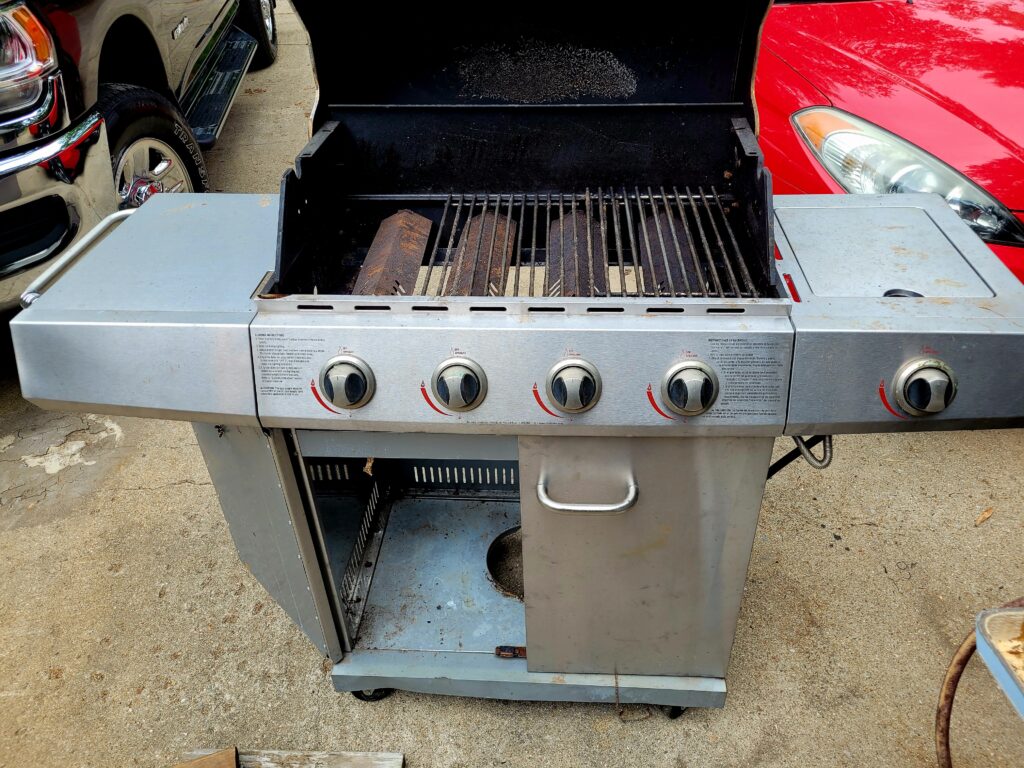
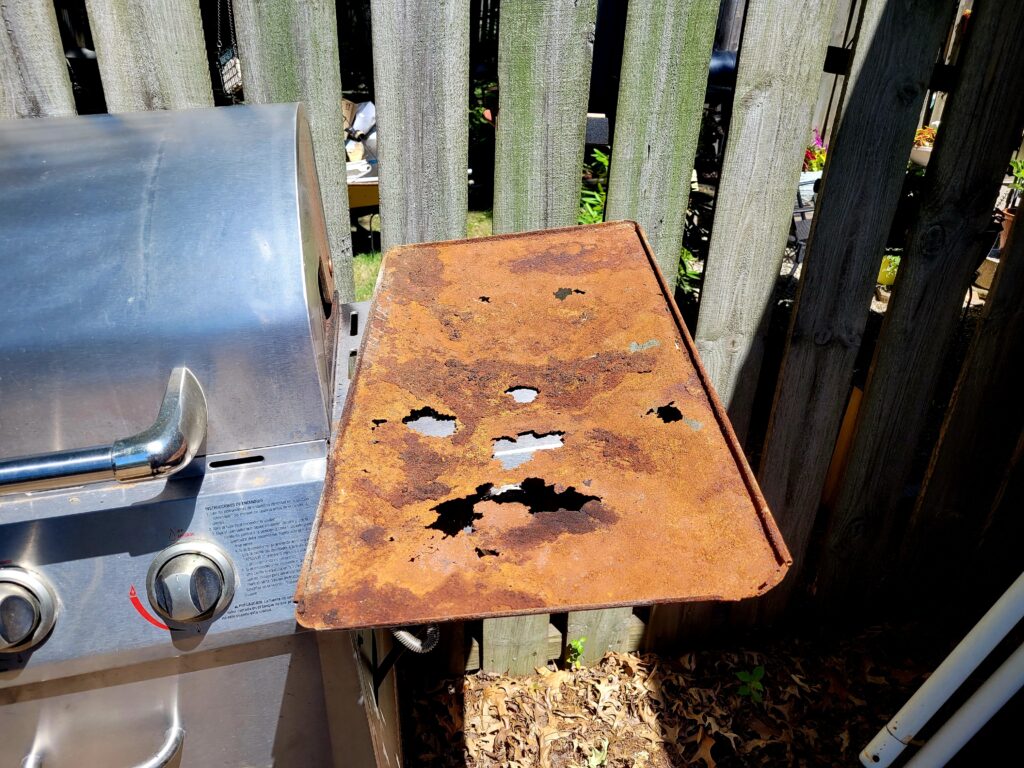
This past June, my wife and I spotted a big stainless four burner BHG gas grill with a side burner at a neighbor’s house set up for trash pickup. It looked to be in a pretty good shape so I stopped and took a look. The drip pan had rusted away and dropped rust everywhere in the grill plus there was minor rusting elsewhere but it was in very good shape otherwise. My wife asked if I could rehab it because we had a bunch of family coming for a visit a month later. I said “yes” so it went in the back of the Highlander leaving a trail of rust everywhere.
What Gas Grill Was It?
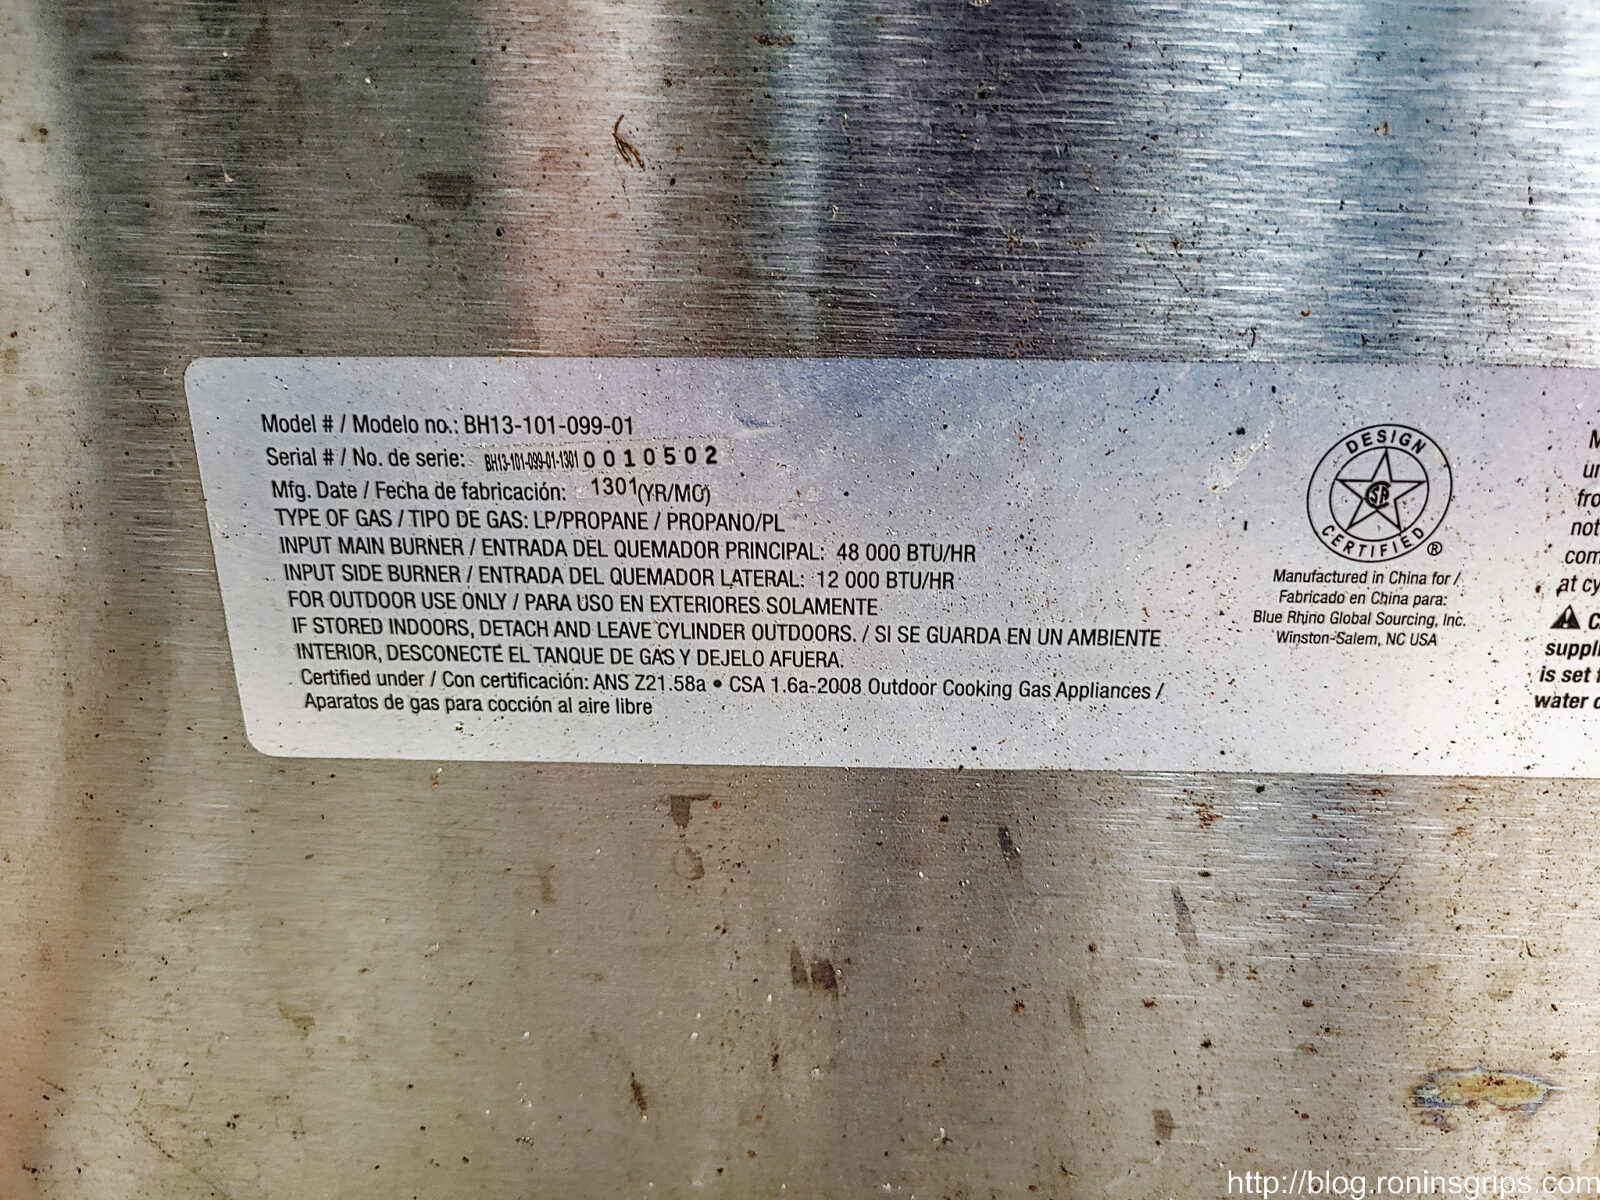
“BHG” stands for “Better Homes and Gardens” and the model number was BH13-101-099-01. I don’t really have much more info than that – it’s a big generic stainless grill that was imported from China by Blue Rhino Global Sourcing. You may not recognize the name but when you see their logo – they sell propane tanks, grills and what have you through a ton of stores under their own brand name as well as Mr. Bar-B-Q, Chef Master, Endless Summer, Grill Mark, Mr. Pizza, and Uniflame. BHG is no longer listed by them so one must surmise other brand names were used in the past as well.
According to a sticker, it was made in January of 2013. From there, I bet they were sold through retail stores but I really can’t find any more details after searching but I will say it appeared to be a decently made gas grill.
Armed with the model number, I could go digging for parts. There is a whole cottage industry of parts suppliers out there when you search but the challenge was finding what I wanted in stock and that the price they wanted plus shipping wasn’t astronomical. In some cases, the part price was low but shipping was sky high.
Note, I also found that most parts places are selling parts that will fit the grill but most advise you to confirm dimensions before you buy. The grill is over 9 years old and these places are selling generic parts – so be sure to check dimensions and even that the seller is legit.
The Drip Pan
Okay, the drip pan was trash. You see, at the end of the day, they are made from steel and salty liquids are dripping on them. If you don’t keep them clean or put foil on top of them, they will eventually rust out.
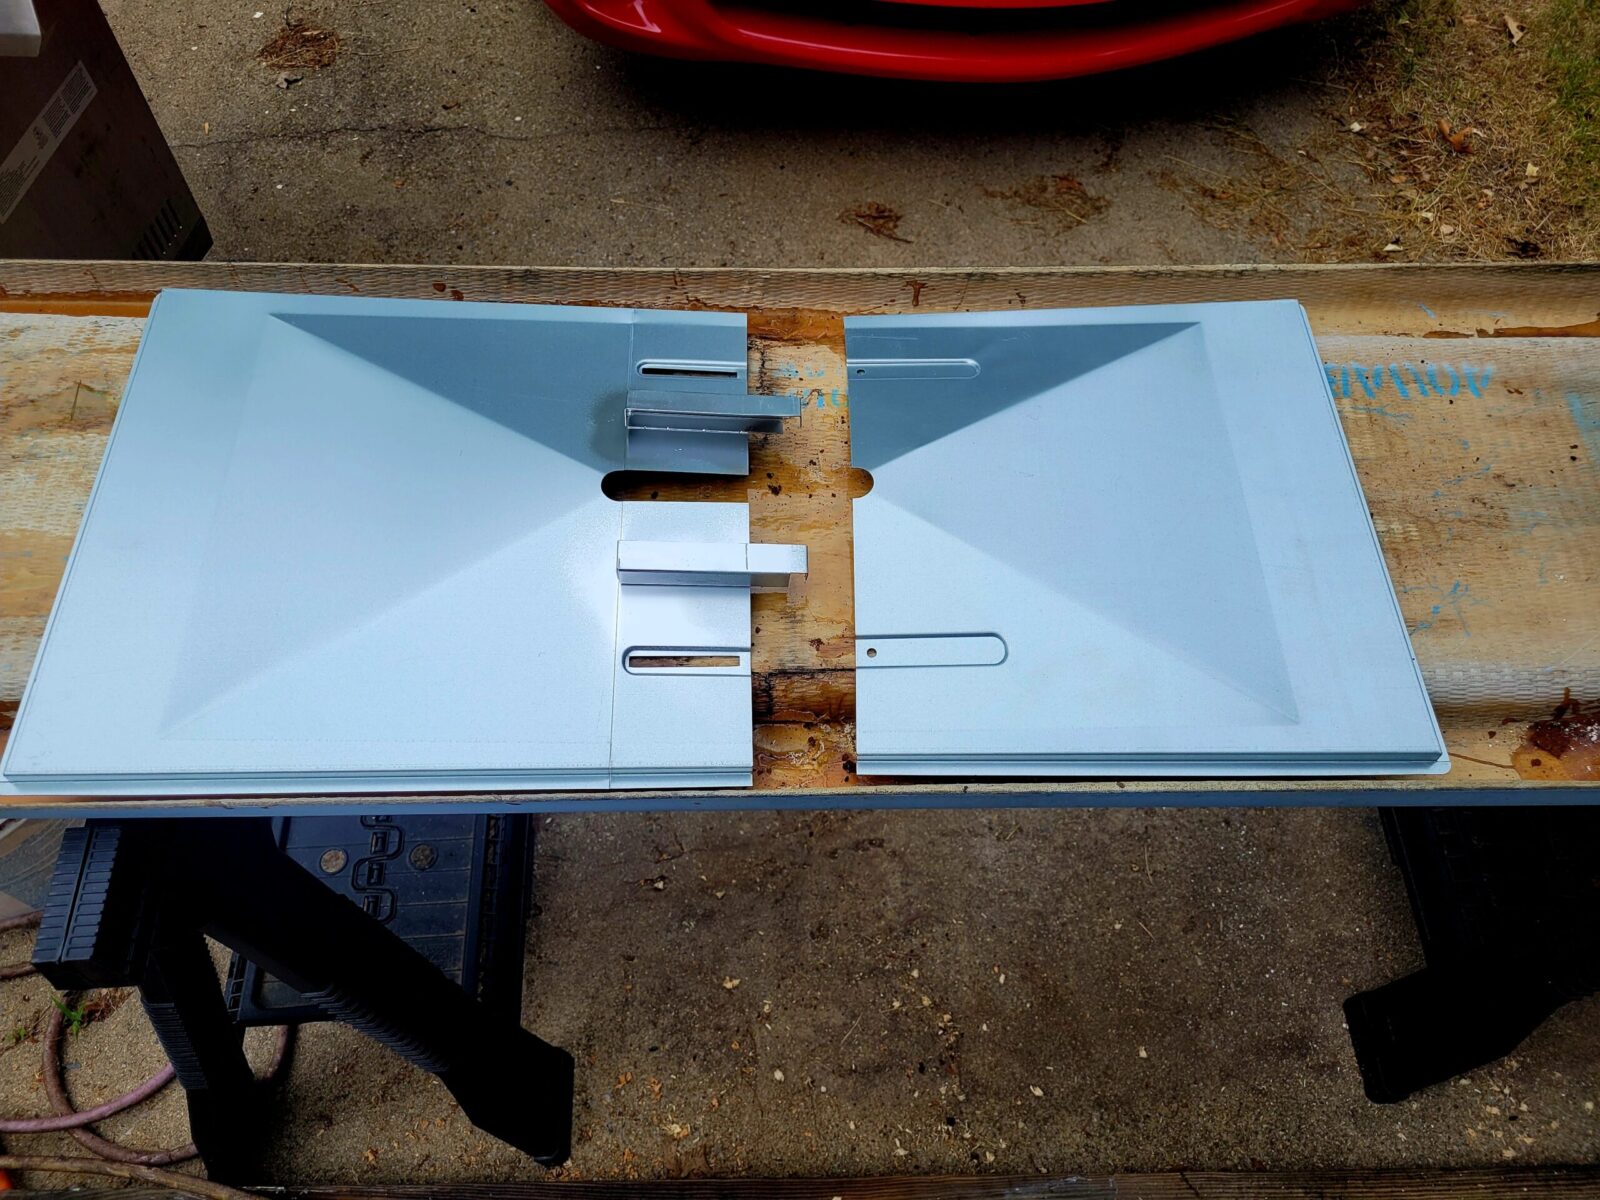
You need to double check the measurement of your pan – mine was a loose fit in the grill so you have wiggle room in terms of dimensions. Mine was about 15-1/4″ deep x 28-5/8″ wide. The replacement pans will all be in the ballpark but you want to make sure that pan reaches from left to right so it is properly supported.
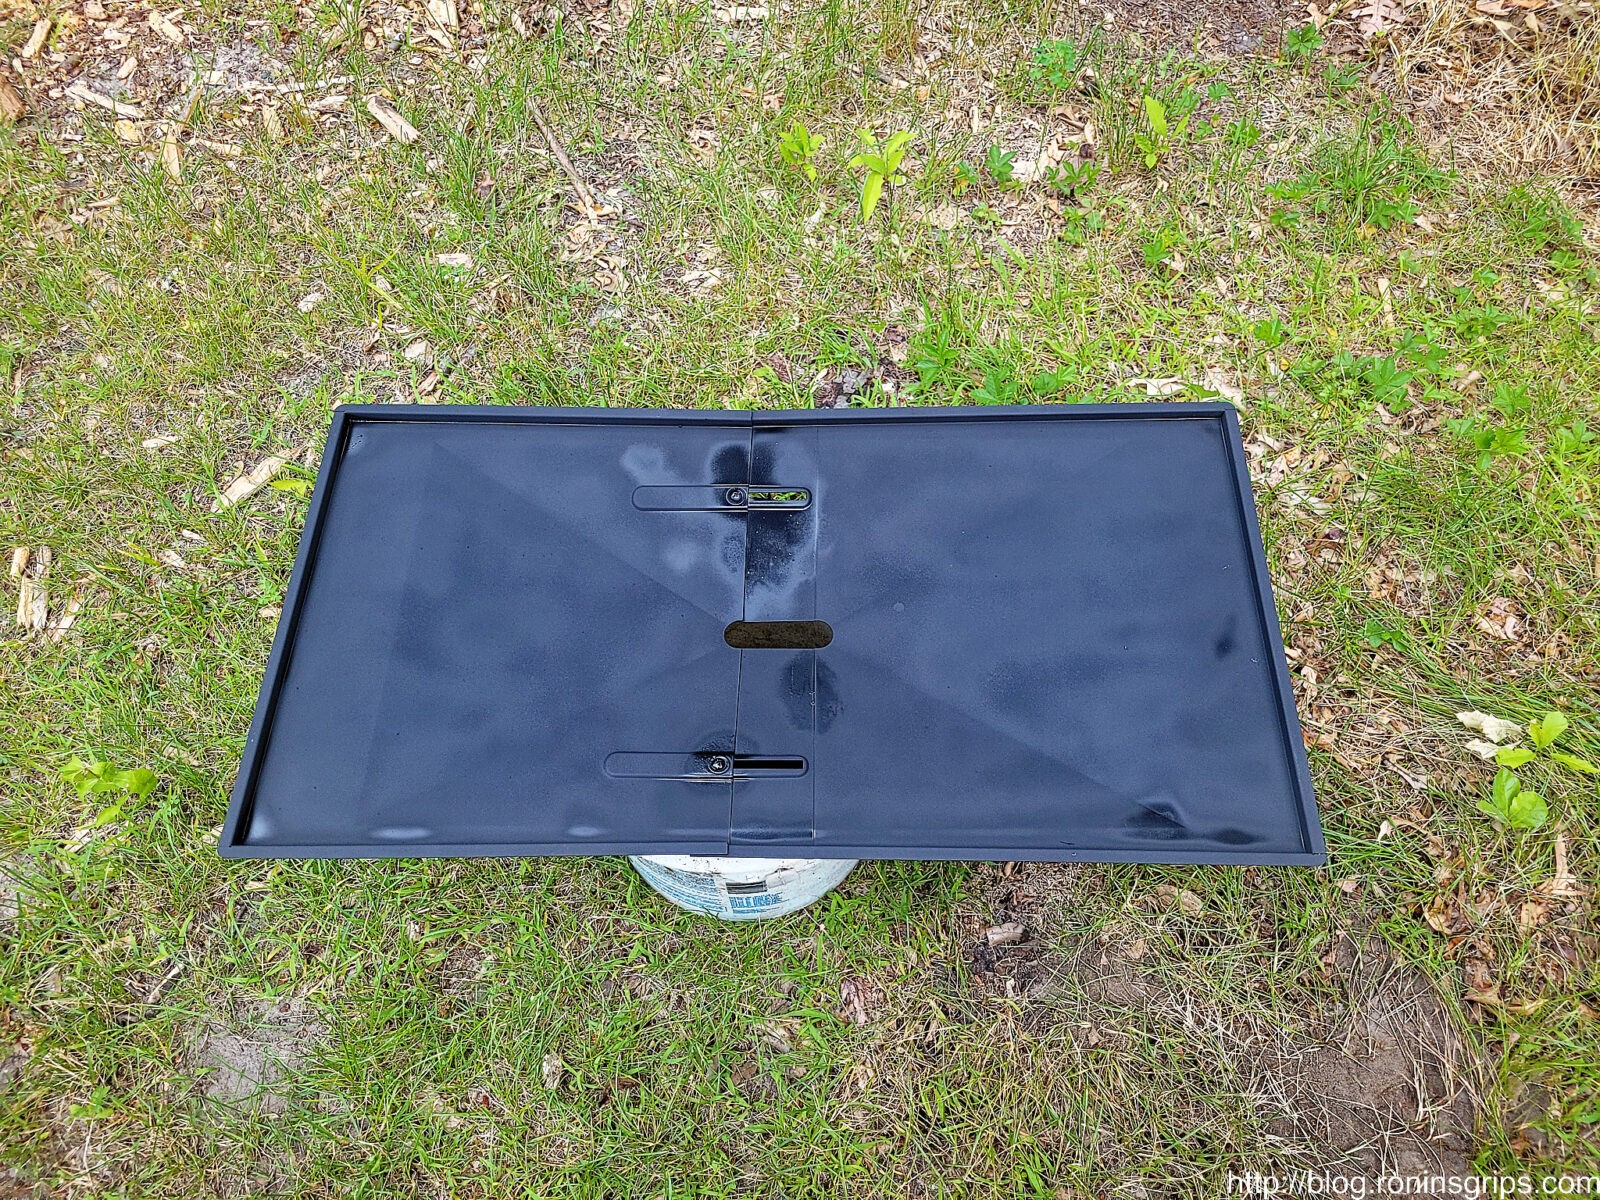
After a lot of digging looking for an affordable exact match to the original pan, I decided to order a 30″ adjustable pan off of Amazon. The problem I was running into was a combination of the total cost including shipping and also lead times and availability. So, I went with an adjustable model and you know what? It’s just fine.
The AJinTebby pan is 15.5″ deep and can adjust from 27 to 30″ wide. Yes, it is pricey at $46.99 but there is a 5% discount coupon you can apply and if you have Amazon Prime, shipping is free (technically it’s factored into the price but you get the idea – it’s a good deal). Click here to open the Amazon page in a new tab.

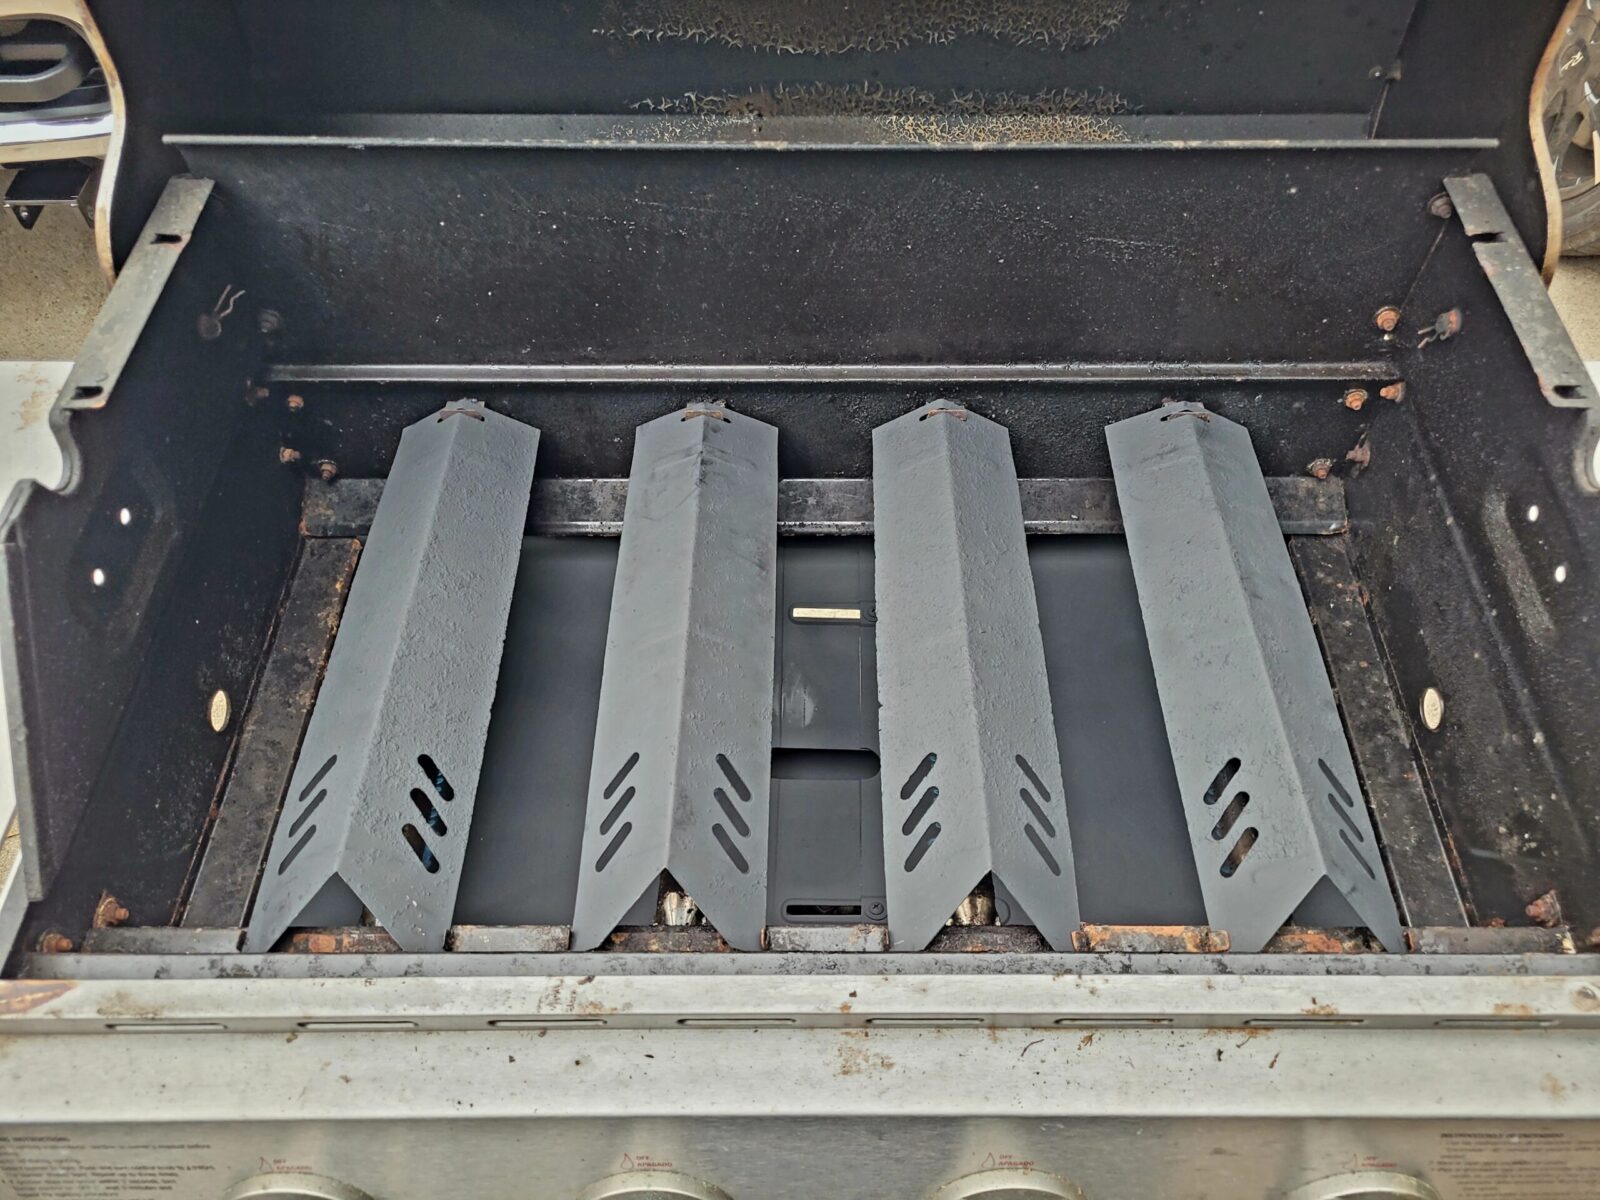
The Heat Plates
I had to decide what to do with the heat plates. They had rusted to the point of being pretty thin – the heating and lots of salty fluids had really taken their toll on them.
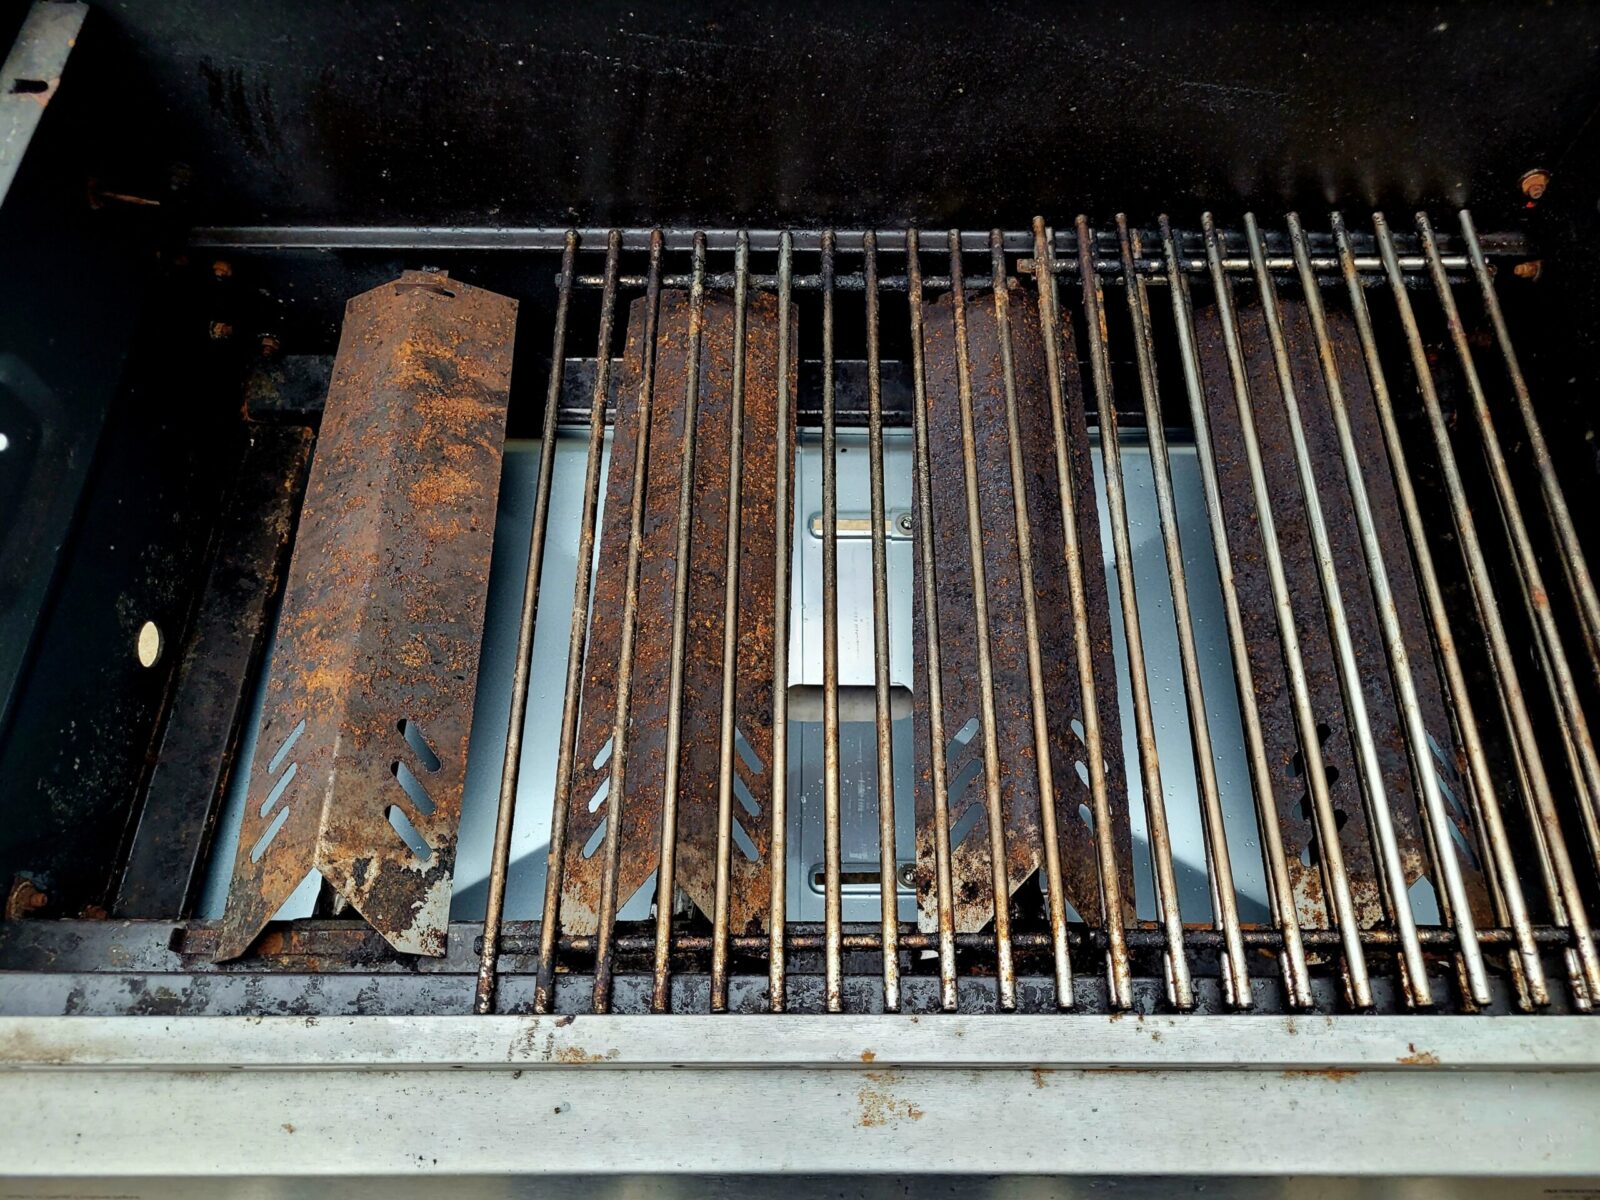
My first thought was to try and save money so painted them with Rustoleum’s Ultra High Temp BBQ paint first to try and save money but I could’t get past all the bumpy look from years of rusting. There are so many affordable replacement options, I decided to go that route.
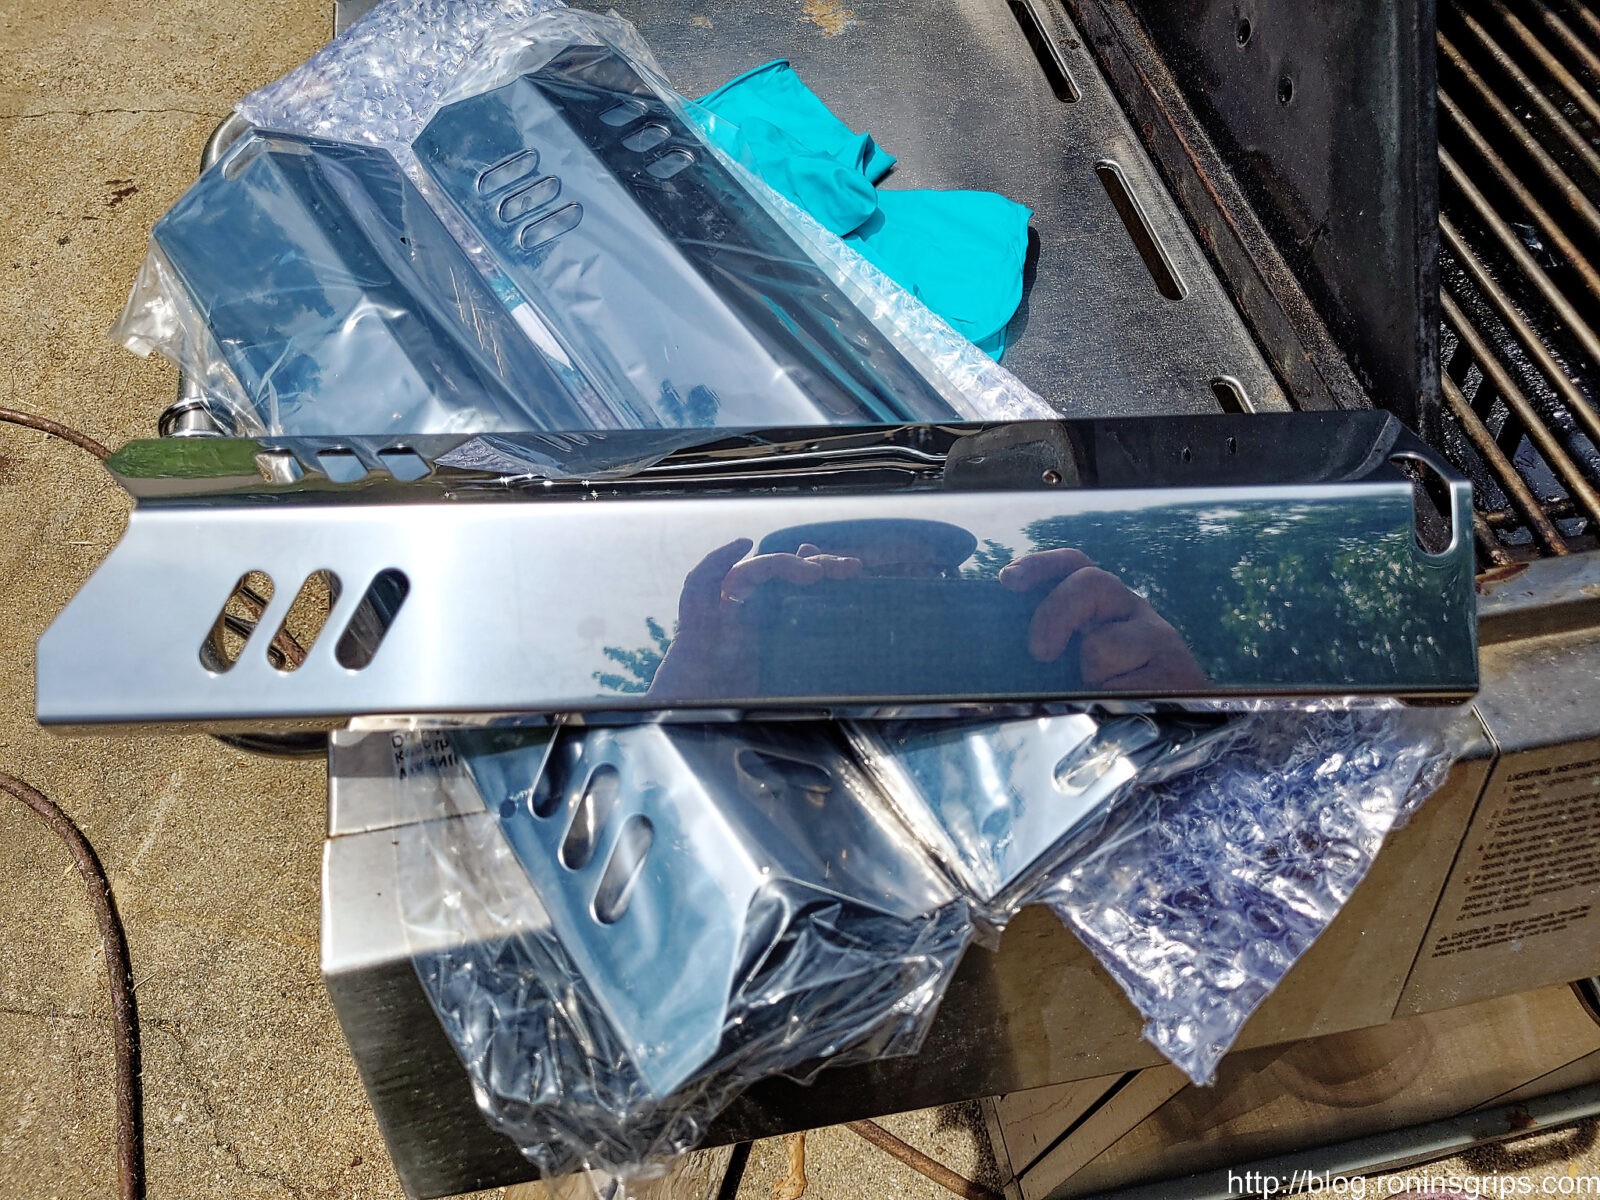
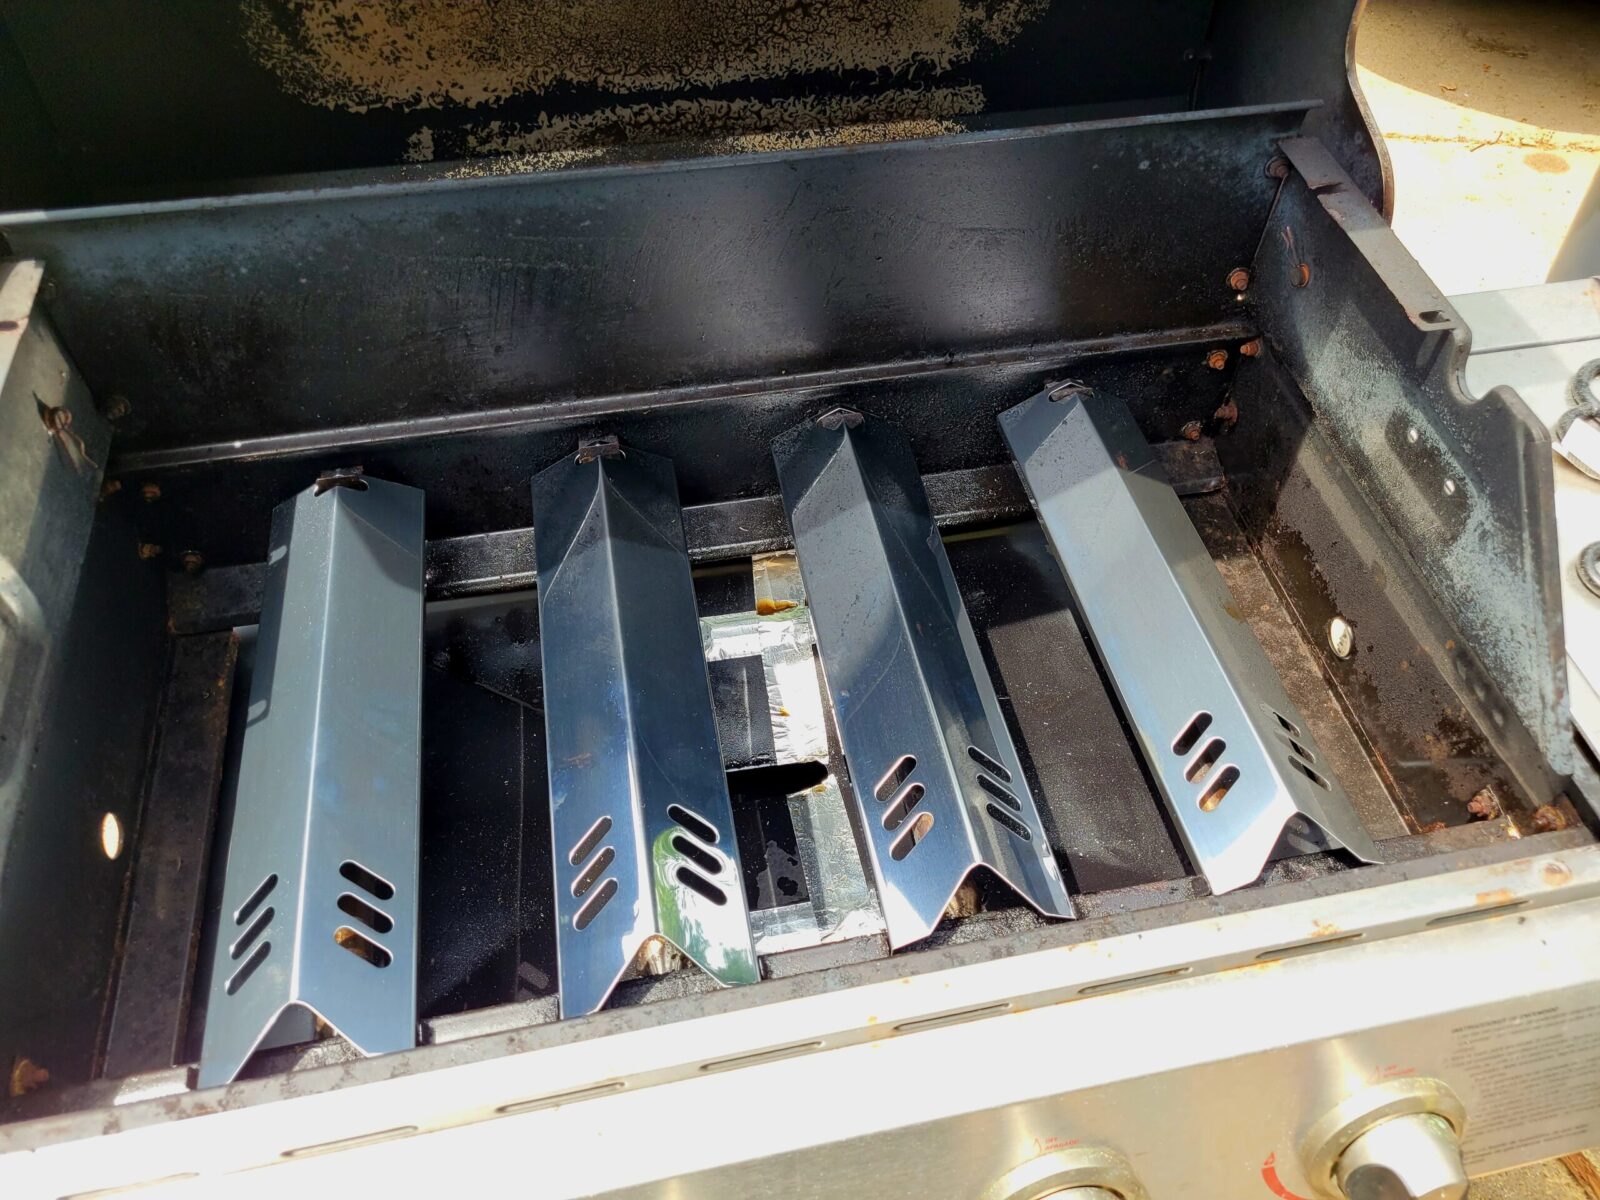
The BHG uses 15″ long x 3-13/16″ wide heat plates and they are very readily available in a variety of metals and finishes. I bought a set of five stainless steel replacement heat plates made by Shinestar off of Amazon – click here to open the listing in a new tab.
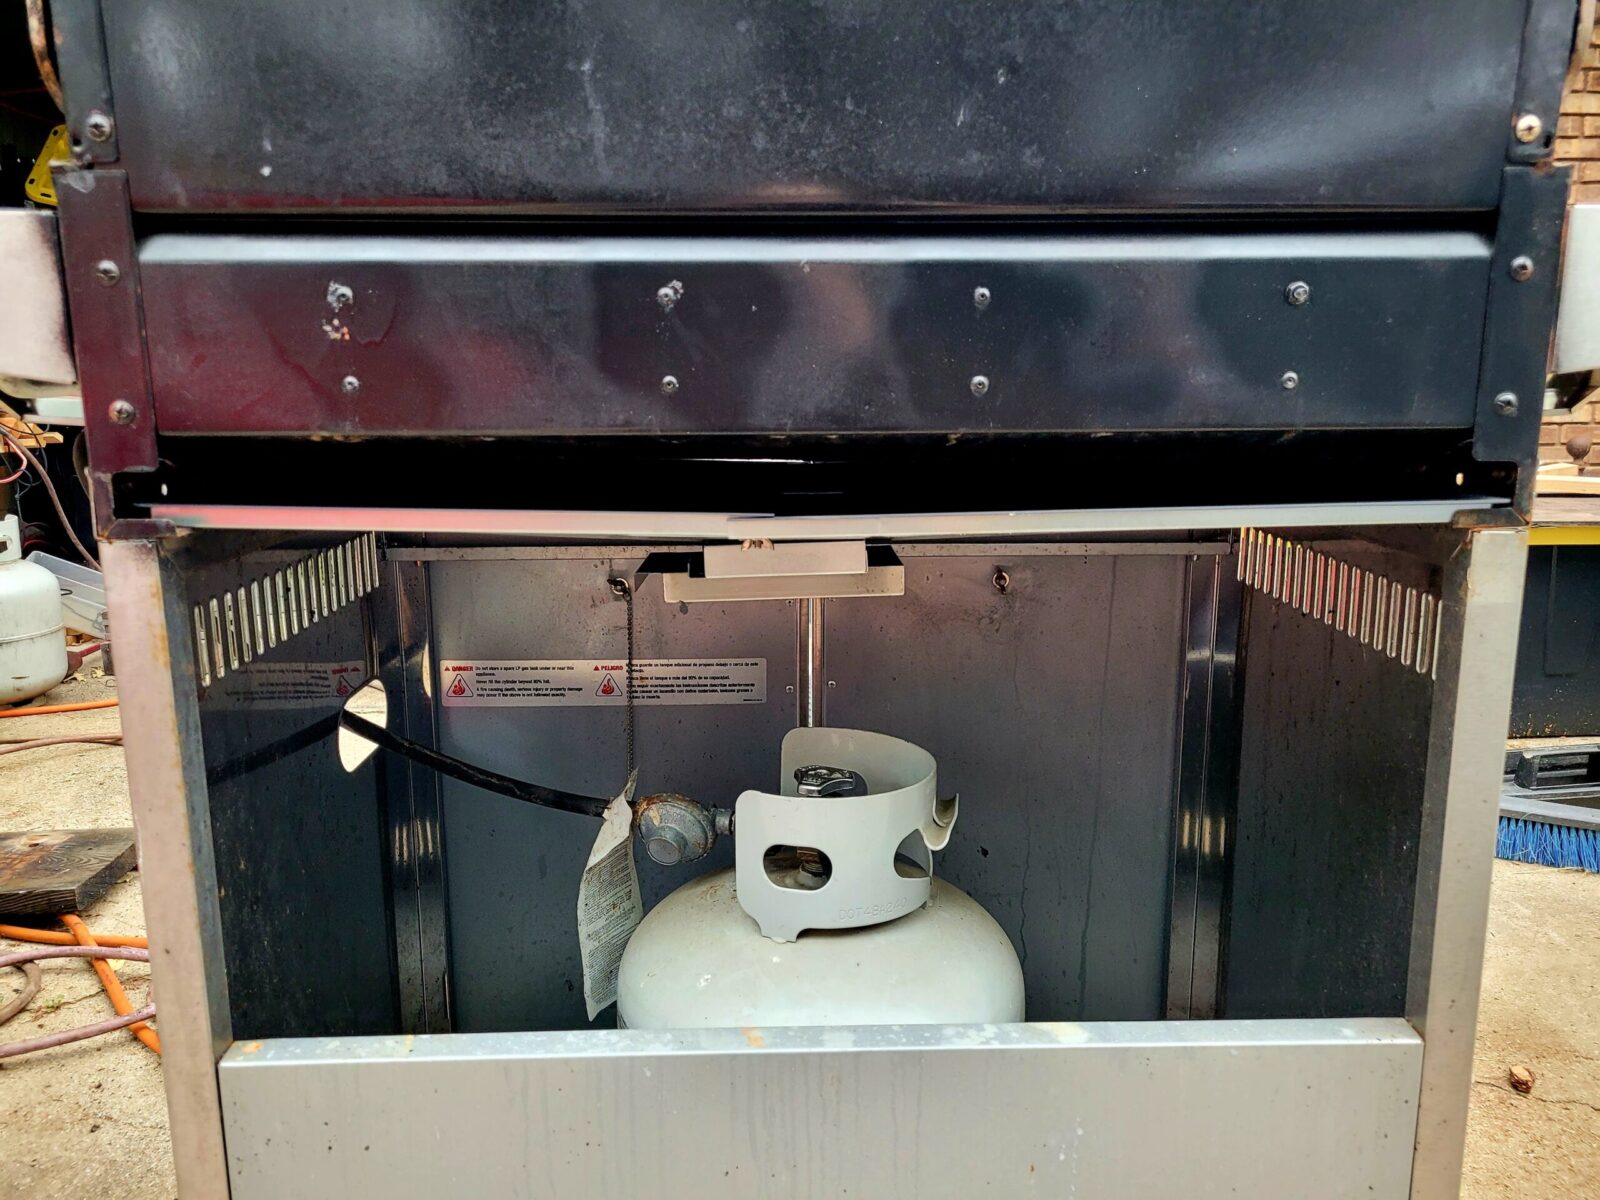
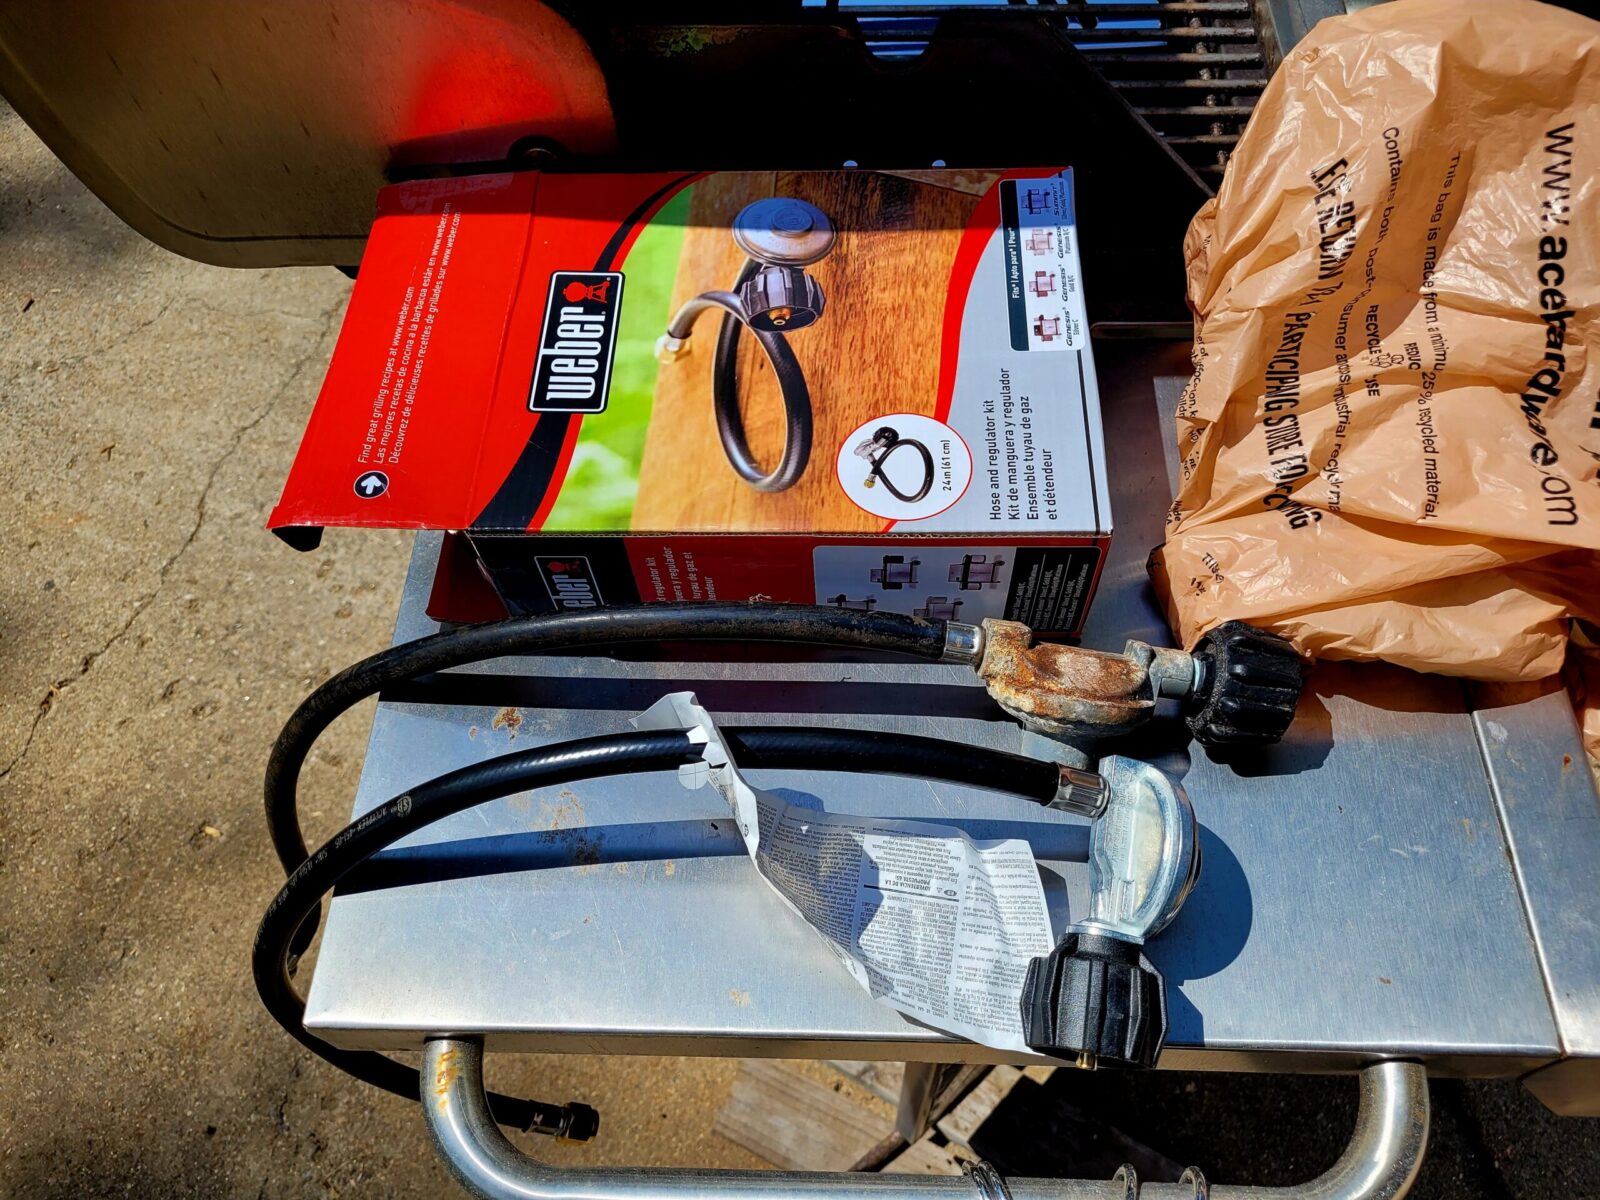
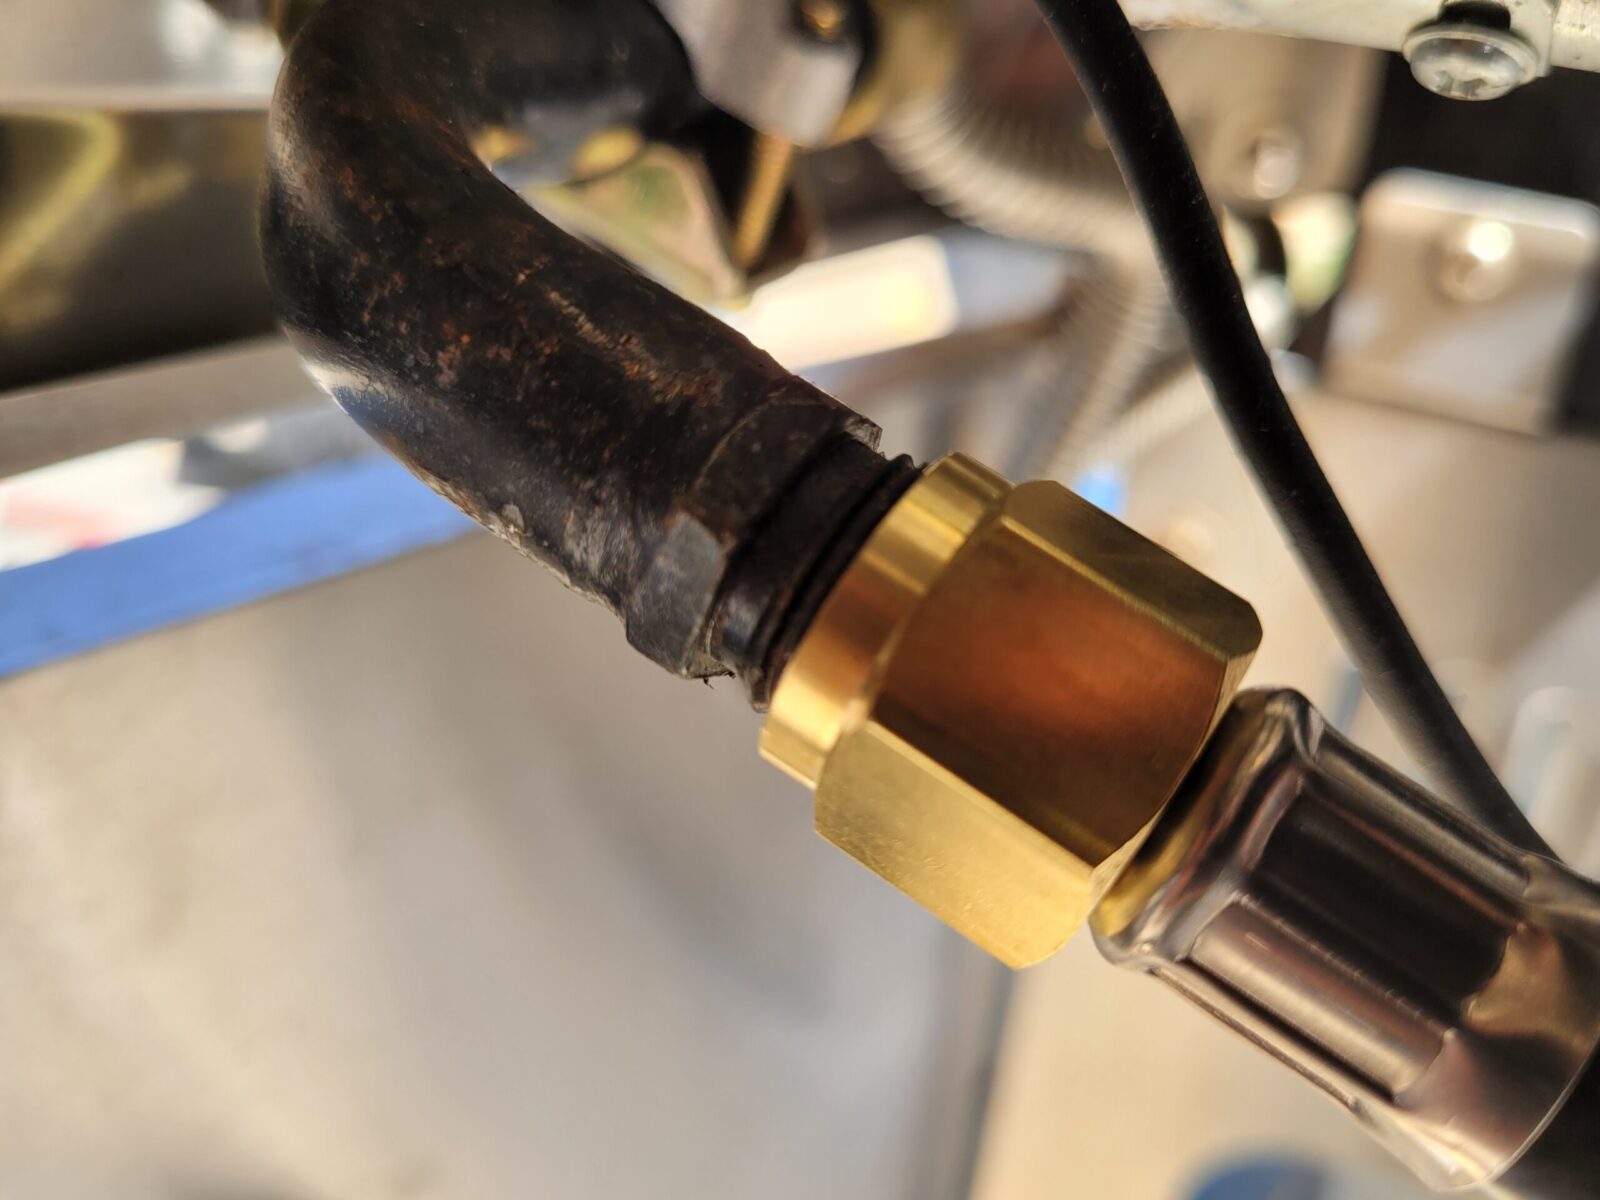
The Gas Regulator Turned Out To Be Bad
During initial testing, the grill ran just fine but then it started getting flaky and finally would barely produce flame. This is usually due to a regular failing and/or rust or a spider web getting stuck somewhere. I pulled the lines and blew everything out with compressed air. Sometimes that fixes the problem but not in this case.
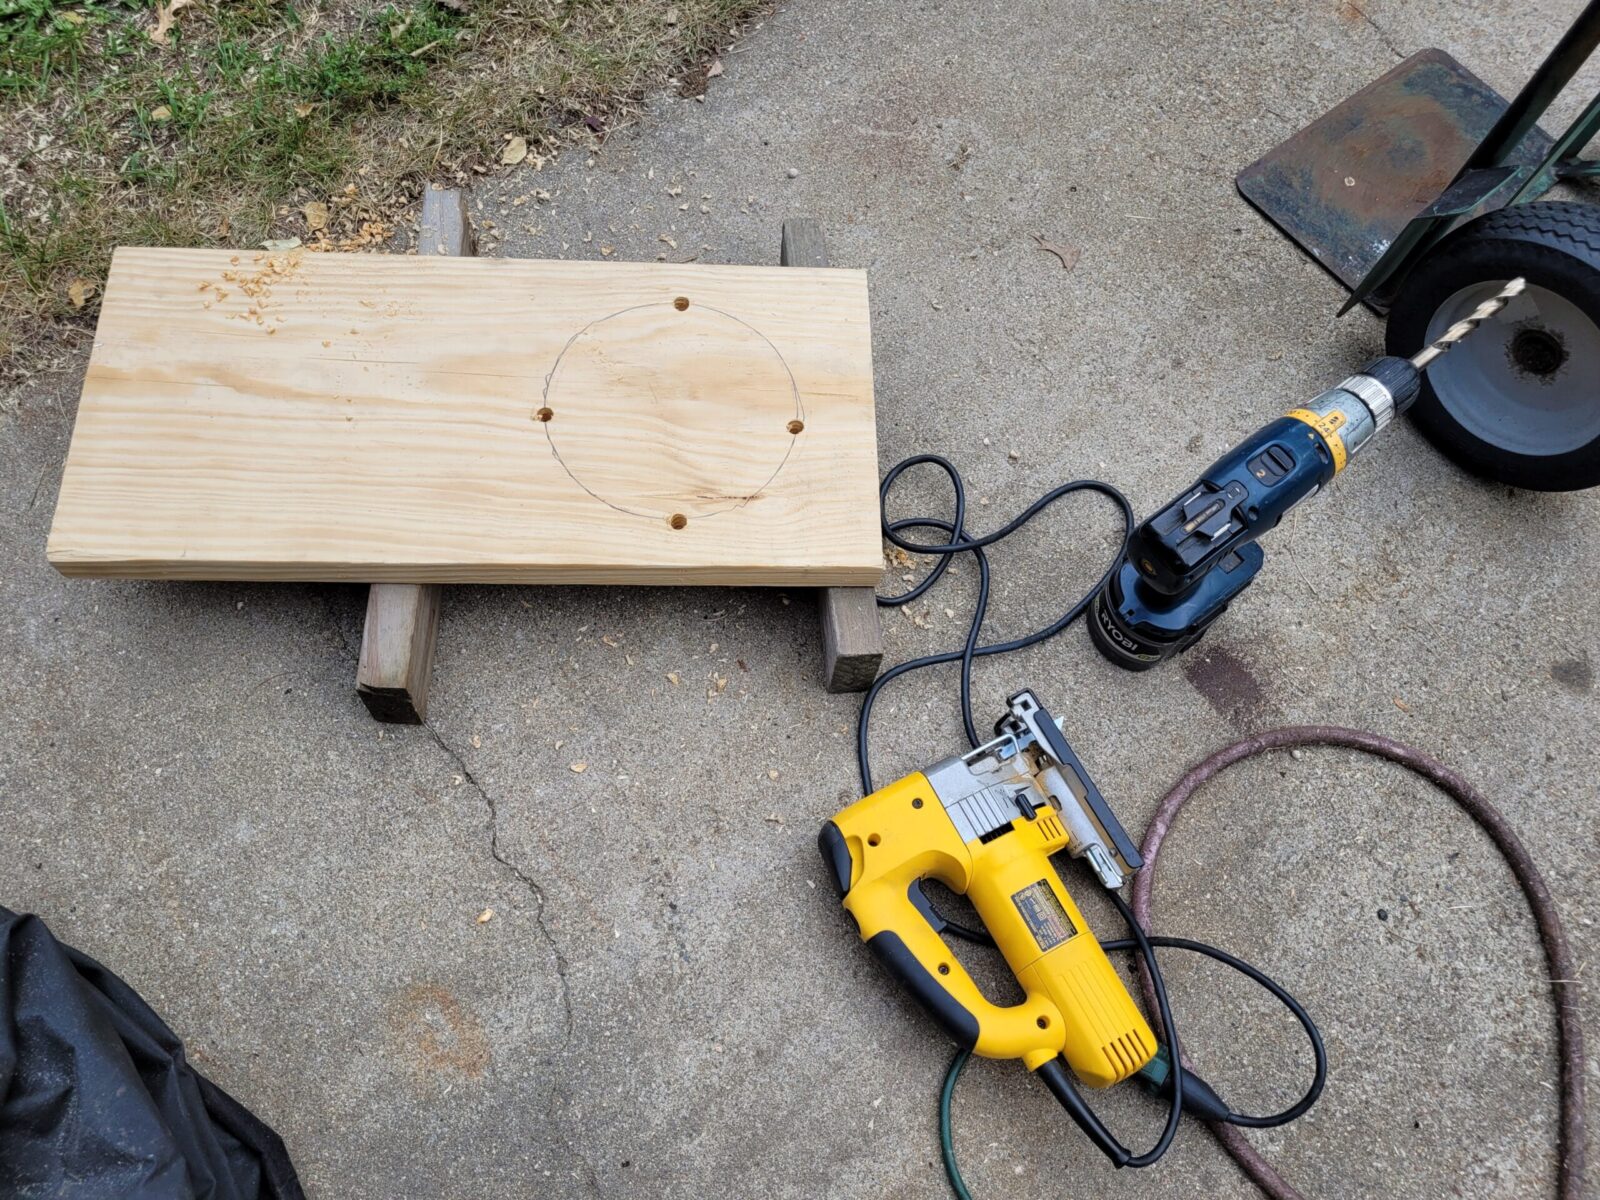
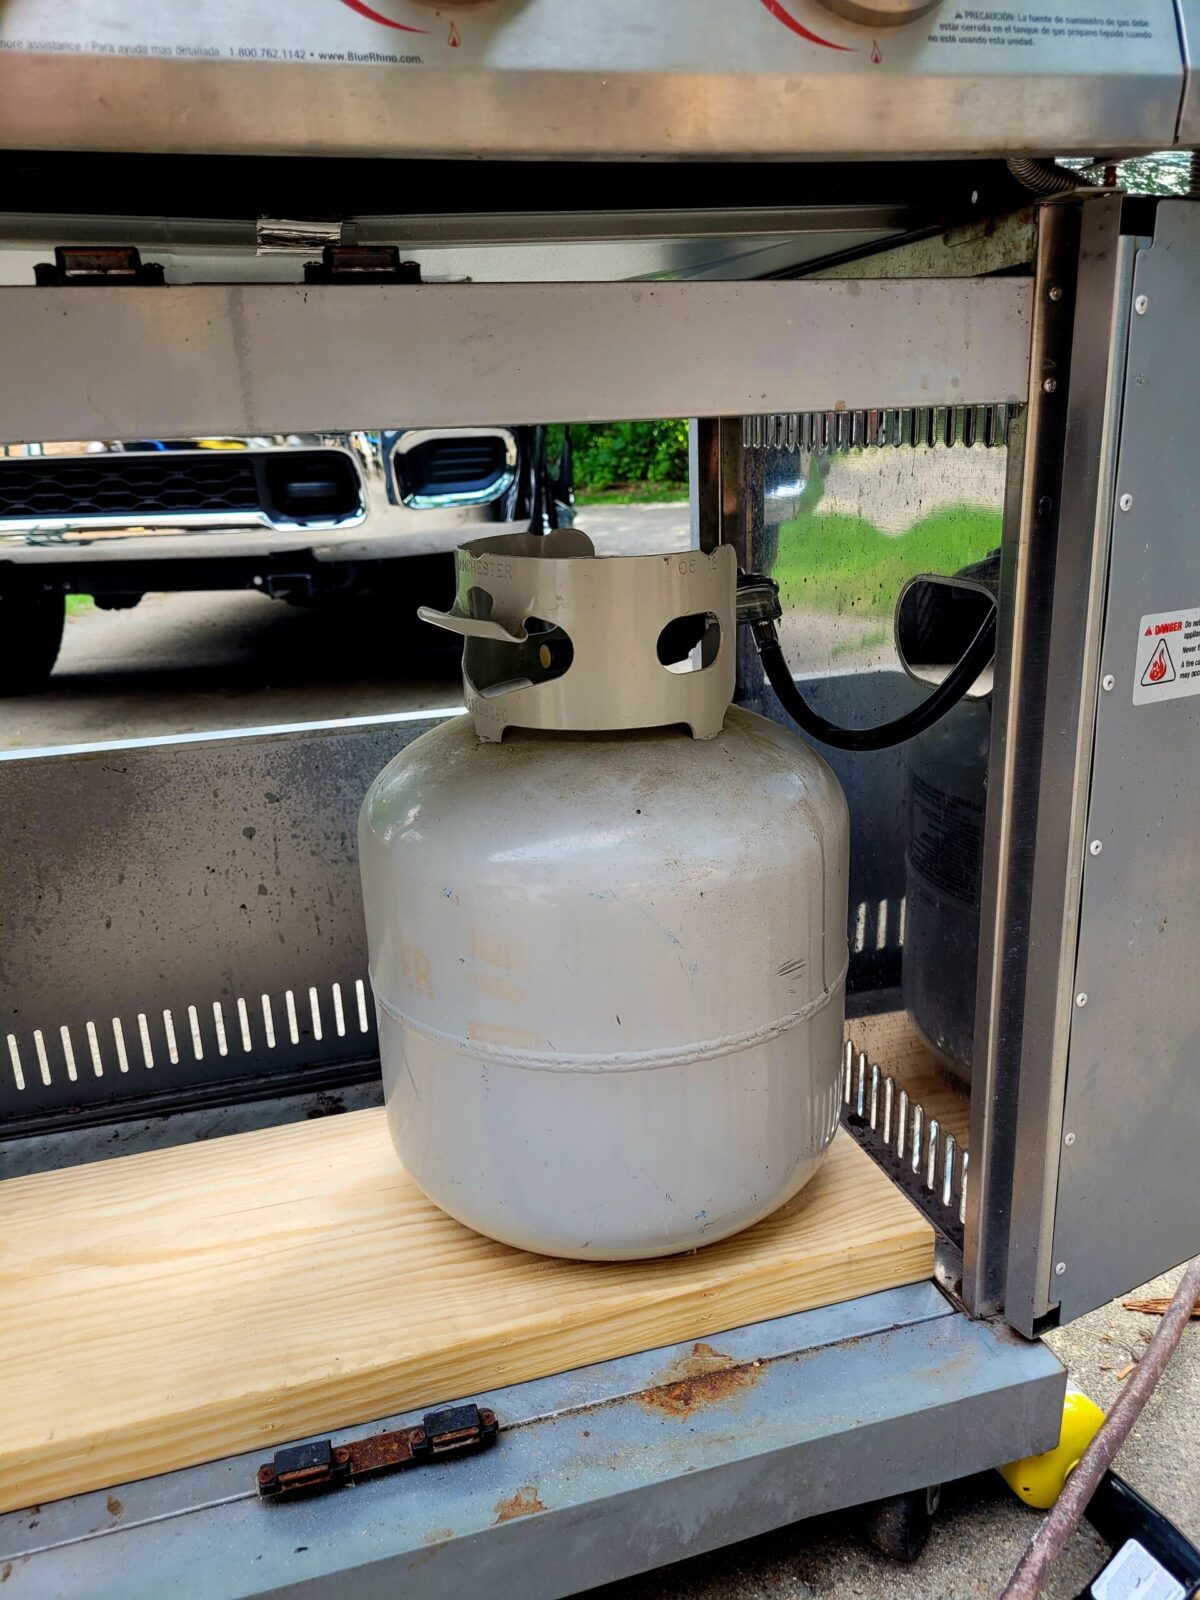
Now, I made a bit of a costly mistake here because I was in a rush. We had an Ace Hardware nearby and I bought a Weber regulator that fit but was a tad short for $44-46 if I recall rgiht. Because it was short, I took a piece of 2×12 lumber and cut a hole in it with a jig saw to hold the tank. A week later, I was in Home Depot and found out they had a ton of gas grill repair parts in stock (I didn’t know they did) including the exact hose and regulator I needed for half the price of the Weber.
I could have saved even more if I had the time to order a hose and regulator from Amazon. They have them for $15-18 depending on the length of hose you need. Click here for to open a new browser tab with the Amazon listings – be sure to get the hose length you need and round up vs. down if need be.
Other Minor Touch Ups
- I ran a 180 grit sanding mop in the same direction as the stainless “grain” finish and removed surface rust.
- Sprayed the inside of the grill so it looked better
- One hinge had a missing Cotter key that I replaced
- Put a wire brush wheel in my drill and cleaned up the grill grates so they had a nice clean brushed look
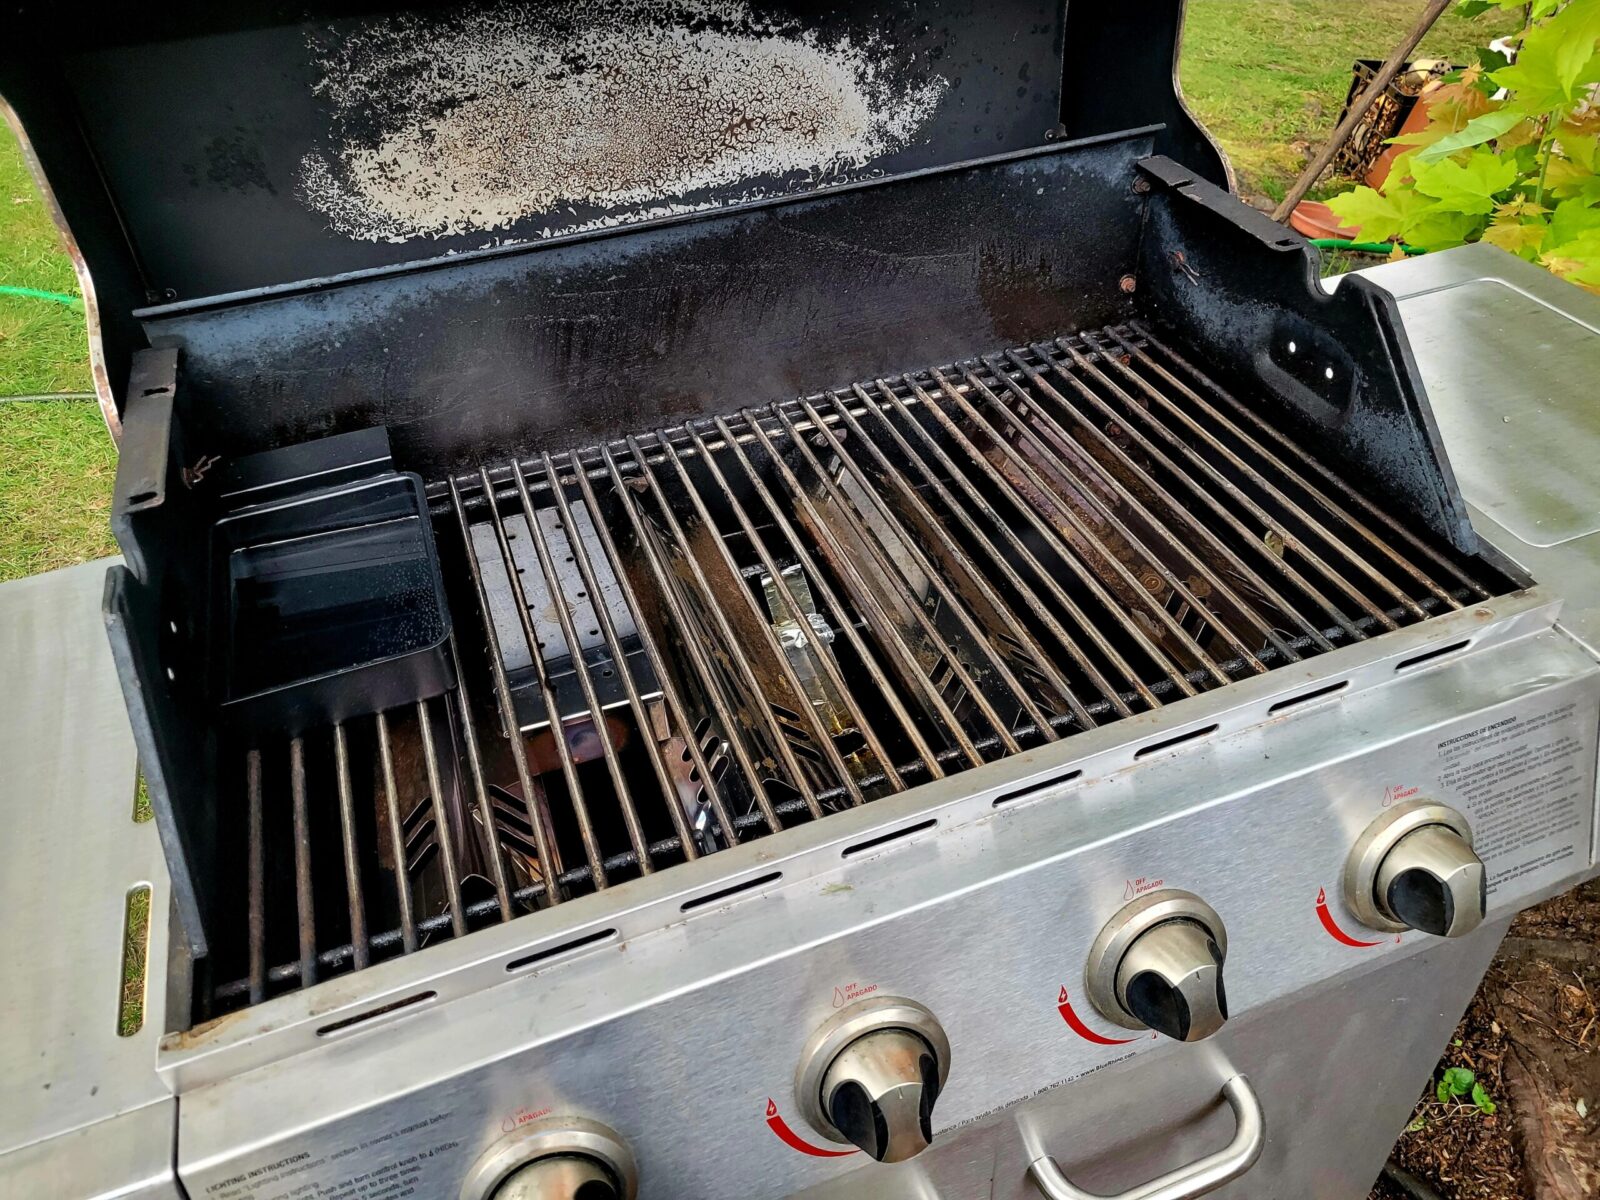
The Result
It turned out quite nice and gave us another grill to use during a family reunion we had during July.

Conclusion
One man’s trash is another’s treasure I suppose. The grill turned out nice. The only things it really needed were a new drip pan and the regulator replaced.
I hope this post helps you out.
Note, I have to buy all of my parts – nothing here was paid for by sponsors, etc. I do make a small amount if you click on an ad and buy something but that is it. You’re getting my real opinion on stuff.
Please share the link on Facebook, Forums, with colleagues, etc. Your support is much appreciated and if you have any feedback, please email us in**@*********ps.com. If you’d like to request a report or order a reprint, please click here for the corresponding page to open in new tab.