Tag Archives: AK-Builder

Heat Treating the Lower Rails of AK Flats Before Installation

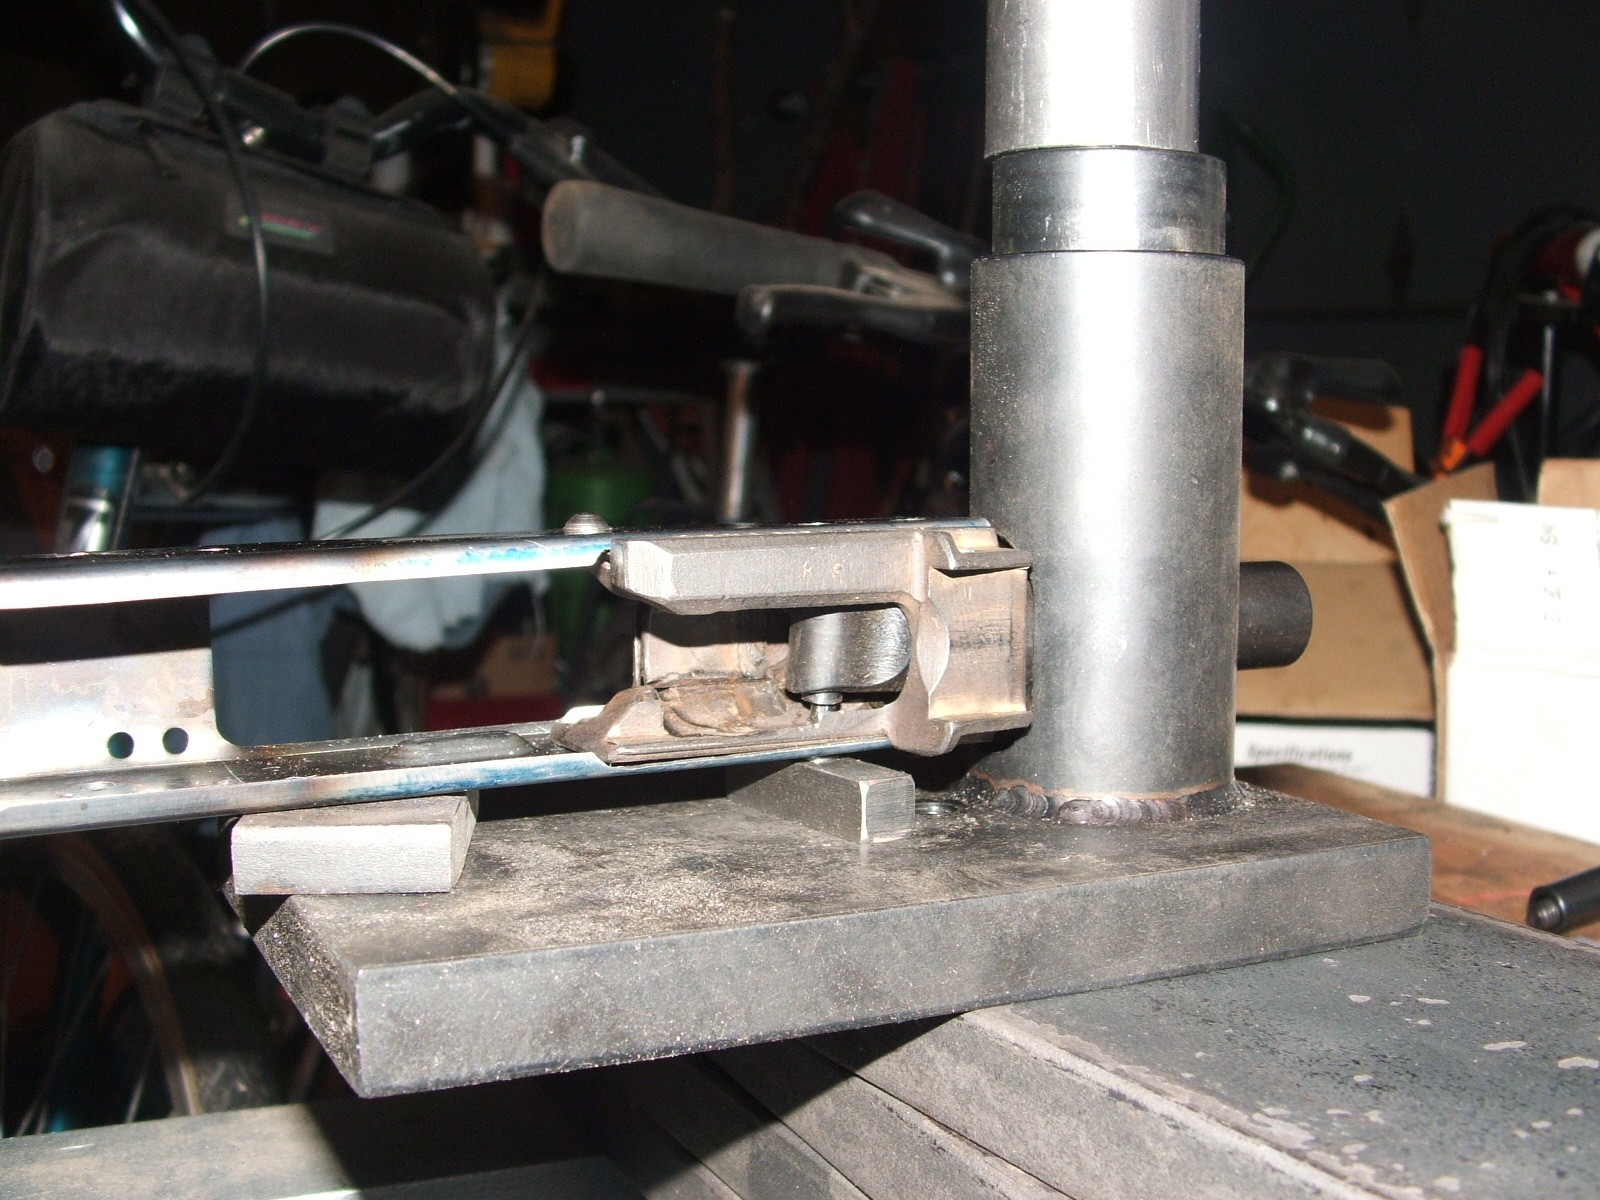
I like to heat treat my entire lower rails before I install them. Some guys just heat treat the tip but I go for overkill.  When I would get flats and rails from AK-Builder for whatever I was doing, I’d do all the lower rails at once and store them oiled in a bag for later use.

The process is simple, I heat them up with a torch to dull to medium orange, which comes out to around 1500-1600F.  Some guys use magnets and stop the heathing when magnetism is lost, some use marker/applied heat indicators – there are many ways to do it.  I tend to use my sheet metal/jewelers oxy-acetelene torch. It is known as a Meco Midget and the thing is awesome for sheet metal work.  I’ve had mine for over 10 years and never had a problem.  I have a giant Journeyman II set but find it too big and cumbersome for stuff like this.

Tin Man Technologies (TM Tech), who I got mine from years ago and you will need to search around for it or find what some call a jeweler’s torch

Next, quench the parts in room temperature used engine oil.  It works great for me.  I have an old navy fuse can with a lid glued to a piece of wood that I use for this purpose.

After that, I anneal them by putting them in a flat pan, pouring in some brake fluid with some paper towel exposed, lighting the towel and then letting it all burn it off, which is about 500.  It’s messy and you want to do it outdoors for sure – I let it all burn off and then air cool.  Some guys put them in a toaster oven at 500F for 5-10 minutes and let them slowly cool down by turning the oven off.  That works too.

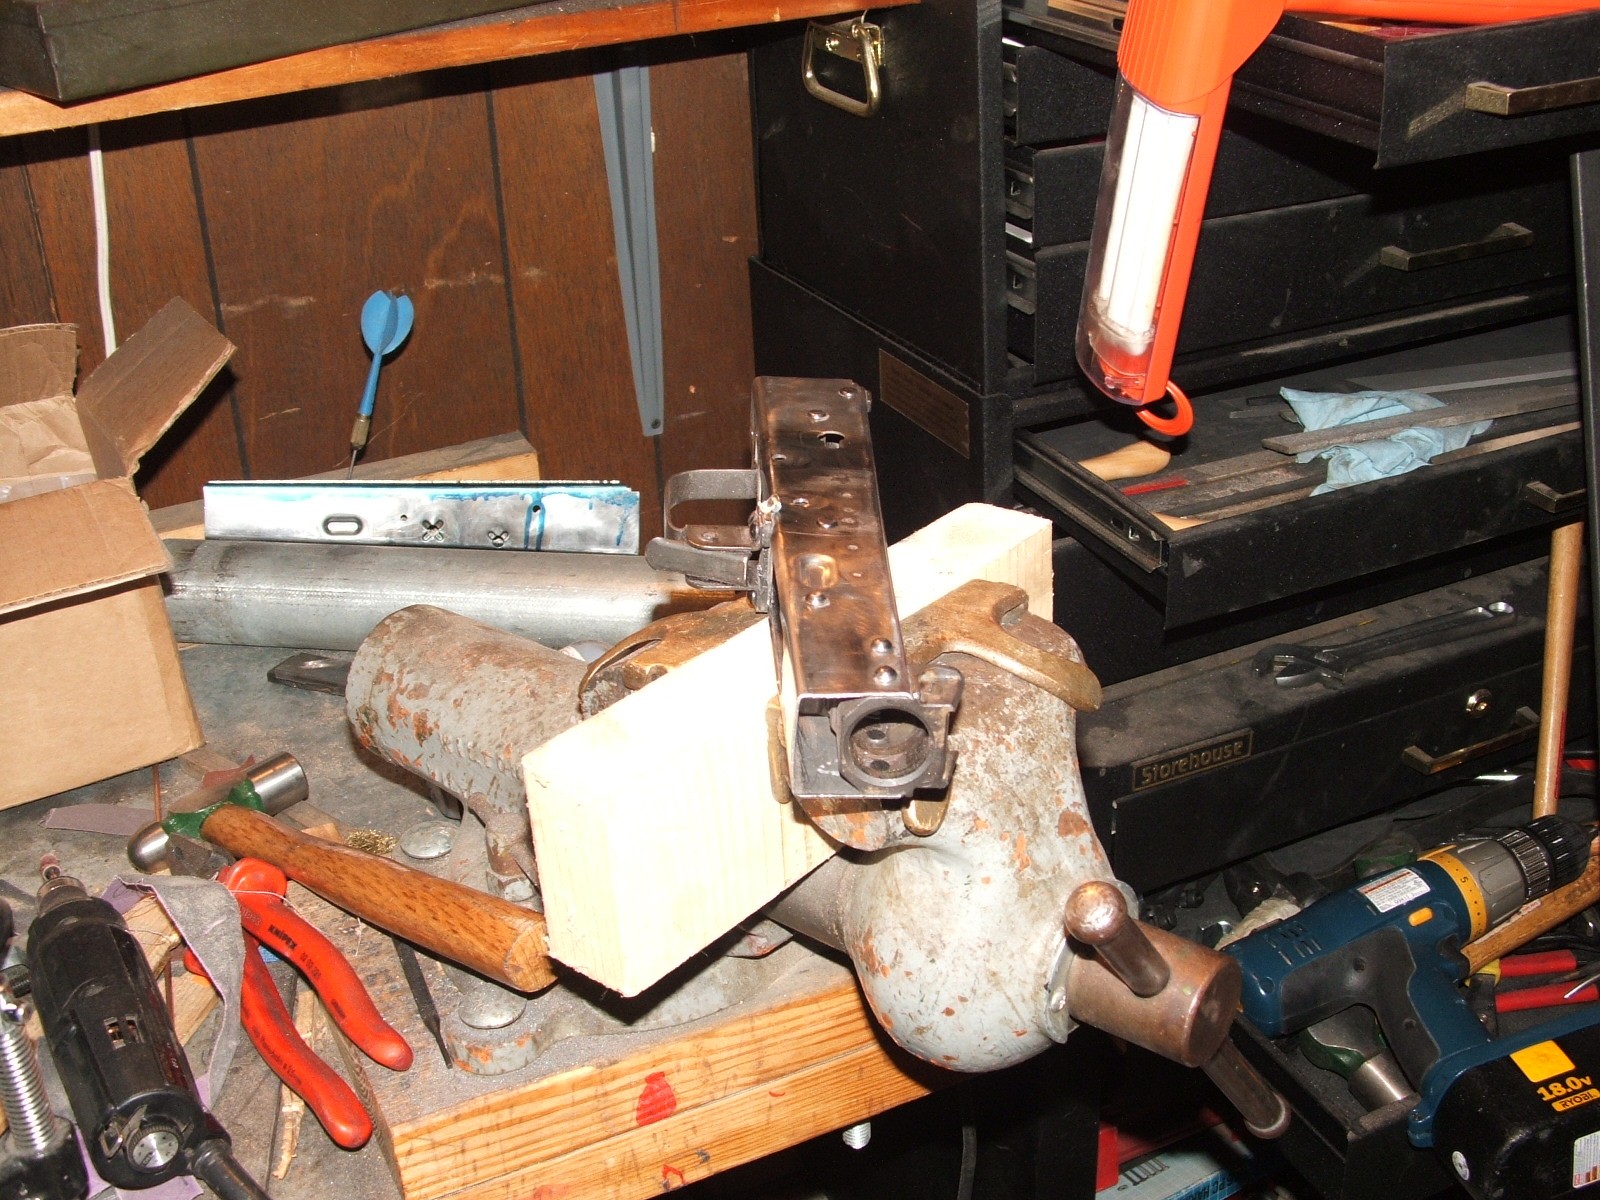
Here the rails right after the brake fluid is finished burning off – you can see some of the soot that is generated:

When you weld the rails in with a spot welder, just be careful not to ruin the heat treat by letting a tong get up against the ejector tip and heating up.  I’ve done it twice over the years.  One time I didn’t notice and had to repair a peened over ejector and the other time I saw the discoloring of the tip and did a spot hardening of the ejector tip while it was in the receiver.

At any rate, I’d then oil everything and put them in a ziploc bag for future use.  I would sand the backs of the rails prior to installation to get good spot welds.

While I use OA for a lot of my work, MAPP works just fine too.


If you find this post useful, please share the link on Facebook, with your friends, etc. Your support is much appreciated and if you have any feedback, please email me at in**@ro*********.com. Please note that for links to other websites, I may be paid via an affiliate program such as Avantlink, Impact, Amazon and eBay.


Back in the stone age we had to mill our own top AK receiver rails!

Back when AK-Builder flats didn’t have the top rails cut to size, we had to do the work.  I’m talking circa 2006 and then late that year he came out with a simple layout tool that was so awesome.  You applied Blue Dychem do your flat, clamped the layout jig to the rail, used a scribe to mark the profile and then you came through with your mill (or Dremel) and cut out the shape.  It was faster than doing it all by hand and the one plus was that you could get the exact spacing between the upper rails that you wanted.

Setting an AK’s Internal Front Trunnion Rivets with the AK-Builder rivet jig

It’s pretty straight forward really.  You need to insure the rivet jig is sitting on good strong steel cross plates – don’t use wood.  I’ve seen guys try so don’t laugh too hard.  For the record – that one I never tried – I used 1/2″ steel plate from the get go.  Wood is not your friend under high pressures.

Be sure  to use the right rivets – AK-Builder sells the best rivets and tailors them to what you are building.  Lay them all out and identify what rivets are for the front, the swell neck rivets for the lower back of the front trunnion, etc.  A rivet should stick out 1.5x its diameter – that’s it.  Just for example and to keep the math easy for me, a 4mm rivet should only stick out 6mm.  If you go further, you are going to have problems.  As you get experienced, you can buy rivets in bulk and use rivet trimmers but you might want to save that for down the road.

Make sure the rivet and your receiver are all nice and square and that the little cup is under the rivet’s head to support it.  Make sure everything is nicely supported too.  If you don’t you will bend the receiver.  When I make cautions, it’s usually because I did it the wrong way already at some point 🙂

Only extend the rivet arm the minimum amount necessary.  The longer it sticks out, the easier it is to bend it.  I’ve done that and you may too.  If you do, just bend it straight again by pulling it out of the jig, supporting it by steel block and press it straight.

Now go slow.  Speed will only help you mess up faster, especially if you are new to this.  Extend the little set screw enough to squish the rivet and clear the trunnion walls.

Do not go crazy with the pressure.  You want to squish the rivet, not start bending stuff.  The rivet swells inside the hole and and the end caps it – that is all you need to accomplish.  Too much pressure and tooling starts to bend.


If you find this post useful, please share the link on Facebook, with your friends, etc. Your support is much appreciated and if you have any feedback, please email me at in**@ro*********.com. Please note that for links to other websites, I may be paid via an affiliate program such as Avantlink, Impact, Amazon and eBay.