Tag Archives: AK

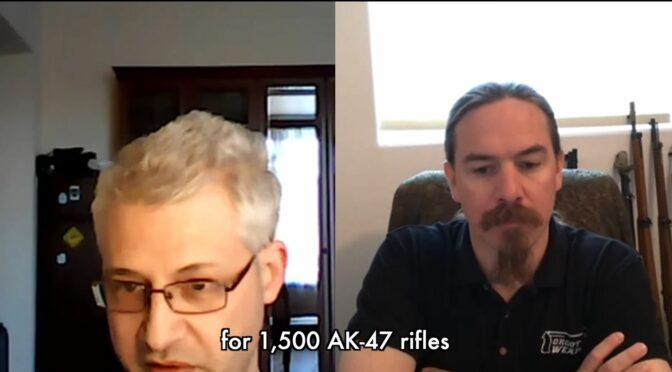
WBP Rogów Videos How They Demil a Circle 11 Underfolder AK — Pretty cool but sad too

Wytwornia Broni Jacek Popinski (WBP) is a privately owned firearm manufacturer located in Rogów, Poland.  Some folks assume it is the old government Radom armory with a different name but it is not.

In the US, we know about WBP because of the efforts of Arms of America (AoA) to import high quality Polish AK kits and, recently, firearms.  I ordered my first kit from AoA a tad over a year ago and ordered a number of other things from them including a demilled Radom kit that I want to build this Winter.

In usual form, I was surfing around and found this video that WBP had posted showing them demilling a Circle 11 underfolder.  Part of me is always sad to see one of these fine guns being cut up just to enable importation into the US but another part of me is also happy because at least this way we get to enjoy them.

This is a brief video and I was pretty intrigued towards the end watching how they remove the blocks from the barrel and drilled out the rivets.  Having demilled a lot of kits in the past, I’ve always found the rivets to be tedious.

Here’s the brief video that’s just under 10 minutes and I hope you enjoy it:


If you find this post useful, please share the link on Facebook, with your friends, etc. Your support is much appreciated and if you have any feedback, please email me at in**@ro*********.com. Please note that for links to other websites, I may be paid via an affiliate program such as Avantlink, Impact, Amazon and eBay.


Palmetto State Armory (PSA) has a stunning array of Kalashnikov firearms now. AK-47s, AK74s, 100 series, rifles, pistols … it’s impressive. Click here to go to their main AK menu.

Please note that all images were extracted from the video and remain the property of their respective owner(s).


The Thinking Behind the Nazi Sturmgewehr (StG) 44 vs. Soviet AK-47 Video From Forgotten Weapons

I’m more knowledgeable about the Soviet AK-47 than I am the German Sturmgewehr 44 (StG 44).  The main reason I even known about the StG 44 is from reading about it in books that cited it as being an inspiration to Mikhail Kalashnikov and his design team.  But was it really – I’ve heard some heated debates about this.

I had some time and watched this brief video where Ian McCollum of Forgotten Weapons has a Chinese Type 56 sitting next to a StG 44 as he talks.  They were both on loan from the James D. Julia auction company.

Ian gave a very interesting perspective that the AK-47 was essentially designed as a more powerful replacement for the Soviet’s PPS-43 that fired the 7.62×25 Tokarev pistol round.

In constrast, the Germans were wanting a controllable automatic fire weapon that would increase the firepower of soldiers especially during tactical withdrawals.  They had the German 7.92×57 bolt action K98 and the famous MG42 belt fed machine gun also in 7.92×57 but they needed something different hence the StG 44.

Now, I have no doubt Kalashnikov and his design team got ideas from the StG 44.  Any good engineer would take an existing design and learn from it.  The Soviets needed to build up a hero so there is a lot of myth mixed in with history so I am not sure where to draw the line myself.

The video shows you the two rifles and actually shows live firing of the two so you can see how the StG 44 was actually more controllable.  I thought this was really cool because the slow motion really shows the difference.

Here’s the video:

Click here for Ian’s Forgotten Weapons website.


If you find this post useful, please share the link on Facebook, with your friends, etc. Your support is much appreciated and if you have any feedback, please email me at in**@ro*********.com. Please note that for links to other websites, I may be paid via an affiliate program such as Avantlink, Impact, Amazon and eBay.


Video of Larry Vickers Touring the Kalashnikov Concern Factory in Izhvesk

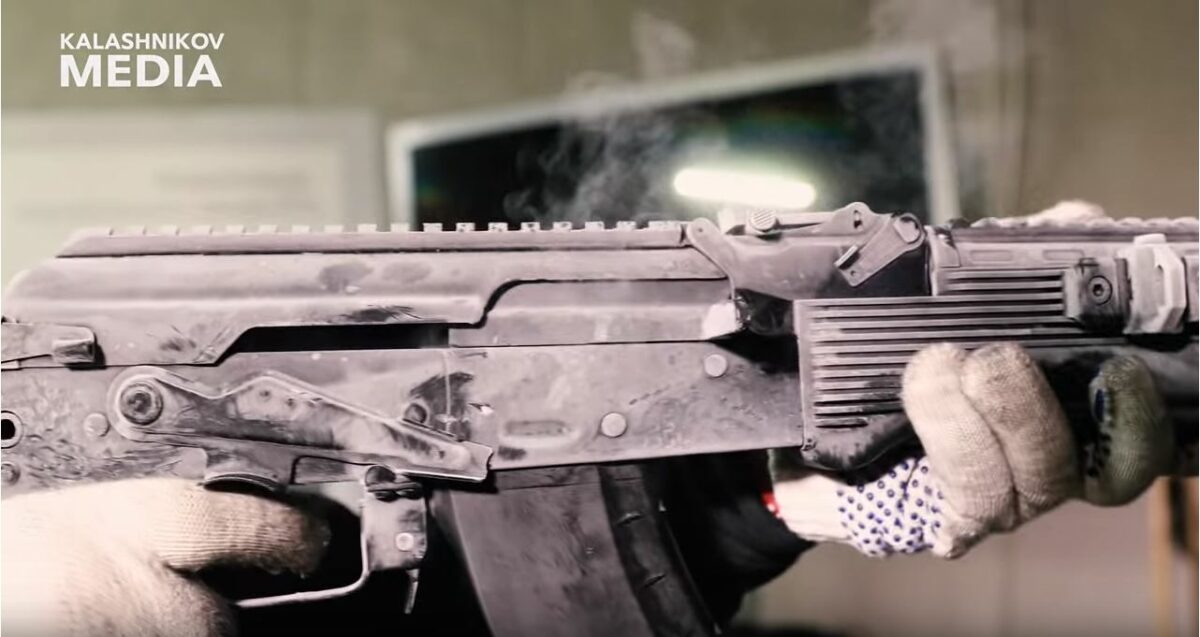
In April 2018, Larry Vickers visited the Kalashnikov Concern factory in Izhvesk, Russia.  Given that armory was established on the orders of Russian emperor Alexander I in June 1807 plus most Westerners having mental images of antiquated machines and dimly lit dirty facilities, one might make some very, very wrong assumptions about the modern JSC Kalashnikov Concern.

The very modern Kalashnikov Concern facility is brightly lit, clean and using world class machines.  I thought it was interesting seeing all the quality boards and neatly arranged tooling.

Also worth noting was Larry’s observation that with many AK manufacturers trying unsuccessfully to product cast trunnions and bolts that Kalashikov still forges those parts and there is a reason for it – durability.

At any rate, it’s a cool but brief 6 minute video.

Here is the link to Larry’s book on AK rifles that he is selling directly and not through Amazon.


If you find this post useful, please share the link on Facebook, with your friends, etc. Your support is much appreciated and if you have any feedback, please email me at in**@ro*********.com. Please note that for links to other websites, I may be paid via an affiliate program such as Avantlink, Impact, Amazon and eBay.


Great Video of Ian McCollum and Larry Vickers Discussing the History of AK-47 Rifles

Two guys I really respect, Ian McCollum of Forgotten Weapons and Larry Vickers discuss the history of the AK-47 and also show Larry’s new book on AK rifles.  They cover a ton of information through questions submitted by Ian’s followers.  For people into the history of the Kalashnikov rifle, this is well worth your time.

Here is the link to Larry’s book that he is selling direction and not through Amazon.


If you find this post useful, please share the link on Facebook, with your friends, etc. Your support is much appreciated and if you have any feedback, please email me at in**@ro*********.com. Please note that for links to other websites, I may be paid via an affiliate program such as Avantlink, Impact, Amazon and eBay.


Very Cool AK Assembly Video From WBP Rogów – Tons of Tooling Shown

This past Spring I built a Polish Beryl inspired rifle from a WBP kit imported by Arms of America and was very impressed by the quality.  I was surfing around on Youtube and ran into this really cool video posted by WBP Rogow showing how they build an AK.  I found all the specialized tooling fascinating and was also a bit surprised by the amount of hand fitting – they are putting some craftsmanship into those rifles.

So, I would highly recommend you watch this video if you are considering buying one of the imported Polish WBP rifles or pistols, one of their kits or you are just interested in how AKs are built in general.

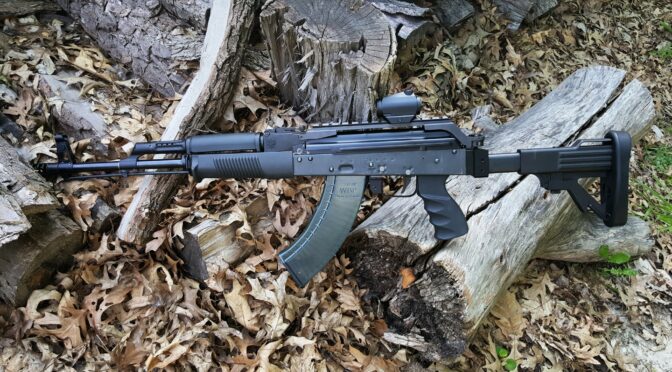
By the way, Arms of America is a great firm to deal with.  I built the following AK from a WBP barreled kit from them with a cold hammer forged Polish barrel.  The reliability and accuracy are excellent.


If you find this post useful, please share the link on Facebook, with your friends, etc. Your support is much appreciated and if you have any feedback, please email me at in**@ro*********.com. Please note that for links to other websites, I may be paid via an affiliate program such as Avantlink, Impact, Amazon and eBay.


Please note that all images were extracted from the video and are the property of their respective owner.


Fitting a Csspecs Steel Magazine To A SDS Lynx 12ga Shotgun

Csspecs makes wicked steel magazines for a variety of niche weapons. They make a well respected magazine for 12 gauge Saiga shotguns. That meant it would fit my SDS Lynx 12ga also.

I placed my order on their website and within a week receive to magazines that were built like a tank. I had a problem with some of the plastic SDS 10 round magazines in terms of the follower going all the way to the top. The Csspecs follower shot up in the top so fast I think you could take off a body part 🙂 just kidding but it is very well done.

You have to love a magazine that is so heavily made it can be used as a defensive weapon all by itself 🙂  Seriously, Csspecs makes some wicked mags and they tell you right up front that you may need to do a bit of fitting and I did.

Fitting The Magazines

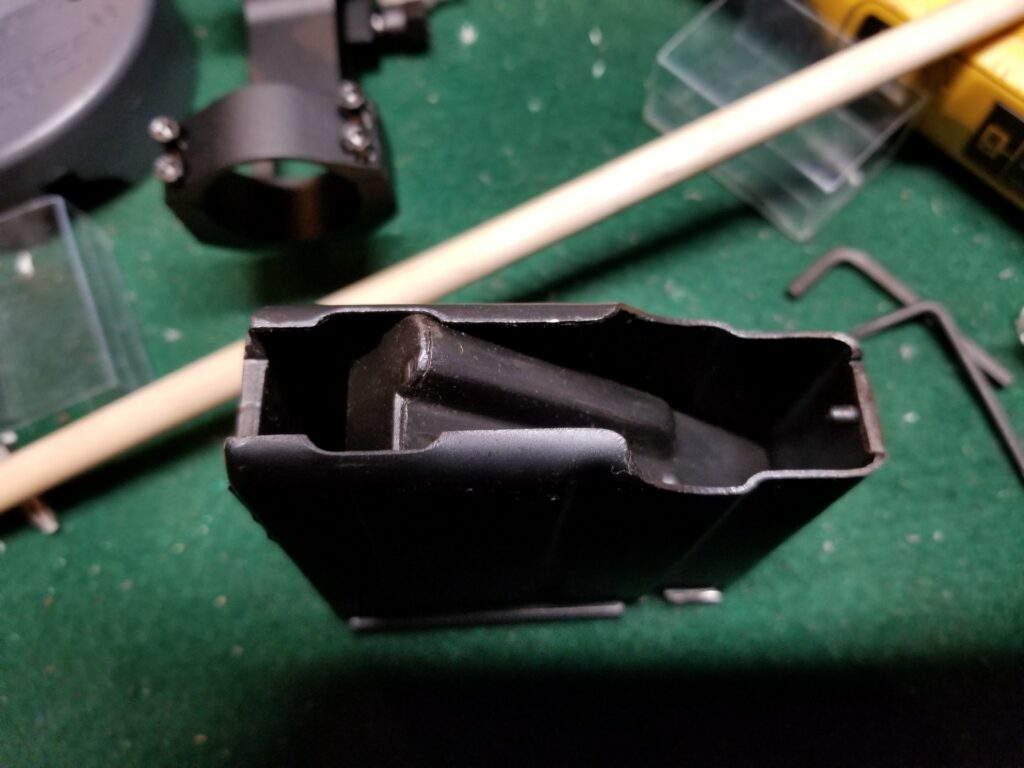
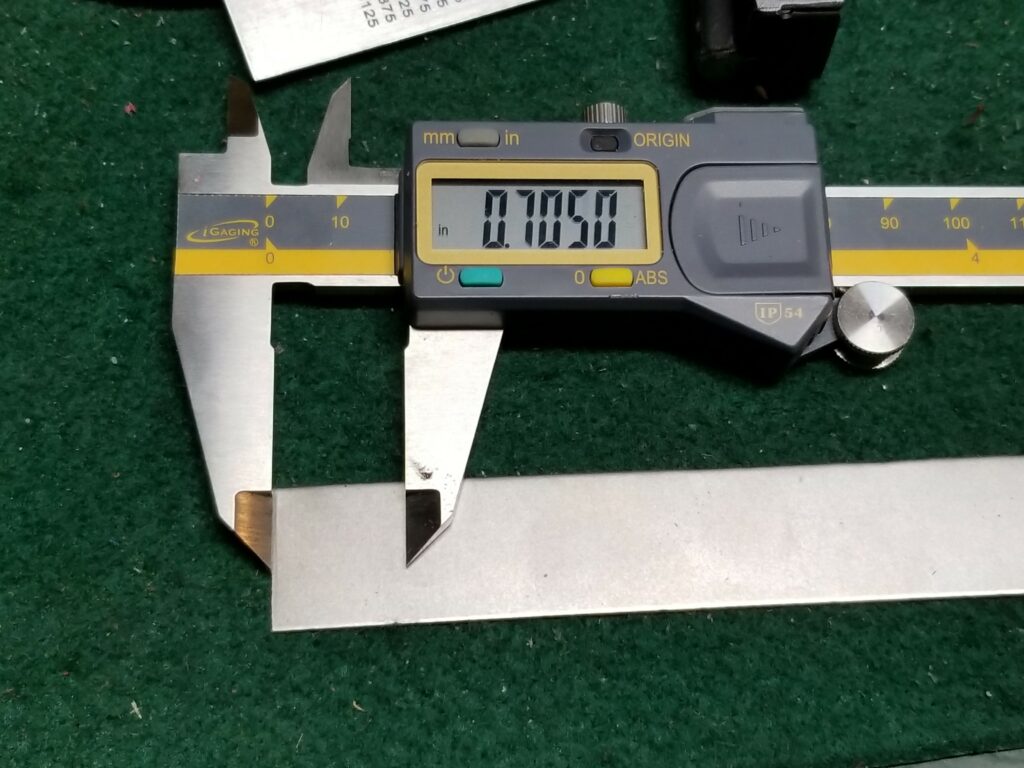
The magazines come with a small instruction pamphlet for fitting that makes perfect sense to anybody who’s ever had to fit AK magazines. Step one is to make sure that the magazine fits correctly from front to back. If it does not you trim a little bit off the back tab of the magazine.

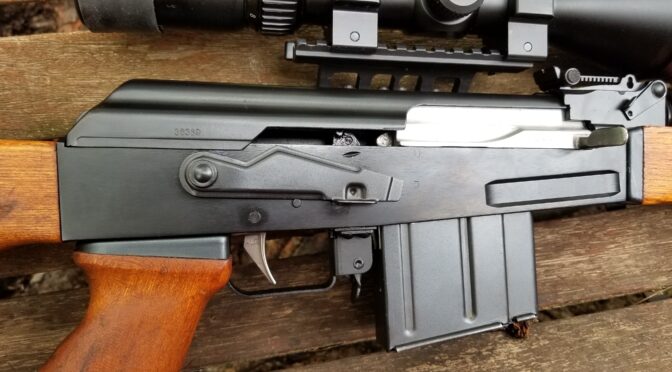
In my case it set right in. You can see how the mag stops are coming right against the bottom of the receiver.  This is good!  If I did need to trim it, I would have carefully filed a bit and tested over and over until the mag stops contacted the receiver, polished the surface and applied cold blue per the details in the next step.

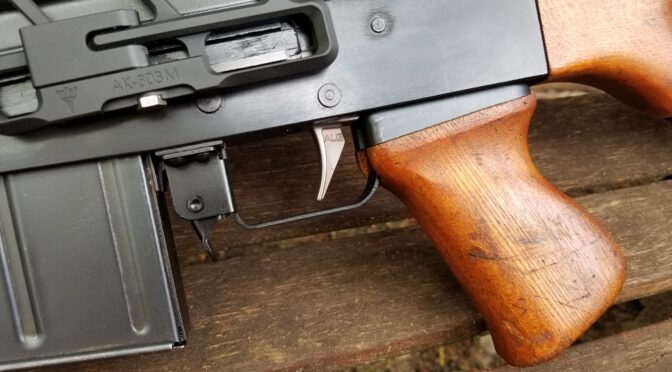
In my case, the magazine locking lever would not engage the mag’s tab at all. That means that little tab was too thick and needed to be filed down. This is really a situation where you want to use a fine hand file and take off a little bit at a time and test – don’t rush this. Take care to maintain the slight angle. This helps with the lock up.  Do not make it flat and try to keep it as straight across as possible.

I can’t stress enough, take your time.  The above was done with a single-cut file where one edge was ground down so I can make cuts like this with out damaging the surface.  You can sometimes buy files like I show below with one or both edges left plain.  In my case, I used my belt sander to remove the teeth on that side.

This is not a situation where you want to rush. Take a little bit off at an angle and test over and over. It probably took me about 5 minutes per magazine. You want the magazine to lock into place firmly. If it is really loose I would recommend welding some material back on and fixing it.

After the filing, I did use a fine rubber abrasive polishing but in my Dremel to smooth the surface out so the lock up process would be smoother.

After I had the fitting correct, I use the little bit of Brownells Oxpho blue liquid on Long dobbers and blued the surface followed by some oil.

That is all there was to it. I hope this helps you out. Kudos to CS specs for making some very nice magazines. These things are rock solid and I may very well pick a couple more up at some point.


If you find this post useful, please share the link on Facebook, with your friends, etc. Your support is much appreciated and if you have any feedback, please email me at in**@ro*********.com. Please note that for links to other websites, I may be paid via an affiliate program such as Avantlink, Impact, Amazon and eBay.


Tuning SDS 10 Round Magazines for Saiga and Lynx Shotguns

Well, Scott, Brooks and I went shooting a few weeks back. I was really excited to take my new SDS Lynx out and I had bought four brand news SDS 10 round magazines that I took out of the wrapper and threw in my range bag. That turned out to be a mistake. The photo above is of Scott trying to clear yet another jam from the Lynx with one of the 10 round magazines inserted – they had feed failures constantly.

One of the things I was told years ago was to test everything before you rely on it. Now granted I was just going to the quarry to shoot with my friends but I really should have tested those magazines. Of the four, only one kind of worked. The followers were all hanging up about an inch from the top. The five round SDS magazine that came with the shotgun ran great but five founds at a time is not the most exciting thing. It was frustrating and disappointing at the same time.

The Lynx and the mags went back in the gun case and I felt pretty stupid for not checking the mags before going. On the other hand, they were brand new and should have worked. I was more than a bit miffed also – clearly there was a manufacturing issue, Followers should spring to the top of a magazine like a rocket – not get stuck part way down. A person should not need to buy magazines and then tune them inside – getting them to fit an AK-style weapon, sure that happens all the time, but not needing to redo the internals.

In the following photos notice how the followers are not all the way to the top compared to the small 5 round magazines.

At that point I made a decision – the SDS magazines really did look well made and rather than send them back, I decided to tune them and document what I did to share with others.

The Lynx shotgun uses Saiga magazines so this design is common and writing up what to do might very well help others out. So with my mind made up, it was just a matter of finding the time to do it.

A couple of weeks went buy before I could dig in but finally the time came. I’m going to try and show you what I found and explain what you need to do to correct it. You’re going to need a Dremel (or similar rotary tool), rubberized polishing bits, felt/wool polishing bits, and a plastic polish – I use Plastix a lot but even toothpaste would work. Yes, toothpaste is a very fine grit polish – you can even use it to polish plastic headlights.

Disassembling a SDS Magazines

The SDS magazine comes apart just like any AK magazine – you push the button on the bottom with a screw driver and slide the floor plate off of the magazine body. Now take a look at it. It can only push off one. All of the magazine Parts in the SDS can only go one way.

So push the button down and shove the floor plate in the direction of the opening. You may need to use a small Mallet or something hard to give it a little bit of a whack to get it started.

Now once you get that floor plate off the rest is going to want to spring out so use your thumb to keep it from flying across the room or in your face.

Fixing The Problem Area

The problem area in the magazines seem to be in the upper inch to inch and a half. You’ll see a mold seam that needs to be erased using the Dremel tool with the rubberized abrasive tips as well as it being tight in general all the way around.

So the first thing I did was to use a small rubberized abrasive tip to erase the mold seemed entirely that runs around the inner area of the magazine. In the next two photos you’ll see a shiny protruding lip inside the magazine that is just above the follower — that is the mold seam I am speaking of. It’s important to note that the follower is binding even before getting to that seam.

I used a small rubberized fine abrasive tip in my Dremel to literally erase the mold seam flush with the rest of the mold body.

At this point I blew out the magazine body with compressed air and the overall fit of the follower to the magazine body was just too tight. It and the body needed to be thinned a bit – not a bunch, just a bit.

In terms of the trimming, I would definitely recommend that you use the abrasive tip to remove just a little and test over and over. I can’t stress this enough – don’t try to do it all at once. As the saying goes, it’s easier to take more material off than to try and put it back on.

I wound up switching to a bigger rubber abrasive wheel when I did the follower and as far as I could reach in with the bit on the Dremel. The bit is still fine, I would not recommend using anything very aggressive. I used this bit on the follower and the inside of the magazine body. You just need to take a little bit of material off. I went all the way around the magazine body and the follower in that top area. You’ll see just below the scene there is a little elevated area inside the magazine that guides a follower up into position that is too tight.

Now I found I needed to do a second step to really smooth things out. The abrasive bit leaves a rough surface and the next thing I did was to use a felt bob/bit with felt on the end in my Dremel along with Plastix polish to finely polish all the surfaces. I tried skipping this step with a couple of the magazines and the end result was so much better that I went back and polished the surfaces I worked on in all of the magazines.

The polishing with the Plastix really made a big difference and I would recommend you do it as well. You could tell the parts were smoother. Definitely wipe everything down and do not leave the grit in the magazine.

Next, I sprayed the Dupont Teflon dry film lubricant in the magazine body and on the follower. I would not recommend using oil or anything that leaves a residue that dirt will stick to. Instead you want something that is going to leave a dry film behind. This really fixed everything once and for all.

9/21/23 Update: Dupont no longer sells a Teflon spray due to environmental and health concerns. They sell a ceramic-based spray now that I use instead.

I then reassembled the magazines. As mentioned the parts can only go one way. I never took the spring off the bottom plate so I didn’t have to worry about its orientation.

I went ahead and did one final spray of Teflon around the follower and let it run down in. While it is still a liquid, the lubrication will not be very good. You need to let it dry. In my case, it shot up like a rocket. Job done.

End Result

The magazines all seem to work fine now. I think the problem was a combination of the mold seam and that inside area being just a tad too tight. I hope this post helps you out. Small side note to SDS – you really ought to fix this.

10/15/18: First thing this morning SDS reached out to me and is sending replacement magazines. I will test them and report back. They have sold over 3,000 magazines with just a few problems so I might just literally have a bad batch.


If you find this post useful, please share the link on Facebook, with your friends, etc. Your support is much appreciated and if you have any feedback, please email me at in**@ro*********.com. Please note that for links to other websites, I may be paid via an affiliate program such as Avantlink, Impact, Amazon and eBay.


Awesome Shirts and Hoodies for AK Fans

Folks, I’ve been involved with AKs since about 2006 – not a long time but long enough to watch the AK, or Avtomát Kaláshnikova, rise from a firearms embraced kind of at the fringe by preppers and guys who realized that it was extremely reliable and fun to shoot.

Today, the AK and its many, many variants (AK-47s, AK-74s,  Veprs, Saigas, PSLs, M70ss, PAPs, SLRs, Galils, AMD-65s, etc.) are really in the mainstream.  There are tons of rifles, ammo and accessories available.

What I also think is interesting and very cool is the rise of AK clothing (T-shirts, sweatshirts and hoodies mainly) where you can show off your favorite firearm — or at least one of your favorites 🙂  These used to be limited-run hard to find stuff years ago.  Now, thanks to eBay, there are tons and tons of options in terms of designs, sizes and colors plus you can see how well the vendor is doing in terms of sales volume and ratings.

There are T-Shirts

I had to order one with the 7.62×39 spam can!  Note, some of the images don’t show but when you click on the link you can see the item and some of them are hilarious!

Sweatshirts and Hoodies

Needless to say, I’ve bought a few and hope you find some cool garb to express yourself as well!

P.S.  If you want to limit your risk a bit, buy from vendors with more sales (I like over 30) and positive reviews.  Anyone can get one or two great reviews from friends and family so be cautious.


If you find this post useful, please share the link on Facebook, with your friends, etc. Your support is much appreciated and if you have any feedback, please email me at in**@ro*********.com. Please note that for links to other websites, I may be paid via an affiliate program such as Avantlink, Impact, Amazon and eBay.