The Israelis definitely understand the need for quality armaments and let’s start with a quick recap of the history leading up to the Galil. In the 1950s, the Israeli Defense Force (IDF) adopted the Belgian FAL but found that their regular drafted troops had a hard time keeping it clean. On one hand, you can blame the troops but on the other you also need to realize that factoring in the dusty environment of the desert, maybe the FAL wasn’t the best design for the situation not to mention its size.

Photo Source: Wikipedia
In June 1967, Israel was embroiled in the Six Day War and captured thousands of AK-47 rifles that they then evaluated due to its reliability. The IDF then decided to seek an alternative to the FAL and ultimately went with a design by Yisrael Galil, who had previously helped with the design of the Uzi submachine gun.
Galil’s design was based on the Finnish Valmet Rk 62. The Finn’s also wanted a more refined AK-type rifle and evolved their highly regarded design from the AK that Poland licensed from the Soviets. Compared to the typical AK of the time, the Rk 62 had better metallurgy, a better barrel, an improved sight radius by mounting the rear sight on the dust cover and more.

In terms of the Galil, they took the Rk 62 pattern and evolved the design to the point that it was adopted in 1973 with several models being used. Due to the Military Assistance Program from the United States, 60,000 M16A1 rifles were delivered to the IDF and put into use. Troops liked the M16A1 because it was lighter and more accurate. By 2000, the Galil was mostly phased out of main units and by 2005, it exited the remaining units.
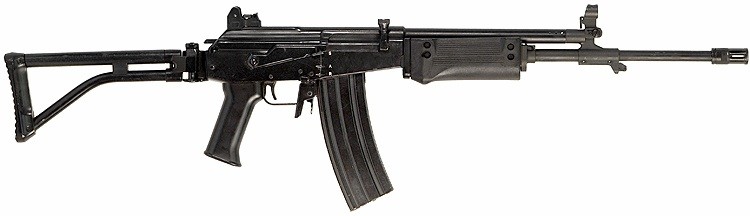
Photo from Wikipedia.
The Columbian Connection
In 2005, the small-arms division of Israeli Military Industries (IMI), known as “Magen”, was privatized and named Israeli Weapons Industries (IWI). IWI sells small arms all over the world. In 2006, the Colombian company INDUMIL secured exclusive worldwide rights to make GALIL automatic rifles (AR) worldwide – they even sold them to IWI.
With IWI suprevision and technology sharing, from 2006 to 2010, INDUMIL modified 43 of the 96 parts in the Galil AR. Of the 43, 12 steel parts were replaced with plastic and a cumulative savings of approximately 1 KG (2.2 lbs) was achieved. The other 30 parts were modified to improve precision. Thus, in 2010, INDUMIL introduced the Galil Ace. It is now offered in rifle, SBR and pistol configurations chambered for 5.56×45, 7.62×39, and 7.62×51. Here are some photos direct from IWI US:

Image Source: IWI US Media Kit

Image Source: IWI US Media Kit

Image Source: IWI US Media Kit

Image Source: IWI US Media Kit
At this time, Galil Ace rifles are being used in a number of countries including Chile, Columbia and Vietnam. As usual, civilian versions followed including rifles, short barelled rifles (SBRs) and pistol versions to allow people to buy the shorter weapons either with or without braces.
What’s Your Point?
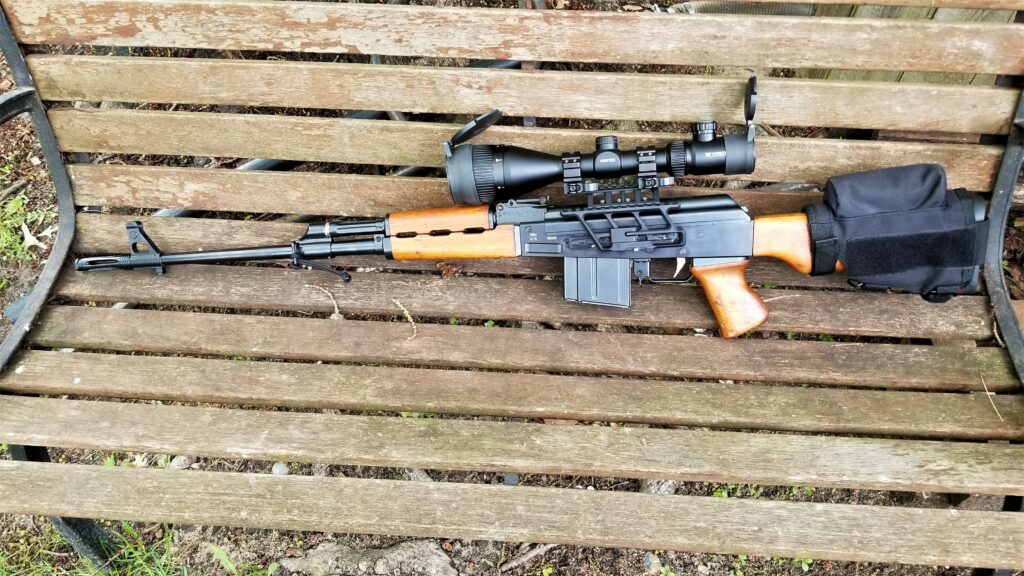
Well, being very interested in Kalahsnikov-related arms, I’ve long wanted to own a Galil. There are a ton of Galil kits available and other projects kepts popping up that precluded me from building a Galil AR. It’s still on my to-do list but I don’t know if I will ever get to it.
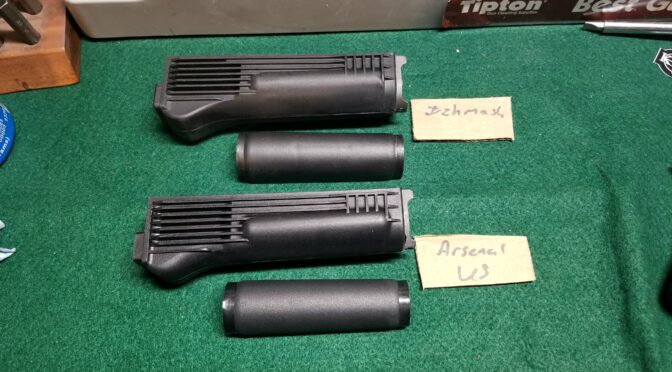
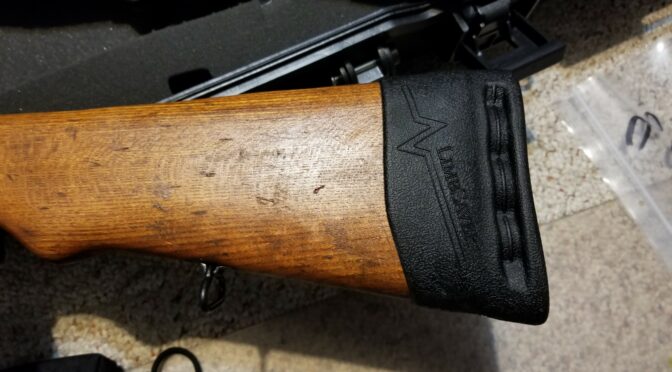
So along comes the even more refined Galil Ace weapons. Every single guy I talked to who had one loved it. This includes Scot Hoskinson of RS!Regulate. So, after seeing tons of photos from Scot, I knew I had to get a .308/7.62×51 model and definitely planned on replacing the short handguard with his longer GAR-6M-N unit and I’ll cover that in more detail later.
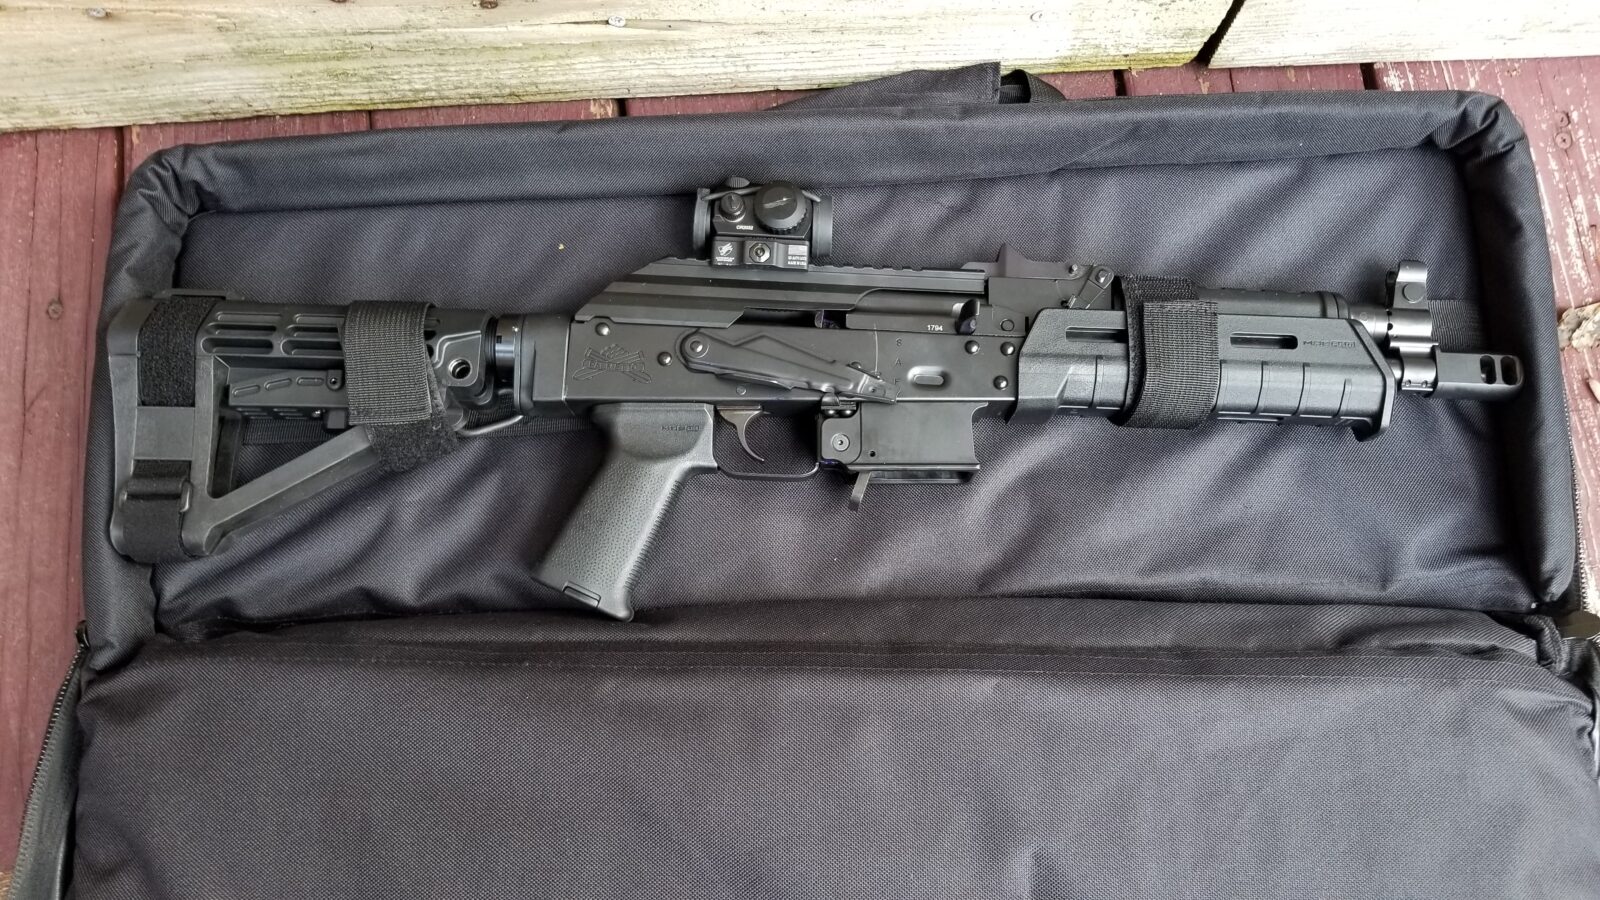
I started my journey of trying to find one. They were all over Gunbroker with a folding SB Tactical brace installed. To be clear, it’s the SOB brace (I giggle every time I write that product name) on IWI’s folding tube that is dimensioned like some AR pistol buffer tubes at 1.208″. Note, pistol buffer tubes can vary and their outside diameter does not need to be Mil-Spec (1.146″) or Commercial (1.17″). My PSA pistol buffer tube is 1.25″ purely as an example.
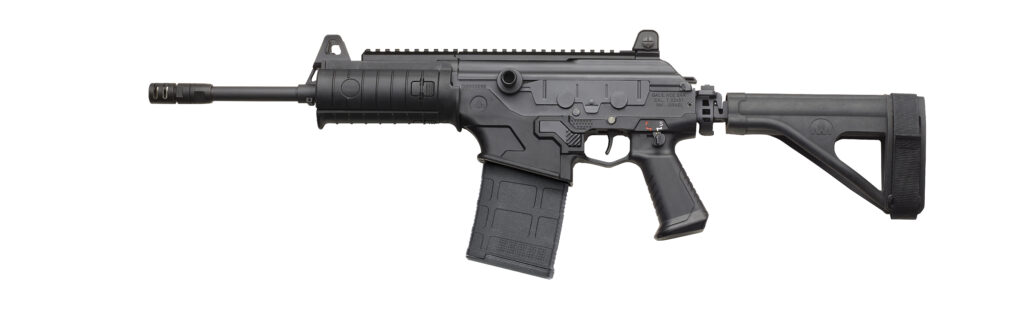
Image Source: IWI US Media Kit
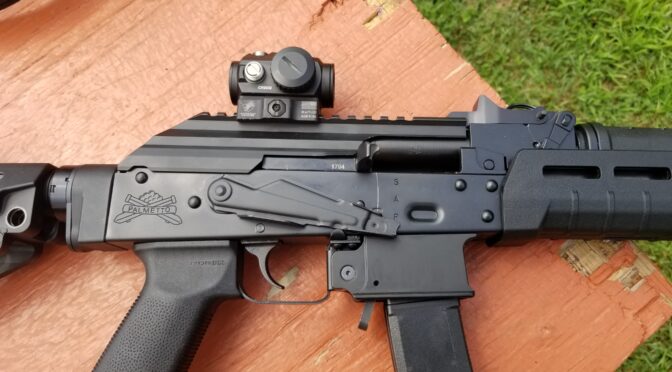
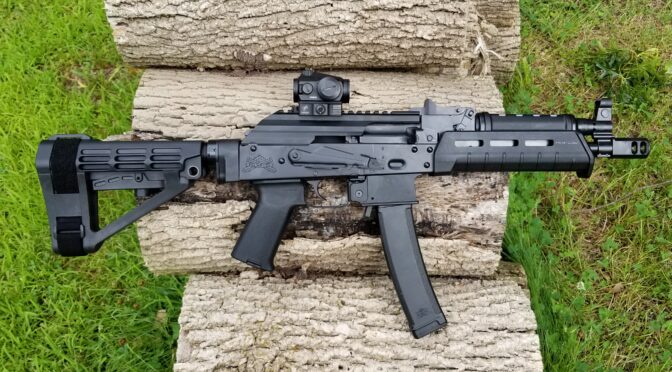
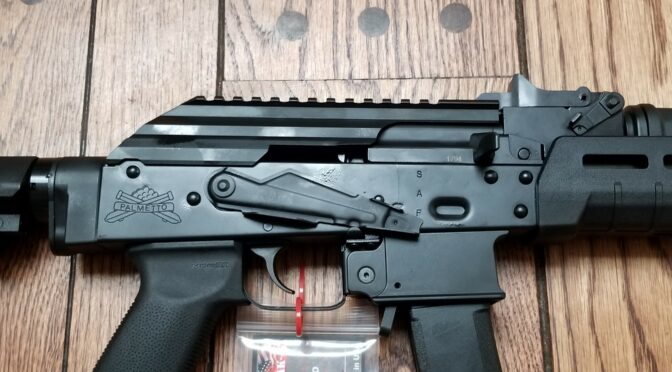
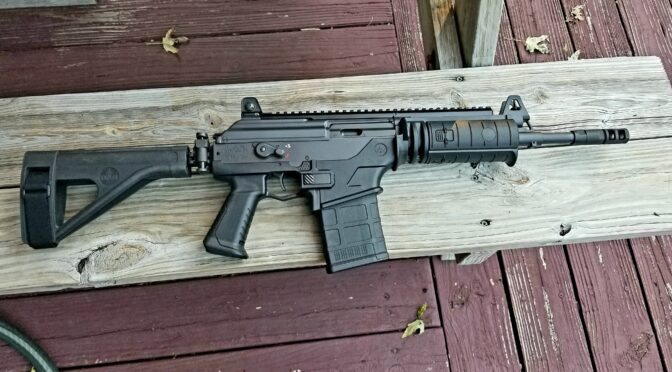
I found out a while ago to watch Gunbroker for a while to get a feel for prices so I didn’t jump. As luck would have it, Palmetto State Armory (PSA) ran a sale on the .308 Ace Pistol with the SOB brace for $1,499 and undercut everybody. I jumped on the deal and told PSA to ship it to my friend and FFL, Scott Igert, who owns Michigan Gun Exchange and is now quite used to my billion and one quirks.
Note, PSA sells a variety of IWI Galil Ace rifles and pistols. I find they have very good prices and are reliable. Click here for a current list of what they have and you can order direct from them – they will ship it to your FFL of course.
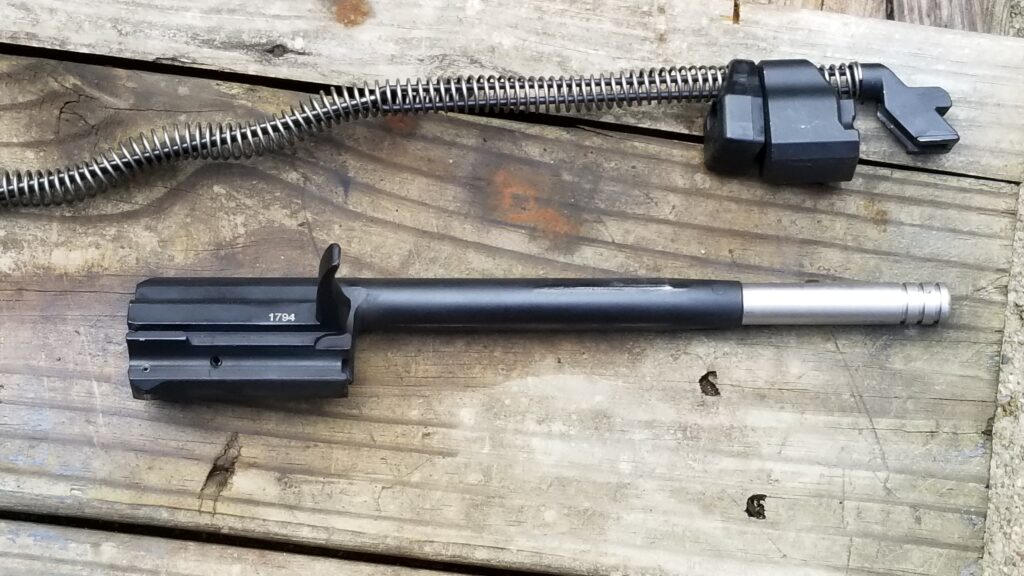
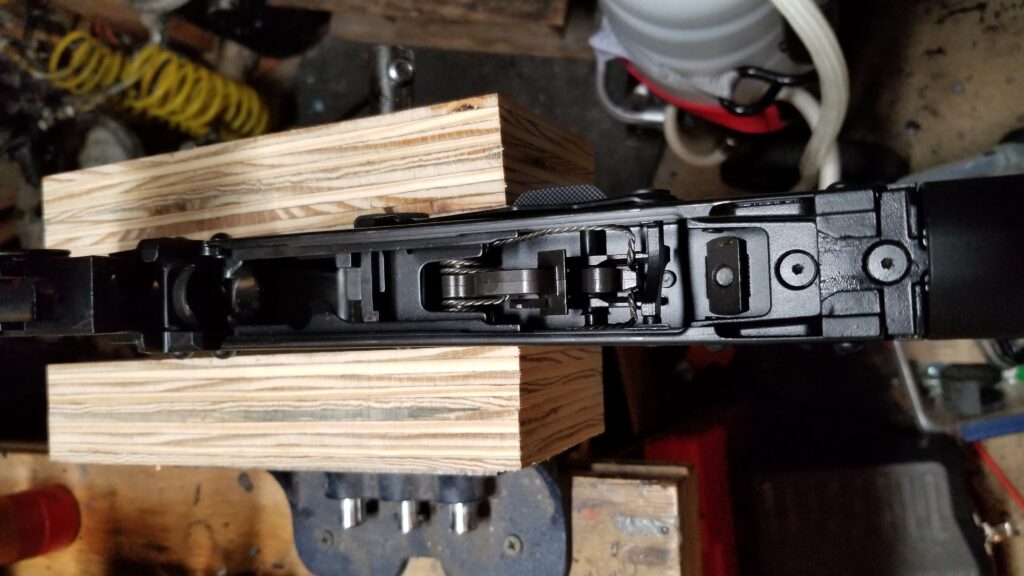
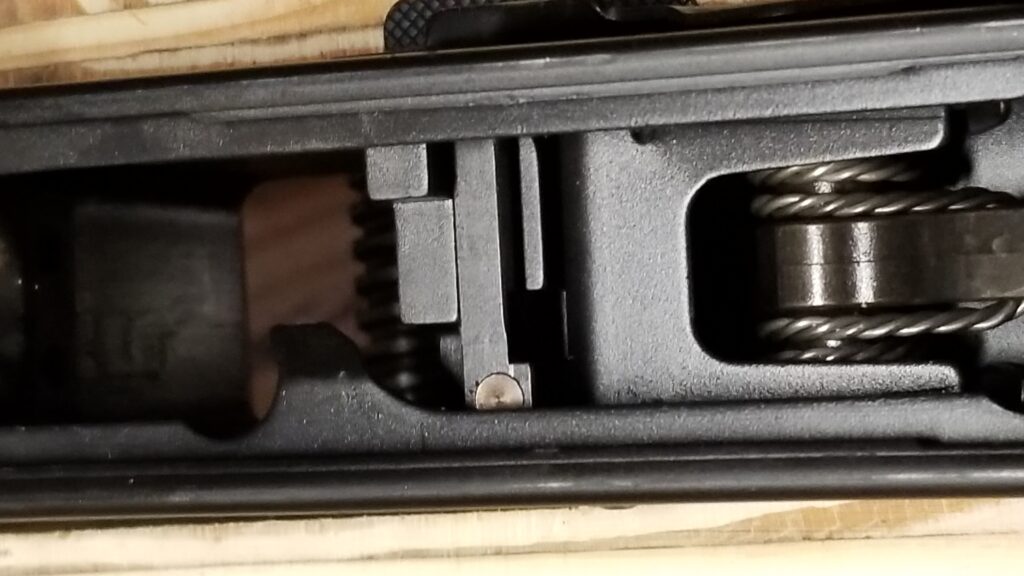
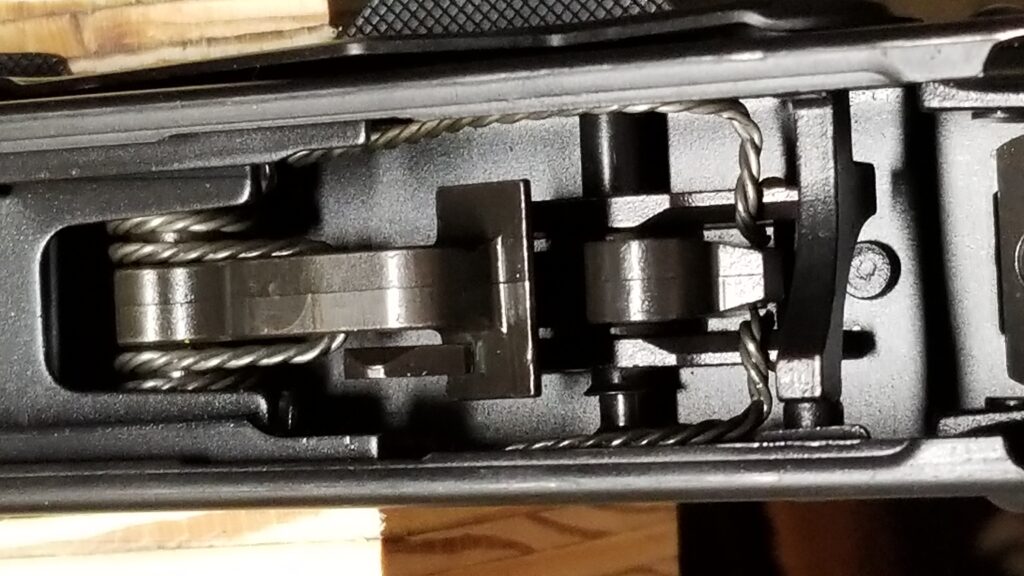
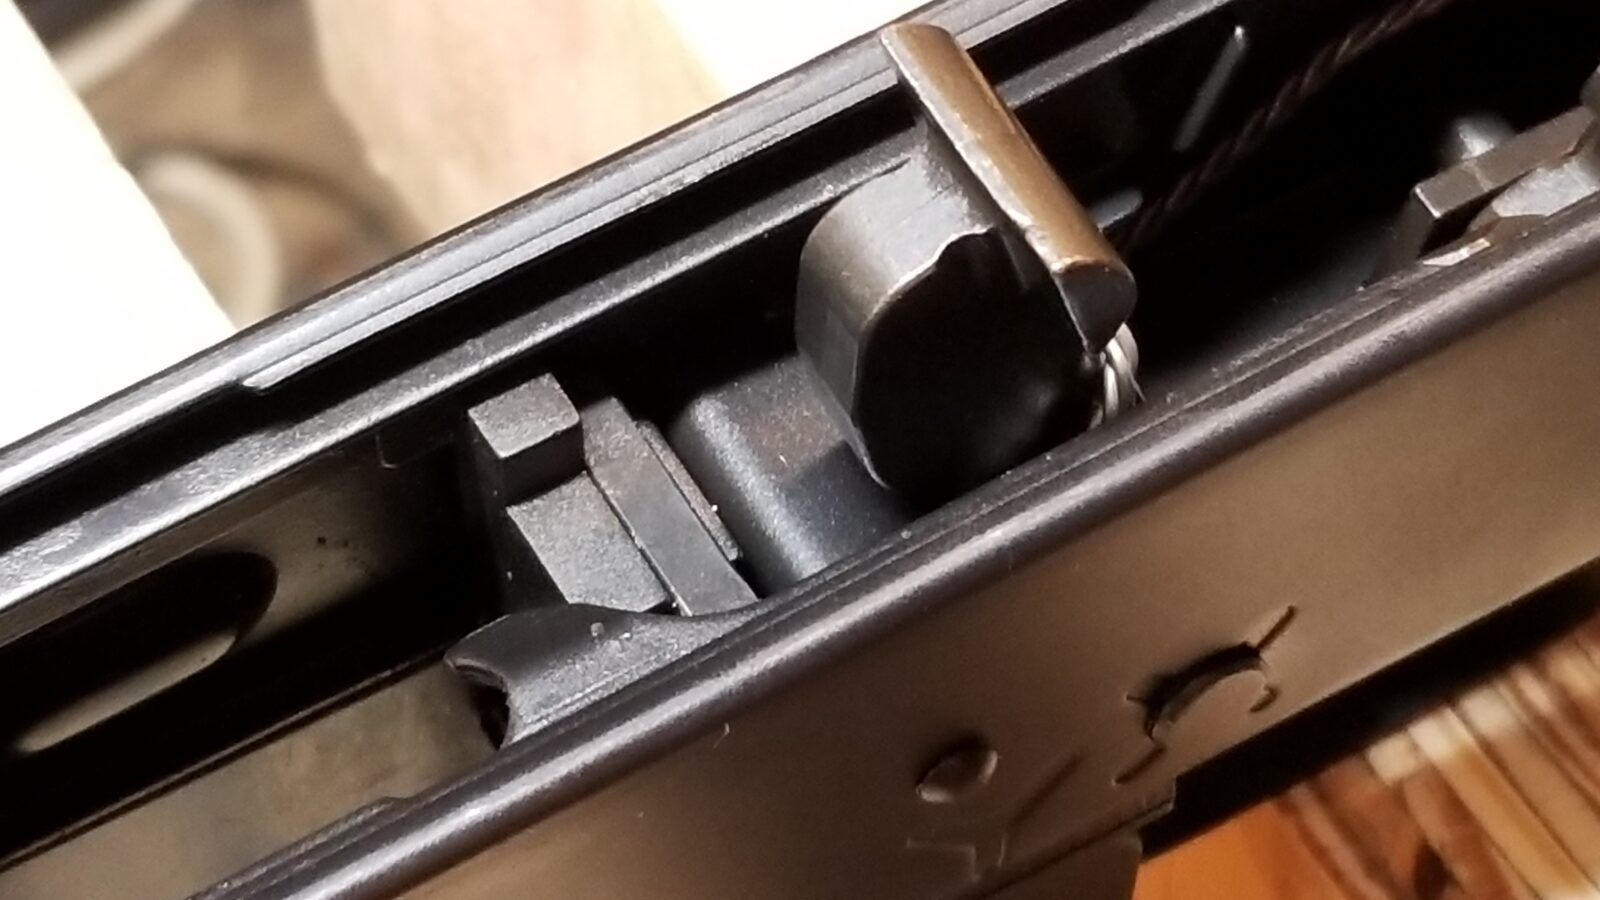
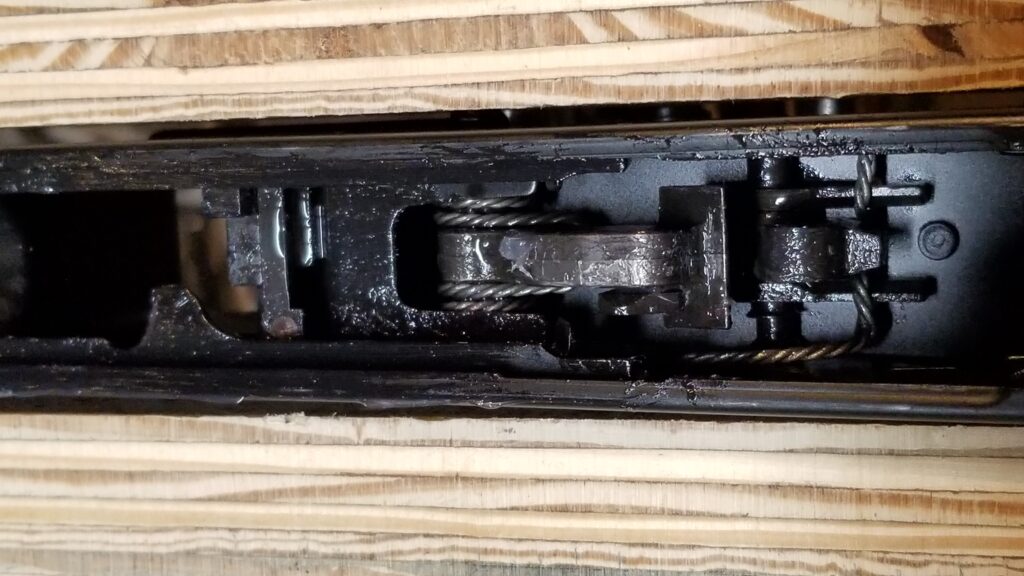
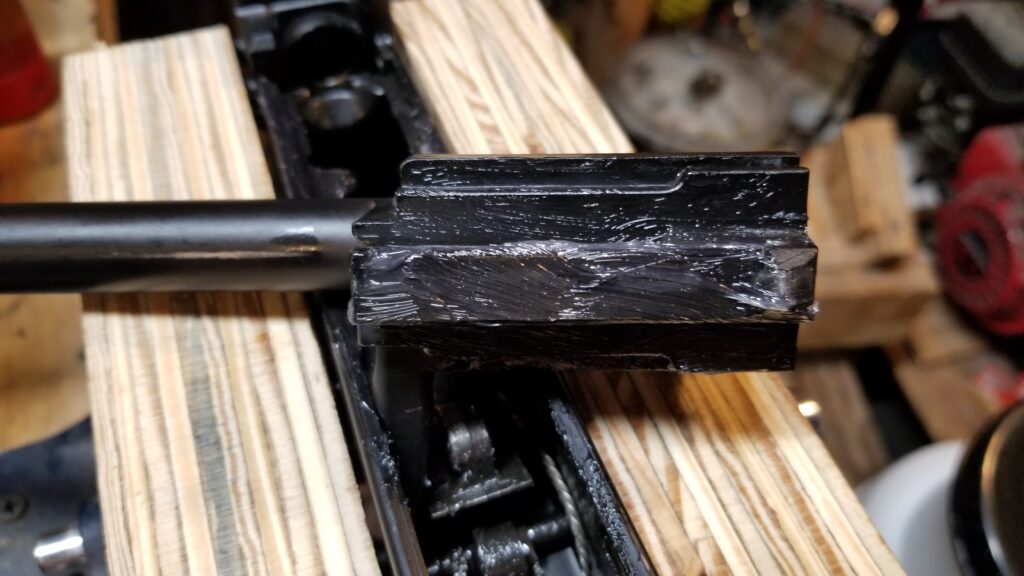
PSA shipped the unit in a few days and it arrived about a week later. As usual, I had to look it over and was amazed at all the changes from the base AK platform. I took the pistol apart and tried to jot down all the differences to then share with folks and that is what I will do in an upcoming post. What they accomplished is very impressive.
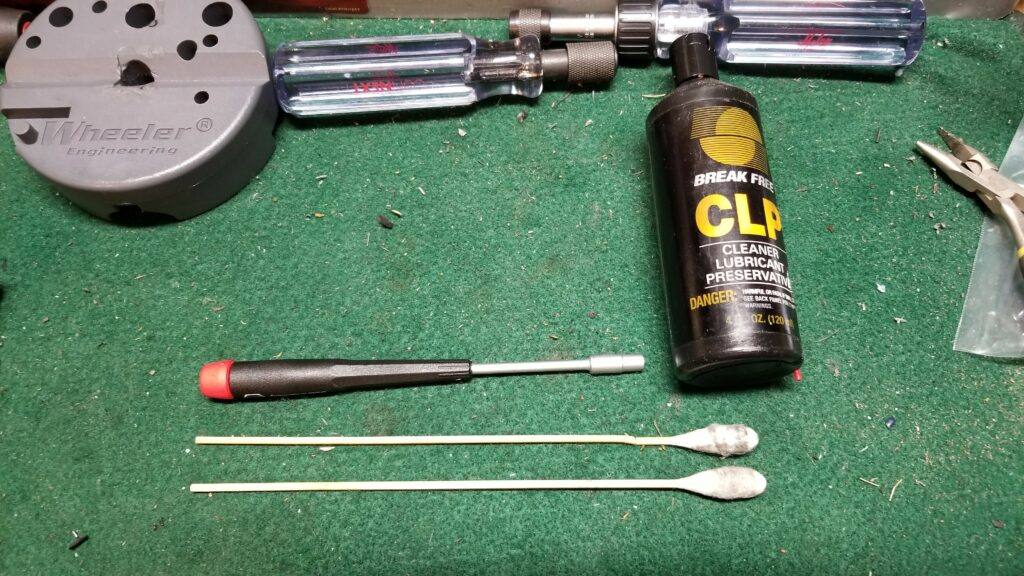
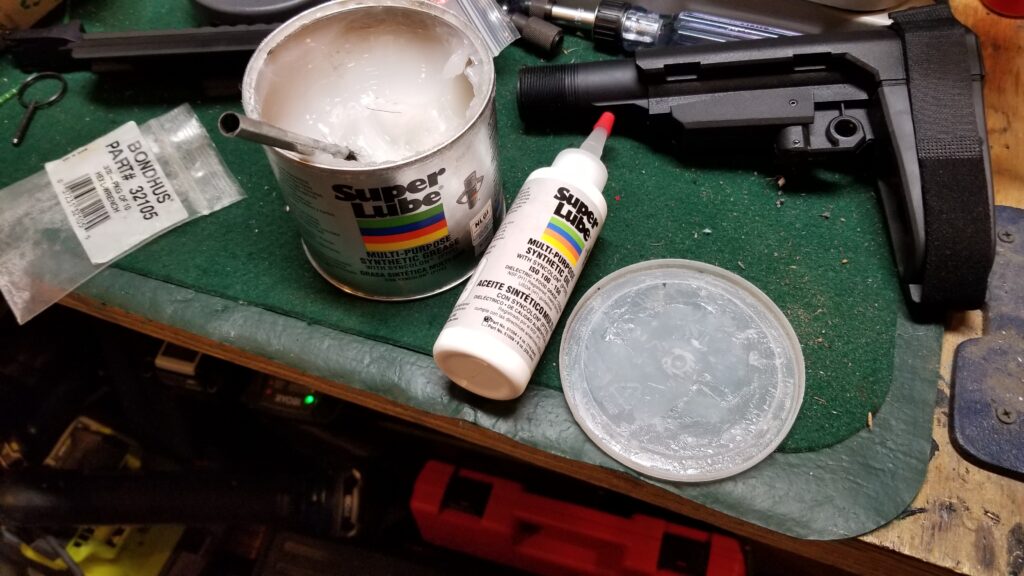
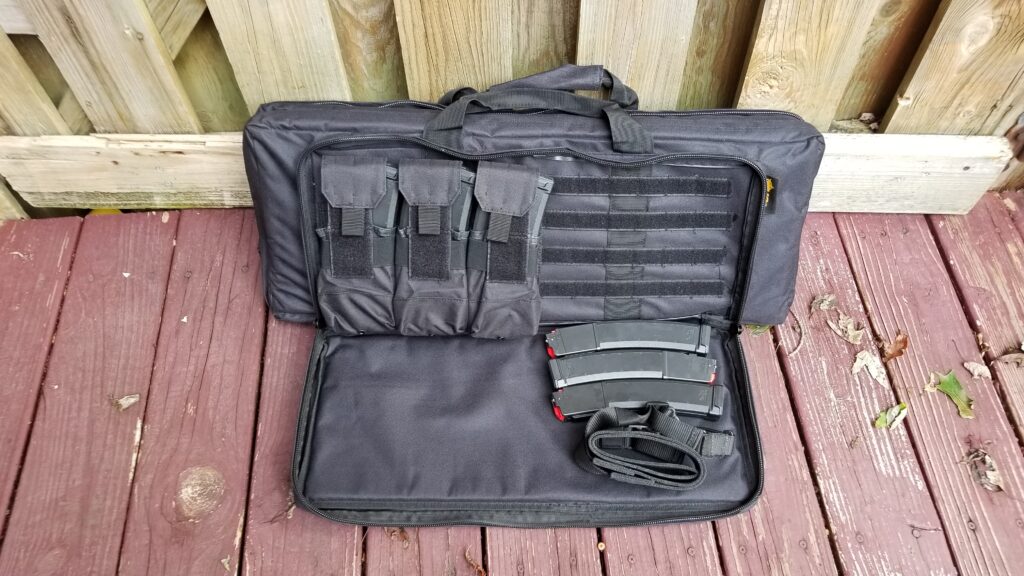
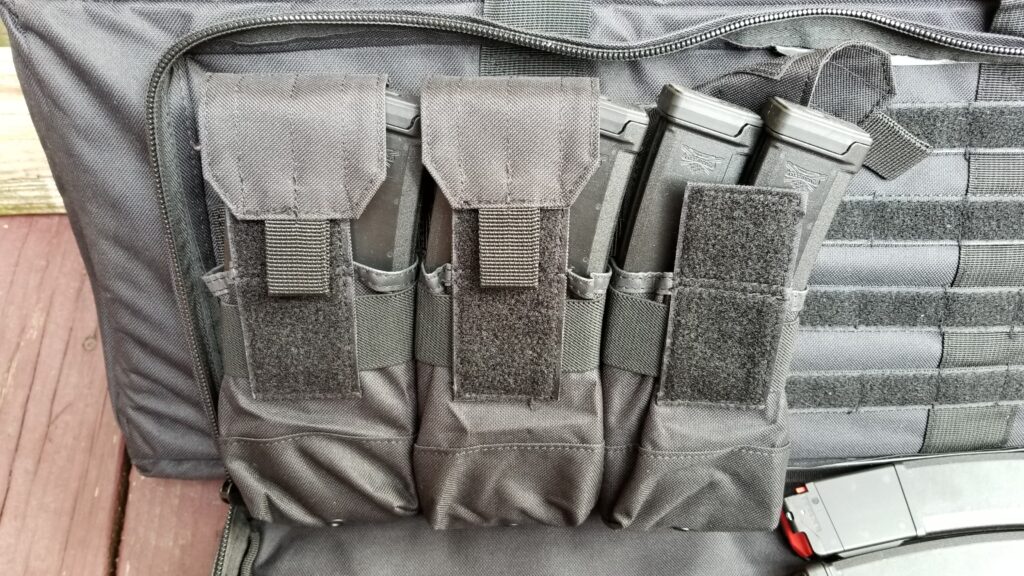
Photos
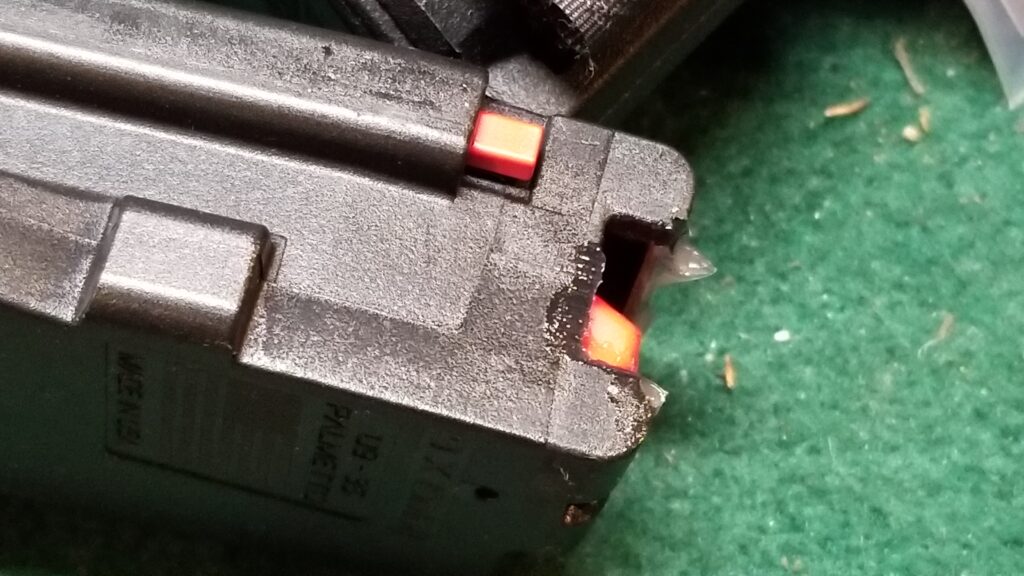
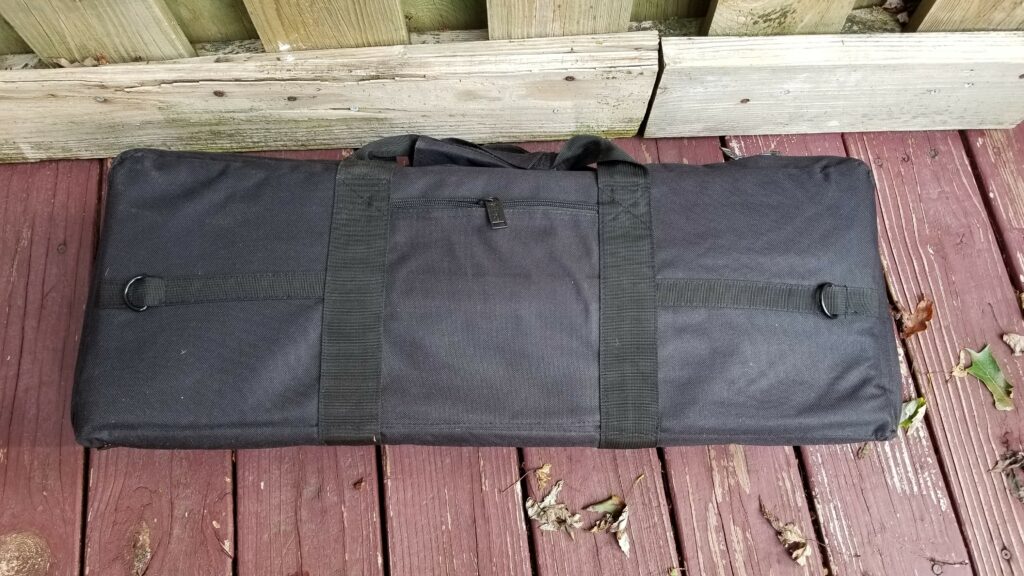
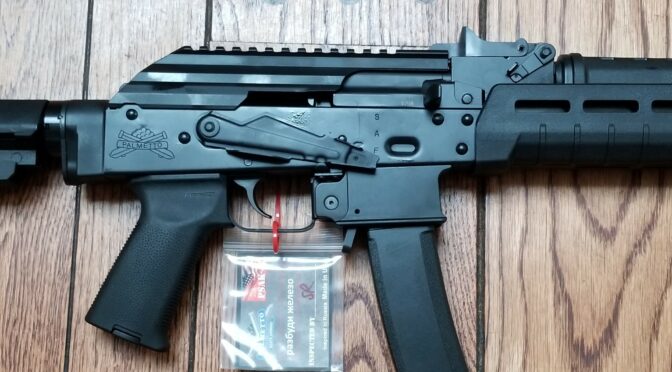
Until I get the more detailed post done, here are a bunch of photos of my unmodified GAP51SB pistol.


References
- Gun Digest IWI Galil Ace Review
- Guns America Digest IWI Galil Ace Review
- IWI US Galil Ace Product Page
- IWI How The Galil Became The Galil Ace
- Shooting Illustrated Galil Ace Rifle Review
- The Truth About Guns IWI Galil Ace Review
- Wikipedia article on AK-47 rifles
- Wikipedia article on FN FAL rifles
- Wikipedia article on IMI Galil rifles
- Wikipedia article on Israeli Military Industries (IMI) now Israeli Military Systems
- Wikimedia article on INDUMIL
- Wikipedia article on Israeli Weapon Industries (IWI)
- Wikipedia article on IWI Galil Ace
- Wikipedia article on the Valmet Rk.62
- Wikipedia article on Yisrael Galil
Note, I have to buy all of my parts – nothing here was paid for by sponsors, etc. I do make a small amount if you click on an ad and buy something but that is it. You’re getting my real opinion on stuff.
Please share the link on Facebook, Forums, with colleagues, etc. Your support is much appreciated and if you have any feedback, please email us in**@*********ps.com. If you’d like to request a report or order a reprint, please click here for the corresponding page to open in new tab.