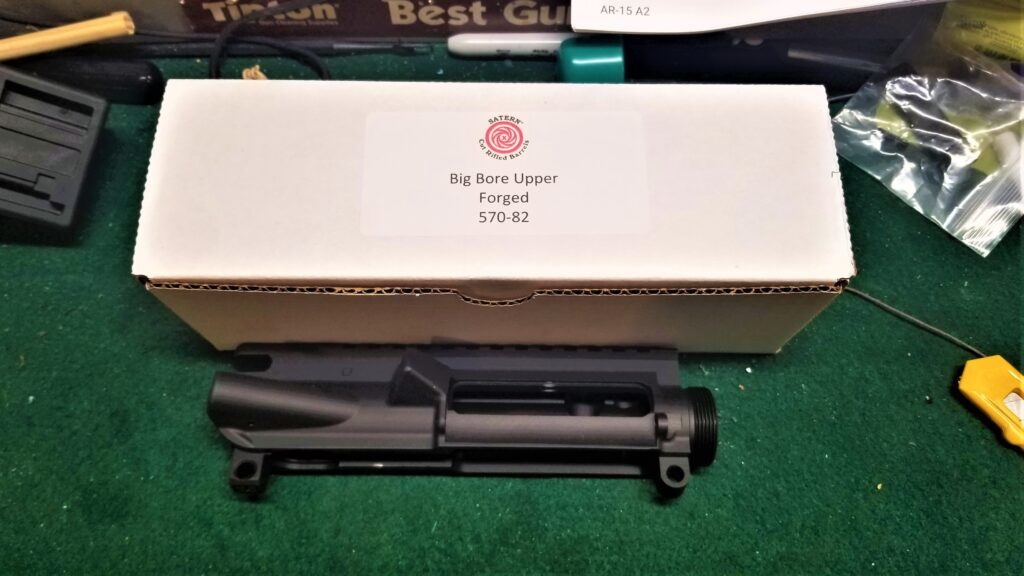
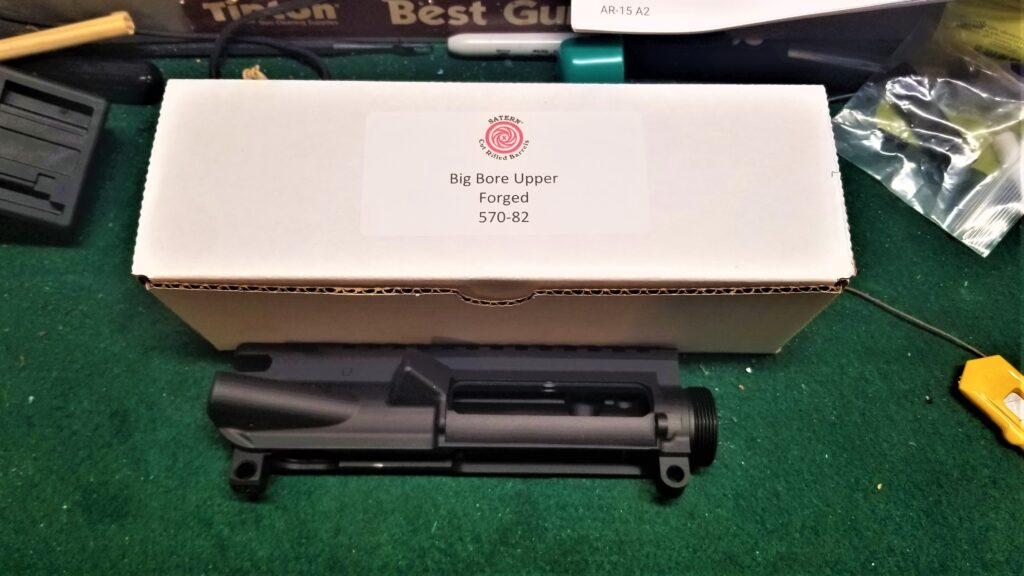
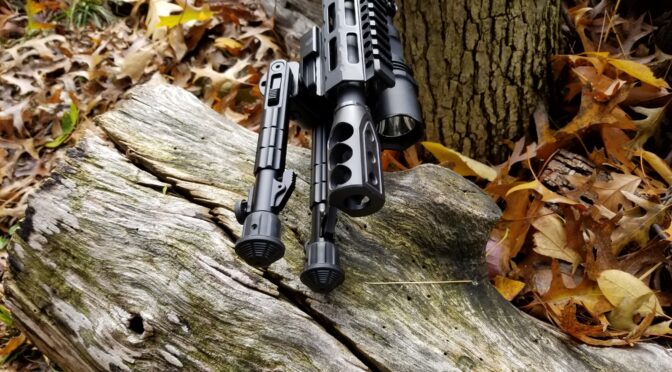
In the last post, I covered installing the forward assist button and the ejection port cover. In this post, we’ll proceed with installing the Midwest Industries 7″ Combat Rail, gas tube and the Satern helical muzzle brake.
Special Assembly Note
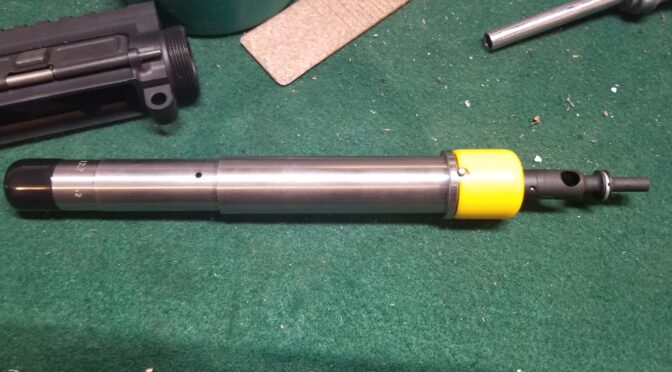
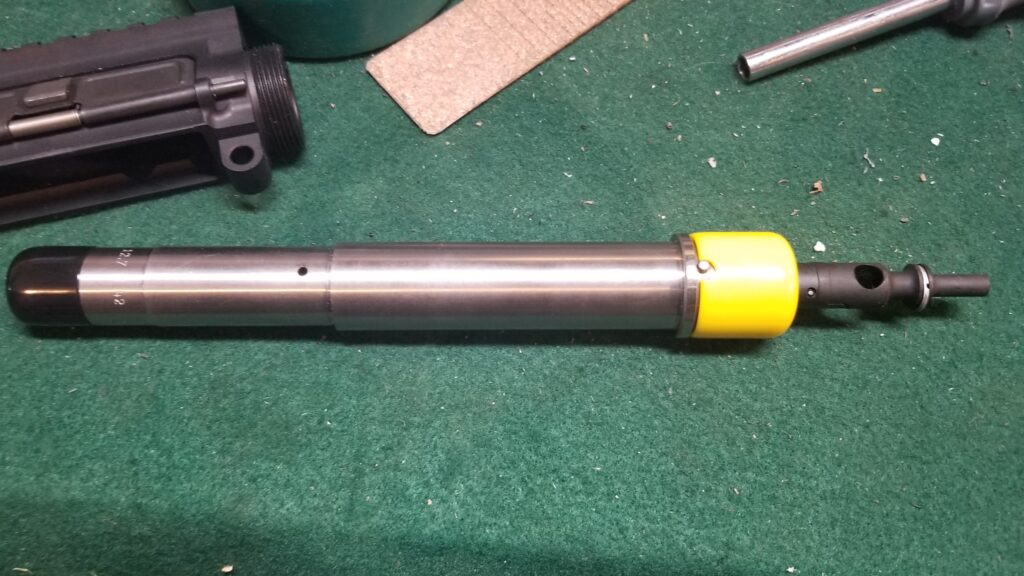
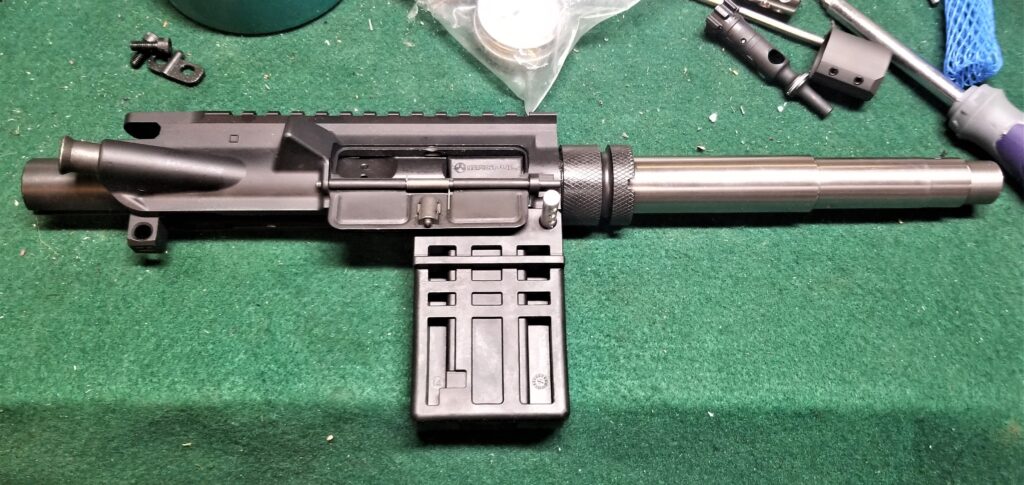
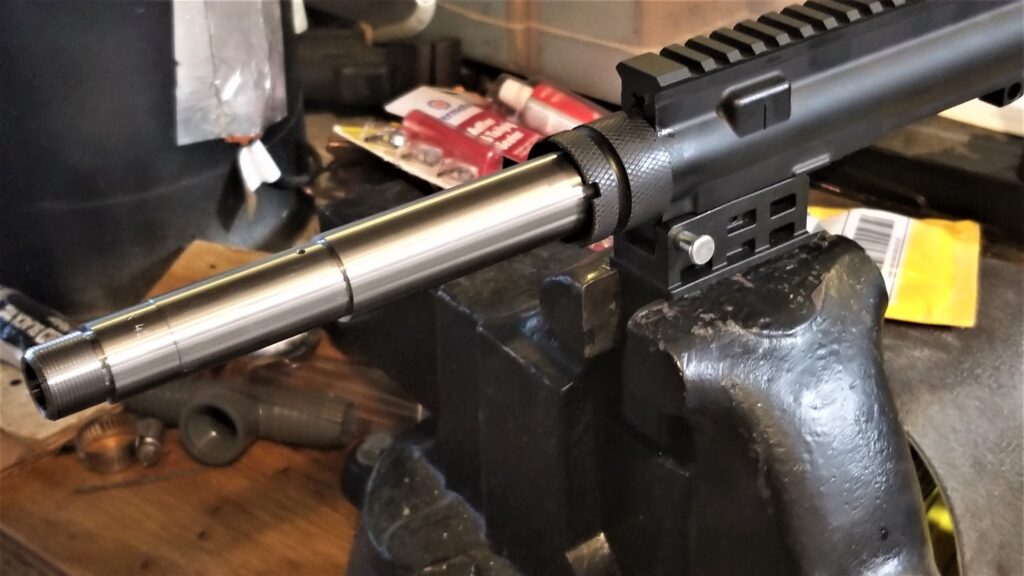
Here’s some hard won advice I want to share with you. When you install the barrel nut and the muzzle brake, there is significant torque involved. You absolutely do not install a magazine well block in a vise or clamp the upper directly — You will bend or break stuff. For example, the alignment pin on the barrel will let go – and has done so to tons of people who didn’t secure their upper properly … Spend the money to get the right tool.
Here’s my personal experience: Years ago before I knew much about ARs, I had one of those little jigs that puts pins through the takedown and pivot pin lugs – I think I got it cheap off Amazon. At any rate, I was trying to remove a bird cage muzzle brake that was on real tight and managed to bend the takedown lug of the upper and that was the end of me using those. Yeah, I was ticked and then I started asking around what tools/jigs folks were using.
There are two options for you that I can recommend. Personally, I use a Magpul Barrrel Extension Vise (“BEV”) Block with a bolt carrier to secure it. It has steel lugs that engage the barrel extension and a full-length steel shank for strength. I’ve used many times over the years and it hasn’t let me down.
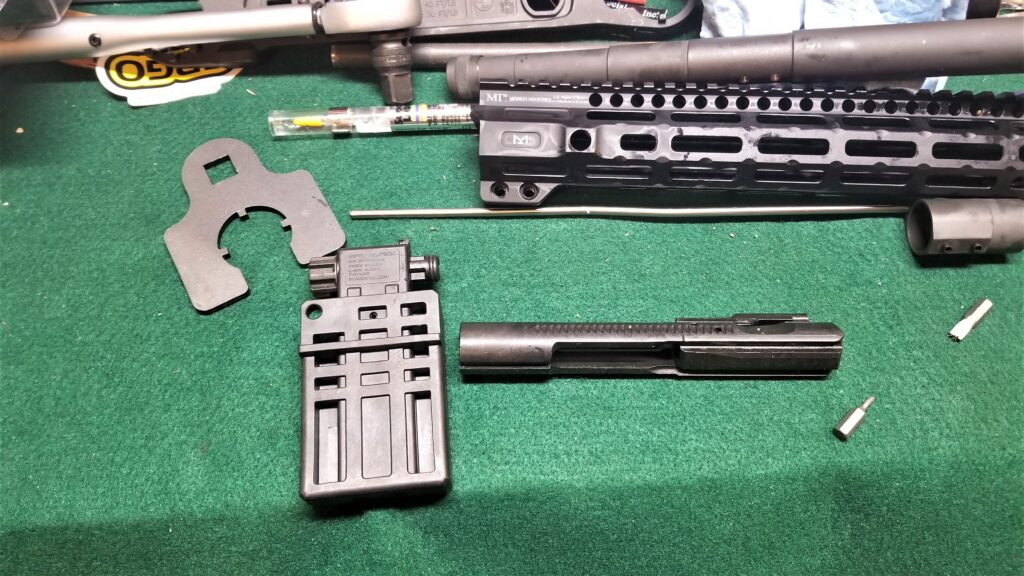
Your other option is a Geissele Reaction Rod. I’ve heard good things about the Geissele rod but have never used it. Guys who have it gush about it and you know how fast guys are to complain when a tool sucks.
You can usually find either at Brownells, Midway, Primary Arms, PSA, etc. There’s a lot of back ordering going on these days so you might need to hunt some.
Midwest Industries 7″ Combat Rail
Let’s roll right into the handguard discussion because we will need the barrel nut to install the barrel first. With the advent of the free floating handguards, meaning the handguard does not touch or push on the barrel affecting accuracy, makers started creating their own barrel nuts that their handguard would attach to and the nuts vary dramatically in terms of design.
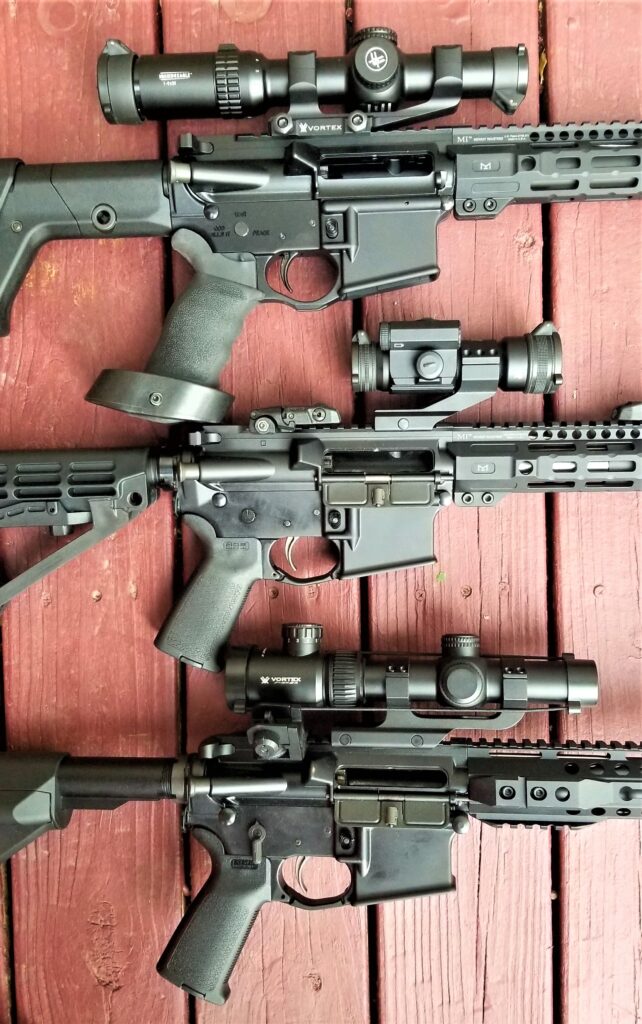
My favorite AR free floating handguards are the Midwest Industries (MI) Combat rails. They are very well made, rugged, easy to install and all the surfaces that can poke or nick you have been rounded over. I’ve installed four of them now and really do like them.
For the 7.5″ barrel, I opted for a 7″ rail to allow for the muzzle brake to poke out the end and vent properly. I also only use M-LOK attachments now and the Combat rail has those.
| The MI Combat rails come with installation instructions that are quite detailed. Take the time to read them before starting. If you have questions you can either contact them or do some quick searching. In general, a little bit of time spent preparing can make things go far more smoothly. |
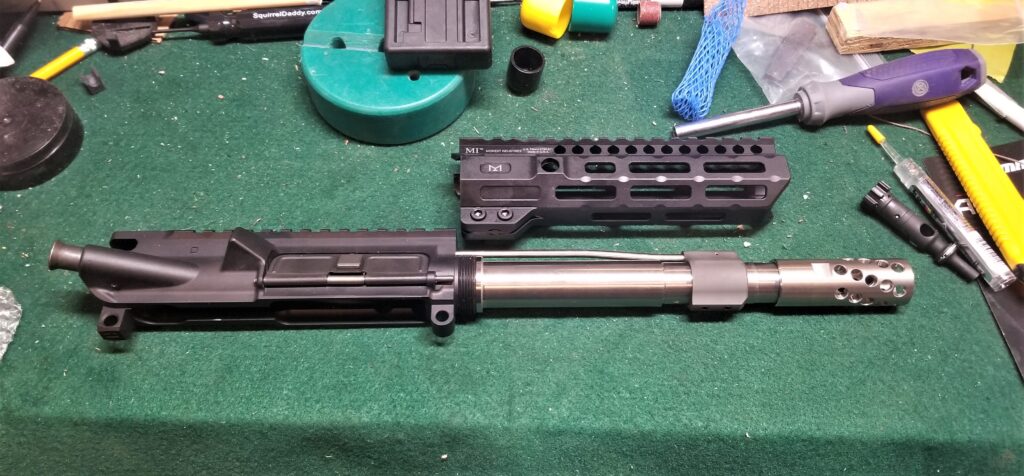
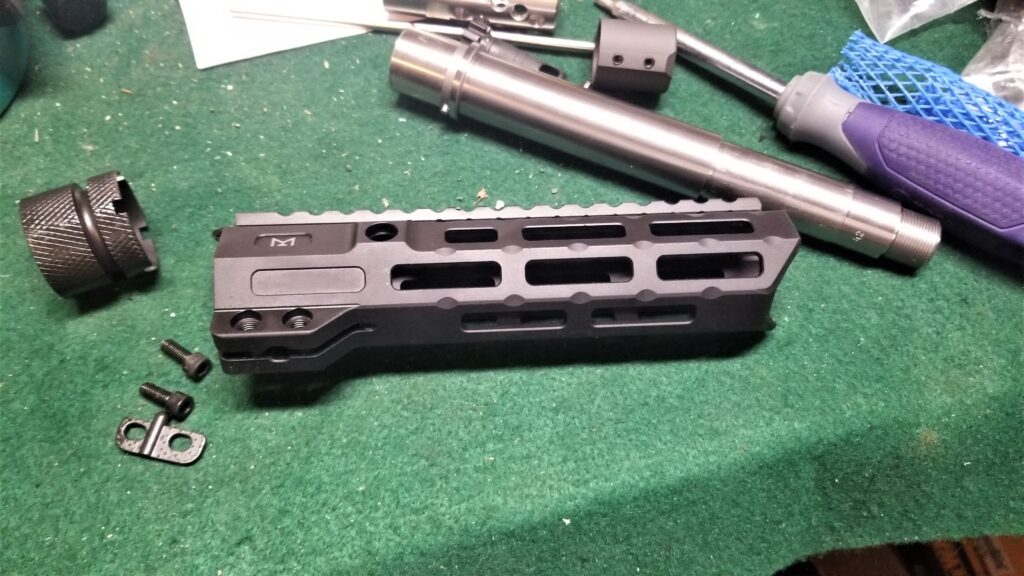
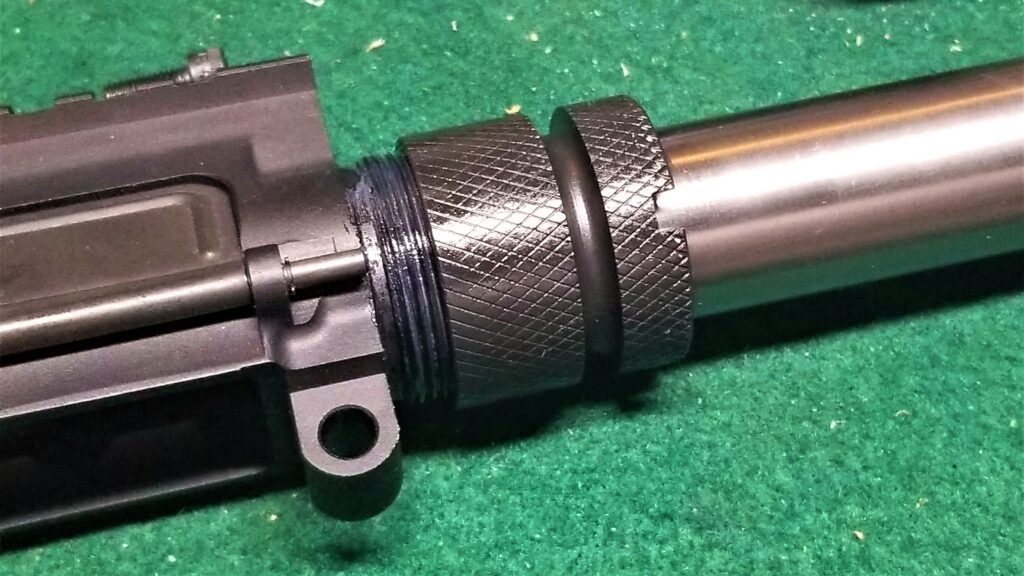
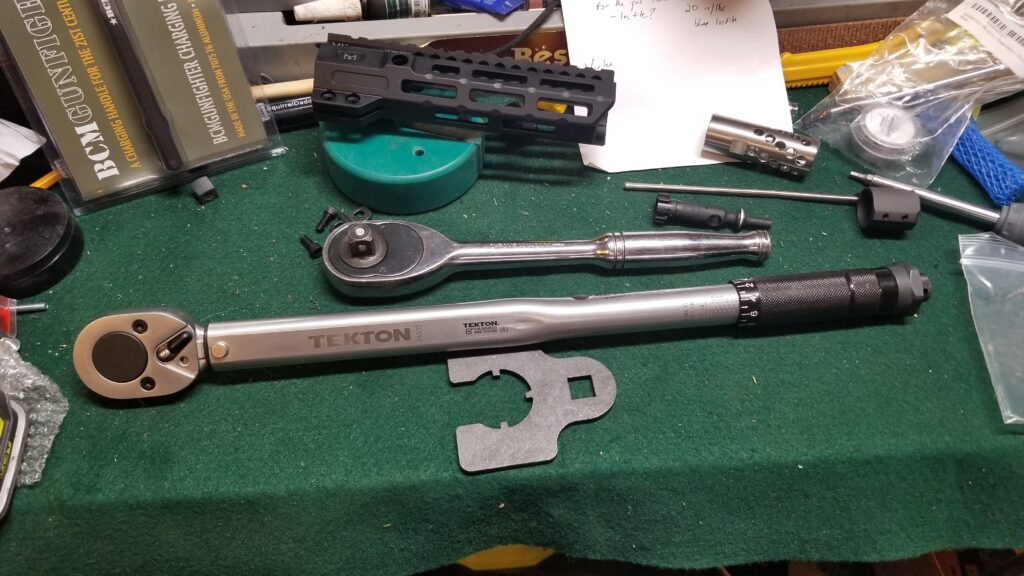
To install the rail, the first thing to do is to disassemble the rail – Midwest Industries ships the unit with the barrel nut, torque plate and two screws installed so you can see how it goes together plus it keeps everything tidy.
Pistol Length Gas Tube
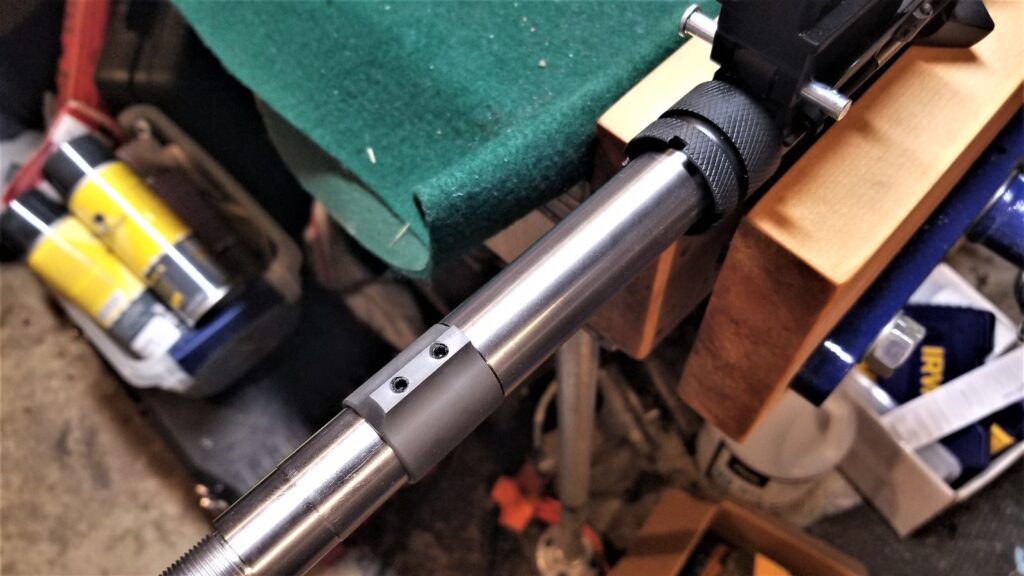
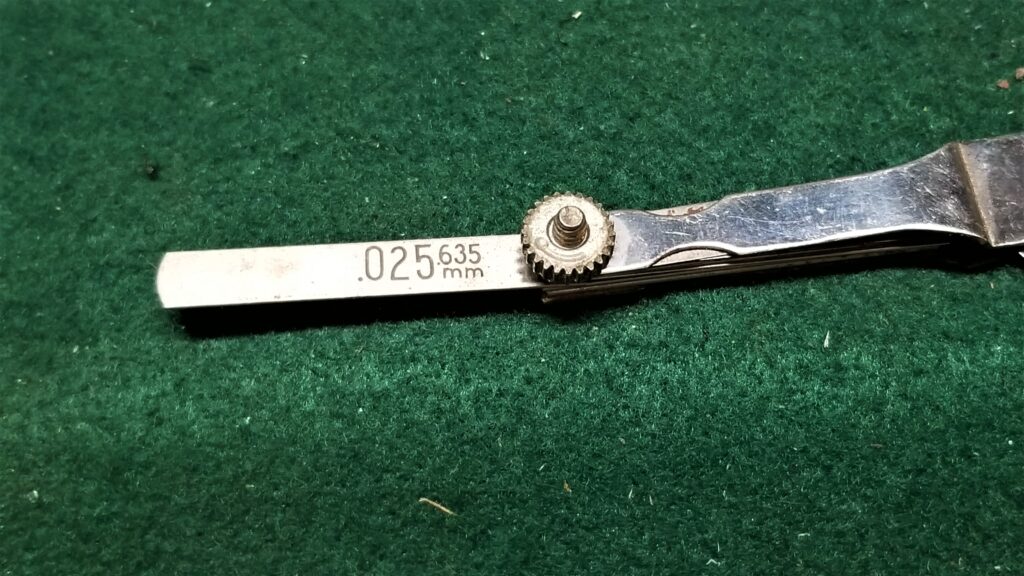
Once the barrel nut has been installed, the gas tube is easy. I bought a 0.875″ diameter gas block and pistol length gas tube from Satern. They make a single divot on the bottom of the barrel so when you slide the tube into place and tighten the set screws, the gas block is properly located. The installation is easy – slide the block on with the tube going into the hole made for it at the top of the receiver.
Satern “Heliport” Muzzle Brake
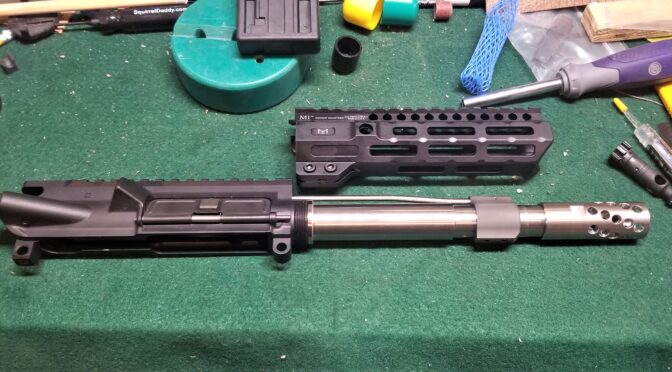
Because this is a low profile brake, you can install it before or after the handguard. If you are installing a tanker brake, you’d do it after the handguard. In my case, I opted for before.
| Remember what I said earlier. You need a jig to properly hold the barrel or something will brake. In this case, you run the risk of the index/alignment pin on the barrel shearing off or bending the receiver. Don’t do it. |
Installing the Handguard Itself
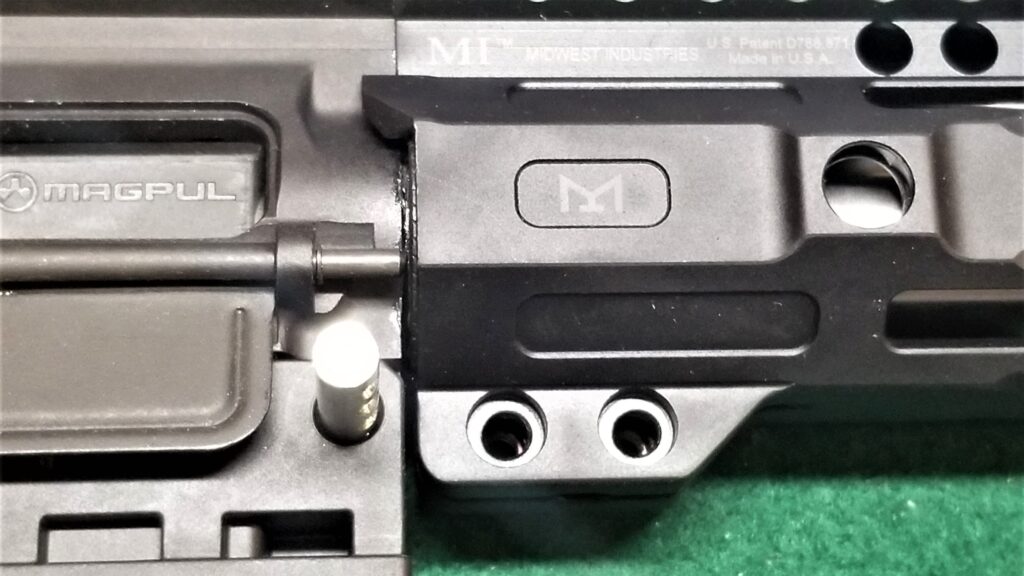
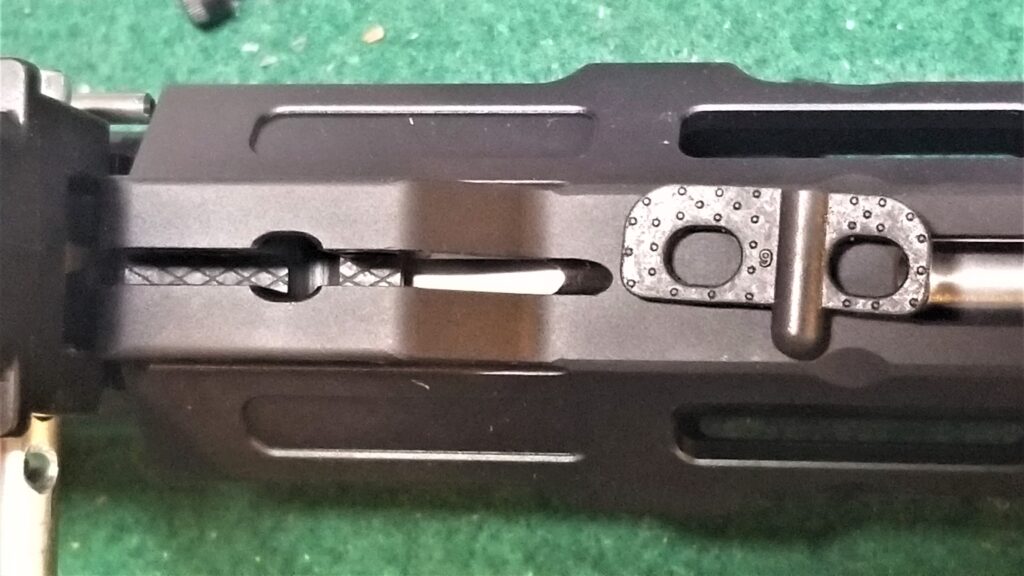
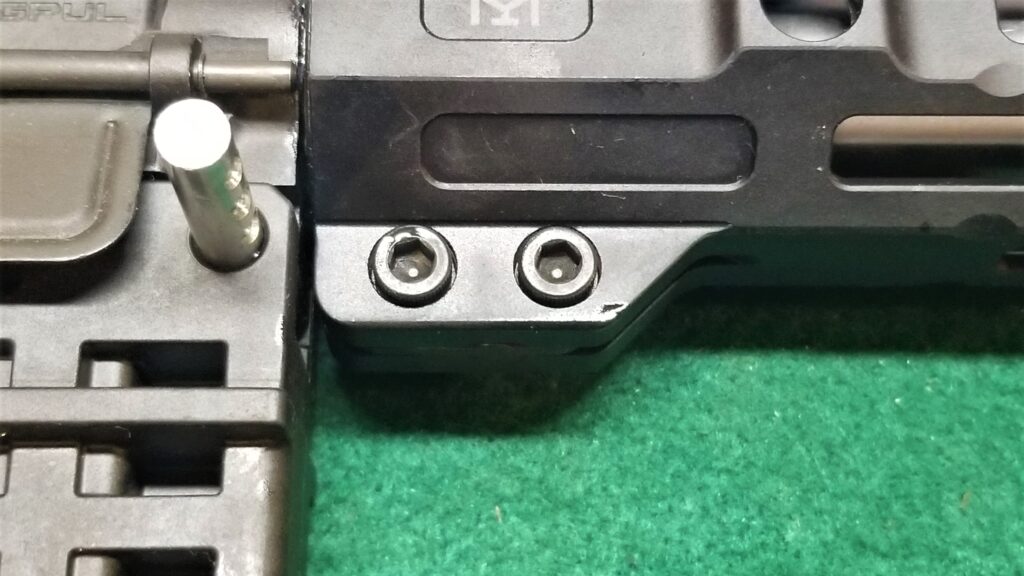
At this point you should have the barrel installed, the barrel nut installed and torque down as well as the gas tube. Installing the handguard is actually quite simple. You slide it back onto the nut with the “ears” aligning it to the upper’s rail. You then flip the receiver upside down, install the torque plate, apply thread locker to the screws, install and torque them down to 55 in-lbs.
Install The Bolt Head
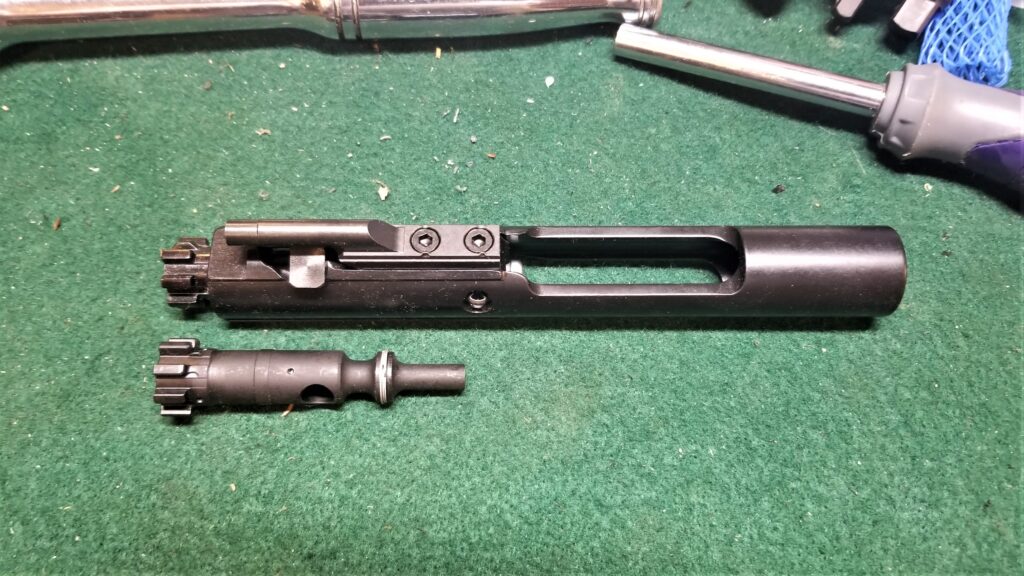
I bought the bolt head from Satern and it needed to be installed in a carrier. Luckily I had some spares from cases where I swapped out bolts for WMD NiB bolts. I opted for a carrier with a nice smooth nitride finish and installed the head. Note, during assembly I apply a thin coat of Super Lube grease to all sliding parts. I’ve found it’s a great break in lube.
Install The Charging Handle, Bolt Carrier Group & Done
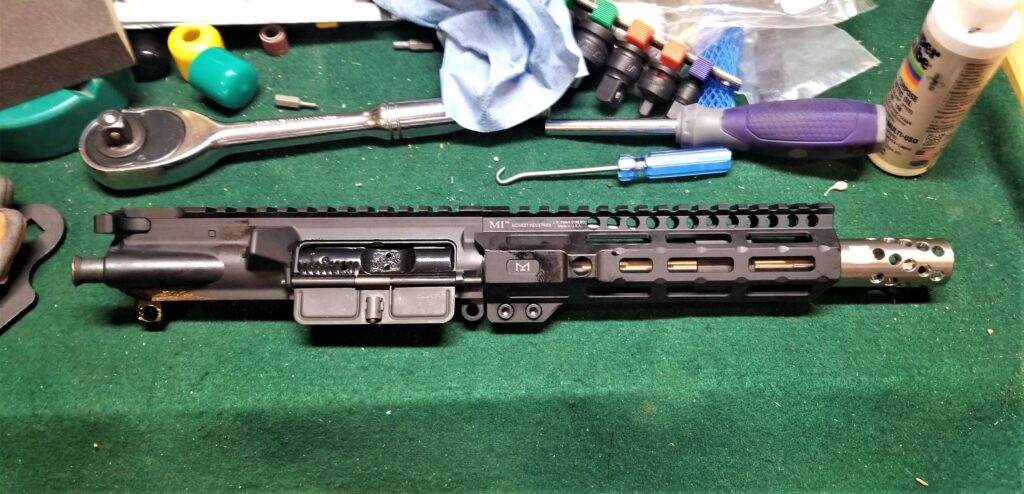
I installed the BCG and BCM Mod 3 charging handle into the upper and with that, the upper was fully assembled not including any sights or optics.
In Conclusion
That concludes building the 12.7×42 (.50 Beowulf) upper. In this case it would attach to any AR-15 sized pistol lower that you have. Click here for our past posts on building AR lowers.
I hope this series has helped you out!
If you find this post useful, please share the link on Facebook, with your friends, etc. Your support is much appreciated and if you have any feedback, please email me at in**@*********ps.com. Please note that for links to other websites, we are only paid if there is an affiliate program such as Avantlink, Impact, Amazon and eBay and only if you purchase something. If you’d like to directly contribute towards our continued reporting, please visit our funding page.
Note, I have to buy all of my parts – nothing here was paid for by sponsors, etc. I do make a small amount if you click on an ad and buy something but that is it. You’re getting my real opinion on stuff.
