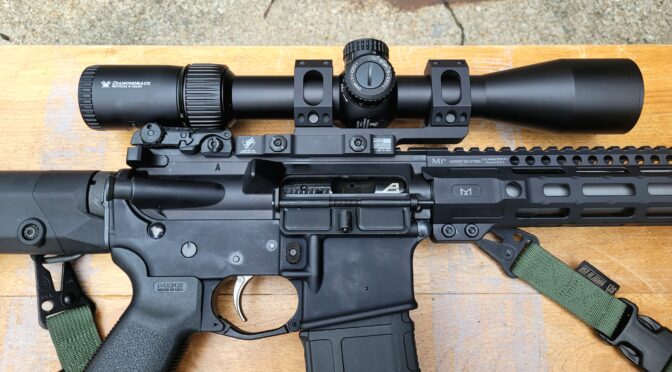
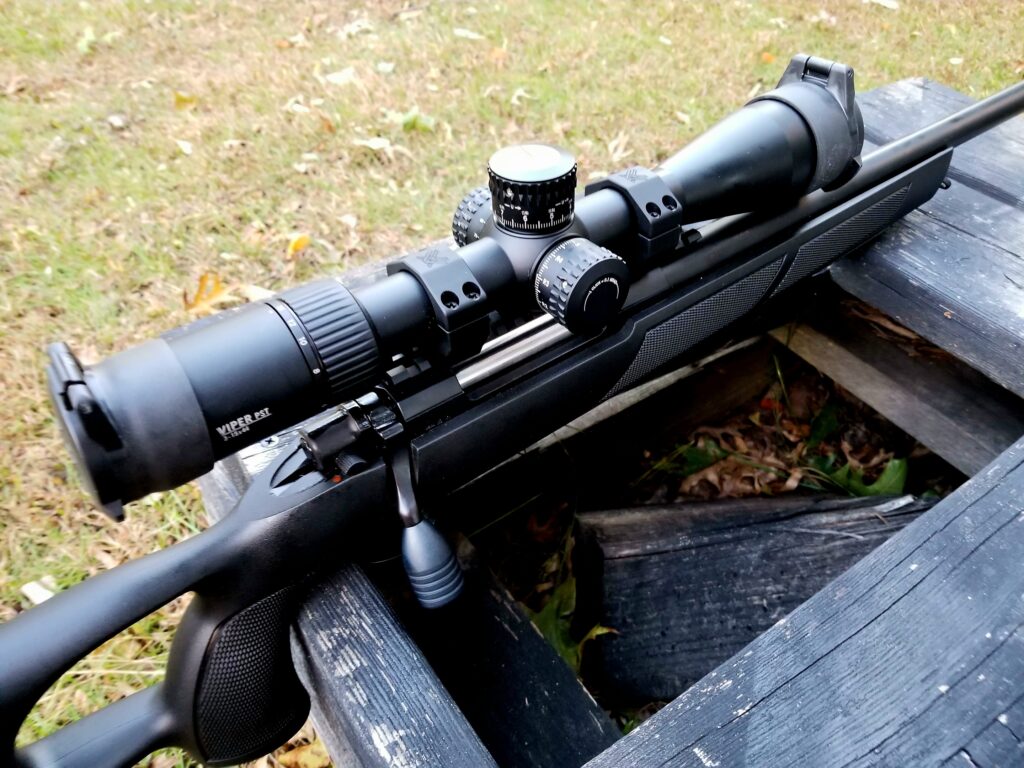
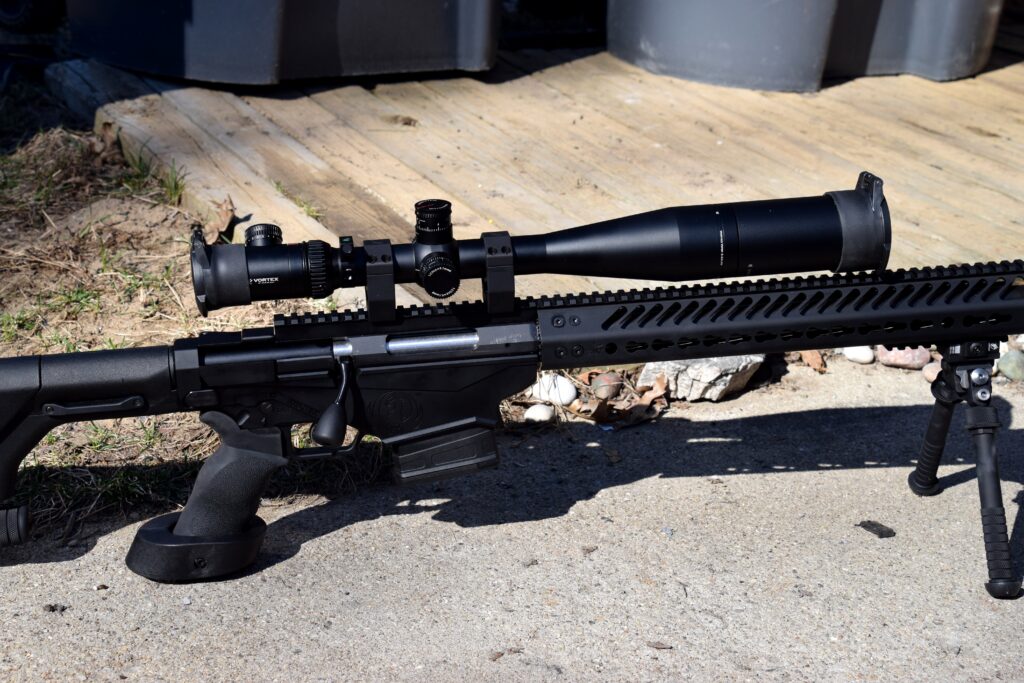
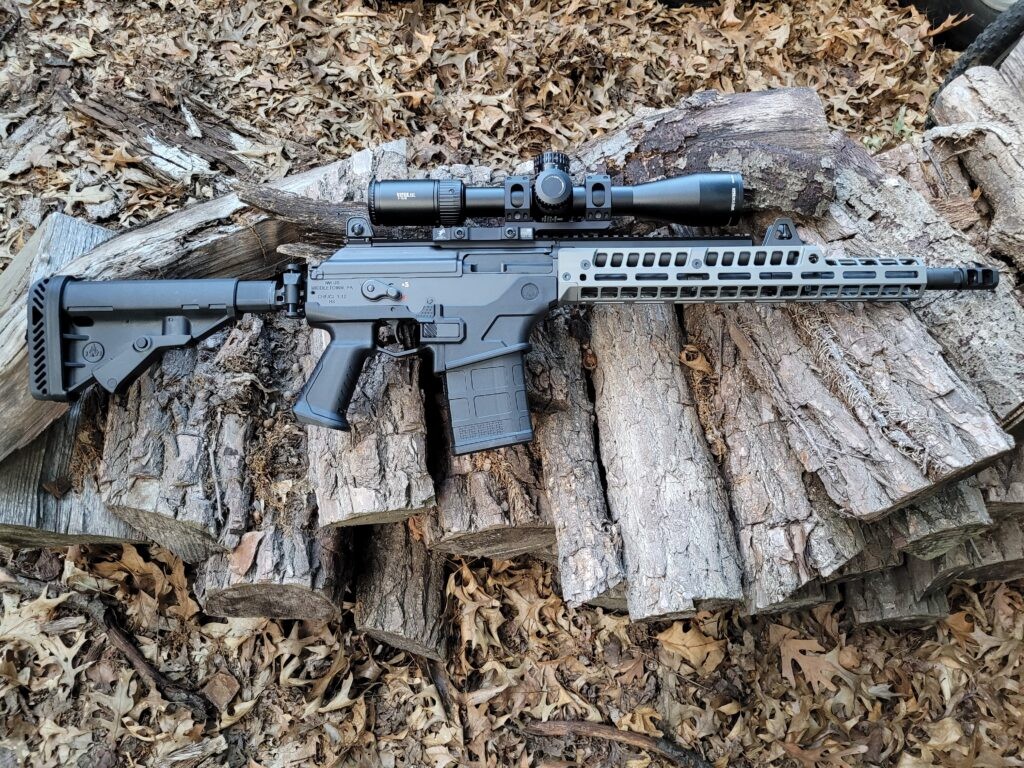
First off, I better explain that a recticle is the formal name for the cross-hairs or series of fine lines that are inside a scope that you use to aim with. There are a ton of different ones out there and one thing you want to do is to get them level with the rifle.
Let’s start with why this matters
The reason for this doesn’t affect the old traditional cross-hair designs but it does the ones that have additional marks to help you better determine the range and the necessary hold based on Mil-Radians (Mils) or Minutes of Angle (MOA).
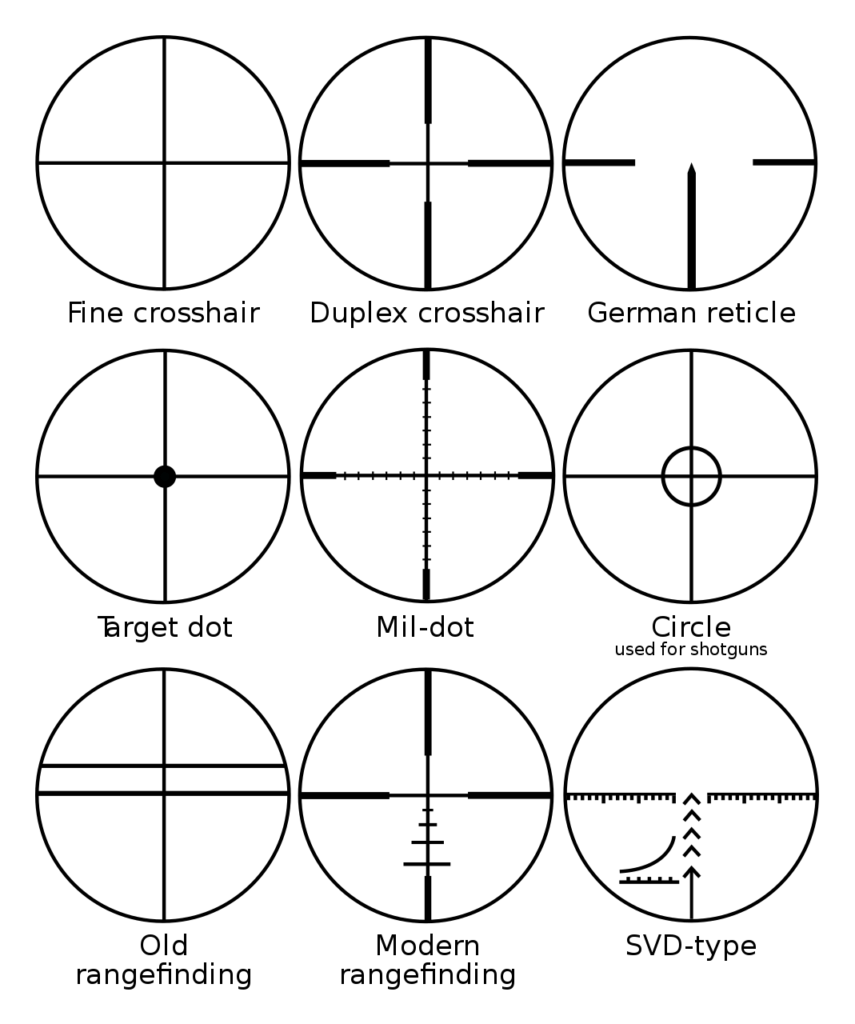
If you search, there are tons and tons of posts about different types of reticles and how to use them. The important point I want to make is that for any of these more modern reticles with additional lines to help you accurately, the horizontal lines must be parallel with the rifle.
How do you level a reticle?
The first way is the old fashioned “eyeball” method. Hold the rifle and make sure the top of the receiver is as level as possible (meaning the rifle is not tilted left or right), look through the scope and adjust it in the rings until it is true to the top of the receiver and then start tightening down the rings while confirming nothing shifts. It’s not the most precise method but it does work, I’ve done a ton of rifles that way, but there is another approach using levels.
In it’s most form, you put a small level on the top rail or flat spot of your recever, tilt it until it is level and then put the level on the top turret and adjust the scope until it matches. Having something to hold the rifle in place while you work really helps as does having a second level so you can both confirm the receiver and scope are level as you work. You can often find single vial levels at hardware stores or through industrial supply houses. The one negative to this approach is that the levels can slide off if you don’t have things secure. I like to use a Tipton Pro Rifle Vise to hold the rifle in place while working.
Wheeler Engineering does offer a basic level set that works. I don’t use it though because it’s rear receiver piece has a magnet to secure it and that will not work in an AR or other weapon that is made from aluminum and not steel. For this reason, it wasn’t something I could use.
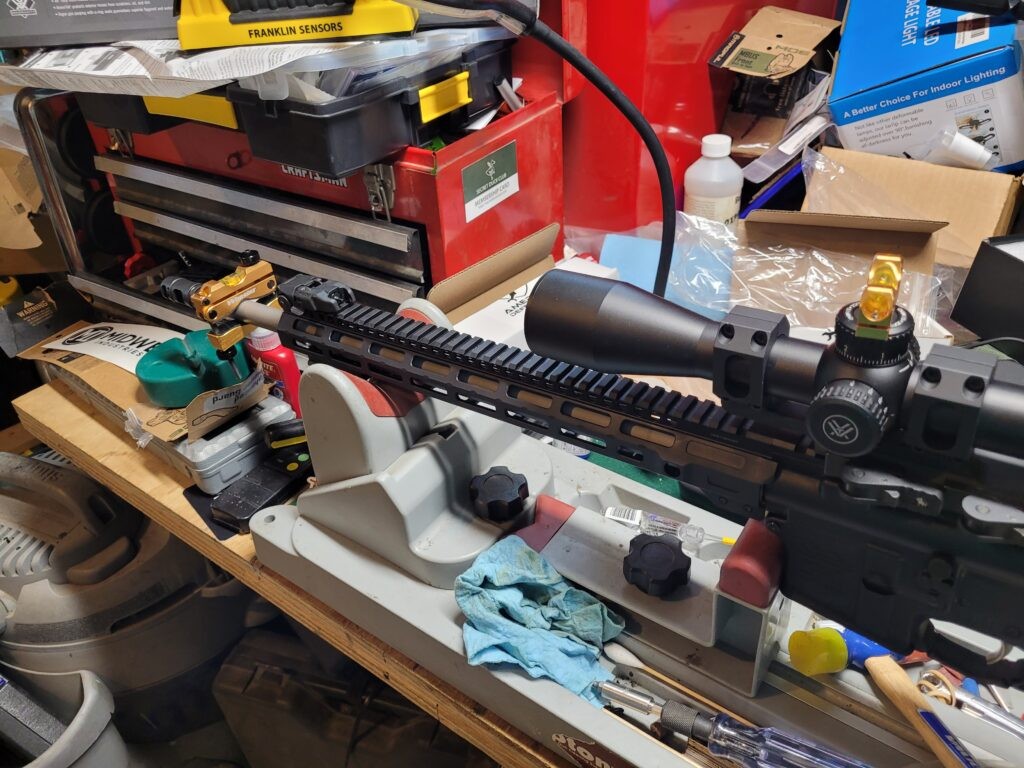
These days, when I have time and I want to try and get the scope as accurately positioned as I can on the first try, I use a Wheeler Engineering Profession Reticle Leveling System. It’s easy and fast.
First, you put the level on your receiver/rail and level the receiver. Then you put the clamp on the barrel and level it – I compare both the receiver and the barrel bubble levels before I move the receiver level to the top scope turret. Once the level is on the top turret, I adjust the scope until the bubbles match and it’s done. I’ve used this for a number of years now and am very happy with it.
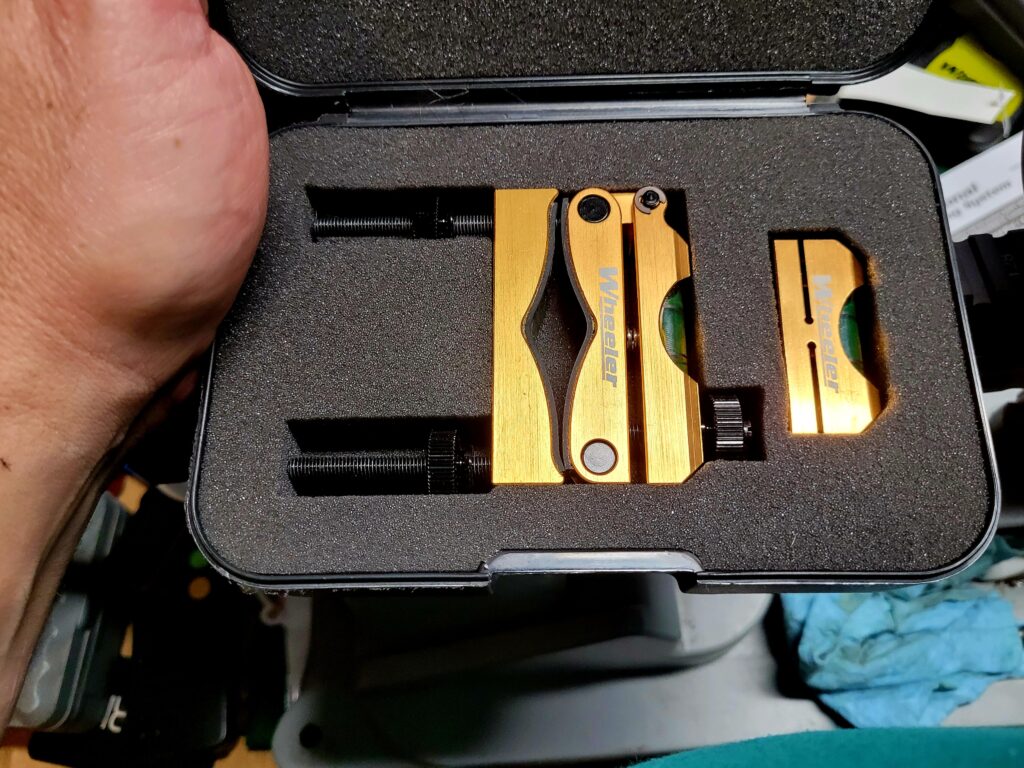
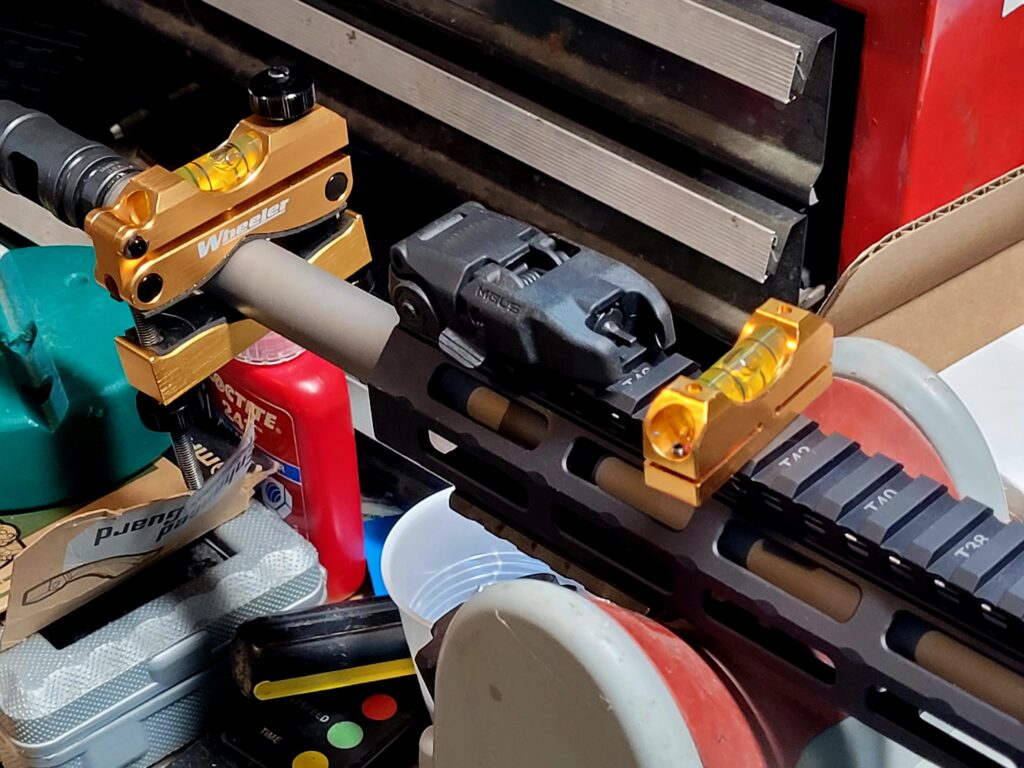
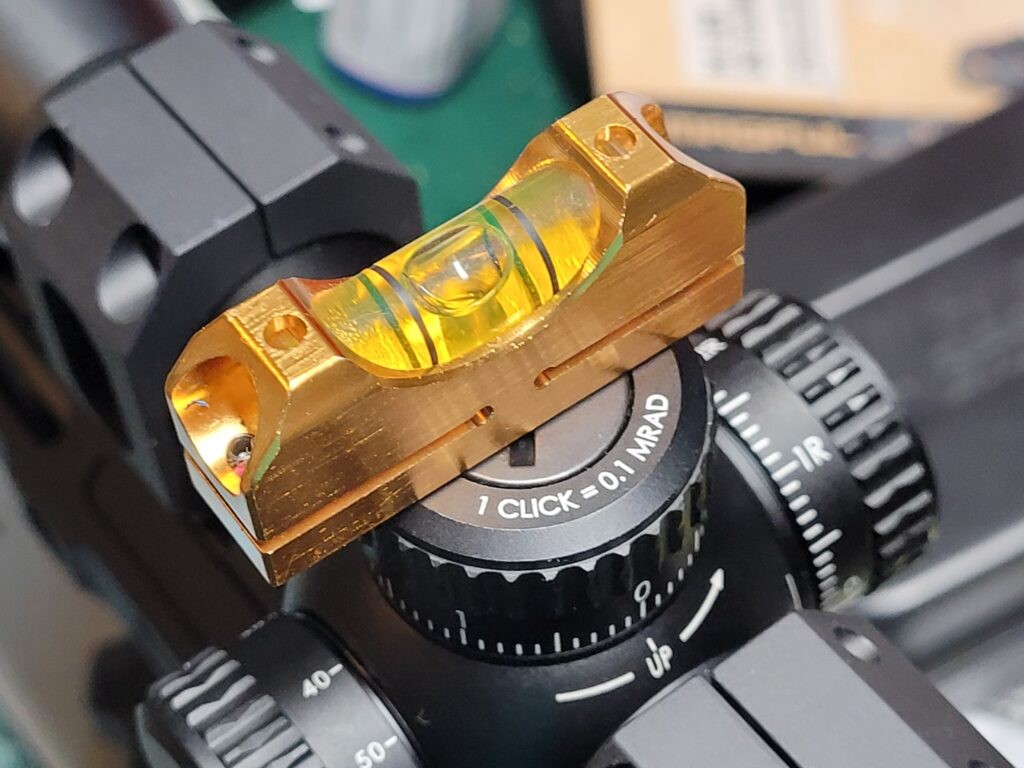
I do use a Vortex torquing screw driver to tighten the scope ring screws and am careful to confirm the scopes levelling does not shift in the process. Vortex scopes say not to torque them past 18 inch/pounds (please note that is inch pounds and not foot pounds just to be very clear – you don’t want to damage your scope but at the same time, you do want it secure).
Again, with any of these methods, it really helps to secure the rifle in a vise where you can adjust and then secure the rifle so the top is horizontally true.
Conclusion
The Wheeler Engineering Professional Leveling System has served me well and I have used it on a number of projects over the years. I have no hesitations in recommending it to you as well.
I hope this post helps you out.
Note, I have to buy all of my parts – nothing here was paid for by sponsors, etc. I do make a small amount if you click on an ad and buy something but that is it. You’re getting my real opinion on stuff.
If you find this post useful, please share the link on Facebook, with your friends, etc. Your support is much appreciated and if you have any feedback, please email me at in**@*********ps.com. Please note that for links to other websites, we are only paid if there is an affiliate program such as Avantlink, Impact, Amazon and eBay and only if you purchase something. If you’d like to directly contribute towards our continued reporting, please visit our funding page.
