I’m tuning a bunch of Yugo M76 magazines so they no longer nose dive when the bolt hold open (BHO) follower is hit from behind. It involves welding a small tab of 20 gauge sheet metal behind the follower and is straight forward – I’ll write a post about it shortly. The challenge I ran into was the need to reliably test ammunition feeding safely.
I had to add in the “safely” comment. I would tell you to never use live ammo when you are doing this kind of work because an accidental discharge could happen for a ton of reasons. There are a number of companies that make dummy rounds to enable folks to safely test their weapons. You’ll hear these rounds called things like “dummy rounds”, “snap caps”, “action proving rounds”, and probably tons of other things.
They tend to be made either from machined aluminum or from real components – such as real brass cases and jull metal jacket (FMJ) bullets – that are asssembled without powder and usually something rubbery in the primer pocket to protect the firing pin during dry firing. Assuming you are using a reputable vendor who is making the rounds to accurate dimensional specificaitons, either will work. The issue is longevity – especially in a big semi-auto rifle.
Aluminum is inherently soft. I’ve used a number of makers’ products over the years and some get chewed up real fast by heavy actions that slam rounds into the chamber with force. I’ve literally had chips/shavings of aluminum fall out after soft aluminum met hardened steel.
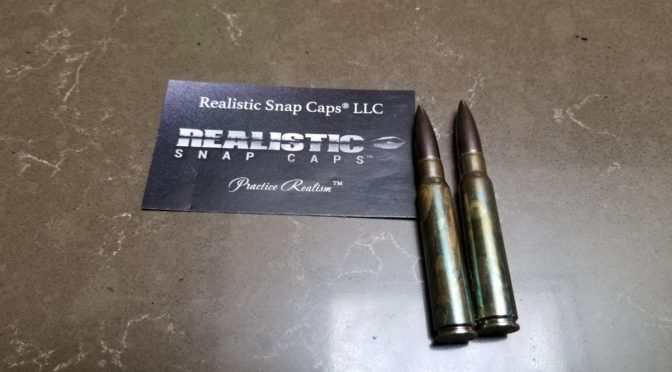
So, in order to safely test the feeding of the M76, I knew I could not go with aluminum rounds. I did some searching around and found “Realistic Snap Cap” brand and they take the route of producing an inert round (meaning not “live” because there is no powder and primer).
For reasons I’m not clear on, the firm makes two 8mm mauser snap caps – one with a blunted nose and one with a full size FMJ bullet that is the normal length. I did not know this when I ordered a package of five off Amazon because I mistakenly assumed the product photo shown accidentally did not show the top of the bullet.
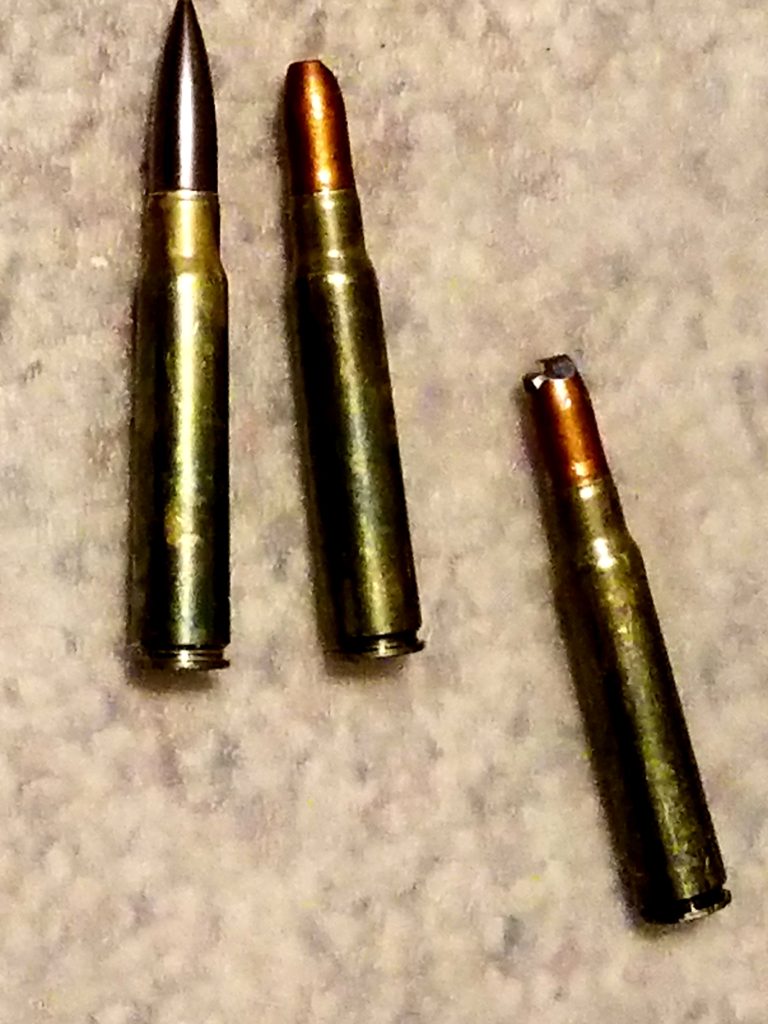
I really do not know why they made the blunted rounds. It might have been for people wanting to test hollow points, soft points or maybe wanting an even more positive identifier that it was a test round. Whatever the reason, they work horribly in a semi-auto M76.
I couldn’t blame the maker or Amazon because I knew better that to try a shorter than spec round that had a blunted nose vs. the curvature of a FMJ round that assists with feeding. I was too caught up in the “let’s get this done” mindset so it was my own fault.
The short rounds were made well so I did some digging and they did make a full size 8mm Mauser model described as “Advanced Tactical 8mm Mauser” that I ordered. Ok, now these work great.

Thanks to the right snap caps, I could then test all of the magazines and the snap caps held up great. Just be sure to get the full size snap caps and not the blunted ones if you are testing an M76.
4/3/24 I no longer see these on Amazon or eBay but there are other brands. Go with 8x57JS dummy rounds made from metals – not plastic or the M76 will beat them to death.
If you find this post useful, please share the link on Facebook, with your friends, etc. Your support is much appreciated and if you have any feedback, please email me at in**@*********ps.com. Please note that for links to other websites, we are only paid if there is an affiliate program such as Avantlink, Impact, Amazon and eBay and only if you purchase something. If you’d like to directly contribute towards our continued reporting, please visit our funding page.


