I like Zastava firearms – notably their rifles – M70, M72, M67, M77, and M92. I’ve owned variants of all of those at one time or another and think highly of the designs and the quality of manufacturing. I ran across this short 160 year commemorative video released in 2015 and thought I would share it:
If you find this post useful, please share the link on Facebook, with your friends, etc. Your support is much appreciated and if you have any feedback, please email me at in**@*********ps.com. Please note that for links to other websites, we are only paid if there is an affiliate program such as Avantlink, Impact, Amazon and eBay and only if you purchase something. If you’d like to directly contribute towards our continued reporting, please visit our funding page.
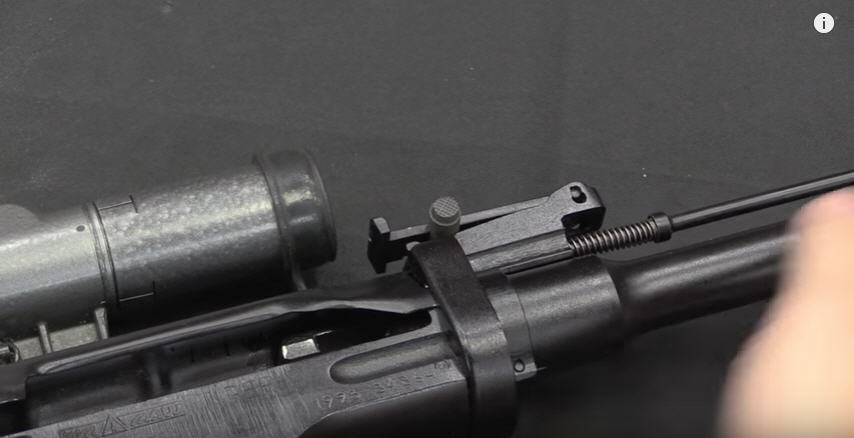
Guys, I am serious fanboying over this video. I really like Dragunovs and this video has three Drag variants that are in the May 2017 auction at Rock Island Auction Company. The presenter does an amazing job taking each of the rifles and giving history and explaining the differences. He takes the bolts and trigger groups and sets them side by side and explains the differences. This is AMAZING. If you like Drags, you have to check this out. Seriously. I drooled on my keyboard just so you know.
If you find this post useful, please share the link on Facebook, with your friends, etc. Your support is much appreciated and if you have any feedback, please email me at in**@*********ps.com. Please note that for links to other websites, we are only paid if there is an affiliate program such as Avantlink, Impact, Amazon and eBay and only if you purchase something. If you’d like to directly contribute towards our continued reporting, please visit our funding page.
There are some great scenes of machinery and firearms in the Kalashnikov factory by Russian Insider. This was released in March 2017 and is pretty cool. You’ll also see a lot of firearms we never get to see over here. I’m fascinated about the evolution of the Russian arms industry. Growing up we heard about how backwards they were in terms of processes and equipment but in these videos you see a fairly modern plant with well laid out work centers, clean, a lot of CNC equipment and so forth.
The Video
If you are interested in Kalashnikov firearms and manufacturing, then you’ll want to watch this video.
Please note that all images were extracted from the video and remain the property of their respective owner(s).
If you find this post useful, please share the link on Facebook, with your friends, etc. Your support is much appreciated and if you have any feedback, please email me at in**@*********ps.com. Please note that for links to other websites, we are only paid if there is an affiliate program such as Avantlink, Impact, Amazon and eBay and only if you purchase something. If you’d like to directly contribute towards our continued reporting, please visit our funding page.
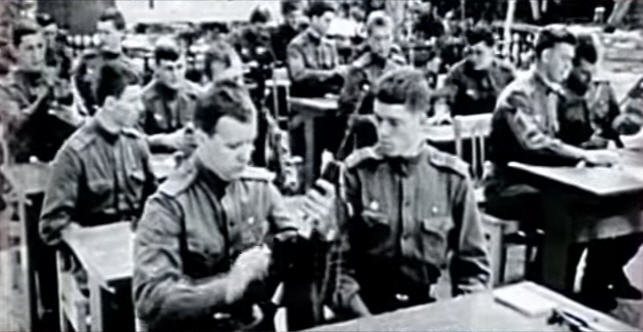
This is a very interesting 45 minute film made in 2013 that talks about the Kalashnikov from a Russian film maker. It has a lot of footage of military commentary including interviews of generals, soldiers and show training with Spetsnaz units and others doing room clearing, assaults and so forth. There is also historical footage of use around the world and interviews with Mikhail Kalashnikov. It’s a fascinating film and has perspectives, footage and interviews you would not normally see in a Western made documentary.
I found the history of Izhvesk and arms making fascinating. Kalshnikov Corporation sponsored this film so I think it is part history and part marketing but very enlightening regardless. The walkthrough of parts of the factory ranging from manual up to CNC. The last photo above is of a robot feeding blanks and removing rifled barrels. They mention reducing the number of steps required with people from around 120 to 2-3.
Even if you have seen other videos about the rifle and General Kalashnikov, you need to watch this one. You see parts of the factory and steps performed that you will not see anywhere else.
If you find this post useful, please share the link on Facebook, with your friends, etc. Your support is much appreciated and if you have any feedback, please email me at in**@*********ps.com. Please note that for links to other websites, we are only paid if there is an affiliate program such as Avantlink, Impact, Amazon and eBay and only if you purchase something. If you’d like to directly contribute towards our continued reporting, please visit our funding page.
I have a number of books both about the Kalashnikov rifles and also biographies of Mikhail Kalashnikov, the chief designer. I always find documentaries of either the rifle or the man very interesting. This particular video combines some fascinating footage about current use, manufacturing and testing with historical information and perspectives on Mikhail Kalashnikov vs. Stoner.
The video was released in 2013 and is 25:57 minutes long and is well worth the time.
If you find this post useful, please share the link on Facebook, with your friends, etc. Your support is much appreciated and if you have any feedback, please email me at in**@*********ps.com. Please note that for links to other websites, we are only paid if there is an affiliate program such as Avantlink, Impact, Amazon and eBay and only if you purchase something. If you’d like to directly contribute towards our continued reporting, please visit our funding page.
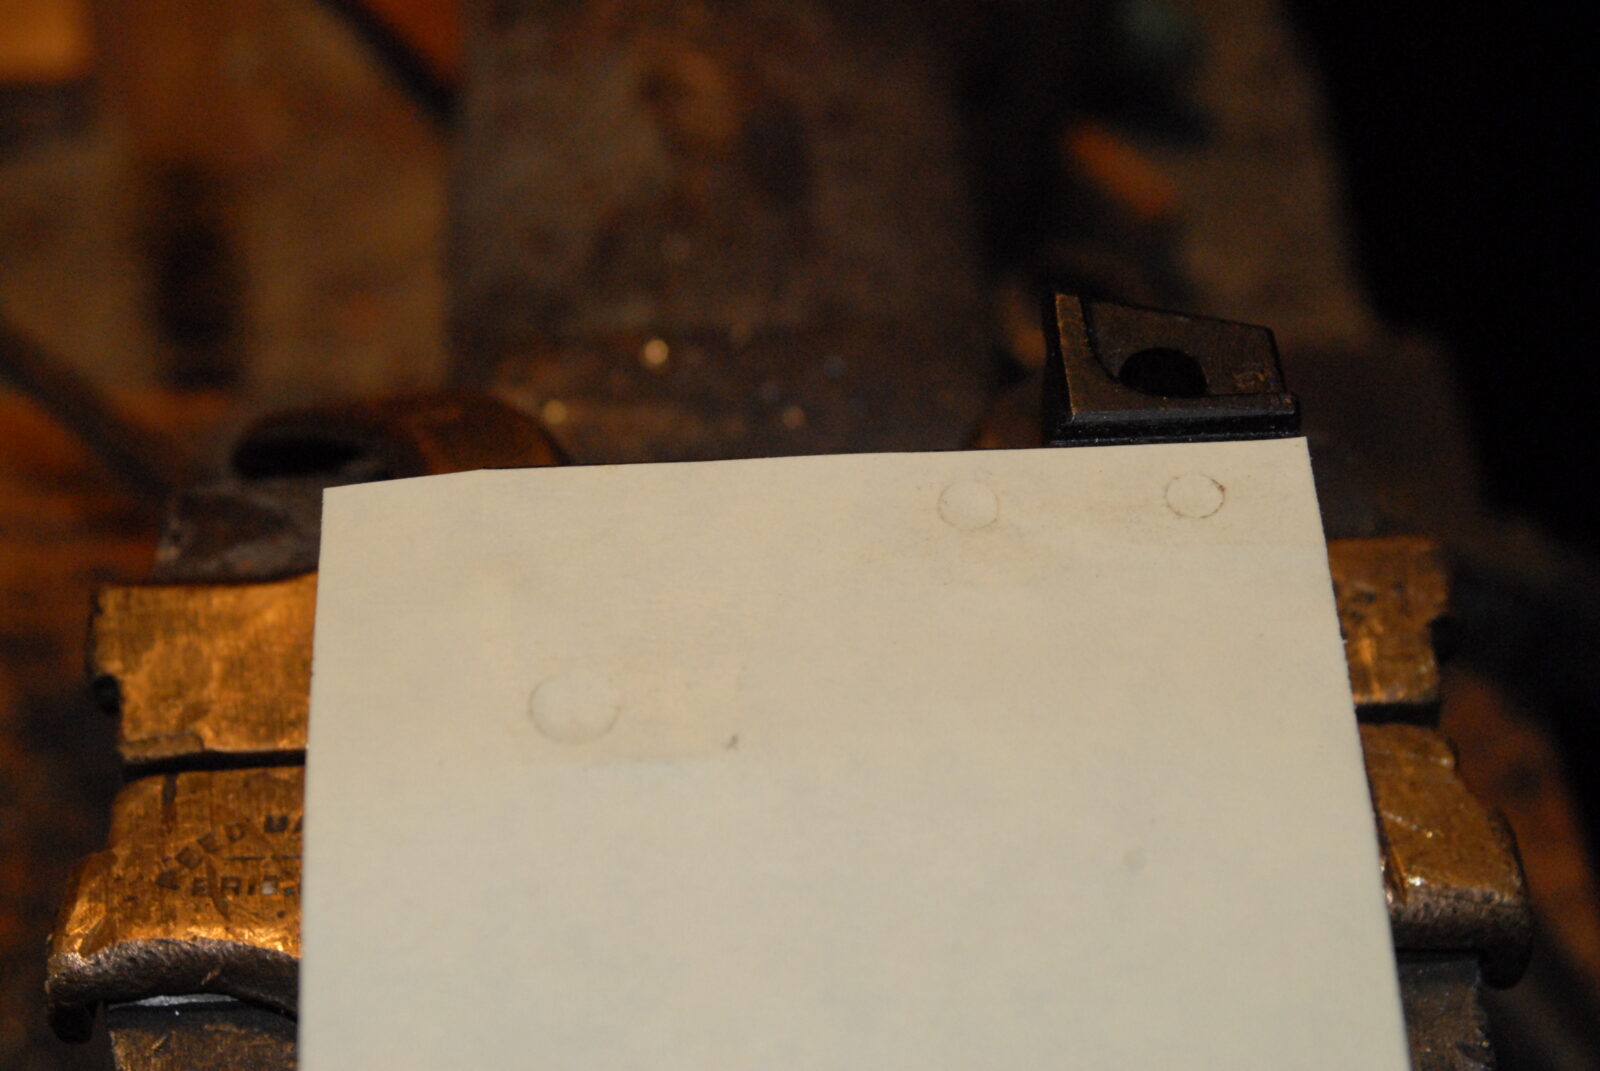
Back before I had the AK-Builder trunnion drilling jig, I needed a quick and easy way to locate where to drill the holes for the front trunnion. A fellow showed me the PostIt note method and boy was it simple and it worked.
The front trunnion is drilled for the rivets from the first kit so those holes need to be located and drilled on the receiver.
Simply take a standard PostIt Note, stick it to the side of the clean receiver and then rub a dirty finger or pencil lead over the PostIt to see the outlines of the holes appear. By the way, if the trunnion and receiver are clean, your Post-It adhesive will hold the note in place, which is what you want.
So line the PostIt note up on the receiver’s top and right edges.
Center punch the holes. I like using an automated punch so I have less to juggle.
You then have your holes to locate your drill.
Use a hole finder to be more accurate and/or start with a small bit and work your way up in case you need to move a little bit one way or the other.
That’s it. Easy as pie and pretty fool proof. Lessons learned for me was to clean the parts to protect the adhesive, make sure the edges are aligned and then that nothing moves when you punch each hole. You do one Post-It note for each side and you can write the trunnion serial number on it and safe the Post-It for future reference.
If you find this post useful, please share the link on Facebook, with your friends, etc. Your support is much appreciated and if you have any feedback, please email me at in**@*********ps.com. Please note that for links to other websites, we are only paid if there is an affiliate program such as Avantlink, Impact, Amazon and eBay and only if you purchase something. If you’d like to directly contribute towards our continued reporting, please visit our funding page.
I get one or two emails a year from a purist telling me that what I did was evil, that I am a clueless half-wit, etc. Folks, innovation happens by trying new things. I have built more AKs than most – using rivets mainly because they do work best. There are a ton of reasons why rivets are best for joining forged blocks to sheet metal.
In terms of welds, do I understand the risk of destroying the heat treat in the locking lug area, the risk of causing embrittlement around the plug welds, that the Soviets explored this and dropped the idea due to cracking? Yes, I do and tried it anyway because I wanted to explore how to compensate. So, don’t send me hate mail me because I will not bother responding.
If you want to try and experiment, go for it. Should you do this with an AK build that you want to be historically accurate or plan to use heavily perhaps even under full auto, then the answer is “no – don’t do it”.
Yeah, these things were like $79-99 in June 2006 so I did a lot of playing around including experimenting with weld builds. I still have this one and it runs just fine. The welds were done with a HF 120 Volt MIG welder running an ArC02 shielding gas. Basically I did plug welds in place of rivets but did some extra welding on the back trunnion as I expected more stress there. The lower rails were installed with a 120 Volt Harbor Freight Spot Welder with an AK-Builder tong installed.
My basic conclusion is that welding is fine for casual use rifles but rivets are the way to go with hard use. The tricks are to take your time, do plug welds and watch your heat. Your not trying to weld the heck out everything – just to get a decent plug weld to lock the parts into position in place of a rivet. You’ll notice that for the critical front trunnion, I actually drilled the holes in the receiver and plug welded into the trunnion that had the rivets drilled out.
I use a flap sanding wheel on my angle die grinder to smooth everything down.
A drill bit with the right diameter to line the lower rails up with the front trunnion is used to position the lower rail for spot welding in place.
I went for overkill welding in the rear and put in a few extra beads to take up stress.
Welding in the center support and sanded it down too
This is the rifle ready for testing.
I did Duracoat on this build and two big recommendations I would make to folks who choose to use the air dry Duracoat are to at least abrasive blast the surface and absolutely wait the full amount of time indicated for curing, which is 1-2 weeks or something like that. If you don’t do these two things, when you move the selector lever, it will scratch the finish off right to the bare metal. I only use bake on finishes now. I’ve had great luck with blasting, parking and then applying Molyresin on top but this last step could be whatever finish you want. The parkerizing is a terrific surface for a finish to really grab a hold of. A bake on finish is really the way to go with the top coat.
If I new they were going to go up so much in value, I would have done rivets. Heck, I would have done all the rifles using rivets had I known. I was just having a lot of fun and learning a ton.
If you find this post useful, please share the link on Facebook, with your friends, etc. Your support is much appreciated and if you have any feedback, please email me at in**@*********ps.com. Please note that for links to other websites, we are only paid if there is an affiliate program such as Avantlink, Impact, Amazon and eBay and only if you purchase something. If you’d like to directly contribute towards our continued reporting, please visit our funding page.
I like to heat treat my entire lower rails before I install them. Some guys just heat treat the tip but I go for overkill. When I would get flats and rails from AK-Builder for whatever I was doing, I’d do all the lower rails at once and store them oiled in a bag for later use.
The process is simple, I heat them up with a torch to dull to medium orange, which comes out to around 1500-1600F. Some guys use magnets and stop the heathing when magnetism is lost, some use marker/applied heat indicators – there are many ways to do it. I tend to use my sheet metal/jewelers oxy-acetelene torch. It is known as a Meco Midget and the thing is awesome for sheet metal work. I’ve had mine for over 10 years and never had a problem. I have a giant Journeyman II set but find it too big and cumbersome for stuff like this.
Tin Man Technologies (TM Tech), who I got mine from years ago and you will need to search around for it or find what some call a jeweler’s torch
Next, quench the parts in room temperature used engine oil. It works great for me. I have an old navy fuse can with a lid glued to a piece of wood that I use for this purpose.
After that, I anneal them by putting them in a flat pan, pouring in some brake fluid with some paper towel exposed, lighting the towel and then letting it all burn it off, which is about 500. It’s messy and you want to do it outdoors for sure – I let it all burn off and then air cool. Some guys put them in a toaster oven at 500F for 5-10 minutes and let them slowly cool down by turning the oven off. That works too.
Here the rails right after the brake fluid is finished burning off – you can see some of the soot that is generated:
When you weld the rails in with a spot welder, just be careful not to ruin the heat treat by letting a tong get up against the ejector tip and heating up. I’ve done it twice over the years. One time I didn’t notice and had to repair a peened over ejector and the other time I saw the discoloring of the tip and did a spot hardening of the ejector tip while it was in the receiver.
At any rate, I’d then oil everything and put them in a ziploc bag for future use. I would sand the backs of the rails prior to installation to get good spot welds.
While I use OA for a lot of my work, MAPP works just fine too.
If you find this post useful, please share the link on Facebook, with your friends, etc. Your support is much appreciated and if you have any feedback, please email me at in**@*********ps.com. Please note that for links to other websites, we are only paid if there is an affiliate program such as Avantlink, Impact, Amazon and eBay and only if you purchase something. If you’d like to directly contribute towards our continued reporting, please visit our funding page.