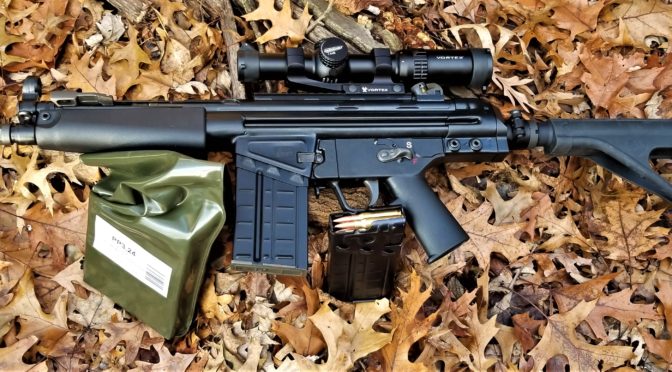
I really prefer an optic on my firearms at this point. The PTR PDWR is a relative short range pistol so I figure post of my shots will be within 100 yards. It could certainly shoot further but, based on what I have read so far, the accuracy goes down hill fast.
While some might consider a red dot, I opted for a true 1-6×24 Vortex Strike Eagle scope that has a 30mm tube. Now, I have to admit that I have become a bit of a scope snob over the years. I’ve destroyed cheap scopes, suffered with dark images, short eye relief and what not. About four to five years ago I happened upon Vortex and they have been my go to brand ever since – not only is the quality there but they back it up with a no-nonsense warranty.
Folks, I’ve owned probably at least a dozen Vortex scopes and red dots. I still have six that are on firearms that I plan to keep. I have had zero problems – not one. Not out of the box and not over time. I probably will some day – stuff happens. I’ve talked to other guys who broke their scopes (literally) or had problems and sent them in with Vortex taking care of them no questions asked. That says a lot.
So, that brings us to the scope. The Strike Eagle is a decent entry-level AR scope with an illuminated reticle. I bought this scope about a year ago for a project that didn’t happen and it has been sitting on the shelf. The good news is that Vortex now also has a 1-8×24 model.
Mounting the Scope
I used to use cheap import cantilever scope mounts but have since stopped due to screws stripping out and easily scratched finishes. I now use Vortex mounts pretty much exclusively now as well. I know I sound like a salesman but I really like their stuff.
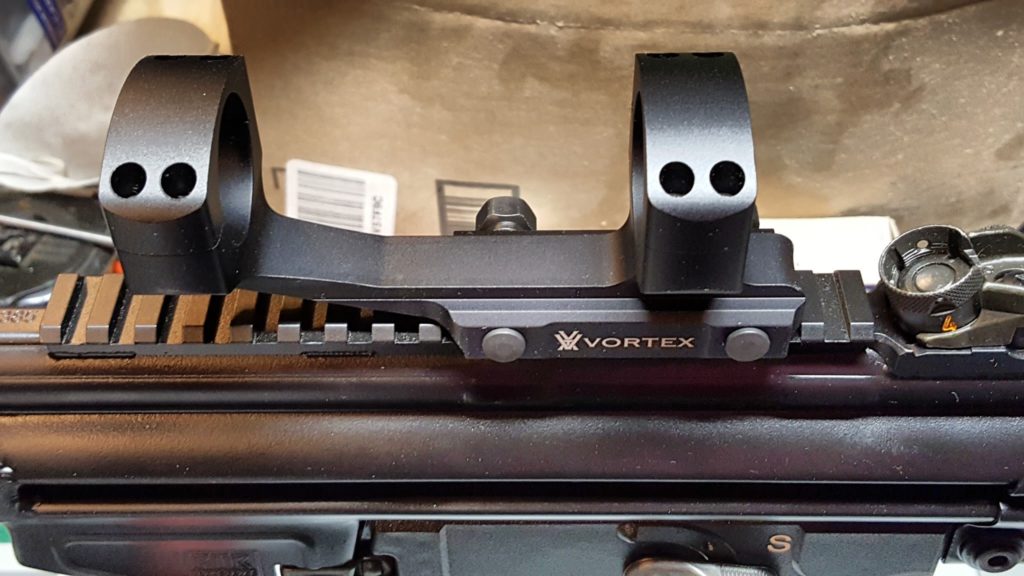
You’ll notice the quality of the finish and that the parts are beefy. You can go 18 inch/pounds on the rings and 65 inch/pounds on the rail attachment nuts. You’ll notice that cheap scope mounts don’t publish torque specs usually because they can’t handle much consistently.
The ring caps are secured by screws that have heads for #8 Torx bits. They go into steel threaded inserts for added strength – you will not find steel inserts in cheap mounts by the way. At any rate, lets begin.
Safety First: Make sure your weapon is unloaded!
As you can see in the above photo, I located the mount on the PDWR’s Picatinny optics rail a few grooves forward of the rear sight. It was a bit of an arbitrary point. I know I usually am near the rear plus on my past HK-style weapons I knew I might have to work around the rear sight.
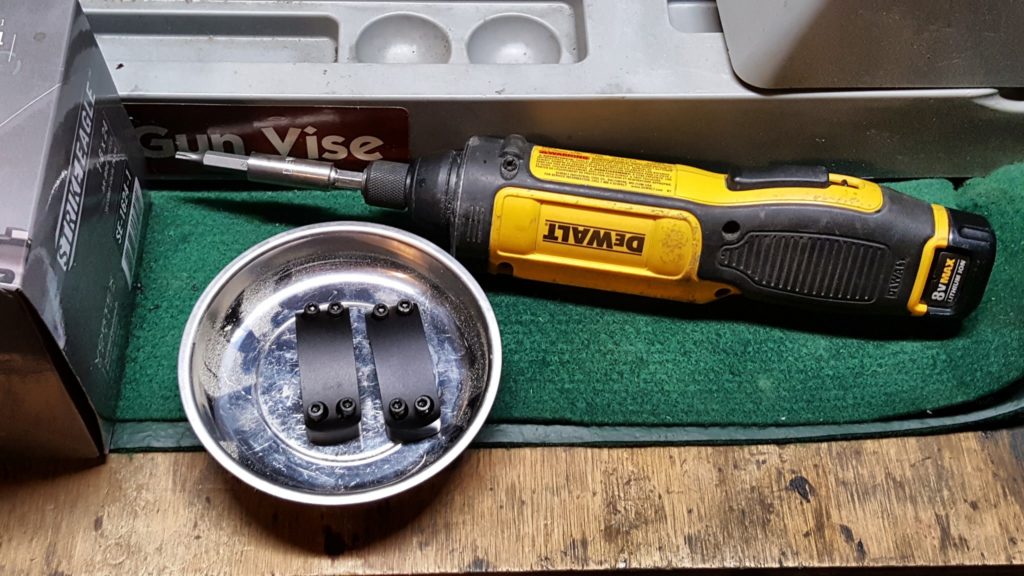
I removed the ring caps using a #8 Torx bit from my Weaver screw driver set and put them in a magnetic parts tray. I have lost little parts in the past so I am a bit paranoid now. I use my DeWalt cordless screwdriver to do the removal work as the twisting motion of a screw driver really messes with my carpal tunnel.
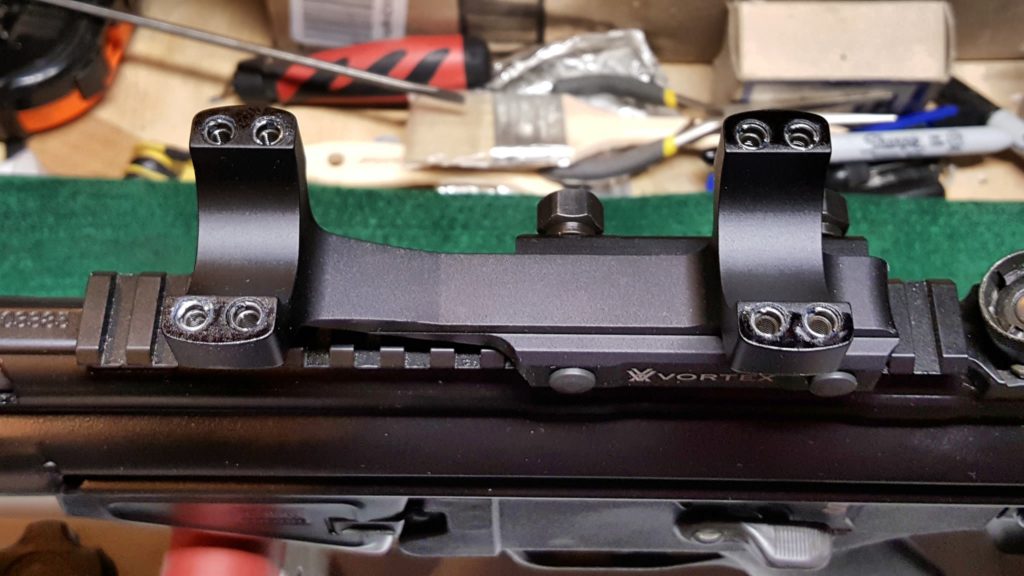
Next, I place the scope on the rings and the very first thing I check is the clearance over the rear sight. In this case you can see the scope clears it. Years ago with my first rifle, a GSG-522, I scratched a scope by not checking that before I started screwing down the rings.
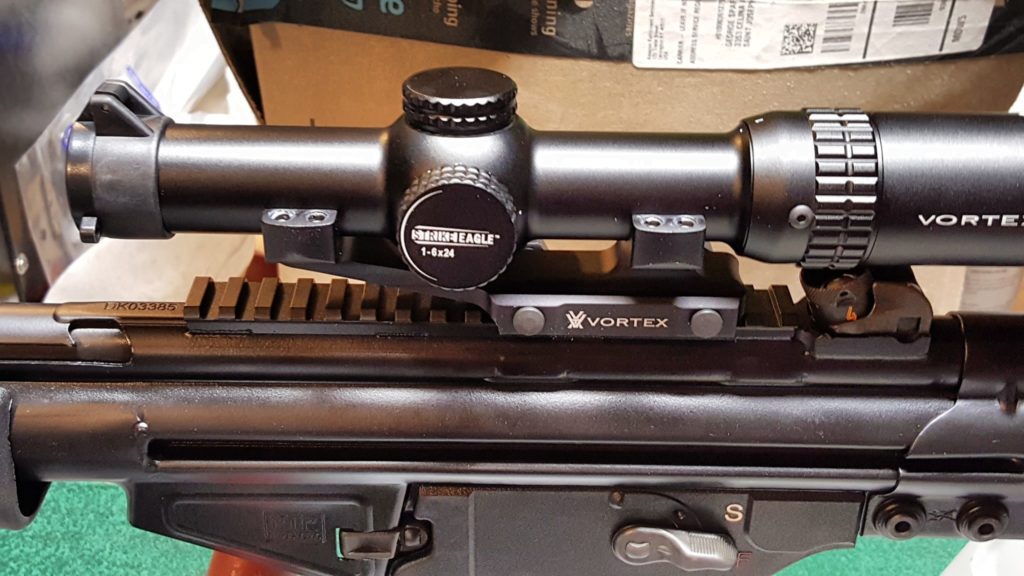
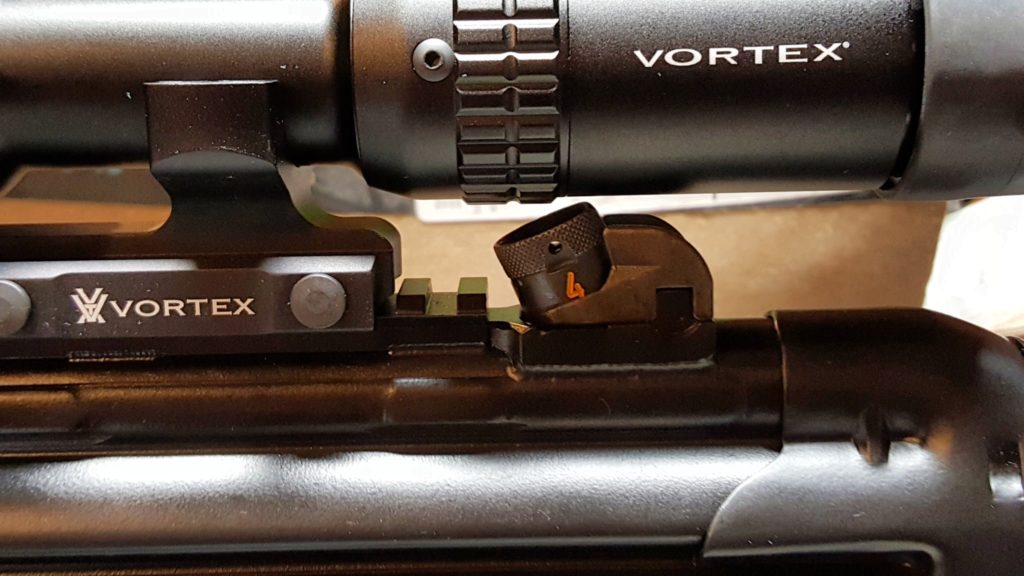
Next, I install the ring caps back on. A time saver I do is to use the Dremel to run the screws in but there’s a trick. Hold the screw driver lightly so it can run the screws in but the screw driver turns in your hand the second it bottoms out. You don’t want to apply torque – just run the screws in. I then back them off just a bit so I adjust the scope in the mount. I also adjust them in or out slightly so I can get any gap between the ring cap and the base equal all the way around.
I then shoulder the rifle and move the scope forward and backward until I get the proper eye relief. You want to be able to pull the weapon up quickly and see through the whole scope vs. having to move your head around to get a good sight picture.
Also, I true the scope left to right. If I were doing a precision rifle, I would do it differently but with the PDWR, I eyeballed the reticle relative to the position of the rifle to level the scope and then tightened down the ring caps. I like to carefully take them down snug all the way around and then set the torque at 18 inch pounds with a Wheeler Fat Wrench – note that Fat Wrench does not have a clear 18 in/lbs setting so I try to get it close.
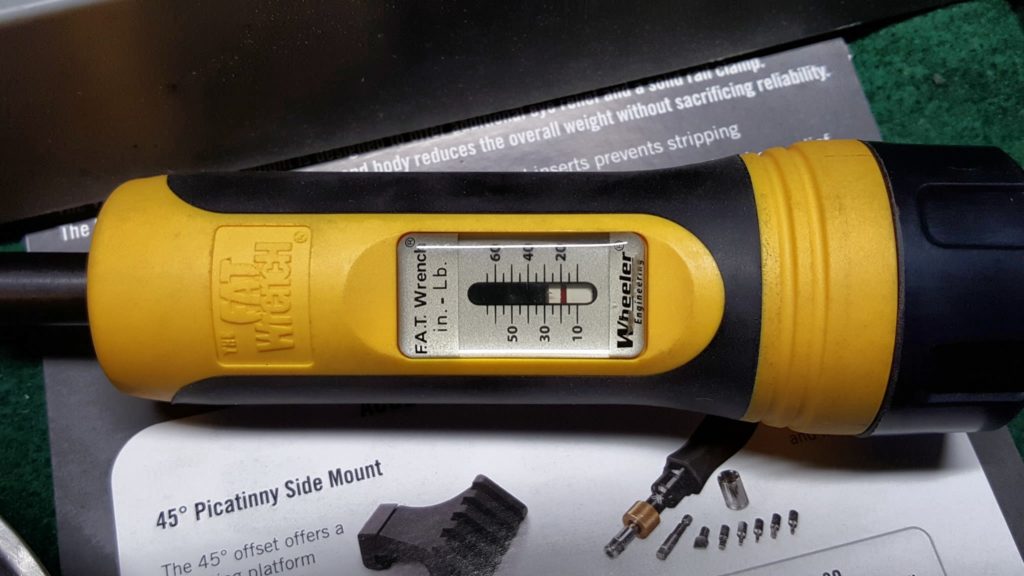
Once you are set, you also need to torque down the mount’s rail attachment screws to 65 inch pounds.
I was taught to never store a torque wrench under load so once I was done, I then adjusted the Fat Wrench back to zero.
At that point you are done. While setting up the optic and installing the brace, I noticed some tuning was needed and that will be the next blog post.
Click here for the post about installing the SOB arm brace
Click here for the post about selecting and purchasing the PDWR
Summary
The Vortex optic worked great on the PDWR. Vortex makes tons of scope and red dot models – I recommend them all because Vortex stands behind what they make. Click here to see a list of Vortex Optics currently for sale on Amazon.
I hope this helps you out.
Note, I have to buy all of my parts – nothing here was paid for by sponsors, etc. I do make a small amount if you click on an ad and buy something but that is it. You’re getting my real opinion on stuff.
If you find this post useful, please share the link on Facebook, with your friends, etc. Your support is much appreciated and if you have any feedback, please email me at in**@*********ps.com. Please note that for links to other websites, we are only paid if there is an affiliate program such as Avantlink, Impact, Amazon and eBay and only if you purchase something. If you’d like to directly contribute towards our continued reporting, please visit our funding page.
