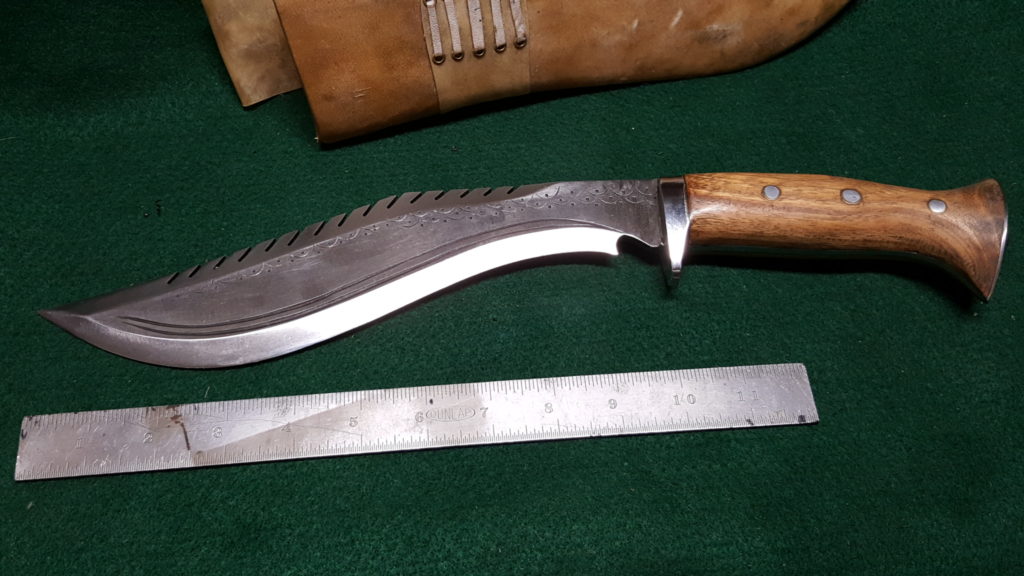
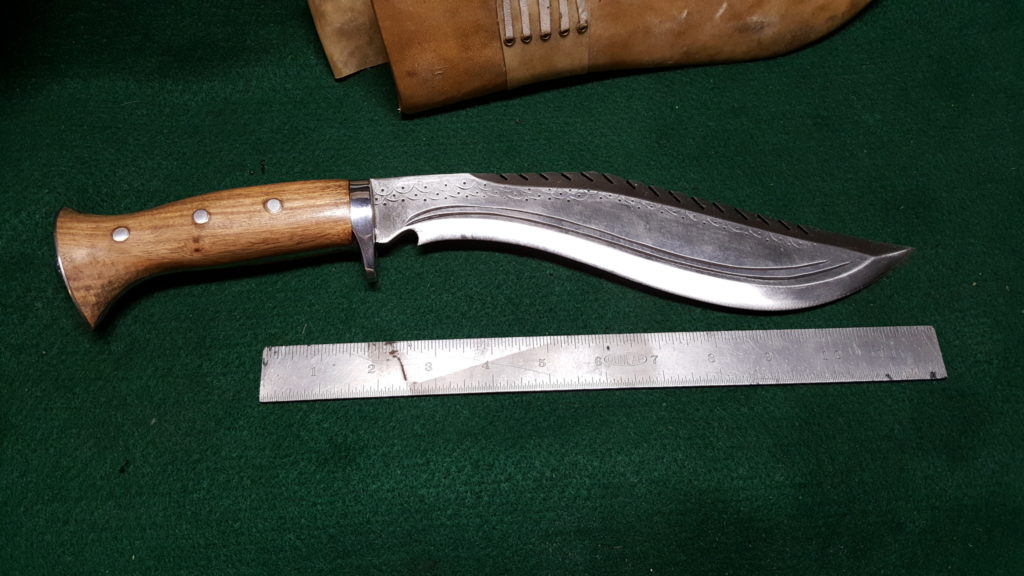
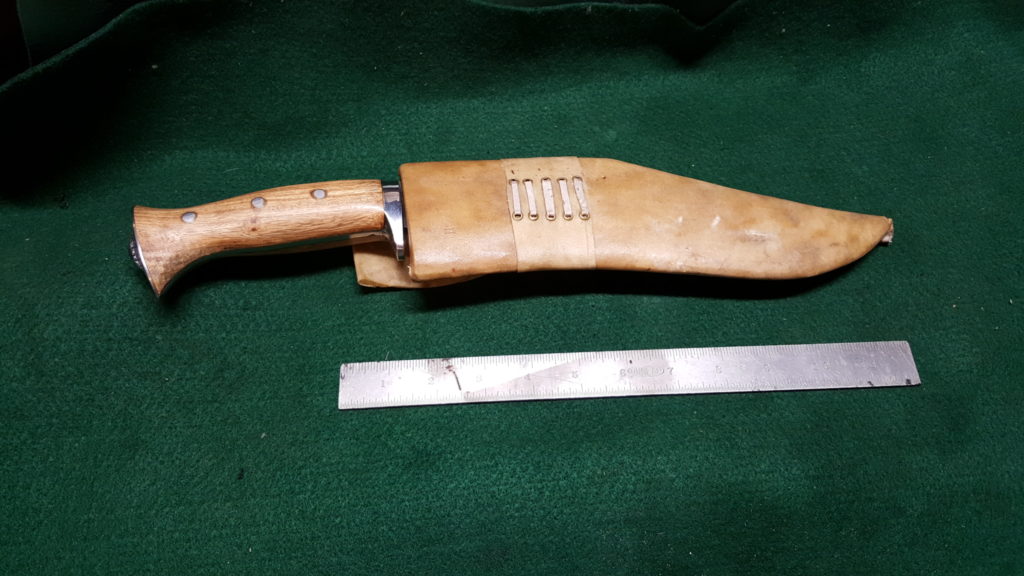
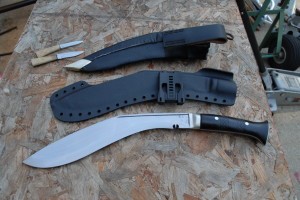
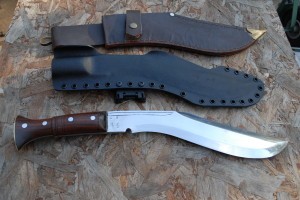
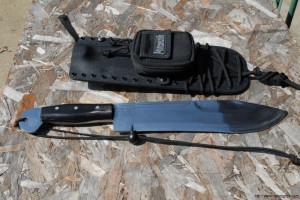
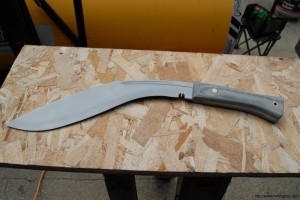
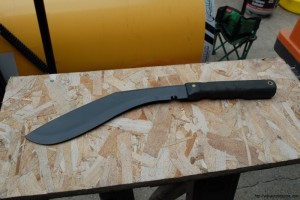
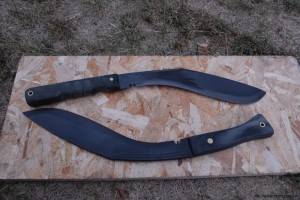
I recently made a sheath for a khukuri with serrations on the back of the spine and it was a bit of a learning experience compared to how I normally make a khukuri sheath and though I would share what was done. The khukuri in question had a nicely done blade and fitment was good. It had about a 10″ blade, 6″ handle and 16″ overall. The spine was between 1/4-3/8″ thick. All in all, it was a medium weight nice khukuri though I am not really sure who made it
Now for this weight range, I could go with .080 or .093″ Kydex. I went on the heavy side and used .093″ thick black Kydex that I buy in 12×24″ sheets – usually from www.knifekits.com.
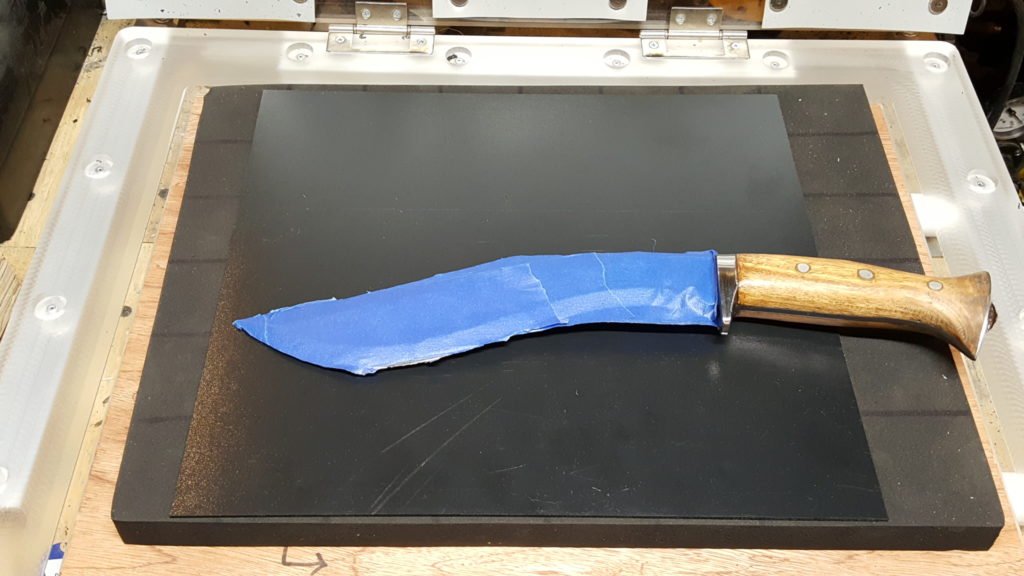
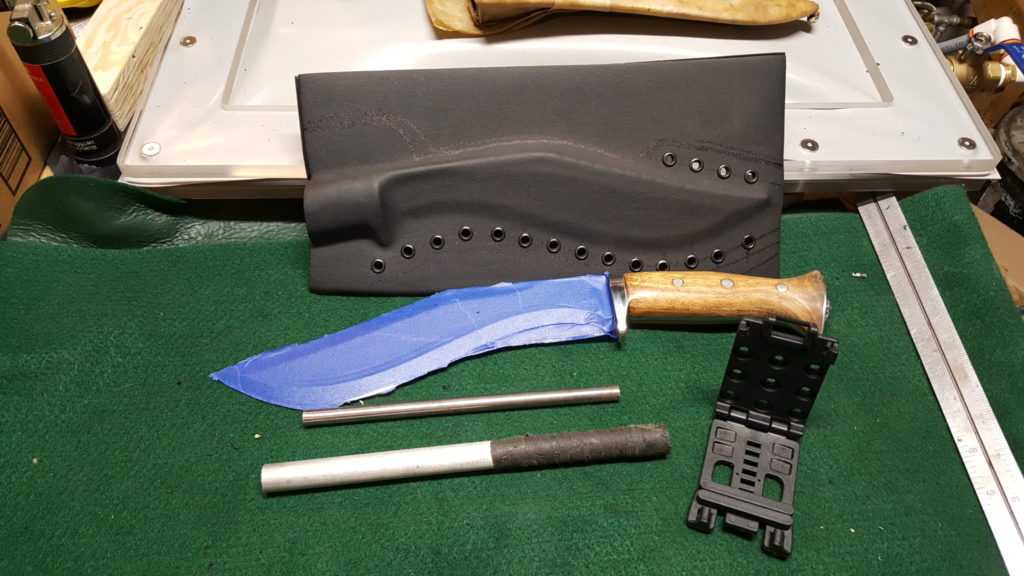
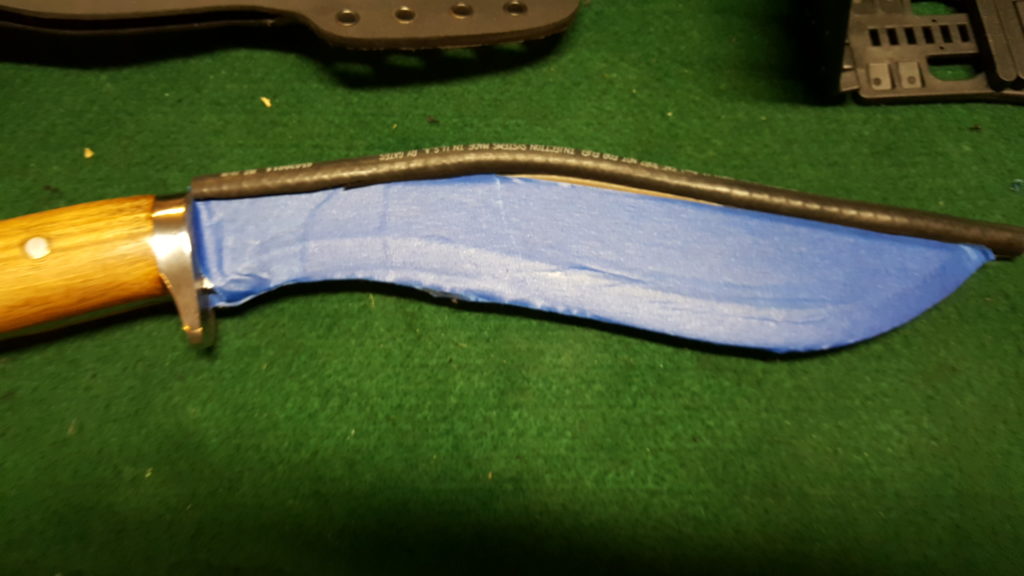
So, first up I do two layers of blue painters tape on each side to allow for some “wiggle room” between the blade and the Kydex. If you want it tighter, use just one layer. I would recommend having this space to allow for dust, dirt, etc. Next up is to trim the Kydex so it is long enough to have a bit of material past the end of the blade, a few inches onto the handle and then an about 1.5″ or so on each side when the Kydex folds over. If you want to use two pieces, you certainly can. The final sheath I did for this khukuri uses two sheets of Kydex trimmed to size.
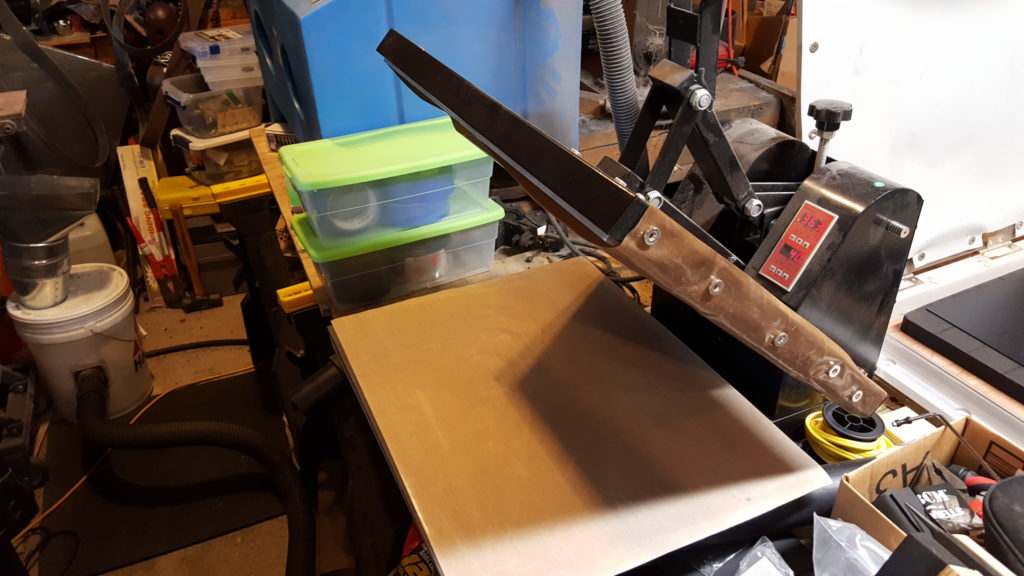
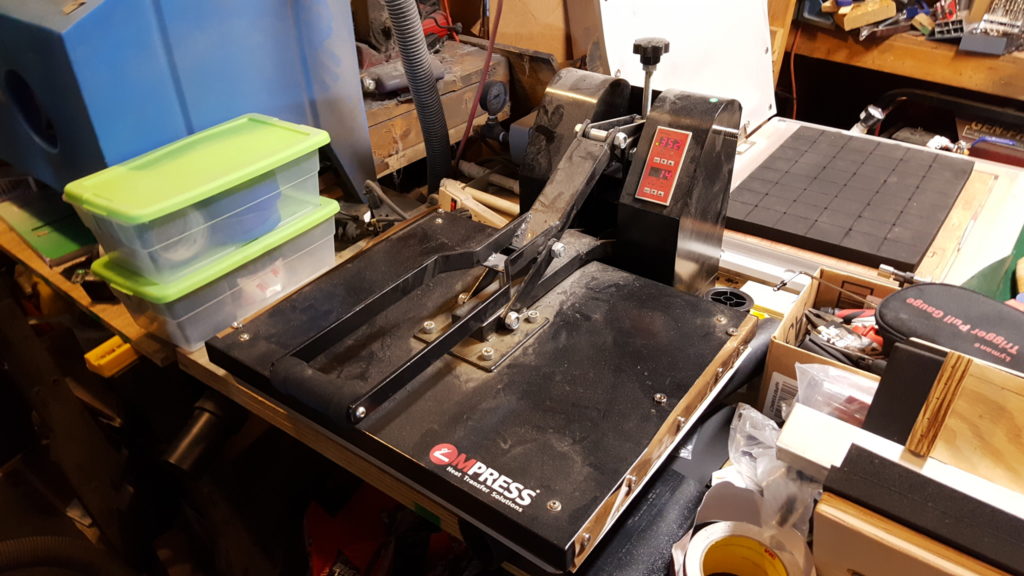
Once the Kydex is trimmed to size, you need to heat it to around 360F but less than 400F. I Use a 16×20″ MPress Heat Press with a digital controller to set the temperature at 360F and to heat the Kydex for 40 seconds. Note that I also have Teflon/PTFE sheets attached with rare earth magnets to protect the press’ faces if the Kydex were to melt.
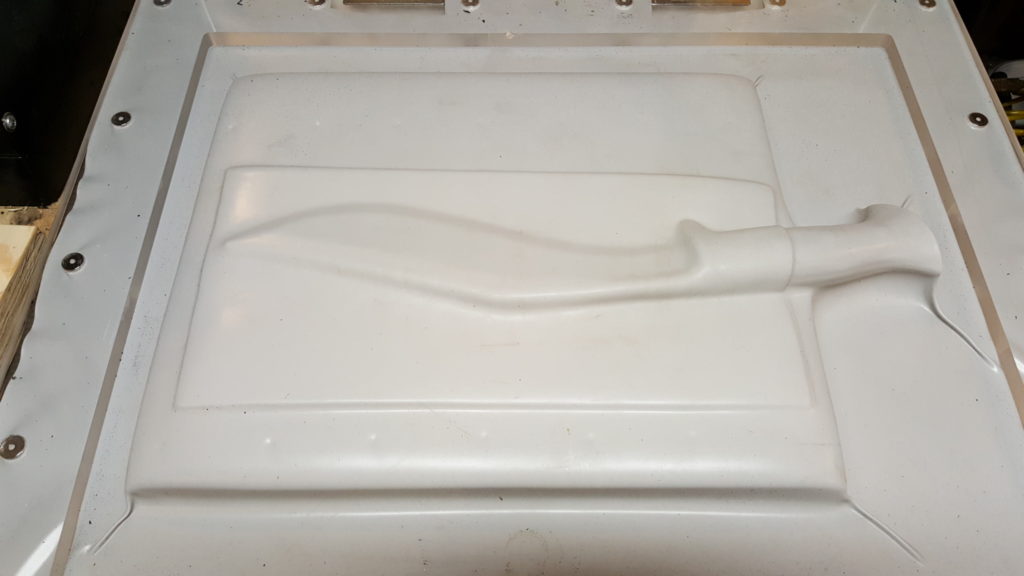
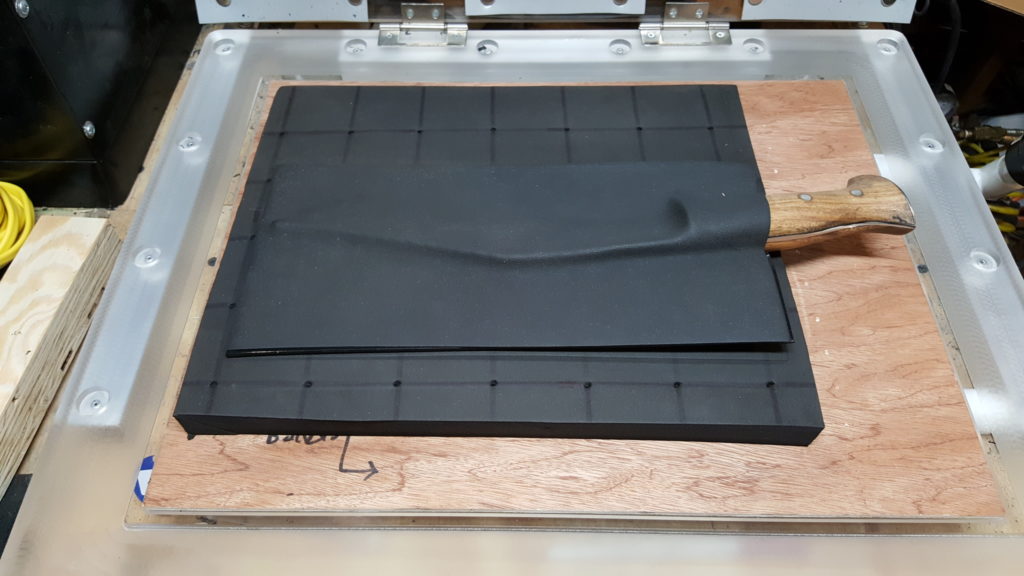
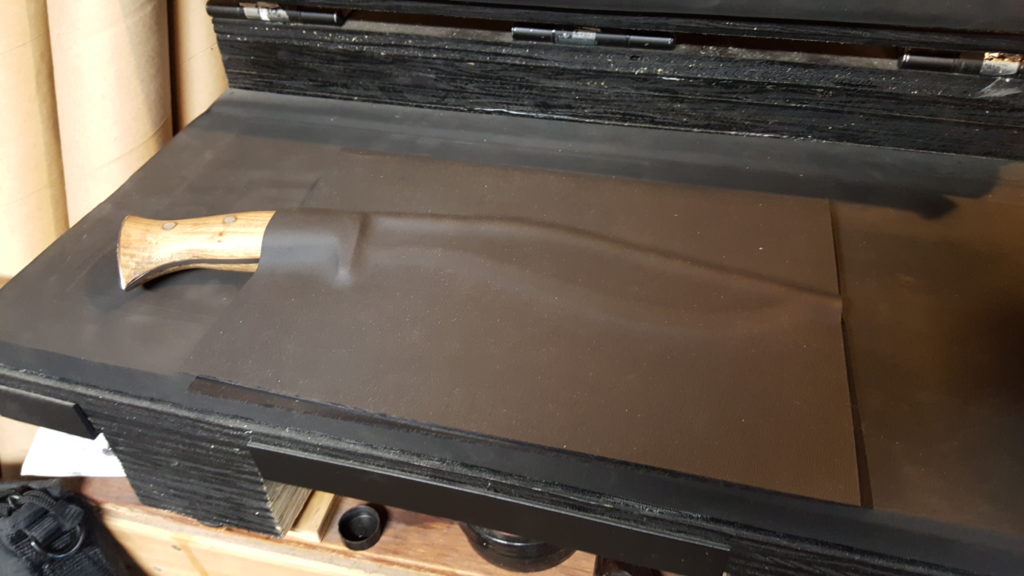
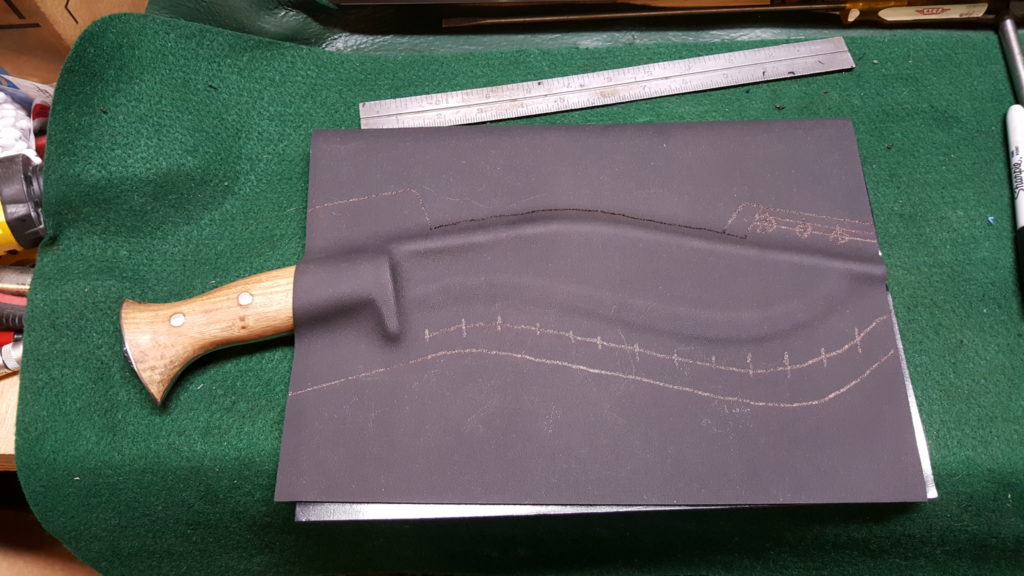
In years past, I used a modified hot plate / electric griddle to heat my Kydex. For a tad over two years now I have had the MPress and really like it. At any rate, once the Kydex is hot and pliant, you need to mold the Kydex to the blade. In this first take, I used my HD Industrial vacuum press to do the work. You draw the vacuum down and let the membrane do the work and cool down so the Kydex stiffens again.
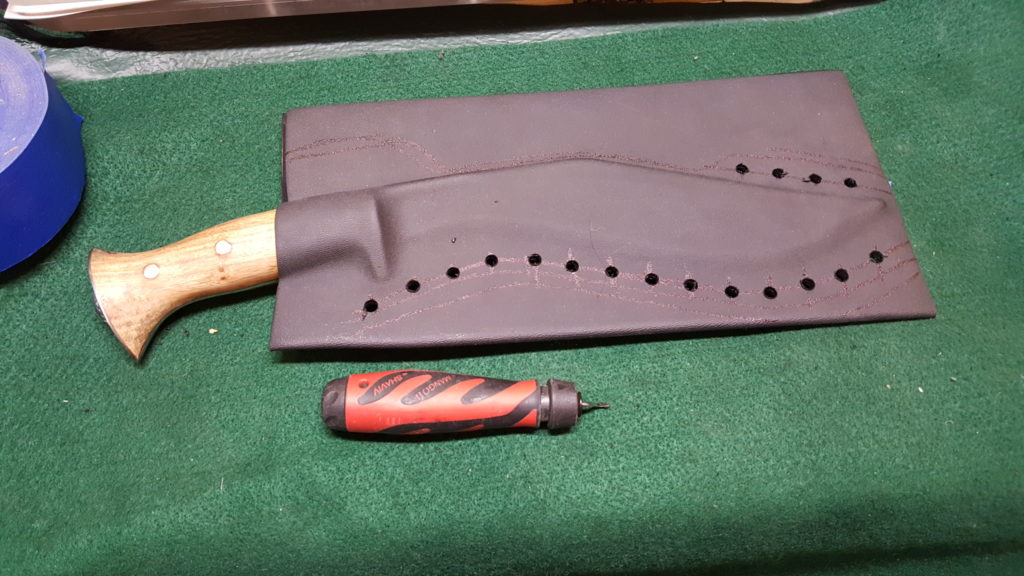
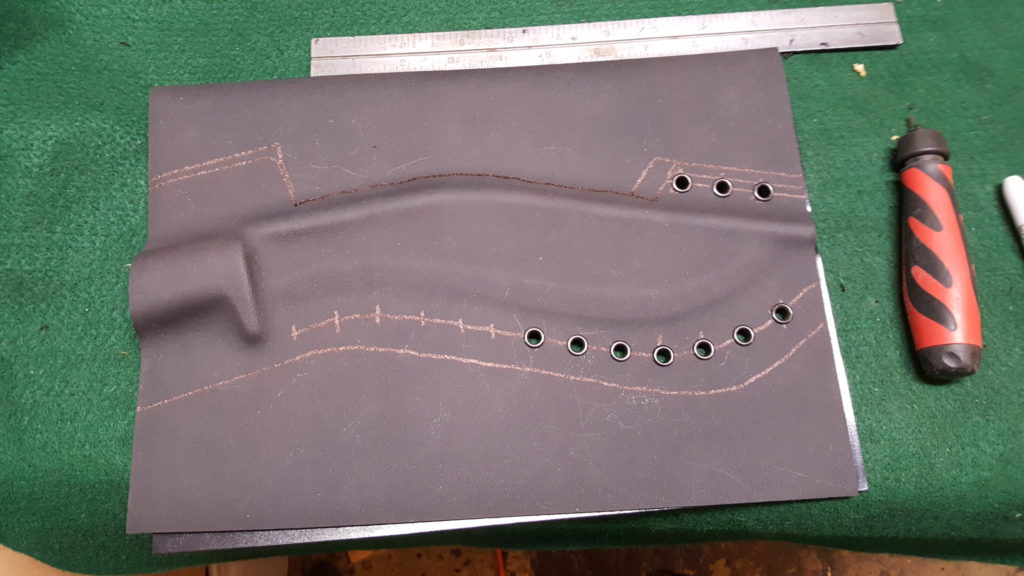
Next up, draw your planning lines around the blade. You need to figure out your rivet pattern and then drill the holes. I do 0.75″ centers to accommodate large Tek-Lok belt fasteners among other options. Notice the big flap drawn at the top above the handle. That creates the “funnels” that will guide the khukuri into the sheath and then lock it into place.
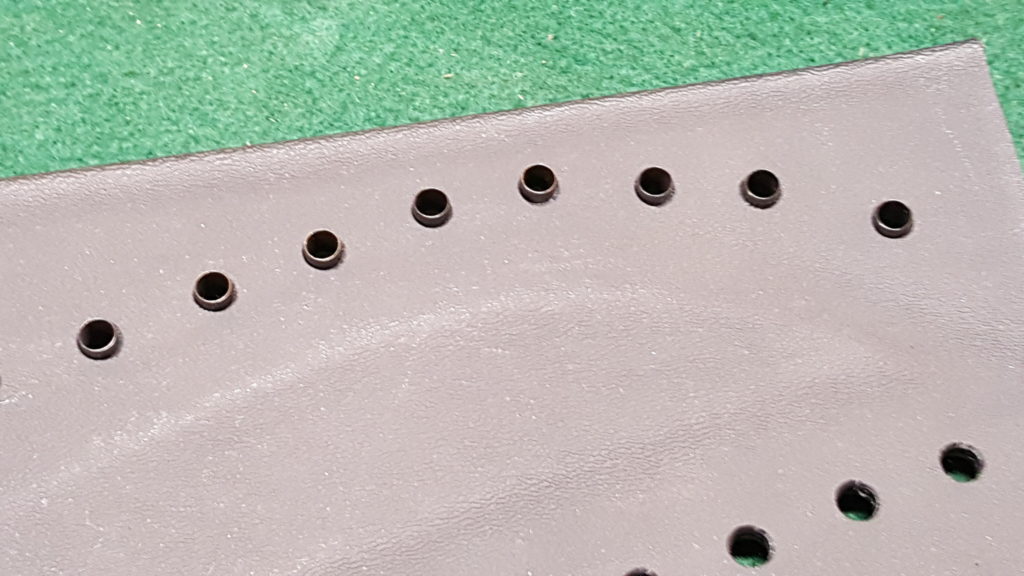
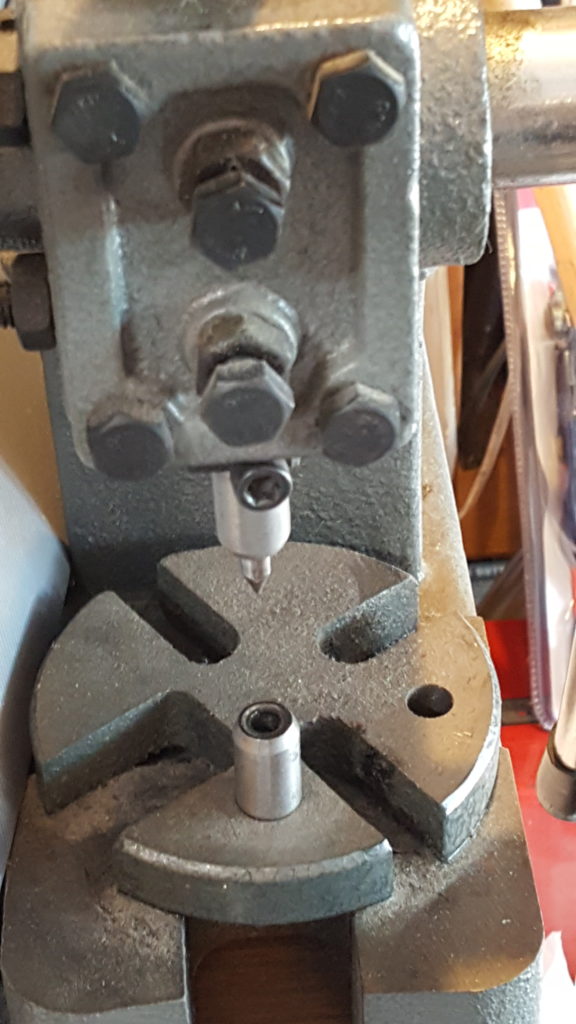
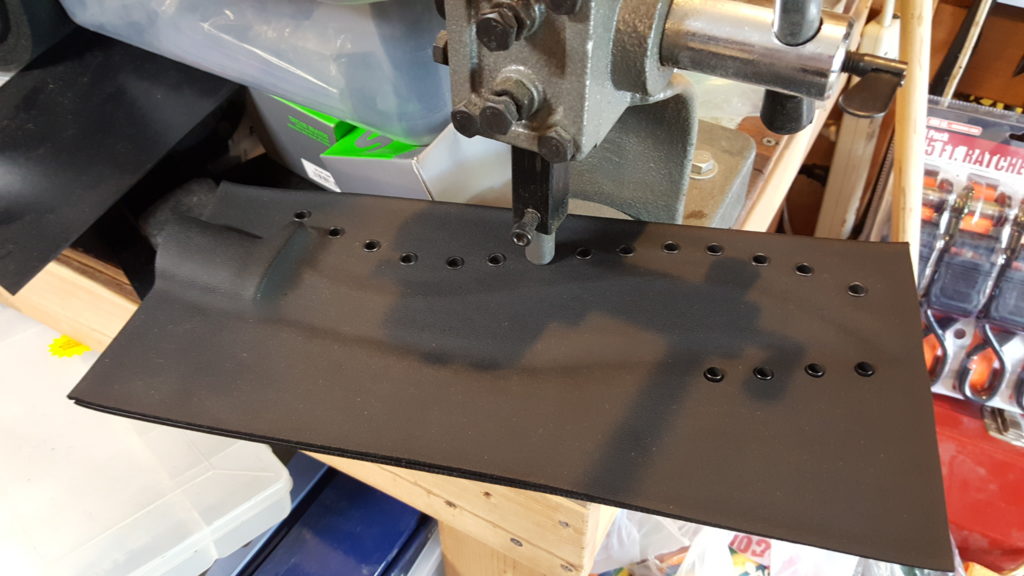
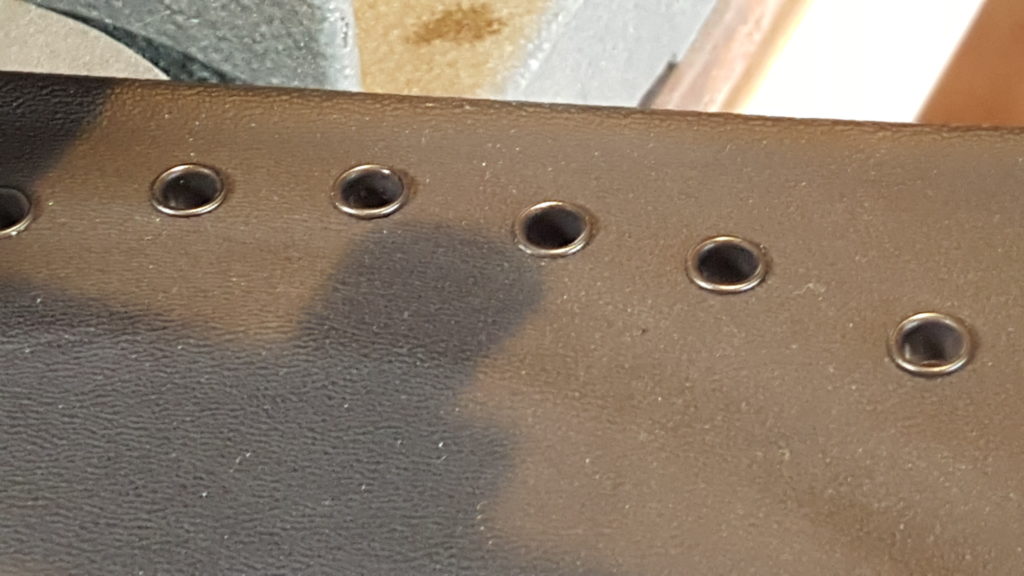
Next, debur the holes with a deburring tool such as the Mango II in the above photo. Then, install the correct size rivets in the holes. Orient the larger factor finished end of the rivet to be facing viewers when the blade is carried. It looks better than the small end that results after compressing the rivets. After that, use a rivet tool to flare and secure the rivets. I use purpose-built dies in my 1/2 ton arbor press to do that but there are cheaper manual units for use with hammer. If you plan on doing many sheaths or holsters, go with the arbor press.
Here’s the result. Note that the round tools are what I use to form the funnels.
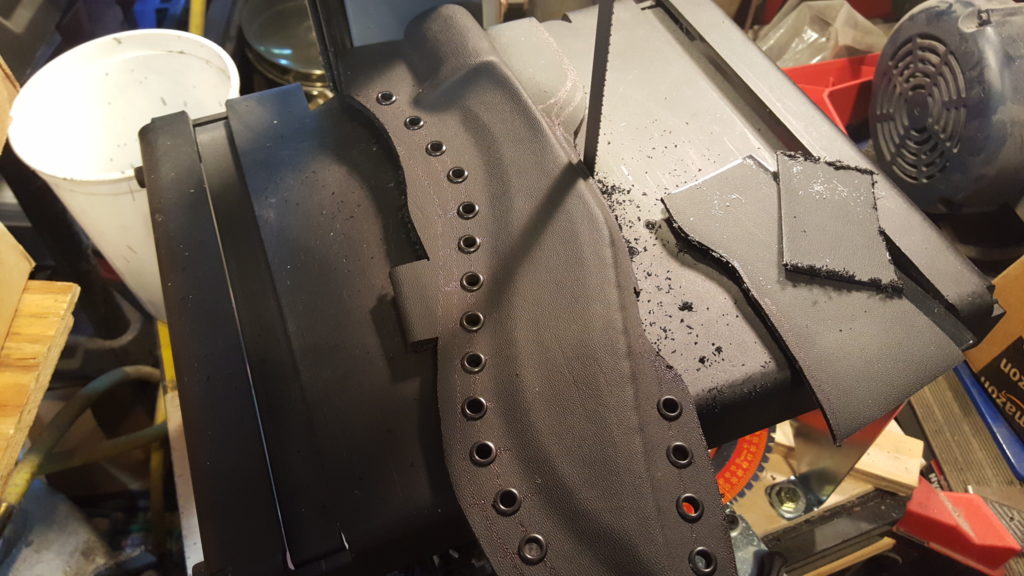
Next, I use a band saw to cut close to the outside cut-off line I drew.
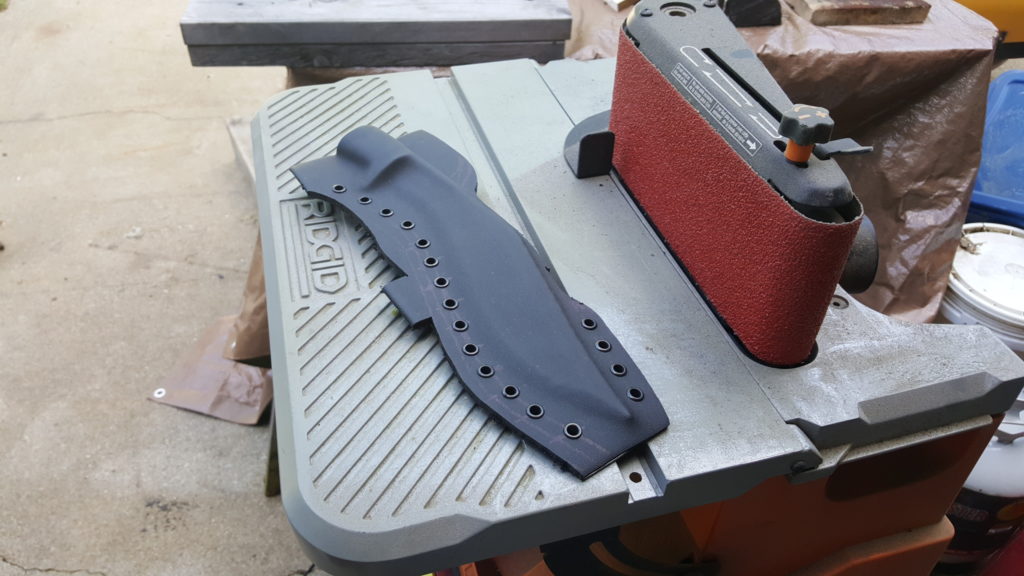
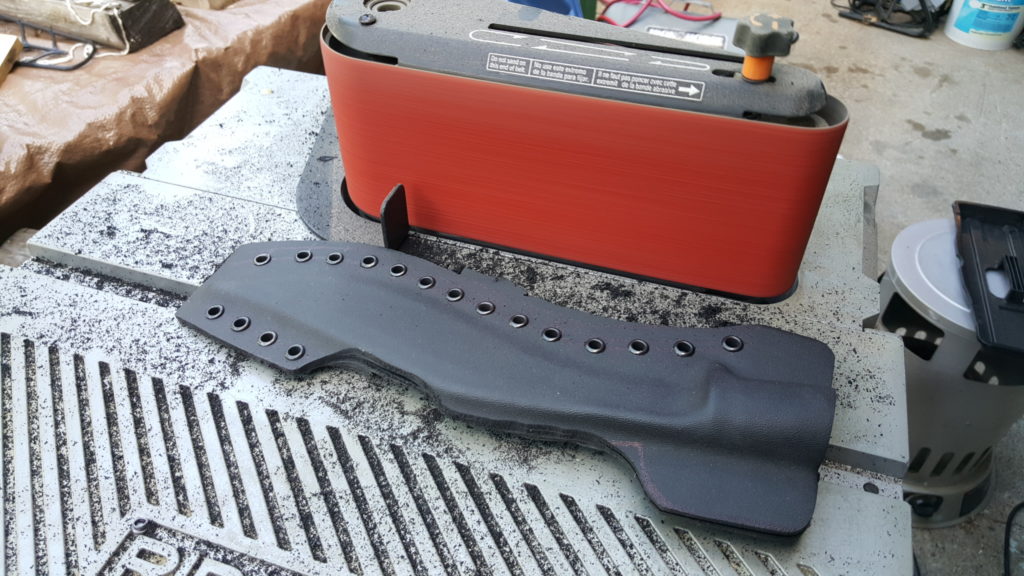
I then use a Rigid Oscillating End Sander to do the shaping. I bought thebunitat Home Depot two years ago and it works great for this. I use a 40-60 grit belt to quickly do the grinding.
Now I did the test fitting and had an “oh crap” moment. I normally expose the blade to allow for quick insertion and extraction but I couldn’t do that with this model due to the serrations. They were exposed and would clearly hang up on everything so it was time to come up with a plan B. It dawned on my that I needed something to serve as a “sheath” for the serrations that would give me work room inside the sheath once it was formed. So after thinking about for a few minutes, I took some 3/16″ fuel line, slit it down the middle and pulled it onto the khukuri.
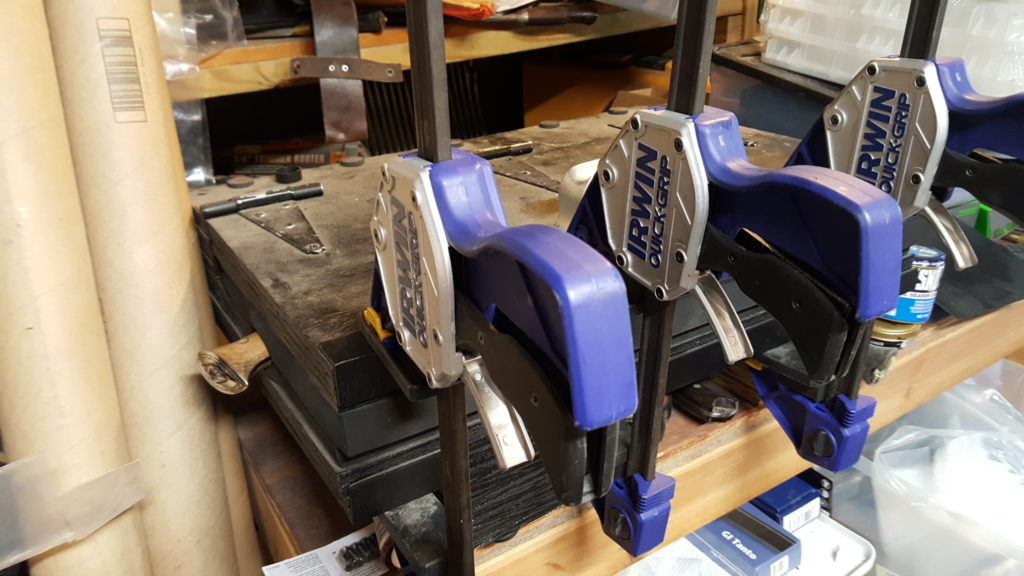
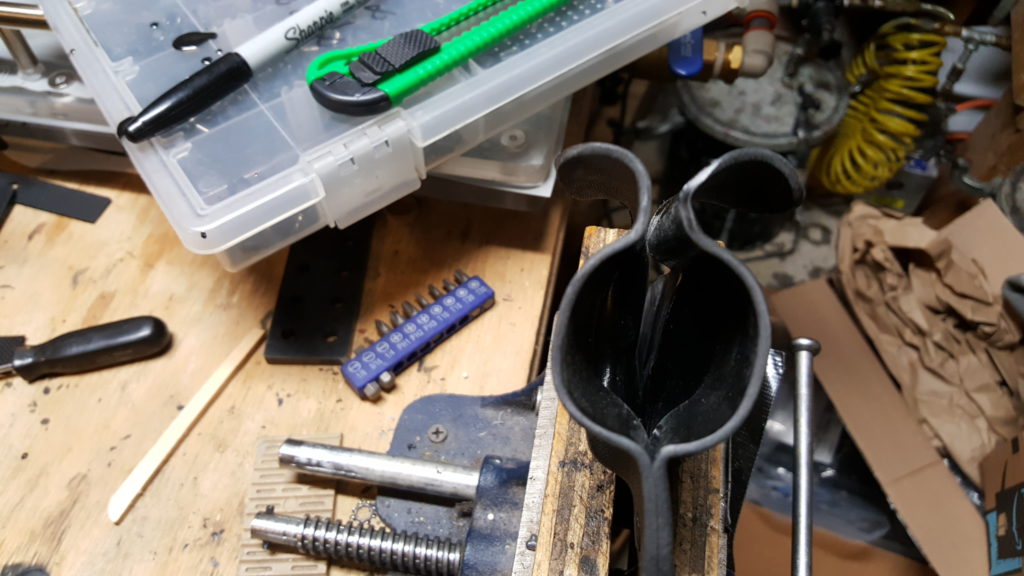
I also wanted the khukuri to push a lot further into the rear piece of Kydex so that meant I needed to use the khukuri press that I designed just for this. It is built like a tank from layers of 3/4″ plywood and uses four 500# Quick Clamps to compress the Khydex. The results is tight uniform clamp around the handle and blade of a khukuri.
Next, it was time again to mark, cut and rivet the sheath. Again, note the tabs drawn above the handle to form the funnel.
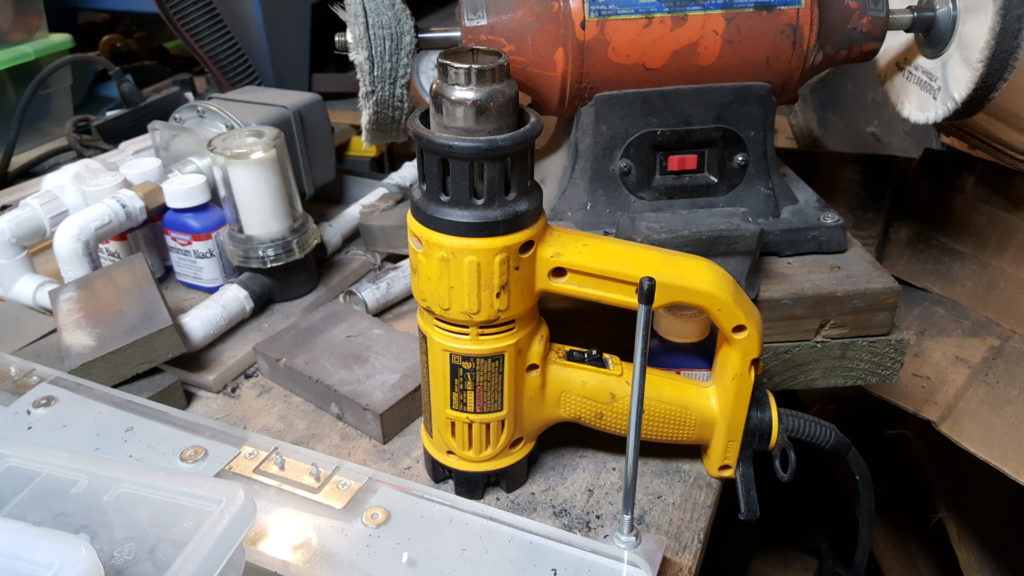
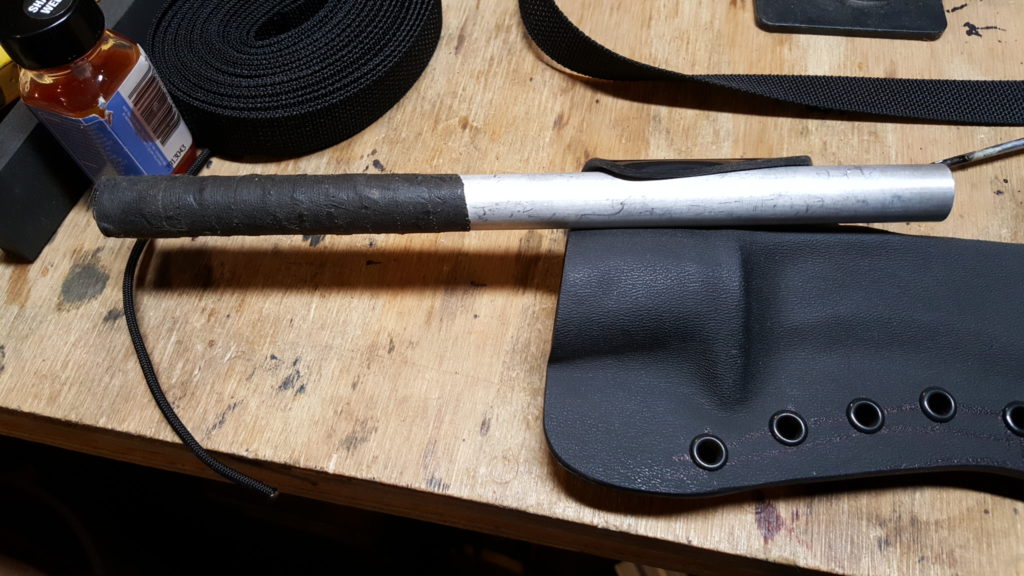
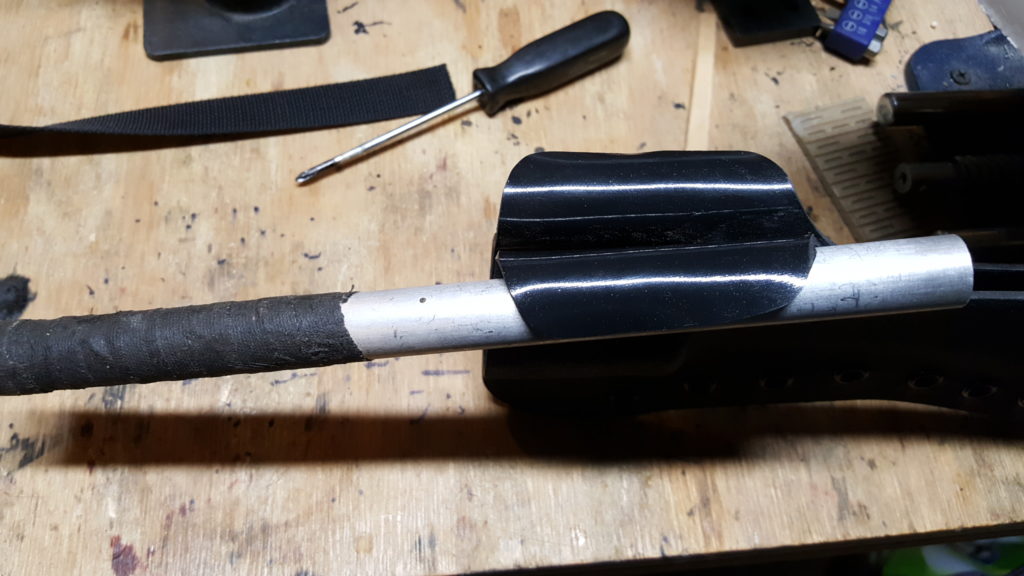
After cutting, I use a heat gun to heat each tab and bend it over a round mandrel. I have a 1/2″ round piece of aluminum that I normally use. Note, I have burned out a number of cheap heat guns. The DeWalt is over two years old and still going strong.
I use MEK solvent on a rag to smooth over the edges of the Kydex and make it look good. If you use MEK, be sure to wear solvent gloves and work outdoors or in a very well ventilated area. That stuff is hot – meaning it evaporates fast and is not something you want to be breathing.
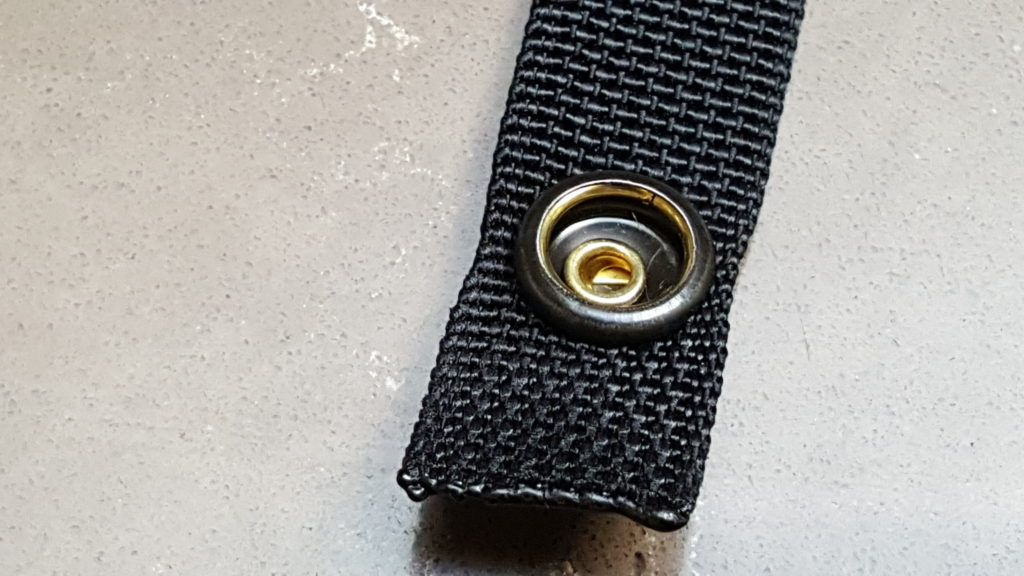
I used 1″ heavy duty nylon webbing for the retention strap along with a snap stud and quality heavy-duty #24 snap head. I heat an old small screw driver to melt a hole in the strap for the stud and the snap head and then a purpose built die in my arbor press to actually open the rivet head inside the snap.
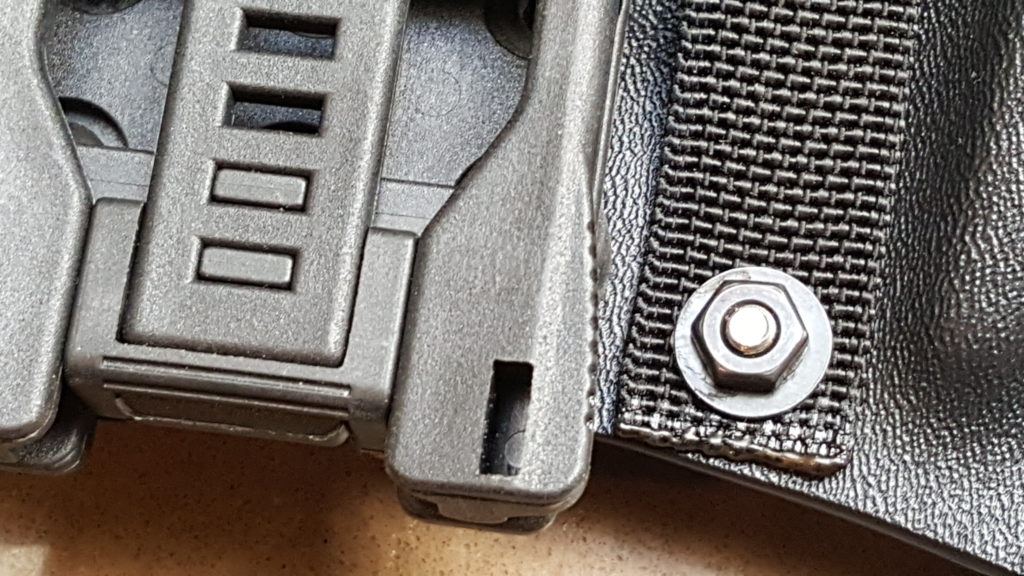
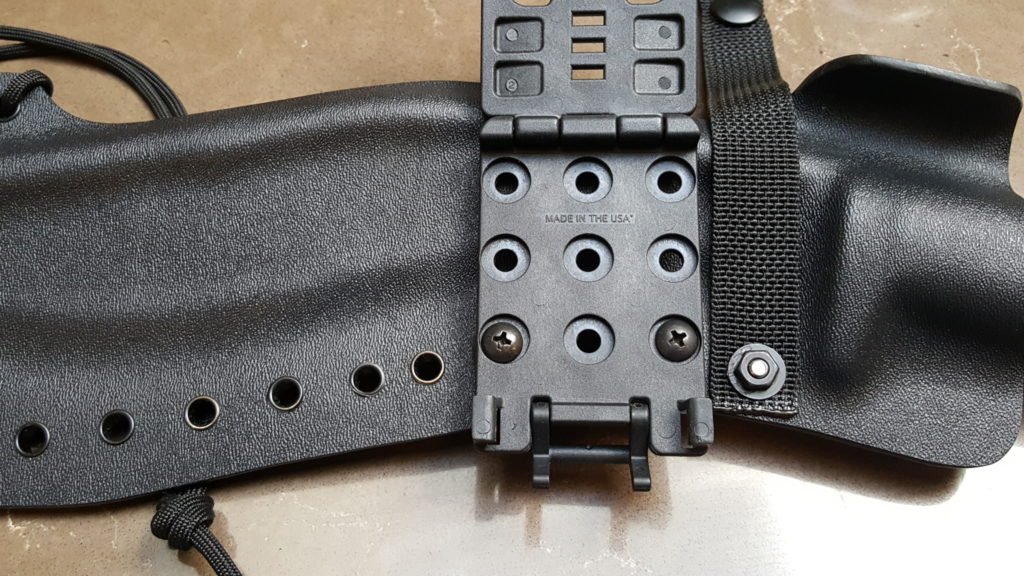
The Tek-Lok is secured to the sheath via slotted posts, screws and rubber spacers cut to the length needed. Note, use Vibra-Tite or blue Loc-Tite to secure the screws and nuts or they will work lose and fall off.
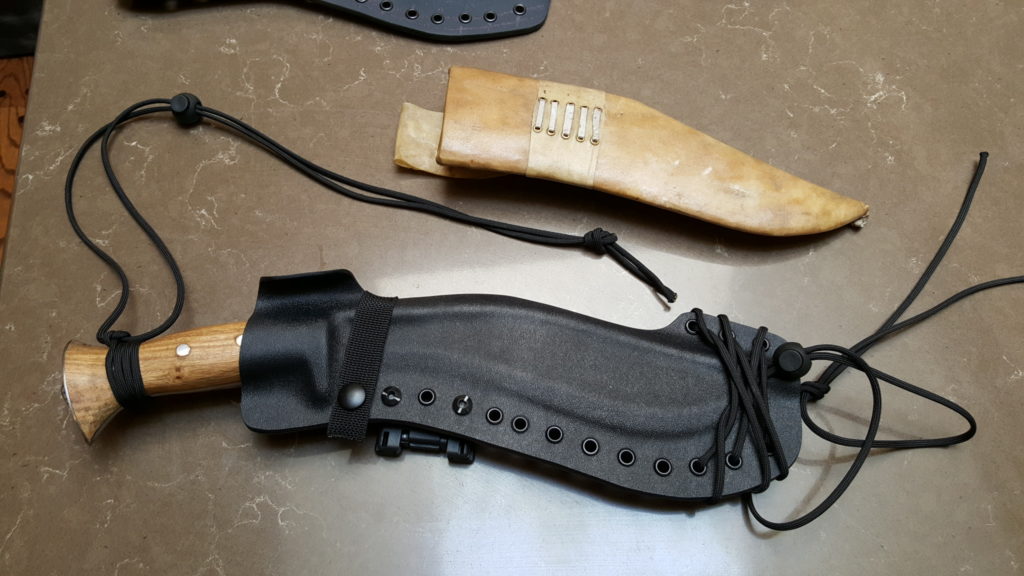
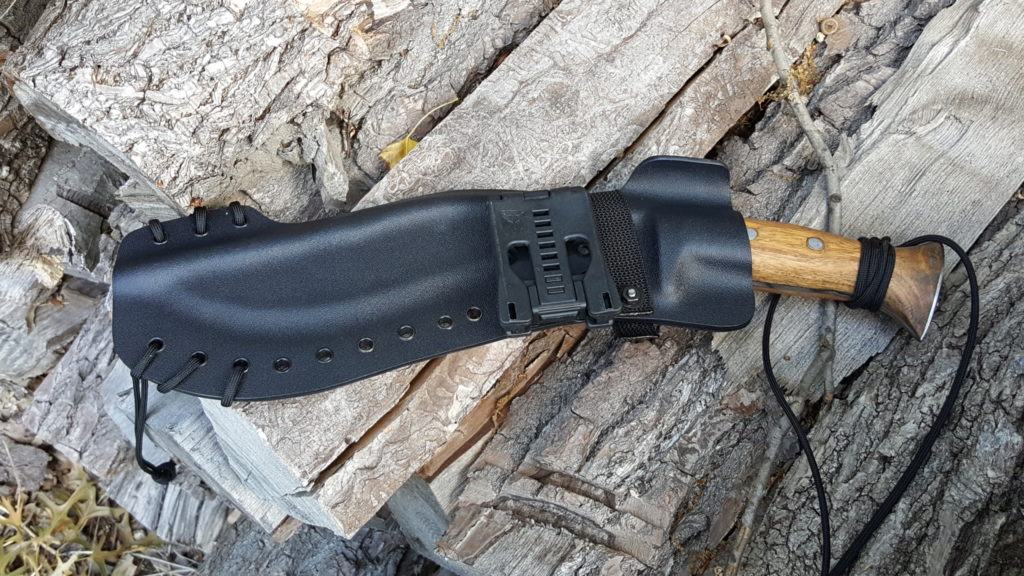
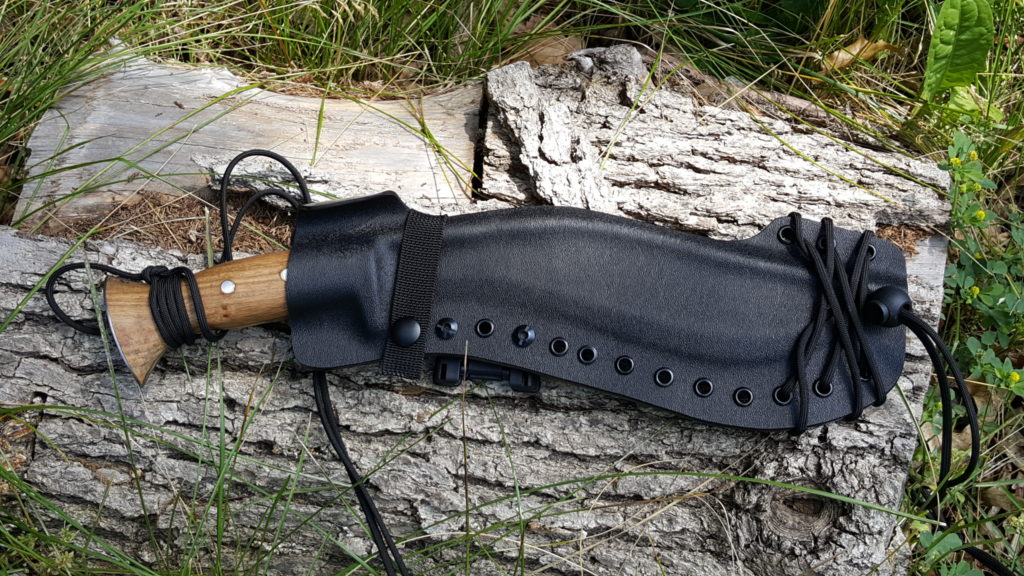
Here is the end result. The old buffalo hide and wood sheath is above for reference. I like adding paracord for lashing and survival use.
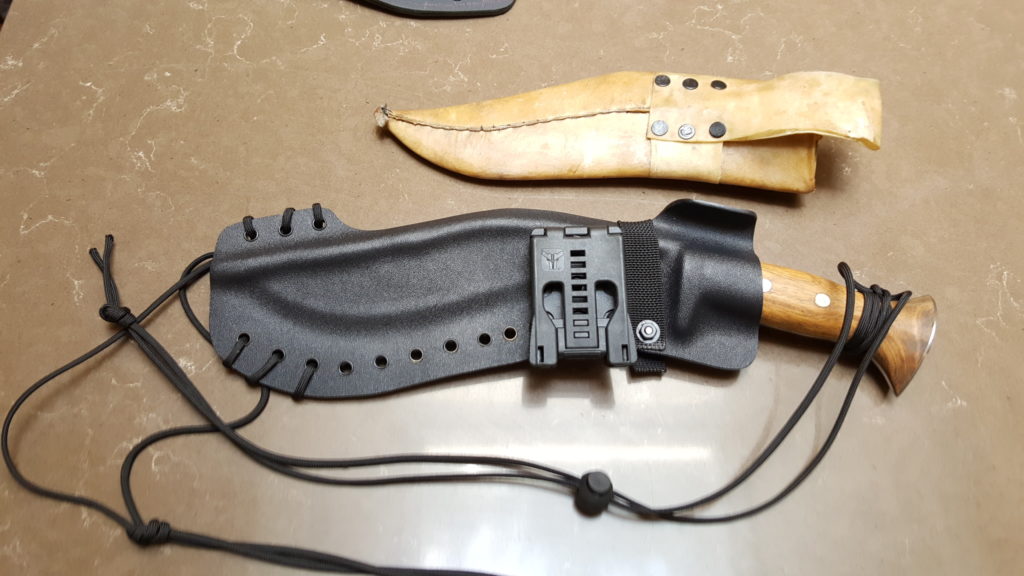
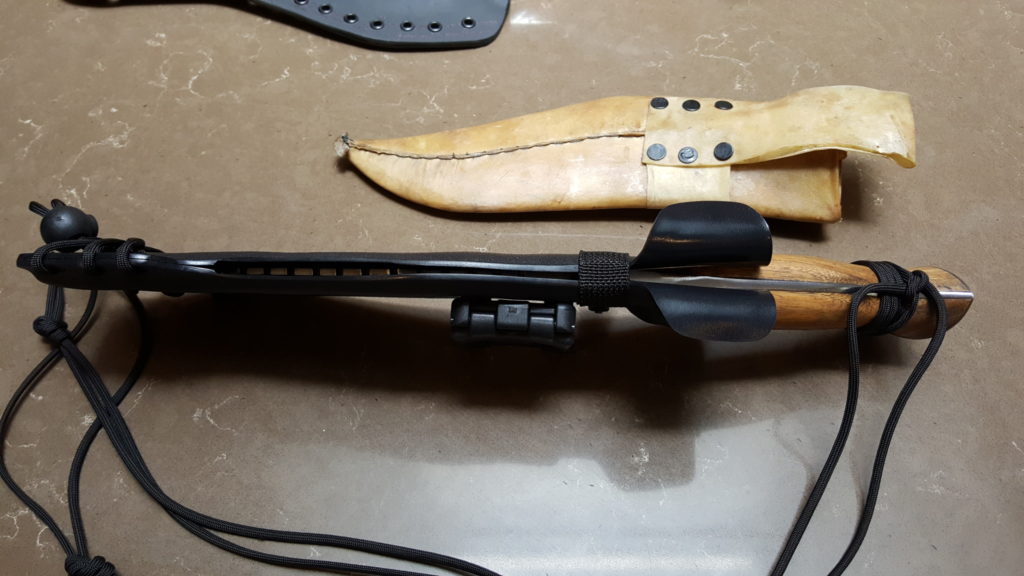
In the next photo you can see the opening for the tip of the khukuri to slide into – that pocket is essential. Once the tip is inserted, the handle is pushed towards the funnels that open, allow the handle to pass and then spring closed locking the handle in. To truly lock it in and protect against brush, you need a retention strap that serves to keep the sheath closed – if the sheath is held shut then the blade can’t come out.
Here are two more shots
I hope you found the post of interest!
If you find this post useful, please share the link on Facebook, with your friends, etc. Your support is much appreciated and if you have any feedback, please email me at in**@*********ps.com. Please note that for links to other websites, I may be paid via an affiliate program such as Avantlink, Impact, Amazon and eBay.

