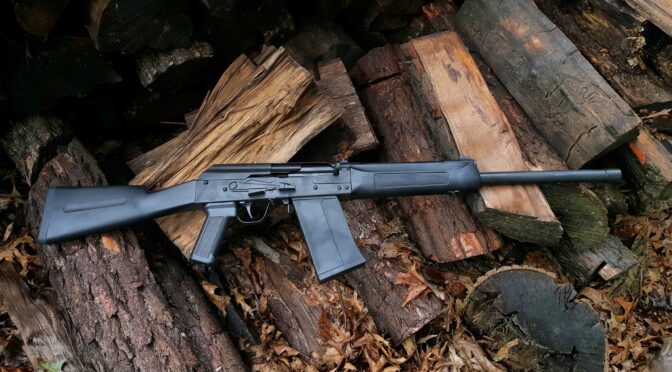
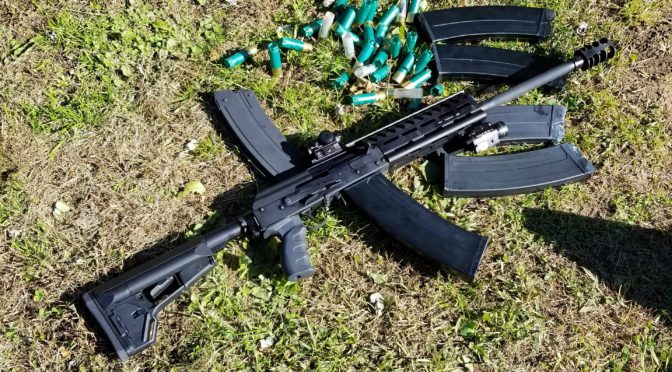
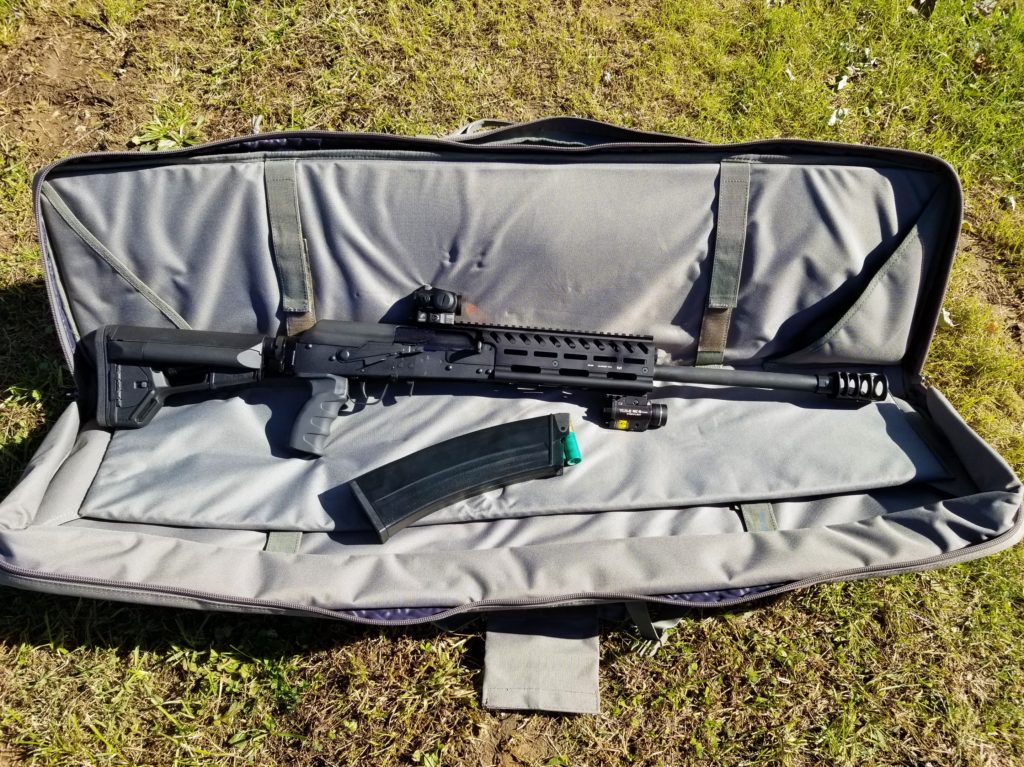
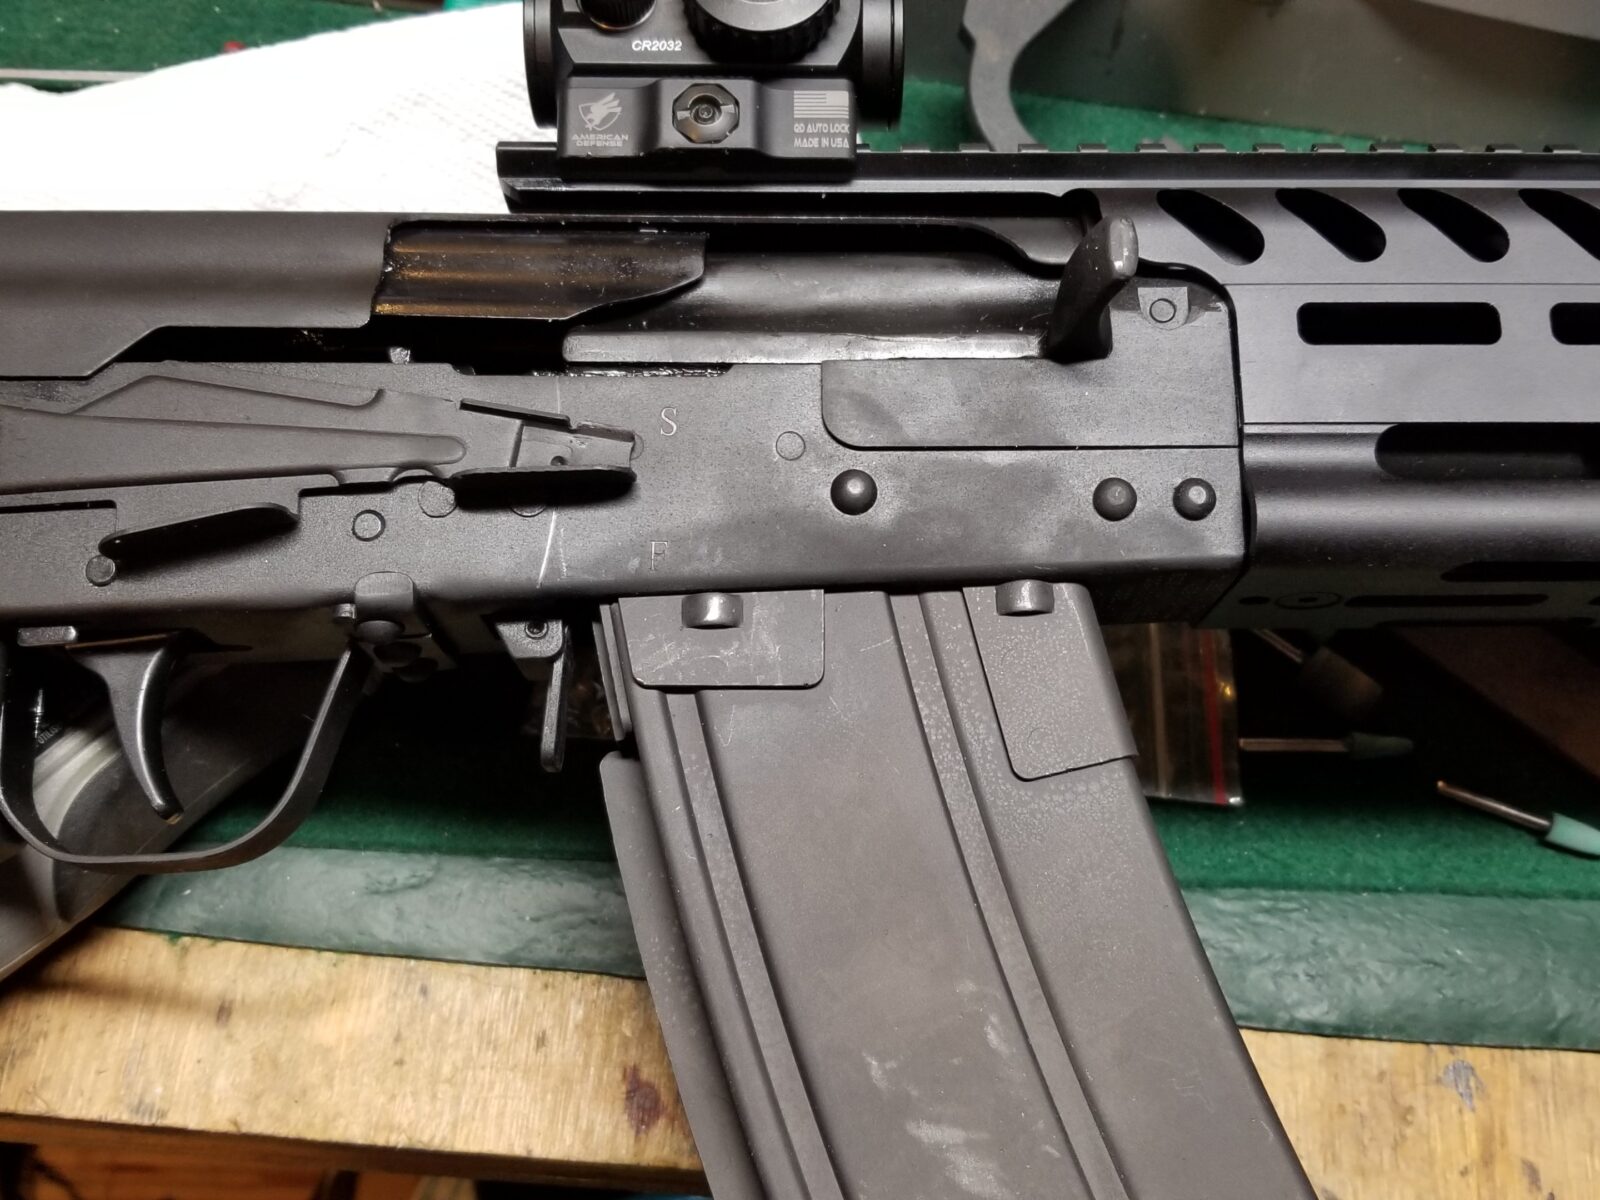
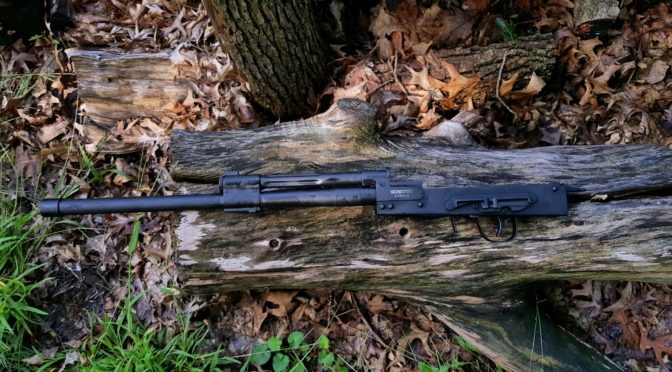
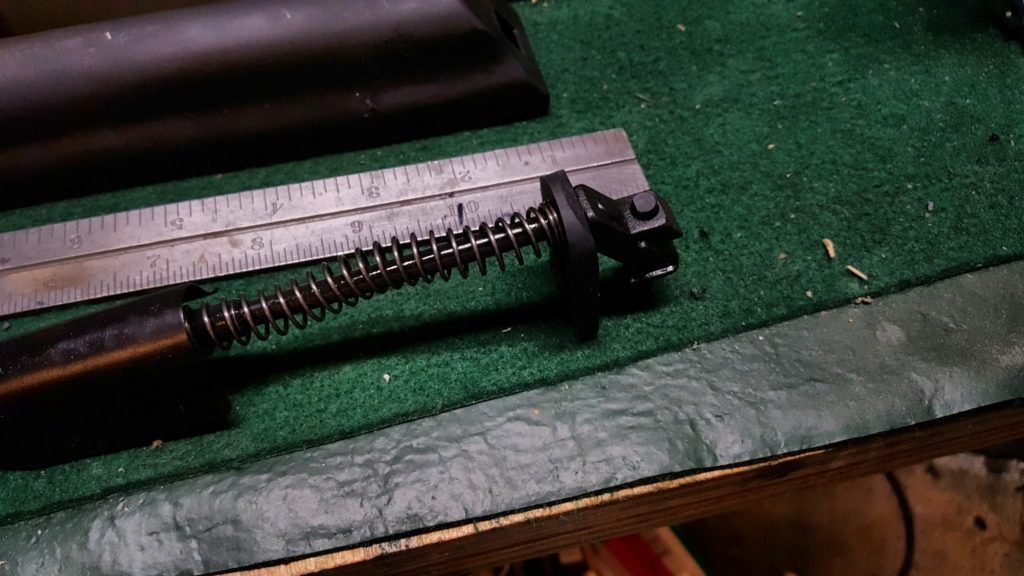
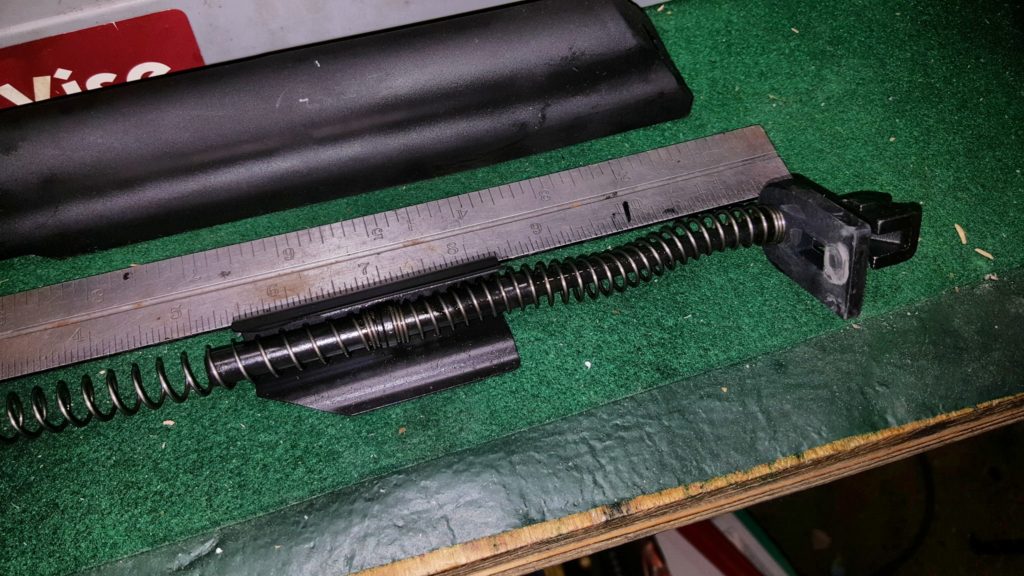
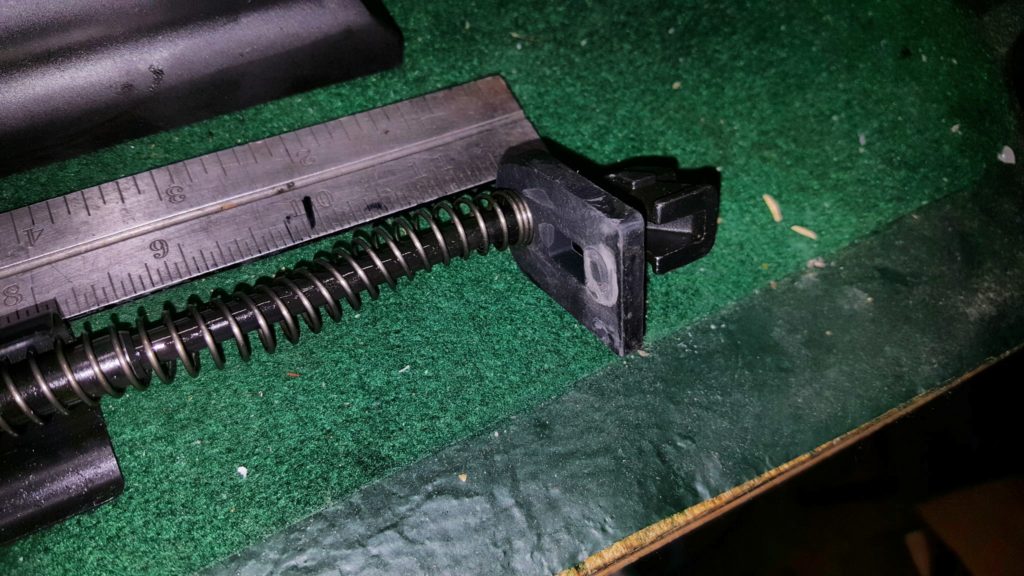
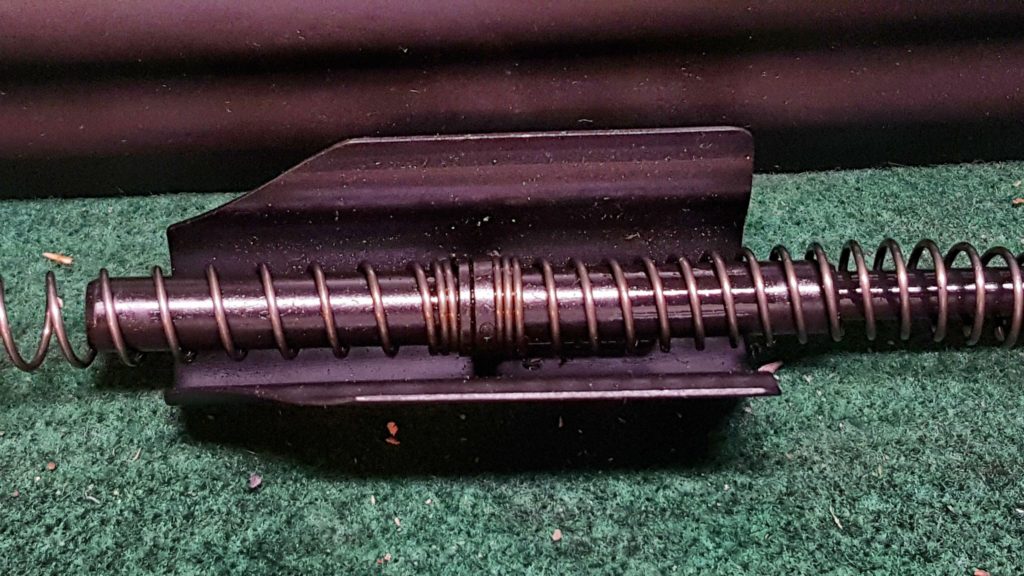
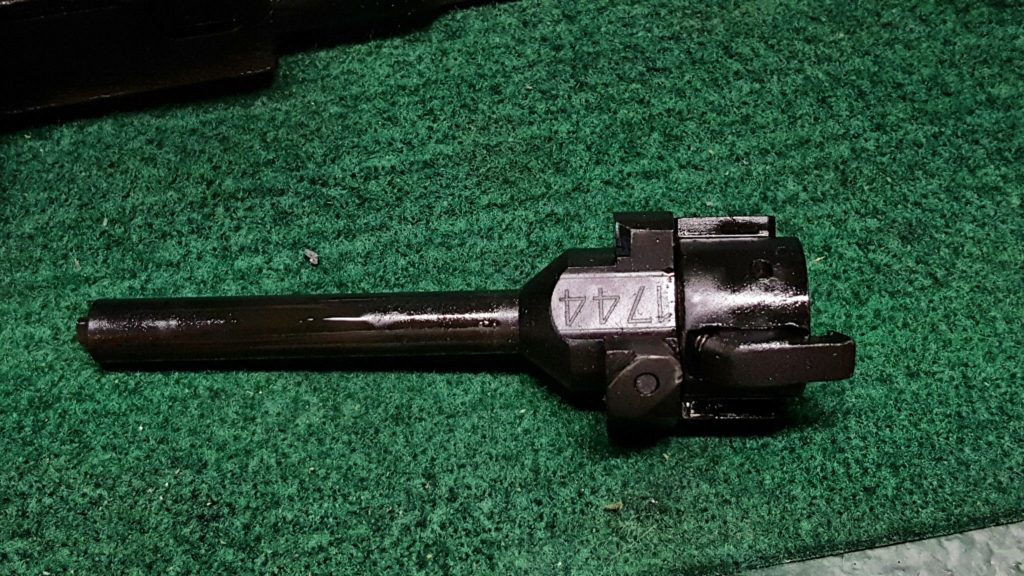
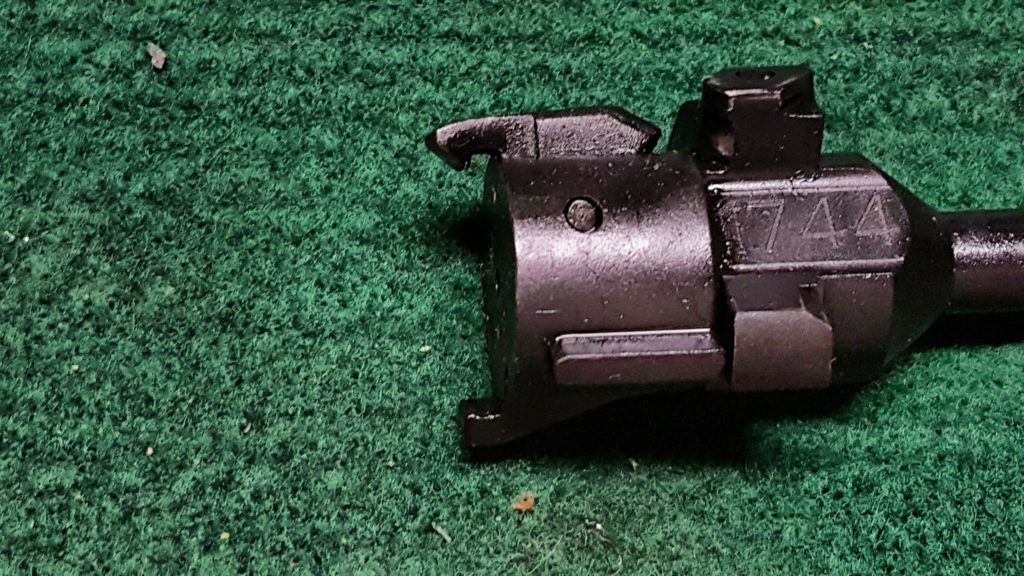
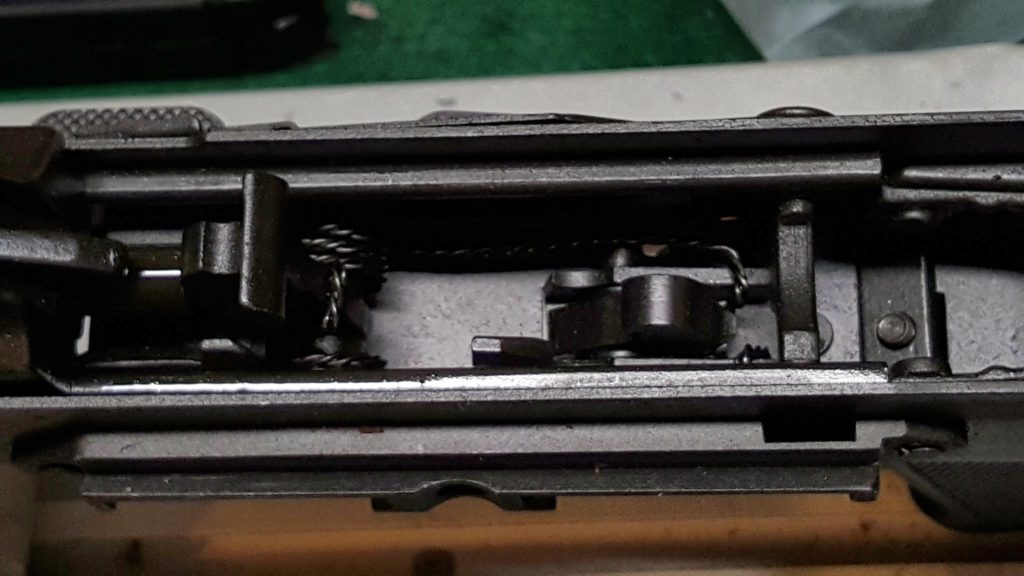
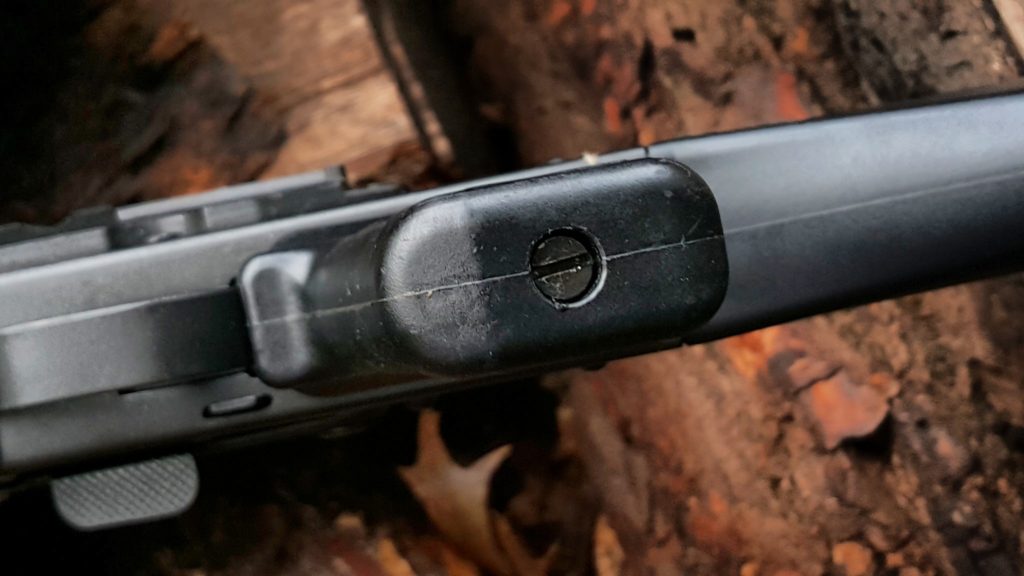
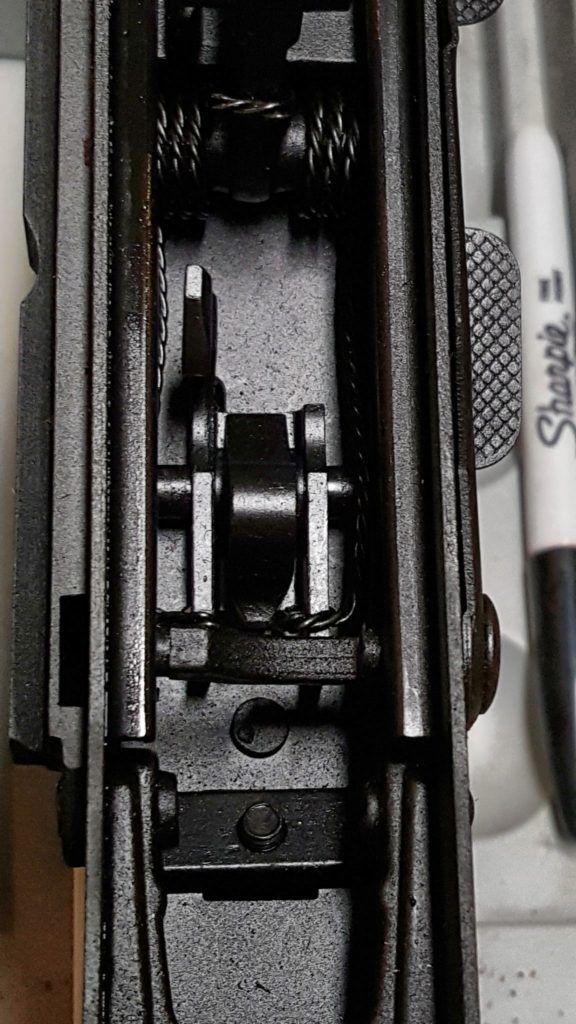
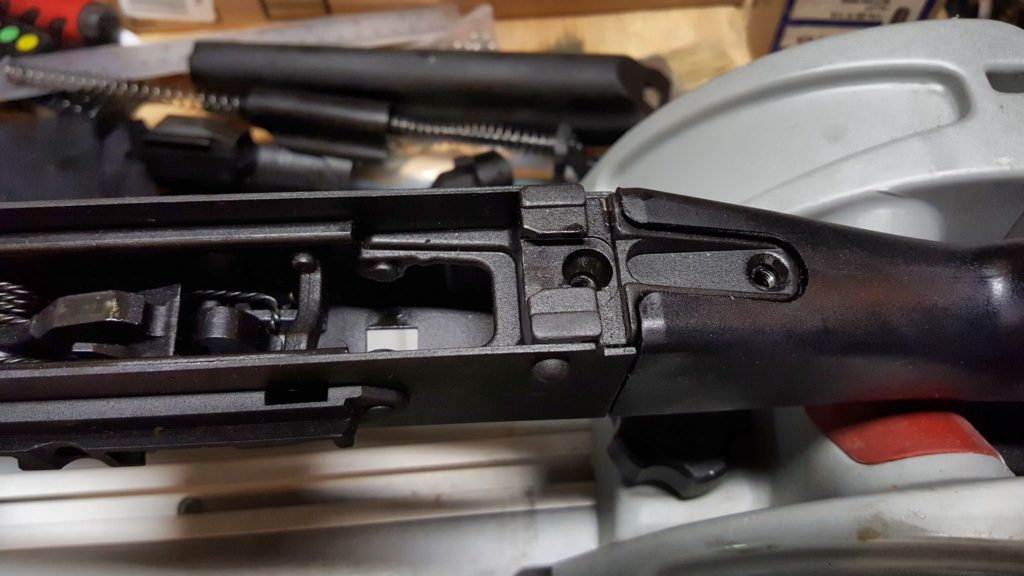
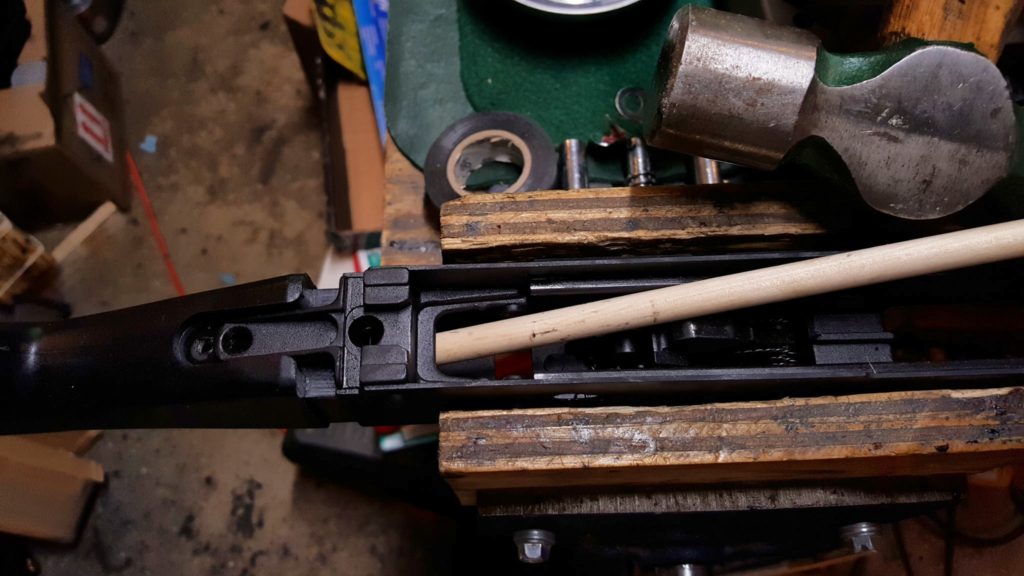
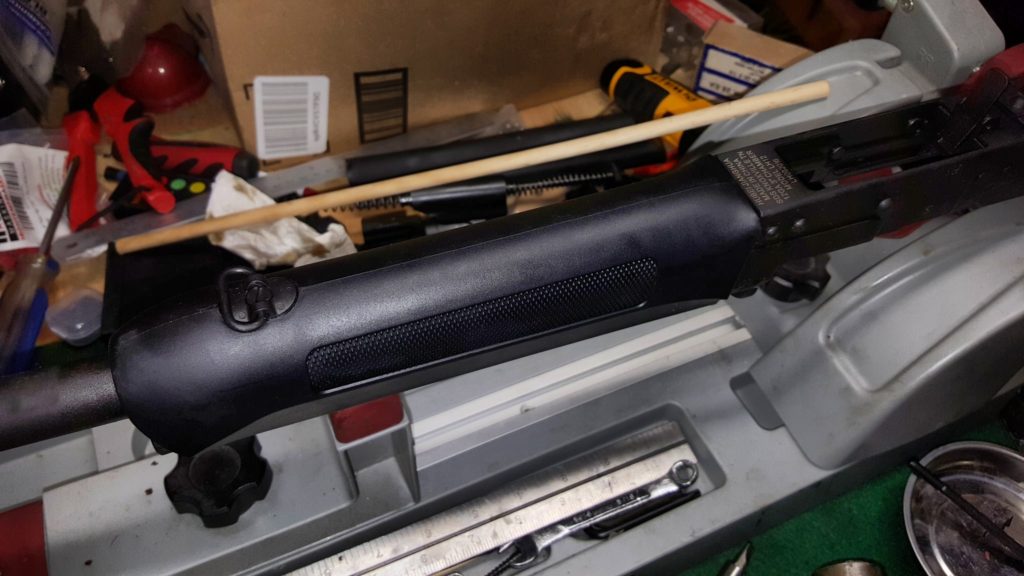
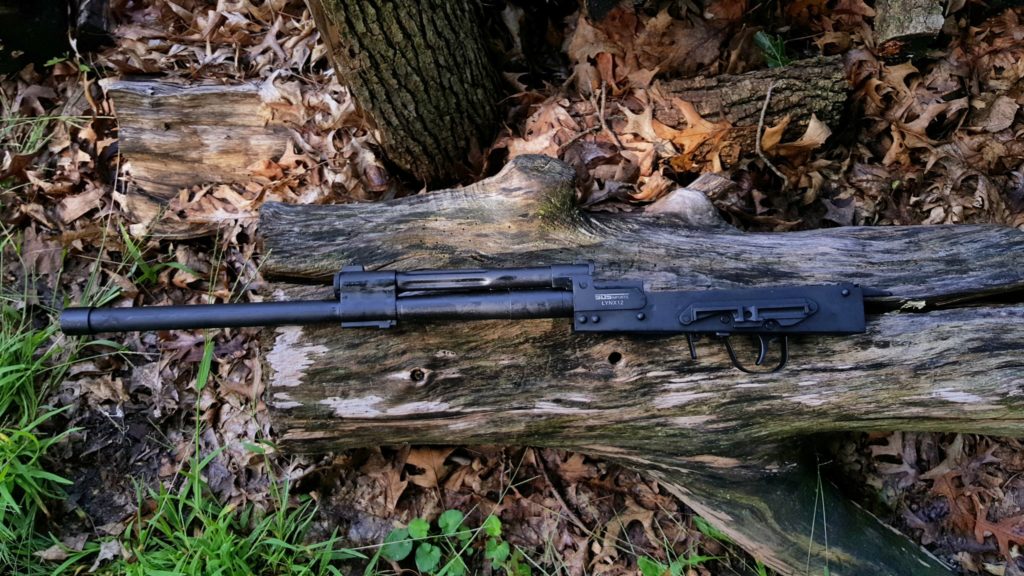
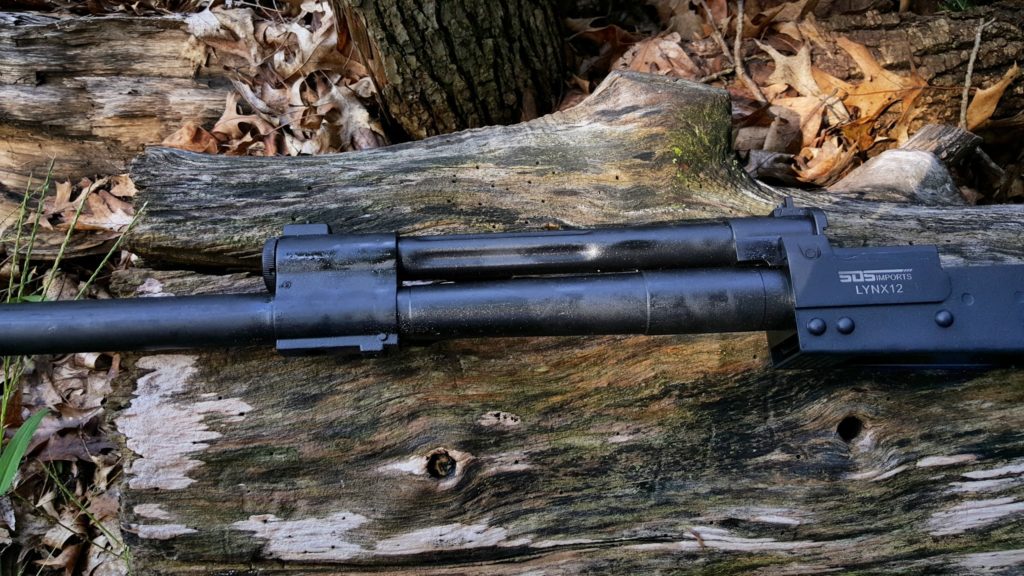
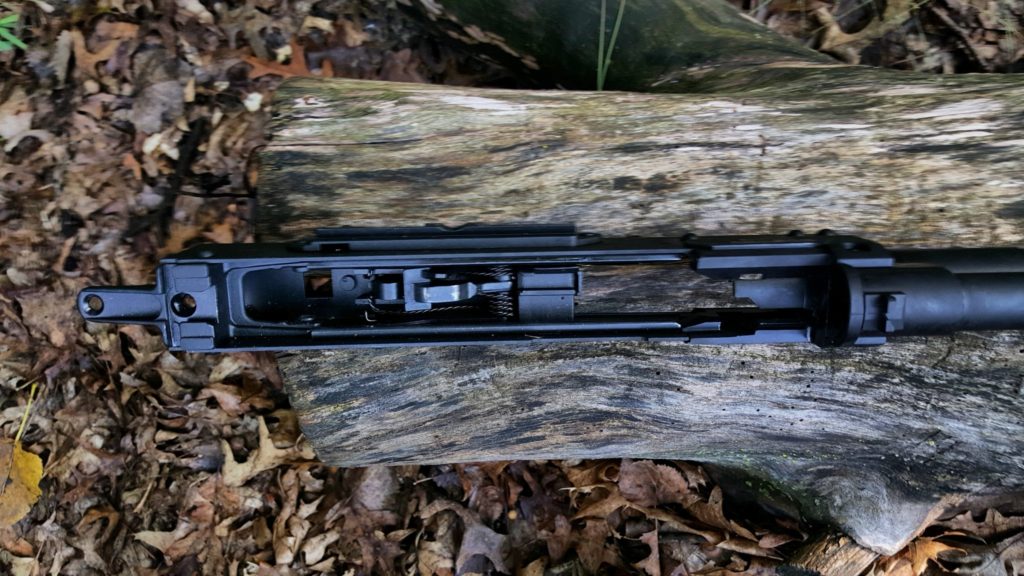
The Military Armament Corporation (MAC) 1014 is a 12-gauge, semi-automatic shotgun imported into the United States by SDS Imports of Knoxville, Tennessee. The firearm is manufactured in Turkey by Özerbas, a firm located in the Konya region, which has become a significant hub for Turkish firearms production. The MAC-1014 is an overt and faithful clone of the renowned Benelli M4/M1014 combat shotgun, a platform that has served with the U.S. Marine Corps since 1999 and remains a benchmark for tactical semi-automatic shotguns.
The core value proposition of the MAC-1014 is its ability to deliver the operational system, aesthetic, and a high degree of parts compatibility of the premium Benelli M4 at a dramatically lower price point. While an authentic Benelli M4 typically retails for over $2,000, the MAC-1014 is offered in various configurations—including polymer pistol-grip, wood furniture, and marine-coated versions—with Manufacturer’s Suggested Retail Prices (MSRPs) generally ranging from approximately $375 to $600. This positions the shotgun as a direct market response to the significant demand for the M4 platform among consumers for whom the original is cost-prohibitive. The MAC-1014 is a prominent example of a broader industry trend wherein Turkish manufacturers are producing functional, increasingly reliable firearms that challenge the market dominance of established European and American brands, particularly in the value segment.
The choice to market this firearm under the revived “Military Armament Corporation” brand is a significant strategic decision. The original MAC was an American company famous for the Ingram MAC-10 submachine gun, a firearm with a distinct place in 20th-century small arms history. By adopting this legacy name, SDS Imports is able to associate its Turkish-made products with a sense of American martial heritage and proven combat design. This branding strategy serves to build consumer trust and lend an air of credibility that a new or unfamiliar Turkish brand name might struggle to achieve. It directly counters the prevalent negative stigma associated with Turkish firearms, often pejoratively labeled “Turknellis,” which are frequently perceived by segments of the market as products from “no-name fly-by-night brands” with questionable quality and nonexistent customer support. The MAC branding, therefore, is an intentional effort to differentiate the product and mitigate a primary barrier to purchase for many consumers.
1.2. Summary of Key Findings
This report provides a comprehensive technical and market analysis of the MAC-1014 shotgun. The key findings are summarized as follows:
- Strengths: The shotgun’s principal strengths are its exceptional affordability, the inherent reliability of its gas-piston operating system when paired with appropriate high-velocity ammunition, and its extensive parts compatibility with the Benelli M4 aftermarket ecosystem. This final point is arguably its most significant competitive advantage, as it de-risks the purchase and provides a clear path for customization and repair.
- Weaknesses: The most critical and widely documented weakness is a systemic sensitivity to low-velocity, low-dram equivalent ammunition, which results in frequent cycling malfunctions such as failure to eject. Additional weaknesses include ergonomic deficiencies in the stock configuration, specifically a small bolt release, a small charging handle, and a long length of pull on fixed-stock models. Minor quality control inconsistencies, such as cracked wood furniture on certain models, have also been reported.
- Consumer Behavior: Market analysis reveals a dominant and predictable consumer trend: the MAC-1014 is frequently purchased not as a finished product, but as a base platform or “chassis” for a custom build. Owners systematically upgrade the shotgun using Benelli-compatible aftermarket parts to address its inherent weaknesses in ergonomics and capacity, effectively transforming a budget firearm into a highly customized and functional weapon that mirrors the performance of a much more expensive shotgun.
Section 2: Engineering and Design Assessment
2.1. Analysis of the A.R.G.O. Clone Gas System
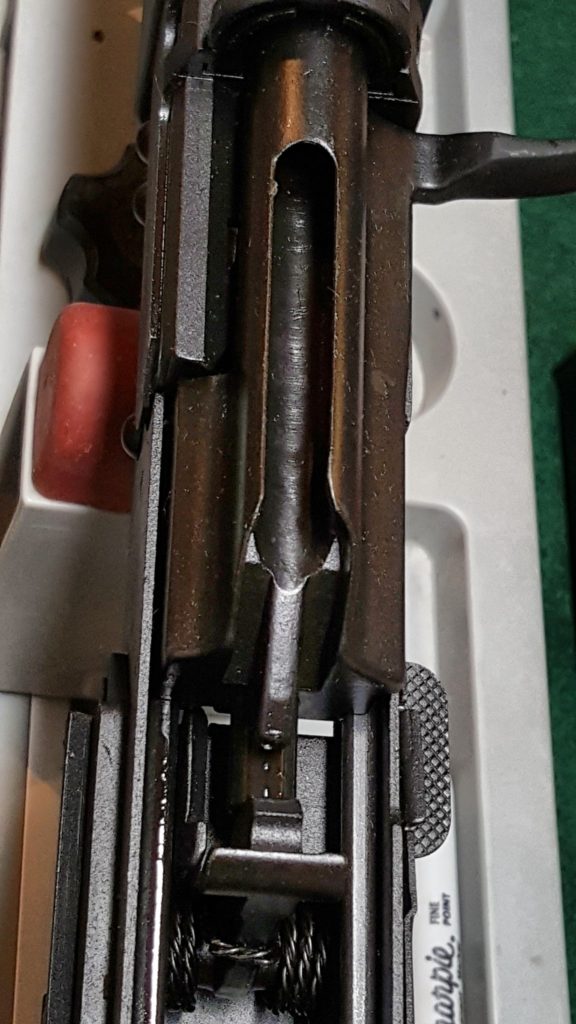
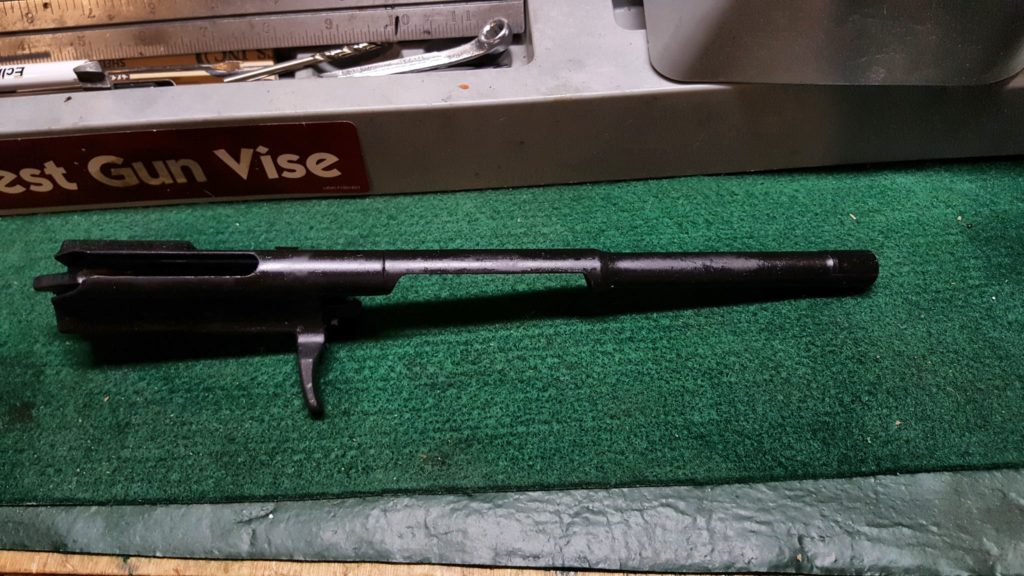
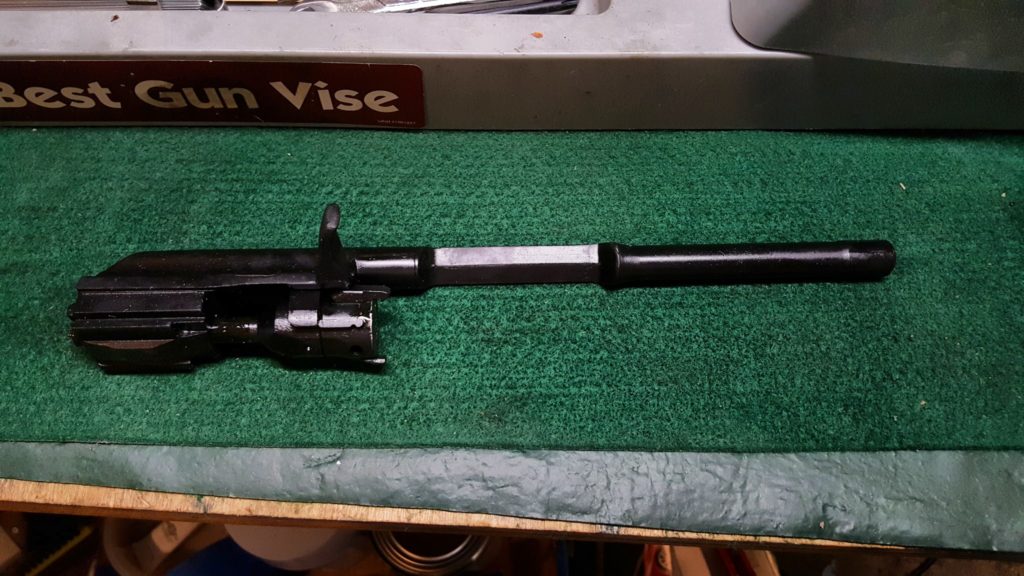
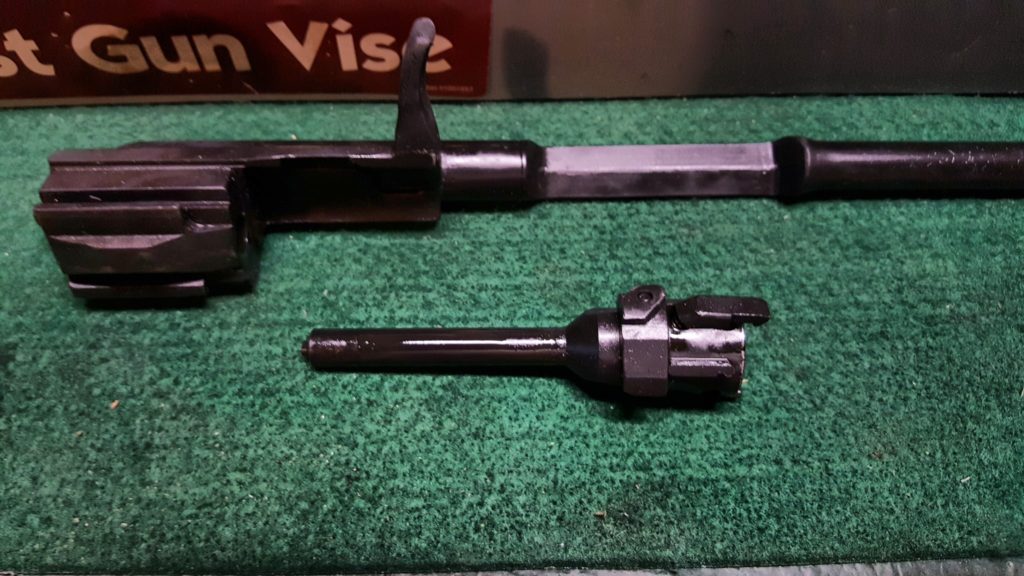
The heart of the MAC-1014 is its operating system, a direct copy of the Benelli “Auto-Regulating Gas-Operated” (A.R.G.O.) system. This is a dual short-stroke gas piston design located just forward of the chamber. Two stainless steel pistons, positioned on the left and right sides of the barrel, are driven by gas tapped from the bore upon firing. These pistons act directly against the bolt carrier, eliminating the need for complex linkages or long action bars found in other gas-operated designs. The bolt itself is a rotary design that locks securely into the barrel extension.
The engineering benefits of this system are significant. First, the design is inherently self-cleaning and self-regulating. Gas pressure in excess of what is required to cycle the action is vented forward, out of the system. This auto-regulation provides two key advantages: it allows the shotgun to function reliably with a range of powerful loads, from standard 2 ¾-inch buckshot to 3-inch magnum shells, and it mitigates felt recoil by not transferring superfluous energy into the action. Second, the direct-impingement nature of the pistons on the bolt carrier results in a fast, reliable cycle time. Compared to inertia-driven systems, this gas operation is less dependent on the shooter firmly shouldering the weapon, reducing the likelihood of malfunctions when firing from unconventional positions.
However, this design carries an inherent trade-off that is central to understanding the MAC-1014’s performance characteristics. The Benelli M4 was developed in response to a 1998 U.S. Army solicitation for a semi-automatic combat shotgun. The primary design requirement was absolute reliability with full-power military loads, such as 00 buckshot and 1-ounce slugs. The A.R.G.O. system was therefore engineered and tuned specifically for the gas pressure and impulse generated by this type of ammunition. The MAC-1014, being a “one-for-one clone” as described by SDS Arms’ marketing vice president, faithfully replicates this military-spec tuning. Consequently, the widely reported “ammunition sensitivity” of the MAC-1014 is not a manufacturing defect or a flaw in quality control. Rather, it is a predictable design characteristic. The system is not optimized for, and often lacks sufficient energy to cycle reliably with, the low-cost, low-velocity birdshot and target loads common in the civilian market. This understanding reframes the most common user complaint from a “QC problem” to a matter of user education and adherence to the manufacturer’s break-in procedure, which specifies the use of at least 100 rounds of high-velocity (>1350 fps) ammunition to smooth the action’s bearing surfaces.
2.2. Materials, Fit, and Finish
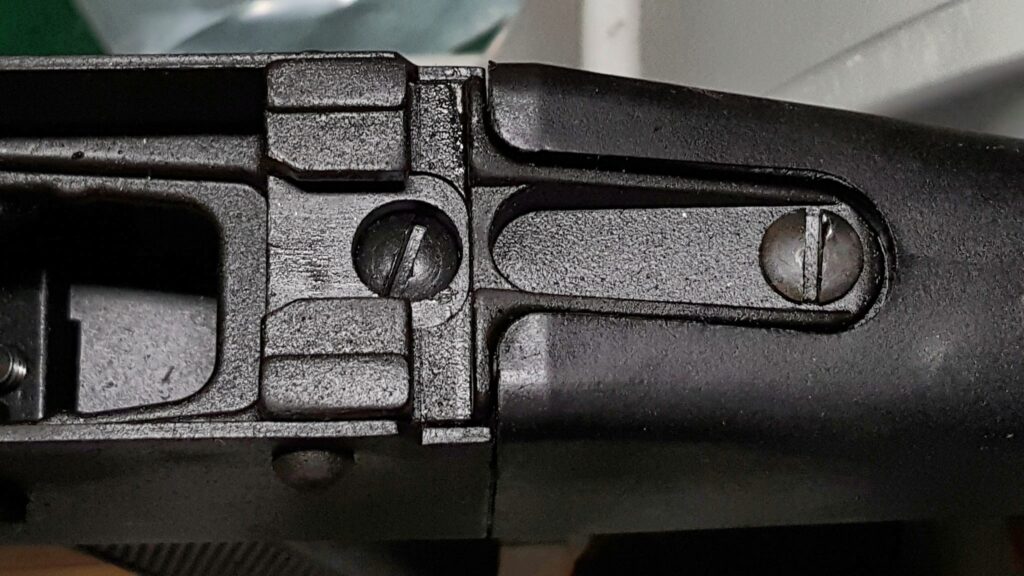
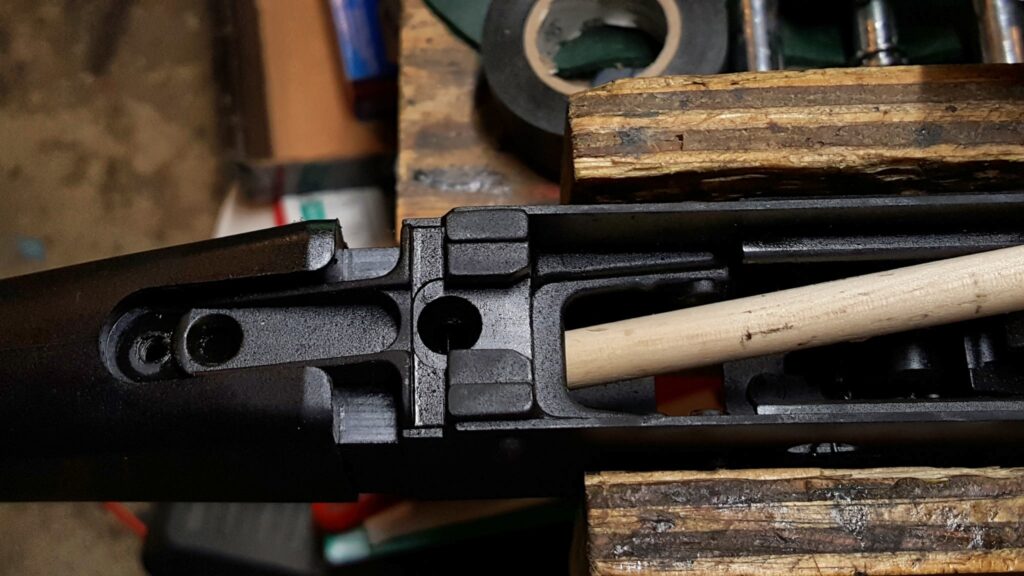
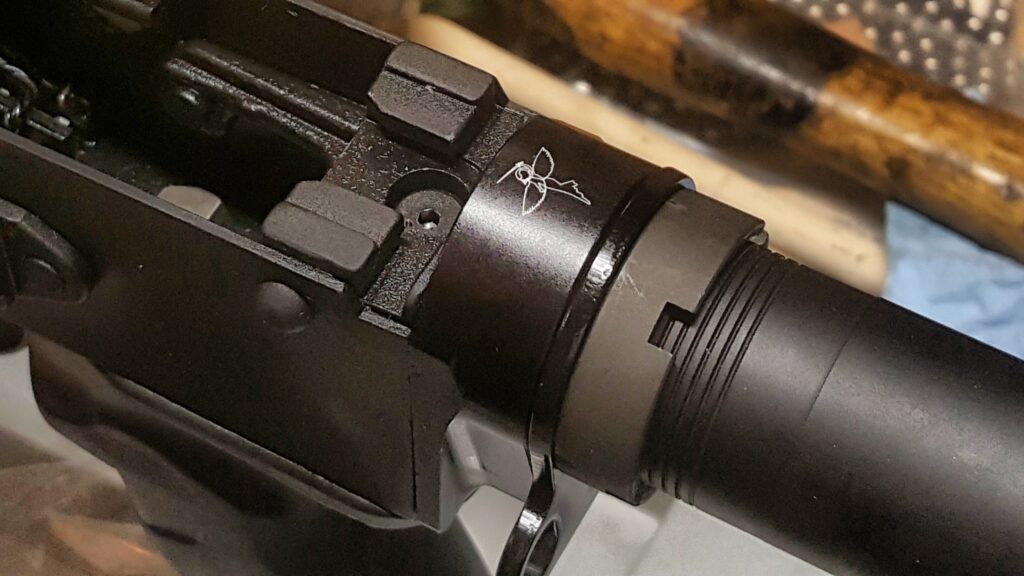
The MAC-1014 is constructed with materials appropriate for its price point and intended function. The receiver is machined from aluminum with a black anodized finish, and the 18.5-inch barrel is chromate-lined for corrosion resistance and longevity. User and reviewer feedback on the overall fit and finish presents a spectrum of experiences, which points toward a specific manufacturing and cost-control strategy.
On one hand, many users report being impressed with the quality out of the box, describing the fit and finish as “perfect” and the firearm as “well-built”. On the other hand, it is not uncommon for users to report a “gritty” feel to the action before an initial cleaning and lubrication, the presence of minor metal shavings from the manufacturing process, or components that are not fully tightened from the factory, such as the choke tube or magazine tube extension.
A more specific and documented quality control issue is the cracking of the Turkish walnut handguard on the “Wood” variant of the shotgun. In a review by Outdoor Life, the handguard developed a long crack after the first magazine of high-brass shells was fired. While the importer’s customer service was reportedly responsive and provided a replacement part, this incident suggests potential weaknesses in the material selection or curing process for non-critical components.
The variance in fit-and-finish reports, from “perfect” to “gritty,” combined with specific material failures in cosmetic parts, is indicative of a value-engineered production philosophy. This approach prioritizes manufacturing resources, tight tolerances, and higher-quality materials for the core functional components of the firearm—namely the bolt, barrel, receiver, and gas system assembly. To achieve the highly competitive sub-$500 price point, costs are controlled by reducing or eliminating final polishing and deburring steps (leading to the “gritty” feel) and by using lower-grade materials for less critical parts like furniture and some small pins. This is a logical and common cost-reduction strategy. It allows the heart of the firearm to remain functional and reliable by closely adhering to the proven Benelli design, while accepting lower cosmetic standards in areas that do not compromise safety or core function. This trade-off is particularly viable because many of these non-critical components, such as the stock and handguard, are among the first items that the target consumer base intends to replace with aftermarket upgrades. The manufacturer can, therefore, afford to use less expensive stock components with the implicit understanding that a significant portion of the user base will discard them in favor of customized parts.
Section 3: Performance Evaluation: Strengths and Competitive Advantages
3.1. Reliability Under Optimal Conditions
When operated within its designed parameters—specifically, with ammunition that generates sufficient gas pressure—the MAC-1014 demonstrates a high degree of reliability that belies its low cost. Multiple independent tests and a large volume of user reports confirm that the shotgun functions flawlessly with the types of ammunition it was designed for: high-velocity buckshot, slugs, and heavy birdshot loads with velocities typically exceeding 1250-1350 feet per second (fps).
For instance, a 500-round test conducted by Outdoor Life using a wide variety of shell types resulted in only a single stoppage, a stovepipe malfunction that occurred near the end of the test at round 486. Similarly, a review in American Rifleman noted that their sample MAC-1014 exhibited zero malfunctions during an aggressive 100-round “load-and-dump fest,” even when forgoing the manufacturer’s recommended break-in period. These results are consistent with user testimonials that describe the shotgun as “flawless” and “perfect” after firing hundreds of rounds of appropriate ammunition.
A key performance strength directly related to its gas system is the shotgun’s recoil impulse. The A.R.G.O. clone system effectively vents excess gas, resulting in a recoil that is described as a “push” rather than a sharp kick. This makes the shotgun significantly more comfortable to shoot with heavy buckshot and slug loads compared to many inertia-driven or pump-action shotguns. This manageable recoil allows for faster and more accurate follow-up shots, a critical advantage in defensive or competitive shooting scenarios.
3.2. The Strategic Advantage of M4 Parts Compatibility
While its reliability with proper loads is a core strength, the MAC-1014’s single greatest competitive advantage and strategic asset is its high degree of parts interchangeability with the Benelli M4. This compatibility is a central pillar of the product’s marketing and is consistently highlighted in reviews, with some sources claiming up to 98% of parts are fully interchangeable.
This feature fundamentally de-risks the purchase for the consumer and overcomes the primary anxieties associated with buying a Turkish-made firearm. The fear of being left with an unsupported product should the importer change or cease operations is rendered moot. If a component on the MAC-1014 breaks or wears out, the owner is not dependent on SDS Imports for a proprietary replacement. Instead, they have immediate access to the entire mature and robust ecosystem of OEM Benelli M4 parts and a vast array of third-party aftermarket components from reputable manufacturers like Mesa Tactical, Midwest Industries, RX Arms, and Taran Tactical. This ensures the long-term viability and serviceability of the firearm.
This high degree of compatibility creates a symbiotic relationship between the budget MAC-1014 and the premium Benelli M4 aftermarket. The introduction of a popular, low-cost M4 clone dramatically expands the Total Addressable Market (TAM) for companies that manufacture M4 accessories. A company developing a new M-LOK handguard or an improved trigger group is no longer designing for a relatively small pool of Benelli owners, but for a much larger and faster-growing combined market of Benelli and MAC-1014 users. This larger market provides a stronger business case for research and development, incentivizing continued innovation for the M4 platform as a whole. The result is a wider variety of available accessories, potentially at more competitive prices due to higher production volumes. In this dynamic, the MAC-1014 acts as a “gateway” to the M4 aftermarket, drawing in a new, more price-sensitive demographic. The success of the MAC-1014, therefore, does not simply cannibalize Benelli’s sales; it actively enriches and expands the accessory ecosystem that supports the entire M4 platform, ultimately benefiting owners of both the premium original and the budget-friendly clone.
Section 4: Documented Deficiencies and Common Failure Points
4.1. Critical Weakness: Ammunition Sensitivity and Cycling Failures
The most prevalent and consistently documented complaint regarding the MAC-1014 is its failure to reliably cycle low-velocity ammunition. This manifests as a Failure to Eject (FTE), where the spent hull is not fully extracted from the chamber, or as “short-stroking,” where the bolt does not travel far enough to the rear to eject the spent hull and pick up a fresh round from the magazine.
These malfunctions are directly linked to the shotgun’s military-derived gas system, which is tuned for high-pressure loads. Specific ammunition types cited as problematic include Fiocchi “low recoil” 1250 fps buckshot, which caused an FTE with nearly every shot in one user’s test, and various brands of Winchester target and birdshot loads with velocities around 1150 fps, which also failed to cycle consistently. Conversely, these same shotguns run perfectly with higher-velocity ammunition, typically anything rated at or above 1300-1350 fps.
The manufacturer addresses this issue directly in the owner’s manual by recommending a break-in period of at least 100 rounds of ammunition with a velocity of 1350 fps or higher. The technical rationale behind this procedure is that the friction between the bolt, bolt carrier, and receiver rails is highest on a new firearm. Firing a series of high-power shells generates maximum force in the action, which helps to lap or polish these mating surfaces, reducing overall friction. Once the action is “broken in,” the energy required to fully cycle the bolt is slightly reduced, which can improve reliability with some lighter loads. However, reviews and user reports suggest that even after a break-in period, the shotgun remains unreliable with the cheapest and lowest-velocity target shells. From an engineering perspective, these cycling failures are caused by insufficient gas pressure to drive the pistons and bolt carrier rearward with enough velocity and momentum to overcome the inertia of the components and the tension of the recoil spring.
4.2. Analysis of Component Failures and Ergonomic Complaints
Beyond the systemic issue of ammunition sensitivity, analysis of user feedback reveals a pattern of specific component complaints and ergonomic deficiencies.
Component Failures: While catastrophic failures of major components appear to be rare, several specific, lower-level issues have been documented:
- Cracked Wood Handguard: As noted previously, the Turkish walnut handguard on the “Wood” model has been reported to crack under recoil, indicating a potential weakness in the material or its preparation.
- Broken Gas Plug: One user reported breaking the gas plug while attempting to remove it for cleaning, which, while likely user-induced, may suggest that the part is brittle or that the factory thread locker is excessively strong.
- Weak Magazine Extension Spring: A user review for the MAC-branded 7-round magazine extension noted that the included spring was too weak, leading to feeding issues. This suggests a potential quality control problem with accessory components.
Ergonomic Deficiencies: A more common category of complaint relates to the ergonomics of the shotgun in its factory configuration. These issues are not failures in the sense of breakage, but rather design elements that users find suboptimal for modern tactical use:
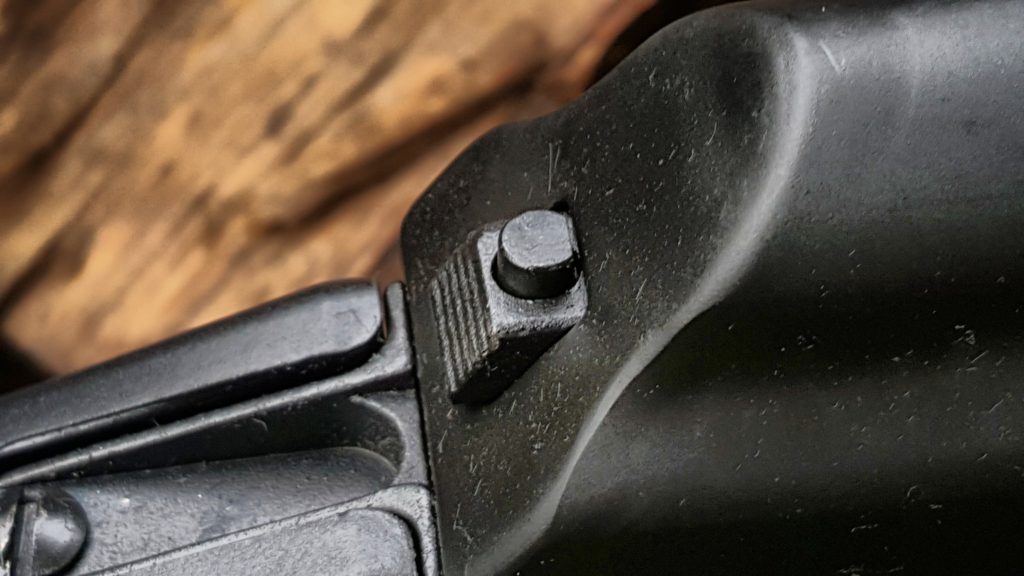
- Small Bolt Release: The factory bolt release button is frequently described as “tiny” and “annoying to press,” hindering the speed and efficiency of administrative loading and emergency reloads.
- Small Charging Handle: The stock charging handle is also criticized for being too small, making it difficult to manipulate quickly, especially while wearing gloves.
- Long Length of Pull (LOP): The fixed polymer and wood stocks have a standard LOP that many users find too long for a comfortable, squared-up tactical stance, particularly when wearing body armor or bulky clothing.
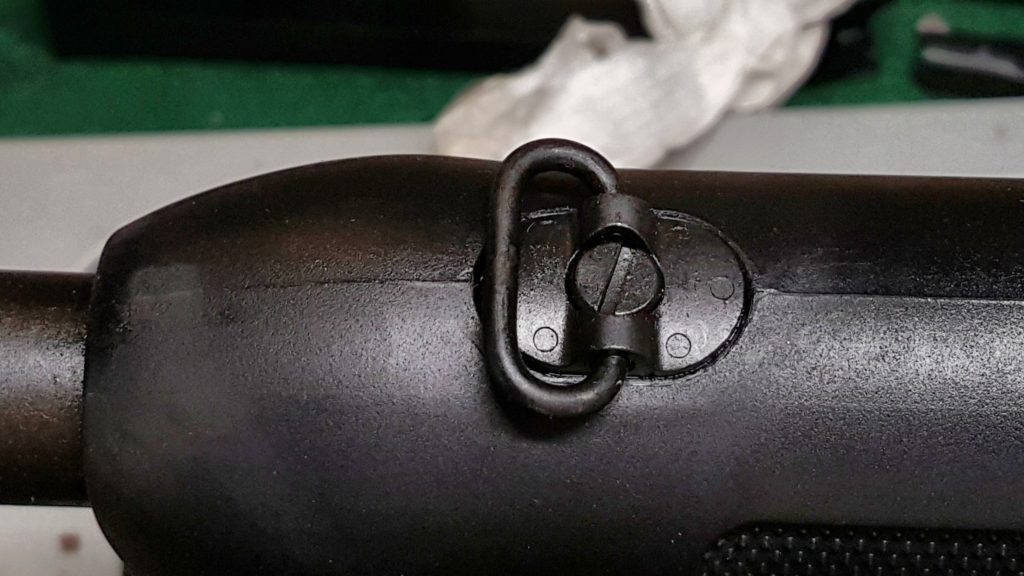
- Limited Sling Mounting Options: The base models often lack sufficient or well-placed attachment points for modern tactical slings, a notable drawback for a firearm intended for defensive use.
It is critical to recognize that this pattern of ergonomic complaints is not unique to the MAC-1014. The small controls and long LOP are faithful reproductions of the original Benelli M4’s design, which dates to the late 1990s. The Benelli itself has been subject to these same criticisms for years. The evolution of tactical shooting doctrine and equipment (e.g., the widespread use of body armor and the emphasis on ambidextrous controls) has created a demand for features like larger controls and adjustable stocks that were not priorities in the original design. Therefore, when consumers purchase aftermarket parts to “fix” these issues on their MAC-1014, they are not just correcting flaws in a Turkish clone; they are participating in the broader, user-driven evolution of the M4 platform’s ergonomics, addressing perceived shortcomings in the original design that the clone has inherited.
Section 5: Consumer Intelligence: A Data-Driven Analysis of Aftermarket Modifications
5.1. Methodology for Social Media and Forum Analysis
To provide a quantitative analysis of consumer behavior and identify the most common aftermarket modifications for the MAC-1014, a formal methodology was developed for mining and analyzing publicly available data from online sources.
- Source Identification: A curated list of high-value data sources was compiled to capture a broad cross-section of owner experiences and discussions. These sources included:
- Social Media Platforms (Subreddits): r/Shotguns, r/Tacticalshotguns, r/Guns_Guns_Guns.
- Video Platforms: Comment sections of YouTube videos featuring reviews, tests, and modifications of the MAC-1014 and similar Turkish M4 clones (e.g., Panzer M4).
- Specialist Online Forums: The Benelli USA Forums, particularly threads discussing clone compatibility and performance.
- E-commerce and Manufacturer Websites: Customer review sections on the product pages for the MAC-1014 and its compatible accessories on sites such as sdsarms.com, milarmamentcorp.com, midwayusa.com, and others.
- Data Mining and Keyword Strategy: A systematic search was conducted across these platforms using a variety of keyword strings to identify relevant content. Search terms included: “MAC 1014 upgrade,” “MAC 1014 parts,” “MAC 1014 mods,” “MAC 1014 problems,” “Benelli parts on MAC 1014,” and specific queries like “MAC 1014 stock” or “MAC 1014 handguard.”
- Data Point Extraction: Each relevant post, comment, or review that mentioned a specific part purchase or modification was logged. The following data points were extracted for each instance: (1) Component/Part Name, (2) Brand of the component (if mentioned), (3) The user’s stated motivation or reason for the purchase, and (4) The source of the data point (URL/thread ID).
- Motivation Categorization: To analyze the “why” behind each purchase, the stated motivations were classified into one of five primary categories:
- Capacity Enhancement: To increase the shotgun’s shell capacity.
- Ergonomic Improvement: To improve handling, control manipulation, shooter comfort, or length of pull.
- Accessory Mounting: To add capabilities for mounting lights, lasers, optics, or slings.
- Durability/Repair: To replace a broken, worn, or perceived low-quality factory part with a more robust alternative.
- Aesthetic Customization: To alter the visual appearance of the firearm.
- Quantification and Ranking: The frequency of mentions for each distinct component was tallied. The ten components with the highest frequency of mentions were identified and ranked to form the basis of the following analysis. This ranking provides a data-driven snapshot of consumer priorities and spending habits related to the MAC-1014 platform.
5.2. The Top 10 Aftermarket Components for the MAC-1014
The analysis of consumer data yielded a clear and consistent hierarchy of aftermarket modifications. The following table details the top ten most frequently purchased components for the MAC-1014, ranked by frequency of mention, along with the primary motivations and common brands associated with each upgrade.
| Rank | Component | Primary Motivation | Common Brands Mentioned | Summary of Rationale & Supporting Evidence |
|---|---|---|---|---|
| 1 | Magazine Tube Extension / Full-Length Tube | Capacity Enhancement | RX Arms, MAC/SDS, Panzer, Briley, Freedom Fighter Tactical | The stock 5+1 capacity is seen as a primary limitation. Owners overwhelmingly seek to upgrade to the 7+1 capacity of the military M1014 configuration. This is often the first modification performed. |
| 2 | Collapsible / Adjustable Stock | Ergonomic Improvement | MAC/SDS, Mesa Tactical, Panzer, Benelli OEM | The long length of pull on the factory fixed stock is a major ergonomic complaint. An adjustable stock allows for a customized fit, especially for users with body armor, and provides the desired military aesthetic. |
| 3 | M-LOK Handguard | Accessory Mounting | Midwest Industries, Strike Industries, RX Arms | The factory polymer handguards lack modern mounting solutions. An M-LOK handguard is essential for users wanting to mount weapon lights, lasers, and forward grips, significantly enhancing the shotgun’s tactical utility. |
| 4 | Oversized Charging Handle | Ergonomic Improvement | Midwest Industries, GG&G Tactical | The small factory charging handle is difficult to operate under stress or with gloves. An oversized handle provides a larger, more positive gripping surface for faster and more reliable manipulation of the bolt. |
| 5 | Oversized Bolt Release | Ergonomic Improvement | Agency Arms, Freedom Fighter Tactical, Taran Tactical Innovations | The factory bolt release is widely criticized as being too small and difficult to depress. An oversized or extended release makes reloading procedures significantly faster and easier. |
| 6 | Upgraded Magazine Spring | Durability/Repair | Wolff Gunsprings | Often purchased concurrently with a magazine extension to ensure reliable feeding with the increased capacity and spring compression. Some extension kits are reported to have weak springs, making a premium spring a necessary supporting upgrade. |
| 7 | Barrel Clamp with Picatinny / QD Socket | Accessory Mounting | MAC/SDS Imports | Provides a forward mounting point for both a sling (via a Quick Detach socket) and a weapon light (via a small Picatinny rail section), addressing two accessory needs with a single component. |
| 8 | Upgraded Magazine Follower | Durability/Repair | Freedom Fighter Tactical | The stock follower is replaced with a higher-quality aluminum or steel follower to improve feeding reliability, prevent binding, and, in some cases, contribute a part for 922(r) compliance. |
| 9 | Side Saddle Shell Holder | Capacity Enhancement | Mesa Tactical | Allows the user to carry additional shells directly on the receiver for faster reloads. This is a common upgrade for any shotgun intended for defensive or tactical use. |
| 10 | Trigger Group Components / Springs | Ergonomic Improvement / Durability | Taran Tactical Innovations, Wolff Gunsprings | The factory trigger is reported to be heavy, with one measurement at 9 pounds, 10 ounces. Upgraded springs or trigger components are installed to reduce the pull weight and create a smoother, more crisp trigger action. |
5.3. Deconstructing the “Why”: An Analysis of Purchase Motivation
The data presented in the preceding table reveals a highly predictable and logical upgrade path that MAC-1014 owners follow. This path is not random but adheres to a clear hierarchy of needs, aimed at systematically transforming the budget-oriented base gun into a fully featured tactical shotgun. The progression typically follows these stages:
- Rectify Core Limitations (Capacity): The first and most urgent modification for the majority of users is increasing the magazine capacity from 5 to 7 rounds. This brings the clone in line with the standard military configuration of the Benelli M1014 and is seen as a fundamental requirement.
- Optimize Core Ergonomics (Handling): The next priority is to address the primary points of physical interaction with the firearm. The long stock is replaced with an adjustable one, and the small, inefficient bolt release and charging handle are swapped for larger, more effective controls.
- Modernize for Accessories (Utility): Once the core function and handling are optimized, the focus shifts to adding modern accessories. This is primarily achieved by replacing the stock handguard with an M-LOK version and adding a barrel clamp, which together provide mounting points for weapon lights and slings.
This clear, multi-stage upgrade path supports a larger conclusion about the product’s market position and the consumer mindset. The MAC-1014 is not typically purchased with the intention of being used as a finished firearm in its stock configuration. Instead, it is acquired as a functional “receiver and barrel kit” or a “base chassis” upon which a custom build will be completed. The low initial purchase price of ~$400-$500 is psychologically re-framed by the consumer not as the total cost of the weapon, but as a “down payment.” There is an implicit understanding and expectation that an additional $300 to $800 will be invested in aftermarket parts to bring the shotgun up to the user’s desired specification.
For example, a user might spend $450 on the base shotgun, then immediately add a $50 MAC magazine extension and a $75 MAC adjustable stock. With a total investment of $575, they have already addressed the two most significant shortcomings. Over time, they might add a $30 oversized charging handle and a $195 Midwest Industries handguard , bringing their total investment to $800. For this price, they have assembled a shotgun that is ergonomically and functionally very similar to a Benelli M4 that would have cost over $2,000 before any of the same upgrades were added. This modular, gradual investment model is the core of the MAC-1014’s appeal. It makes a high-performance, highly customizable platform accessible to a much broader market segment that is willing to trade out-of-the-box perfection for affordability and the opportunity to build a personalized firearm over time.
Section 6: Concluding Analysis and Strategic Outlook
6.1. Synthesized Assessment
The Military Armament Corporation MAC-1014 is a strategically successful product that effectively leverages a proven, high-performance design and a robust aftermarket ecosystem to overcome the limitations of its value-engineered manufacturing. Its market success is not predicated on being a perfect replica of the Benelli M4, but on being a functionally sufficient one at a price point that opens the platform to a new class of consumer.
The analysis concludes that the MAC-1014 is a viable and reliable firearm under a specific set of conditions. The primary condition is that the owner must understand and respect the operational parameters of its military-derived gas system, namely its requirement for high-velocity ammunition for reliable cycling, especially during the initial break-in period. The secondary condition is the owner’s willingness to invest in aftermarket components to correct the platform’s inherent ergonomic shortcomings.
For the informed consumer who fits this profile—one who is willing to use appropriate ammunition and views the initial purchase as the start of a building project—the MAC-1014 represents an exceptional value. It is not a “perfect gun out of the box,” but it is an excellent platform. It provides the reliable core of a world-class combat shotgun, allowing the user to customize the interface and accessories to their exact specifications at a total cost that remains a fraction of the original.
6.2. Future Considerations
The long-term market trajectory and reputation of the MAC-1014 will depend on two critical factors. The first is the ability of the Turkish manufacturer, Özerbas, to maintain a consistent level of quality control on the core components of the firearm. Any significant decline in the quality of bolts, barrels, or gas system components could quickly erode consumer confidence and undermine the product’s reputation for reliability. The second factor is the continued strength and commitment of the U.S. importer, SDS Imports/MAC. Consistent availability, responsive customer service for warranty issues (such as the reported handguard replacement), and a steady supply of branded accessories are crucial for maintaining market momentum.
There is a clear opportunity for SDS/MAC to further solidify the MAC-1014’s market position by incorporating solutions to the most common complaints into future production runs. User feedback suggests that the importer is aware of these issues and may be planning changes. Shipping future models with an improved, larger bolt release, a stock with a shorter length of pull, or even offering a “factory upgraded” package with these features pre-installed could significantly enhance the out-of-the-box experience. Such improvements would not only address the primary consumer pain points but would also position the MAC-1014 to more effectively compete against and challenge firearms in the established mid-tier market segment.
If you find this post useful, please share the link on Facebook, with your friends, etc. Your support is much appreciated and if you have any feedback, please email me at in**@*********ps.com. Please note that for links to other websites, we are only paid if there is an affiliate program such as Avantlink, Impact, Amazon and eBay and only if you purchase something. If you’d like to directly contribute towards our continued reporting, please visit our funding page.
Sources Used
- Solid Values: MAC 1014 & MAC 2 | An Official Journal Of The NRA – American Rifleman, accessed September 29, 2025, https://www.americanrifleman.org/content/solid-values-mac-1014-mac-2/
- MAC 1014 Shotgun, Tested and Reviewed | Outdoor Life, accessed September 29, 2025, https://www.outdoorlife.com/guns/mac-1014-review/
- MAC-1014 & MAC-2 Shotguns, 1911 JSOC, MAC 9 DS, and MAC-5 Series – Military Armament Corporation, accessed September 29, 2025, https://milarmamentcorp.com/mac-firearms/
- SDS Imports MAC 1014 12 GA Semi Auto 5+1 Pistol Grip Shotgun | Tombstone Tactical, accessed September 29, 2025, https://tombstonetactical.com/product/mac-1014-semi-12g
- MAC 1014 the M4 Clone – YouTube, accessed September 29, 2025, https://www.youtube.com/watch?v=nGyH1L0o85s
- I loved the Beretta but the MAC 1014 is more affordable. Is there a big difference? If there isn’t, I’m gonna go with the Beretta. Beretta is $1050 without tax and the Mac is about $400 without tax. : r/Guns_Guns_Guns – Reddit, accessed September 29, 2025, https://www.reddit.com/r/Guns_Guns_Guns/comments/1hdn3kb/i_loved_the_beretta_but_the_mac_1014_is_more/
- MAC Agency Tradesman 1014 Review: Optimized Turkelli Tactical …, accessed September 29, 2025, https://www.recoilweb.com/mac-agency-tradesman-1014-review-optimized-turkelli-tactical-shotgun-189761.html
- What’s the best M4 Benelli clone made in Turkey? : r/Shotguns – Reddit, accessed September 29, 2025, https://www.reddit.com/r/Shotguns/comments/1eqaxi0/whats_the_best_m4_benelli_clone_made_in_turkey/
- MAC 1014 Semi-Auto Shotgun Channels Benelli M4 on a Budget – Athlon Outdoors, accessed September 29, 2025, https://athlonoutdoors.com/article/mac-1014-semi-auto-shotgun/
- MAC 1014 Shotgun Review – News & Current Events – USCCA Community, accessed September 29, 2025, https://community.usconcealedcarry.com/t/mac-1014-shotgun-review/101614
- How do we feel about the Mac 1014 or any other Turkish m4 clone …, accessed September 29, 2025, https://www.reddit.com/r/Tacticalshotguns/comments/19d0e7c/how_do_we_feel_about_the_mac_1014_or_any_other/
- Is The MAC 1014 Shotgun as Good as the Benelli M4? – YouTube, accessed September 29, 2025, https://www.youtube.com/watch?v=76xOuLjDjLo
- MAC 1014 12GA Semi-Auto Shotgun – SDS Arms, accessed September 29, 2025, https://sdsarms.com/mac-1014/
- Military Armament Corp MAC 1014 12ga Semi Auto Shotgun 18.5″ Barrel 5+1 21000120 – Buds Gun Shop, accessed September 29, 2025, https://www.budsgunshop.com/product_info.php/products_id/160755/military+armament+corp+mac+1014+12ga+semi+auto+shotgun+18.5+barrel+5+1
- Panzer M4 (Benelli M4 Clone) initial impressions #1 : r/Shotguns, accessed September 29, 2025, https://www.reddit.com/r/Shotguns/comments/18bshma/panzer_m4_benelli_m4_clone_initial_impressions_1/
- 2025 Shotgun Of The Year: SDS Arms MAC 1014 – American Rifleman, accessed September 29, 2025, https://inglismfg.com/news/2025-shotgun-of-the-year-sds-arms-mac-1014-american-rifleman/
- MAC1014 – Apache Solutions, accessed September 29, 2025, https://apachenc.com/mac1014/
- SDS Imports MAC 1014 Marine Shotgun 12 ga 3″ Chamber 5rd Magazine 18.5 – San Diego Guns, accessed September 29, 2025, https://sandiegoguns.com/product/sds-imports-mac-1014-marine-shotgun-12-ga-3-chamber-5rd-magazine-18-5-barrel-black-with-pistol-grip/
- Lipsey’s Bulletin – MAC 1014 Shotgun: A Premier Turkish-Made Benelli M4 Clone, accessed September 29, 2025, https://tisasusa.com/news/lipseys-bulletin-mac-1014-shotgun-a-premier-turkishmade-benelli-m4-clone/
- Most Popular Original Benelli M4 Upgrades – Freedom Fighter Tactical, accessed September 29, 2025, https://freedomfightertactical.com/collections/most-popular-benelli-m4-upgrades
- Benelli M4: Shotguns, Clones, Parts, Accessories – MidwayUSA, accessed September 29, 2025, https://www.midwayusa.com/interest-hub/benelli-m4
- Basic M-4 – First 5 upgrades – Benelli, accessed September 29, 2025, https://forums.benelliusa.com/topic/24645-basic-m-4-first-5-upgrades/
- MAC 1014 Issues/Testing : r/Shotguns – Reddit, accessed September 29, 2025, https://www.reddit.com/r/Shotguns/comments/1j94cvb/mac_1014_issuestesting/
- What Causes Failure To Eject A Round? No Ejection Of The Round – Polymer Cased Ammo, accessed September 29, 2025, https://www.virtusammo.com/what-causes-failure-to-eject-a-round-no-ejection-of-the-round/
- Diagnosing Pistol Malfunctions – Part 3: Failure to Eject – Aegis Academy, accessed September 29, 2025, https://aegisacademy.com/blogs/test-blog-post/diagnosing-pistol-malfunctions-part-3-failure-to-eject
- MAC 1014 Magazine Extension, Black – Military Armament Corporation, accessed September 29, 2025, https://milarmamentcorp.com/mac-1014-magazine-extension-black/
- Urbino® Pistol Grip Stock For Benelli M4 (12-GA) – Mesa Tactical, accessed September 29, 2025, https://mesatactical.com/urbino-pistol-grip-stock-for-benelli-m4-12-ga/
- Panzer Arms M4 Review 2025 – Gun University, accessed September 29, 2025, https://gununiversity.com/panzer-arms-m4-review/
- Benelli M4/M1014 Titanium 7rd Magazine Tube – Full Length Mag Tube – Black – eBay, accessed September 29, 2025, https://www.ebay.com/itm/396394285000
- Benelli M4 Magazine Extension for Black & H2O shotguns – Rx Arms Solutions, accessed September 29, 2025, https://rxarms.com/products/benelli-m4-parts-and-accessories/benelli-m4-magazine-extension/
- Military Armament Corp Parts & Accessories – MAC – SDS Arms, accessed September 29, 2025, https://sdsarms.com/mac/mac-knives-firearms-accessories/
- MAC 1014 Adjustable Breacher-Style Stock – Military Armament Corporation, accessed September 29, 2025, https://milarmamentcorp.com/mac-1014-adjustable-breacher-style-stock/
- Benelli M4 M-LOK® Handguard – Midwest Industries, accessed September 29, 2025, https://midwestindustriesinc.com/benelli-m4-m-lok-handguard/
- MI MAC 1014 M-LOK® Handguard – Lightweight & Durable – SDS Arms, accessed September 29, 2025, https://sdsarms.com/mi-mac-1014-m-lok-handguard/
- Original Benelli M4 Magazine Tube Extensions + Tube Accessories – Freedom Fighter Tactical, accessed September 29, 2025, https://freedomfightertactical.com/collections/magazine-tubes-tube-accessories
- MAC 1014 12GA Semi-Auto Shotgun – Military Armament Corporation, accessed September 29, 2025, https://milarmamentcorp.com/mac-1014/
- SDS Imports Mac 1014 Shotgun Barrel Clamp Picatinny Rail with QD Socket, accessed September 29, 2025, https://www.natchezss.com/sds-imports-mac-1014-shotgun-barrel-clamp-picatinny-rail-with-qd-socket
Full Length Benelli M4 Carbon Fiber Magazine – Briley, accessed September 29, 2025, https://www.briley.com/p-63664-full-length-benelli-m4-carbon-fiber-magazine.aspx

