Tag Archives: Romy G

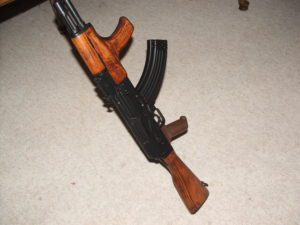
I miss the Romy G AKM Kits – They were a great learning experience, reliable and fun to shoot

You know folks, I miss the old Romanian Garda kits.  I literally built about a dozen of them trying different variations on rivets, screws, welding and so forth.  You could get them from $79-119 with the barrel and sometimes even a Tapco G2 fire control group (FCG) included.  Copes, Centerfire, DPH and others had pallets of them.  My wife would give me the eye any time a box showed up from one of them 🙂

That was the good times and then thanks to yet another ridiculous ATF ruling, the kits with barrels were forbidden for import, the well dried up and prices rose.  I actually cut most of the completed rifles up and sold them for parts when kit prices went in the $300+ range.  I sure had a ton of fun with friends and family at the range.  What I personally enjoyed most was making them.  Boy, I made a ton of mistakes along the way but learned too and also learned to respect a lot of concepts that Kalashnikov and his designers put into the rifles including pushing for reliability, simplicity, and so forth.

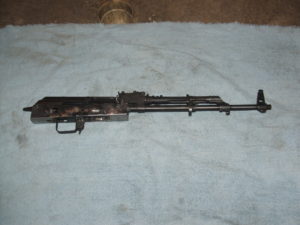
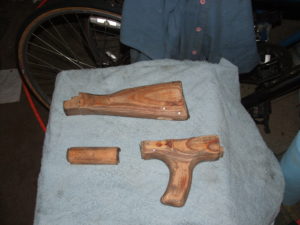
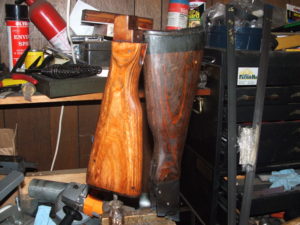
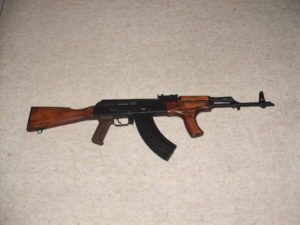
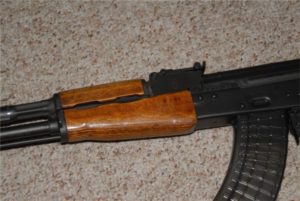
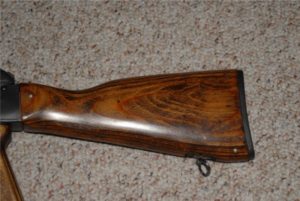
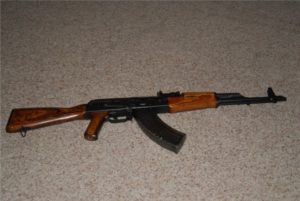
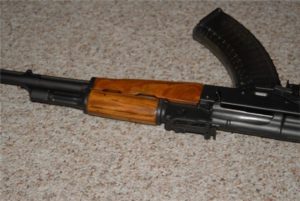
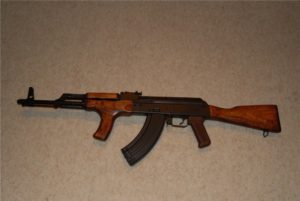
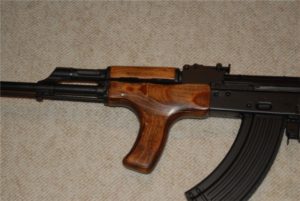
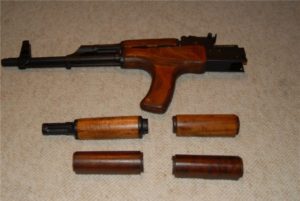
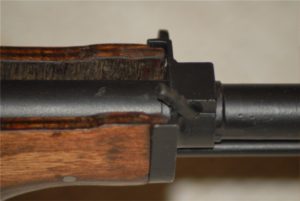
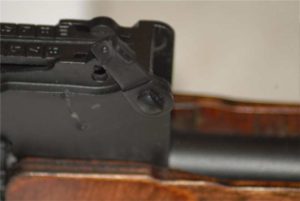
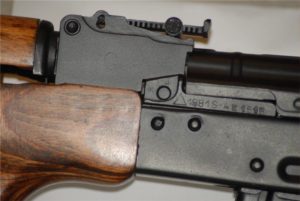
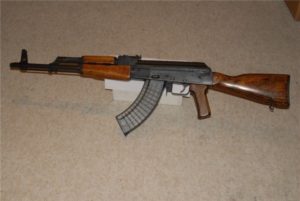
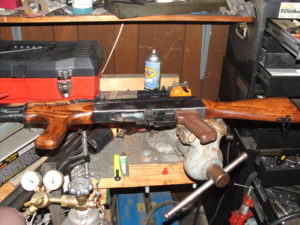
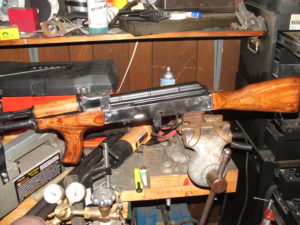
At any rate, I was going through some photos from January 2013 and thought I would share a few pictures of guns that ran like tops.  These two rifles work great and I learned a ton making them.  The finishes are shades of Minwax stain with hand rubbed urethane stain on top.  I eventually moved to boiled linseed oil but that was long after I built these.  I always liked seing how the stain would take to the wood.  This is also before I started making grips – the wood one is from Ironwood and I don’t recall who made the plastic one.  The finish would have been air dried Duracoat on these.


If you find this post useful, please share the link on Facebook, with your friends, etc. Your support is much appreciated and if you have any feedback, please email me at in**@ro*********.com . Please note that for links to other websites, I may be paid via an affiliate program such as Avantlink, Impact, Amazon and eBay.


Gasp – not another weld build Romy G

I get one or two emails a year from a purist telling me that what I did was evil, that I am a clueless half-wit, etc. Folks, innovation happens by trying new things. I have built more AKs than most – using rivets mainly because they do work best. There are a ton of reasons why rivets are best for joining forged blocks to sheet metal.

In terms of welds, do I understand the risk of destroying the heat treat in the locking lug area, the risk of causing embrittlement around the plug welds, that the Soviets explored this and dropped the idea due to cracking? Yes, I do and tried it anyway because I wanted to explore how to compensate. So, don’t send me hate mail me because I will not bother responding.

If you want to try and experiment, go for it. Should you do this with an AK build that you want to be historically accurate or plan to use heavily perhaps even under full auto, then the answer is “no – don’t do it”.

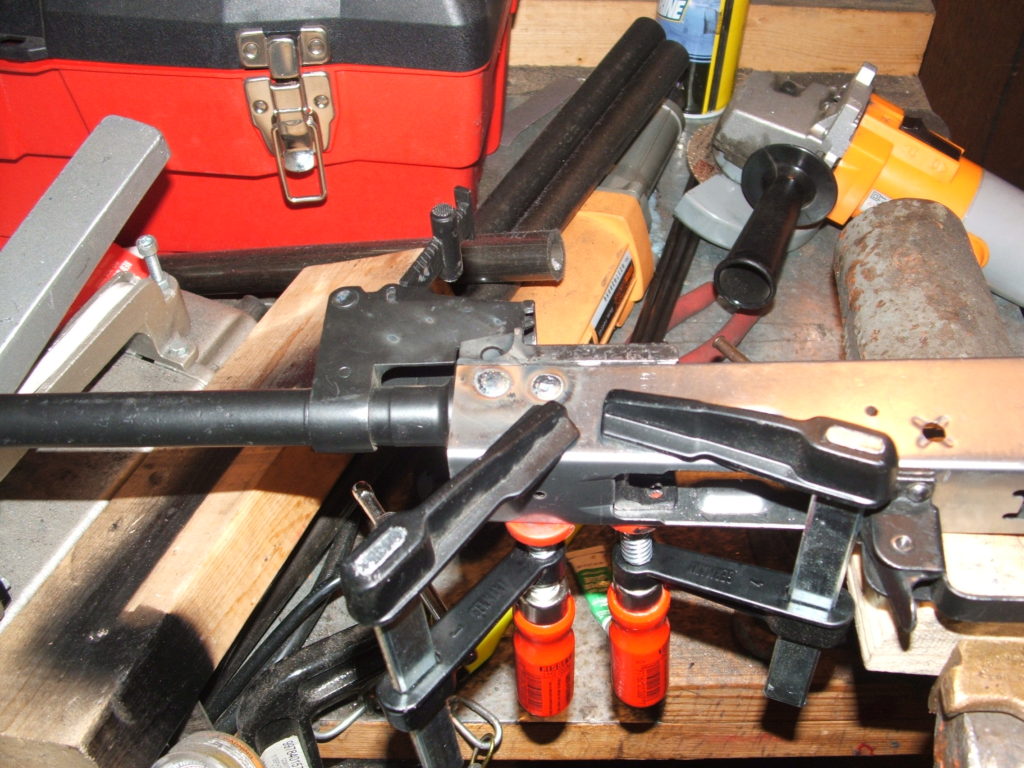
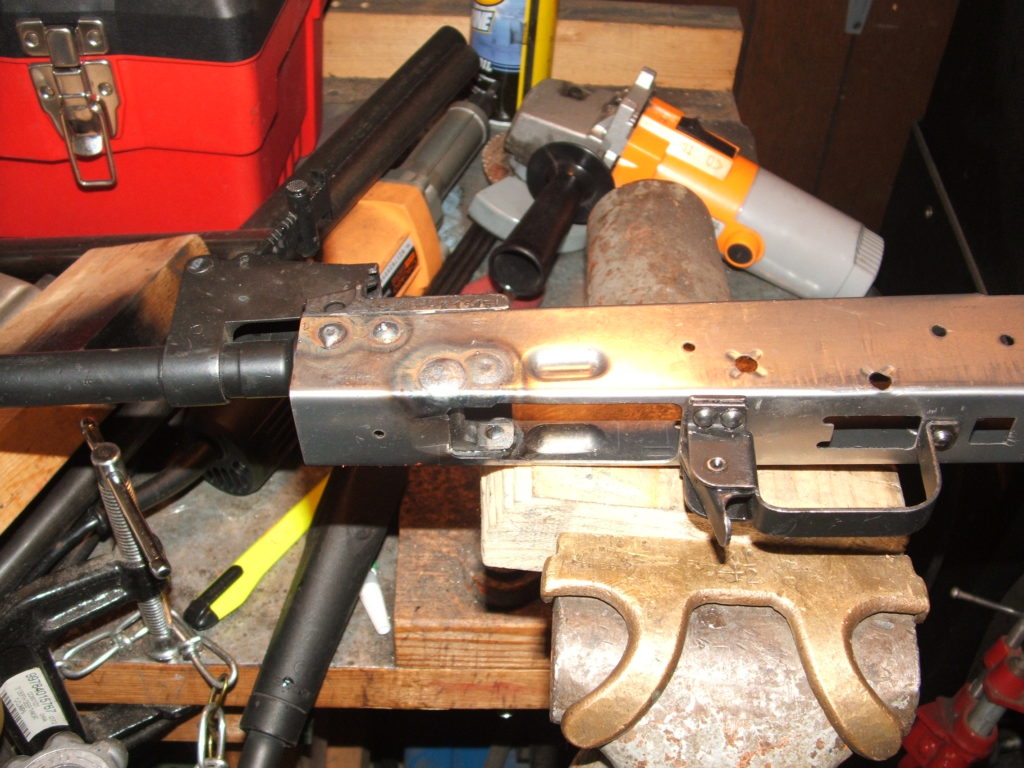
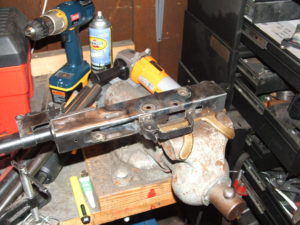
Yeah, these things were like $79-99 in June 2006 so I did a lot of playing around including experimenting with weld builds.  I still have this one and it runs just fine.  The welds were done with a HF 120 Volt MIG welder running an ArC02 shielding gas.  Basically I did plug welds in place of rivets but did some extra welding on the back trunnion as I expected more stress there.  The lower rails were installed with a 120 Volt Harbor Freight Spot Welder with an AK-Builder tong installed.

My basic conclusion is that welding is fine for casual use rifles but rivets are the way to go with hard use.  The tricks are to take your time, do plug welds and watch your heat.  Your not trying to weld the heck out everything – just to get a decent plug weld to lock the parts into position in place of a rivet.  You’ll notice that for the critical front trunnion, I actually drilled the holes in the receiver and plug welded into the trunnion that had the rivets drilled out.

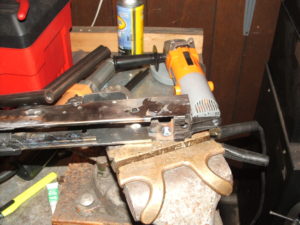
I use a flap sanding wheel on my angle die grinder to smooth everything down.

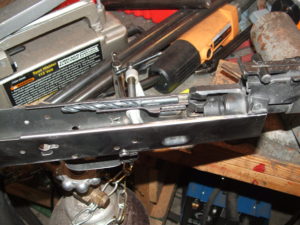
A drill bit with the right diameter to line the lower rails up with the front trunnion is used to position the lower rail for spot welding in place.

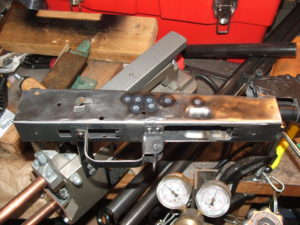
I went for overkill welding in the rear and put in a few extra beads to take up stress.

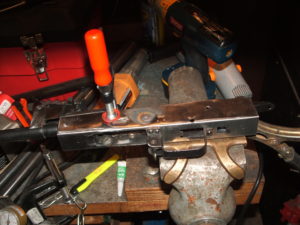
Welding in the center support and sanded it down too

This is the rifle ready for testing.

I did Duracoat on this build and two big recommendations I would make to folks who choose to use the air dry Duracoat are to at least abrasive blast the surface and absolutely wait the full amount of time indicated for curing, which is 1-2 weeks or something like that.  If you don’t do these two things, when you move the selector lever, it will scratch the finish off right to the bare metal.  I only use bake on finishes now.  I’ve had great luck with blasting, parking and then applying Molyresin on top but this last step could be whatever finish you want.  The parkerizing is a terrific surface for a finish to really grab a hold of.  A bake on finish is really the way to go with the top coat.

If I new they were going to go up so much in value, I would have done rivets.  Heck, I would have done all the rifles using rivets had I known.  I was just having a lot of fun and learning a ton.


If you find this post useful, please share the link on Facebook, with your friends, etc. Your support is much appreciated and if you have any feedback, please email me at in**@ro*********.com . Please note that for links to other websites, I may be paid via an affiliate program such as Avantlink, Impact, Amazon and eBay.


First Romy G Build – October 2006!

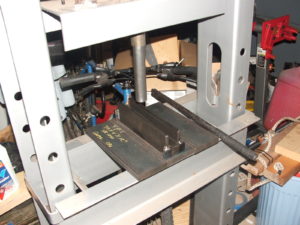
So I have been taking photos of guns and tools for years and years and year.  I just recently decided to start dipping in and sharing.  I was pretty floored to find this collection of photos of my first build.  It was a 1981 Romanian G pattern AKM, affectionately known to many AK builders as a Romy G.  I’d invested in AK-Builder tools and used them and a big 20 ton hydraulic H-frame press to do the work.  You’ll notice the older AK-Builder flat bending jig is shown.  They worked great and the only drawback I ever noticed, and it was not a big one, was that the flats need to have a positioning hole for a roll pin at the end of each flat.  This definitely was not a big deal but he did evolve the design to not need that later on.

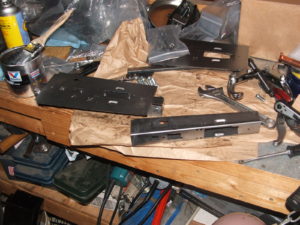
You can also see the old style AK-Builder flats.  They were great to bend but you really needed your act together to do the top rail.  I actually botched this first one and made the rails too narrow.  Because of this, the gap between the upper rails was too wide and the bolt carrier kept popping out.  So, I did a new one and was very careful to get the rails held in place nice and rigid plus I would mill a little and test, mill a little and test to dial the fit in.
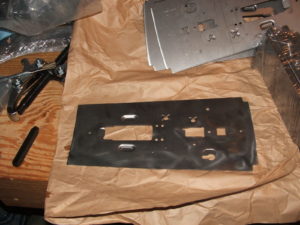
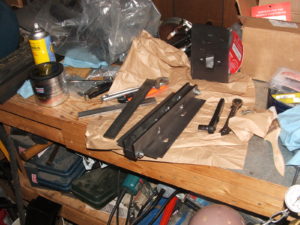
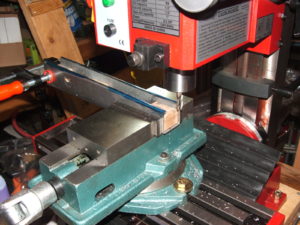
I bought a HF mini mill so I could get better looking and more consistent upper rails.  Note the 3″ milling vise.  I bought that from Little Machine Shop and it works great.  I still have both the mini mill and the vise.  My one comment on the mini mill is that it is light duty.  On my bucket list is a full size mill at least with a digital read out (DRO) if not with CNC.  To this day I do a lot of “eye balling” of work and would like to be more precise.  Also, I eventually moved away from oak wood fillers to precise steel blocks at some later date.  The fun thing about writing this up later is that I recall lessons learned and stuff but remembering dates has never been a forte of mine.  As I used the mill more, I really learned to value work holding systems.  Old timers’ advise of “take the time set it up right so the work doesn’t move” proved to be a life lesson I draw on to this day.
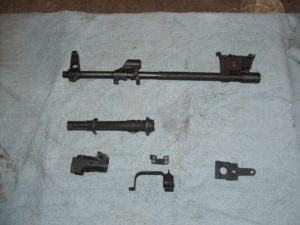
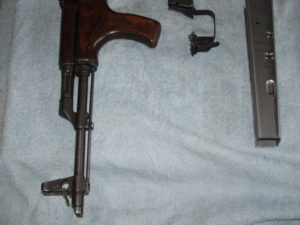
Here’s the 1981 parts kit.  Notice how nice and smooth the barrel is machined.  Starting around 1983, the quality started going down hill and you’d see kits where the barrels literally had turning marks going down them that almost looked like threading.  By the way, the “G” series AKs were actually well made semi-auto rifles despite one some detractors would say.  They were made for the Patriotic Guard hence the “G” for Garda.
   

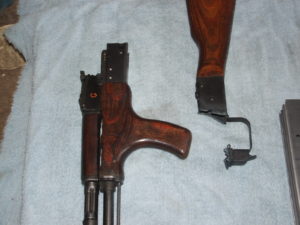
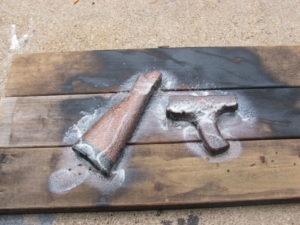
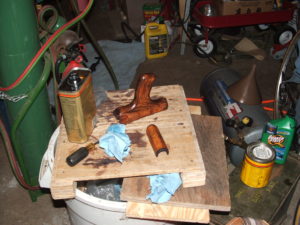
The wood was always so coated with goop, I would spray them down with Bix wood stripper several times until I got down to the wood and would then do finish sanding.  Now on this rifle I used satin polyurethane and over the years moved to boiled linseed oil as the latter was very easy to fix/maintain.  I used a number of reddish brown Minwax stains over the years.  I think that was red oak.
   

I had AK-Builder rivet jigs but I didn’t take photos of them while doing this build for some reason.

Here was the end result.  I would have used a US slant brake, Tapco G2 FCG and that might be a Tapco or generic brown US grip.  I used to get most of my parts from Copes, Centerfire and DPH Arms back in the day.  The finish was Duracoat but I stopped using it after a few years and moved to a combination of parkerizing and Molyresin that held up great.  The AK’s selector lever can wear a strip through a finish real fast.
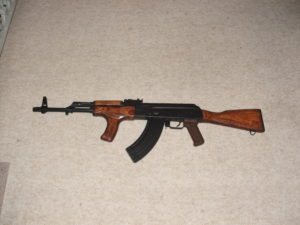
I kept this around but shot it less and less then when the kits skyrocketed to about $300, I cut the receiver off and sold the kit.  The funds went to other projects but with 20/20 hindsight, I wish I had kept it for nostalgia.   My dad and other family members all had fun shooting this rifle.


If you find this post useful, please share the link on Facebook, with your friends, etc. Your support is much appreciated and if you have any feedback, please email me at in**@ro*********.com . Please note that for links to other websites, I may be paid via an affiliate program such as Avantlink, Impact, Amazon and eBay.


My Tricked Out Romy G – MI Rails and AK Galil Grip

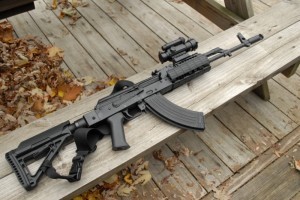
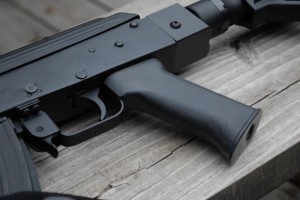
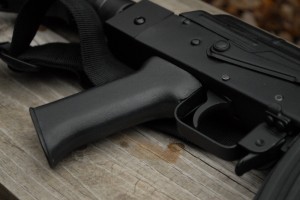
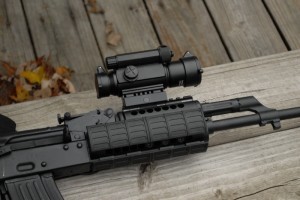
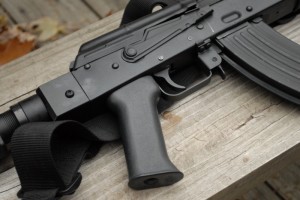
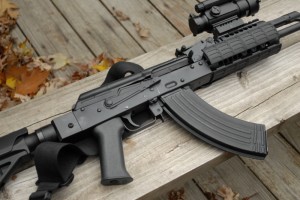
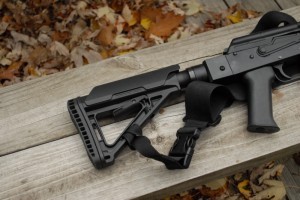
This is my personal Romy G rifle.  It has a Midwest Industries rail, Magul CTR stock with cheek riser, Ace modular stock adapter and our custom AK Galil grip.  The optic is a Primary Arms red dot.  In the Mil-Spec tube is a C&H mercury recoil suppressor to split the recoil impulse plus it adds weight to the rear shifting the balance point further back.

DSC_0006

DSC_0063 DSC_0035 DSC_0025 DSC_0012 DSC_0008 DSC_0007

The grip’s web page is:

http://shop.roninsgrips.com/Custom-Grip-Converted-Galil-for-AKs-with-Screw-AKGalil.htm


If you find this post useful, please share the link on Facebook, with your friends, etc. Your support is much appreciated and if you have any feedback, please email me at in**@ro*********.com . Please note that for links to other websites, I may be paid via an affiliate program such as Avantlink, Impact, Amazon and eBay.