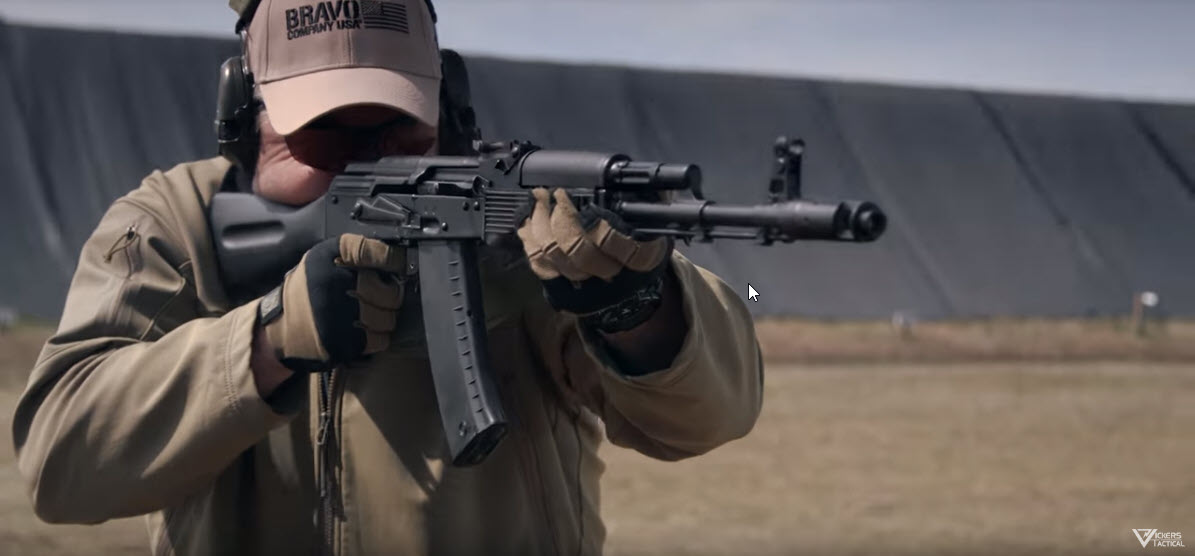
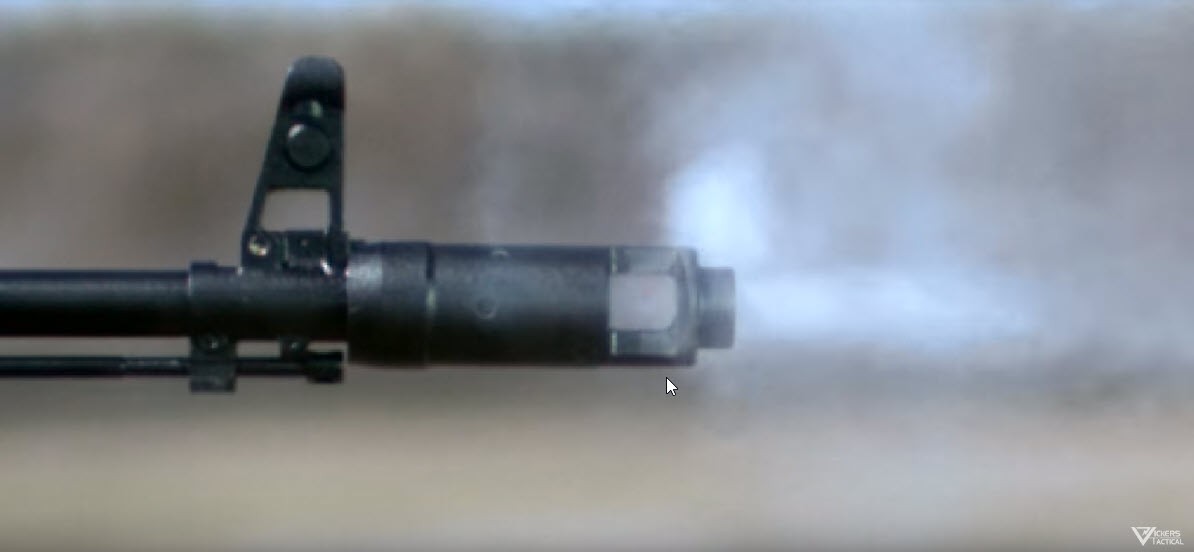
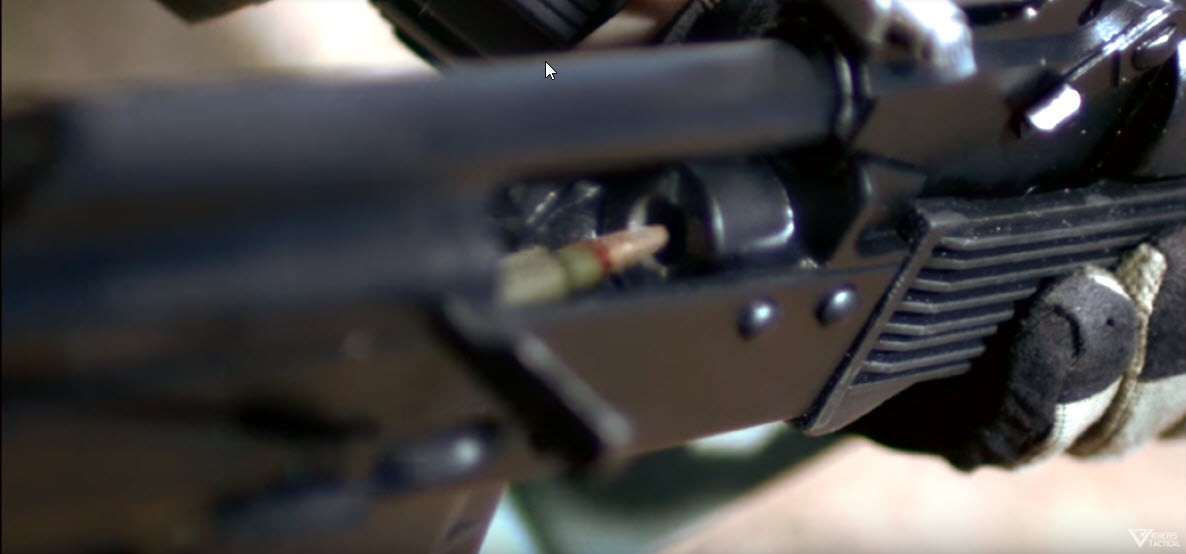
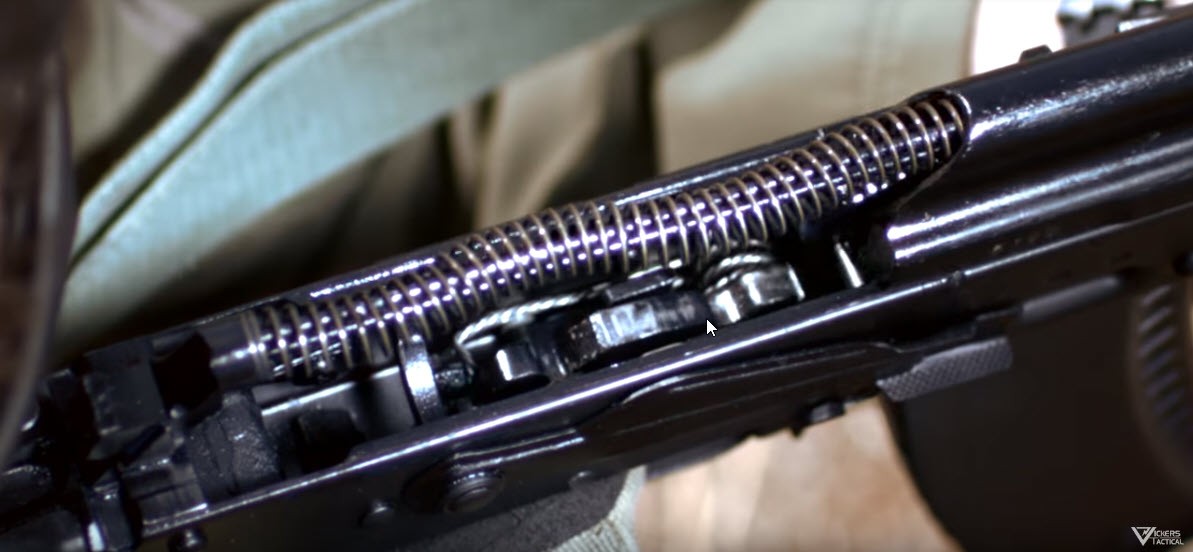
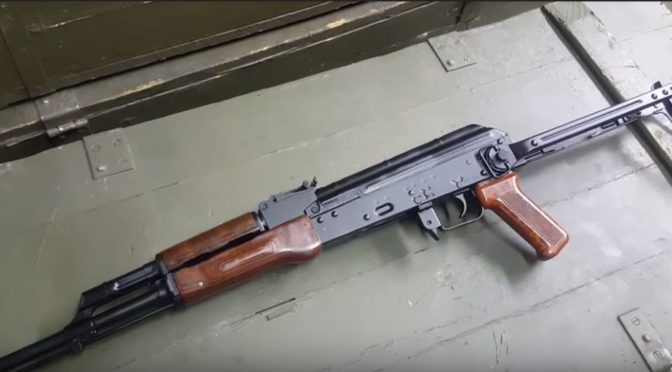
Larry Vickers and his team assembled this really cool video of a Bulgarian AK-74 firing. They do different angles plus shots at normal speed and slow motion. You get very clear shots of the fire control group, bolt carrier, gas piston and the muzzle brake.
Here is the link to Larry’s book on AK rifles that he is selling directly and not through Amazon.
If you find this post useful, please share the link on Facebook, with your friends, etc. Your support is much appreciated and if you have any feedback, please email me at in**@*********ps.com. Please note that for links to other websites, we are only paid if there is an affiliate program such as Avantlink, Impact, Amazon and eBay and only if you purchase something. If you’d like to directly contribute towards our continued reporting, please visit our funding page.
While I am not fond of eBay’s antigun sentiments there are deals to be found there – especially when individuals are listing stuff for sale. So, I want to give you some tips and also have the system run you some real-time results of searches so you can see what is out there.
Buyer Tips
Watch out for the scammers. Folks will list stuff and make claims. So, know what you are looking for and don’t buy blind.
If the price seems too good to be true, it probably is a scam.
Watch the shipping price. I’ve watched sellers enter a low price and then have a very high shipping charge to recover the difference.
Businesses sometimes have good deals but many will price stuff high and just let them sit there until a buyer comes along. All things being equal, try searching only on auctions (not Buy It Now (BIN)) and have the eBay system list them in the order of auctions ending soonest. You might be surprised what turns up. Under Advanced Search, you can change a number of search criteria to dig around in your favor.
Watch the seller rating – I put a lot of stock in the number of transactions and the seller’s score. If you have a seller with very few transactions and is relatively new, then there is more risk. I will not bet a fortune on an unknown seller but I might take a small risk and see what happens. Statistically, if they have more than 30 sales and a good score, you have a pretty good indication that the buyer is legit.
Don’t freak out of the seller doesn’t reply right away. Folks do go on vacation, get sick, etc.
Save your searches so you can re-use them and get emailed results.
Realize that if you are really specific you may not find stuff listed differently. For example, I will list the country and bayonet in case they say AK, rifle, AK47, AK74, etc. and throw a really tight search off.
Look at the photos carefully. I’ve bought stuff after looking at an item on a smart phone and missed problems I would have seen on a larger monitory.
Learn the prices. If you jump right in you may pay too much. In some cases you will see one buyer asking multiples of the going price – he/she may be counting on people jumping in and buying with little to no knowledge of prices.
Be objective – if an auction starts exceeding what you want to pay then bow out. Don’t get emotionally attached and feel that you need to win the auction.
If you buy something international, you will want to understand shipping charges and any regulations you may encounter either in the seller’s country or in your own.
Searching on a eBay
This is your basic search page in eBay.
You’ll notice it is set to “Auction” only and the sort is set to “Time ending soonest”. Lastly, the heart under “Accept Offers” means I checked the box to save the search.
If you look to the right of the search button, you will see “Advanced” and this is where you can do all kinds of cool stuff to your current search or a saved search including:
Words to exclude – this is powerful if you are getting unwanted stuff in and it happens all the time. This can make your search far more likely to turn up what you care about. For example, you could tell it to exclude airsoft and model.
You can search just in specific categories. Be careful with this one – bayonets for example can be in a number of different categories.
You can search in title and description, completed listings, and sold listings.
By specifying a price range you can skip stuff like frogs/scabbards. For example, you might tell it to only show you items between $14.99 and $200
It again let’s you select from Auctions, Buy It now and Classified Ads.
You can specify the condition new, used or not specified.
You can list specific sellers you care about.
Items with Free shipping or located somewhere.
And much more
Russian and Soviet Bayonets
Here I am searching both ways – I tend to find people do not always realize the difference between the USSR and Russia when they list an item. It’s set to auction only and sorted by items ending first.
Bulgarian Bayonets
Same thing but in addition to saying “Bulgarian Bayonet” I will use the slang of “Bulgy Bayonet” too. It’s also auction only and sorted by items ending first.
East German Bayonets
I didn’t see any auctions when I wrote this post so this search is for all items, not just auctions, sorted by “Price + Shipping: Lowest First”. This is an example where you tend to see a lot of frogs and scabbards show up first due to their relatively low pricing.
Polish Bayonets
Here’s an example where you can get weird stuff like shoe polish so I will exclude the word shoe. It’s also auction only and sorted by items ending first.
Romanian Bayonets
We need to search both for Romanian bayonets and Romy bayonets. Now when I created this search, no auctions turned up so I am showing any items that match the keywords and am sorting “Price + Shipping: Lowest First”. Some of the prices I am seeing are nuts. I would not pay over $20 for a Romy AKM bayonet – sorry.
Yugoslavian and Zastava Bayonets
On this one we need to get more creative and will search using variations of Yugo, Yugoslav, Yugoslavian, and Zastava, I did need to exclude “WWI” and “WWII” because of all the WWI and WWII bayonets that come up. Not a great deal came up when I was writing this so the search is for all items and is sorted “Price + Shipping: Lowest First”
Conclusion
I hope this helps you out. There are a lot of search capabilities in eBay and you need to learn how to use them in your favor.
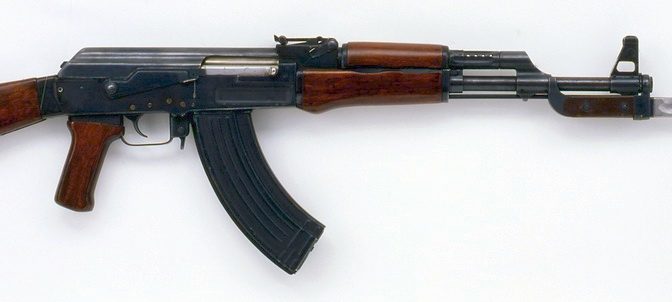
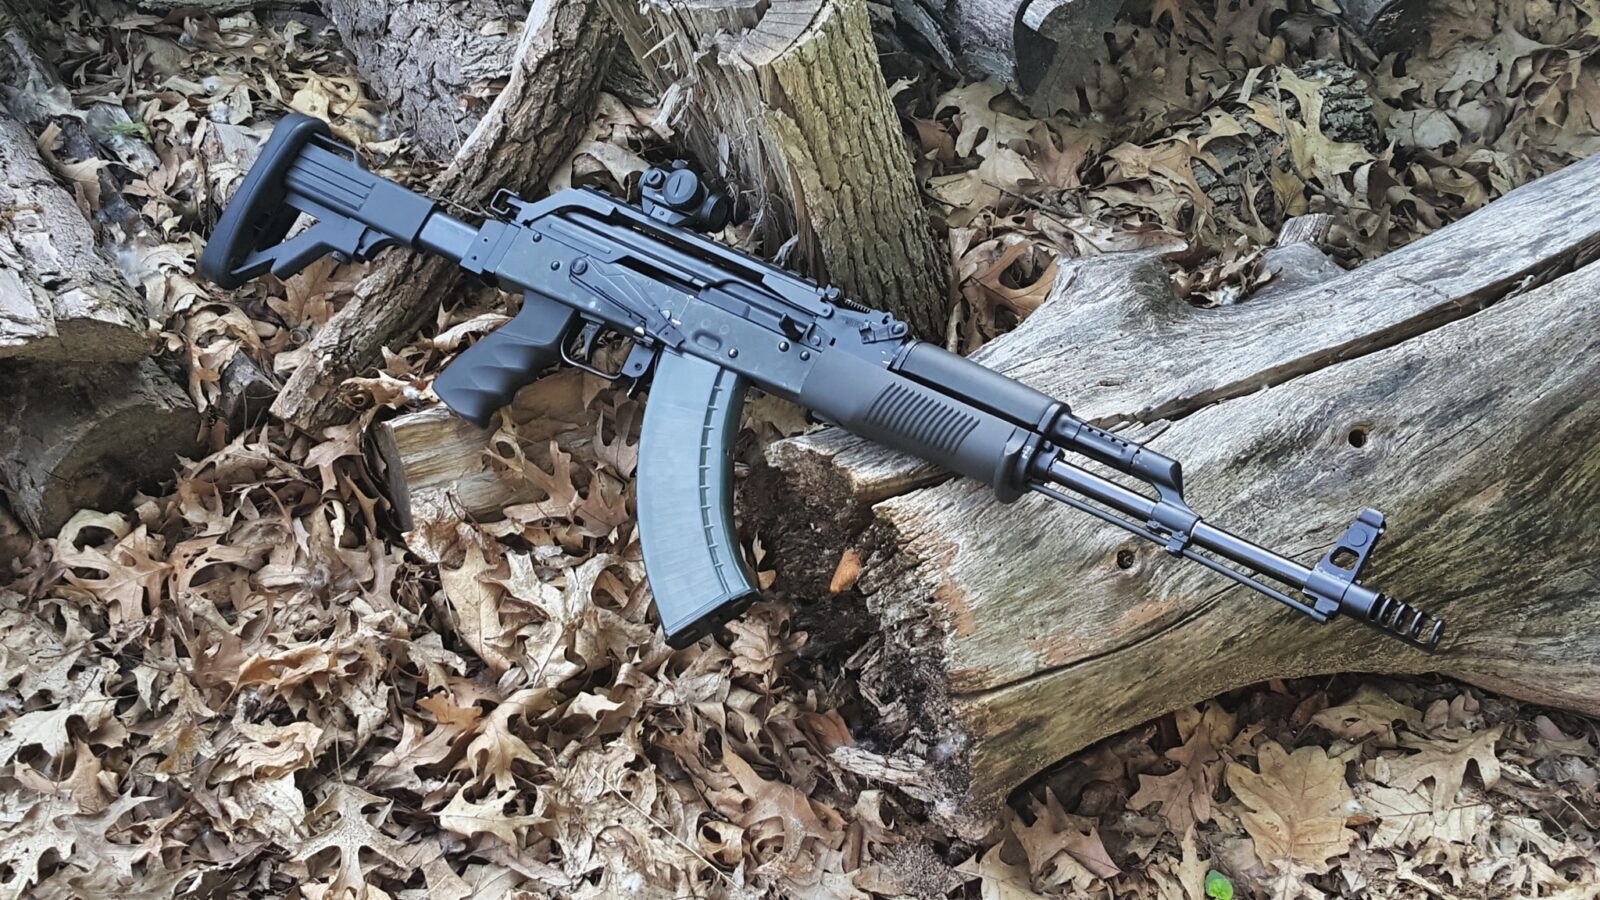
AK-47 Image Source: By Allatur, CC BY-SA 3.0, https://commons.wikimedia.org/w/index.php?curid=16254298
If you find this post useful, please share the link on Facebook, with your friends, etc. Your support is much appreciated and if you have any feedback, please email me at in**@*********ps.com. Please note that for links to other websites, we are only paid if there is an affiliate program such as Avantlink, Impact, Amazon and eBay and only if you purchase something. If you’d like to directly contribute towards our continued reporting, please visit our funding page.
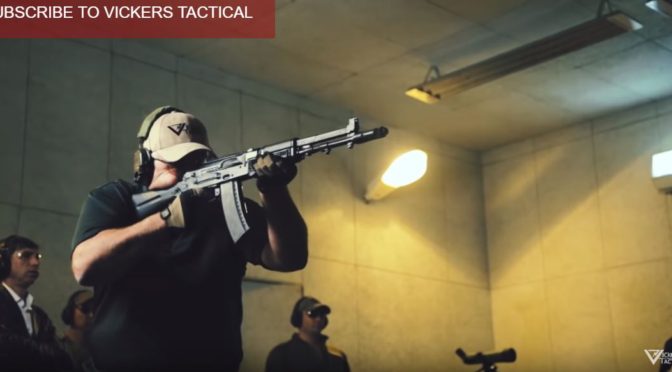
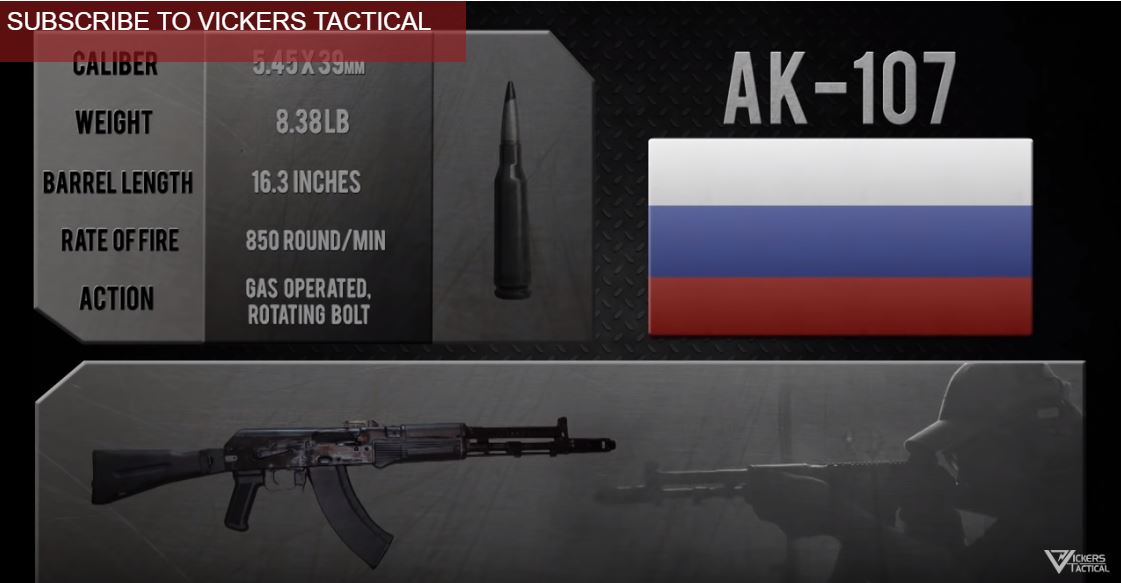
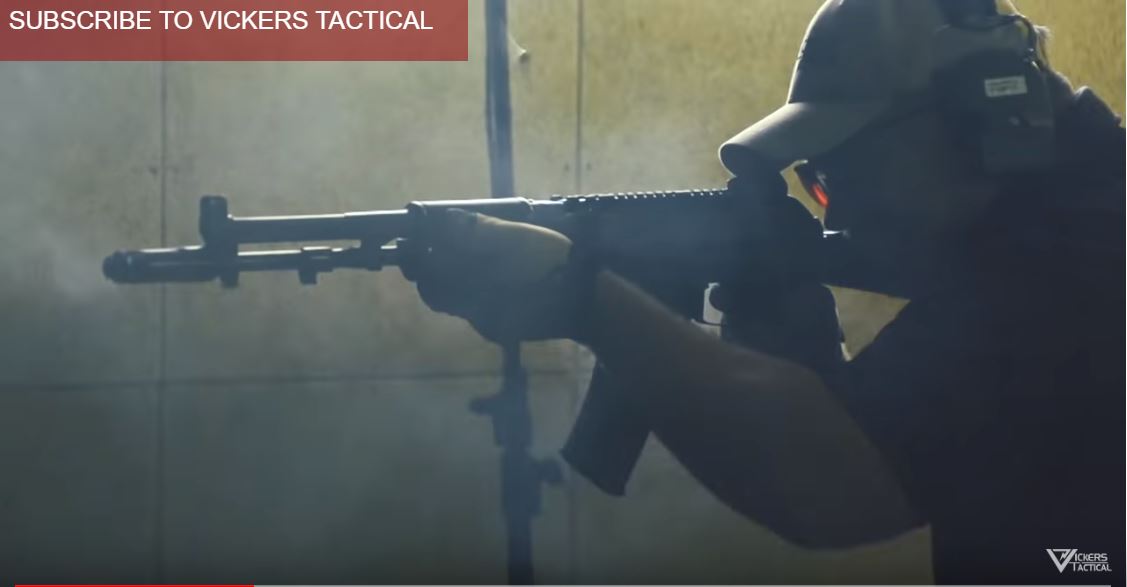
Okay, once in a while I watch a video and my jaw drops. Larry Vickers visited Russia and got to shoot a new AK-107. Unfortunately, it’s unlikely we will ever get to see this amazing piece of engineering on this side of the pond thanks to politicians.
The AK-107 is a chambered in 5.45×39 and uses a novel balanced gas system and the AK designator does not mean Avtomat Kalashnikova as we are so used it. Instead, it means Alexandrov/Kalashnikov.
Larry dumped a 97 round magazine and I was stunned to see how little the rifle moved. That is some seriously controllable accurate firepower. The AK-107s rate of fire is rated at 850 rounds per minute and he dumped the drum!! Seriously – wow!!
Watch this video:
Just a parting comment – They also make an AK-108 in 5.56×45 NATO and a lesser known AK-109 in 7.62×39. I’m a huge fan of 7.62×39 and can only imagine what that round must be like coming from that mechanism – wow.
Here is the link to Larry’s book on AK rifles that he is selling directly and not through Amazon.
If you find this post useful, please share the link on Facebook, with your friends, etc. Your support is much appreciated and if you have any feedback, please email me at in**@*********ps.com. Please note that for links to other websites, we are only paid if there is an affiliate program such as Avantlink, Impact, Amazon and eBay and only if you purchase something. If you’d like to directly contribute towards our continued reporting, please visit our funding page.
Wytwornia Broni Jacek Popinski (WBP) is a privately owned firearm manufacturer located in Rogów, Poland. Some folks assume it is the old government Radom armory with a different name but it is not.
In the US, we know about WBP because of the efforts of Arms of America (AoA) to import high quality Polish AK kits and, recently, firearms. I ordered my first kit from AoA a tad over a year ago and ordered a number of other things from them including a demilled Radom kit that I want to build this Winter.
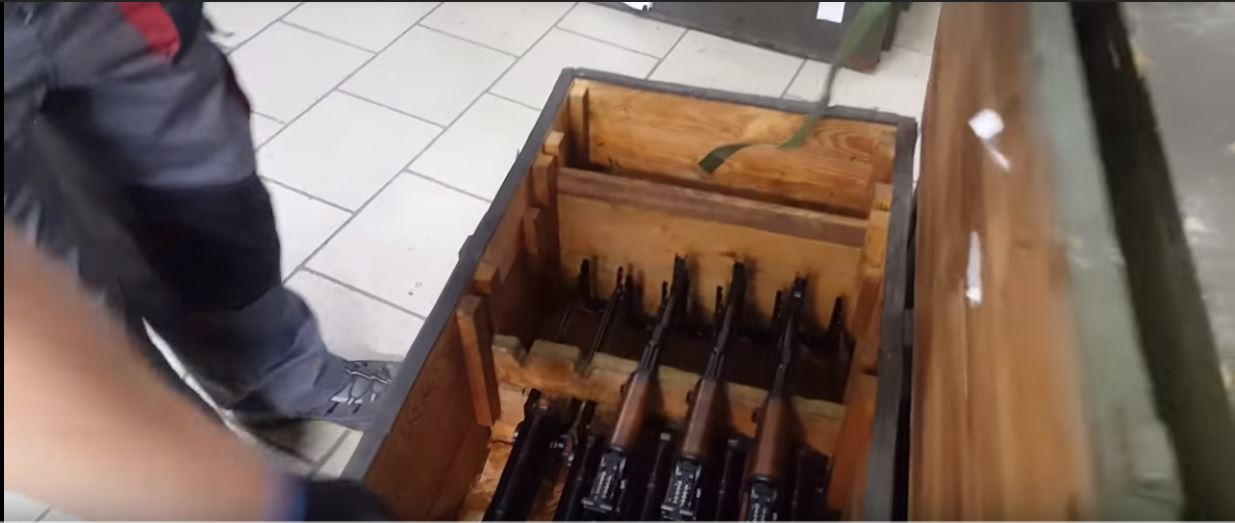
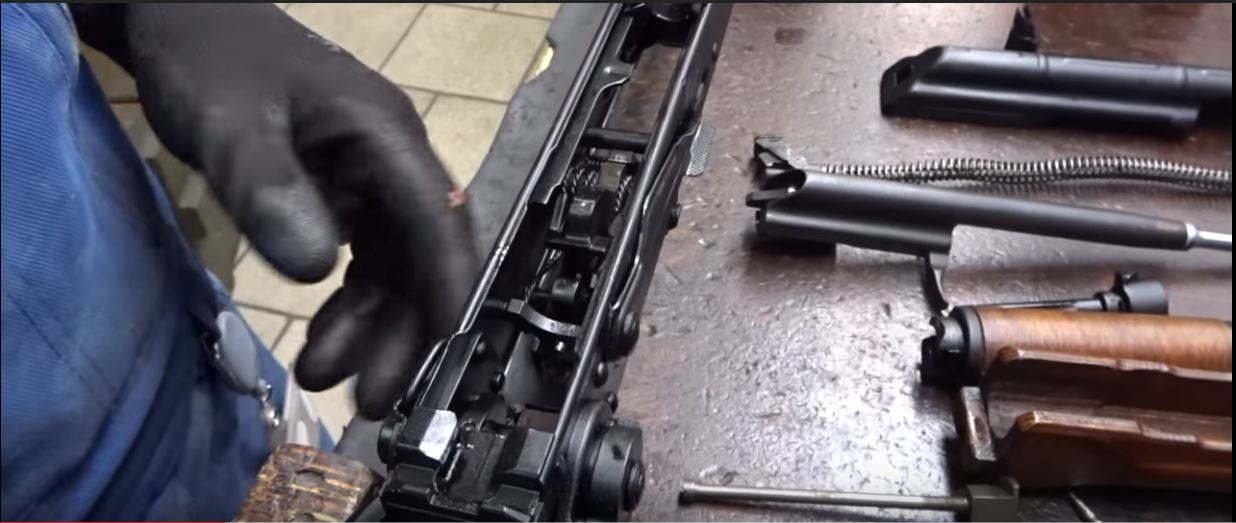
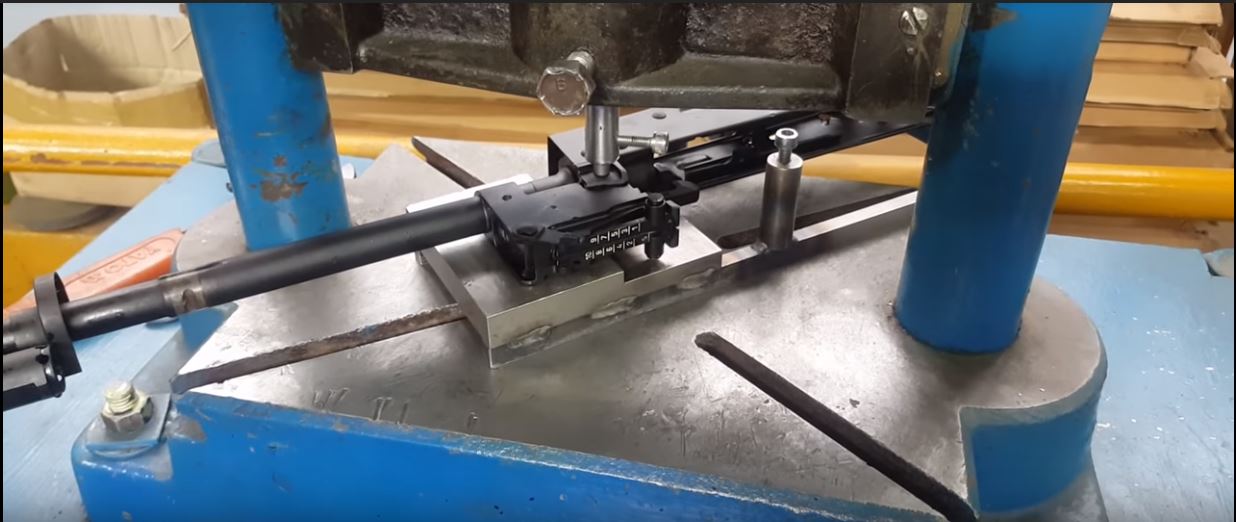
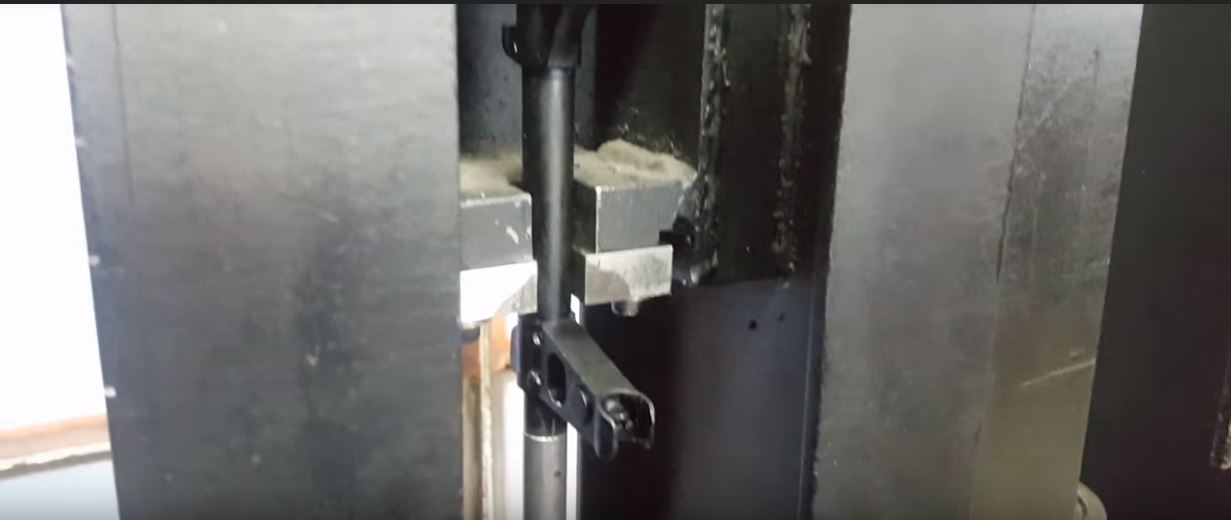
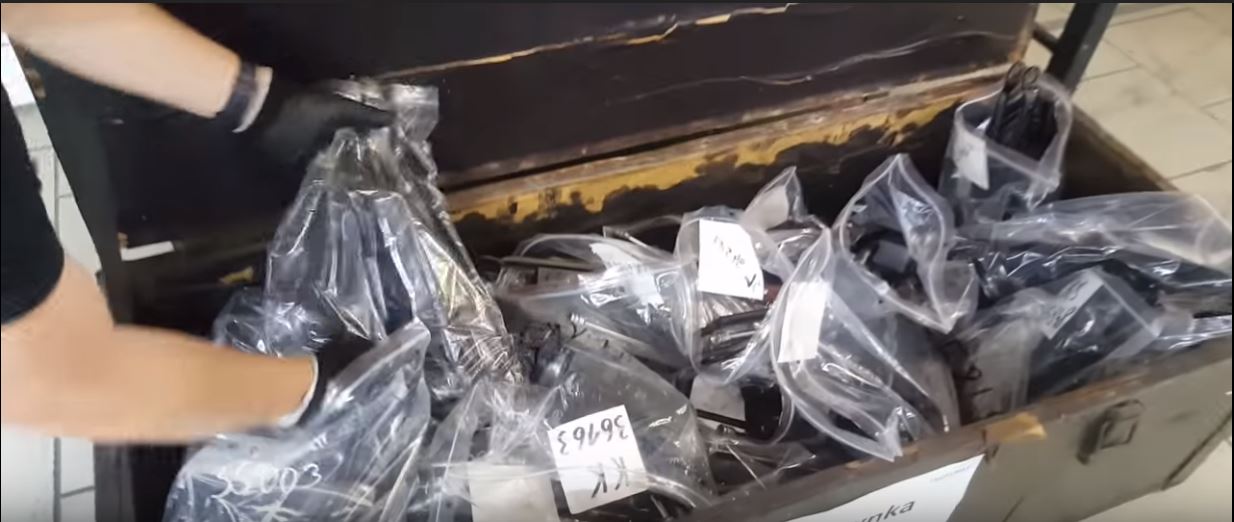
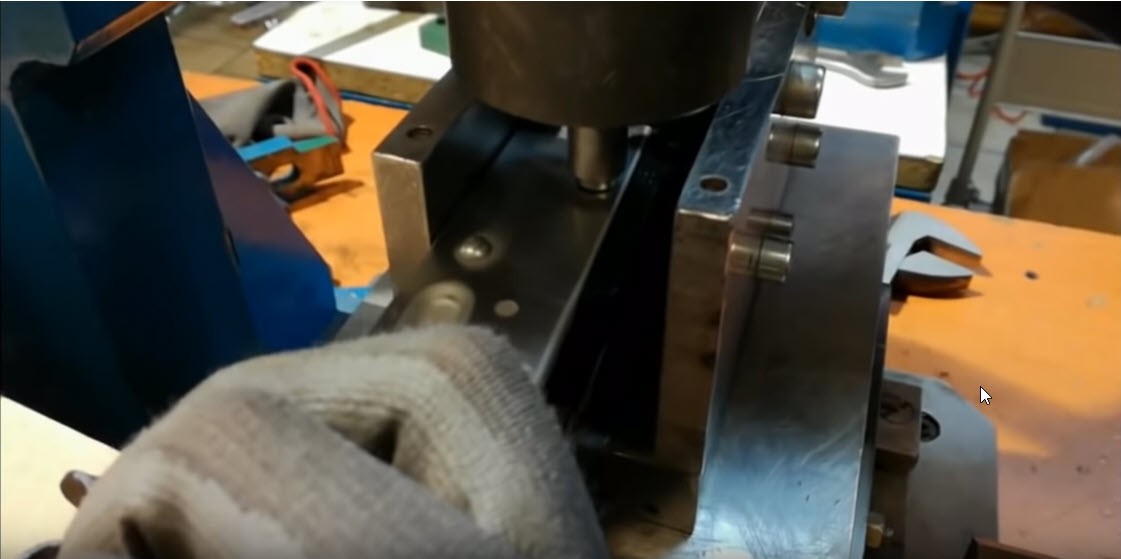
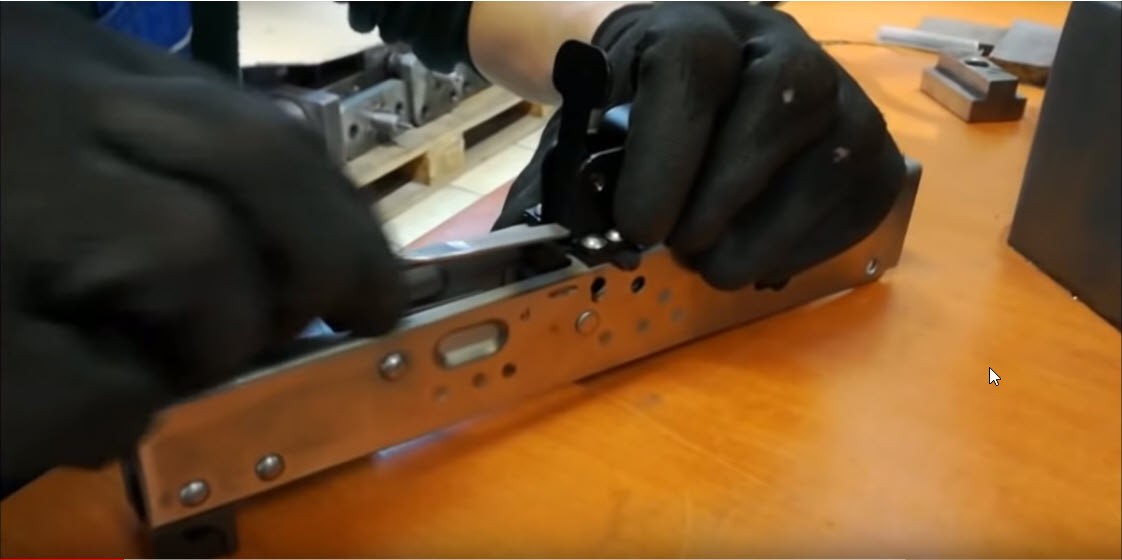
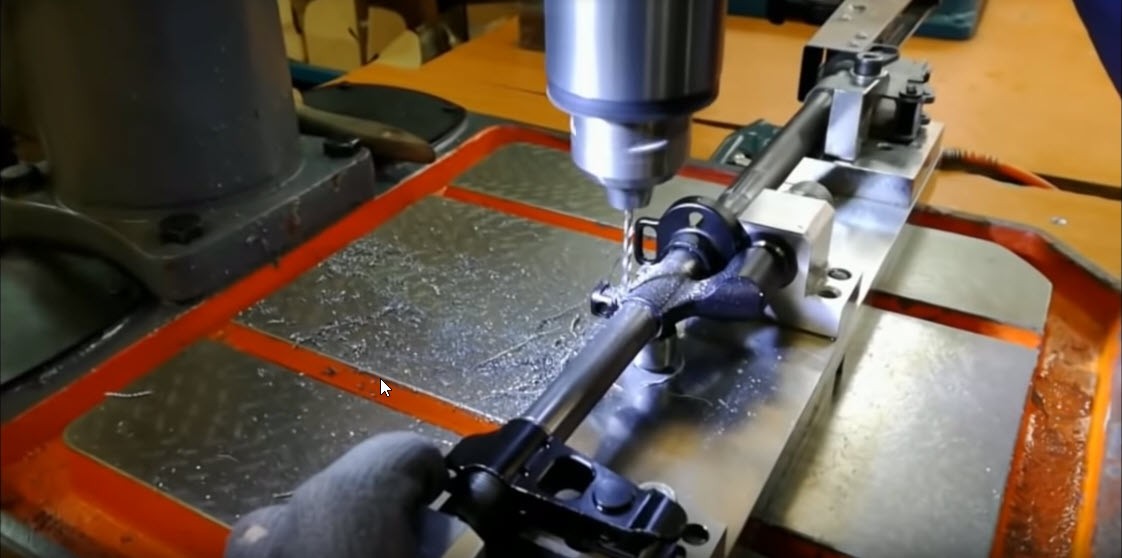
In usual form, I was surfing around and found this video that WBP had posted showing them demilling a Circle 11 underfolder. Part of me is always sad to see one of these fine guns being cut up just to enable importation into the US but another part of me is also happy because at least this way we get to enjoy them.
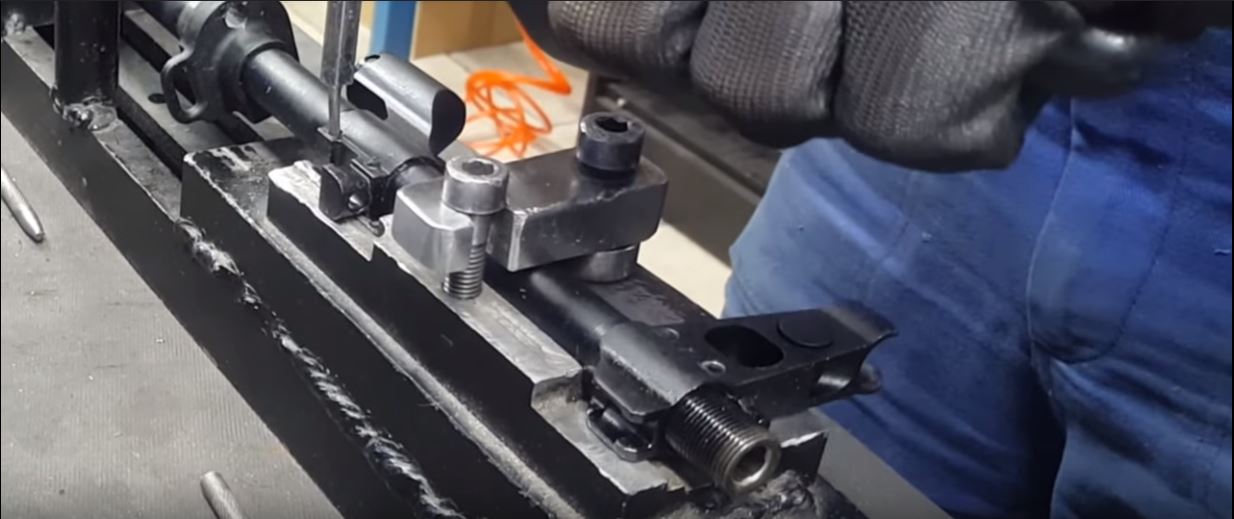
This is a brief video and I was pretty intrigued towards the end watching how they remove the blocks from the barrel and drilled out the rivets. Having demilled a lot of kits in the past, I’ve always found the rivets to be tedious.
Here’s the brief video that’s just under 10 minutes and I hope you enjoy it:
If you find this post useful, please share the link on Facebook, with your friends, etc. Your support is much appreciated and if you have any feedback, please email me at in**@*********ps.com. Please note that for links to other websites, we are only paid if there is an affiliate program such as Avantlink, Impact, Amazon and eBay and only if you purchase something. If you’d like to directly contribute towards our continued reporting, please visit our funding page.
Palmetto State Armory (PSA) has a stunning array of Kalashnikov firearms now. AK-47s, AK74s, 100 series, rifles, pistols … it’s impressive. Click here to go to their main AK menu.
Please note that all images were extracted from the video and remain the property of their respective owner(s).
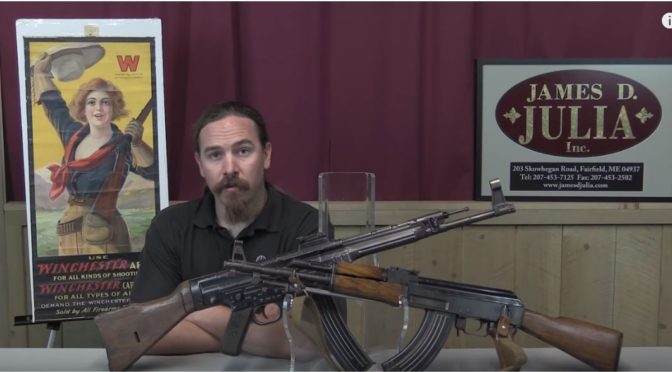
I’m more knowledgeable about the Soviet AK-47 than I am the German Sturmgewehr 44 (StG 44). The main reason I even known about the StG 44 is from reading about it in books that cited it as being an inspiration to Mikhail Kalashnikov and his design team. But was it really – I’ve heard some heated debates about this.
I had some time and watched this brief video where Ian McCollum of Forgotten Weapons has a Chinese Type 56 sitting next to a StG 44 as he talks. They were both on loan from the James D. Julia auction company.
Ian gave a very interesting perspective that the AK-47 was essentially designed as a more powerful replacement for the Soviet’s PPS-43 that fired the 7.62×25 Tokarev pistol round.
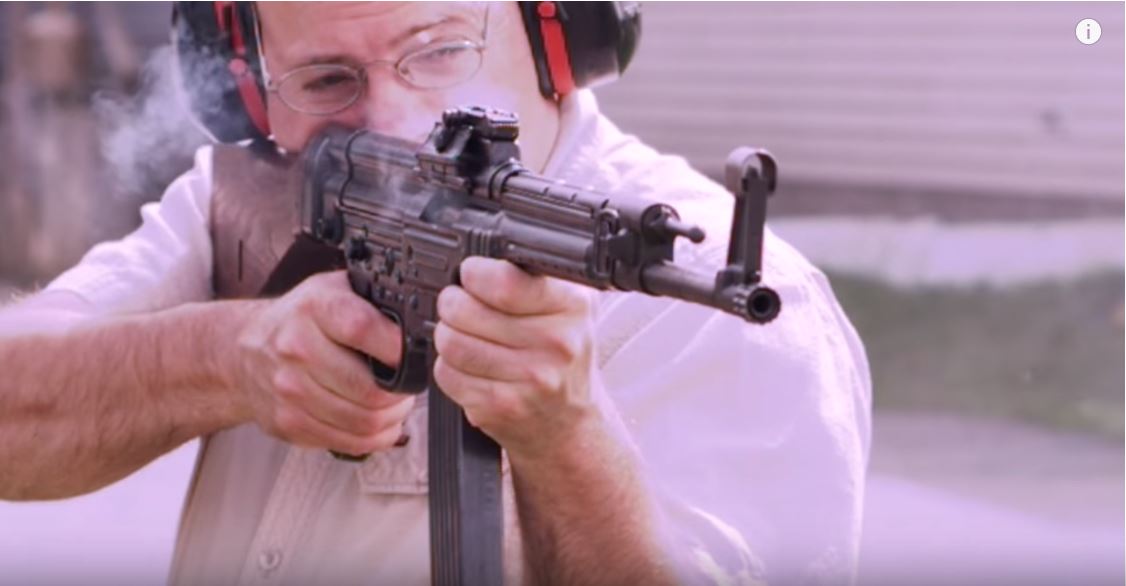
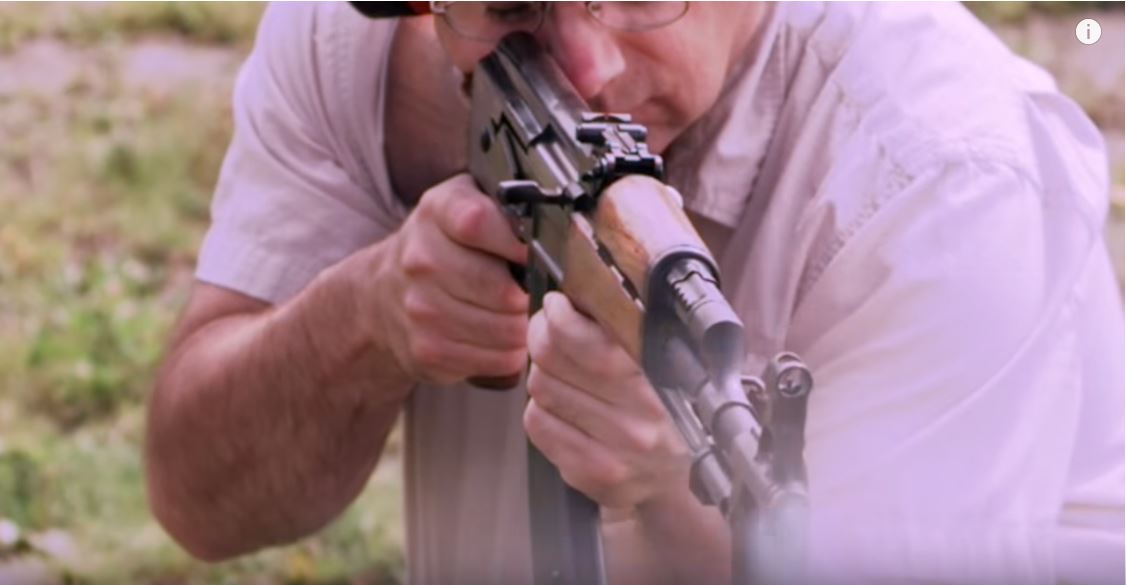
In constrast, the Germans were wanting a controllable automatic fire weapon that would increase the firepower of soldiers especially during tactical withdrawals. They had the German 7.92×57 bolt action K98 and the famous MG42 belt fed machine gun also in 7.92×57 but they needed something different hence the StG 44.
Now, I have no doubt Kalashnikov and his design team got ideas from the StG 44. Any good engineer would take an existing design and learn from it. The Soviets needed to build up a hero so there is a lot of myth mixed in with history so I am not sure where to draw the line myself.
The video shows you the two rifles and actually shows live firing of the two so you can see how the StG 44 was actually more controllable. I thought this was really cool because the slow motion really shows the difference.
If you find this post useful, please share the link on Facebook, with your friends, etc. Your support is much appreciated and if you have any feedback, please email me at in**@*********ps.com. Please note that for links to other websites, we are only paid if there is an affiliate program such as Avantlink, Impact, Amazon and eBay and only if you purchase something. If you’d like to directly contribute towards our continued reporting, please visit our funding page.
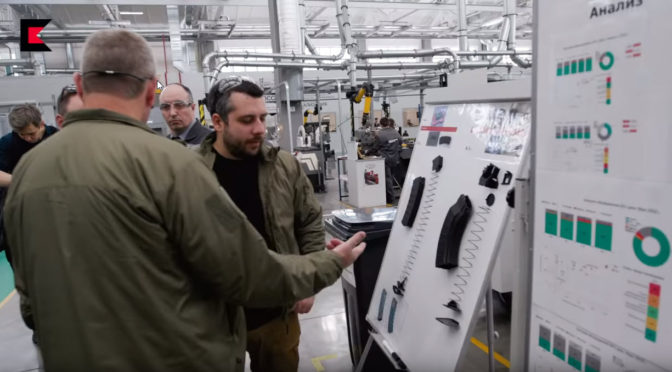
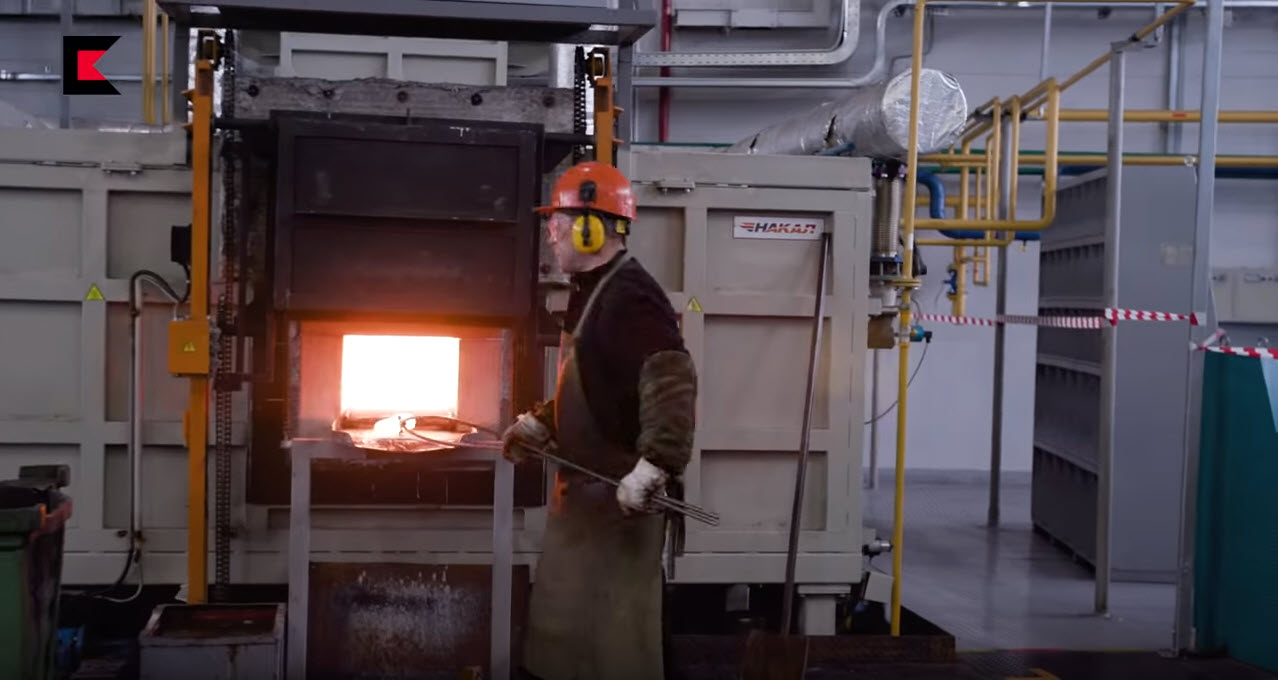
In April 2018, Larry Vickers visited the Kalashnikov Concern factory in Izhvesk, Russia. Given that armory was established on the orders of Russian emperor Alexander I in June 1807 plus most Westerners having mental images of antiquated machines and dimly lit dirty facilities, one might make some very, very wrong assumptions about the modern JSC Kalashnikov Concern.
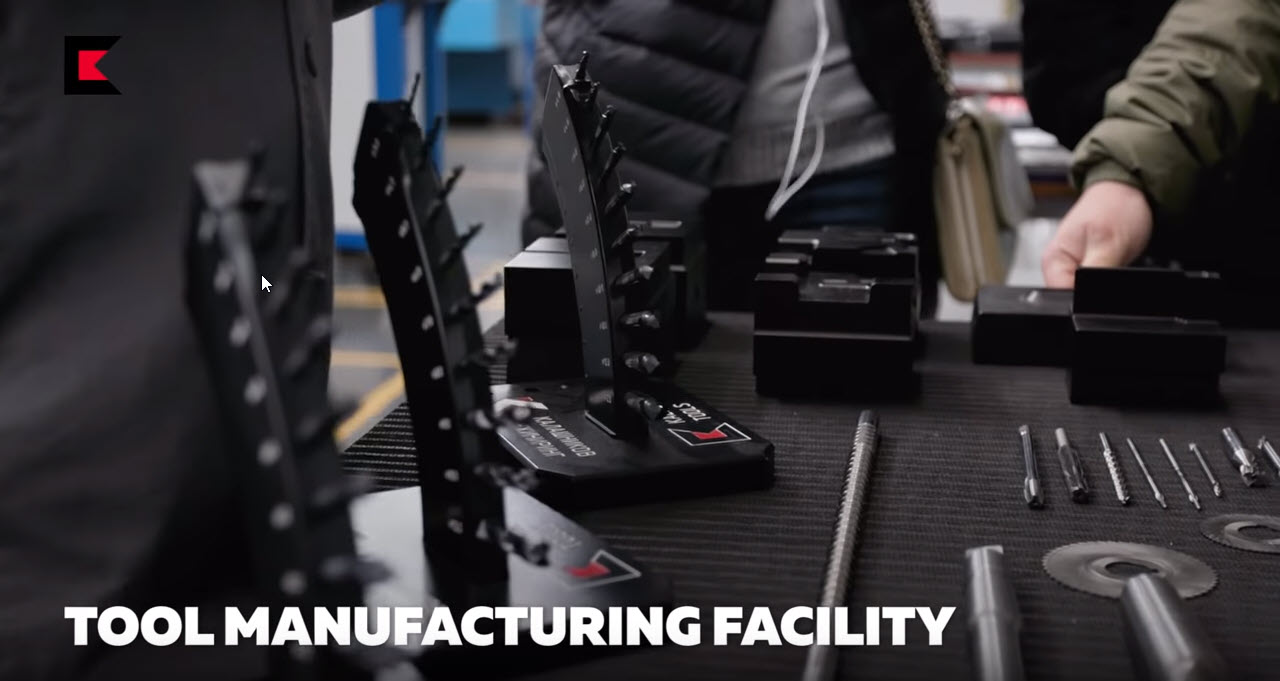
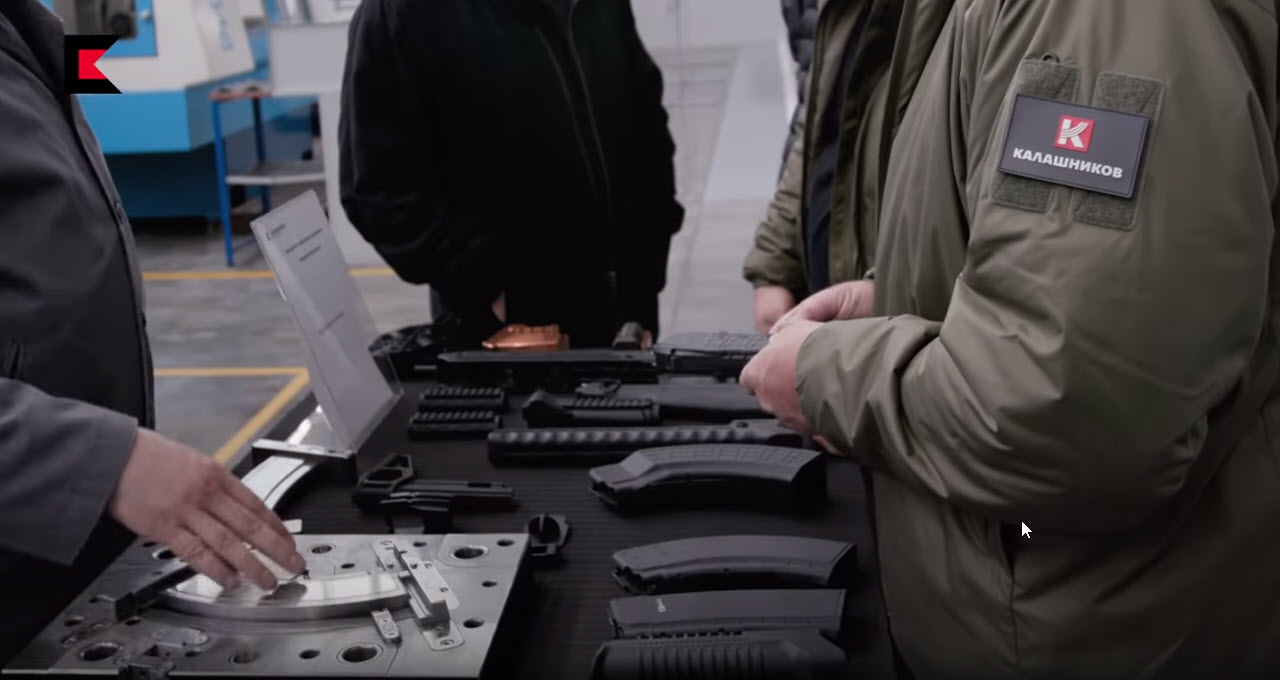
The very modern Kalashnikov Concern facility is brightly lit, clean and using world class machines. I thought it was interesting seeing all the quality boards and neatly arranged tooling.
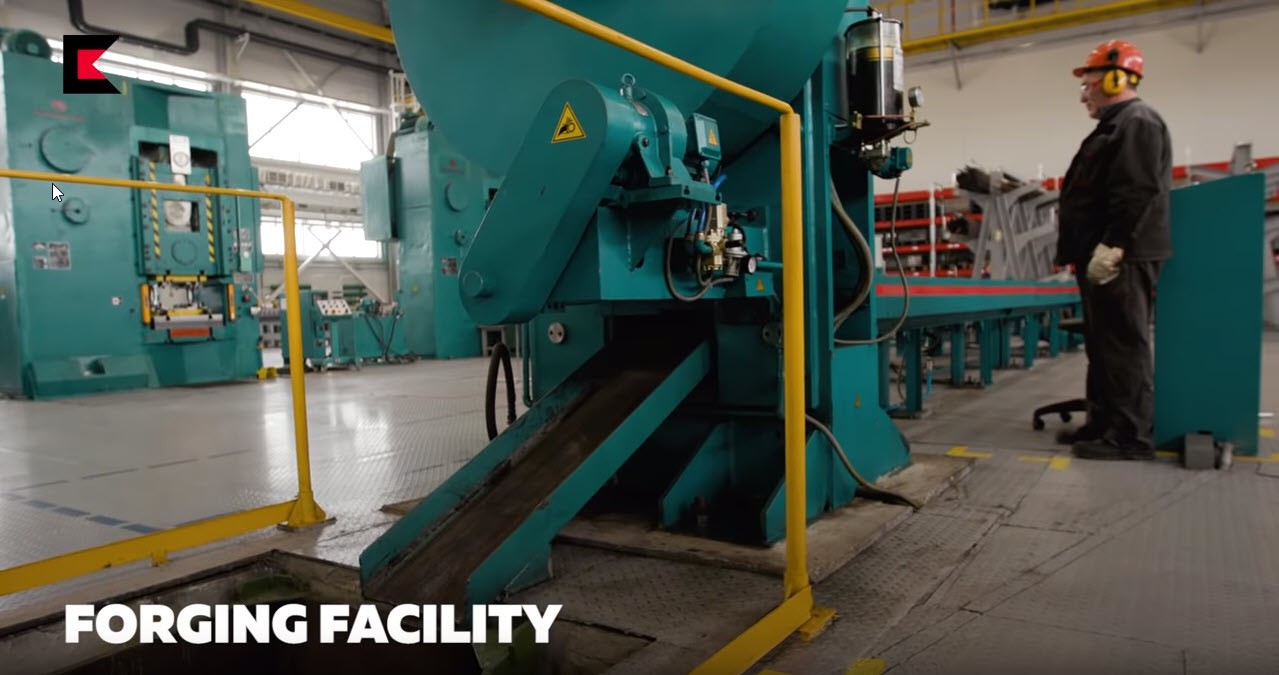
Also worth noting was Larry’s observation that with many AK manufacturers trying unsuccessfully to product cast trunnions and bolts that Kalashikov still forges those parts and there is a reason for it – durability.
At any rate, it’s a cool but brief 6 minute video.
Here is the link to Larry’s book on AK rifles that he is selling directly and not through Amazon.
If you find this post useful, please share the link on Facebook, with your friends, etc. Your support is much appreciated and if you have any feedback, please email me at in**@*********ps.com. Please note that for links to other websites, we are only paid if there is an affiliate program such as Avantlink, Impact, Amazon and eBay and only if you purchase something. If you’d like to directly contribute towards our continued reporting, please visit our funding page.
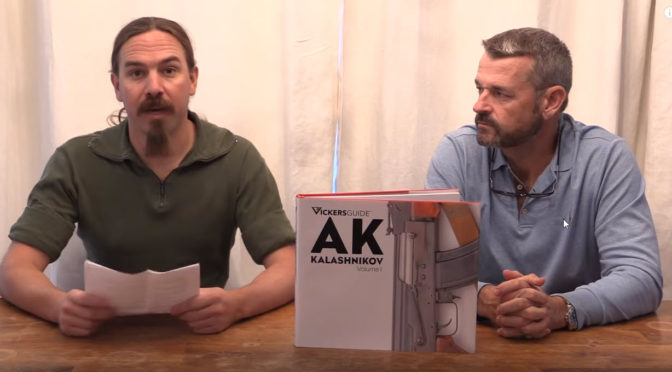
Two guys I really respect, Ian McCollum of Forgotten Weapons and Larry Vickers discuss the history of the AK-47 and also show Larry’s new book on AK rifles. They cover a ton of information through questions submitted by Ian’s followers. For people into the history of the Kalashnikov rifle, this is well worth your time.
Here is the link to Larry’s book that he is selling direction and not through Amazon.
If you find this post useful, please share the link on Facebook, with your friends, etc. Your support is much appreciated and if you have any feedback, please email me at in**@*********ps.com. Please note that for links to other websites, we are only paid if there is an affiliate program such as Avantlink, Impact, Amazon and eBay and only if you purchase something. If you’d like to directly contribute towards our continued reporting, please visit our funding page.
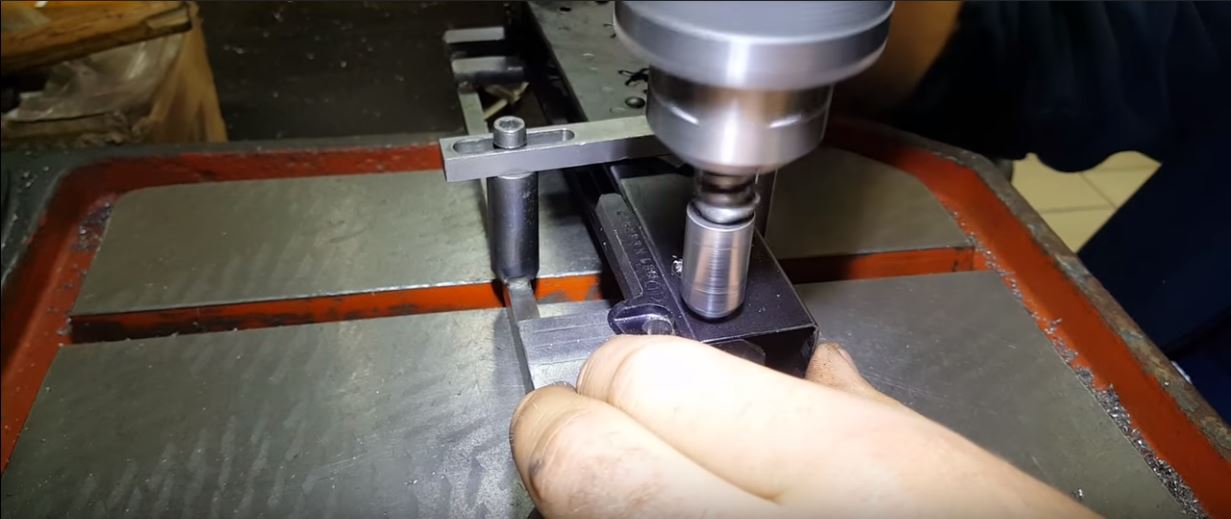
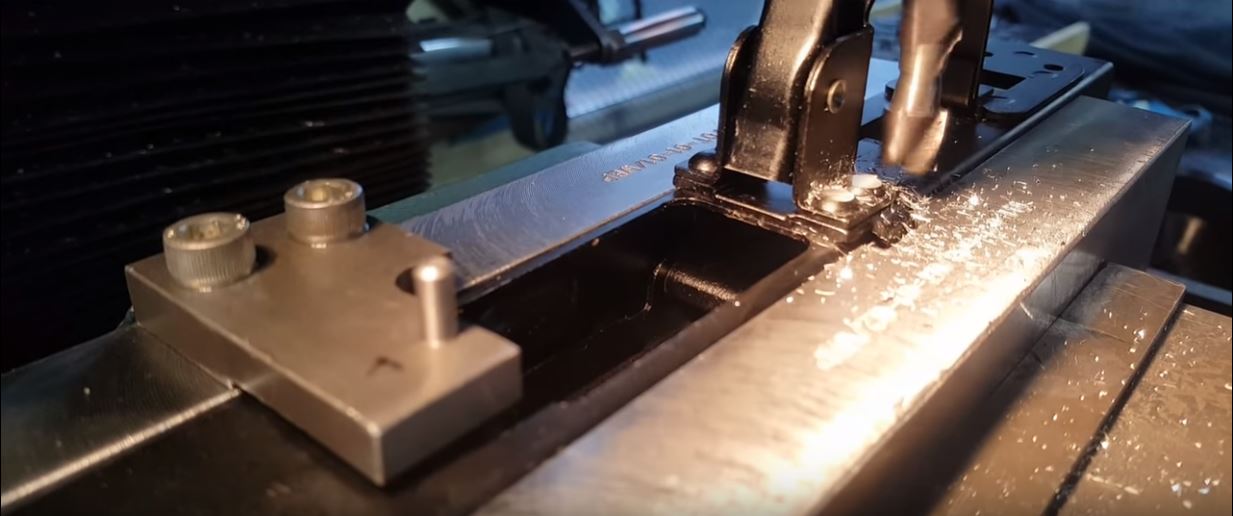
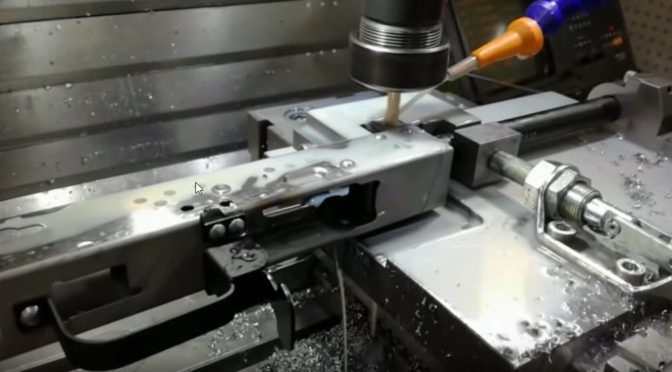
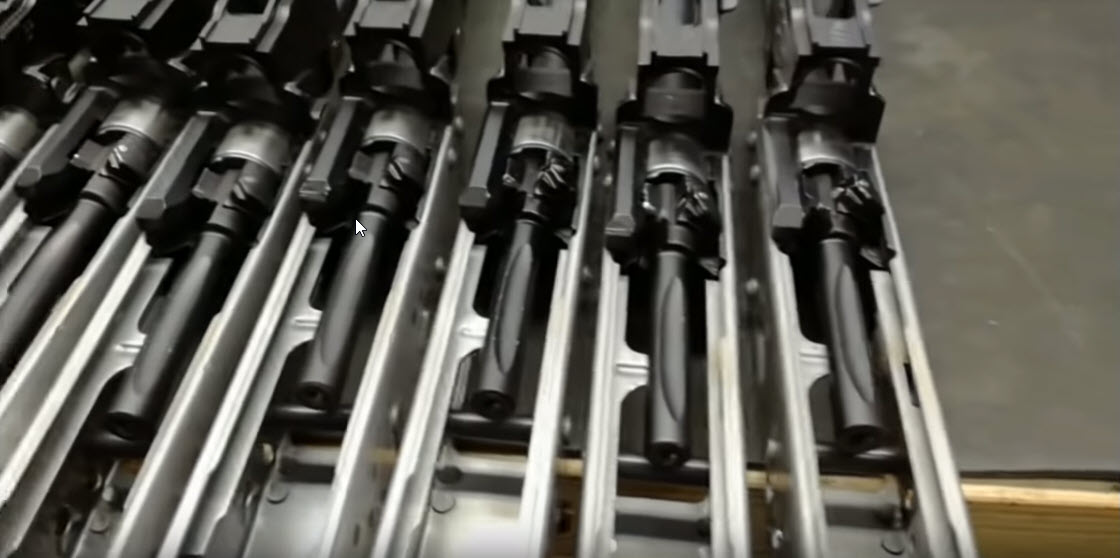
This past Spring I built a Polish Beryl inspired rifle from a WBP kit imported by Arms of America and was very impressed by the quality. I was surfing around on Youtube and ran into this really cool video posted by WBP Rogow showing how they build an AK. I found all the specialized tooling fascinating and was also a bit surprised by the amount of hand fitting – they are putting some craftsmanship into those rifles.
So, I would highly recommend you watch this video if you are considering buying one of the imported Polish WBP rifles or pistols, one of their kits or you are just interested in how AKs are built in general.
If you find this post useful, please share the link on Facebook, with your friends, etc. Your support is much appreciated and if you have any feedback, please email me at in**@*********ps.com. Please note that for links to other websites, we are only paid if there is an affiliate program such as Avantlink, Impact, Amazon and eBay and only if you purchase something. If you’d like to directly contribute towards our continued reporting, please visit our funding page.
Please note that all images were extracted from the video and are the property of their respective owner.