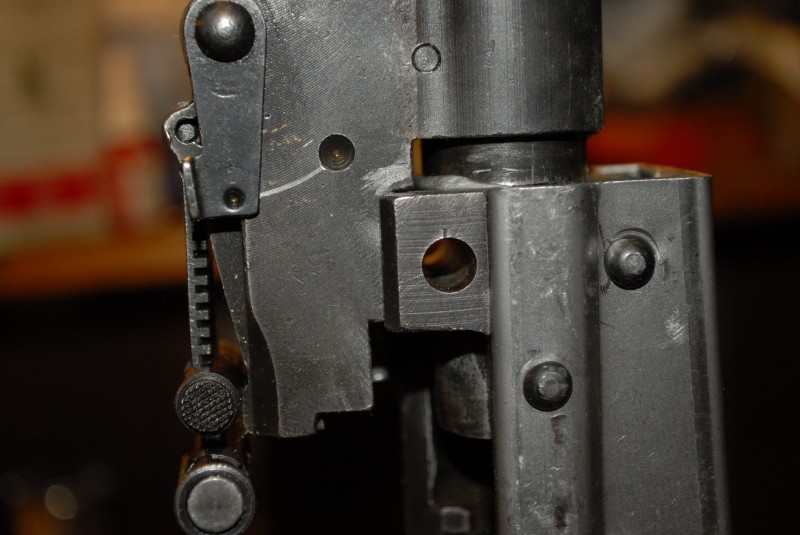
AK rifles use press-fit barrels wherein the barrel is pressed into either the forged trunnion (if it is a sheet metal receiver) or the receiver and then held in place by the 7mm barrel pin. As part of this, the barrel must be headspaced to the bolt to help ensure the cartridge is properly seated. A challenge that commonly happens is that a builder inserts the barrel using whatever method ranging from a big hammer to a hydraulic press but when they try to use their headspace gauges, they find they have gone too far. Alternatively, folks trying to insert a barrel back in that was already headspaced notice that they overshot the barrel pin groove when looking through the holes across the groove in the barrel. Regardless of how the mistake is identified, the question becomes “what do I do now?”
There is a relatively quick and easy solution – use a long shaft to drive the barrel back out. These tools are generically called “barrel back out tools” and you can make one many ways. They can all be summarized as having a long shaft to reach through the receiver to the chamber end of the barrel and then either a copper or brass fitting to protect the chamber from being damaged by the rod. I have seen everything from guys using socket extensions, to pieces of round steel, to custom purpose built tools.
One time, I pressed in a Yugo M72 barrel too far and had to press it back out so I came up with a quick and easy tool that I kept in my tool box and even sold for a while until I stopped because the profit margin just wasn’t sufficient. With that said though, it’s worth sharing with folks just in case they wind up in a jam.
Here is what you need:
- One 1/2″ grade one or two bolt that is about 12″ long (or however long you want to make it)
- One 1/2″ grade one or two steel nut
- One 1/2″ brass nut
For my first tool, that I still have, I just went to my local Ace Hardware store and bought the parts.
Basically, the long bolt allows you to reach into the receiver to the chamber end of the barrel to apply pressure. I used a really long bolt because a Yugo’s rear trunnion is solid and you have to go down at a long shallow angle to press the barrel back out. With AKMs or other AKs with open rear trunnions, you can simply go straight from the back to the front. Note that you need to clear the ejector without damaging it. I purposefully used a low grade bolt as I did not want it brittle from hardening.
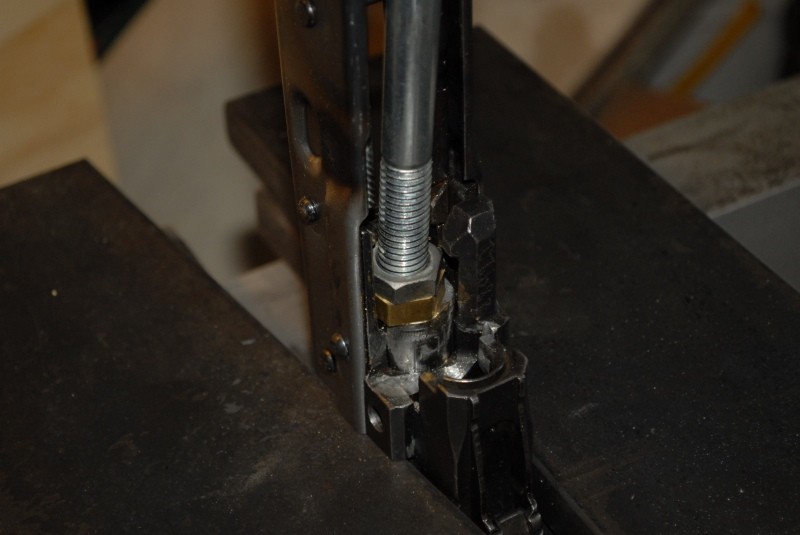
The steel nut needs to be ground down enough so that the combination of it and the brass nut can fit in the area where the bolt normally locks up. You want as much brass as possible to be in front of it and the brass nut should protrude from the bolt. You don’t need a great deal of the brass nut threaded on the bolt as the steel nut is backing it up to provide much needed support. I would grind and test repeatedly until the timing was such that the two nuts matched up just right when I tightened them down.
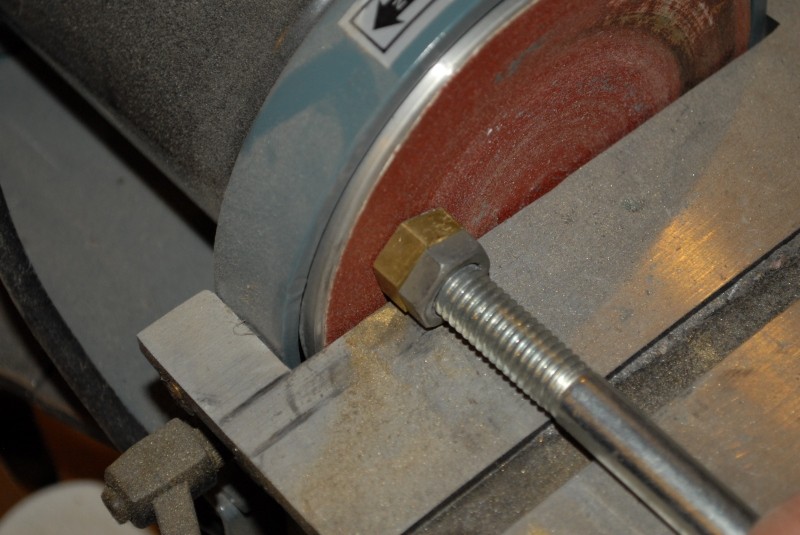
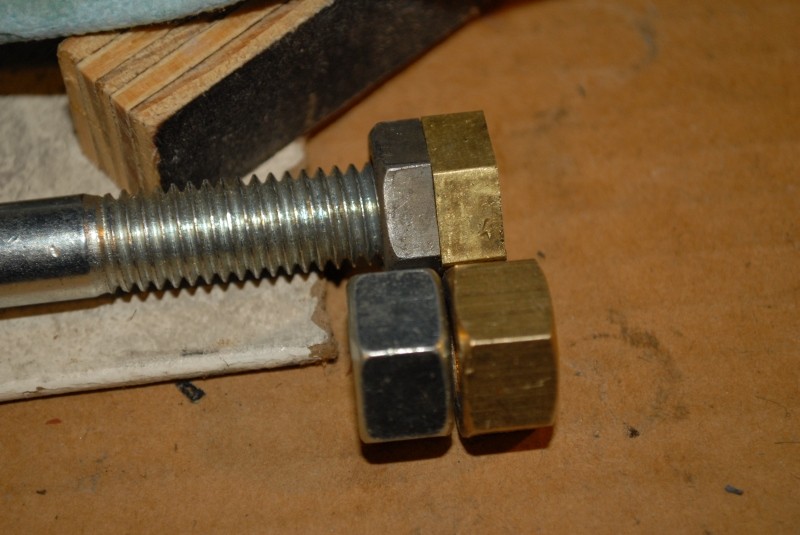
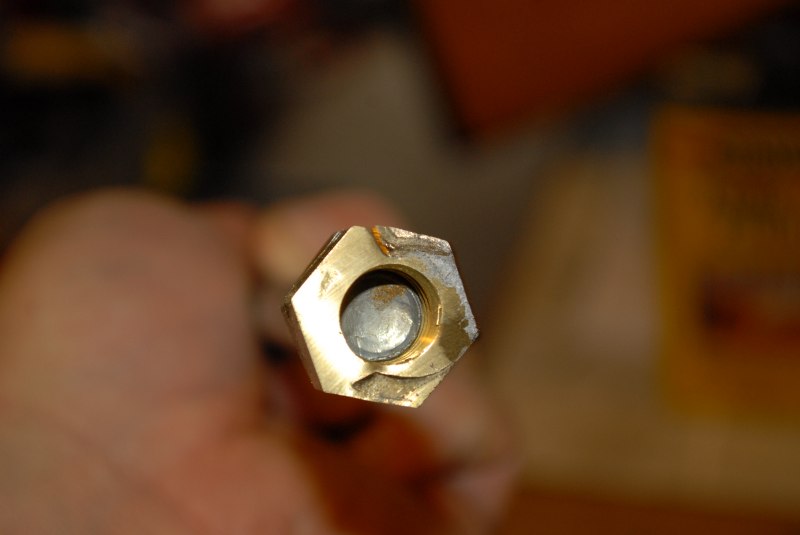
Note, I used to grind the brass nut to match the extractor notch in the barrel but have stopped doing so as the brass simply deformed anyways. The following photo shows how the brass simply bends and conforms to the extractor notch plus you can see that the brass nut extends well forward of the steel bolt.
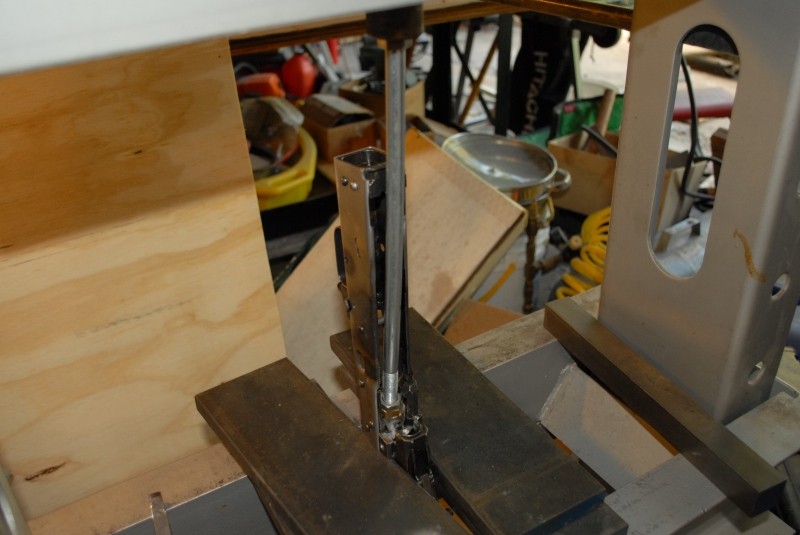
In the next photo, you can see the shallow angle I used to press the Yugo barrel back out. Again, you would not need the same if you could go straight through the receiver:
Historically I did all my barrel work with my 20 ton press but now I mainly use air tools except for really stubborn parts. When I originally did this post in 2014, I used my press.
With the M72, I was able to very simply move the barrel back out a bit, turn things around and then press the barrel in until the proper headspace was achieved. The tool worked so well that I have it in my tool box still and have used it a few more times plus I did make a dozen or so and sold them to guys who had good luck as well.
As a caution, make sure the trunnion is well supported – you can see I have it resting on the press plates in the photo above. Make sure everything is set up, stable and that you are clearing everything else before you apply pressure with the press.
If you apply pressure and nothing happens, stop and carefully inspect what is going on – the tool may be sitting on something other than the barrel. More force may damage parts and you do not want that.
Lastly, be safe – take your time and play it smart. A press can develop massive pressure. Wear safety glasses and do not dream of having your hands anywhere in, on or around the parts being pressed. All things considered, backing a barrel out should take very little force but you do not want an accident to happen. If you are tired and frustrated, stop and wait until the next day or when you have relaxed and calmed down. Most of my personal accidents have happened when I was in a rush, tired or angry – don’t be me 🙂
In closing, I hope this helps you in your building efforts!
Note, I have to buy all of my parts – nothing here was paid for by sponsors, etc. I do make a small amount if you click on an ad and buy something but that is it. You’re getting my real opinion on stuff.
If you find this post useful, please share the link on Facebook, with your friends, etc. Your support is much appreciated and if you have any feedback, please email me at in**@*********ps.com. Please note that for links to other websites, we are only paid if there is an affiliate program such as Avantlink, Impact, Amazon and eBay and only if you purchase something. If you’d like to directly contribute towards our continued reporting, please visit our funding page.