I guess we all have our pet peves. One of my many irks is when people call a Romanian PSL rifle a “Dragunov”. I see it all the time on Facebook and GunBroker. Honestly, it bugs the hell out of me. The PSL is an oversized AK for all intents and purposes. The Dragunov is a brilliant Designated Marksman Rifle (DMR) that is it’s own creature. With that said, let’s take a look at the two.
I. Executive Summary
The Russian SVD Dragunov and the Romanian PSL are both iconic semi-automatic rifles chambered in the 7.62x54mmR cartridge, designed to serve as Designated Marksman Rifles (DMRs) within Eastern Bloc military doctrines. A common misconception persists that the PSL is merely a direct clone or licensed variant of the SVD. However, a detailed examination reveals that while they share a similar operational role and external appearance, they are fundamentally distinct in their mechanical design and underlying philosophical approaches to firearms development.1
The SVD, or Snayperskaya Vintovka Dragunova, emerged from a dedicated design competition in the Soviet Union, resulting in a purpose-built platform featuring a short-stroke gas piston system and a precisely machined (milled) steel receiver.3 This design reflects a focus on refinement, optimized performance, and a balance between accuracy and battlefield mobility for a squad-level marksman.7 In contrast, the Romanian PSL, or Puşcă Semiautomată cu Lunetă, was developed independently due to geopolitical tensions and Romania’s desire for self-sufficiency in arms production.1 It is essentially a scaled-up and reinforced adaptation of the Kalashnikov/RPK light machine gun platform, utilizing a long-stroke gas piston and a stamped steel receiver.1 This approach prioritized ruggedness, reliability, and cost-effective mass production over the SVD’s more complex and expensive manufacturing processes.9
These fundamental differences in design philosophy and mechanical execution lead to varied performance characteristics, particularly in terms of inherent accuracy and sustained fire capability. While both rifles are designed for engaging man-sized targets at extended ranges, the SVD generally exhibits a higher standard of quality control and consistent accuracy, whereas the PSL, though robust and reliable, may require aftermarket modifications to maximize its precision potential.10 The distinction between these two rifles is not merely academic; it highlights how military doctrine, political autonomy, and industrial capabilities shape the development of firearms, leading to distinct solutions for similar operational requirements.
II. Introduction: The Role of Designated Marksman Rifles
The evolution of infantry combat in the mid-20th century revealed a critical gap in the capabilities of standard small arms. While assault rifles, such as the ubiquitous AKM, proved highly effective for close-to-medium range engagements, typically up to 300-400 meters, targets appearing beyond this distance often remained unengaged or required specialized, slower-firing bolt-action sniper rifles.1 This tactical void necessitated an intermediate class of firearm: the Designated Marksman Rifle (DMR).
DMRs are designed to bridge this gap, providing infantry squads or platoons with an organic capability for increased effective range and precision without resorting to highly specialized sniper teams. Their primary function is to enable engagement of targets beyond the capabilities of standard issue assault rifles, typically out to 600-800 meters, while maintaining a semi-automatic rate of fire to support dynamic battlefield scenarios.1 This role emphasizes “combat accuracy”—the ability to consistently hit man-sized targets quickly and effectively—rather than the extreme sub-Minute of Angle (MOA) precision often associated with Western sniper rifles.8
The SVD Dragunov and the Romanian PSL stand as two prominent and historically significant examples of this DMR concept, both emerging from the Cold War era to fulfill similar roles within their respective military doctrines. Their development paths, however, diverged significantly, offering a compelling study in firearm design and geopolitical influence.
III. Historical Development and Design Philosophy
A. The SVD Dragunov: Soviet Precision and Doctrine
The SVD Dragunov’s genesis lies in a Soviet military requirement for a new self-loading sniper rifle, initiated through competitive trials spanning from 1958 to 1963.6 This was the third significant attempt to equip Soviet infantry with such a weapon, following earlier efforts like the SVT-40.20 The competition ultimately saw the design by Yevgeny Dragunov emerge victorious, leading to its official adoption on July 3, 1963.6 Dragunov’s background as a factory machinist, senior armorer, and a competitive shooter with extensive experience in sports and target rifle design proved instrumental.20 His unique perspective, honed from years of working with and competing in precision shooting, allowed him to approach the challenge with a fundamentally different philosophy than his competitors, who were more rooted in automatic combat weapon design.20
The core design philosophy behind the SVD was not to create a Western-style, extreme-precision sniper rifle, but rather a Designated Marksman Rifle (DMR) optimized for “combat accuracy”.8 This meant prioritizing the ability to score effective hits on man-sized targets rapidly, even against moving targets in dynamic battle scenarios, rather than achieving the absolute maximum possible accuracy.18 This doctrinal approach had a profound impact on the SVD’s design choices. For instance, the rifle was initially designed with a relatively thin, “pencil-profile” barrel to save weight, enhancing the marksman’s maneuverability and ability to keep pace with an infantry squad.6 While this design choice compromised some inherent accuracy, it aligned with the Soviet emphasis on a lightweight weapon system for squad support.8 Later, the modernized SVDM variant would feature a heavier barrel to enhance rigidity and harmonics, thereby improving accuracy, indicating a continuous refinement process.7
Another significant design decision reflecting this doctrine was the change in rifling twist rate. Originally, the SVD featured a 320 mm (1:12.6 in) twist, optimized for heavier civilian ammunition.6 However, in 1975, this was increased to a standard 240 mm (1:9.4 in) twist. This modification, while reducing precision with the dedicated 7N1 sniper cartridge by approximately 19%, was a deliberate choice to allow for acceptable accuracy when using standard “light” ball steel core LPS Gzh ammunition, which was more readily available for general issue and machine guns.6 This adjustment underscores the Soviet emphasis on logistical commonality and battlefield practicality over achieving peak theoretical precision with specialized ammunition. The SVD’s design, therefore, represents a sophisticated balance of precision, reliability, and battlefield utility, tailored to a specific military doctrine that valued effective fire support at the squad level.
B. The Romanian PSL: An Independent AK-Derived Solution
The development of the Romanian PSL (Puşcă Semiautomată 7,62 mm cu Lunetă) was born out of a unique geopolitical context that diverged from the unified Warsaw Pact arms development strategy. In August 1968, Romania’s President Nicolae Ceaușescu publicly condemned the Warsaw Pact invasion of Czechoslovakia, a move that significantly strained relations with the Soviet Union and solidified Romania’s independent foreign policy.1 This political rift directly influenced Romania’s military industrial complex. To reduce its reliance on Soviet military equipment and foster national self-sufficiency, Romania accelerated the development of its own small-arms production capabilities.1
When the Soviets proved hesitant to share the detailed specifications for their SVD Dragunov, Romania embarked on an independent project to develop its own semi-automatic designated marksman rifle.9 The PSL was officially launched in 1974, leveraging Romania’s existing and well-established small-arms manufacturing infrastructure.1 Critically, instead of attempting to reverse-engineer or replicate the SVD’s complex, purpose-built design, Romanian engineers opted for a pragmatic approach: adapting a proven domestic platform. The PSL’s design is fundamentally based on the PM md. 64 light machine gun, which itself was a licensed copy of the Soviet RPK, an enlarged variant of the AKM.1 This means the PSL belongs to the Kalashnikov family of weapons, sharing many of its core operational principles.17
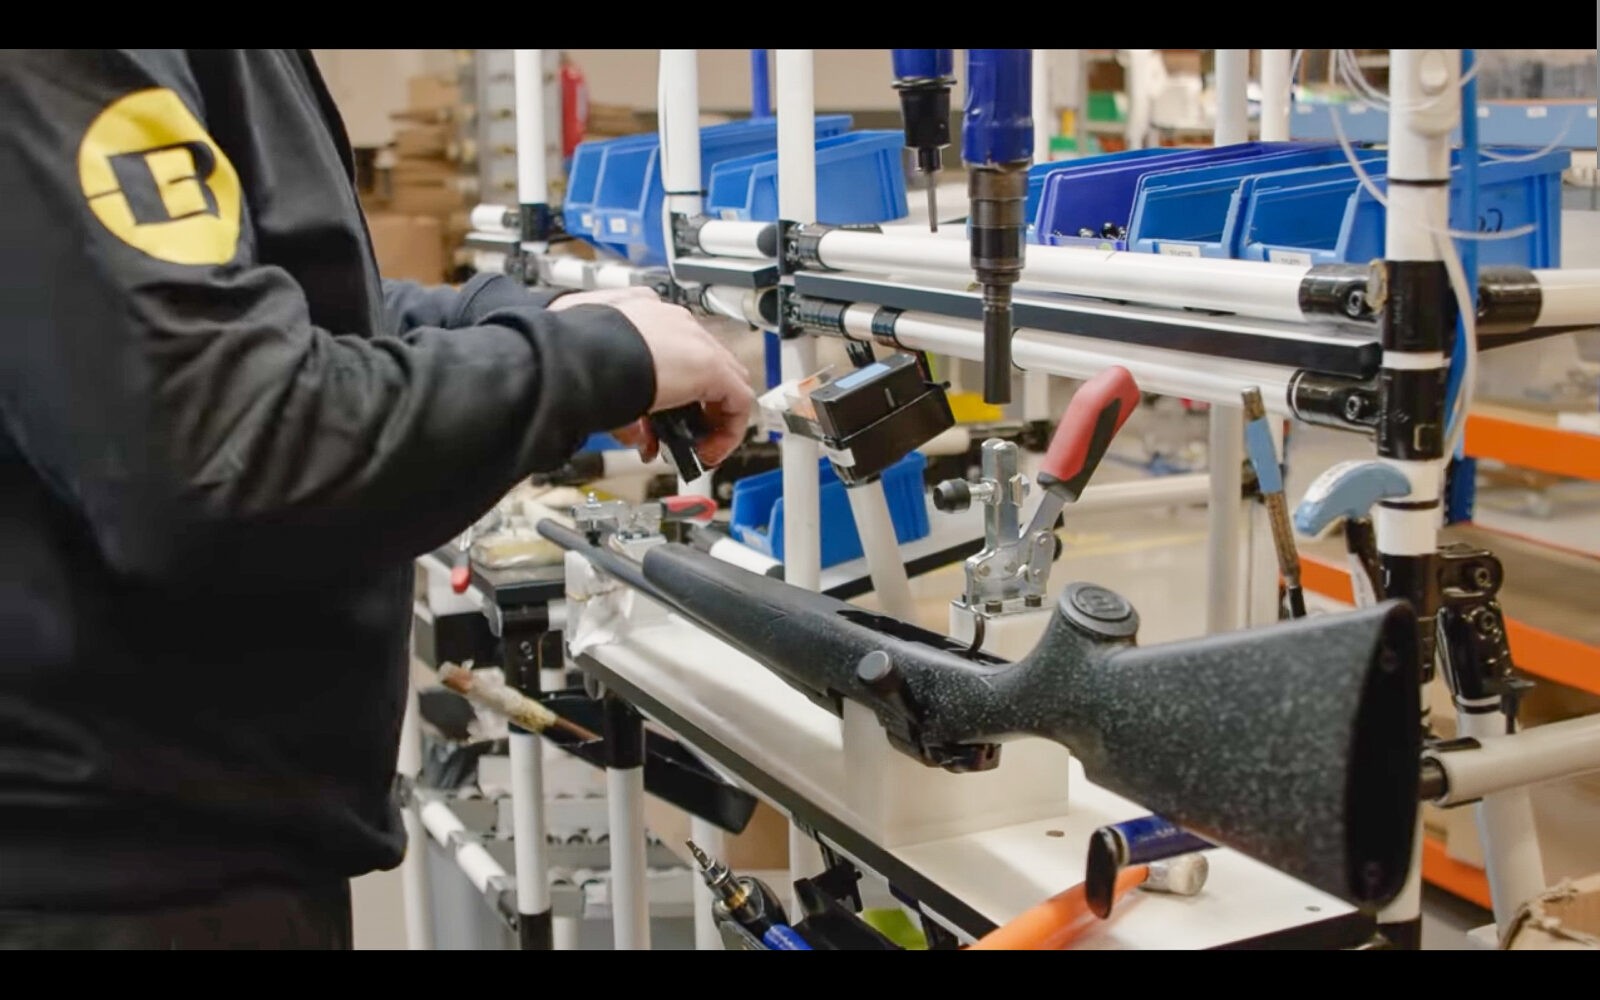
The Romanian design priorities for the PSL emphasized ruggedness, reliability, and cost-effective mass production.9 Unlike the SVD’s milled receiver, the PSL utilizes a stamped sheet steel receiver, similar to the RPK, but reinforced with a “bulged” front trunnion to accommodate the more powerful 7.62x54mmR cartridge.1 This choice of stamped construction made the PSL cheaper and easier to mass-produce compared to the SVD’s more labor-intensive milled design.9 The internal mechanism, being familiar to troops trained on AK-pattern rifles, also meant a shorter training period for designated marksmen.17 The PSL’s development therefore stands as a compelling illustration of how political autonomy and economic realities can drive distinct military hardware solutions, even when fulfilling a similar operational role and sharing a common cartridge type. The result is a robust, reliable, and widely distributed rifle that, while cosmetically similar to the SVD, is mechanically a different weapon system.
IV. Technical Specifications and Mechanical Differences
Despite their superficial resemblance and shared 7.62x54mmR cartridge, the SVD Dragunov and Romanian PSL exhibit profound mechanical differences that stem from their distinct design philosophies and manufacturing approaches. These divergences impact everything from their internal operation to their accuracy potential and logistical considerations.
A. Operating Mechanism and Receiver Design
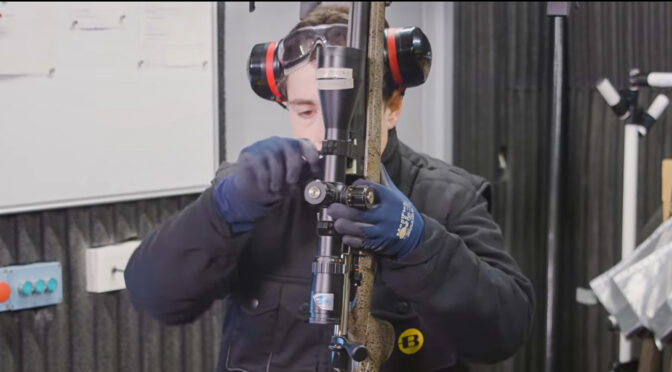
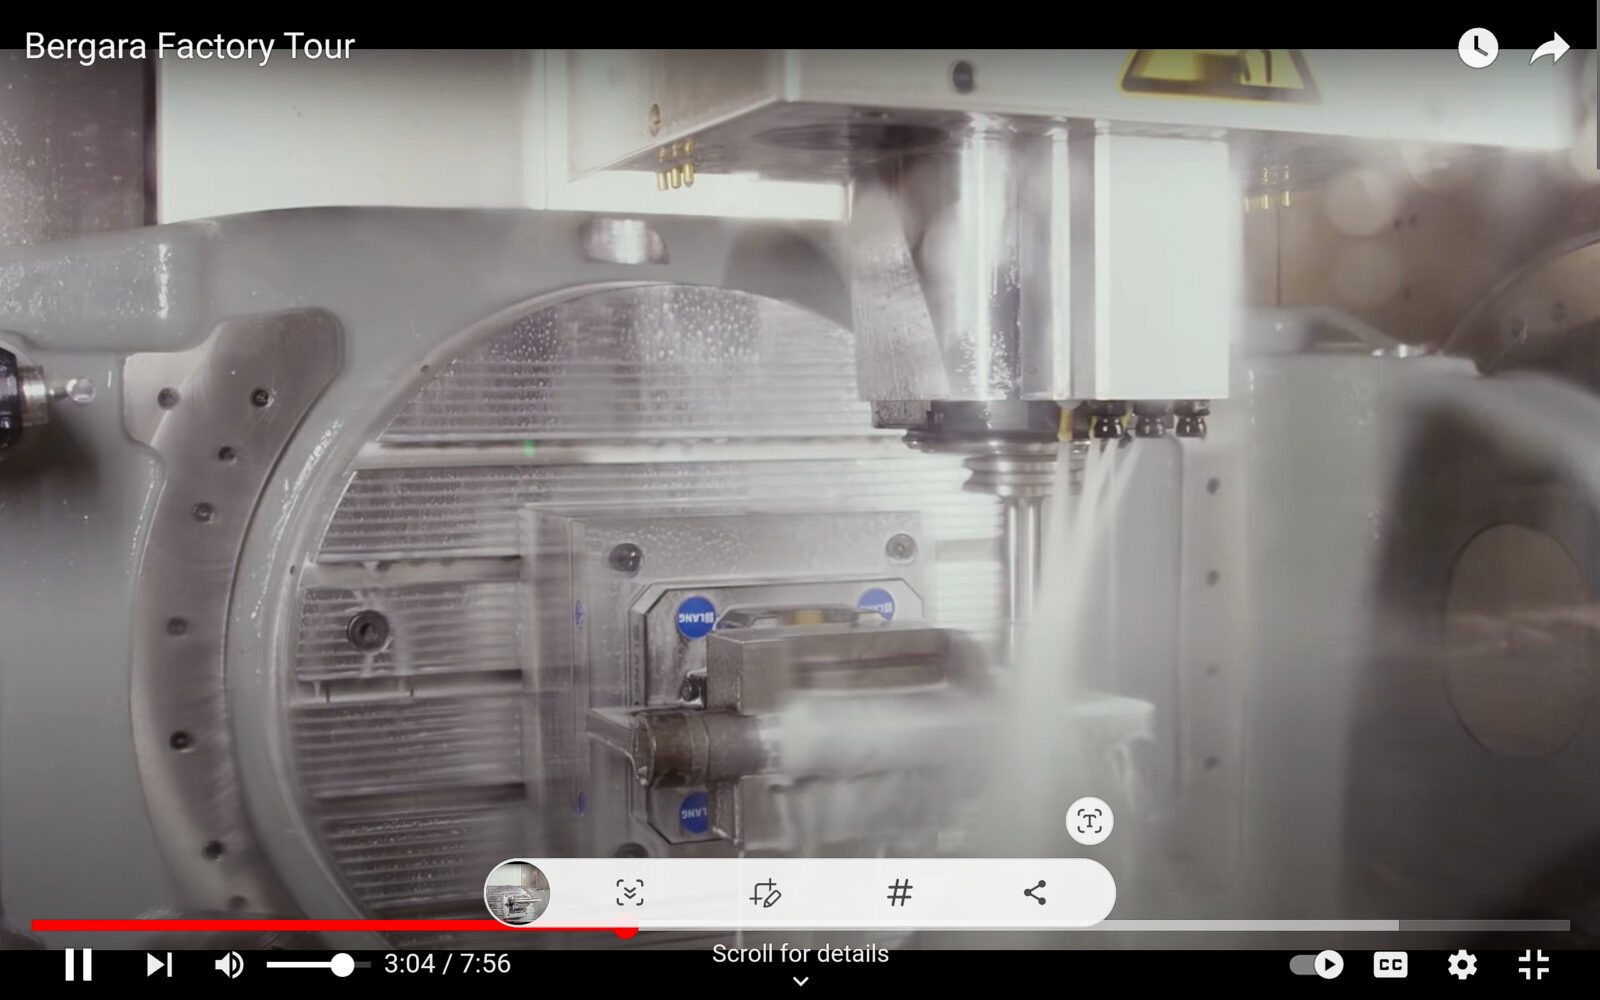
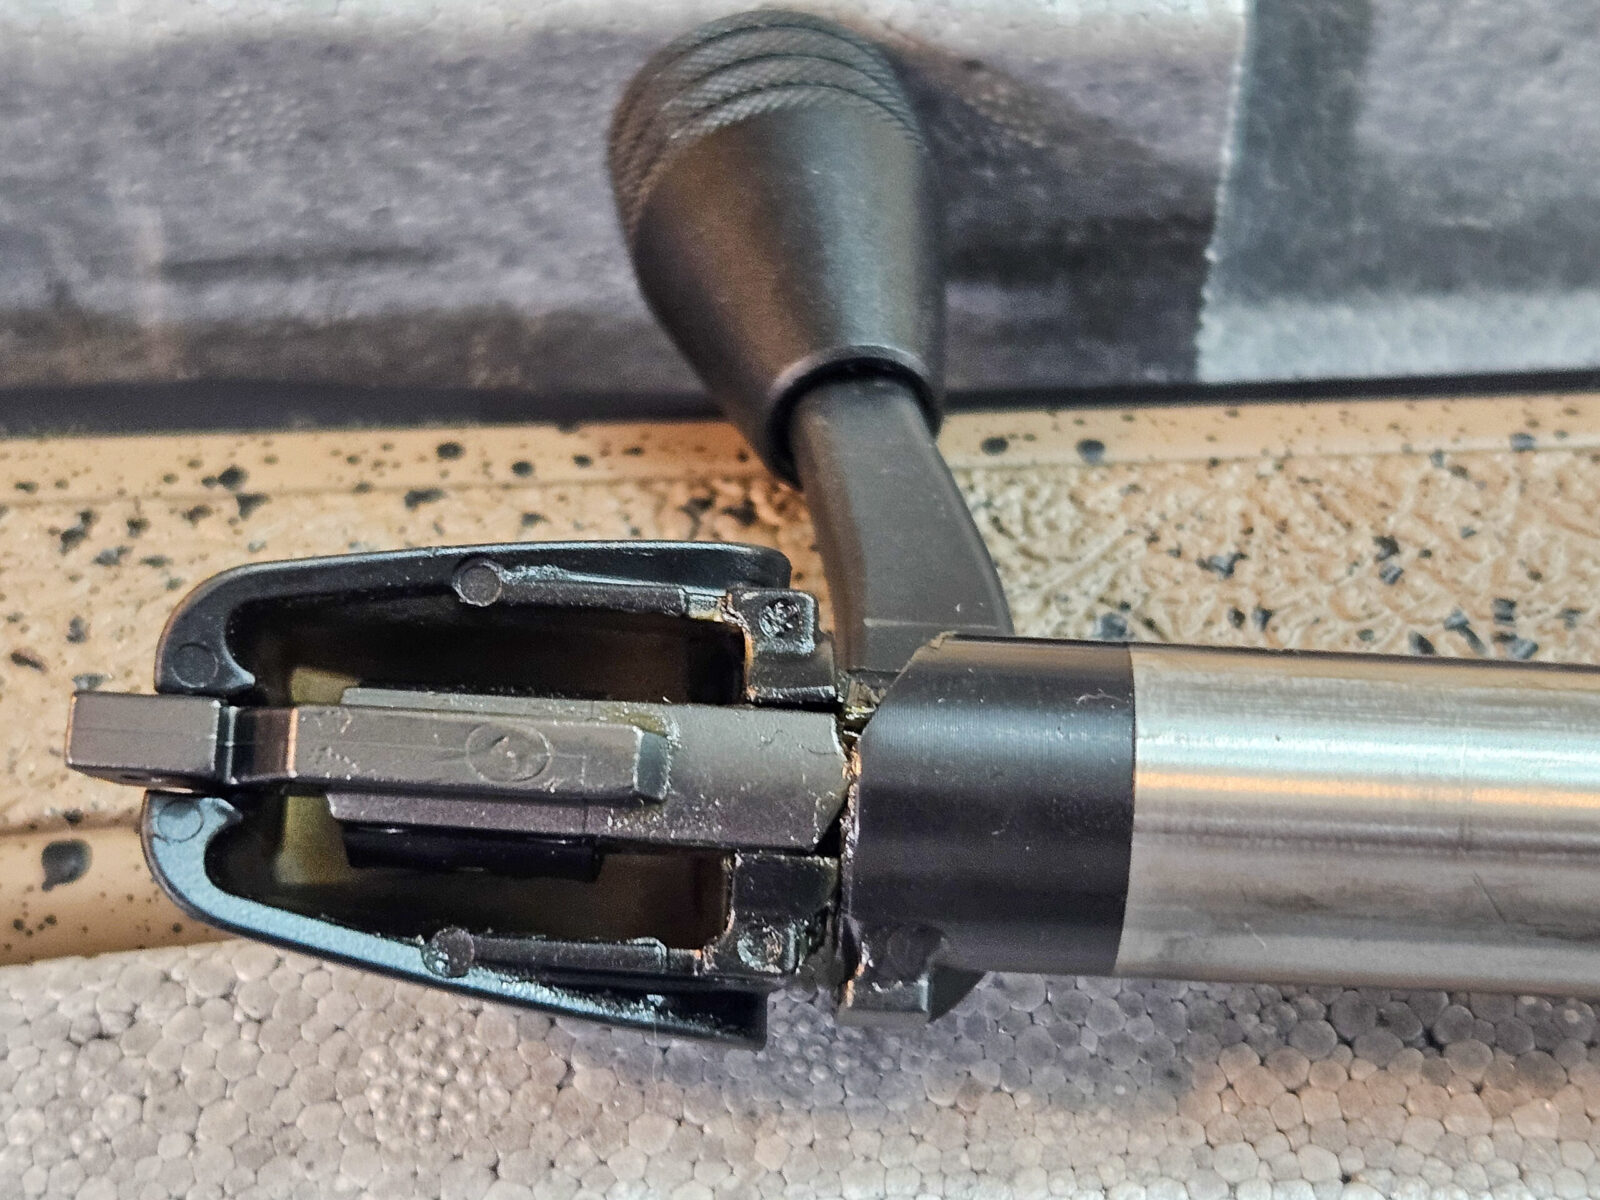
The most fundamental mechanical distinction between the SVD and PSL lies in their operating mechanisms and receiver construction. The SVD employs a short-stroke gas piston system.3 In this design, a separate gas piston impacts a pusher, which in turn drives the bolt carrier rearward, but the piston itself does not travel the full length of the receiver with the bolt carrier.3 This approach minimizes the mass of reciprocating parts, contributing to reduced felt recoil and potentially better accuracy by reducing the disturbance to the rifle’s harmonics during the firing cycle.3 The SVD’s receiver is precisely machined from a solid block of steel (milled), providing a rigid and stable platform for the barrel and operating components.2 This manufacturing method, while more costly and time-consuming, enhances the rifle’s inherent precision and durability.
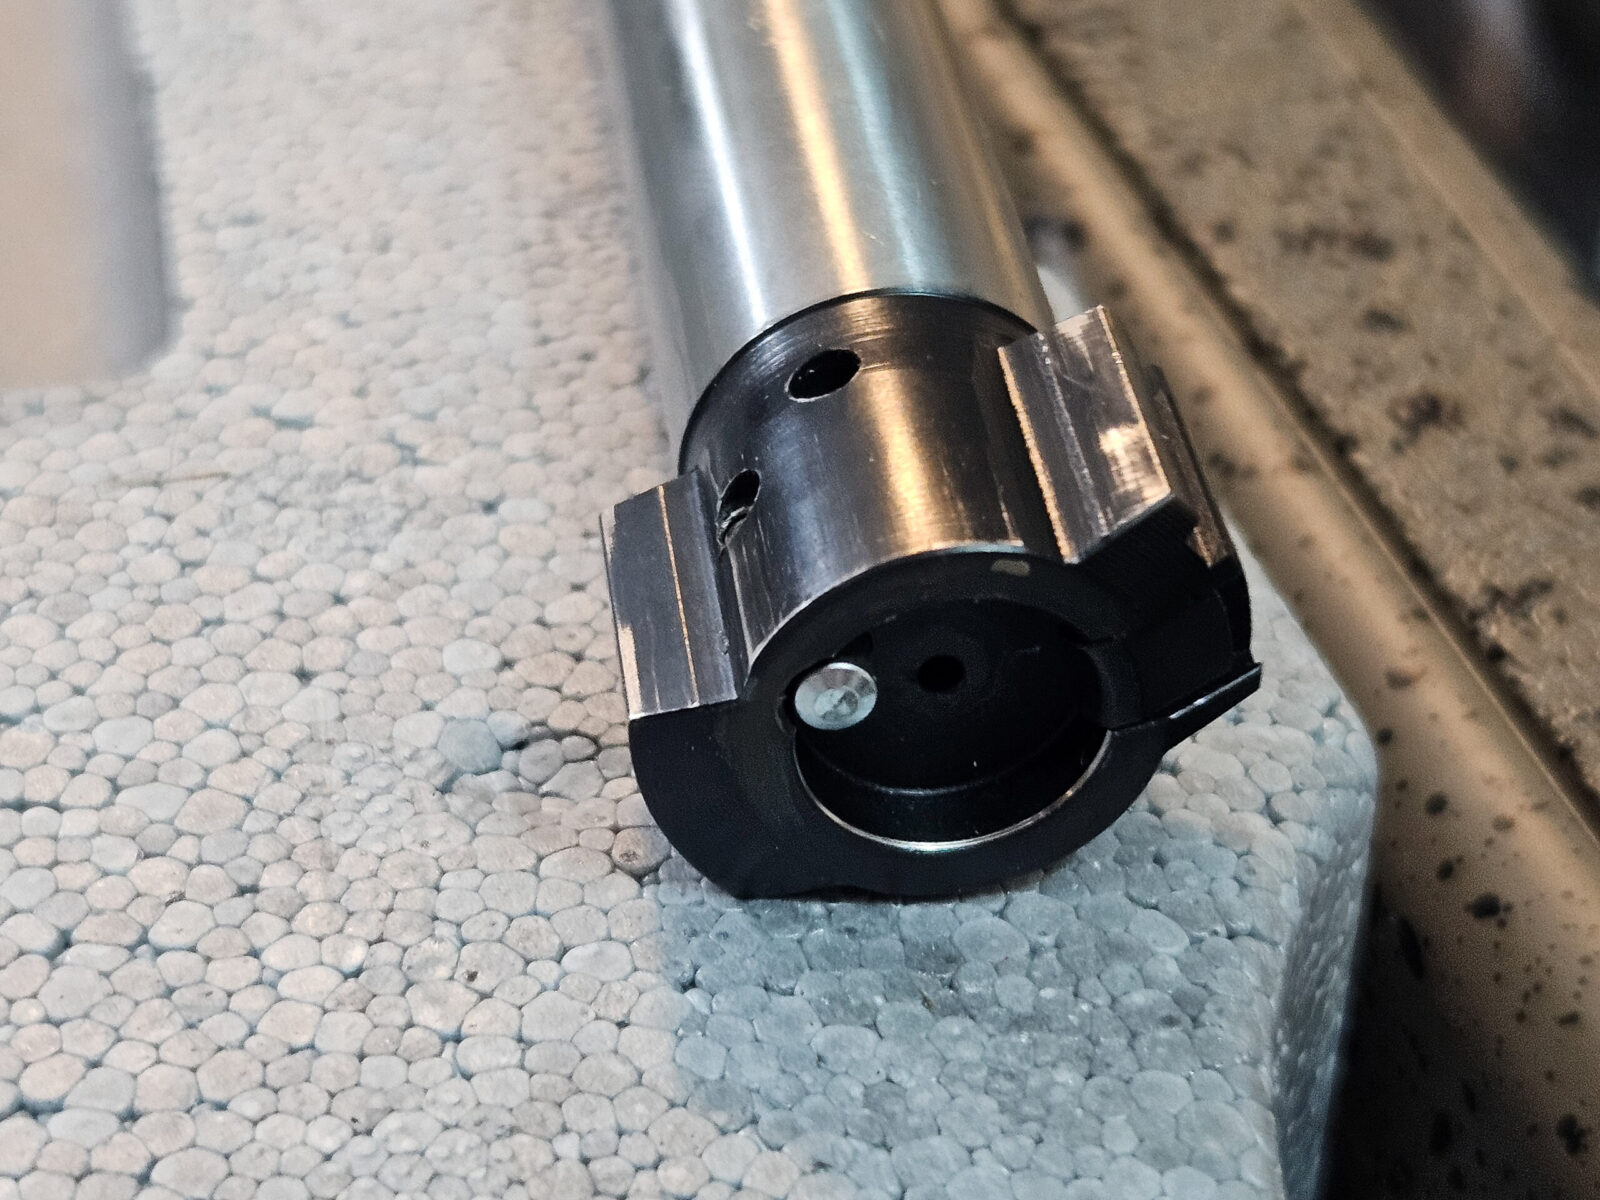
In stark contrast, the PSL utilizes a long-stroke gas piston system, a hallmark of the Kalashnikov family of weapons.1 In this system, the gas piston is permanently attached to the bolt carrier, and the entire assembly travels the full length of the receiver during the operating cycle. While this design is renowned for its exceptional reliability and robustness, it involves a larger and heavier mass of reciprocating parts, which can introduce more vibration and impact accuracy, particularly during rapid fire.10 The PSL’s receiver is constructed from stamped sheet steel, similar to the RPK light machine gun, but it is “beefed up” and reinforced, particularly at the front trunnion, to handle the more powerful 7.62x54mmR cartridge.1 This stamped construction is significantly less expensive and faster to produce than a milled receiver, aligning with Romania’s emphasis on mass production and cost-effectiveness. The choice of these differing core mechanical architectures highlights the distinct design philosophies: the SVD as a purpose-built precision instrument, and the PSL as a pragmatic, robust adaptation of an existing, reliable platform.
B. Barrel Characteristics
Both rifles feature chrome-lined bores, a common practice in Eastern Bloc firearms to enhance corrosion resistance and extend barrel life, especially when using corrosive surplus ammunition.6 However, their barrel profiles and rifling twist rates present notable differences impacting accuracy.
The original SVD was designed with a relatively thin, “pencil-profile” barrel to minimize overall weight, a crucial consideration for a rifle intended for squad-level mobility.6 While this contributed to a lighter weapon, it inherently limited the barrel’s rigidity and its ability to dissipate heat effectively during sustained firing, which can negatively affect accuracy. Recognizing this, later modernized variants like the SVDM incorporated a heavier barrel profile to enhance rigidity and improve barrel harmonics, thereby boosting accuracy.7 The SVD’s rifling twist rate also saw an evolution. Initially, it was 320 mm (1:12.6 in), optimized for heavier civilian ammunition.6 However, in 1975, the twist rate was standardized to 240 mm (1:9.4 in). This change, while reportedly reducing precision with the dedicated 7N1 sniper cartridge by 19%, allowed for acceptable accuracy with standard “light” ball steel core LPS Gzh ammunition, reflecting a pragmatic compromise for logistical commonality.6
The PSL also features a chrome-lined barrel, typically with a 1:10 twist rate.9 However, a significant characteristic of the PSL’s barrel is its relatively thin profile.10 This design choice, likely influenced by weight considerations and manufacturing simplicity, has a direct and pronounced impact on its sustained accuracy. Reports indicate that the PSL’s thin barrel heats up rapidly, causing groups to widen considerably after firing as few as 3 to 5 rounds.13 This makes the PSL less suitable for prolonged rapid-fire engagements where consistent precision is paramount, highlighting a practical limitation of its design when compared to the SVD’s more robust barrel characteristics, especially in later variants.
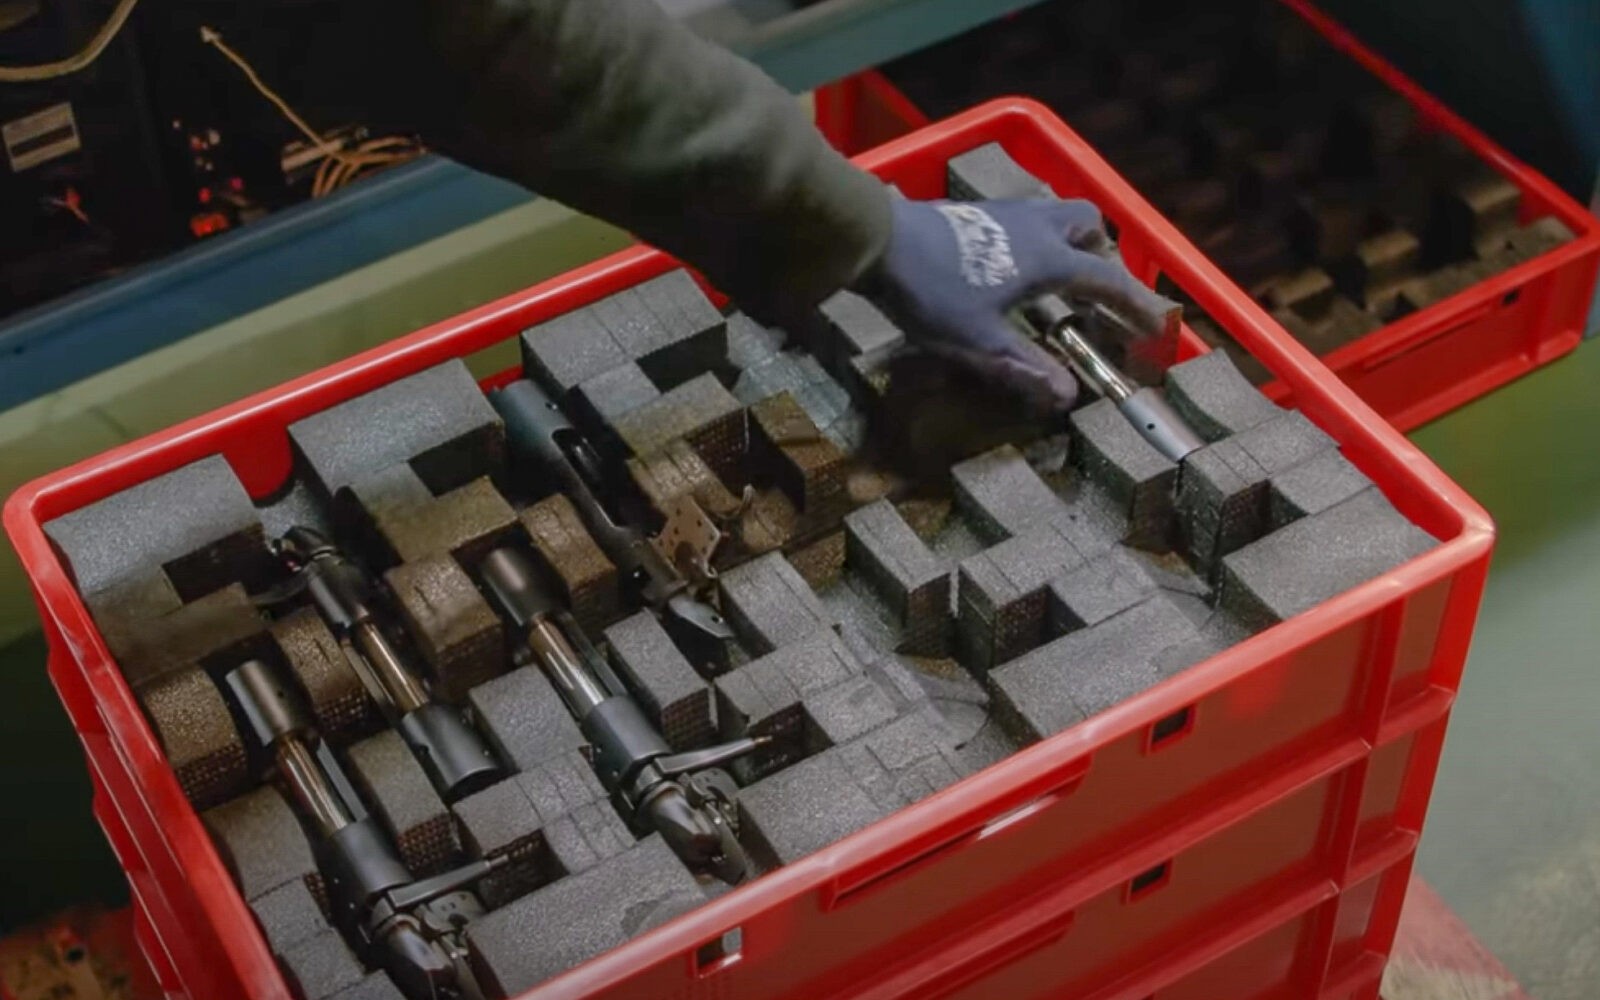
C. Magazine Design and Interchangeability
Both the SVD and PSL are chambered for the same powerful 7.62x54mm Russian rimmed cartridge and are fed from 10-round detachable box magazines.1 This shared ammunition and capacity often leads to the mistaken assumption that their magazines are interchangeable. However, this is a critical point of divergence: the magazines are not interchangeable between the Dragunov and PSL without significant modification.1
This incompatibility stems directly from their fundamentally different receiver designs and internal dimensions. The SVD, being a purpose-built design with a milled receiver, has a magazine well precisely machined to fit its specific magazines. In contrast, the PSL, as an enlarged AK/RPK variant, adapted its magazine well to accommodate its scaled-up Kalashnikov-style internals. Visually, PSL magazines are distinguishable by a characteristic X-shaped pattern stamped on their sides, whereas Russian and Chinese SVD magazines typically feature a waffle-style stamp.1 This seemingly minor detail carries significant logistical implications for military forces or civilian users who might operate both rifle types, as it necessitates separate supply chains for magazines despite the shared ammunition. The non-interchangeability of magazines serves as a tangible illustration of the deep mechanical differences between the two platforms, reinforcing that the PSL is not simply a “Romanian Dragunov” but a distinct weapon system.
D. Optics and Mounting Systems
Both the SVD and PSL were designed to be used primarily with optical sights, reflecting their role as designated marksman rifles. They share a common philosophy of side-mounted optics, a characteristic of Eastern Bloc firearms, which allows for the use of iron sights even when the optic is mounted.18
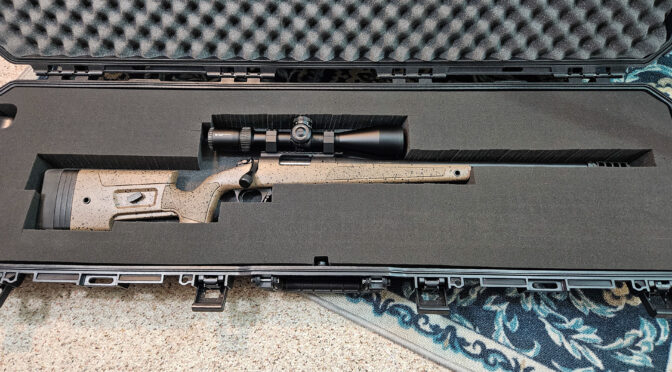
The SVD is typically issued with the PSO-1 (or later PSO-1M2) optical sight.3 This 4x magnification scope features a distinctive reticle that includes a stadiametric rangefinder for estimating target distance, chevrons for bullet drop compensation (BDC) at various ranges, and horizontal marks for windage adjustments.22 The PSO-1 is designed to mount to a Warsaw Pact rail on the left side of the SVD’s receiver. This mounting system is engineered to allow for the optic’s removal and reattachment without a significant loss of zero, a crucial feature for field maintenance and transport.18 The SVD’s milled receiver provides a robust and stable base for this rail, contributing to consistent optic performance.
The PSL is typically equipped with the LPS 4×6° TIP2 scope (Lunetă Pușcă Semiautomată Tip 2).1 This optic is a simplified version of the Russian PSO-1, sharing a similar basic design, 4x magnification, and the distinctive stadiametric rangefinder and BDC reticle features.1 It also mounts to a riveted side rail on the left side of the PSL’s stamped receiver.1 While the shared design philosophy of integrated rangefinding and BDC aims for rapid target engagement without complex calculations, there can be differences in optical quality and consistency. Some reports indicate that the LPS optics found on PSLs may be “dim and hazy” compared to the PSO-1.4 The PSL’s riveted rail on a stamped receiver, while functional, may not offer the same inherent rigidity and stability as the SVD’s integrated rail on a milled receiver, potentially impacting the consistency of zero retention over time, though the side rail concept itself is designed for repeatable mounting.18 The differences in optical quality and mounting stability reflect the differing manufacturing standards and the overall refinement levels of each nation’s arms industry.
E. Other Key Distinctions
Beyond the major differences in operating mechanisms, receivers, barrels, and magazines, several other mechanical distinctions contribute to the overall character and performance of the SVD and PSL:
- Trigger Groups: The SVD features a more refined and easily removable trigger mechanism.3 This design contributes to a smoother and lighter trigger pull, which is beneficial for precision shooting. In contrast, the PSL, being derived from the AK platform, utilizes a fire control group that is more akin to the standard Kalashnikov design.3 While robust and reliable, these triggers are often characterized by a military-grade coarseness, with some creep and grittiness, which can be less conducive to achieving maximum accuracy.10
- Gas Regulation: The SVD incorporates a two-position adjustable gas regulator.6 This feature allows the operator to fine-tune the gas system to compensate for varying environmental conditions (such as fouling in the gas port, extreme cold, or high altitude) or to optimize performance with different ammunition types. This adjustability helps maintain consistent recoil impulse and reliability. The PSL, however, typically has a non-adjustable gas system.1 This lack of adjustability can lead to issues, particularly when using heavier ammunition (147 grain or greater) or silencers, as the increased gas pressure can cause excessive wear, including bolt carrier cracking.1 To mitigate these issues, aftermarket adjustable gas pistons are a common and recommended modification for PSL owners.1 This difference underscores the SVD’s more optimized design for its cartridge compared to the PSL’s adaptation of an existing platform.
- Bolt Hold-Open: The SVD features a last-round bolt hold-open mechanism, which keeps the bolt open after the last cartridge in the magazine has been fired.6 This is a valuable feature for military applications as it provides immediate feedback to the operator that the rifle is empty and facilitates faster reloads. While military-specification PSLs generally incorporate this feature, some civilian import versions may lack it due to modifications made to comply with import laws.1
These cumulative differences highlight the engineering trade-offs inherent in each design. The SVD’s features reflect a commitment to optimizing performance and adaptability for its specific role, while the PSL’s design reflects a pragmatic approach of adapting existing, proven technology, even if it means some inherent limitations or the need for user-level modifications to achieve optimal performance.
V. Performance Analysis: Accuracy and Operational Range
The performance of the SVD Dragunov and Romanian PSL is best understood within the context of their intended role as Designated Marksman Rifles, rather than traditional precision sniper rifles. Both were designed for “combat accuracy”—the ability to consistently hit man-sized targets in dynamic battlefield conditions—rather than achieving minute-of-angle (MOA) groups typically expected from dedicated Western sniper platforms.9
A. Accuracy at 500 meters and 1,000 meters
Evaluating the accuracy of these rifles at 500 and 1,000 meters requires distinguishing between factory specifications, optimal conditions with match-grade ammunition, and practical performance with standard military ball ammunition.
SVD Dragunov Accuracy:
Factory inspection requirements for the SVD were stringent for its class, mandating a median deviation of no more than 0.7 MOA in three 10-shot groups when using the dedicated 7N1 sniper ammunition.6 This translates to an approximate overall accuracy of 3 MOA under factory test conditions.6 More specifically, with 7N1 sniper cartridges, the extreme vertical spread was required to be no more than 1.24 MOA (with a 240 mm twist rate barrel) or 1.04 MOA (with a 320 mm twist rate barrel) in 5-shot groups.22 However, when using standard 57-N-323S cartridges (light ball), the precision of the SVD is notably reduced to approximately 2.21 MOA extreme vertical spread.22 U.S. military tests and Soviet technical bulletins further indicate a requirement for the SVD to hold a 14.7-inch group at 600 meters (approximately 2.3 MOA) with standard ball ammunition.19 This level of accuracy is considered acceptable for engaging man-sized targets at these distances. While the SVD can achieve hits at 1,000 meters, its design is not optimized for consistent precision at such extreme ranges. An experimental prototype, the SVK, chambered in 6x49mm, was developed to offer nearly a fourfold accuracy improvement over the SVD at 1,000 meters, underscoring the SVD’s inherent limitations at that distance.7
Romanian PSL Accuracy:
The PSL is often cited as being capable of 1 Minute of Angle (MOA) or less under ideal conditions.1 However, this potential is frequently hampered by practical limitations. A significant issue is the PSL’s relatively thin barrel, which heats up quickly, causing groups to widen considerably after only 3 to 5 rounds.13 This makes sustained precision fire challenging. Furthermore, the lack of an adjustable gas system can lead to issues like bolt carriers cracking when using heavier ball (147 grain or greater) ammunition or suppressors, due to excessive gas pressure.1 Despite these challenges, with proper tuning, such as the installation of an aftermarket adjustable gas piston (like the KNS piston), and selection of specific ammunition (e.g., 150-grain or 180+ grain loads), the PSL has demonstrated the capability to make 500-yard shots with ease, with some reports indicating its accuracy can be “on par with the Drag”.12 It is consistently emphasized that the PSL, like the SVD, is a DMR intended for hitting man-sized targets, not a precision competition rifle.9 For example, tests at 300 yards showed the PSL capable of a 10-shot rapid-fire group, and with specific match ammunition, it could achieve groups near 1.5 MOA.11
Comparative Assessment:
At 500 meters, both rifles are capable of engaging man-sized targets. The SVD, particularly with 7N1 sniper ammunition, is generally more consistently accurate out of the box due to its higher quality control and more refined design.10 Its factory specifications and military requirements suggest a reliable capability for hits within 2-3 MOA at this range.19 The PSL, while capable of similar or even better initial accuracy with optimal ammunition and tuning, suffers from rapid barrel heating, which significantly degrades its sustained accuracy after a few shots.13 Therefore, for a single, well-aimed shot at 500 meters, both can perform, but the SVD offers greater consistency across multiple shots and varying ammunition types without modifications.
At 1,000 meters, neither rifle is considered a true precision sniper rifle in the Western sense. While their optical sights (PSO-1/LPS) have bullet drop compensation markings up to 1,000 meters or beyond, and their cartridges possess the ballistic energy to reach these distances, achieving consistent, precise hits on man-sized targets becomes significantly more challenging.1 The SVD’s limitations at 1,000 meters are acknowledged by the development of the SVK prototype, which aimed for a fourfold accuracy improvement at this range.7 For the PSL, its thin barrel and inherent design limitations make consistent accuracy at 1,000 meters highly improbable without extensive modifications and specialized ammunition, even then it would be considered an extreme shot.10 In practical terms, neither rifle is reliably accurate for precision work at 1,000 meters, though engaging area targets or suppressing fire might be possible.
B. Realistic Operational Range
The realistic operational range for a designated marksman rifle is the distance at which a trained operator can consistently achieve effective hits on typical battlefield targets (e.g., a man-sized silhouette) under combat conditions.
SVD Dragunov:
The SVD’s sighting systems are graduated for considerable distances: 1,300 meters with the optical sight and 1,200 meters with the iron sights.27 However, its maximum effective range is widely cited as 800 meters.19 This 800-meter range aligns with Soviet sniping doctrine, which focused on accurate engagement of multiple high-profile targets within this distance.19 The SVD is designed for a muzzle velocity of 830 m/s with standard ammunition.27 The rifle’s “killing range” is theoretically listed at 3,800 meters, but this refers to the maximum projectile flight distance, not effective accuracy.15 For direct fire, the SVD has a direct fire range of 350m for a 30cm head figure, 430m for a 50cm chest figure, and 640m for a 150cm running figure.32
Romanian PSL:
The PSL’s effective firing range is generally stated to be between 800 and 1,000 meters.30 Its LPS 4×6° TIP2 optical sight features bullet drop compensation out to 1,000 meters.1 Similar to the SVD, the PSL has a theoretical maximum firing range (killing effect) of approximately 3,000 to 3,800 meters.15 With a muzzle velocity of 830 m/s using a 10-gram projectile (7N14) 30, its ballistic performance is comparable to the SVD. Romanian military doctrine for the PSL, like the SVD, focused on its role as a squad-level DMR to engage targets beyond the capabilities of standard assault rifles, typically between 400 and 800 meters.15
Conclusion on Operational Range:
Both the SVD and PSL are realistically effective at engaging man-sized targets out to approximately 800 meters under typical battlefield conditions. While their optics and ammunition allow for shots at greater distances, consistent hits on individual targets become increasingly difficult beyond this range due to ballistic limitations, rifle characteristics (like barrel heating in the PSL), and the inherent precision requirements for such shots. Their design and doctrinal role align with providing extended-range fire support within the capabilities of a standard infantry squad, rather than engaging targets at extreme “sniper” distances.
VI. Design Superiority and Practicality
Assessing the “superior design” between the SVD Dragunov and the Romanian PSL is nuanced, as each rifle represents a different set of design priorities and compromises. The determination of superiority often depends on the specific criteria being evaluated: refinement, reliability, manufacturing cost, and maintenance.
Refinement:
The SVD is widely considered the more refined design.2 Its purpose-built nature, featuring a precisely milled receiver and a short-stroke gas piston system, contributes to a smoother operation, reduced reciprocating mass, and better inherent accuracy potential.3 The SVD’s trigger mechanism is also noted for being more refined and easily removable.3 This level of engineering and manufacturing precision typically results in a weapon that feels more “tight” and consistent. The PSL, being an adaptation of the RPK/AKM platform, exhibits a “military-grade coarseness” in its construction.9 While robust, its stamped receiver and long-stroke gas system, though beefed up, operate closer to their mechanical limits when firing the powerful 7.62x54mmR cartridge, leading to less inherent refinement in its action.10
Reliability:
Both rifles are renowned for their reliability, a hallmark of Eastern Bloc small arms designs. The PSL, benefiting from its Kalashnikov heritage, has a well-earned reputation for ruggedness and reliability, performing well even in extreme field environments.10 Its simpler, more robust long-stroke gas system is inherently forgiving of fouling and harsh conditions. The SVD also boasts legendary reliability, having undergone rigorous torture testing in various climatic conditions to ensure flawless performance.42 While the PSL’s non-adjustable gas system can lead to issues with heavy ammunition or suppressors, requiring aftermarket modifications 1, its basic operating reliability remains high. In terms of sheer ability to function under adverse conditions, both are highly dependable, though the PSL’s simplicity might give it a slight edge in raw field ruggedness for the average soldier.
Manufacturing Cost:
The PSL is significantly less expensive to produce than the SVD.9 This cost difference is a direct result of their differing manufacturing methods. The SVD’s milled receiver and more complex, purpose-built components require more machining time and higher material costs.2 In contrast, the PSL’s stamped receiver and adaptation of existing AK/RPK tooling allowed for more cost-effective mass production, a key Romanian design priority.9 This cost advantage made the PSL a more accessible option for many nations and for civilian markets, especially when compared to the scarcity and high price of genuine SVDs.2
Maintenance:
Both rifles are designed for relatively easy field maintenance, a common characteristic of Soviet and Warsaw Pact firearms, often described as “Ivan-proof”.16 Disassembly and reassembly procedures for both are straightforward, allowing for routine cleaning and lubrication in the field.17 The PSL’s AK-derived design means its maintenance procedures are familiar to anyone accustomed to Kalashnikov-pattern rifles.9 The SVD’s trigger group is notably easy to remove for maintenance.3 The adjustable gas system on the SVD also simplifies maintenance by allowing the operator to compensate for fouling or extreme cold.6 While both are robust, the PSL’s inherent simplicity, being an enlarged AK, might be perceived as marginally easier to maintain for a general infantryman without specialized training.
Overall Assessment of Superiority:
There is no single “superior” design; rather, each excels in different areas based on its original intent.
- The SVD Dragunov is generally considered the superior design in terms of inherent precision, refinement, and optimized performance for its designated role.2 Its purpose-built architecture and higher manufacturing standards contribute to more consistent accuracy and a more refined shooting experience. It represents a dedicated engineering solution to the DMR problem.
- The Romanian PSL is superior in terms of cost-effectiveness, ease of mass production, and raw rugged reliability.9 It is a highly successful pragmatic adaptation of an existing, proven platform, making it a robust and widely available solution for forces requiring an extended-range semi-automatic rifle without the higher investment of the SVD.
Therefore, if the priority is maximum inherent accuracy and refinement, the SVD is the superior design. If the priority is widespread issuance, cost-effectiveness, and robust reliability under demanding conditions, the PSL presents a highly effective and practical solution.
VII. Global Adoption and Variants
Both the SVD Dragunov and the Romanian PSL have seen extensive military service globally, particularly within the former Eastern Bloc and among nations that received Soviet or Romanian military aid. Their widespread use underscores their effectiveness in the designated marksman role.
A. SVD Dragunov: Military Users and Variants
The SVD Dragunov, having entered service with the Soviet Army in 1963, quickly became the standard squad support weapon for numerous countries, especially those of the former Warsaw Pact.6 Its robust design and effective performance ensured its continued relevance across decades of conflict.
Current and Former Military Users:
The SVD has been widely adopted by state forces across various regions.28 Notable users include:
- Russia: Continues to use and upgrade the SVD, with newer SVDM variants being issued.45
- Former Soviet Republics: Including Kazakhstan 46, Ukraine 45, and Moldova.
- Eastern Europe: Hungary 46, East Germany (issued as SWD) 6, Czechoslovakia (entered service in the 1970s).6
- Middle East & North Africa: Iraq 2, Syria 46, Egypt.
- Asia: China (produced under license as Type 79 and 85) 6, Vietnam.
- Other: Afghanistan.47
The SVD has been used in numerous conflicts, including the Vietnam War, Soviet-Afghan War, Iran-Iraq War, Iraq War, Syrian Civil War, and the ongoing Russo-Ukrainian War.6 Non-state actors, such as the Islamic State and Lord’s Resistance Army, have also utilized SVDs.6
Notable Variants:
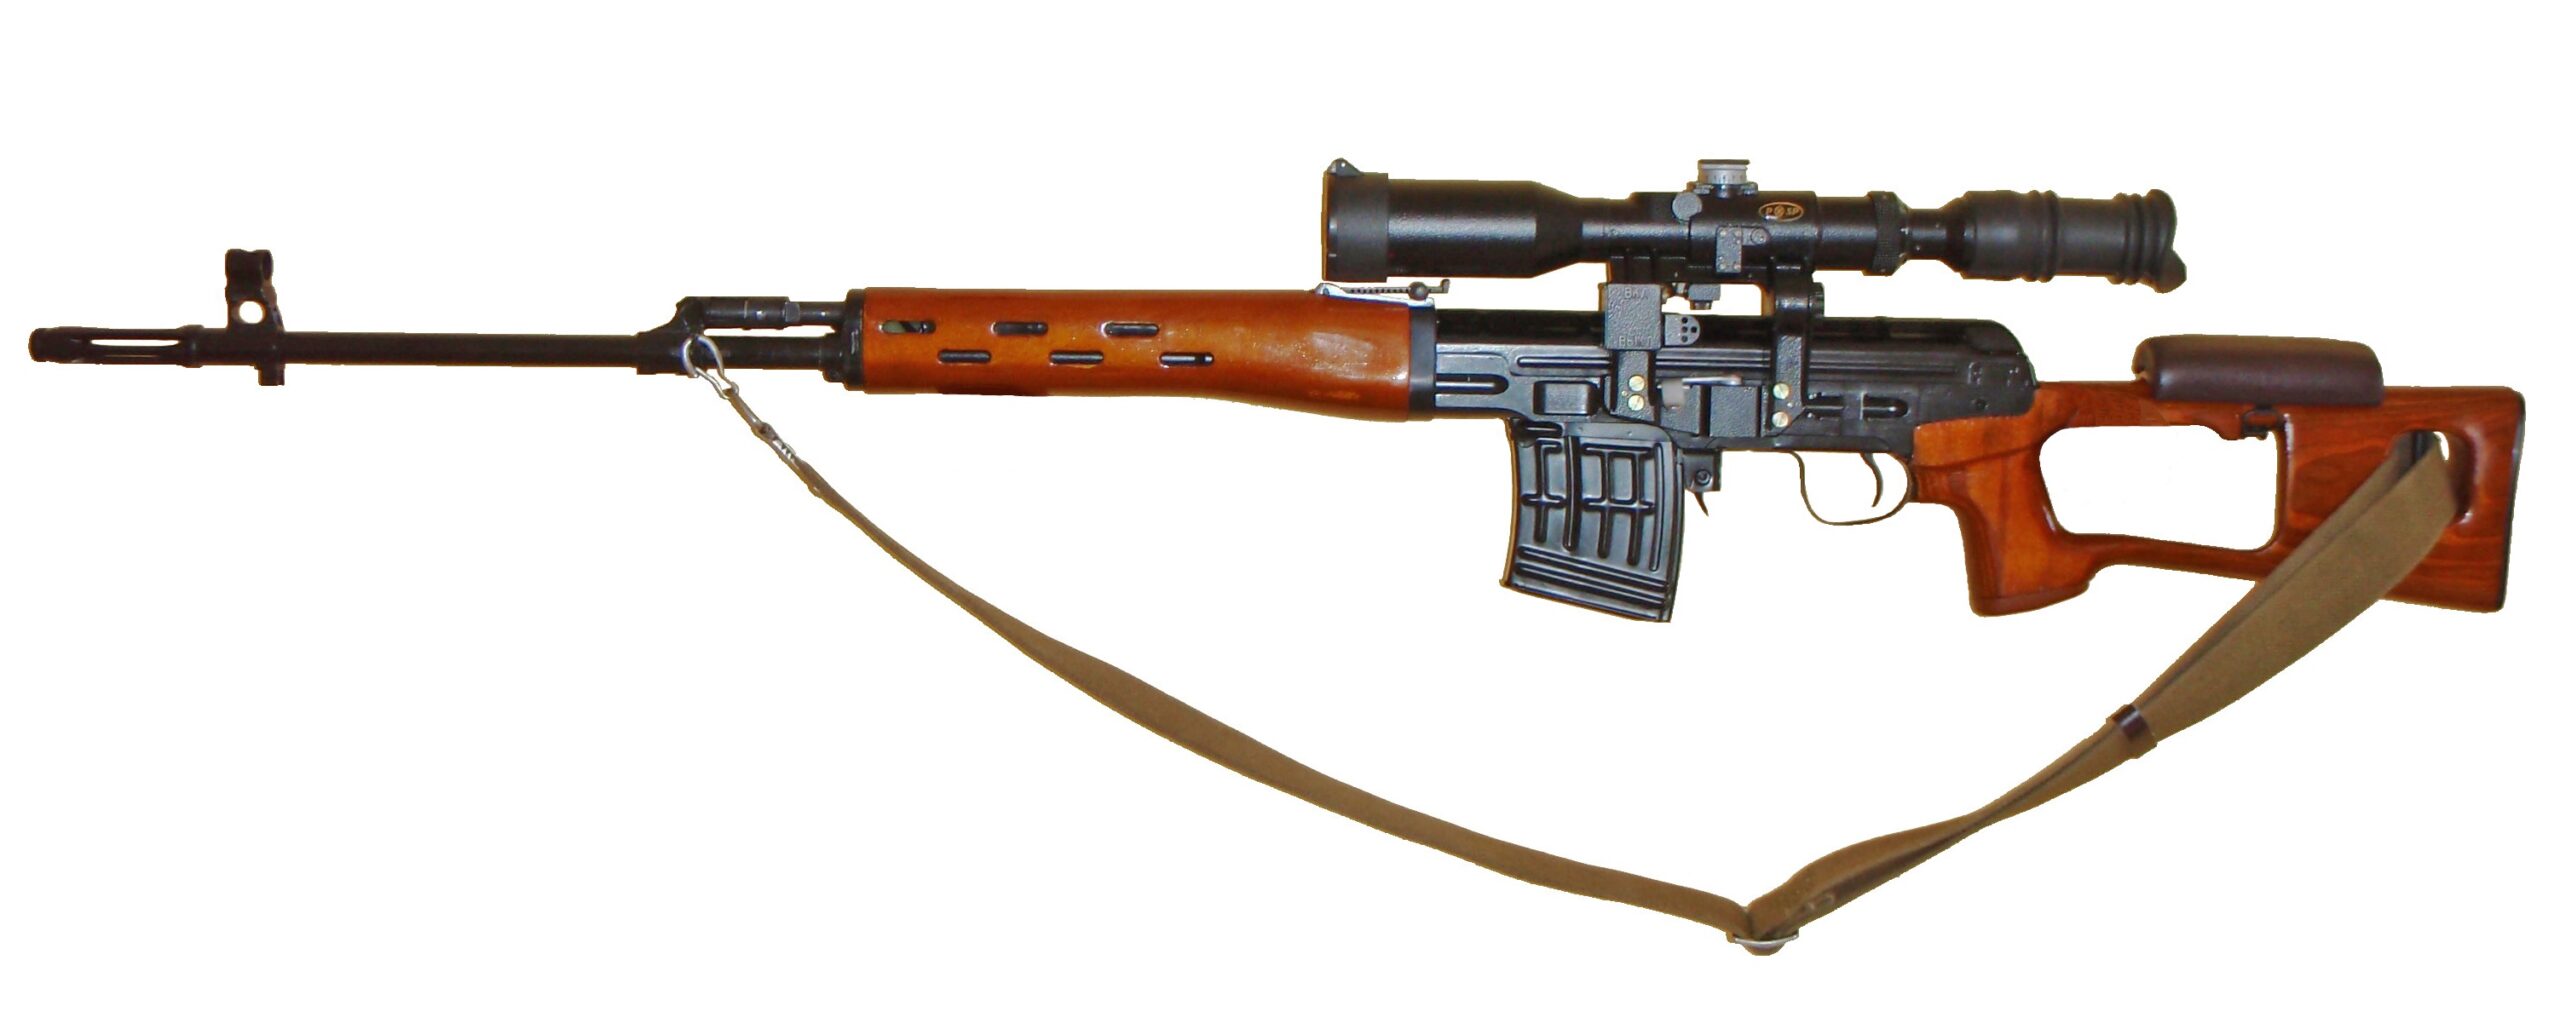
- SVD (Original, Russia): The foundational model, characterized by its skeletal stock and long, narrow profile.28
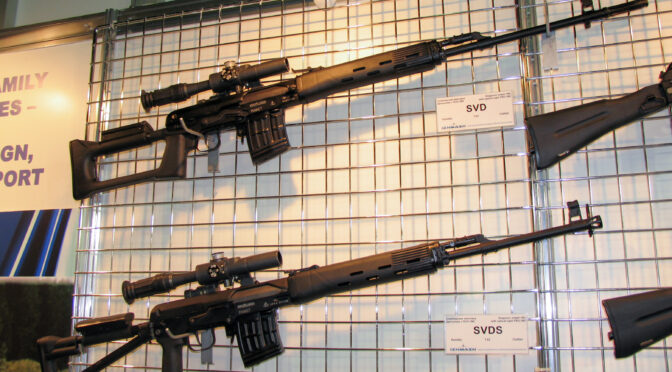
- SVDS (Russia): A variant featuring a tubular, folding stock, designed for paratroopers.28
- SVDK (Russia): Resembles the SVDS but is rechambered to fire a larger 9.3x64mm cartridge, intended for targets in heavy body armor or behind cover.28
- SVU (Russia): A ‘bullpup’ version of the SVD, reconfigured with the magazine behind the trigger assembly to reduce overall length.22
- Type 79 / NDM-86 (China): Chinese copies of the SVD, visually identical to the original; differentiation often requires checking manufacturer markings.2 The NDM-86 was also produced in 7.62x51mm NATO for export.3
- Al-Kadesih (Iraq): An Iraqi variant distinguishable by a palm tree embossed on the magazine.28
B. Romanian PSL: Military Users and Variants
The PSL, introduced into Romanian military service in 1974, has also achieved significant global distribution due to its robust design and cost-effectiveness.1
Current and Former Military Users:
The PSL was adopted by all branches of the Romanian Army, internal troops, and police units.1 Its export success led to widespread use in various regions:
- Romania: Primary user since 1974.1
- Middle East & North Africa: Iraq (5,000 delivered to Republican Guards in 1978) 1, Iran 17, Libya (including Anti-Gaddafi forces) 1, Syria 17, Egypt.1
- Africa: Eritrea 1, Ethiopia 1, Angola 17, Republic of Congo, Democratic Republic of Congo, Uganda.17
- Asia: Afghanistan 1, Bangladesh 1, North Korea 17, Pakistan 17, Vietnam.17
- Europe: East Germany 1, Republic of Moldova.17
- Central America: Nicaragua.17 The PSL has been employed in numerous conflicts, including the Angolan Civil War, Iran-Iraq War, Gulf War, War in Afghanistan, Syrian Civil War, and the ongoing conflict in Donbas.17
Notable Variants:
- PSL 54 (Romania): The standard semi-automatic military version, chambered in 7.62x54R.1
- PSL 51 (Romania): A semi-automatic version chambered in 7.62x51mm NATO, primarily for export.15
- PL (Romania): A repeating (bolt-action) version chambered in 7.62x51mm NATO.15
- PSL-54C / Romak III / FPK / FPK Dragunov / SSG-97 (Export): These are sporting versions intended for the export market, particularly the United States. They are largely identical to the military version but feature modifications to comply with import laws, such as the removal of the bayonet lug and receiver modifications (e.g., two trigger mechanism axis pin holes instead of three).1 The “FPK Dragunov” designation is purely commercial and does not imply mechanical commonality with the SVD.1
VIII. Summary Table of Major Features
The following table provides a concise comparison of the key features of the SVD Dragunov and the Romanian PSL, highlighting their similarities and fundamental differences.
| Feature | SVD Dragunov (Russia) | Romanian PSL (Puşcă Semiautomată cu Lunetă) |
| Type | Designated Marksman Rifle (DMR), Sniper Rifle | Designated Marksman Rifle (DMR) |
| Place of Origin | Soviet Union (Russia) | Romania |
| In Service | 1963–present 6 | 1974–present 30 |
| Designer | Yevgeny Dragunov 21 | Romania – Cugir 31 |
| Operating Mechanism | Gas-operated, Short-Stroke Gas Piston, Rotating Bolt 3 | Gas-operated, Long-Stroke Gas Piston, Rotating Bolt 1 |
| Receiver Type | Milled Steel 2 | Stamped Sheet Steel (RPK-type, reinforced) 1 |
| Caliber | 7.62x54mmR (original), 9.3x64mm (SVDK variant) 28 | 7.62x54mmR (original), 7.62x51mm NATO (export variant) 1 |
| Muzzle Velocity | 830 m/s 27 | 830 m/s 30 |
| Weight (unloaded, with optical sight) | 4.3 kg 27 | 4.31 kg 30 (4.9 kg with mag & scope, no bayonet 15) |
| Length (without bayonet) | 1220 mm 27 | 1150 mm 30 |
| Barrel Length | 620 mm 28 | 620 mm 24 |
| Barrel Profile | Originally thin, later heavier (SVDM) 6 | Relatively thin 10 |
| Barrel Rifling Twist | 240 mm (1:9.4 in) (since 1975) 6 | 1:10″ (254 mm) 24 (some sources 320mm 31) |
| Magazine Capacity | 10 rounds, detachable box 27 | 10 rounds, detachable box 1 |
| Magazine Interchangeability | Not interchangeable with PSL magazines 1 | Not interchangeable with SVD magazines 1 |
| Standard Optic | PSO-1 / PSO-1M2 (4x) 22 | LPS 4×6° TIP2 (4x) 1 |
| Gas System | Adjustable (two-position) 6 | Non-adjustable 1 |
| Bolt Hold-Open | Yes (last round) 6 | Yes (military spec), some civilian imports lack it 1 |
| Factory Accuracy (7N1 ammo) | ~1.04-1.24 MOA (5-shot groups, extreme vertical spread) 22 | Capable of 1 MOA or less (but with caveats) 1 |
| Effective Firing Range | 800 m 29 | 800–1,000 m 30 |
| Max Sighting Range (optic) | 1300 m 27 | 1300 m 15 |
| Notable Variants | SVDS, SVDK, SVU, Type 79, Al-Kadesih 28 | PSL-54C, Romak III, FPK, SSG-97 (export) 1 |
| Countries Used In (Examples) | Russia, Ukraine, Iraq, China, Hungary, Syria 6 | Romania, Iraq, Afghanistan, Bangladesh, Libya, Eritrea 1 |
| Manufacturing Cost | Higher (milled receiver) 43 | Lower (stamped receiver) 9 |
IX. Conclusion
The comparative analysis of the Russian SVD Dragunov and the Romanian PSL reveals two distinct yet functionally similar Designated Marksman Rifles, each a product of unique design philosophies and geopolitical circumstances. The common perception of the PSL as a mere “Romanian Dragunov” is a misnomer, as the rifles are mechanically dissimilar, sharing only their ammunition, optical philosophy, and a general aesthetic.1
The SVD Dragunov stands as a testament to Soviet engineering, purpose-built from the ground up to fulfill a specific doctrinal role: providing squad-level marksmen with rapid, effective fire at extended ranges. Its short-stroke gas piston system and precisely milled receiver reflect a commitment to refinement and inherent accuracy, balancing these qualities with the need for battlefield mobility.3 The evolution of its barrel profile and twist rate further illustrates a pragmatic approach to optimizing performance across various ammunition types and operational conditions.6
In contrast, the Romanian PSL emerged from a different set of imperatives. Driven by political autonomy and a desire to reduce reliance on Soviet military hardware, Romania leveraged its existing Kalashnikov/RPK manufacturing capabilities to create an indigenous DMR.1 The PSL’s long-stroke gas piston system and reinforced stamped receiver, while less refined than the SVD, embody ruggedness, reliability, and cost-effective mass production.1 This approach made the PSL a highly practical and widely distributed solution, demonstrating how economic and political factors can lead to distinct, yet effective, designs for similar military requirements.
In terms of performance, both rifles are effective within their designated roles for engaging man-sized targets out to approximately 800 meters. While the SVD generally offers more consistent out-of-the-box accuracy due to higher quality control and a more stable design, the PSL, with proper ammunition and potential aftermarket modifications, can achieve comparable initial precision.10 However, the PSL’s thin barrel and non-adjustable gas system present limitations for sustained fire and use with heavier ammunition or suppressors, highlighting areas where its adapted design reaches its practical limits.1
Ultimately, the SVD Dragunov represents a dedicated, optimized design for a designated marksman rifle, emphasizing a balance of precision and battlefield utility. The Romanian PSL, while often overshadowed by its Russian counterpart, is a highly successful and reliable adaptation, prioritizing affordability and robust performance through a pragmatic application of existing technology. Both rifles have proven their worth in numerous conflicts worldwide, solidifying their legacy as iconic examples of Eastern Bloc DMRs.
In short, please don’t refer to a PSL as a Dragunov!
Image Sources
Main Image is “SVD and SVDS sniper rifles at Engineering Technologies 2012” Obtained from Wikimedia. Author is Mike1979 Russia. https://commons.wikimedia.org/wiki/File:SVD_and_SVDS_sniper_rifles_at_Engineering_Technologies_2012.jpg
Figure 1 is from Wikimedia and the authors is Hokos. https://commons.wikimedia.org/wiki/File:SVD_Dragunov.jpg
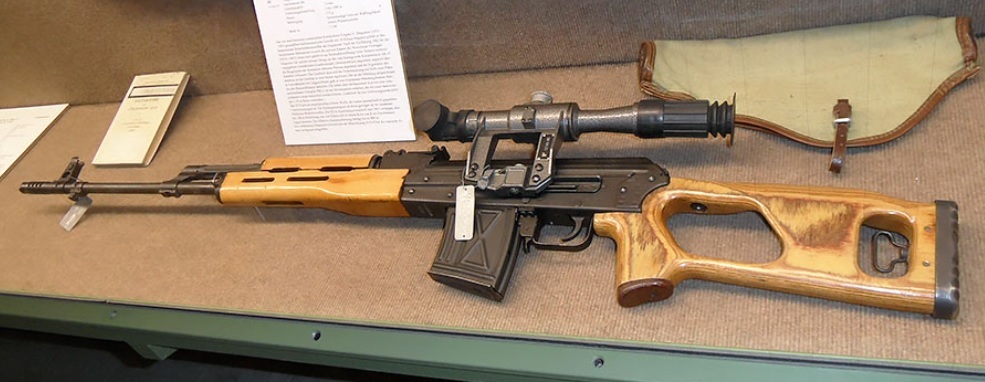
Figure 2 is from Wikimedia and the author is Verein der Freunde und Förderer der Wehrtechnischen Studiensammlung Koblenz e. V. https://commons.wikimedia.org/wiki/File:Dragunow_sniper_rifle_at_Wehrtechnische_Studiensammlung_Koblenz.jpg
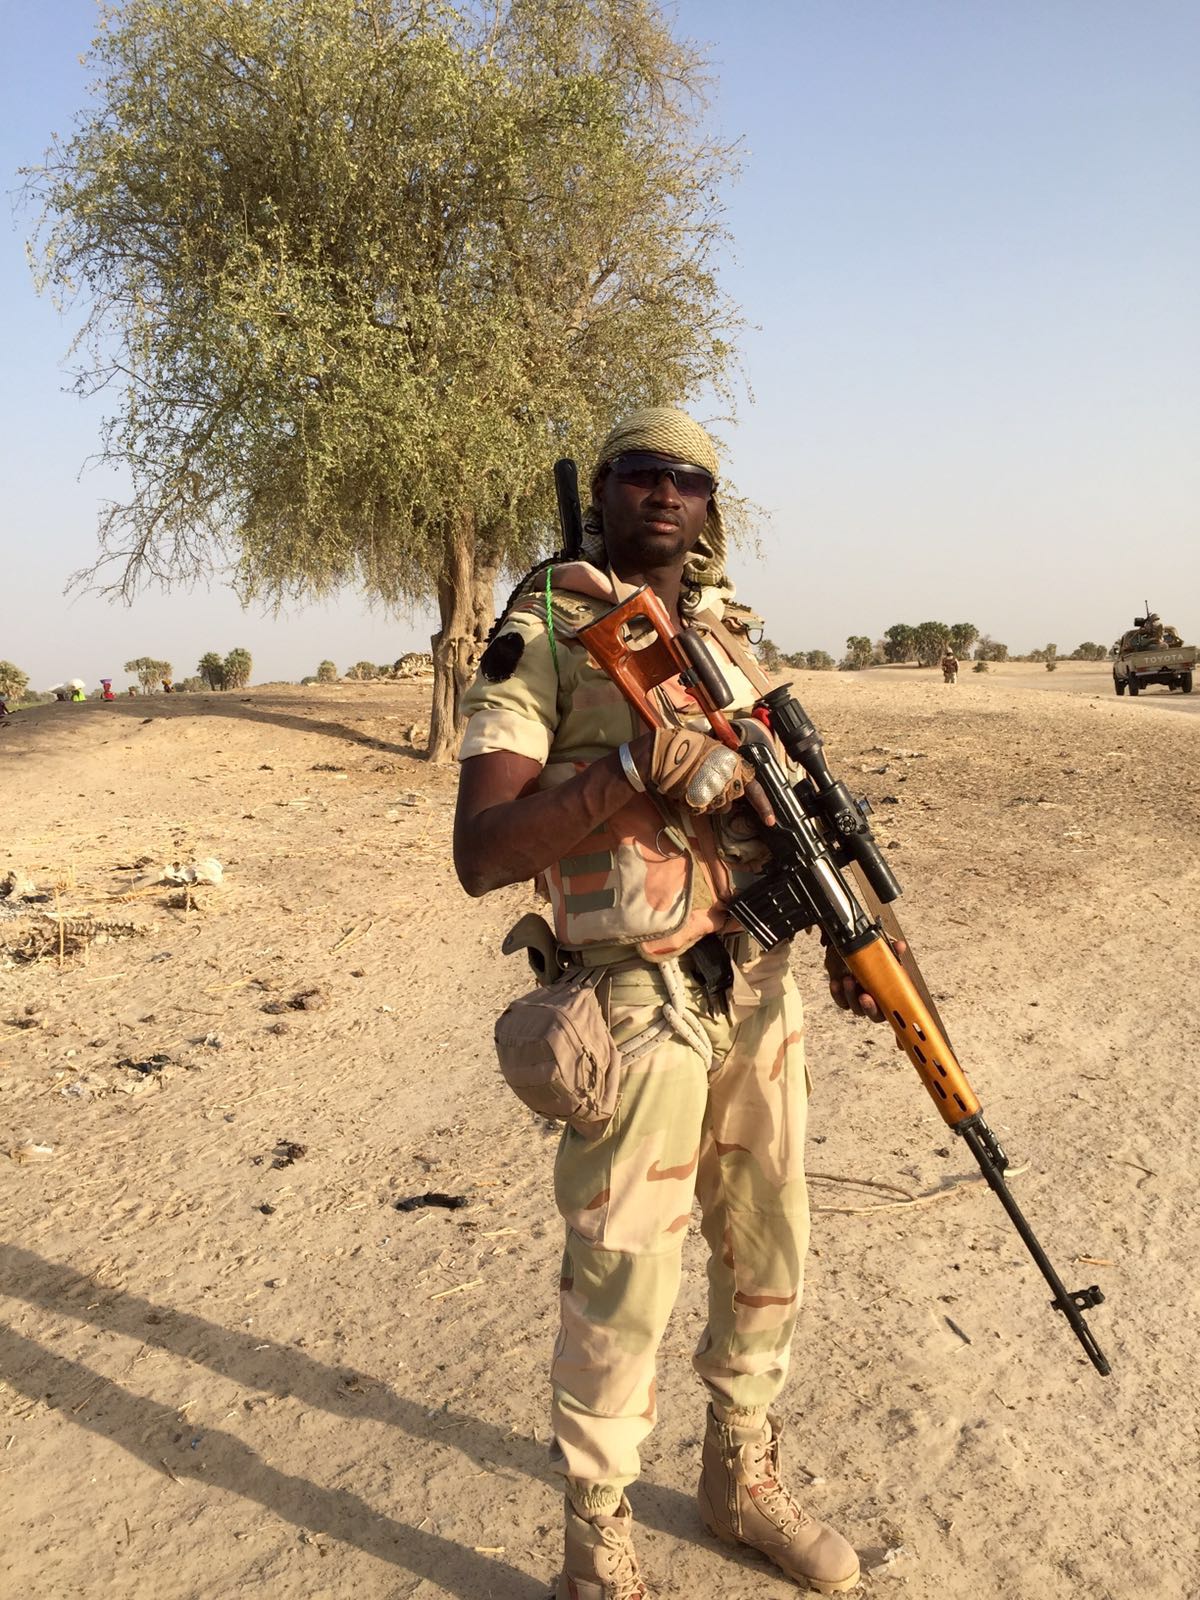
Figure 3 is a Nigerien solider calling himself “Romeo” poses for VOA Africa at Camp Assaga, Diffa, Niger. Photo by the Voice of America and obtained via Wikimedia. https://commons.wikimedia.org/wiki/File:Nigerian_sniper.jpg
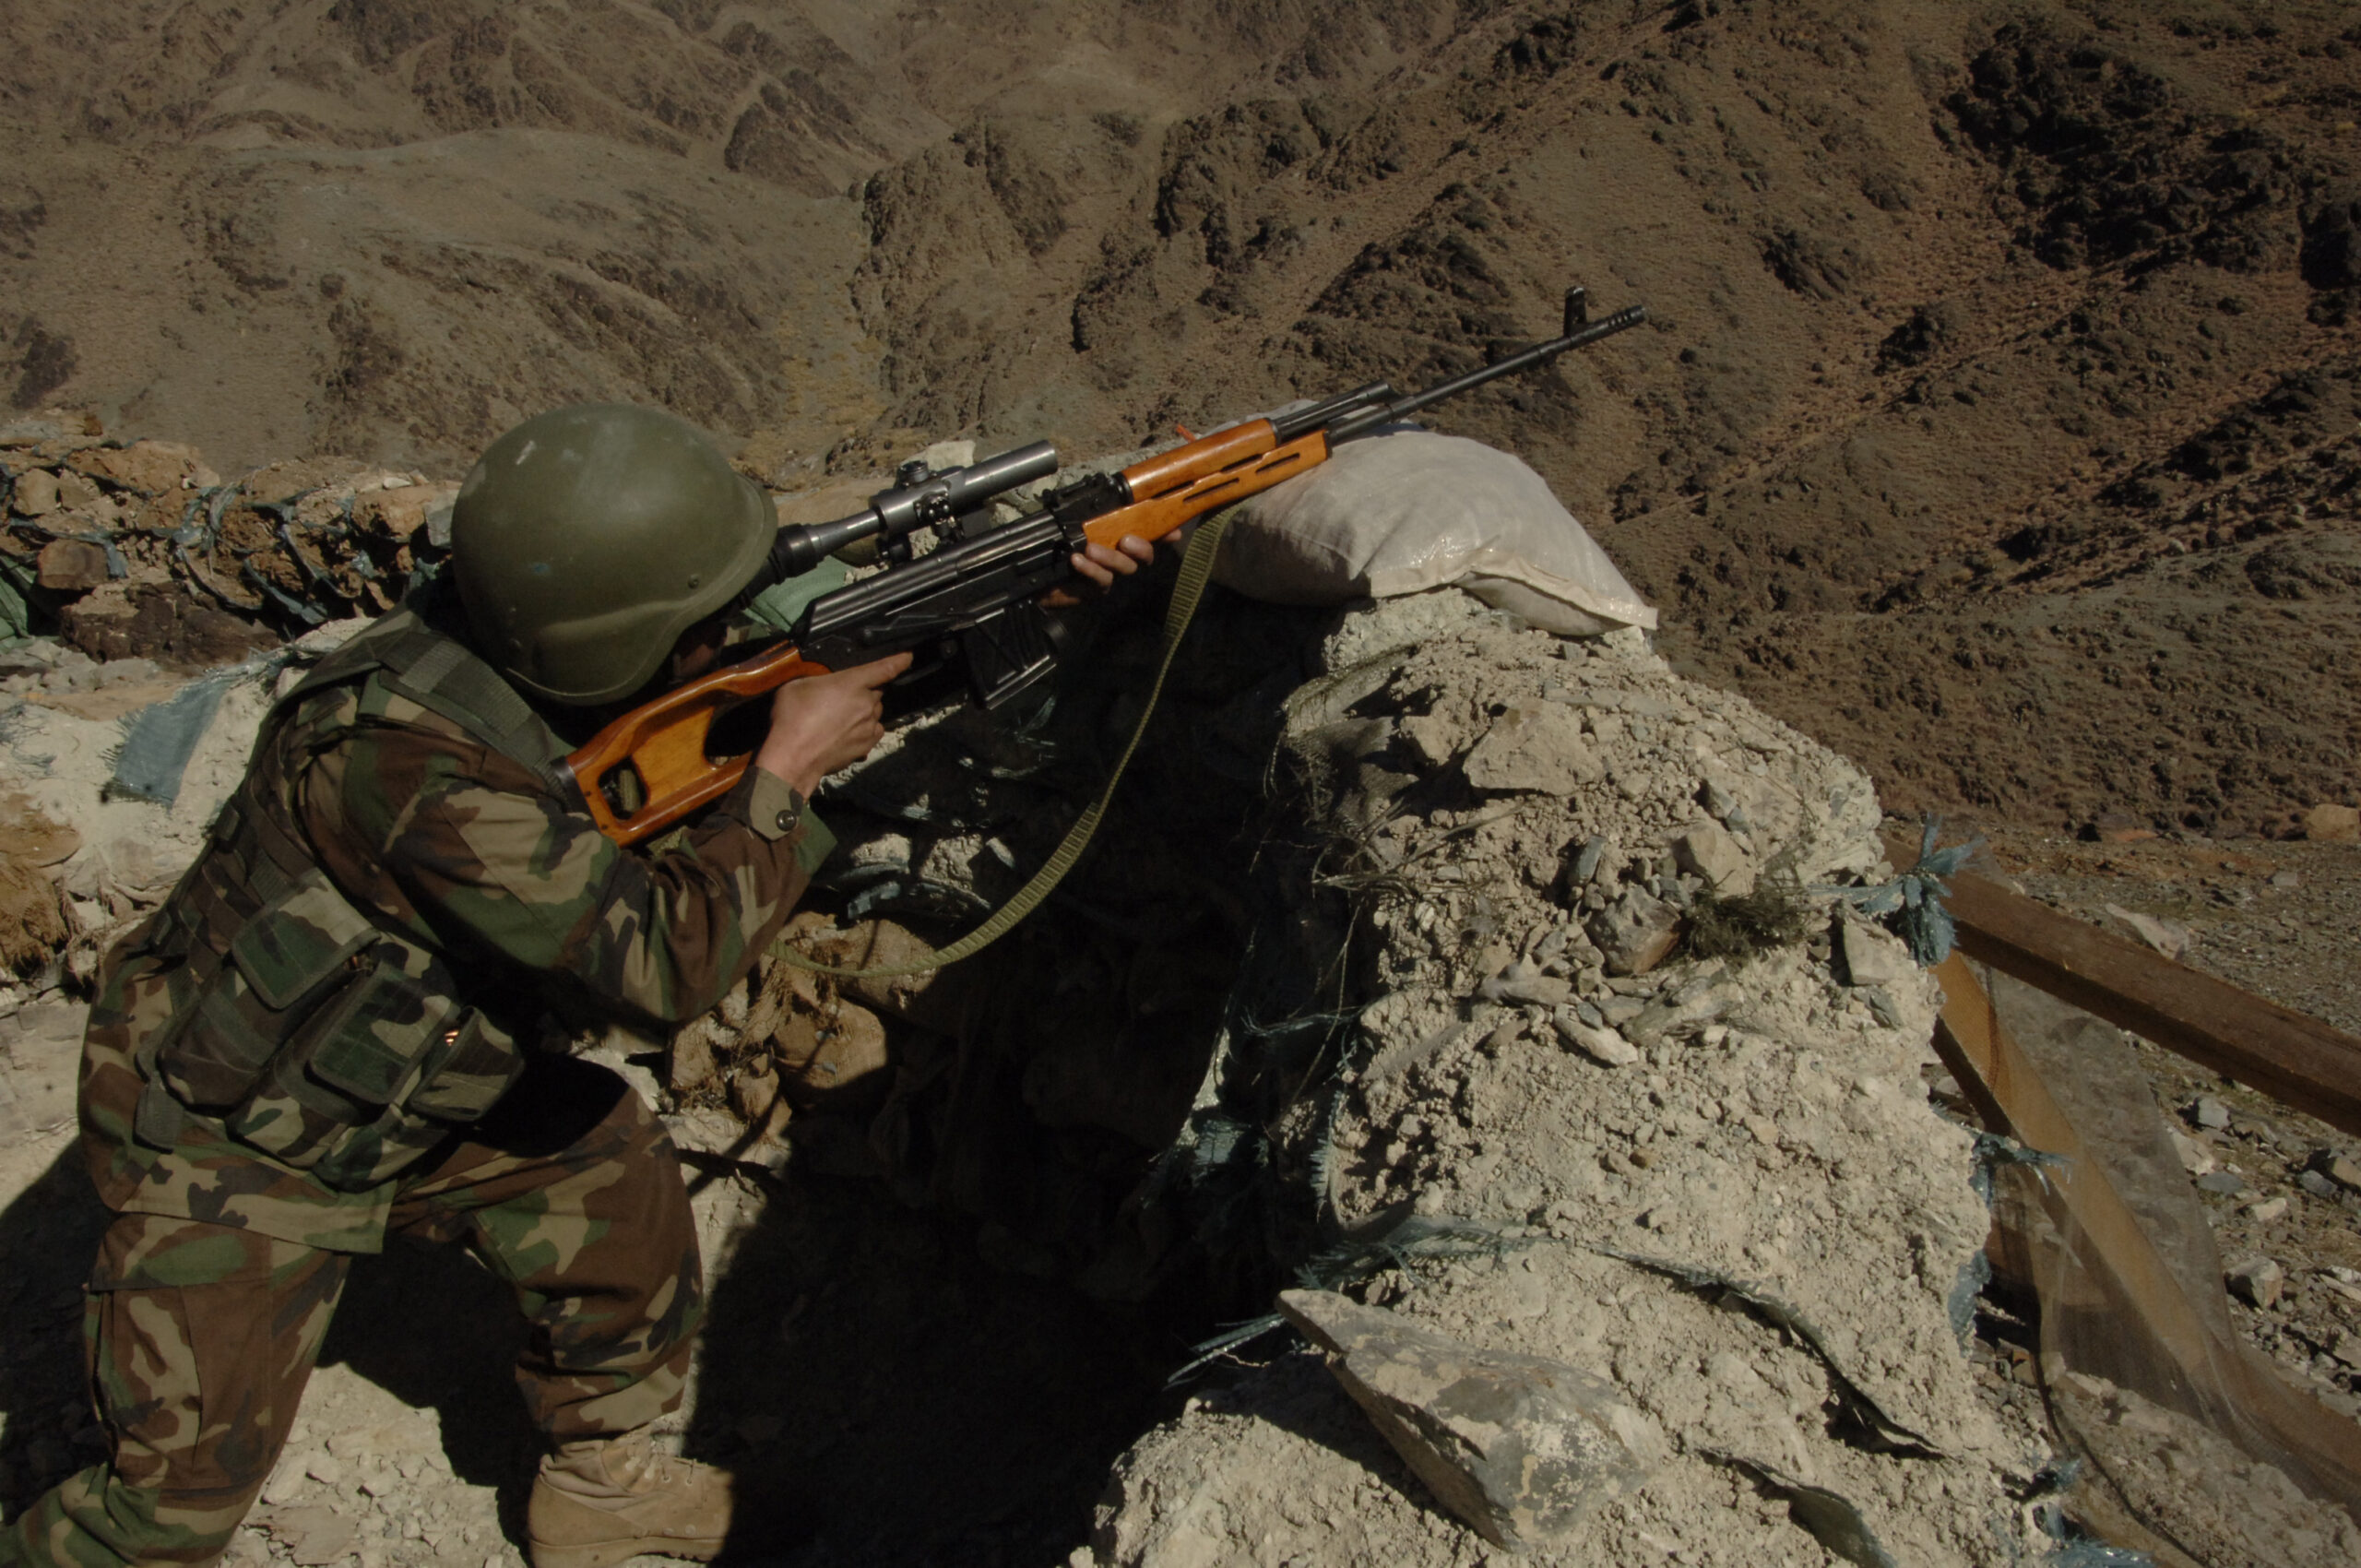
Figure 4 an Afghan National Army soldier uses a PSL rifle during a demonstration to display weaponry and communicatons capabilities at Camp Joyce, Afghanistan, Feb. 12, 2008. (U.S. Army photo by Spc. Jordan Carter) (Released). Photo from Wikimedia.https://commons.wikimedia.org/wiki/File:Afghan_National_Army_soldier_with_PSL_rifle.jpg
Works Cited
- PSL (rifle) – Wikipedia, accessed May 26, 2025, https://en.wikipedia.org/wiki/PSL_(rifle)
- PSL: Don’t Call This Dangerous Gun a ‘Sniper Rifle’ – The National Interest, accessed May 26, 2025, https://nationalinterest.org/blog/buzz/psl-dont-call-dangerous-gun-sniper-rifle-163637/
- Dragunov – The Firing Line Forums, accessed May 26, 2025, https://thefiringline.com/forums/showthread.php?t=478192
- Opinions On The Dragunov – The Firing Line Forums, accessed May 26, 2025, https://thefiringline.com/forums/showthread.php?t=299050
- Gun Review: Romanian PSL-54C Rifle in 7.62x54R – Athlon Outdoors, accessed May 26, 2025, https://athlonoutdoors.com/article/romanian-psl-54c-7-62x54r/
- SVD (rifle) – Wikipedia, accessed May 26, 2025, https://en.wikipedia.org/wiki/SVD_(rifle)
- Dragunov V-70, The Automatic SVD | thefirearmblog.com, accessed May 26, 2025, https://www.thefirearmblog.com/blog/dragunov-v-70-the-automatic-svd-44819068
- All the variants of the SVD Dragunov [686 × 888] : r/MilitaryPorn – Reddit, accessed May 26, 2025, https://www.reddit.com/r/MilitaryPorn/comments/dx7c75/all_the_variants_of_the_svd_dragunov_686_888/
- Review: Century Arms PSL 54 | An Official Journal Of The NRA, accessed May 26, 2025, https://www.americanrifleman.org/content/review-century-arms-psl-54/
- Rifle Dynamics PSL – SWAT Survival | Weapons | Tactics, accessed May 26, 2025, https://www.swatmag.com/article/rifle-dynamics-psl/
- Taking the PSL to the Next Level – Small Arms Review, accessed May 26, 2025, https://archive.smallarmsreview.com/display.article.cfm?idarticles=1449
- Which to get : Romanian PSL or a Russian Tigr? – Other AK Rifles – forum.Saiga-12.com, accessed May 26, 2025, http://forum.saiga-12.com/index.php?/topic/64742-which-to-get-romanian-psl-or-a-russian-tigr/
- Opinion on the PSL? : r/ak47 – Reddit, accessed May 26, 2025, https://www.reddit.com/r/ak47/comments/1elizx6/opinion_on_the_psl/
- PSL – Drive A Tank, accessed May 26, 2025, https://www.driveatank.com/armory/psl/
- Pușcă Semiautomată Cu Lunetă | PDF – Scribd, accessed May 26, 2025, https://ro.scribd.com/document/365735386/Pu%C8%99c%C4%83-Semiautomat%C4%83-Cu-Lunet%C4%83
- Opinions on Dragunov rifle ? [Archive] – The Firing Line Forums, accessed May 26, 2025, https://thefiringline.com/forums/archive/index.php?t-185694.html
- Pușcă semiautomată cu lunetă – Wikipedia, accessed May 26, 2025, https://ro.wikipedia.org/wiki/Pu%C8%99c%C4%83_semiautomat%C4%83_cu_lunet%C4%83
- Concepts – RussianOptics, accessed May 26, 2025, https://russianoptics.net/Concepts.html
- Terrorist Snipers: What Are They Really Capable Of? – SWAT Survival | Weapons | Tactics, accessed May 26, 2025, https://www.swatmag.com/article/terrorist-snipers-really-capable/
- Первая в мире. Снайперская винтовка Драгунова | Оружейный …, accessed May 26, 2025, https://www.kalashnikov.ru/pervaya-v-mire-snajperskaya-vintovka-dragunova/
- Yevgeny Dragunov – Wikipedia, accessed May 26, 2025, https://en.wikipedia.org/wiki/Yevgeny_Dragunov
- SVD (rifle) – Wikiwand, accessed May 26, 2025, https://www.wikiwand.com/en/articles/SVD_(rifle)
- PSL /svd clone prices ever coming down, should I buy now? : r/guns – Reddit, accessed May 26, 2025, https://www.reddit.com/r/guns/comments/1aoek8c/psl_svd_clone_prices_ever_coming_down_should_i/
- ROMANIAN PSL 7.62X54R 7.62 x 54r-RI035-N – mahindra arms, accessed May 26, 2025, https://mahindra-arms.com/romanian-psl-762x54r-762-x-54r.html
- Century Arms PSL 54 Rifle – Shark Coast Tactical, accessed May 26, 2025, https://sharkcoasttactical.com/product/century-arms-psl-54-rifle/
- PSL-54c First Shots: Testing Accuracy – YouTube, accessed May 26, 2025, https://m.youtube.com/watch?v=JovqDsQQAY0&pp=ygUFI2w1NGM%3D
- 7.62-mm SVD DRAGUNOV SNIPER RIFLE. TECHNICAL …, accessed May 26, 2025, http://club.guns.ru/manual/svd/
- www.smallarmssurvey.org, accessed May 26, 2025, https://www.smallarmssurvey.org/sites/default/files/SAS_weapons-sniper-rifles-DragunovSVD.pdf
- Dragunov SVDS | Weaponsystems.net, accessed May 26, 2025, https://weaponsystems.net/system/487-Dragunov+SVDS
- PSL (rifle) – Wikiwand, accessed May 26, 2025, https://www.wikiwand.com/en/articles/PSL_(rifle)
- PSL | Weaponsystems.net, accessed May 26, 2025, https://weaponsystems.net/system/488-PSL
- Снайперская винтовка Драгунова – Википедия, accessed May 26, 2025, https://ru.wikipedia.org/wiki/%D0%A1%D0%BD%D0%B0%D0%B9%D0%BF%D0%B5%D1%80%D1%81%D0%BA%D0%B0%D1%8F_%D0%B2%D0%B8%D0%BD%D1%82%D0%BE%D0%B2%D0%BA%D0%B0_%D0%94%D1%80%D0%B0%D0%B3%D1%83%D0%BD%D0%BE%D0%B2%D0%B0
- Снайперская винтовка Драгунова СВД – Стрелковое оружие, accessed May 26, 2025, https://jollyroger666.narod.ru/vintovki/svd.html
- PSL (винтовка) – Википедия, accessed May 26, 2025, https://ru.wikipedia.org/wiki/PSL_(%D0%B2%D0%B8%D0%BD%D1%82%D0%BE%D0%B2%D0%BA%D0%B0)
- Ranging the SVD Sniper. Incase you already didn’t know. : r/ArmaReforger – Reddit, accessed May 26, 2025, https://www.reddit.com/r/ArmaReforger/comments/1icw0tn/ranging_the_svd_sniper_incase_you_already_didnt/
- DRAGUNOV SVD – Military world – WordPress.com, accessed May 26, 2025, https://mysnipersworld.wordpress.com/2019/10/24/dragunov-svd/
- Getting a PSL, anything I should know besides it being century arms? : r/ak47 – Reddit, accessed May 26, 2025, https://www.reddit.com/r/ak47/comments/zkq3sd/getting_a_psl_anything_i_should_know_besides_it/
- PSL 7.62x54r – The Firing Line Forums, accessed May 26, 2025, https://thefiringline.com/forums/showthread.php?t=465996
- SVD-63 – Simple English Wikipedia, the free encyclopedia, accessed May 26, 2025, https://simple.wikipedia.org/wiki/SVD-63
- СВД – Sinopa.com, accessed May 26, 2025, http://www.sinopa.ee/sor/bo001/bo05sv/bo05sv01/svd001.htm
- Снайперские винтовки | Страница 127 | Форумы RusArmy.com, accessed May 26, 2025, https://www.rusarmy.com/forum/threads/snajperskie-vintovki.246/page-127
- SVD Rifle Factory Torture Testing | thefirearmblog.com, accessed May 26, 2025, https://www.thefirearmblog.com/blog/2017/02/07/svd-rifle-factory-torture-testing/
- Why no American SVD’s/PSL’s – Shooters’ Forum, accessed May 26, 2025, https://forum.accurateshooter.com/threads/why-no-american-svds-psls.4141703/
- Prezentare pusca semiautomana Sadu (cunoscuta si sub numele de WUM) – arme vechi, accessed May 26, 2025, https://armevechi.com/2023/01/02/prezentare-pusca-semiautomana-sadu-cunoscuta-si-sub-numele-de-wum/
- Russian Military Snipers to Receive Upgraded Dragunov Rifle – The Defense Post, accessed May 26, 2025, https://thedefensepost.com/2021/11/12/russian-snipers-upgraded-rifle/
- SVD – Wikimedia Commons, accessed May 26, 2025, https://commons.wikimedia.org/wiki/SVD
- PSL sniper rifle – Simple English Wikipedia, the free encyclopedia, accessed May 26, 2025, https://simple.wikipedia.org/wiki/PSL_sniper_rifle
- SVDK – Wikipedia, accessed May 26, 2025, https://en.wikipedia.org/wiki/SVDK
- Category:PSL rifle – Wikimedia Commons, accessed May 26, 2025, https://commons.wikimedia.org/wiki/Category:PSL_rifle
- Arms industry in Romania – Wikipedia, accessed May 26, 2025, https://en.wikipedia.org/wiki/Arms_industry_in_Romania


