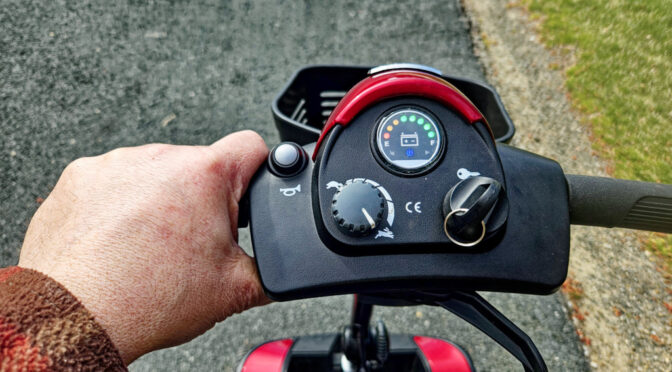
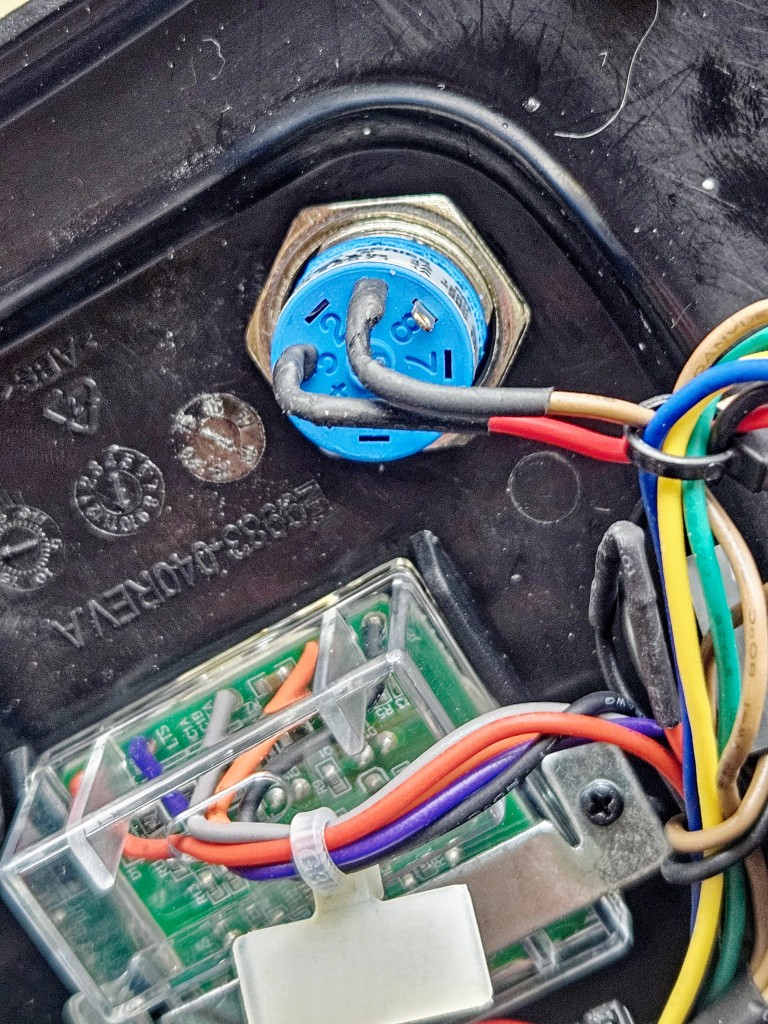
It was our last outing with the Scooter that I noticed the ignition switch, if we can call it that, was floating on my mother-in-law’s Pride Mobility GoGo Eliter Traveller Scooter. I was surprised that it happened given how well it had performed up to that point. From what I could tell, the backing nut had slowly vibrated loose until it literally fell off the back of the switch. Everything worked – all the parts were there but I had to put it back together. I figured a blog post would help anyone needing to tighten the switch or even replace it.
To work on the scooter, I removed the chair, its mast and the battery pack. I also removed the forward and reverse control lever that is held in by two screws. In hindsight, I am not sure I needed to do that. By the way, removing the battery compartment also reduces the risk of sparks/shorts by disconnecting the power from the system.
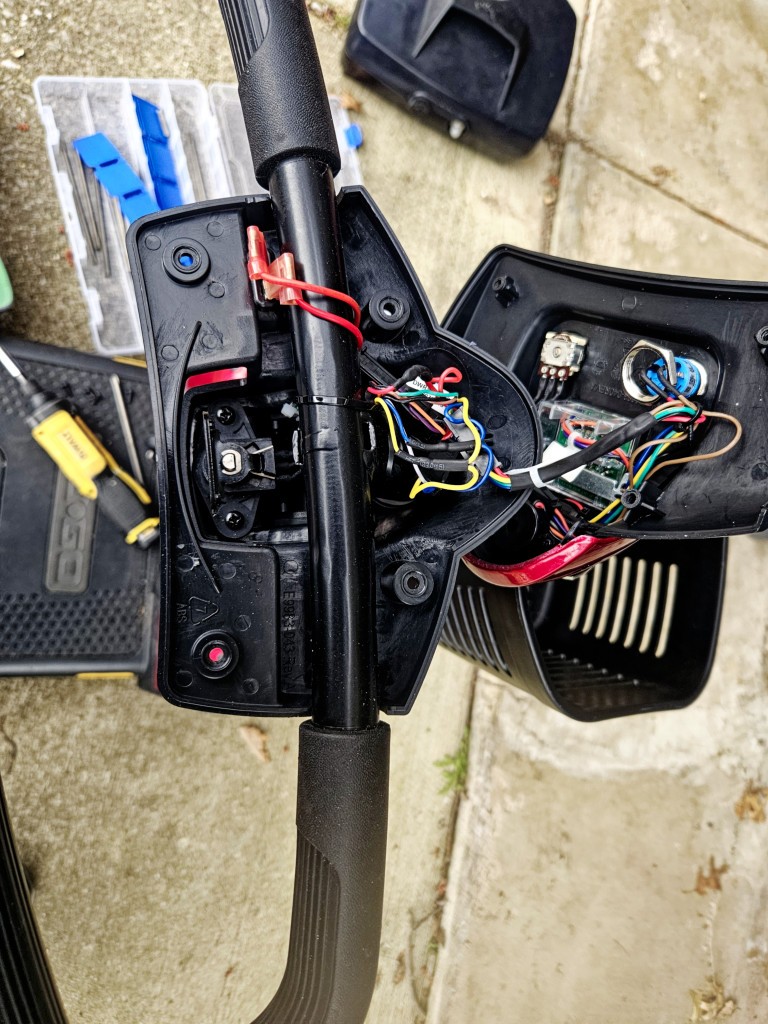
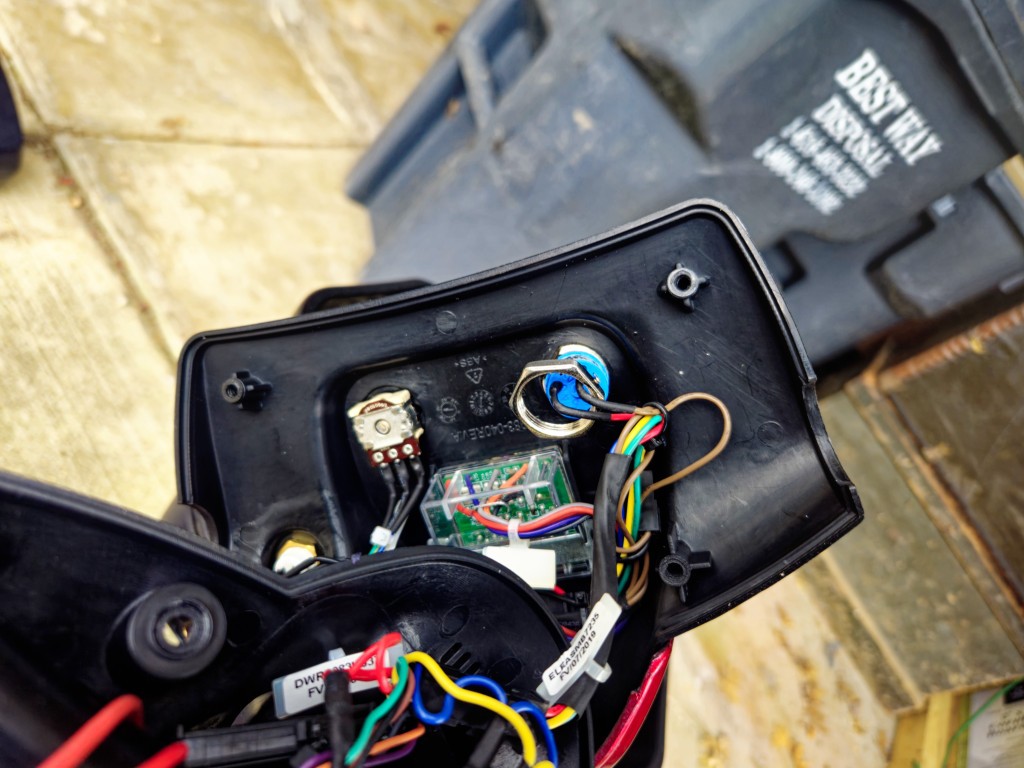
To get inside the center console, you need to remove four screws – the two closest to the operator and the two furthest forward. The ones in the middle hold the lower half to the handlebar and do not need to come out.
One small detail, I had to push the top cover slightly towards the back towards the seat to get it to lift off once the screws were gone. Reinstalling the top recover also meant I had to slide it forward slightly before reinstalling the screws.
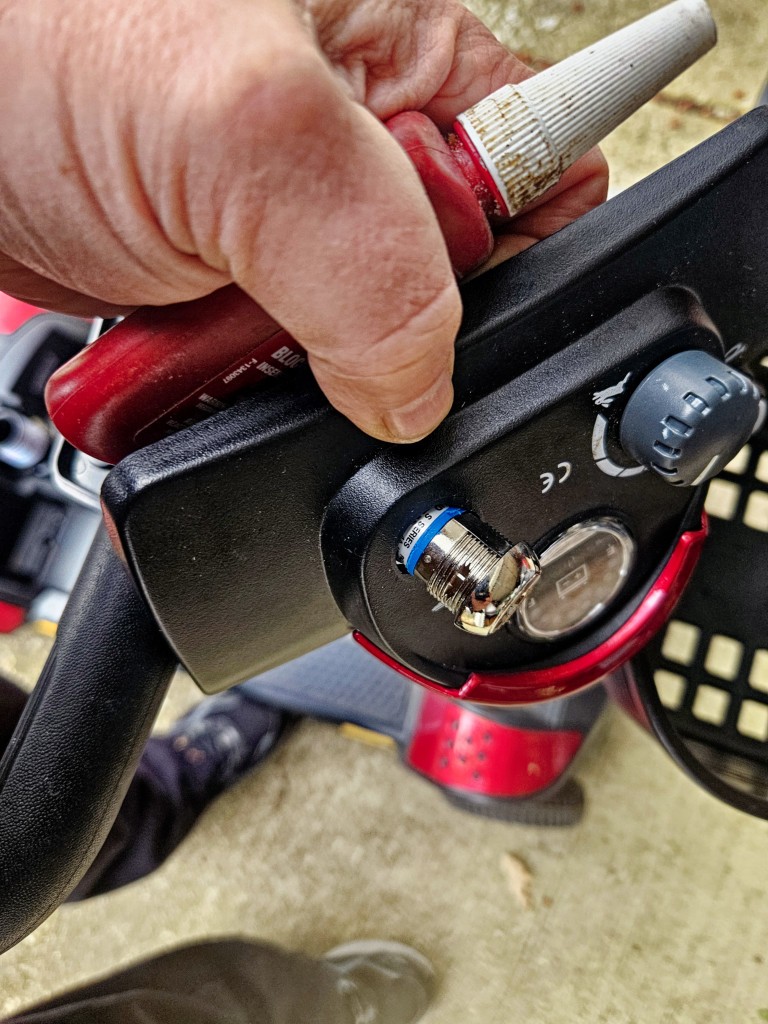
From there, I slid the top back on and reinstalled the screws and put the rest of the stuff back on.
Bought Spare Keys Too
One last note, mama only had one key for the scooter. Turns out they are generic and not keyed to a specific scooter. I bought a spare pair off Amazon that works great. This way she can have a key and I can have one on a trip.
Summary
Her key switch is good to go and no we have some spare keys too. I hope this helps you out.
Note, I have to buy all of my parts – nothing here was paid for by sponsors, etc. I do make a small amount if you click on an ad and buy something but that is it. You’re getting my real opinion on stuff.
Please share the link on Facebook, Forums, with colleagues, etc. Your support is much appreciated and if you have any feedback, please email us in**@*********ps.com. If you’d like to request a report or order a reprint, please click here for the corresponding page to open in new tab.