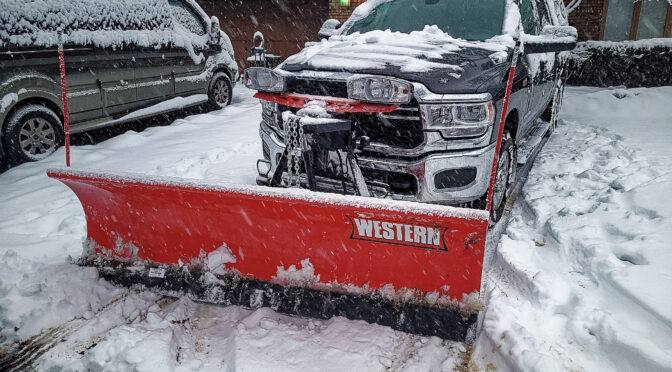
Ok, quick post today. I’m getting ready for Winter here in Michigan and that includes getting my 2021 Ram 2500 Tradesman and 8′ Western Pro Plow 2 ready. Which, by the way, is why you are seeing a bunch of truck posts vs. firearm posts right now. At any rate, last year was my first year plowing with the truck and plow and knew I needed a better solution for holding the ballast weight. That’s the topic for today’s blog post.
What is ballast for a snow plow and why does it need it?
Simply put, ballast is weight that you add at the far back of your truck to balance the weight of the plow in the front and improve traction. Now I like Western plows but if you want a really good explanation of what ballast is and how to use with graphics, click on this link to Boss Plows. Western has one but it’s not as good in my honest opinion.
The important thing that the Boss page explains very well with the diagram is that ballast goes all the way to the rear behind the rear axle and not in front of it or on top of it. Just imagine a long lever arm – by adding weight to the far back, you are levering up the front and offsetting the weight of the entire plow bolted on to the front of your truck.
It does help to understand how much ballast you need and it’s not necessarily the same weight as the plow. A lot of factors go into the calculation. Again, I use a Western plow so I use their Quick Match web page to calculate how much ballast I need and it’s 240 pounds. I do add a bit for more weight to improve traction as well but that is the minimum I need.
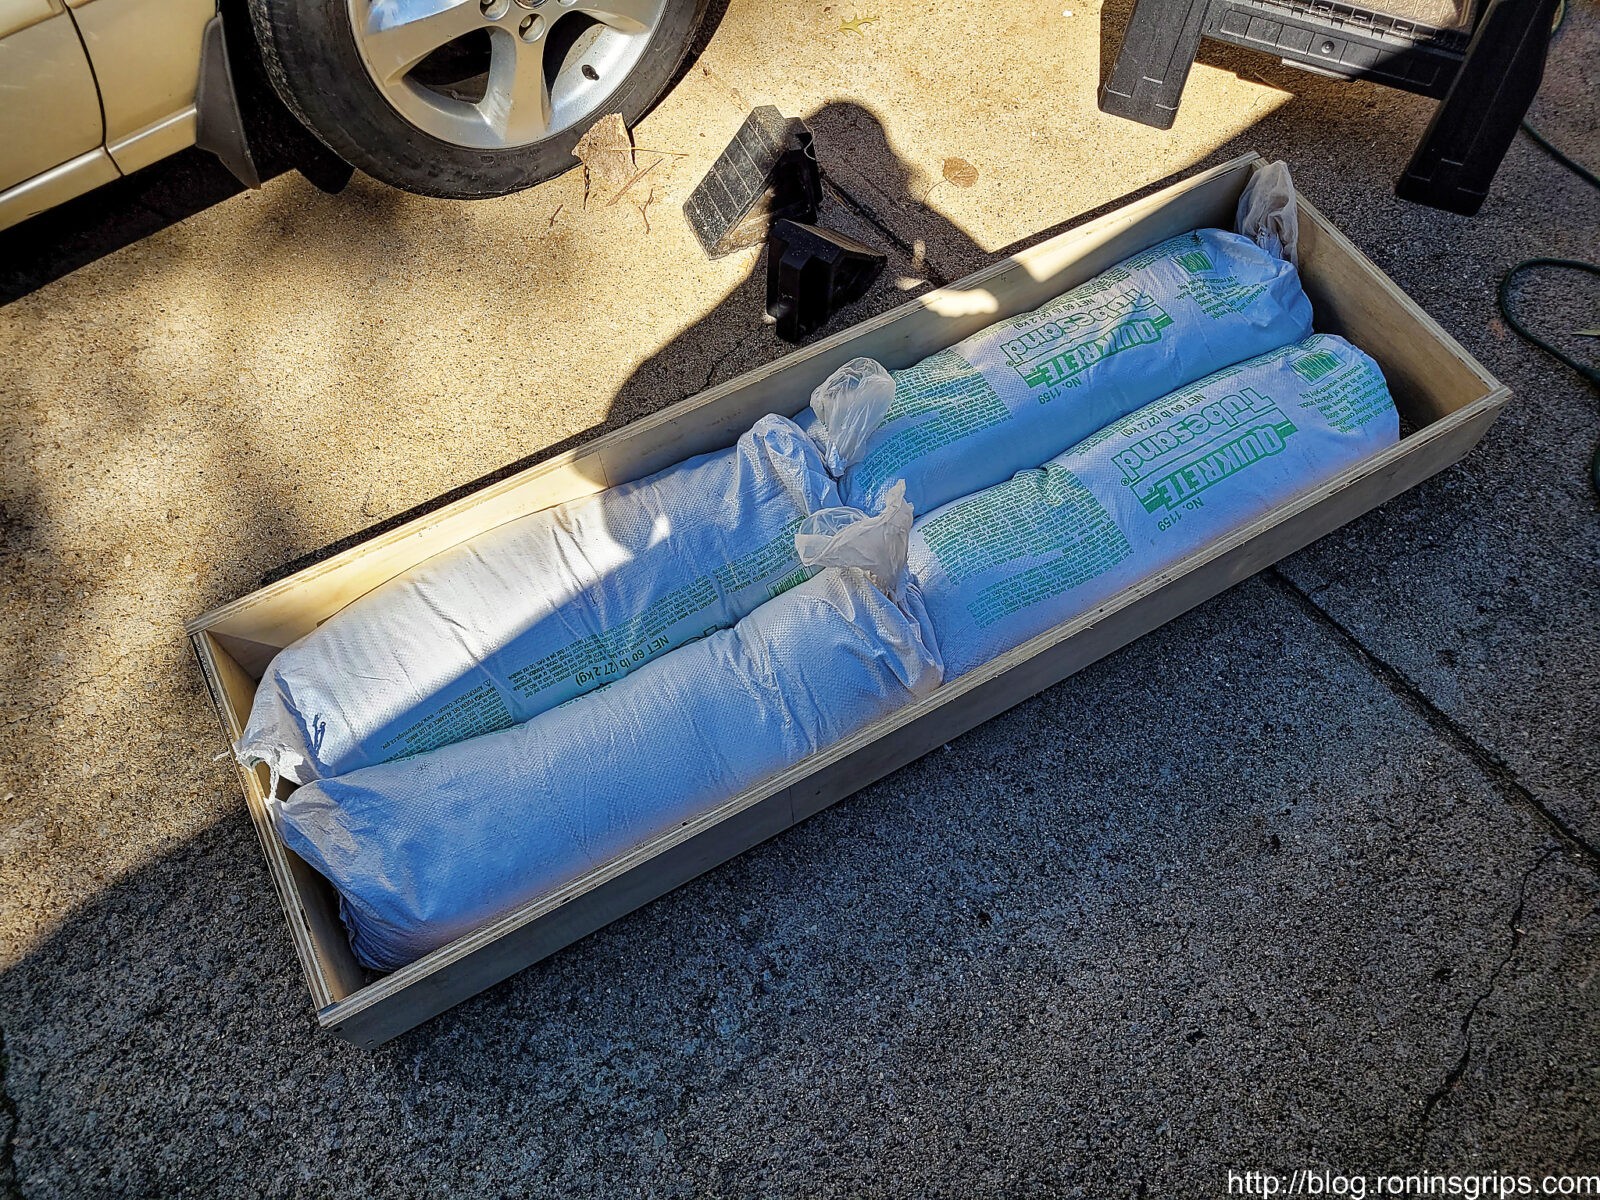
What material to use for ballast? I like sand
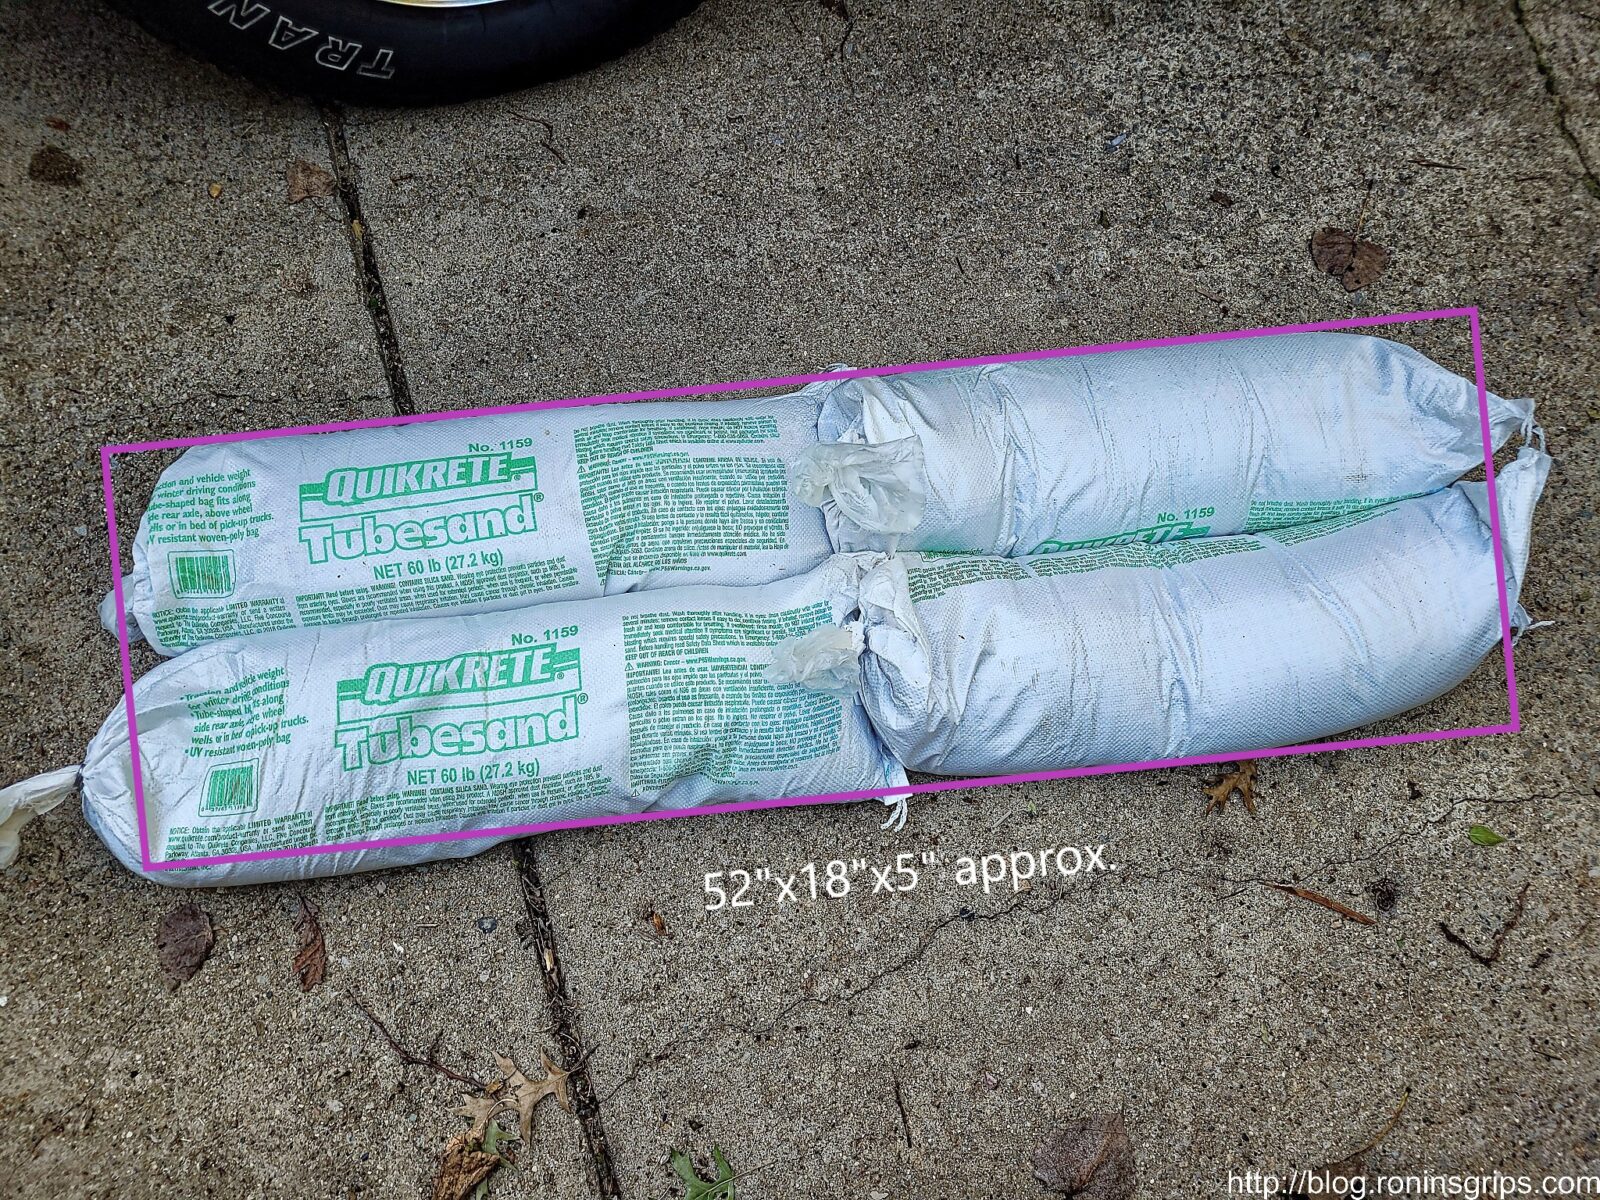
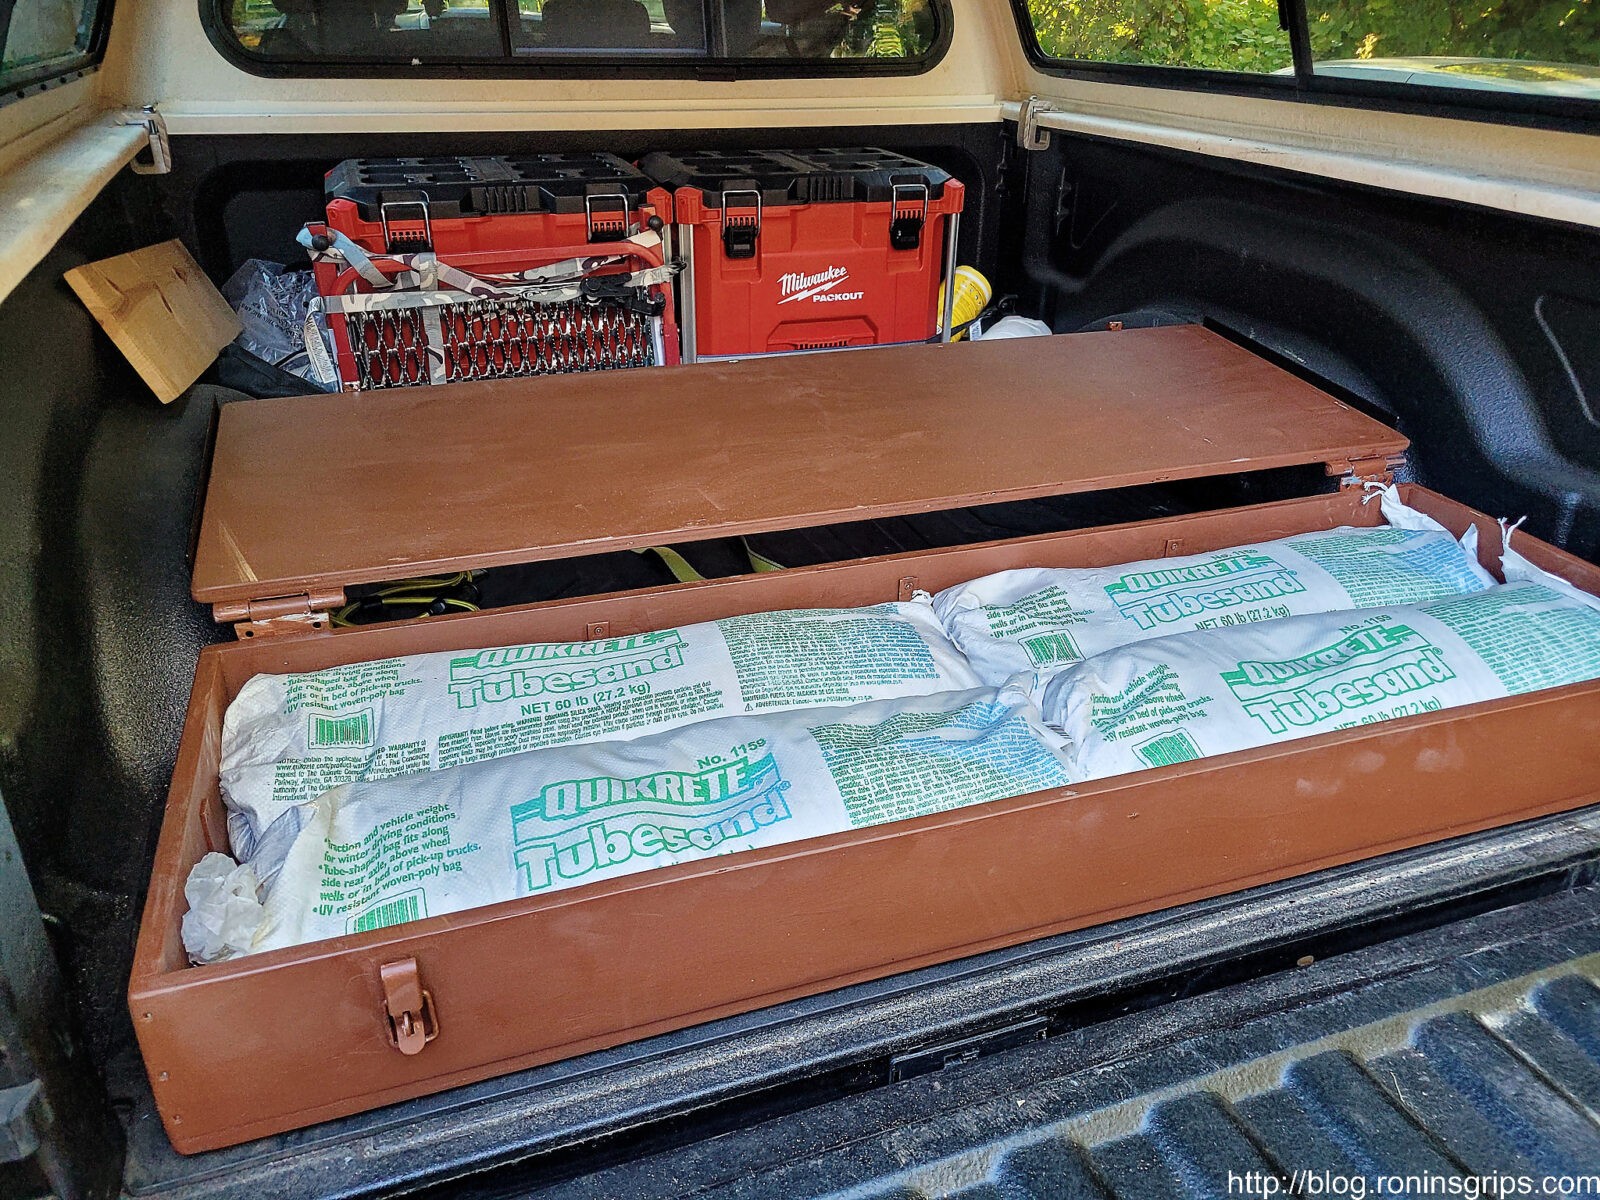
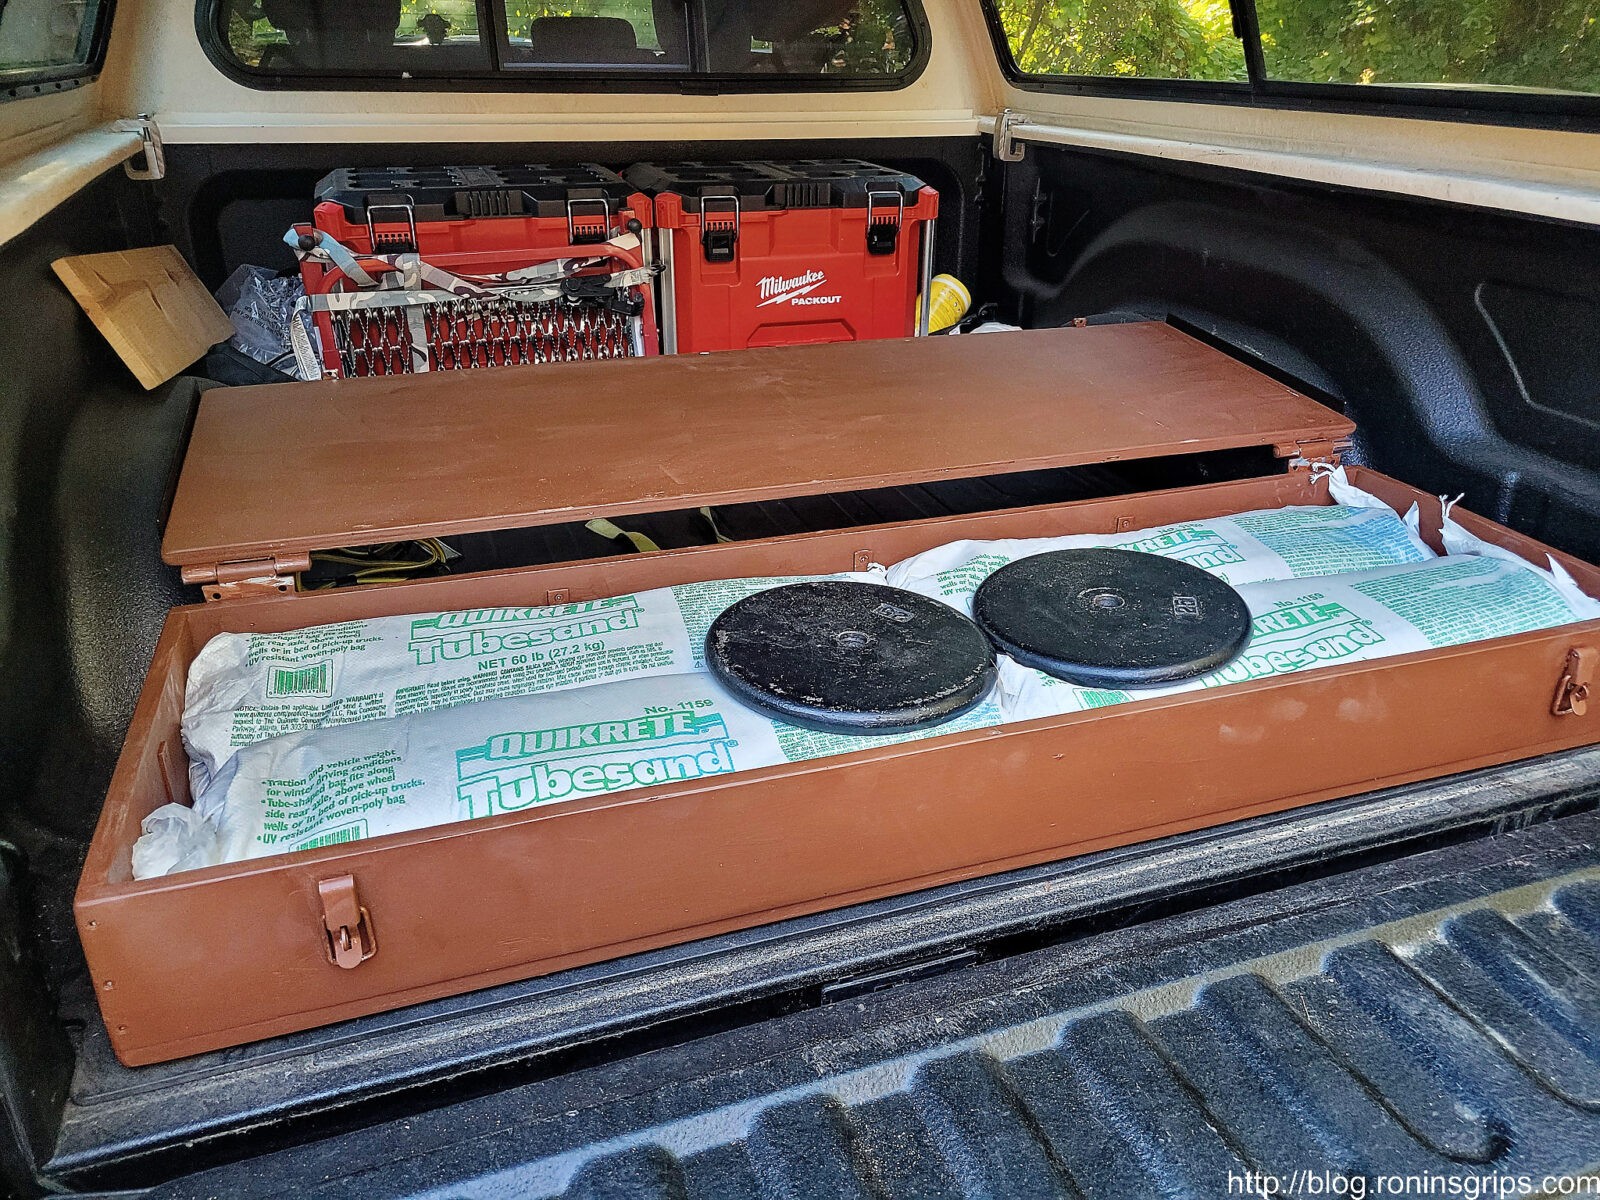
When I bought my RAM, I looked in the bed and there are very shallow pressed indents on the left and right side to secure the ballast. Ideally they would be deeper so you could drop a 2×6 or 2×8 in there to hold your ballast. I like to use the 60 pound tubes of sand that you can buy. First off they are a great source of dense weight – meaning you get a lot of weight for the volume they take up and second, if I get stuck on ice or need more traction on ice pulling something, I can cut open a tube and use the sand for traction. This is why I don’t use something like steel or lead back there. Back in the day, my dad used clay cat litter bags for the weight and in case traction was needed. He’d use the bags over the summer for our cats’ litter boxes and then buy any new bags he needed in the fall. He pulled my sister’s Tercel out of a lake after spreading the cat litter all over the icy road behind the tires of his 81 Bronco — it definitely works but we don’t have cats so I just use sand.
By the way, a Quickrete 60 pound tube of sand is $5.37 as of my writing this. It’s definitely affordable. By the way, I like Quikrete because they know guys are using this for weight and put it in a durable woven bag that holds up.
| One word of caution – some guys use rock salt for balast. I highly recommend against that. It’s going to leak salty water at some point and cause accelerated rusting. Sand or cat litter will not. Some guys fill specialized balast water containers – that’s fine too. If you want your truck to last longer, just don’t use salt is my heart felt recommendation. |
Why build a box?
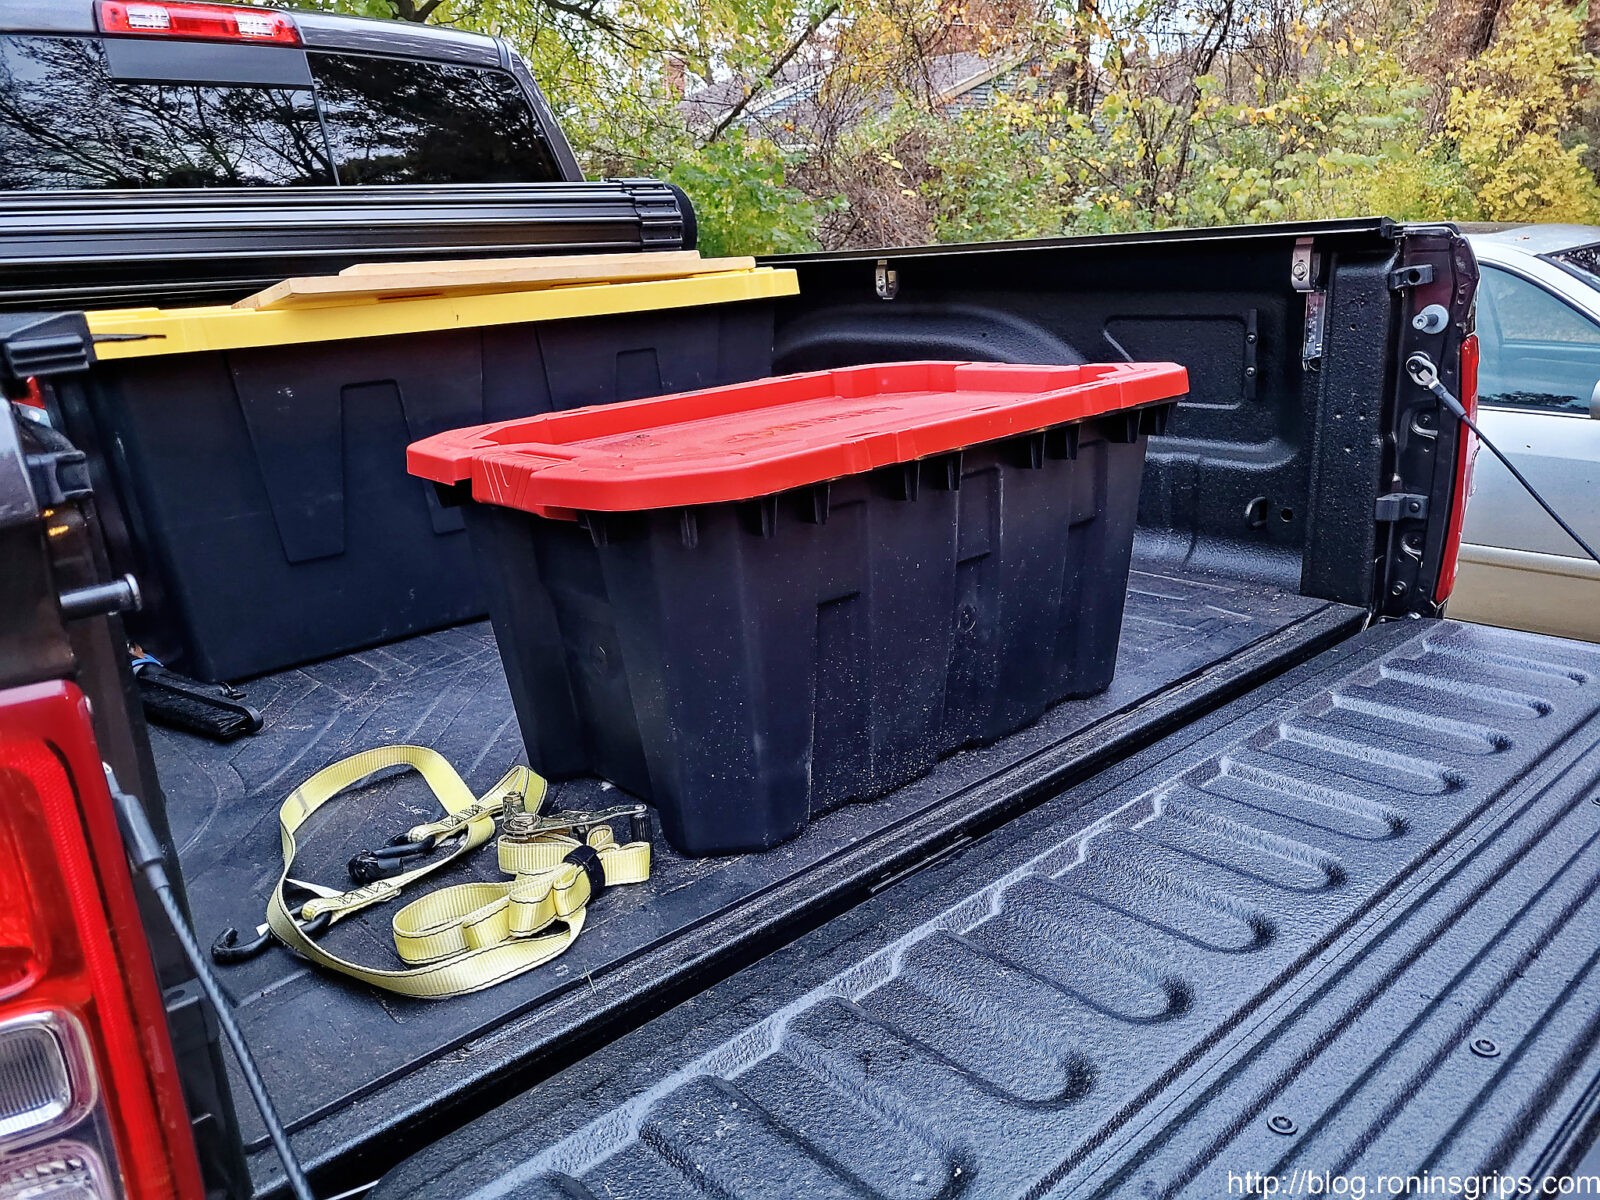
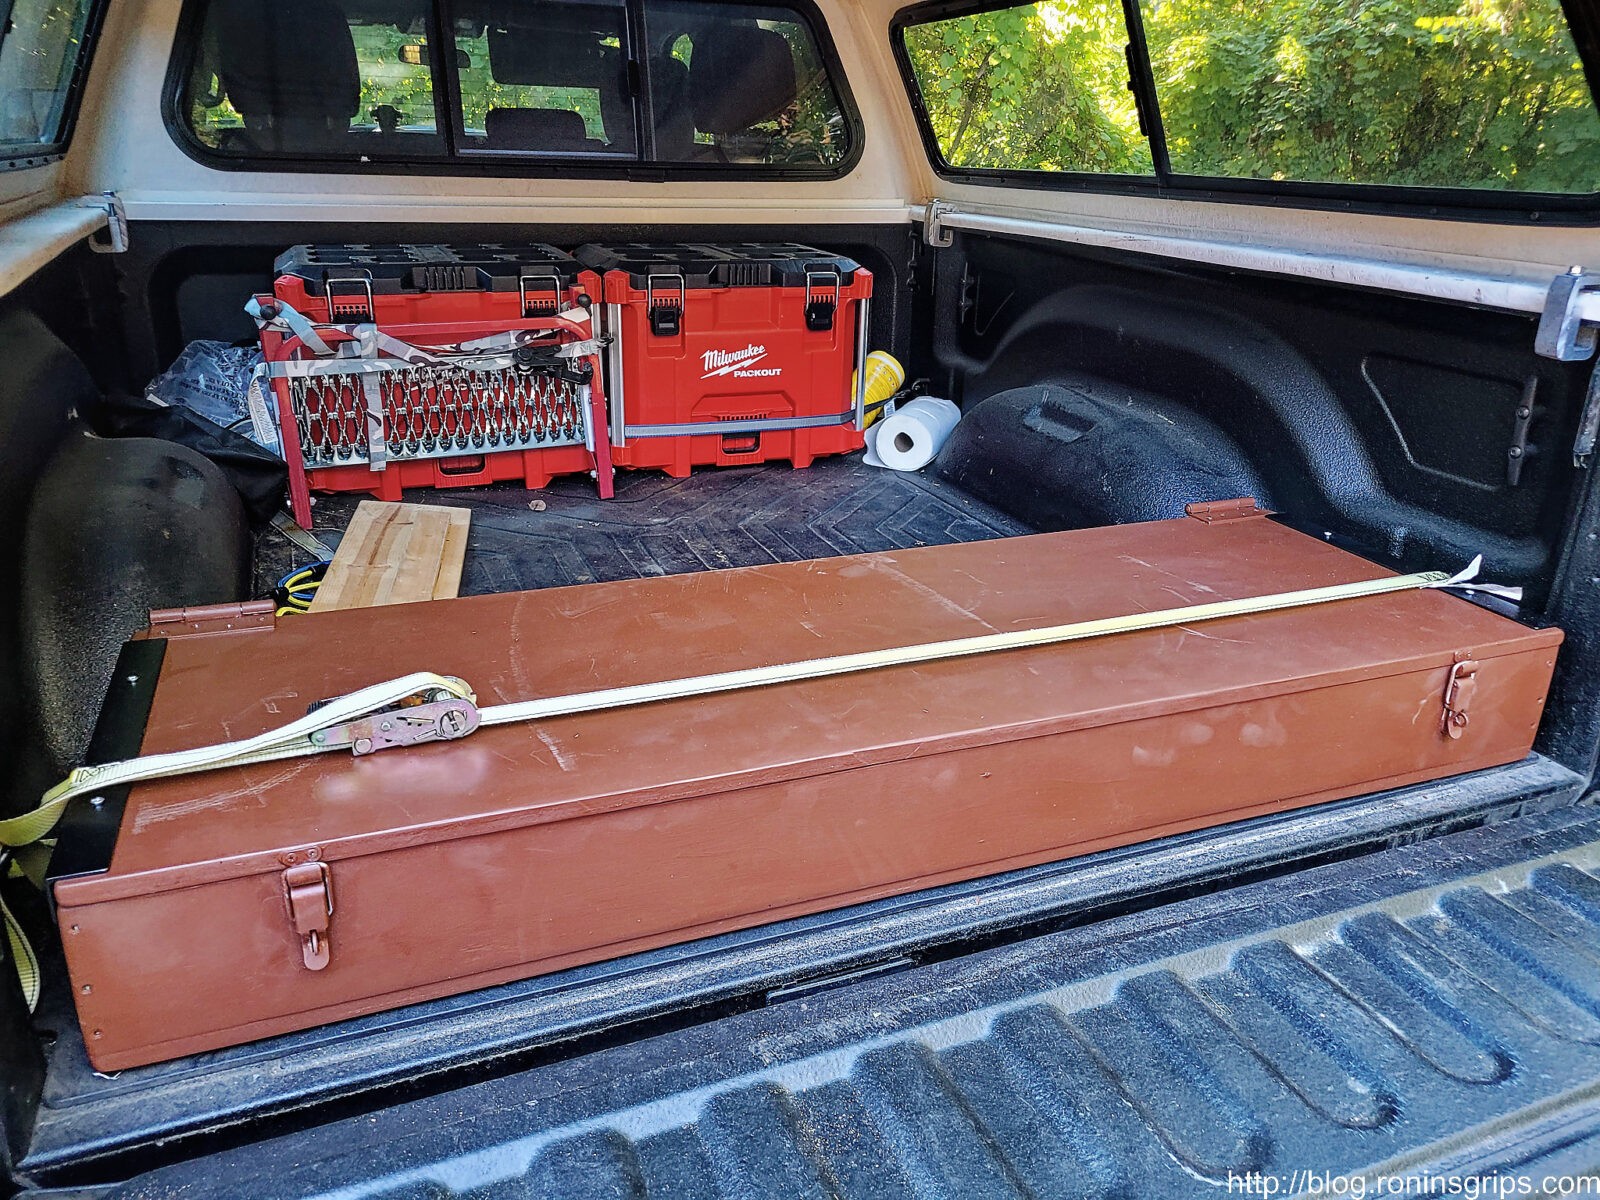
Simply put ballast is in the way and can be a pain in the butt to work around. Last year, I put the four tubes of sand and 100 pounds of old weight lifting plates in a way too tall plastic tote. That turned out to be a mistake. First off, the tote was way too tall and made getting things into and out of the bed a headache. Second, even though I strapped it to the tie downs using a ratchet strap and a board on top, there are limits to how tight you can strap down the load. I had a couple of times last Winter where I stopped fast and the very heavy ballast tote slid forward – that is not good. You certainly do not want a ballast to come flying at the cab during an accident. Bottom like, the plastic tote box was a bad idea.
Solution: Make a box out of 3/4″ plywood
I did some digging and there really weren’t any ballast solutions out there that I cared for because I wanted something very strong, with minimal height that could also be walked on, stacked on, etc.
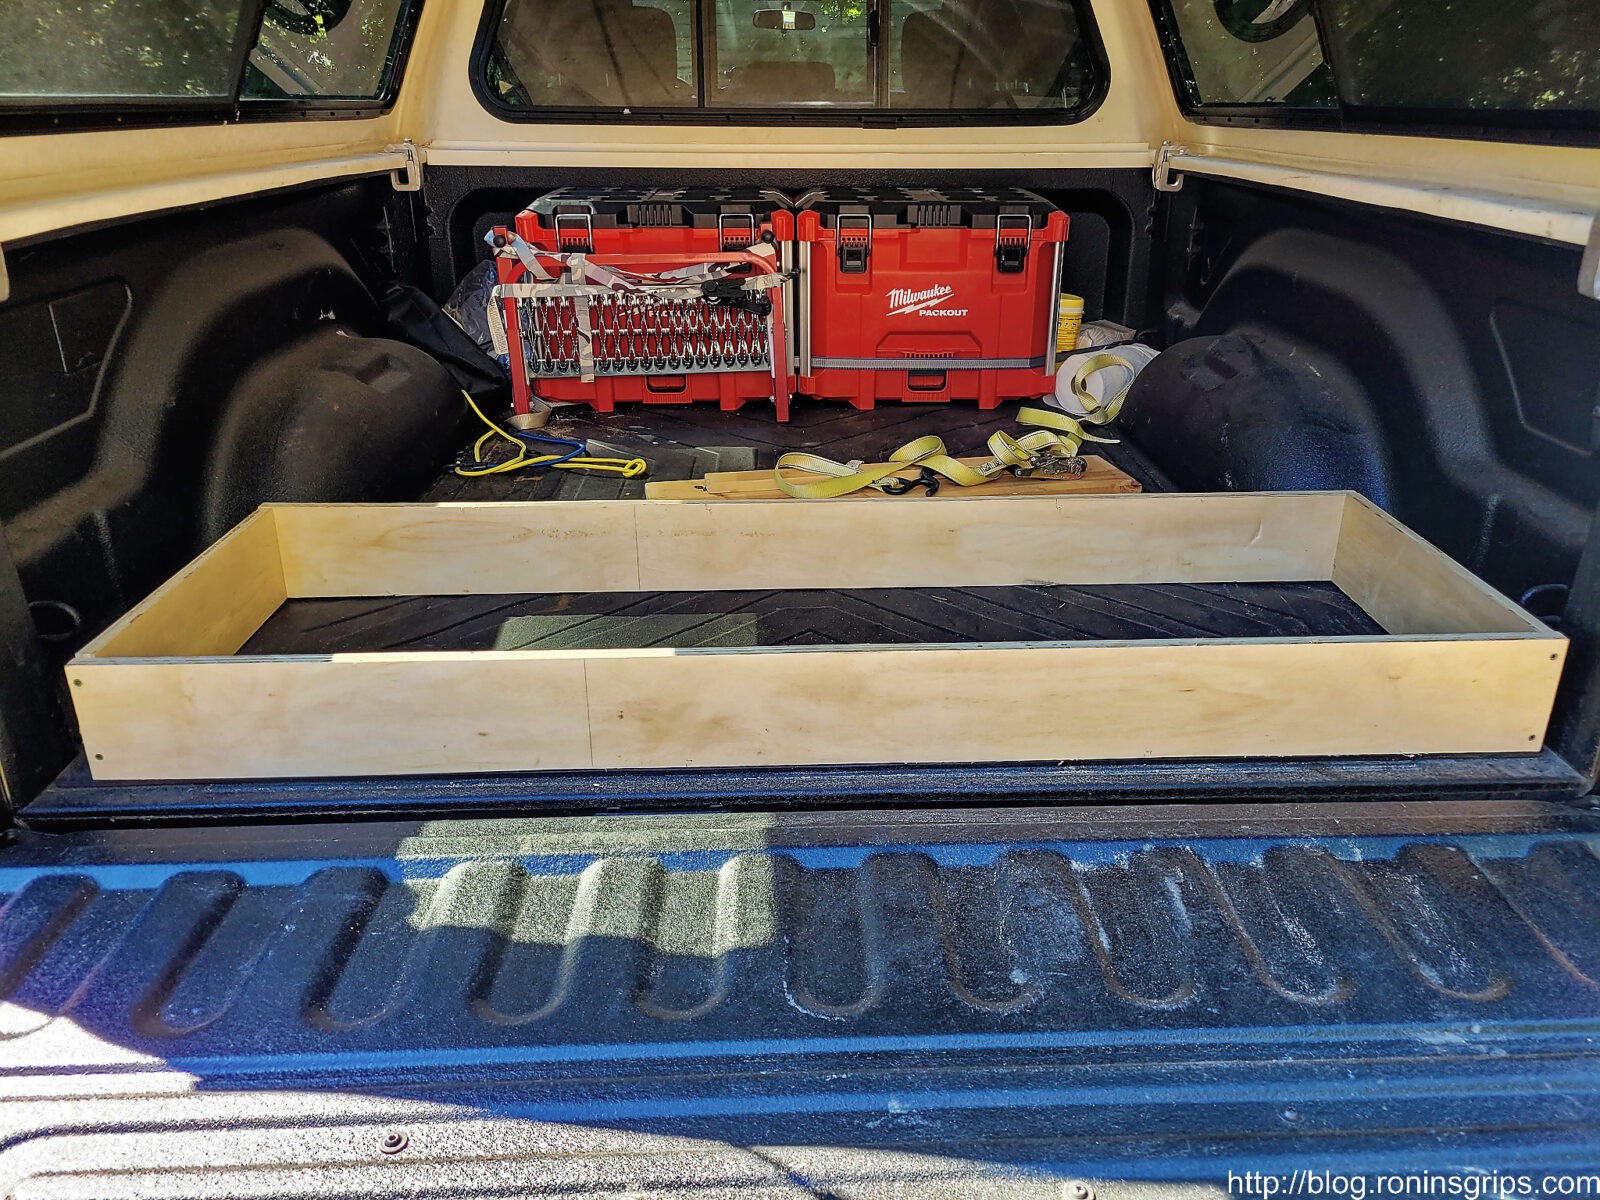
I decided to make a very stout box and it all started with understanding the dimensions I had to work with.
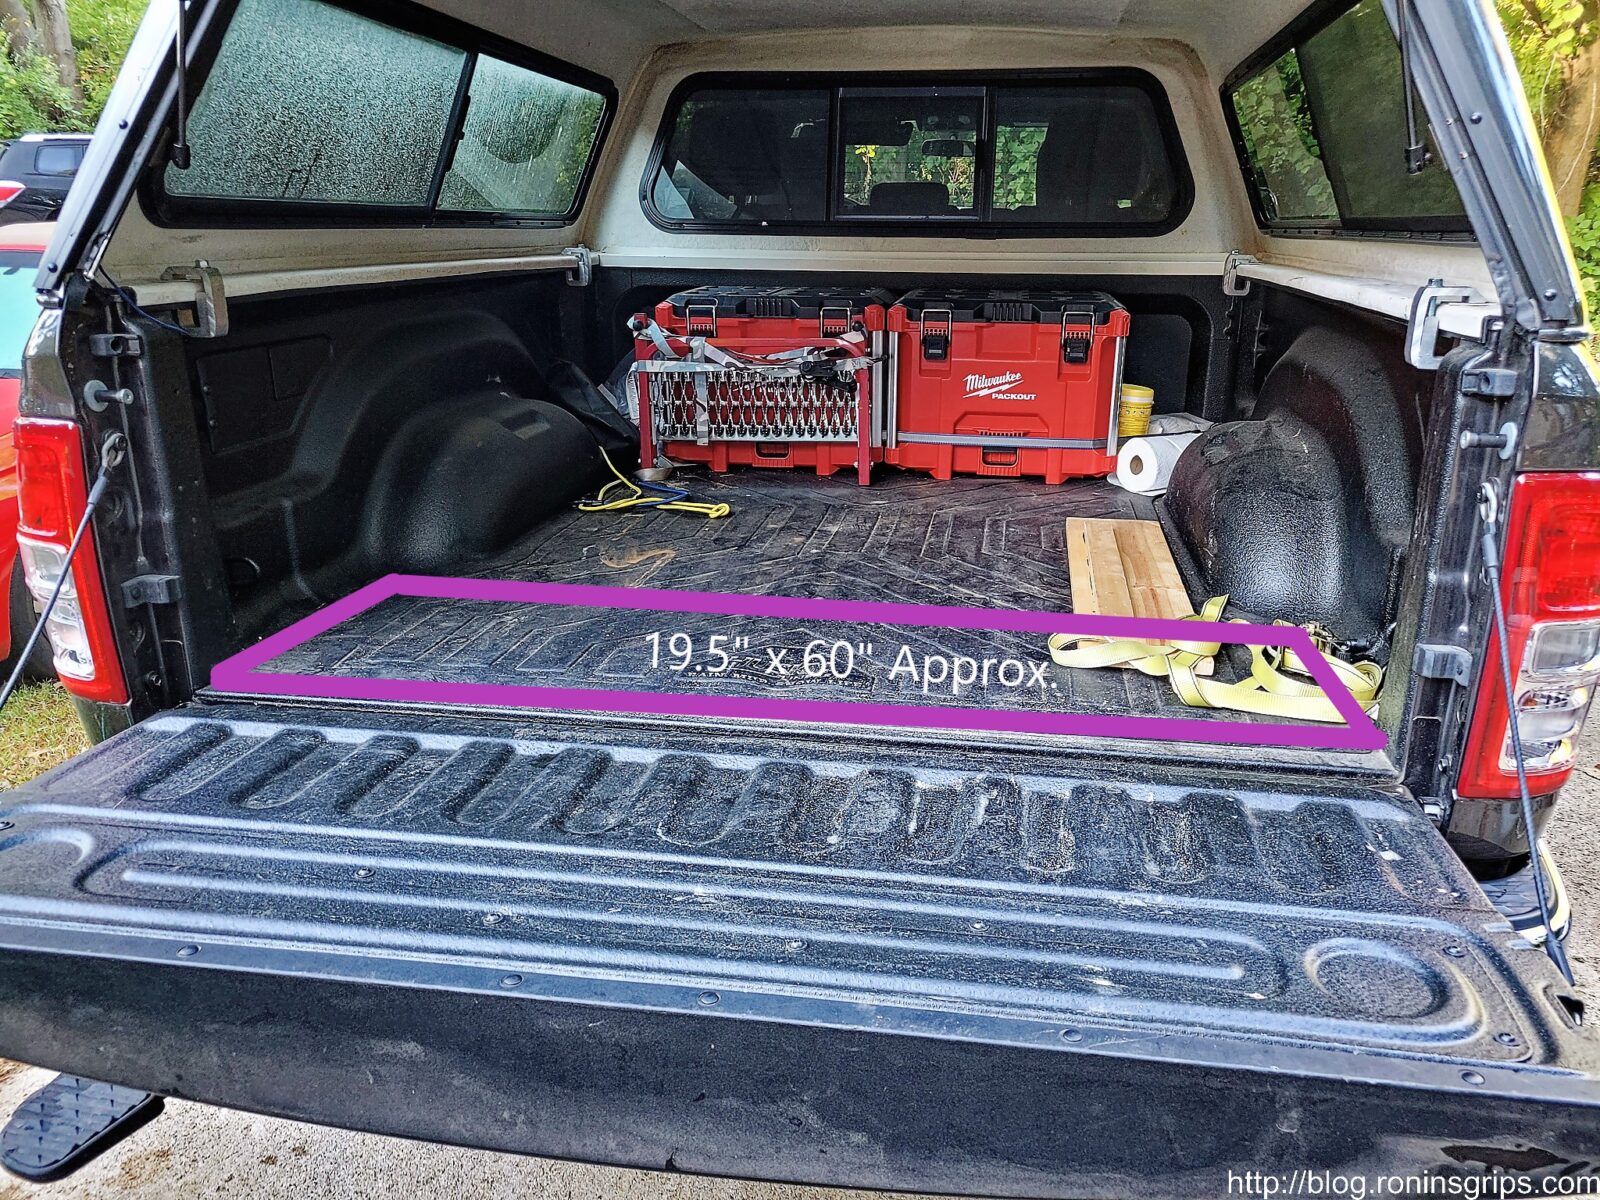
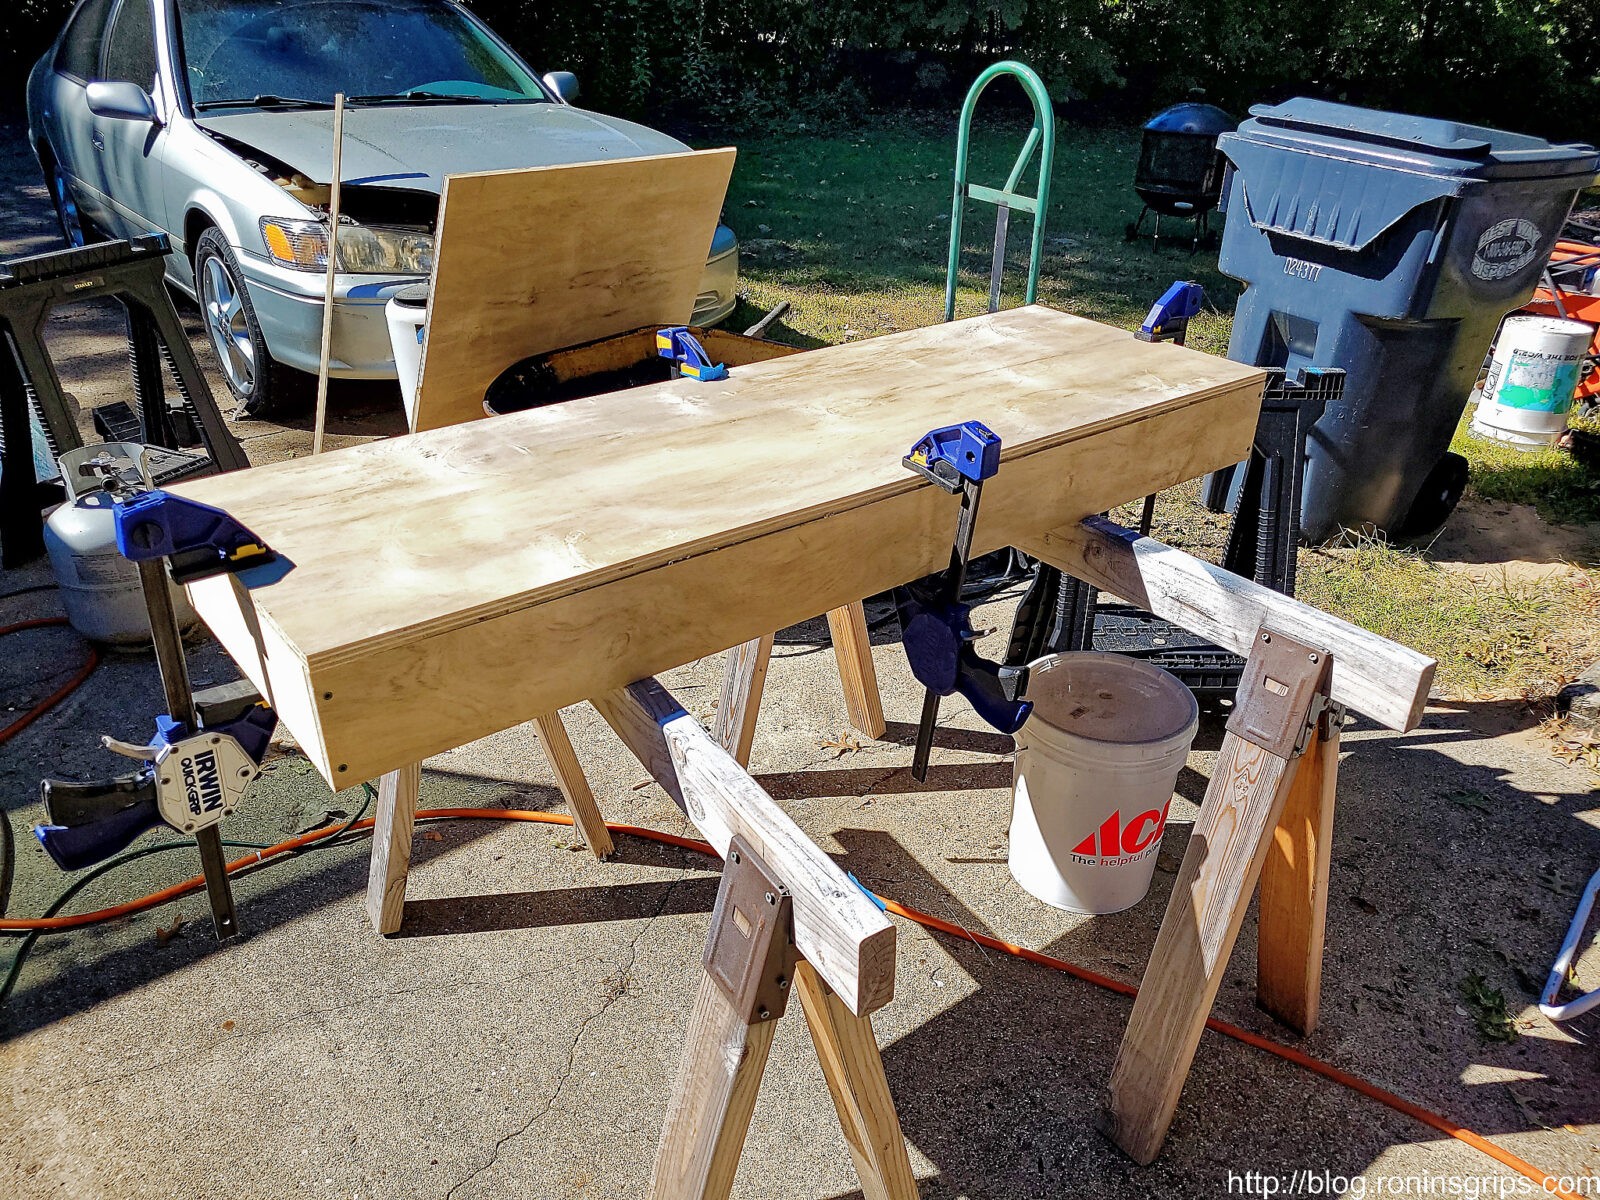
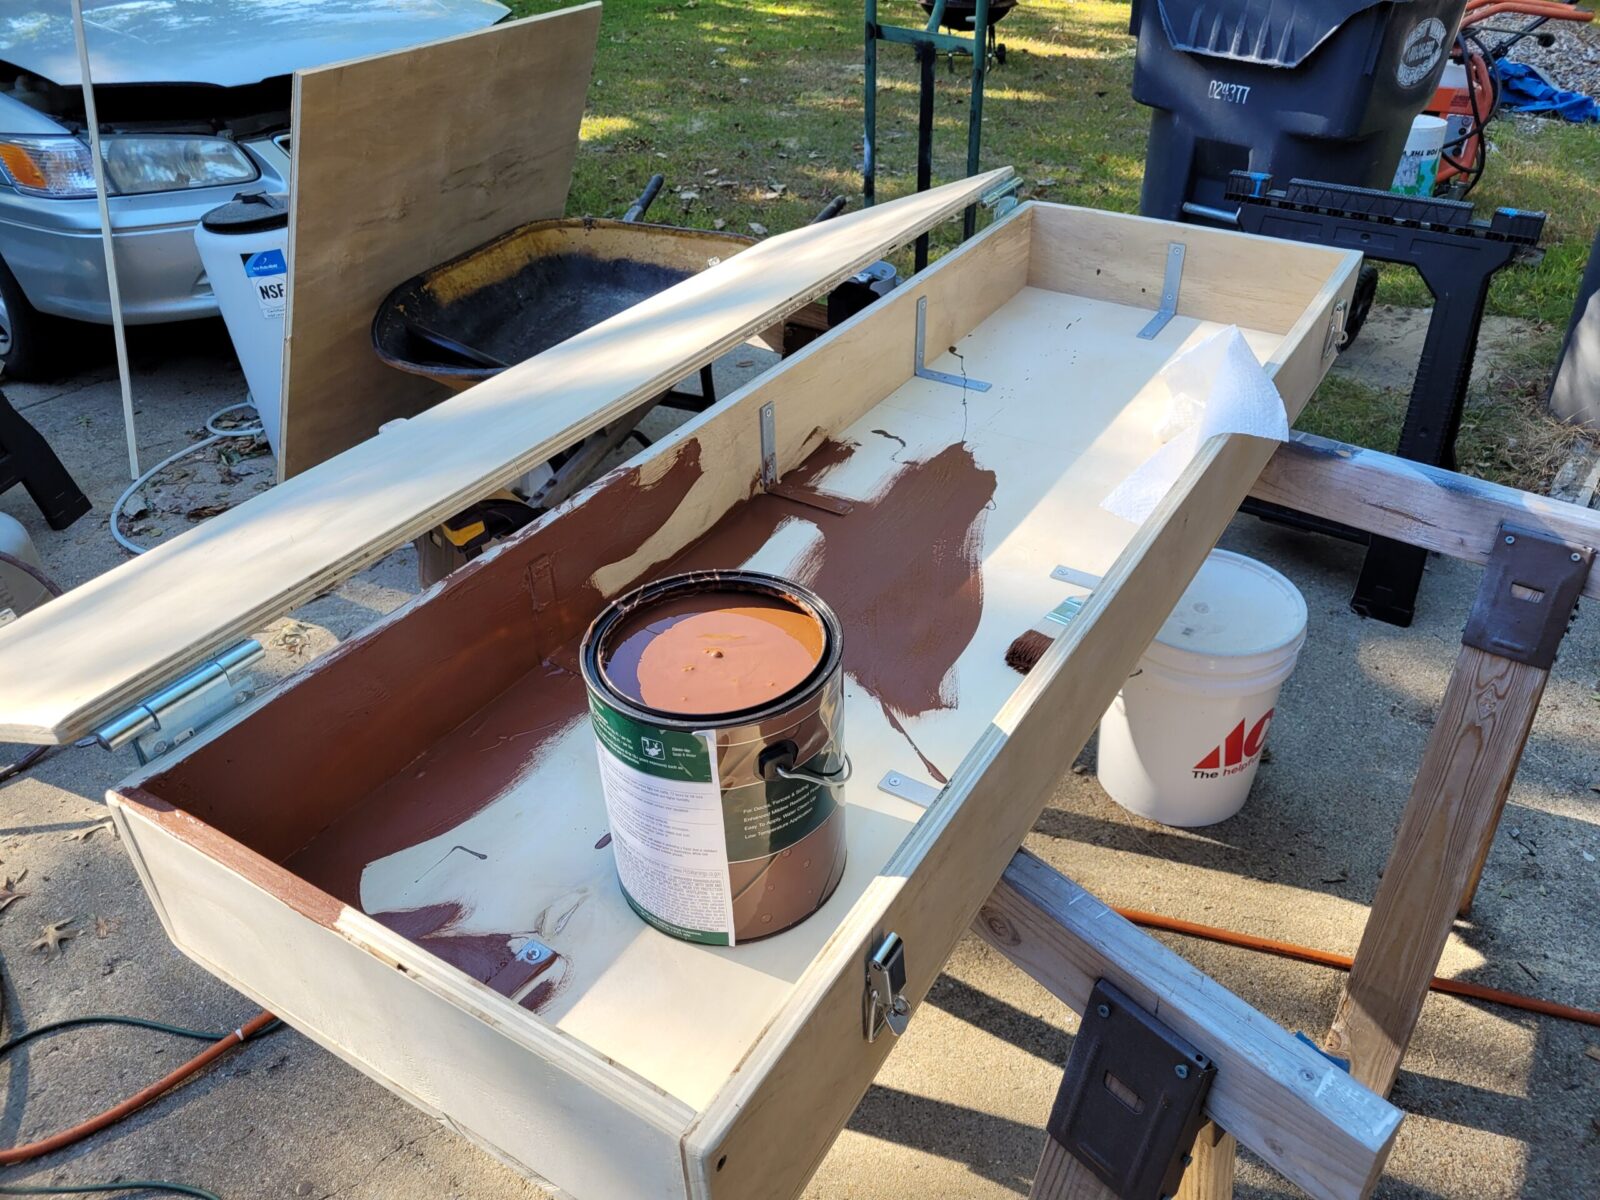
Given the above dimensions, I knew a box with an internal dimension of 18x52x5 would work. The question then became what wood to use. I have had very good luck with 3/4″ plywood. That stuff is remarkably strong. I then considered whether to do framing around it or not with 2x4s or make the walls out of 2x6s but finally just decided to do it all with 3/4″ lumber. The good news is that you can make the entire box from one 4×8 sheet – the top, bottom and four walls.
To hold it together would use #8 1-5/8″ treated deck screws – the new ones with some serious coating and Torx heads. Given they would be in the bed of the truck, I wanted to reduce the odds of rusting plus wanted their strength – both in terms of shear strength and how well the threads would bite into the plywood. I thought about gluing things together as well but changed my mind. If I ever needed to replace a damaged board, then I could with just screws but not so if I glue was used as well.
I wanted the top to have a strong hinge so I could access the sand inside if I needed to cut open a bag and use the sand for traction. I also wanted a strong hinge that wouldn’t bend easy so I went with 4″ gate hinges from Ace and used #10 wood screws. To hold the front down, I used draw clasps from Home Depot. I used the screws in the package and they looked to be about a #6.
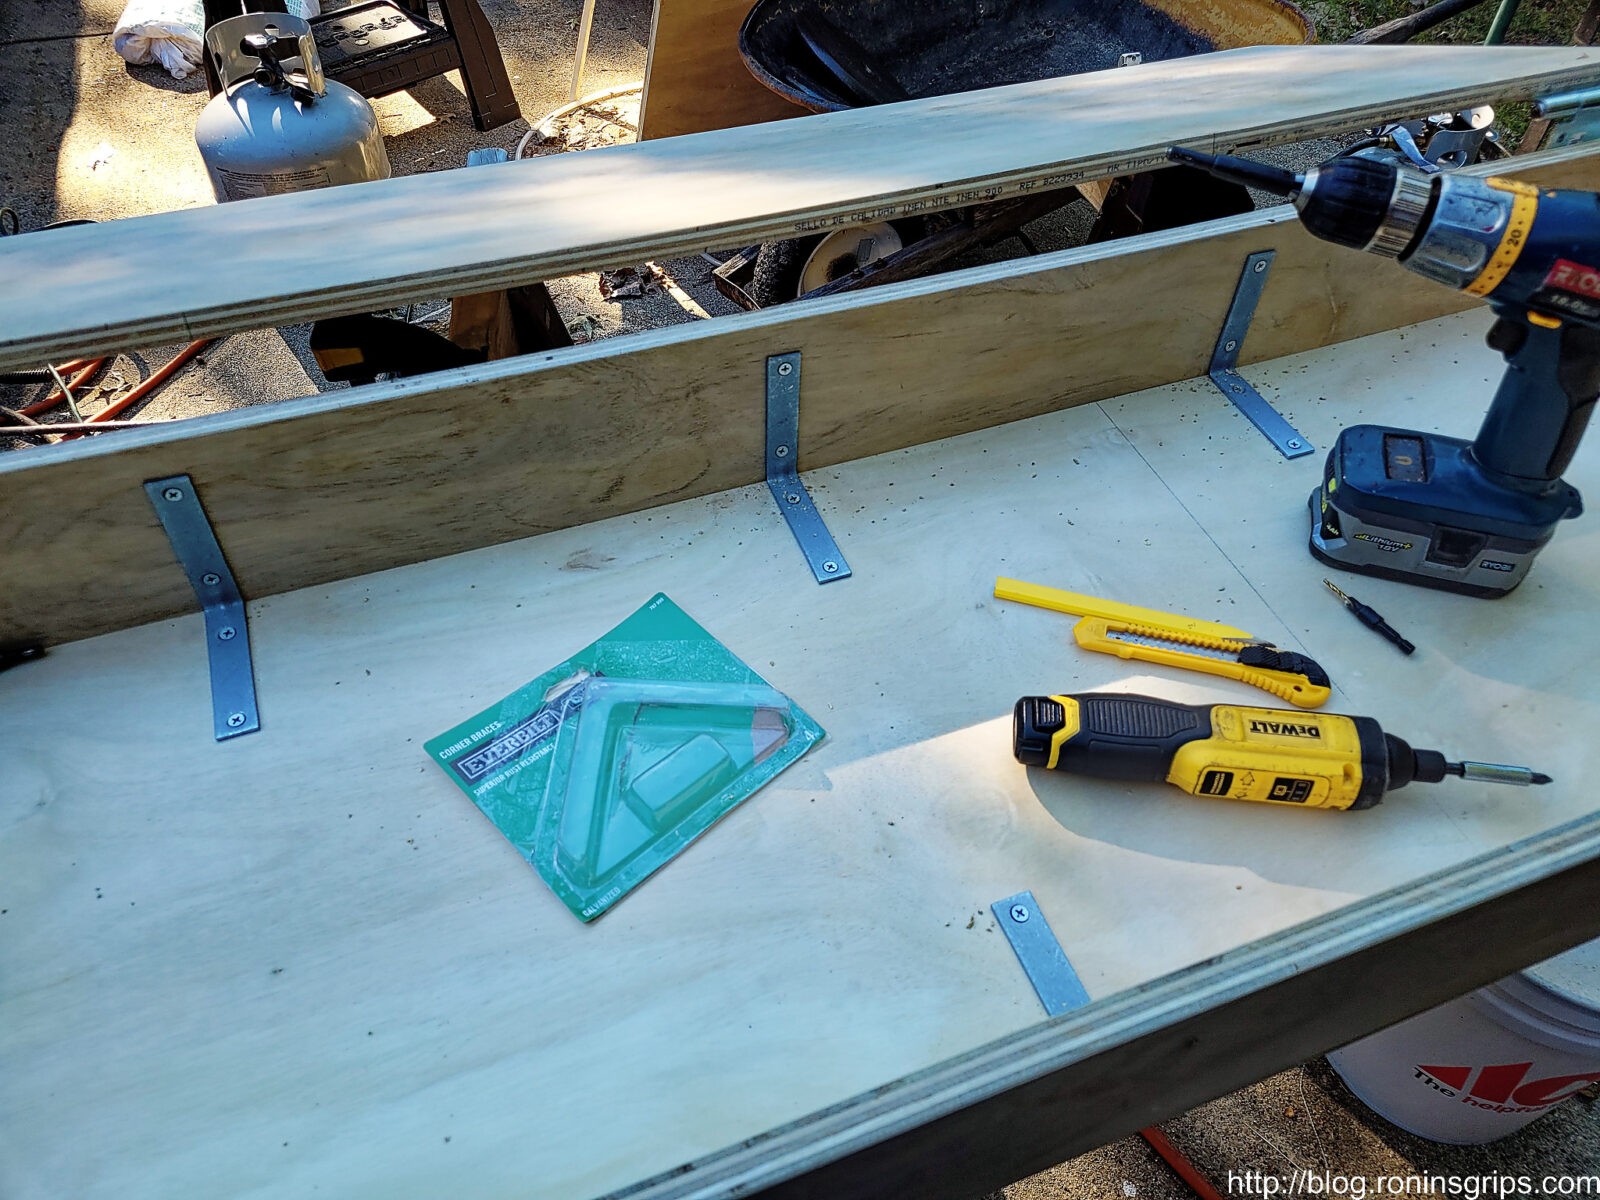
To further reinforce the plywood I would use eight 4″ inside angle braces. The intent was to spread out the support and fastening duties without taking up a ton of space. Three braces on each long wall and one on each short wall. I used #10 wood screws.
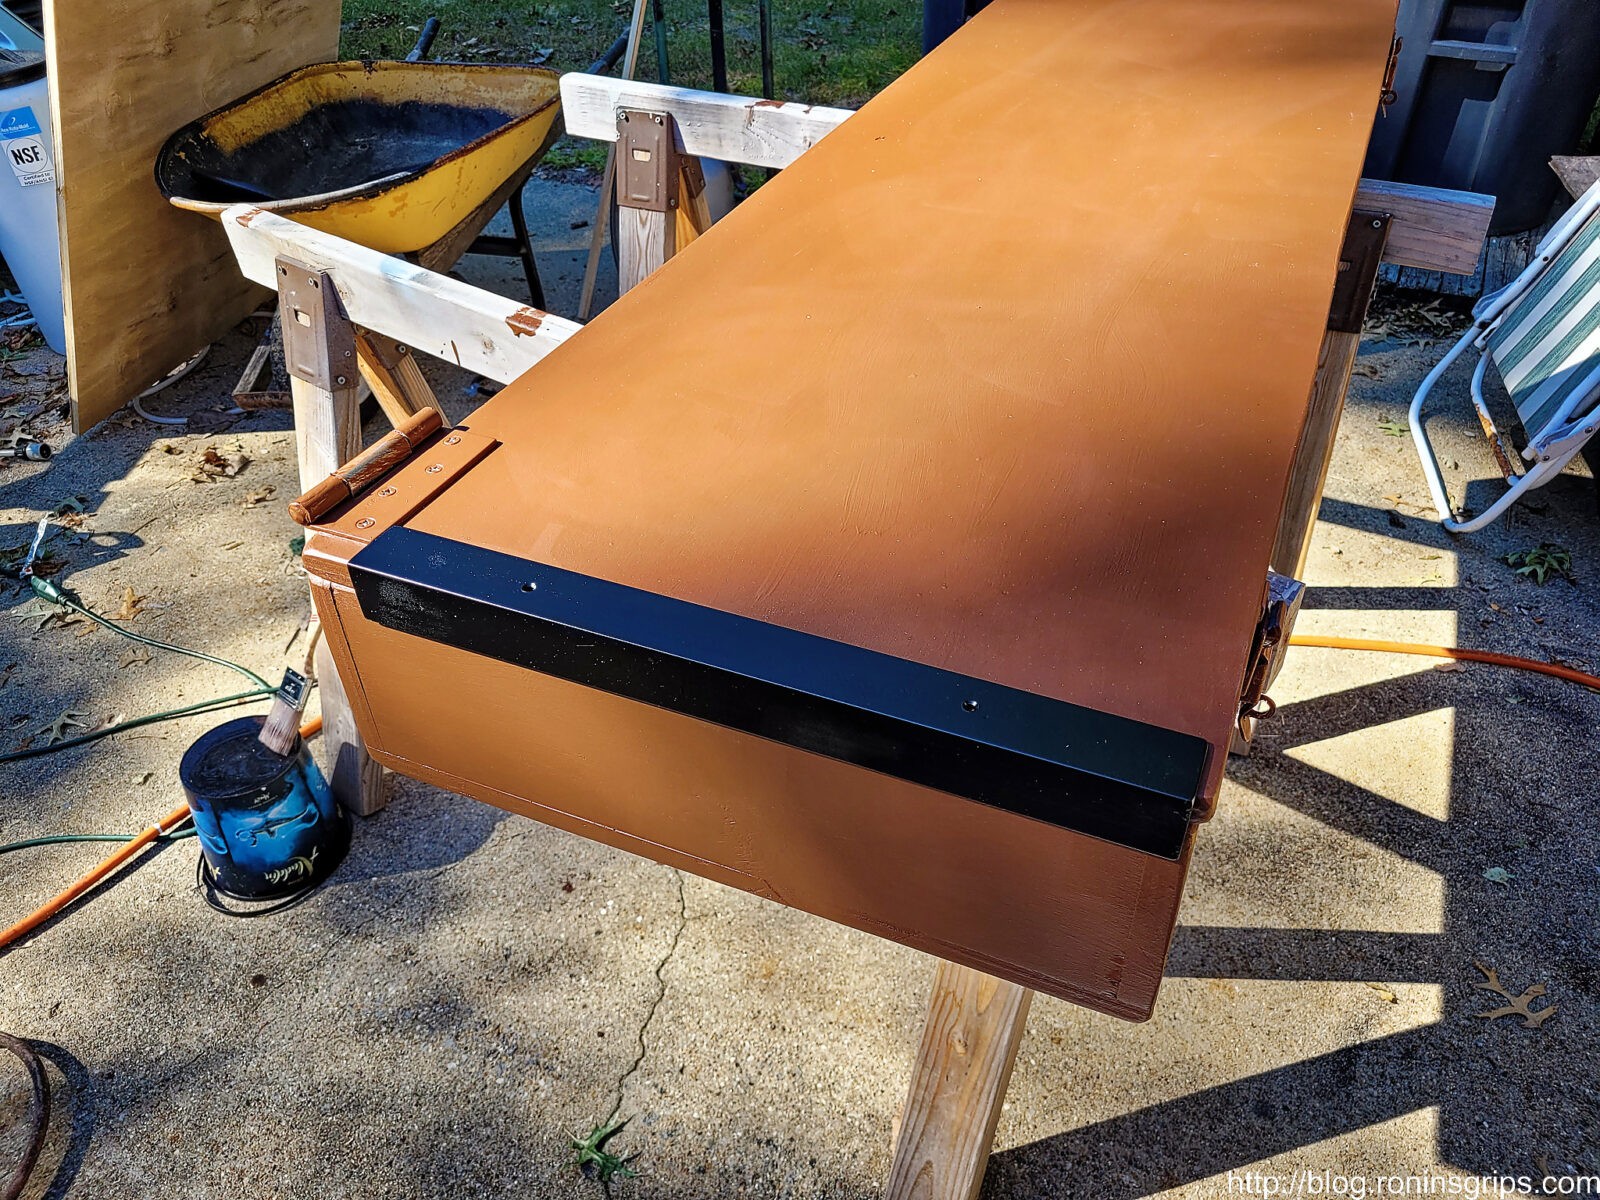
Lastly, I wanted the wood to be protected so I went with a deck stain. We’ve had very good luck with Home Depot’s Behr deck stain so I just grabbed a can of Russet. It’s a decent medium brown but in hindsight I wish I had gone darker.

One recommendation I would tell you is to use a sander and round over all of the edges so reduce splintering in the future. It also reduces the “ow!” factor if you run into it while moving things around.
Summary
The box feels very sturdy and can’t move at all now that it is strapped in place. I think the truck has the weight it needs and I don’t have to worry about it shifting around.
I hope this helps you out!
10/31/24 – I am still using this setup and it works great. If I had installed a rubber matt or something on top the lid would have been protected better. I have scuff marks all over mine from pushing stuff in and pulling it out. I may get add some rubber floor mat on top but it’s near the bottom of the to-do list.
Note, I have to buy all of my parts – nothing here was paid for by sponsors, etc. I do make a small amount if you click on an ad and buy something but that is it. You’re getting my real opinion on stuff.
Please share the link on Facebook, Forums, with colleagues, etc. Your support is much appreciated and if you have any feedback, please email us in**@*********ps.com. If you’d like to request a report or order a reprint, please click here for the corresponding page to open in new tab.