In the last post, I covered the basic construction of the tank. In this post I want to talk about heating the tank. Thanks to mass production of digital temperature switches, you can build a digitally controlled heated tank for a very reasonable price.
Why Does Heat Matter?
In case you are wondering, heating the solution does matter. Years ago, in 1889, a chemist by the name of Svante Arrhenius proposed an equation that would later bear his name. Basically, a chemical reaction increases as the level of activation energy increases. The reason temperature enters in as that you are raising the energy in the liquid, more energetic particles are bouncing around and increasing the volume of reactions which means that more successful reactions will occur as well. We can use a rule of thumb that for each 10C increase in temperature, the reaction rate will double and for each 10C drop, it will be cut in half. To sum it up, cold=bad for chemical reactions. As a side note, this is also why marginal batteries fail when cold weather hits.
So what this means to acid etching is that in my cold unheated shop in the Winter, reactions are going to be real, real slow. Thus, I must have a way to heat the chemical and the submerged part to improve the reaction.
The Heating Element For The Tank
The first thing I wanted to do was to keep the cost down and the second was that I didn’t want something that would get so hot that it would melt the PVC. I had a 30 foot length of roof heating tape from when we cleaned out my dad’s garage that I had been thinking about for a while. It always makes me feel good when I use something that was my dad’s. (There are tons of options on Amazon – click here.)
These roof heating cables use AC voltage to warm up and melt ice are readily availble and are designed not to get so hot that they melt the shingles but also are designed to be spread out and not right next to each other so I was going to need to test the design. I planned to wrap the tape from the bottom of the tank until I ran out cable with each coil right against the previous. I was counting on convection of move warmer fluid up and cooler fluid down but I wasn’t really sure how it would sort out.
Another nice things about these heating cables, or heating tapes, is that they do not use a lot of electricity. The 30 foot model my dad had was spec’d to draw only 150 watts at 12 volts. That makes for a nice portable unit that you can run off just about any extension cord.
So, step one, I applied the tape to the empty tank and secured it just with 3M 3340 aluminum HVAC tape. This is the tape made for higher temperatures with an aluminum foil backing – it’s not dcut tape. I then watched the temperature with my Fluke 62 Max IR thermometer. You need an accurate thermometer and the Fluke has served me very well – it’s proved itself to be accurate, reliable and durable – it’s been bounched around a lot in my shop.
So, the temperature slowly climbed but made it all the way up to 170F before I shut it down. The PVC still felt pretty good but it was way hotter than what I wanted. Just plugging the tape in and calling it done was not the answer. Sure it would heat the liquid up fast but I couldn’t safey leave it unattended. I needed something to control the temperature but use the heat tape.
Please note that there are pipe heaters that are a different creature. Some of them need to be submerged in water or wrapped around a steel pipe. Do not use those types of heaters. There are a ton of different names buy you are looking for the cable or tape that is put on roofs to melt ice dams, etc.
Solution – Use A Digital Temperature Controller
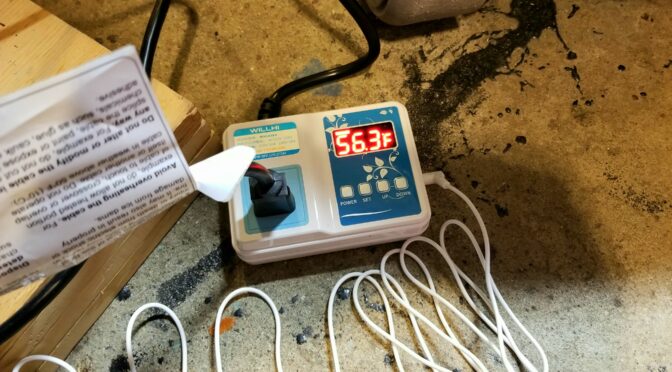
I thought I knew the switch I was going to buy until I did some further research. Some controllers are very easy to set up and others seem a bit more confusing. I opted for the WILLHI WH1436A Temperature Controller 110V Digital Thermostat Switch. All you do set set the temperature for ON and the temperature for OFF. That’s it. If you want them, there are some more advanced settings that you can explore if you want but this seemed like just what I needed.
I undid the top few coils of the heat tape and rewound them with the temperature probe wrapped in them. I then used aluminum HVAC tape to secure the top. I set ON to 90F and Off at 95F and plugged the roofing tape into the controller.

I started watching with the Fluke meter and since the temperature based on the probe was 40.2F, the controller turned on power to the switch and the tape heated. It did cut power around 95F but the tape continued to warm up even so by about 10F so the peak temperature was between 103-105F according to the Fluke. This was actually within my acceptable range. I was just ballparking 90F but even 105F was fine by me.

There was one minor hitch I noticed during experiments – the controlled heat took over an hour to warm up the fluid. If I unplugged the tape from the controller and plugged the tape straight into AC power, the fluid heated way faster and the pipe never felt soft – probably because the tape was heating part of it and the acid was cooling it. This was the fastest way but risky because if you forget, it’s going to get quite hot. I let the fluid get up to 160F during one run and decided that I would only do this if I was in a big rush and going to be there working the whole time. If I wanted to play it safe, letting the controller keep things safe was a better bet. I could have also sped things up by setting the OFF temperature higher, say at 110F and that’s something I will experiment more with.

Operating Temperature Range
Do not heat ferric chloride past 131F. Remember that the heating element will still heat the chemical another 10 degrees or so past the upper limit you set as OFF.
The operating temperature range from MG Chemical is 95-131F. Based on my results, I don’t see a need to push the upper limit.
Click here both for their technical sheet and MSDS sheet,
Conclusion
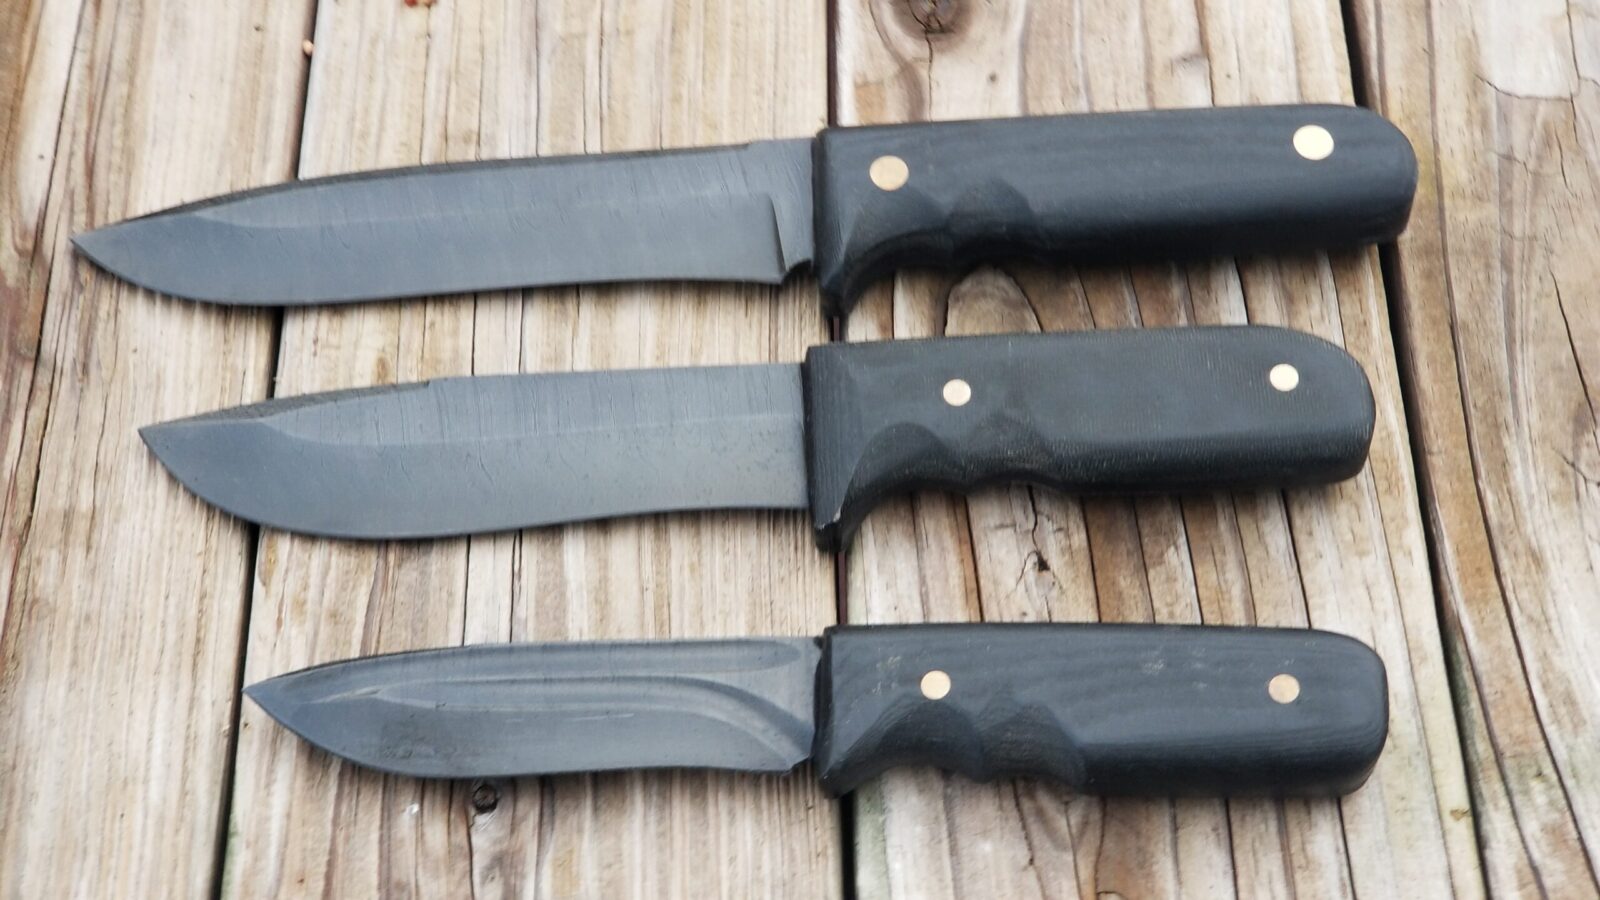
I had about $30 in the PVC and fresh glue, nothing for the base, the controller was $29.99 and the roof heat tape was free but if you bought it, the price would be around $30. This definitely falls in the affordable category plus I turned out some really cool etched damasus blades using the controlled tank. If you want to know a bit more about the chemicals and my process, click here.

If you find this post useful, please share the link on Facebook, with your friends, etc. Your support is much appreciated and if you have any feedback, please email me at in**@*********ps.com. Please note that for links to other websites, we are only paid if there is an affiliate program such as Avantlink, Impact, Amazon and eBay and only if you purchase something. If you’d like to directly contribute towards our continued reporting, please visit our funding page.
