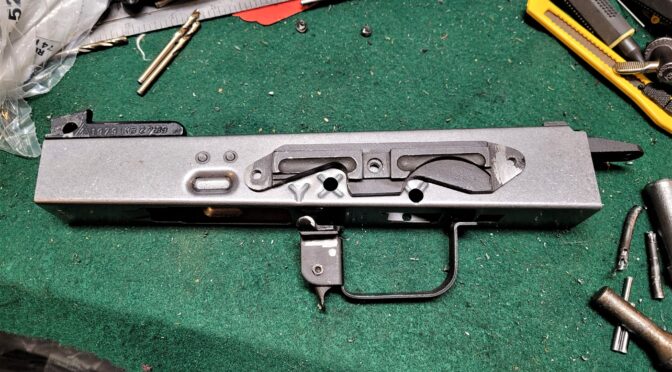
Building an AK takes a fair amount of drilling, fitting and riveting that can intimidate someone thinking about building their first rifle. Lucky for them, the industry has evolved a lot of really cool tools exist to enable faster higher quality results. A good example of evolution is the location and drilling of the the rivet holes in the receiver for the front and rear trunnions.
Back around 2006 or so when I got started, you either measured the location of the trunnion holes and marked them or you could take a post it note, push it on the trunnion to get an outline of the holes and then transfer it to the receiver, again marking where to drill. You learned quick to start with a small drill bit so you could adjust a bit if you were off with either method – I got pretty good with the post it note method actually.
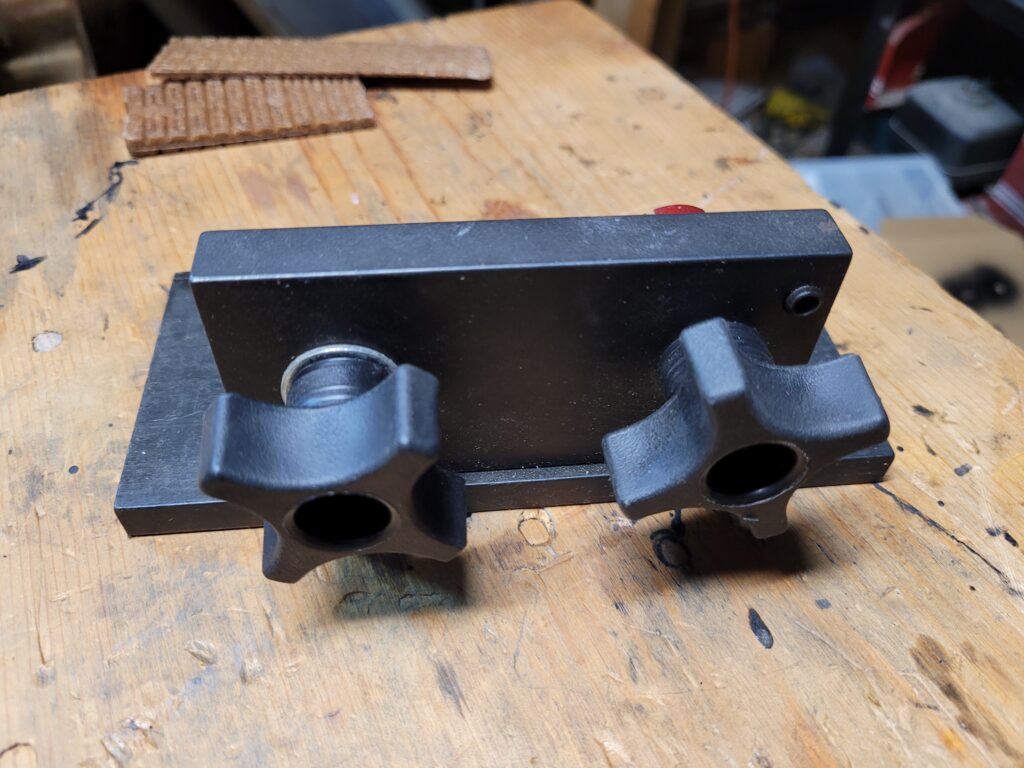
One of the AK-parts and tool vendors that has been around the longest is AK-Builder and he was always bringing new offerings to the market, I slowly added one of all of his tools as funds permitted. I had his rivet jig, flat bending jig, the top rail layout jig (if you remember those) and so forth. At some point he added a really, really cool jig for locating and drilling the holes for the trunnions. I bought it and swear by it to this day.
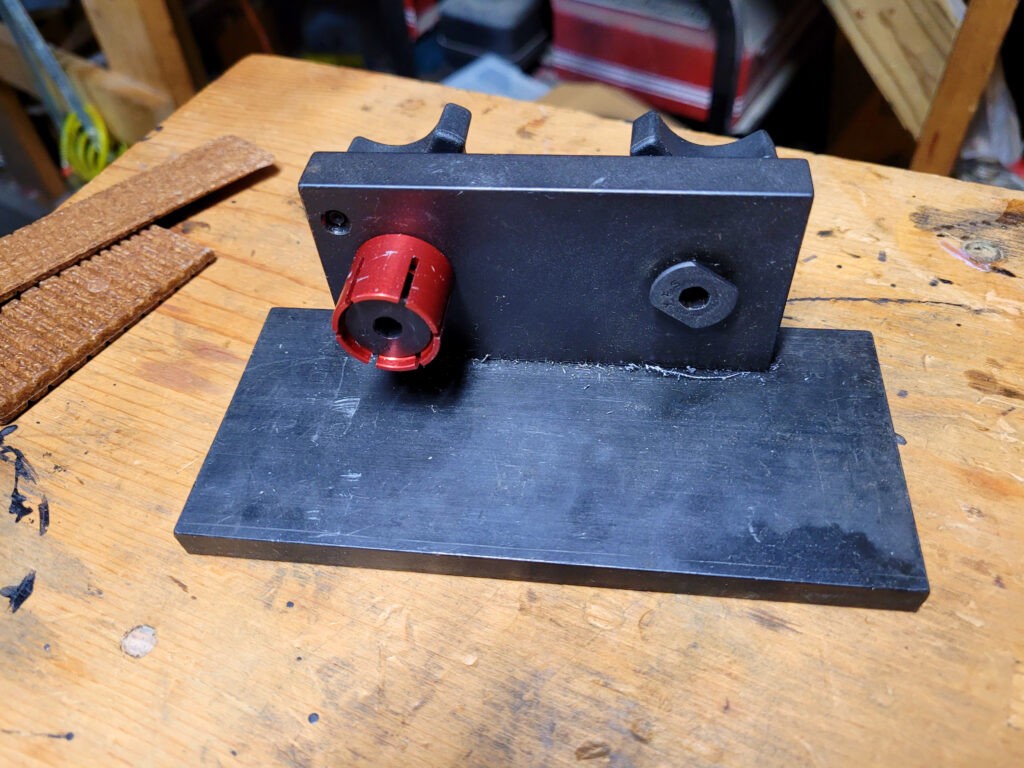
Using It For The Front Trunnion Holes
Using this fixture is about as easy as it gets but you must have a drill press. I’d recommend an X-Y table on your drill if you plan to do this much but at least have a drill press.
- Securely mount the fixture to your drill press.
- Insert the trunnion and tighten the knob so it can’t move.
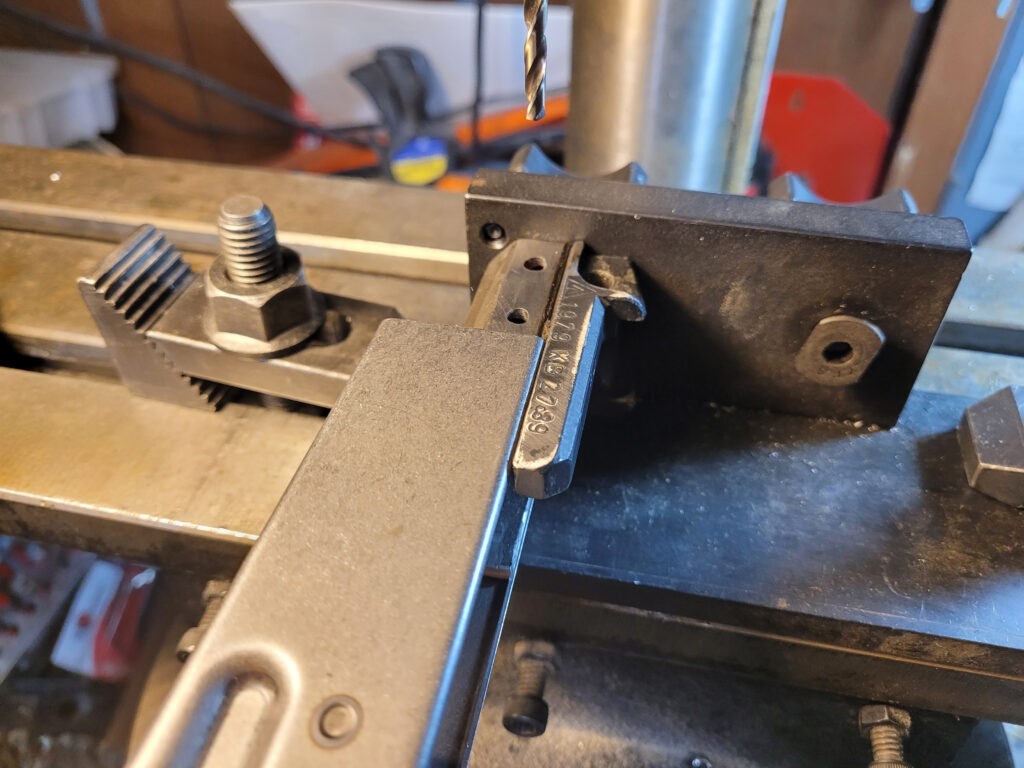
- Move your drill table around to line the drill bit up with the hole in the trunnion.
- Slide the receiver over the trunnion.
- Lower the drill and it will go in the exact same location as the trunnion hole you lined up on.
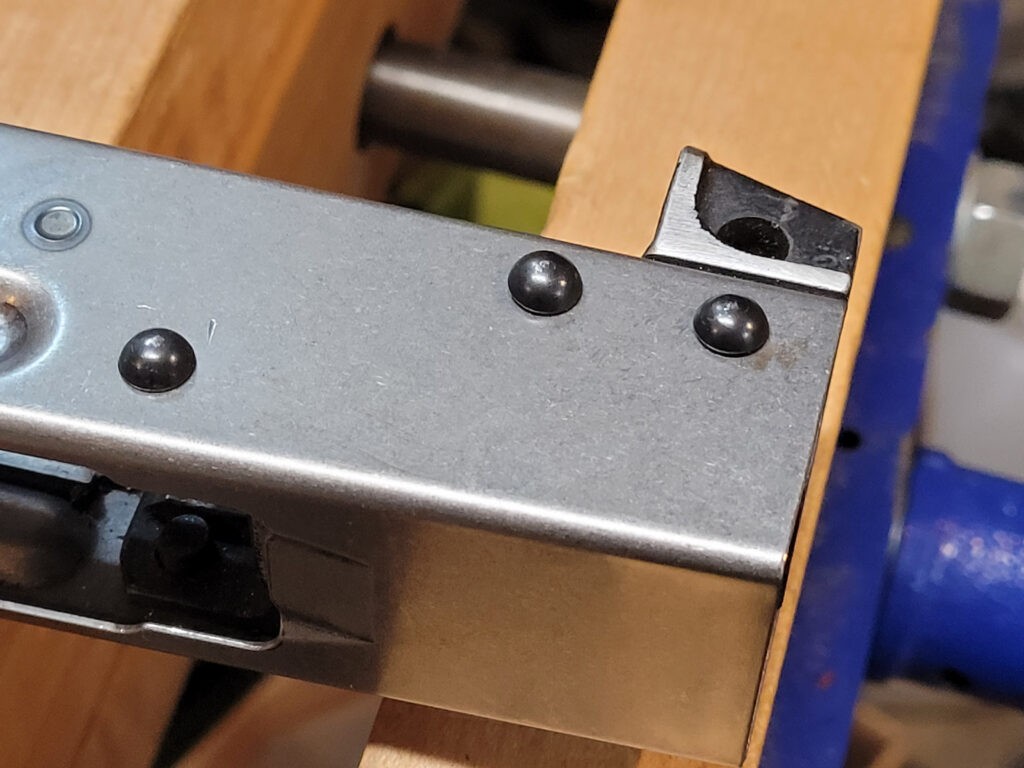
Tips For The Front Trunnion Holes
- Confirm the drill bit sizes you need before you start. For most AKMs, the front rivet holes are 4mm so you can use either a 4mm or 5/32″ (3.868mm) bit. Note, that dimension can be different so just confirm is my point. Also, I’d recommend good cobalt bits personally.
- Use cutting fluid – I like Tap Magic personally.
- You will drill a hole at a time – do not try to go all the way through. Small alignment errors become big problems when you do that. Avoid the grief – do a hole per rivet.
- Make sure the table can’t move, that the fixture is secure and that the trunnion is being held firmly. If anything moves, you are hosed.
- Line up on the hole, slide the receiver all the way on, pull it back just enough to verify nothing moved one last time.
- After I drill the first rivet hole I carefully inspect everything is lined up. I then move to the second rivet hole and repeat the above but before I drill, I insert temporary rivets in the holes to make sure nothing moves. DO NOT SQUISH THEM – I literally am just using their bodies to keep everything lined up. It really helps avoid small movement errors.
- If you mess up real bad for some reason, weld the hole shut and start over.
| If you go to the AK-Builder product page for this jig [click here] you should note the link in their description to a page with a lot of photos and detailed instructions. |
Doing The Rear Trunnion
Doing the rear rivet holes uses the other side of the drilling jig. The little rectangular tab goes into the top of the rear trunnion where the recoil spring rod normally sits and you can then crank it down tight to hold it in place while drilling.
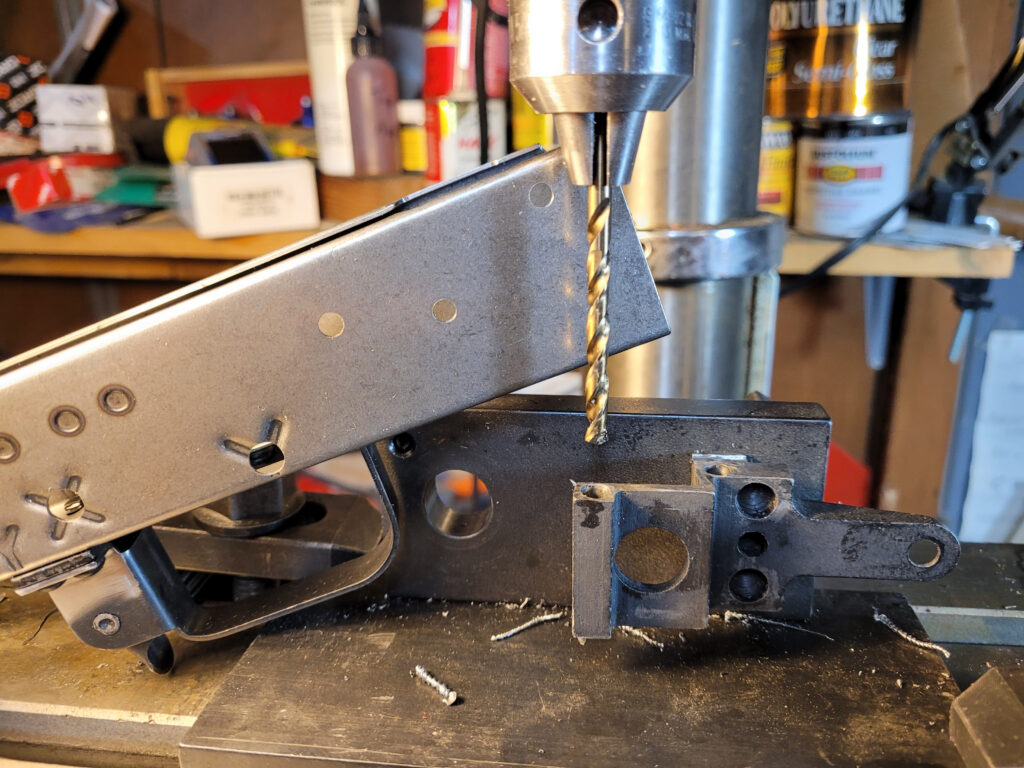
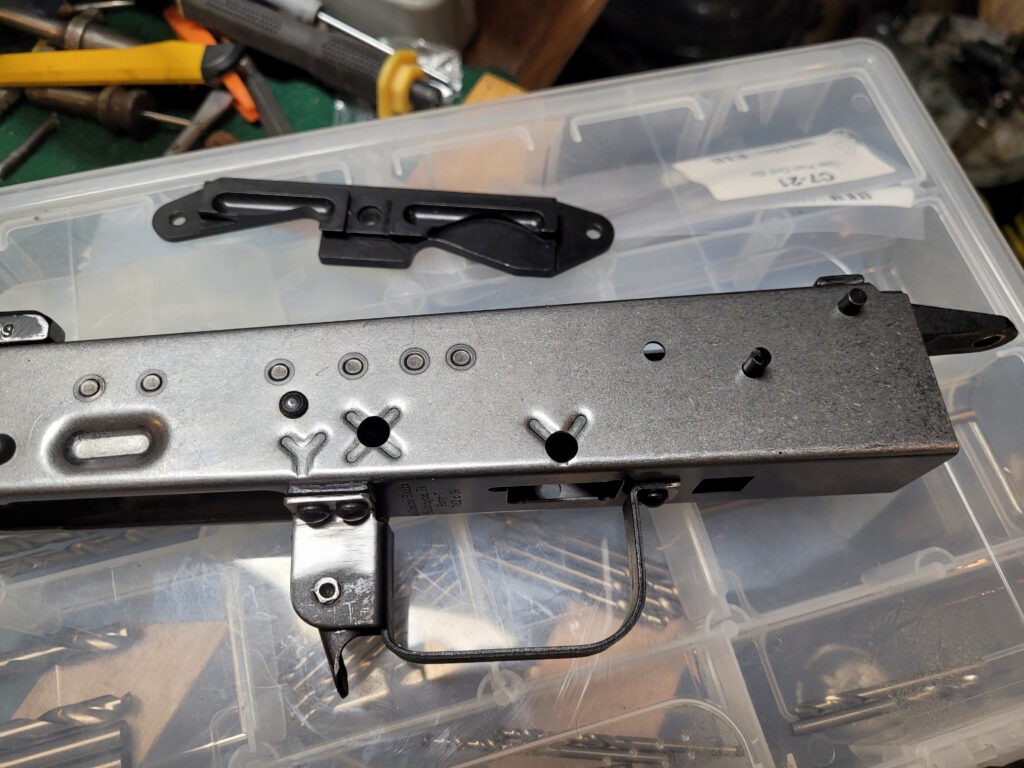
Tips For the Rear
- First, read all the tips I wrote for the front trunnion if you skipped them.
- The key to all of this is a solid setup and nothing moving.
- Confirm the size drill bit you need. It will probably be 4.5mm which you can do with that size drill or be close with 11/64″ (4.365mm).
- DO NOT DRILL STRAIGHT THROUGH. I’d recommend you take your time and do a hole at a time.
- Once you get a hole drilled and are ready to do the next, stick a rivet in it to prevent movement.
Summary
The AK-Builder drilling jig is the best tool I know to help you quickly and accurately locate and drill the front and rear trunnion holes in your receiver. I definitely recommend it.
Note, I have to buy all of my parts – nothing here was paid for by sponsors, etc. I do make a small amount if you click on an ad and buy something but that is it. You’re getting my real opinion on stuff.
If you find this post useful, please share the link on Facebook, with your friends, etc. Your support is much appreciated and if you have any feedback, please email me at in**@*********ps.com. Please note that for links to other websites, we are only paid if there is an affiliate program such as Avantlink, Impact, Amazon and eBay and only if you purchase something. If you’d like to directly contribute towards our continued reporting, please visit our funding page.
