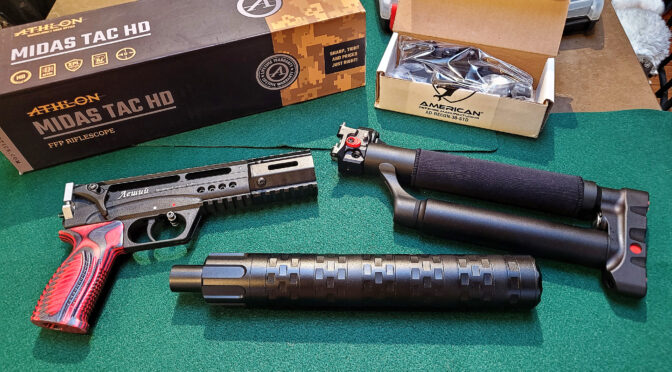
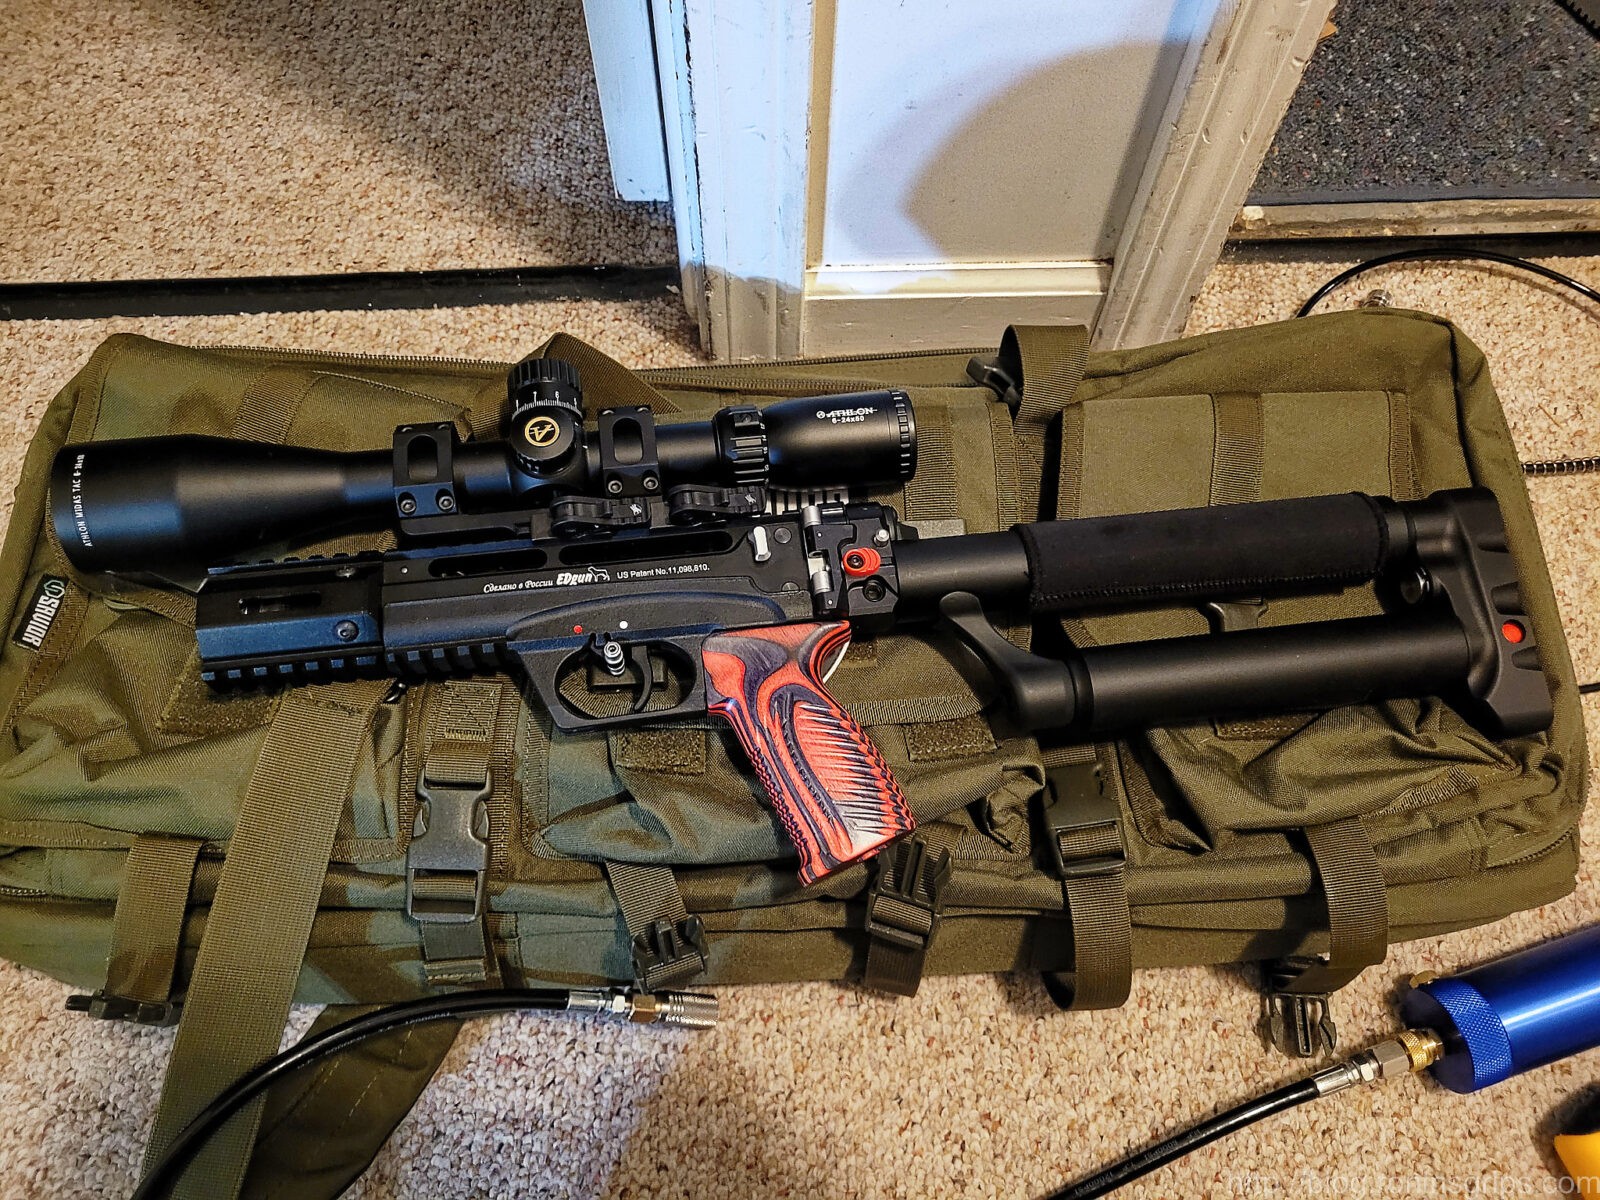
As mentioned in the last post, I had my various parts and it was time to start assembling them. In this post I’ll cover the Behemoth moderator and mounting the Athlon Midas Tac scope.
The Behemoth Moderator
| Legal Disclaimer – I am not a lawyer and this is not legal advice. Airguns aren’t covered in the Gun Control Act (GCA) so they aren’t regulated and the moderators that go on them aren’t. The minute you try and put an airgun or paintball moderator on a firearm, the ATF will consider it a supressor, subject to the GCA and you will be in a lot of trouble for an NFA violation. So, whatever you do, don’t do anything or have anything that will let you mount an airgun moderator on a firearm. |
In talking with firearm people, the first thing they do when they see a moderator on an airgun is ask if it is a suppressor. Yes and No. Yes, they are designed to reduce the decibels and pitch of the high-velocity air to muffle the sound like a suppressor but they are specifically design for airguns.
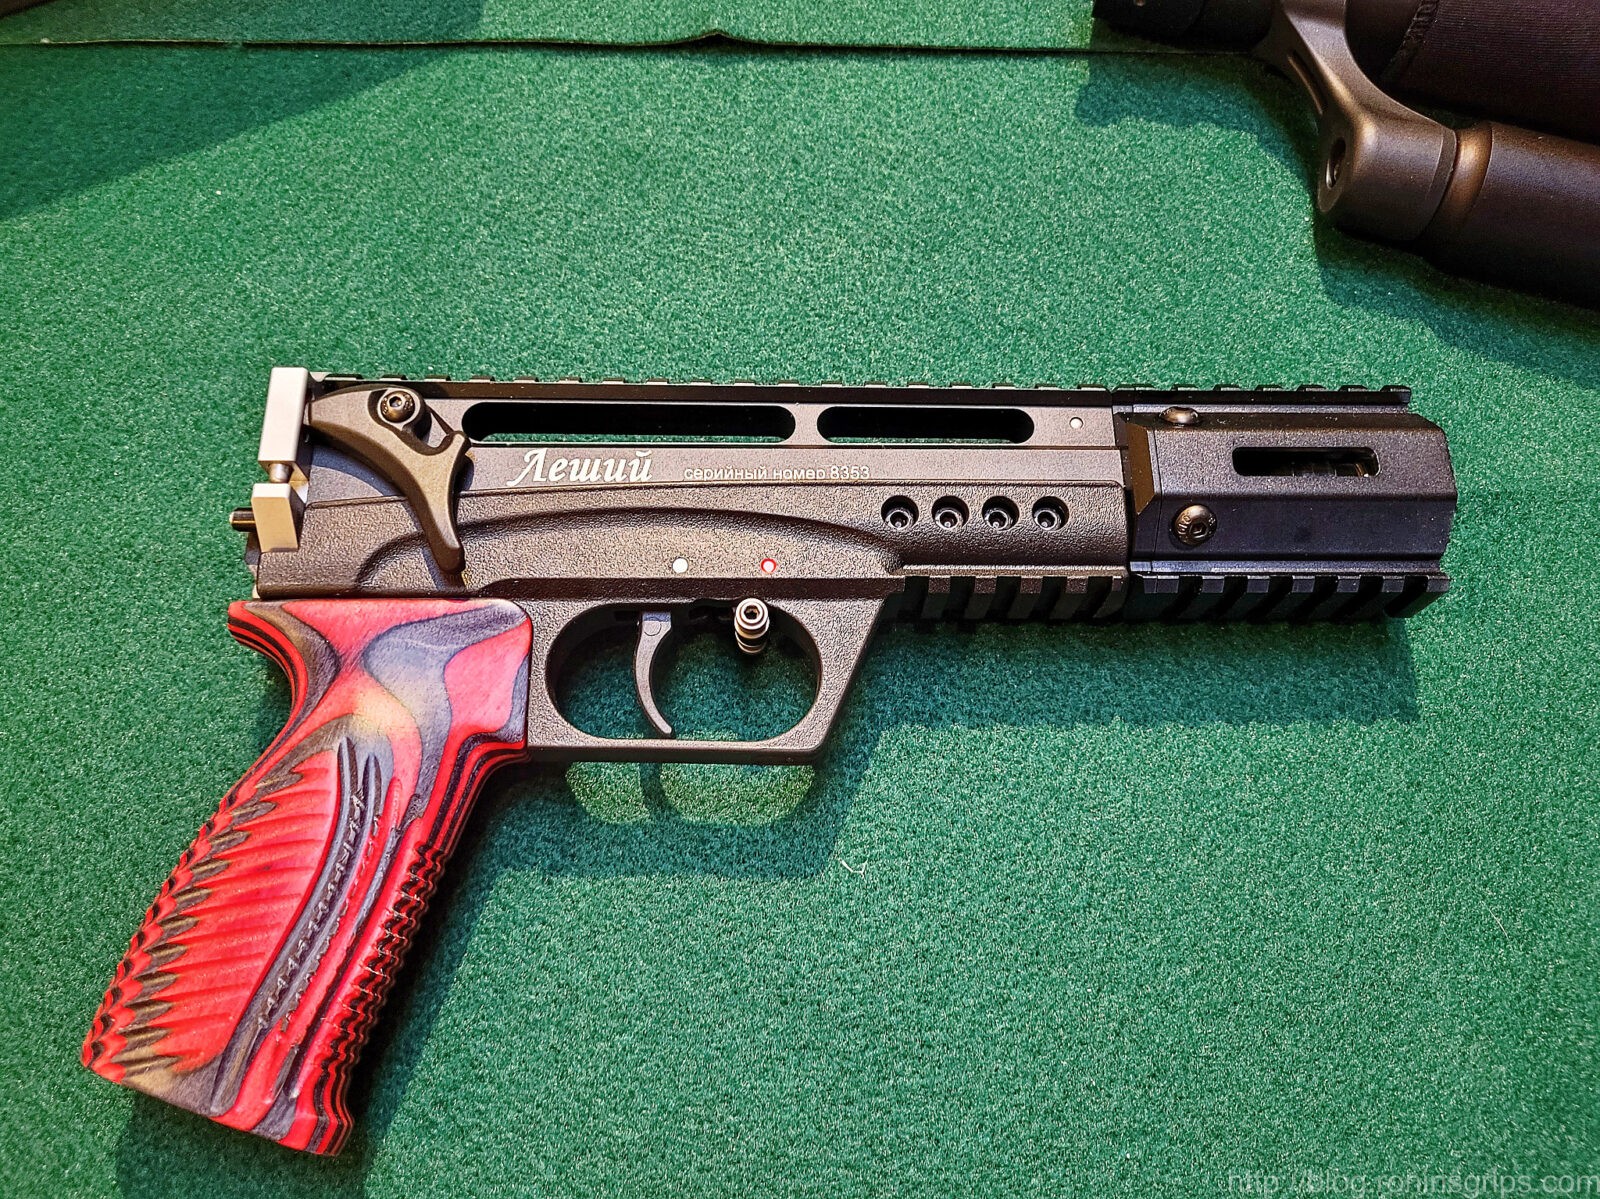
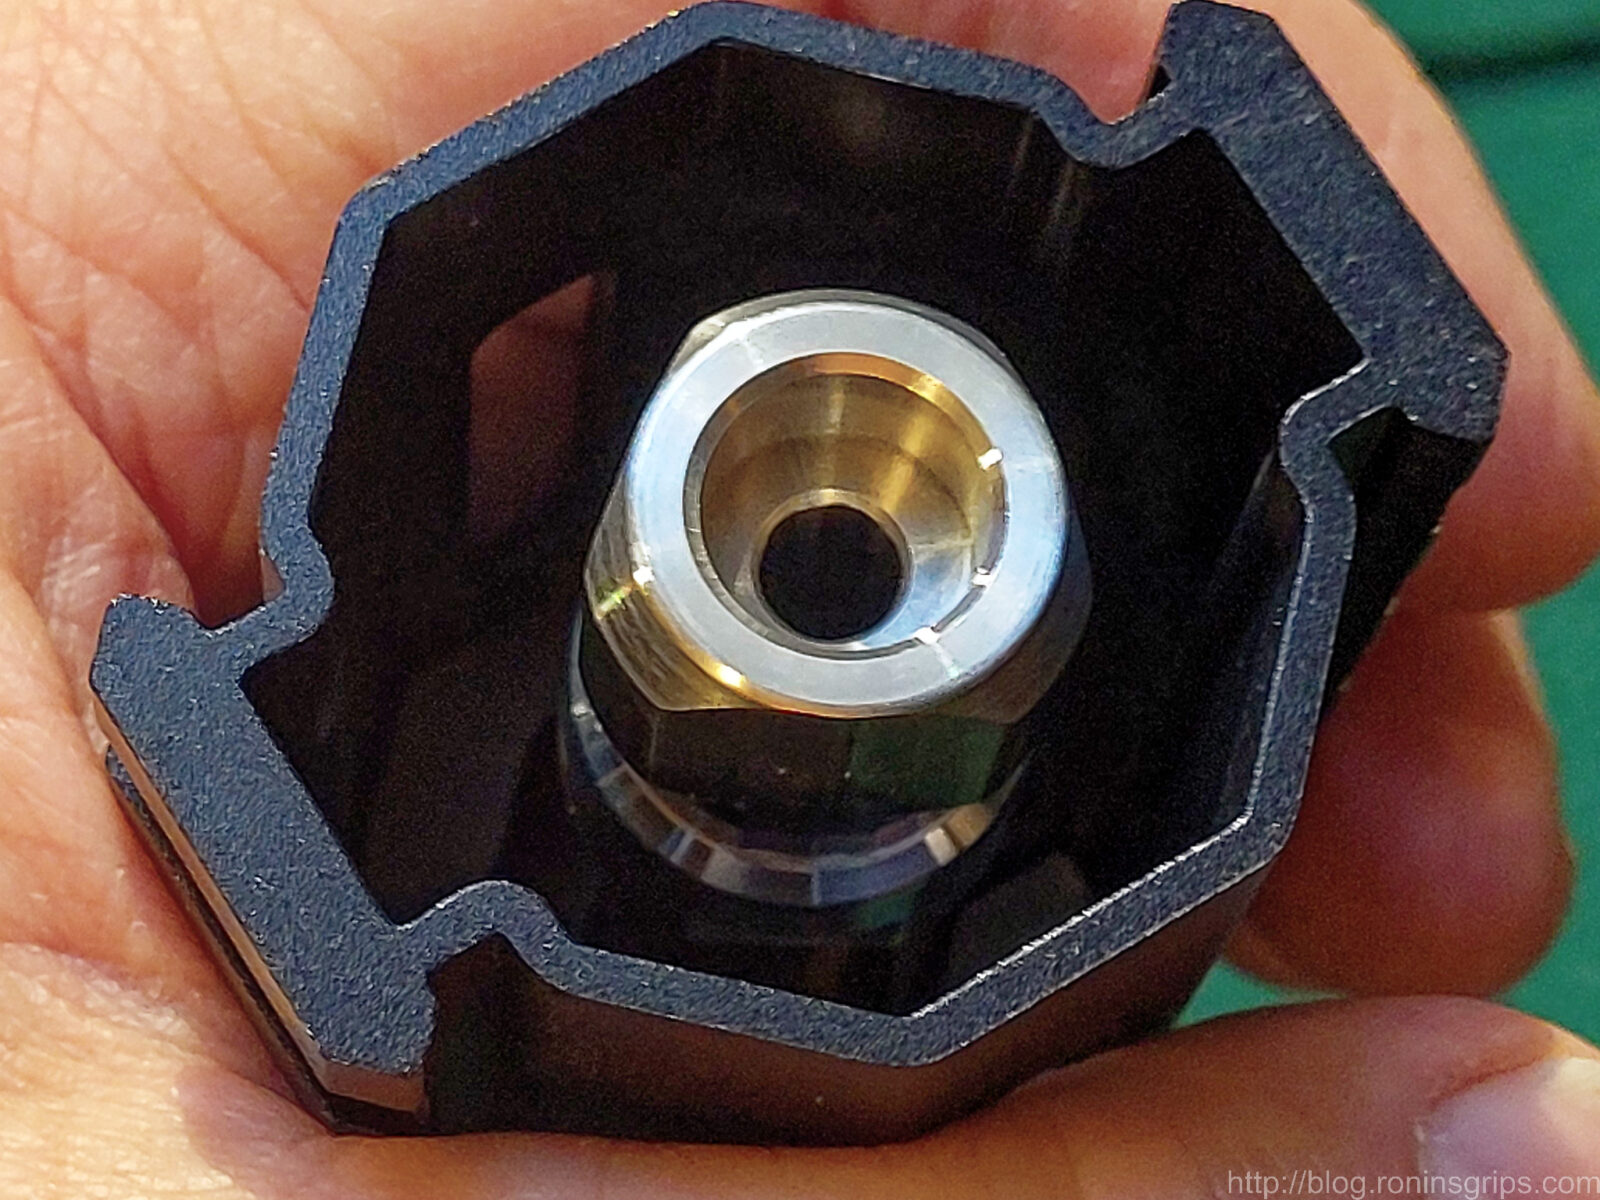
You open up a moderator and you will see materials that can’t handle the heat and pressure of a firearm on purpose. For example, a Behemoth moderator uses felt inside – you don’t see exotic metals. They also use a different thread pattern to mount intentionally. A .22 firearm will likely be threaded 1/2-28 and an airgun is 1/2-20. In the case of a Leshiy 2, the thread is M14x1.25.
In short, at this time, we can run moderators on airguns and I am glad we can because I don’t want loud noises to scare the pests or any people who might wonder what the relatively loud “crack” sound is when I shoot. Note, if you aren’t familiar with precharged pneumatic (PCP) rifles, they can really bark. In general, the larger the caliber the louder they are.
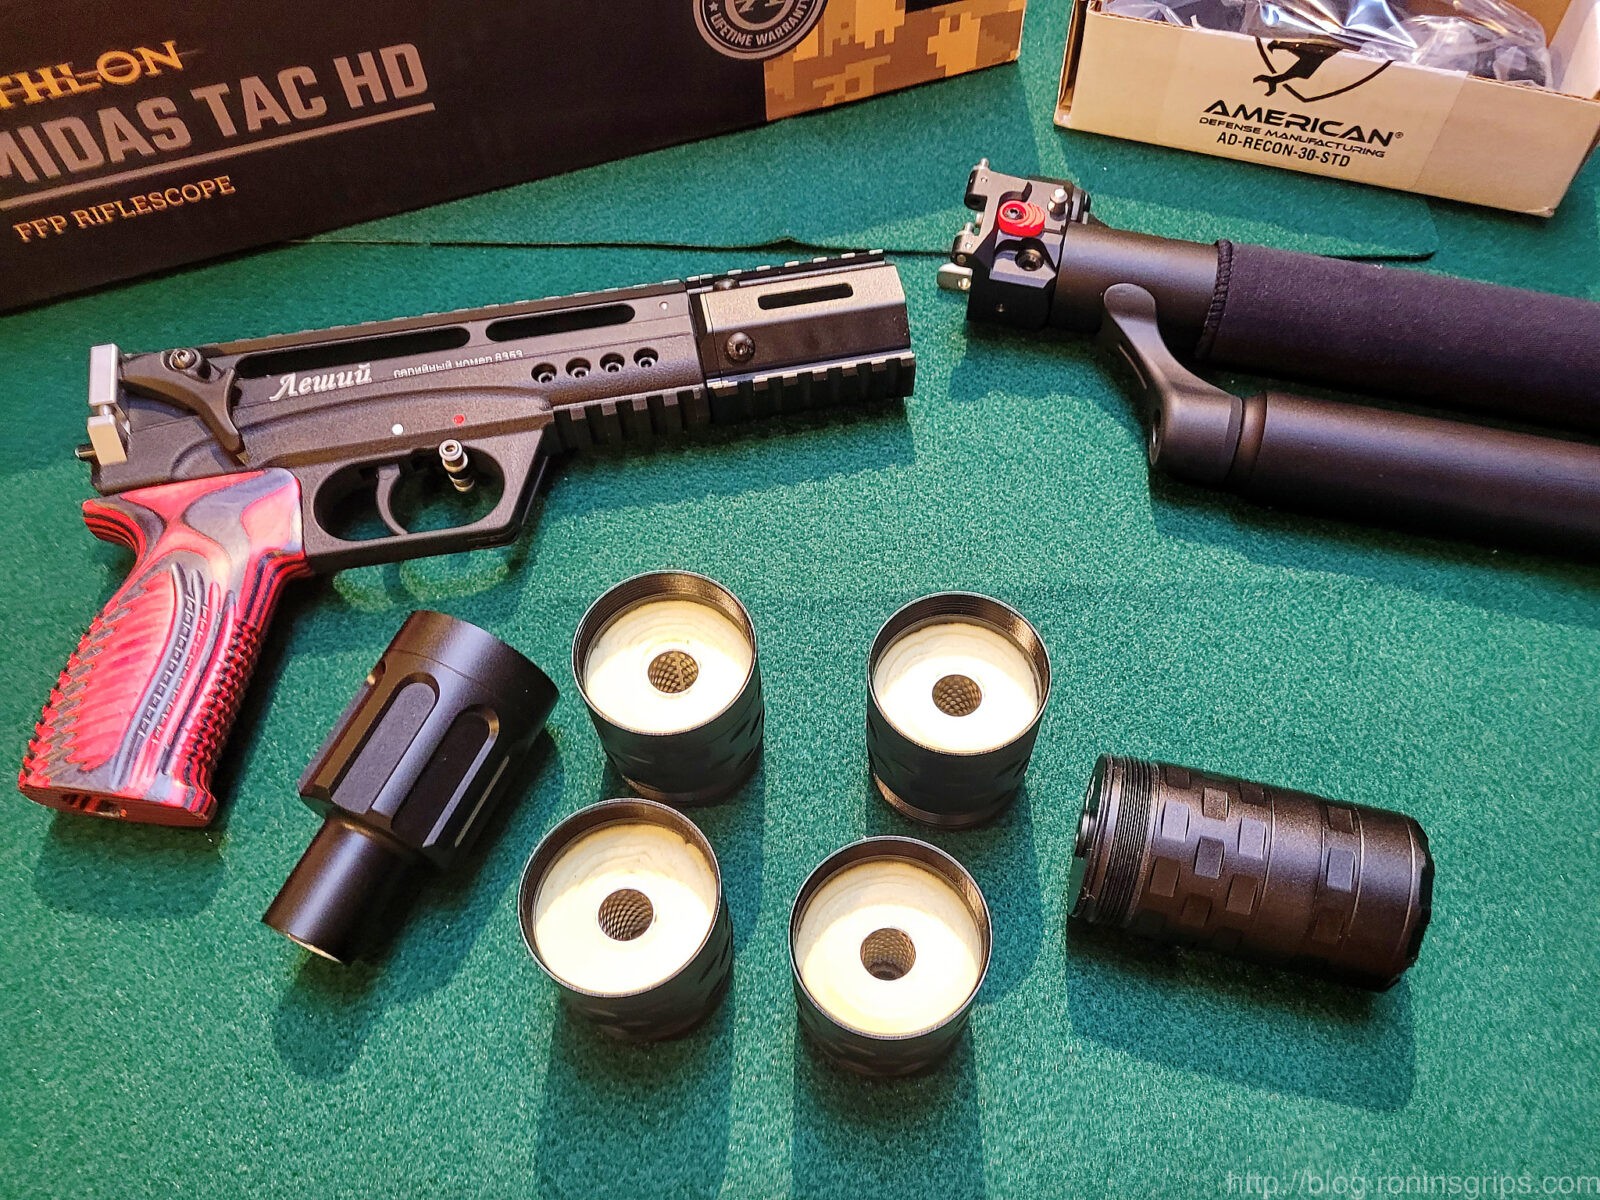
I run a Behemoth Trilug with extra baffles on the FX Impact Compact Mk II in .25 caliber and it has stunning noise reduction. I bought one for my Hatsan Jet II and was surprised that it didn’t reduce the noise as much so I went with a Huggett Standard Snipe and really like it. So, that’s how I wound up with a spare Behemoth sitting around.
I bought some spare baffles, which you can do as the Behemoth is modular, and started with four to see how it did for sound reduction.
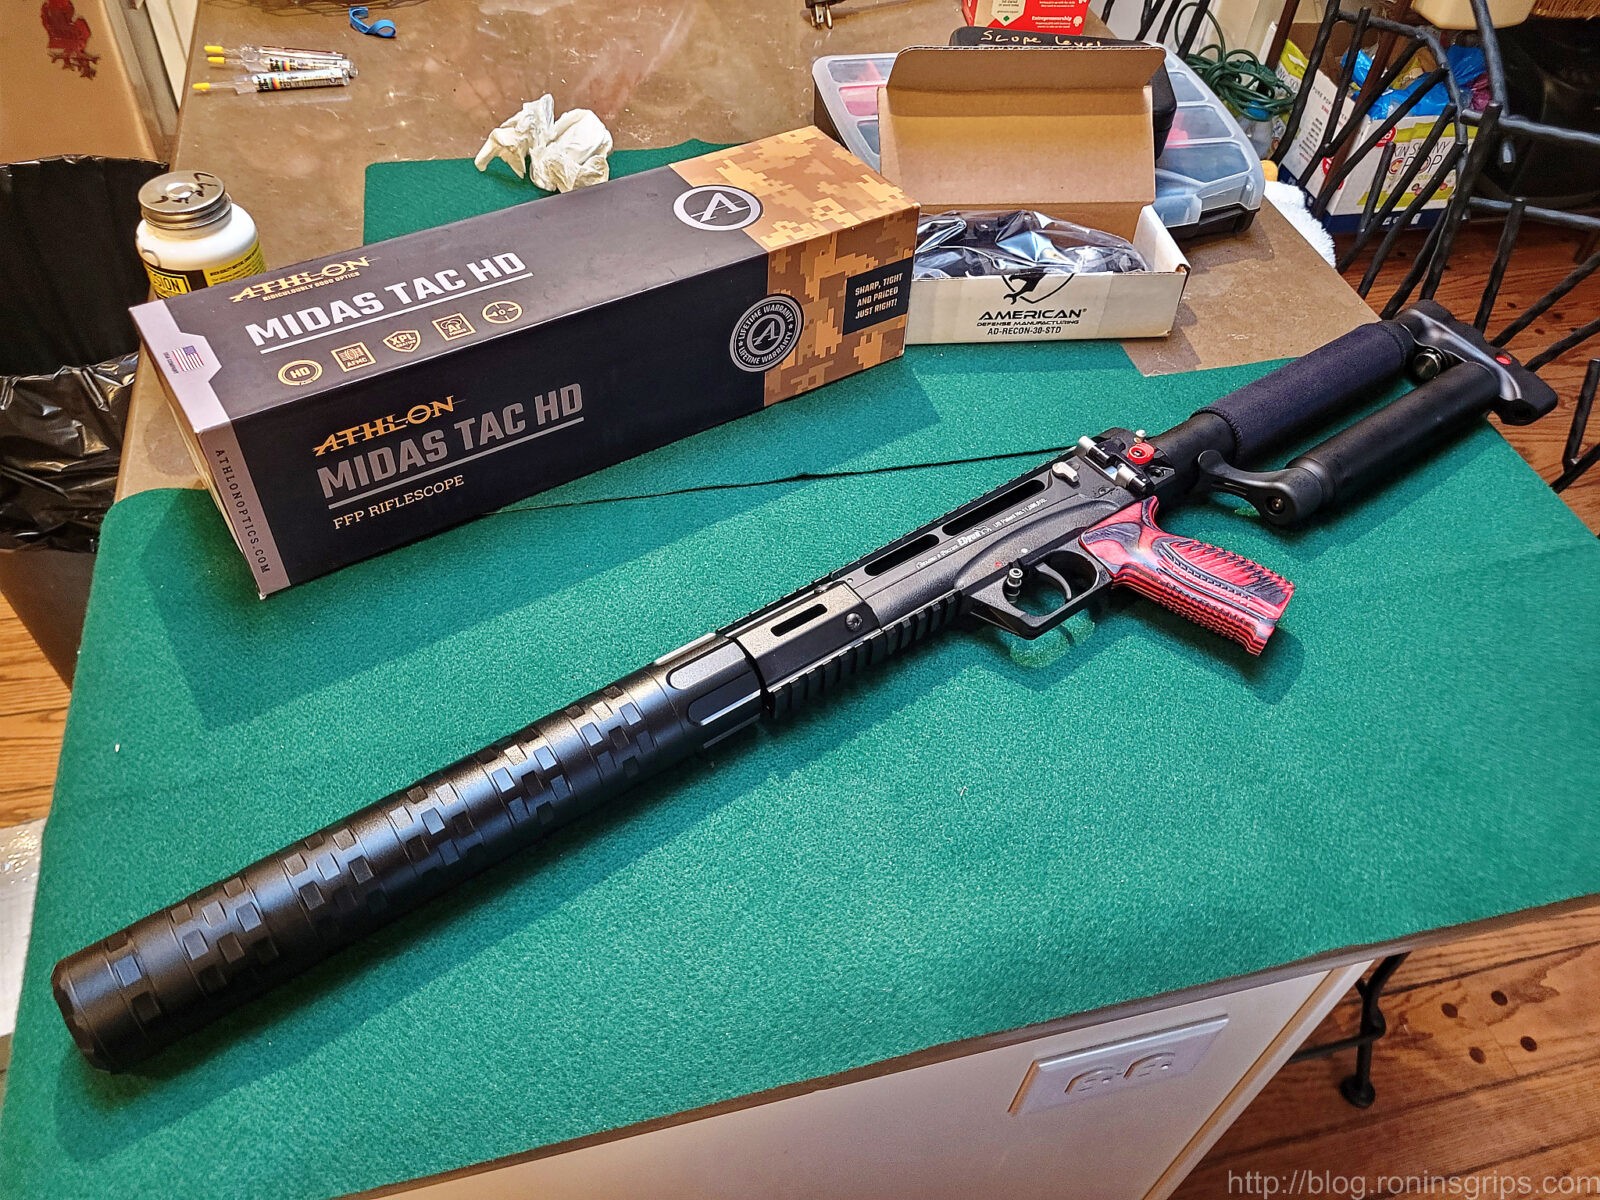
Mounting the Scope
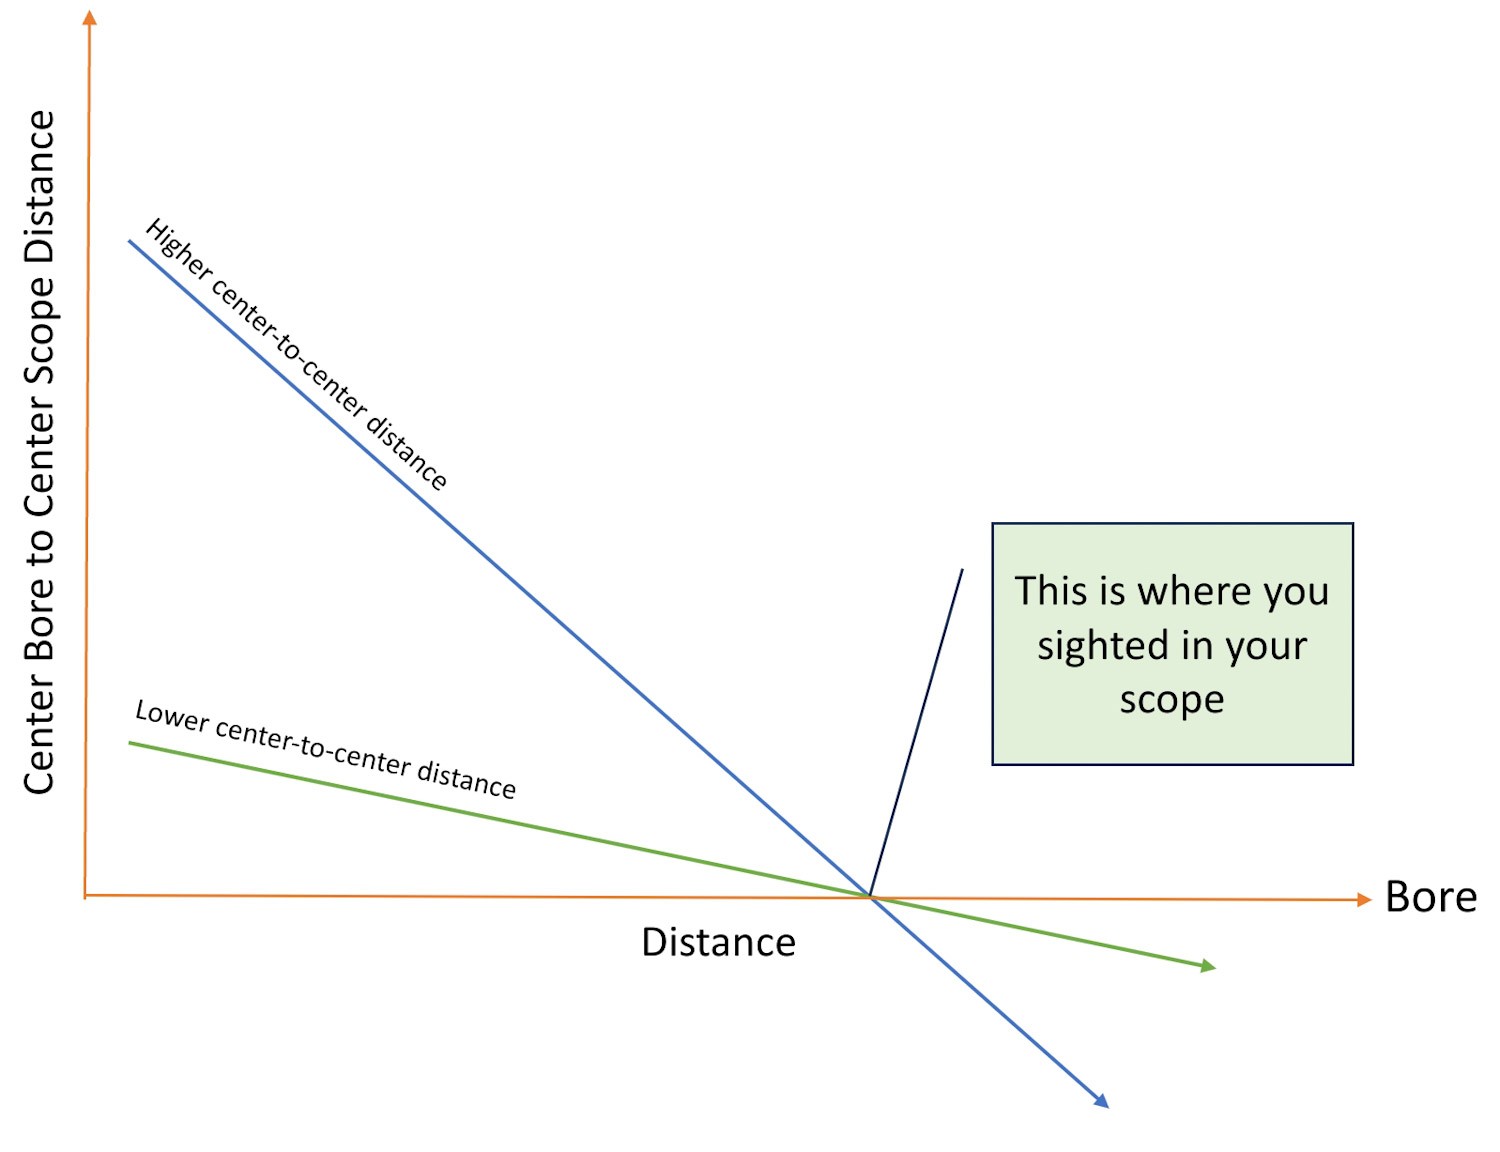
When I buy rings or a scope mount, I buy the lowest option I can. I don’t like to have large distance from the center of the barrel’s bore to the center of the scope as that increases parallax and the amount of the point of impact will shift if the target moves closer or further away from the distance the scope was sighted in at.
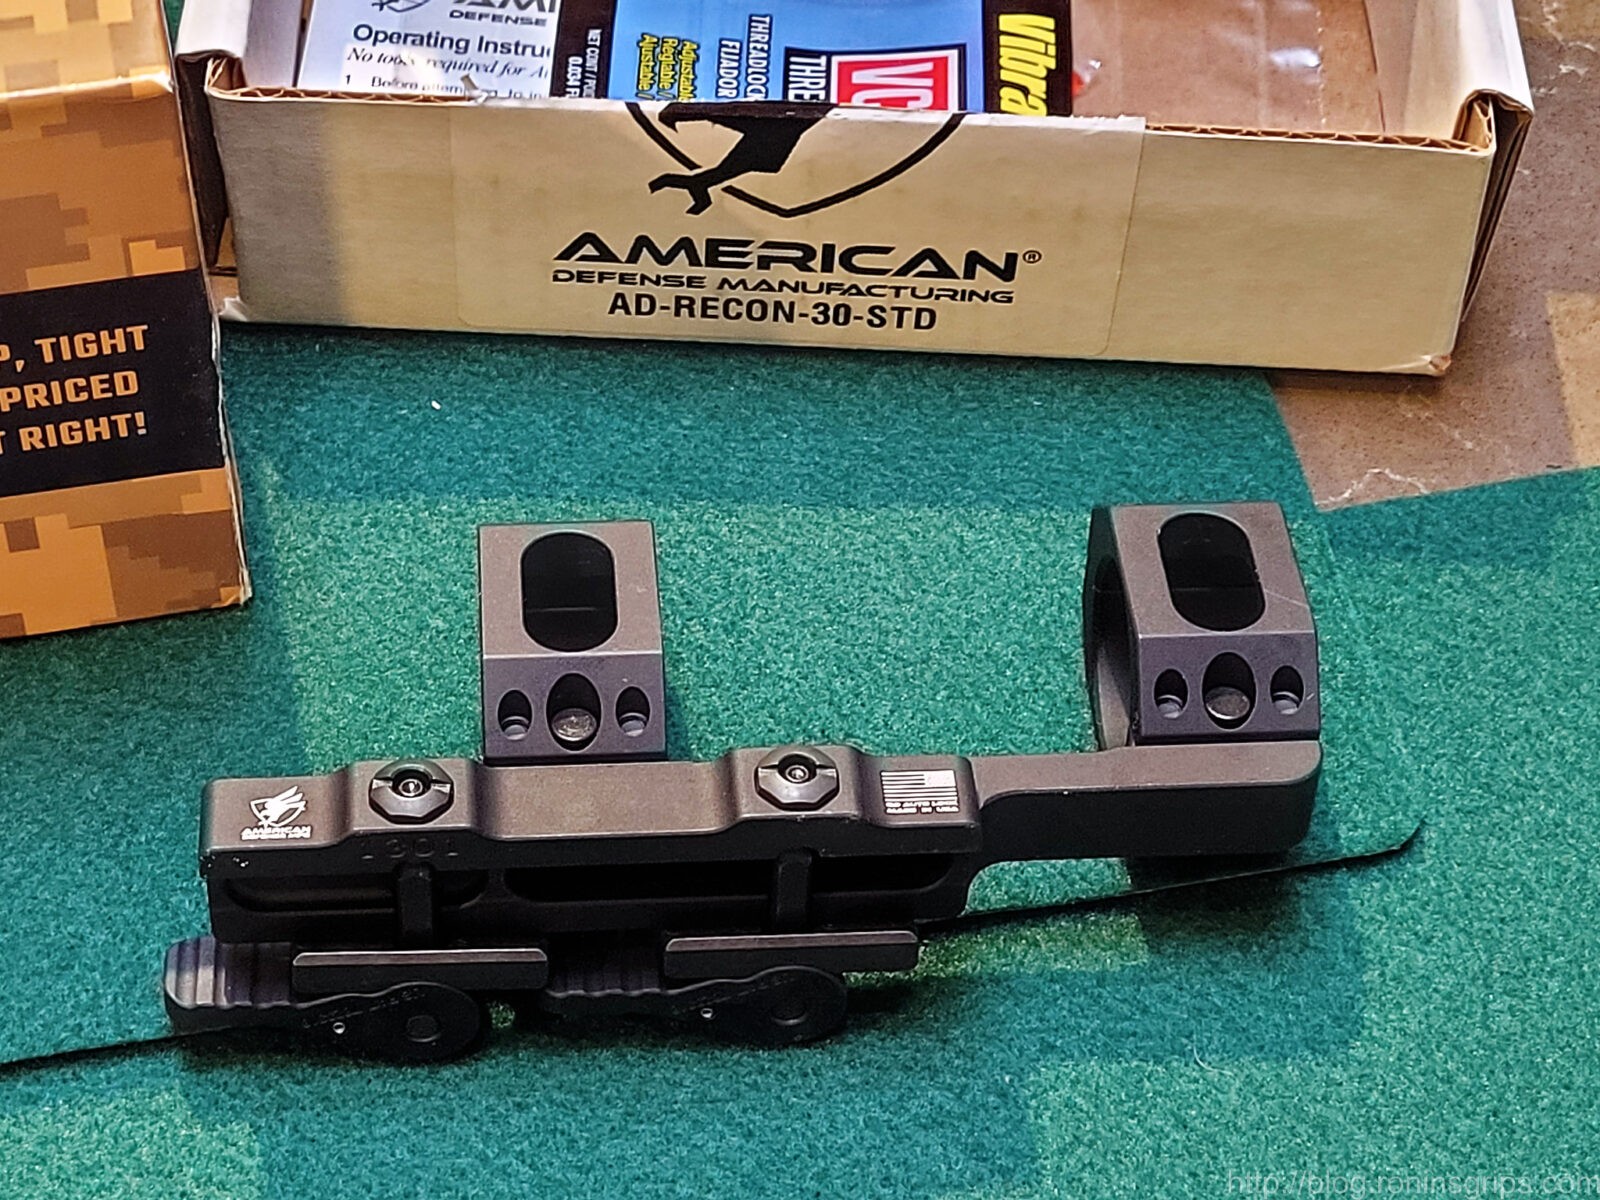
With that said, I bought my American defense mount with a flat rifle top in mind and the objective lens housing clearing the top of the Leshiy 2. Now, with the Leshiy 2, I figured my mount as though the top were flat, such as with an AR. The way you determine the height of rings you need for a flat top is to get the diameter of the widest part of your scope – often times that is the objective at the front. Let’s say it measures 2.25″. We take half of that and we get 1.125″. Now rings measure from the center of the scope because most rings and mounts crade half of the optic in the lower portion. We need a ring or a mount just greater than 1.1″. Now if you plan to put a lens cap or something else that adds to the diameter, you need to increase accordingly. If you have a rifle where the barrel tapers down away from the receiver, you factor that in also.
Next, I loosely insert the scope in the mount so I can do some testing in terms of front-to-back positioning to get an eye relief that I like. The eye relief of a scope is how far your pupil is from the glass to get the correct sight picture. I like the scope to be placed so that when I shoulder the rifle, the optic is at the ideal location naturally and I don’t have to move my head forward and backward.
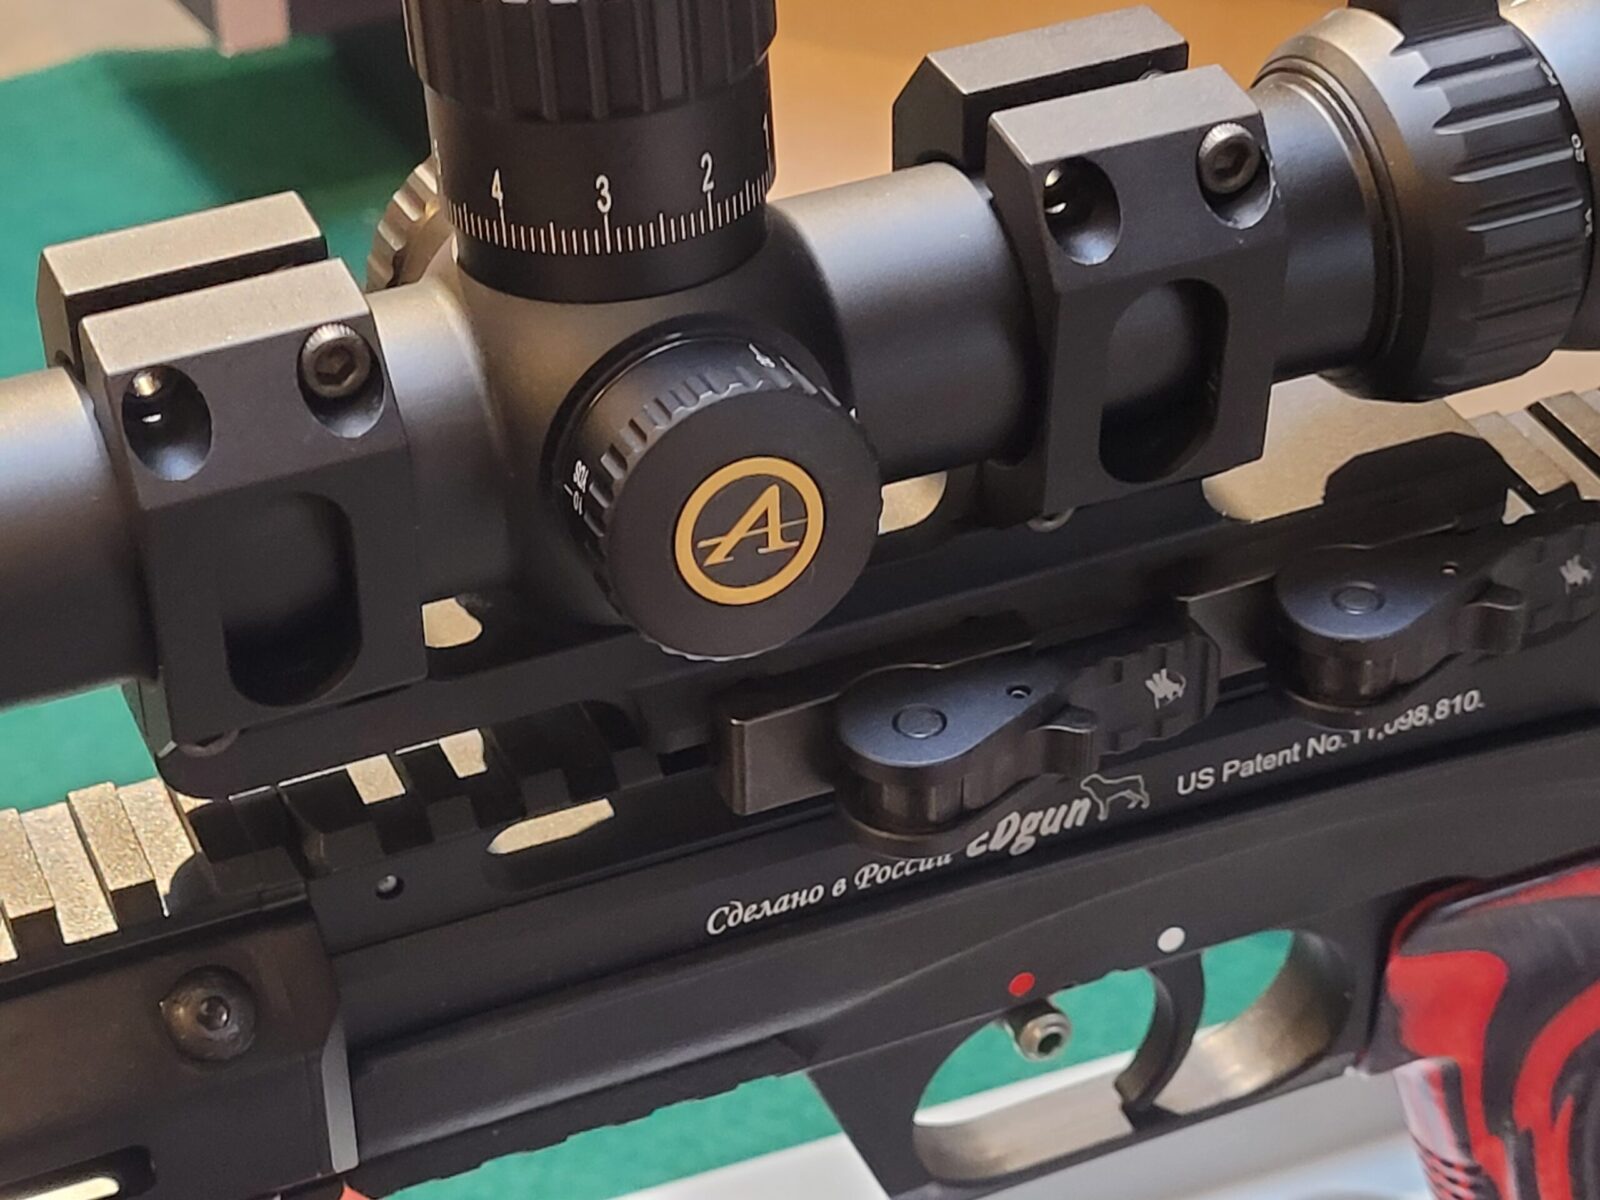
I then put the rifle in my Tipton gun vise, leveled the rifle by placing a level on the picatinny rail of the Leshiy 2. I adjusted it until it was true. I then put a second level on the top scope cap and leveled the scope. The goal was to keep the Leshiy 2 level, the scope level and then confirm by looking through the scope that the reticle appeared true with the rifle – it did.
Lastly, I use a laser boresight to initially zero the scope. Since my desired zero was 12 yards, I used the laser boresight to adjust the elevation and windage of the scope accordingly. I do like laser boresights – in general they at least get you on the paper. Please note, there are and incredible number of variables thaat can and will affect where your pellets actually yet. A boresiht just gets you in the ballpark. You will still need to actually shoot the rifle and do the final dialing in of the scope.

First Testing
Okay, I used my GX CS4 compressor [click here to see all the posts I did about the compressor] to fill the Leshiy 2 and was super excited. I loaded it up with my favorite JSB Diabolo Exact Heavy 18.13 grain pellets, set up the range, started shooting and dialing in the scope … and the Athlon Midas scope broke within the first 10-15 shots – I was pissed. I was adjusting elevation and windage and all of a sudden a pellet went way off from the cross hairs, then so did another and so forth. No matter what I did, the reticle wouldn’t dial in. I guess the reticle had somehow become disconnected from the adjustment screws inside the scope. Argh!!
I’d only had the scope a short time. I ordered it on February 17th and returned it on February 27th. That same day I bought an Athlon Helos BTR Gen 2 4-20×50. I seriously thought about dropping the Athlon experiment but read good things about the Helos BTR and went that route with “Once more into the breach dear friends” echoing in my head.
The Midas experience wasn’t good but guess what? I really like the Helos. It’s clear and has held zero with countless magnification changes over the months.
Changing topics, the one thing that kind of surprised me was that there was more noise than I expected. The Behemoth on my .25 FX Impact Compact was stunningly quiet. It dawned on me that I was hearing the air venting as the Leshiy 2 cycled the action. It was something that I would need to test more.
Summary
The Leshiy 2 was coming together nicely. To be clear, I never contacted Athlon about the dead Midas. I wanted it dealt with fast so I just did a return through Amazon and bought the Helos BTR Gen 2 scope.
The Behemoth Trilug did not perform the way I expected at all and I had four expansion modules in it total. The sound reduction is ok – just not as much as I had hoped for especially given how long it was. I did change to a DonnyFL Ronin eventually but for a different reason that I will tell you in another post.
In the next post, I’ll tell you about upgrading the onboard air reservoir to a carbon fiber tank.
Note, I have to buy all of my parts – nothing here was paid for by sponsors, etc. I do make a small amount if you click on an ad and buy something but that is it. You’re getting my real opinion on stuff.
Please share the link on Facebook, Forums, with colleagues, etc. Your support is much appreciated and if you have any feedback, please email us in**@*********ps.com. If you’d like to request a report or order a reprint, please click here for the corresponding page to open in new tab.