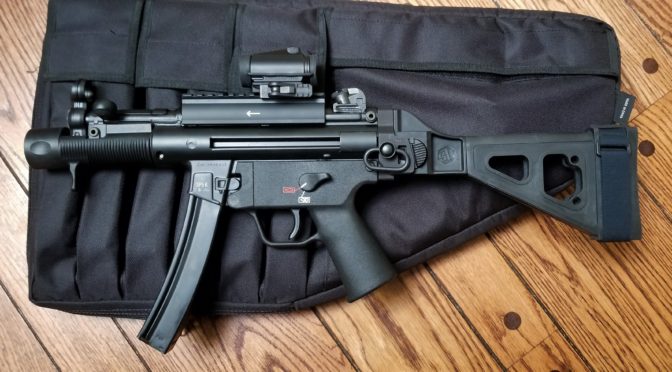
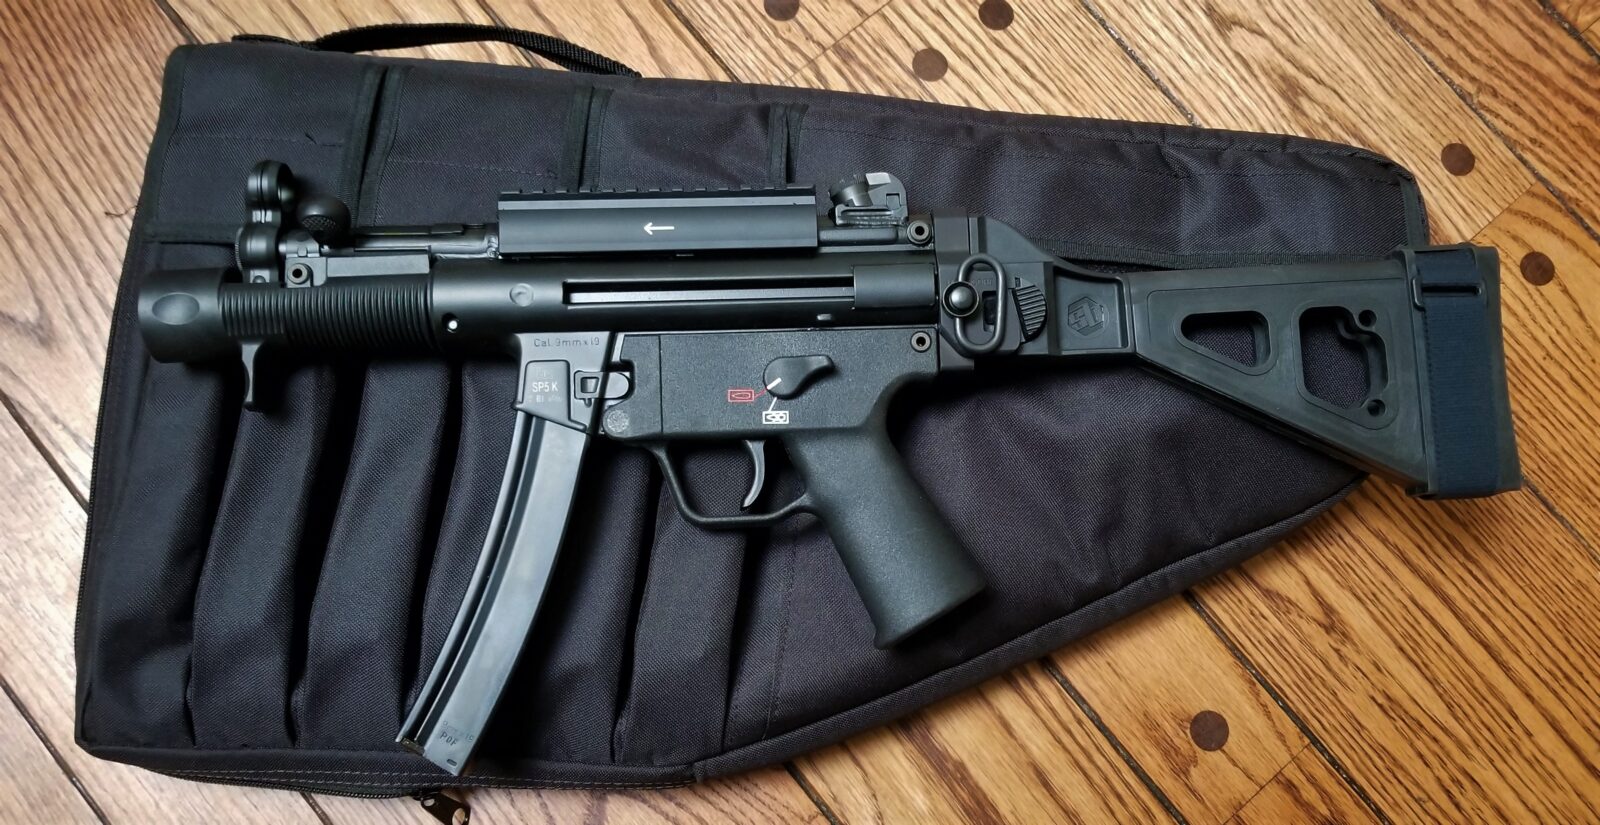
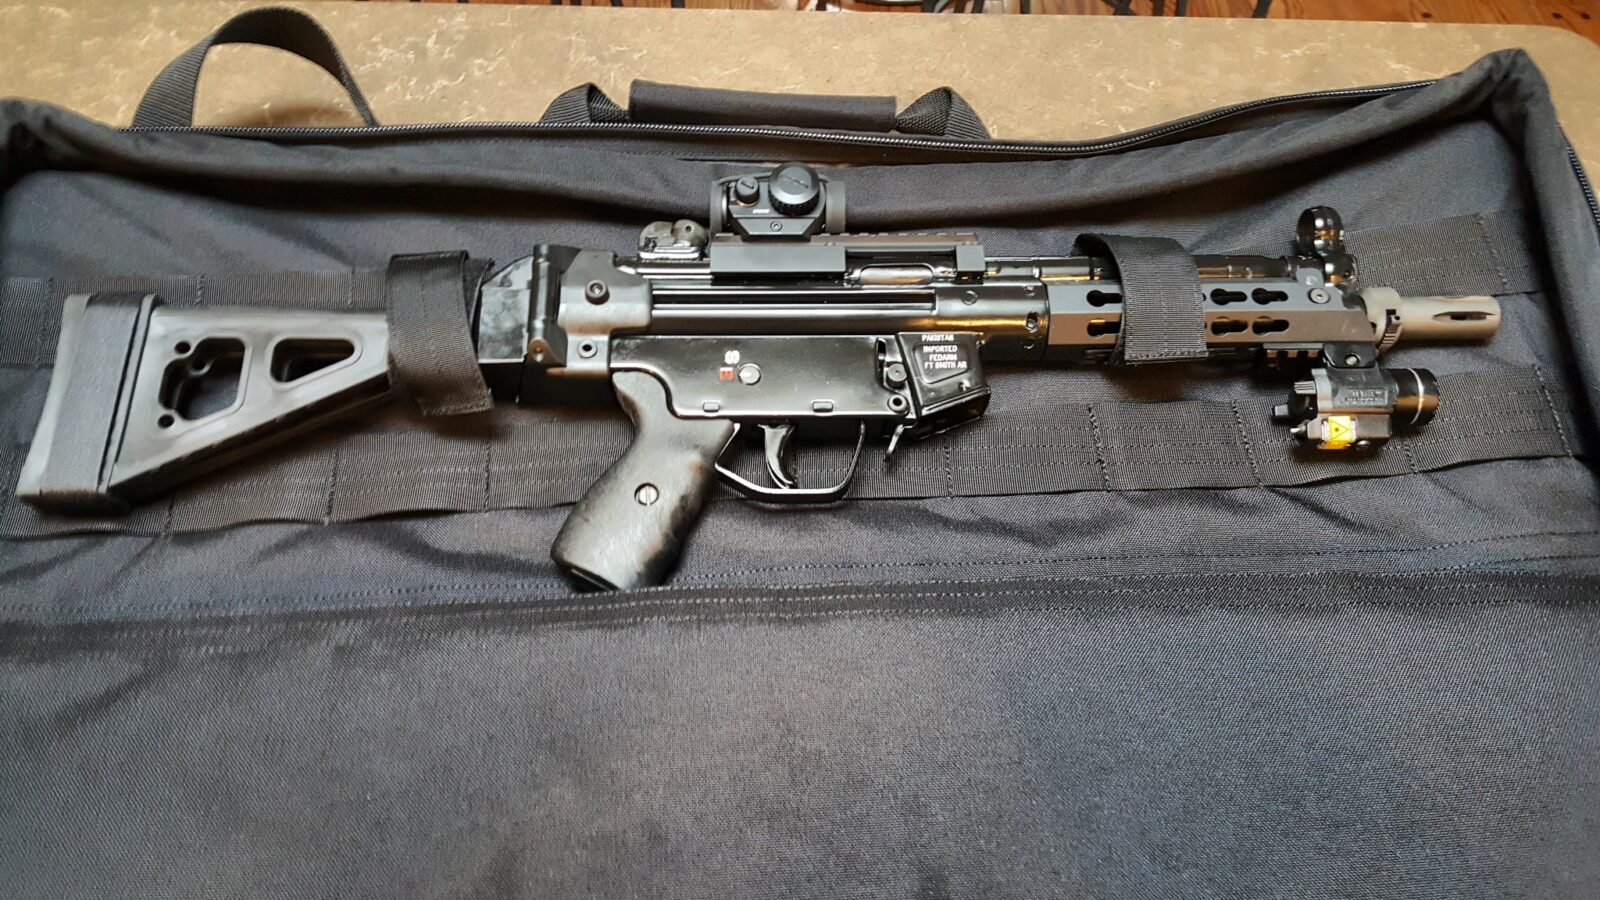
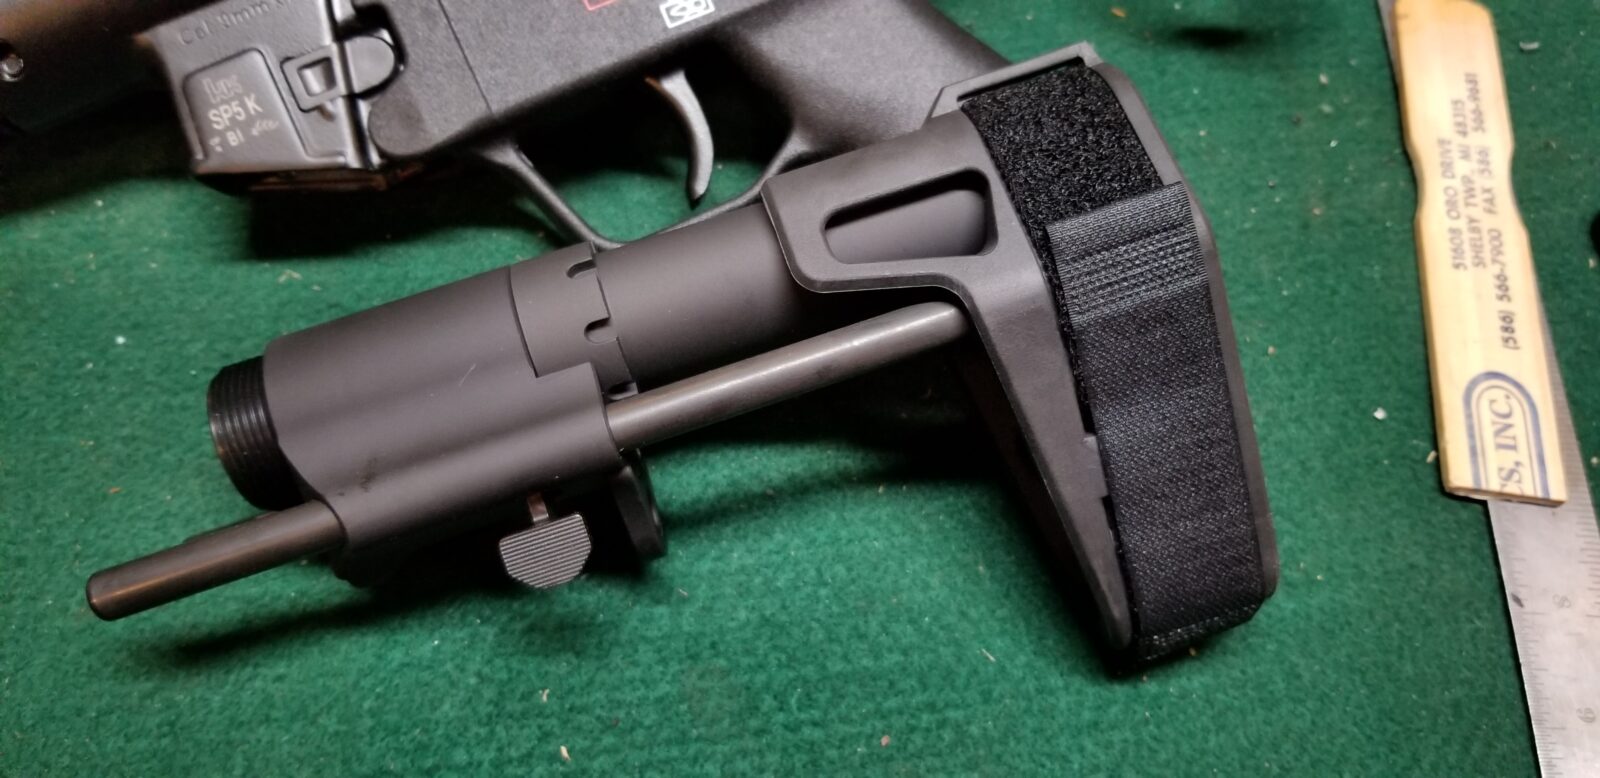
As I wrapped up my changes on the SP5K, I realized I needed a case to put it in. It just so happened that I had an Uncle Mike’s “Tactical Submachine Gun Case” that I had never used and it turns out the SP5K with the SB Tactical SB5KA brace and Vortex Crossfire red dot could slide right in without the magazine installed.

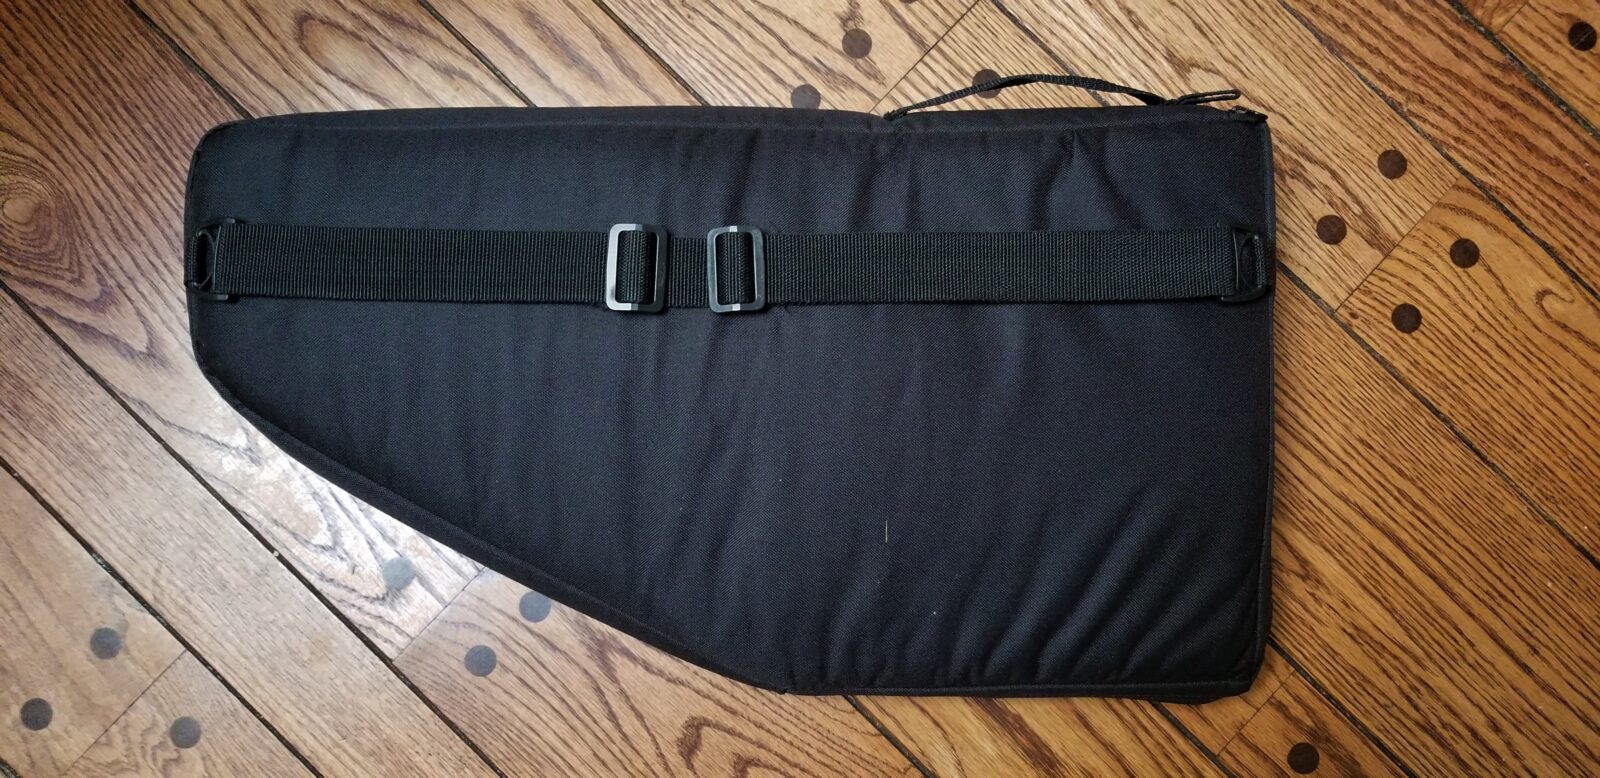
The case has a zipper at the rear of the bag and the SP5K simply slides in. This is one thing I dislike – it does not open and lie flat. Some folks may find this a plus but I prefer bags that open.
The exterior dimensions are 24.5x14x2 and I’d knock off about half and inch all the way around for the interior dimensions. It does have some padding but not a ton.
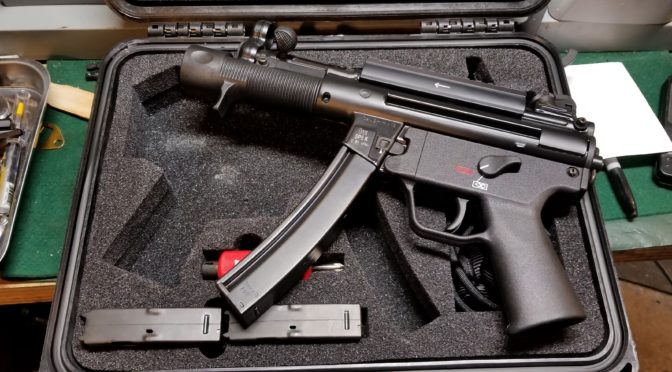
Another dislike I have is the way it holds the MP5 magazines. They slide down in the little pouches and I can’t pull them out. I need to push at the bottom to get them to slide up.
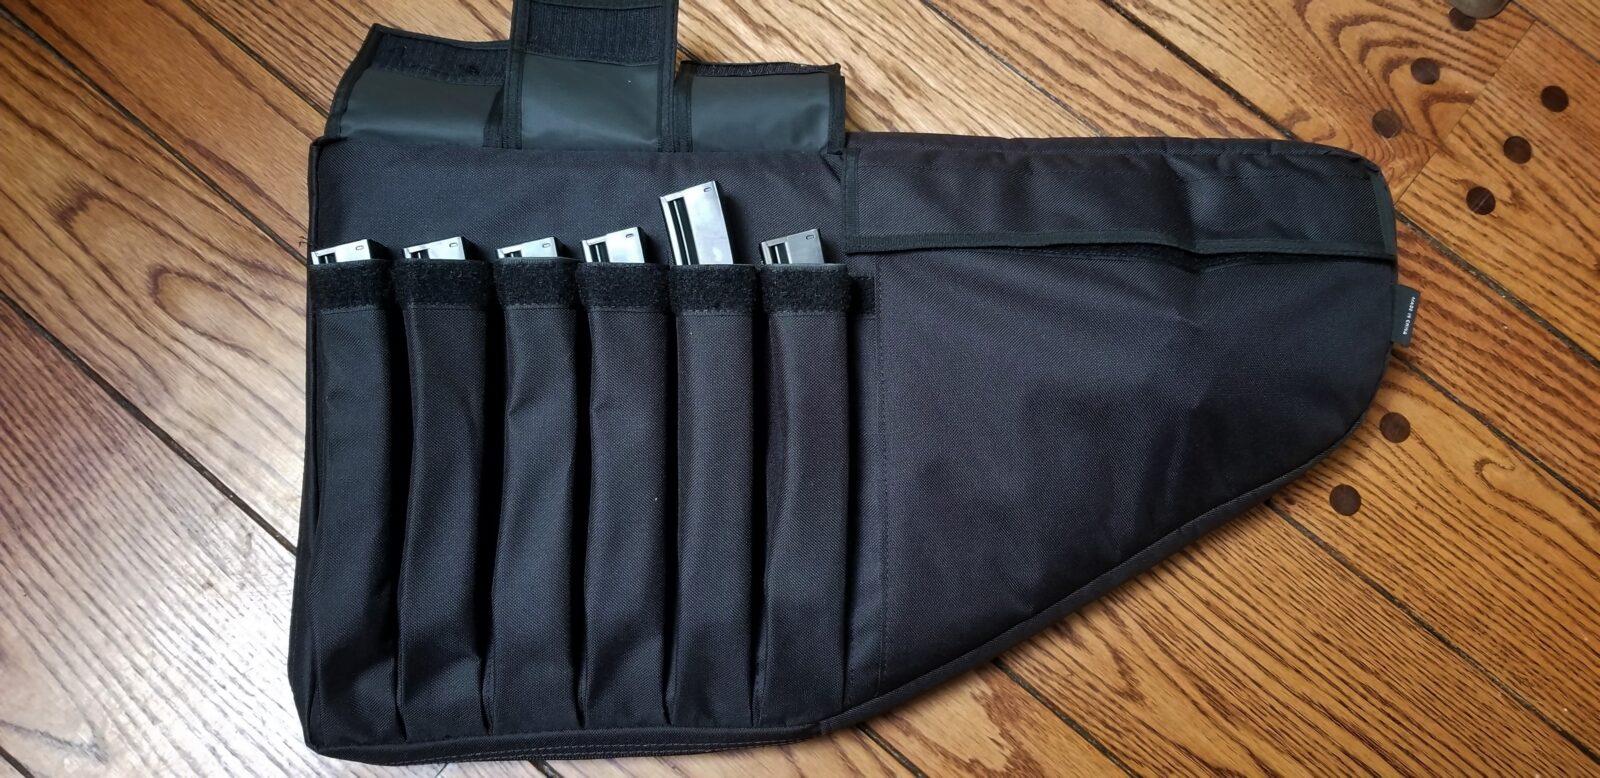
On the topic of pouches, the front pouch just forward of the magazines is very tight. The bulge you see sticking out is a Mag Lula loader. While it can hold the loader, it’s really better suited for thinner items.
Okay, rounding out my complaints, the carry handle at the rear makes for an odd front-loaded unbalanced load. I don’t know why they didn’t center it.
Summary
It’s a decent entry bag and you can get it on Amazon [click here to see it]. Sure there are things I don’t like about it but does the job. I will be investigating other cases but this case is a solid performer at the price.
If you find this post useful, please share the link on Facebook, with your friends, etc. Your support is much appreciated and if you have any feedback, please email me at in**@*********ps.com. Please note that for links to other websites, we are only paid if there is an affiliate program such as Avantlink, Impact, Amazon and eBay and only if you purchase something. If you’d like to directly contribute towards our continued reporting, please visit our funding page.