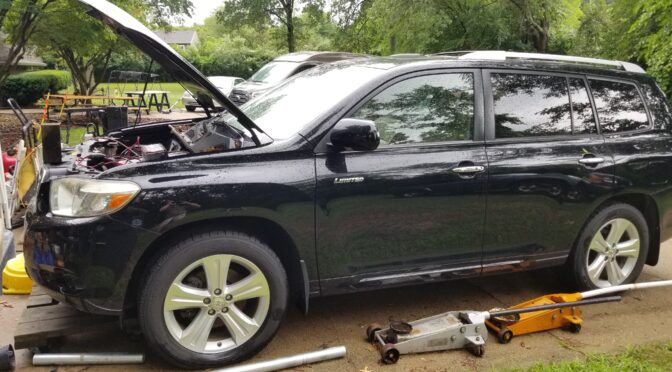
My wife and I ran into a first for us – she went to unlock our 2008 Toyota Highlander and it wouldn’t unlock with either remote. Yeah, I figured the battery was dead as we hadn’t run it for maybe two months due to the pandemic crap. We put it on storage and I really hadn’t thought about the battery … until the doors wouldn’t unlock.
How to get in the highlander with just the key fob?
Okay, I tried both key fobs and my wife was right – no sounds of any kind came from the Highlander. There was a key slot in the door so I figured Toyota must have had some kind of plan. We bought the car… truck… thing, used and never needed to get in manually until now.
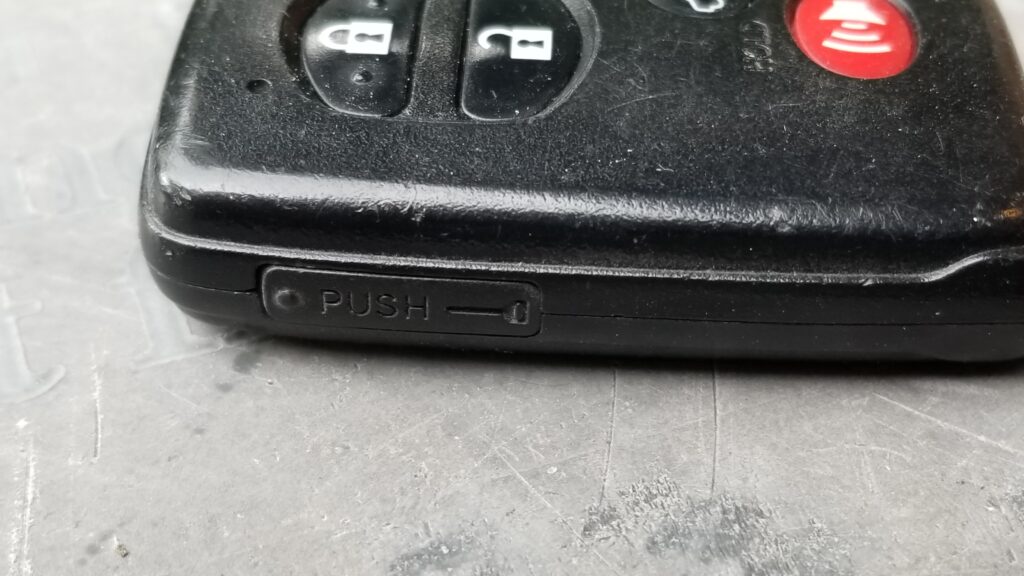
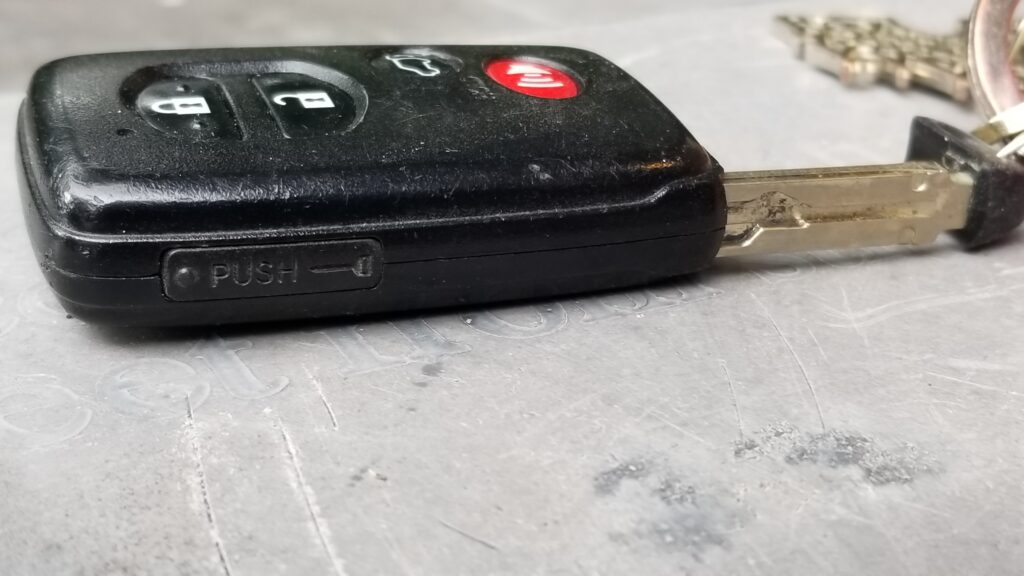
I knew with other keyless cars that I had seen in the past there was a backup key that could flick out of the fob so I took a close look at the fob for the Highlander. There was a small rectangular button on the side with the image of a key on it.
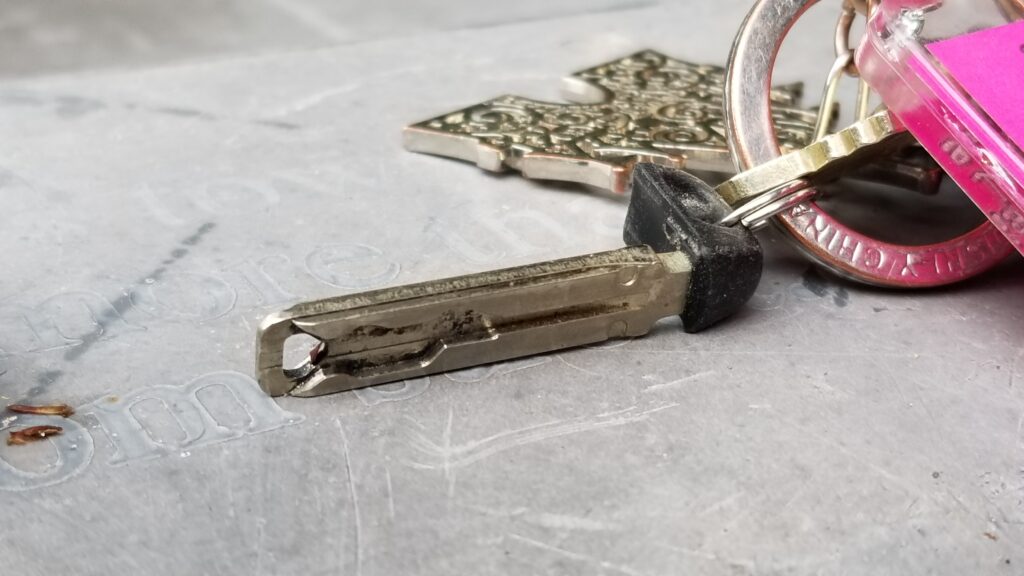
I pushed on it and nothing happened. I then looked at the attachment where the key ring connected and noticed it looked really beefy. The button wasn’t the key, it was a rocker that unlocked the key to pull out.
Not Home Free – Expect to Lubricate the Lock
Okay, I saw one key slot in the driver’s door and thought I was home free. Nope. Wouldn’t turn. Not only that, there were no other key slots because I thought I would simply try another one.
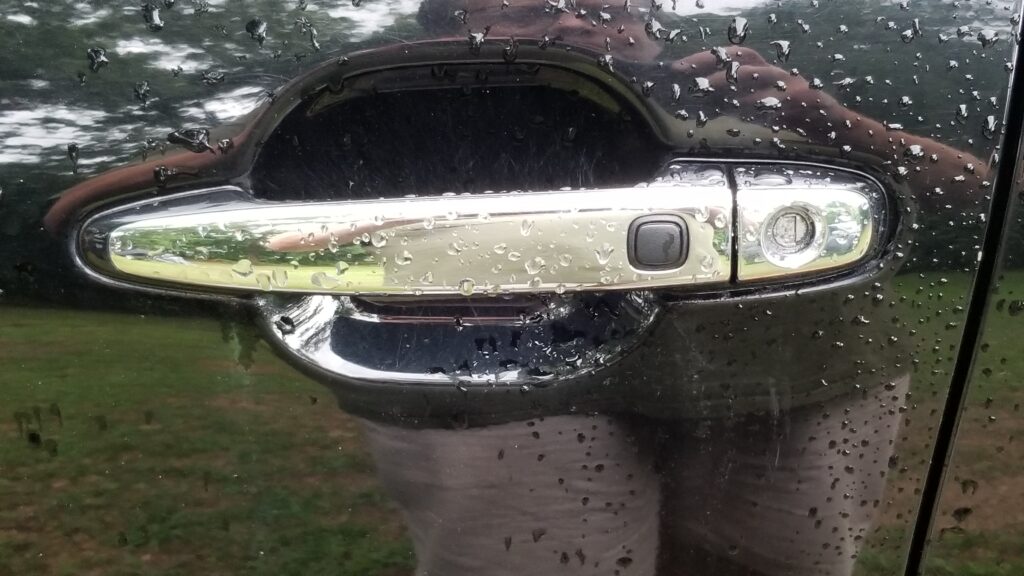
Okay folks, piece of advice here from past mistakes – don’t crank on the key or you will break it and then you are completely out of luck and will need to pay a ton to get help. I busted a key in college trying to do just that and had to enter from the passenger side and slide across for almost a year before I could afford to have the door fixed.
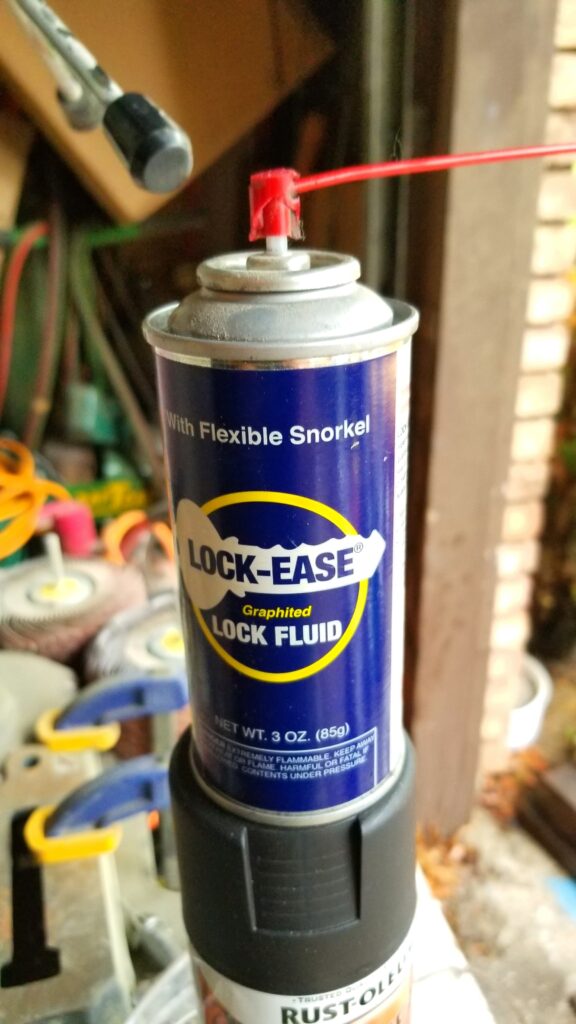
So, if the key will not turn, spray lubricant in the slot. You will get a ton of conflicting advice on the Internet. What I have always used is Lock-Ease. Put the little red tube on the nozzle and hose down the inside of the key slot starting as far back as you can. Try and turn the key. If it still will not turn then spray it again. What I have found is that most of the time things turn fee with the first try and almost always by the third. I think the solvent that is carrying the lubricating graphite helps free up what is sticking and then the graphite takes it from there.
Okay, so the door was open and now I could open the hood. The battery read 0 volts – empty and introduced a new hurdle.
Why Smart Chargers Aren’t Always
So this takes us to the topic of smart chargers. The designers built in all kinds of safe guards including the need for a voltage to be present before they start. I really like my NOCO Genius chargers and was using one of the G26000 models. Here’s what I tried:
- Just attached the charger – it would not switch to charging
- Went to boost mode – it would sense the lack of voltage and switch off
- I tried turning on the 5A 12 volt supply mode and that was just enough to make the security system chirp and reset over and over … crap.
So much for the easiest ones. That meant I needed to try and trick the charger. I brought my 96 Landcruiser over and connected good old jumper cables to start charging the “dead” battery and also hooked up a digital meter. It showed the alternator was cranking out 14.09 volts and as soon as I disconnected the positive cable from the Landcruiser, the meter showed the volts dropping down through 13 volts down into the 12s and so forth over the space of a few seconds.
Now this is the trick, for about 5-7 seconds the “dead” battery would appear to have enough juice for me to connect and start the NOCO. So, I staged stuff and had the gear ready to go. I charged the battery for a minute or two, disconnected the positive jumper cable from the Landcruiser, safely moved it out if the way and quickly attached the NOCO charger and it started charging. I jumped the dead battery just enough for it to show a charge to the NOCO that then turned on and did the rest. By the way, I am not faulting the NOCO. They are great chargers and I own three of them right now.
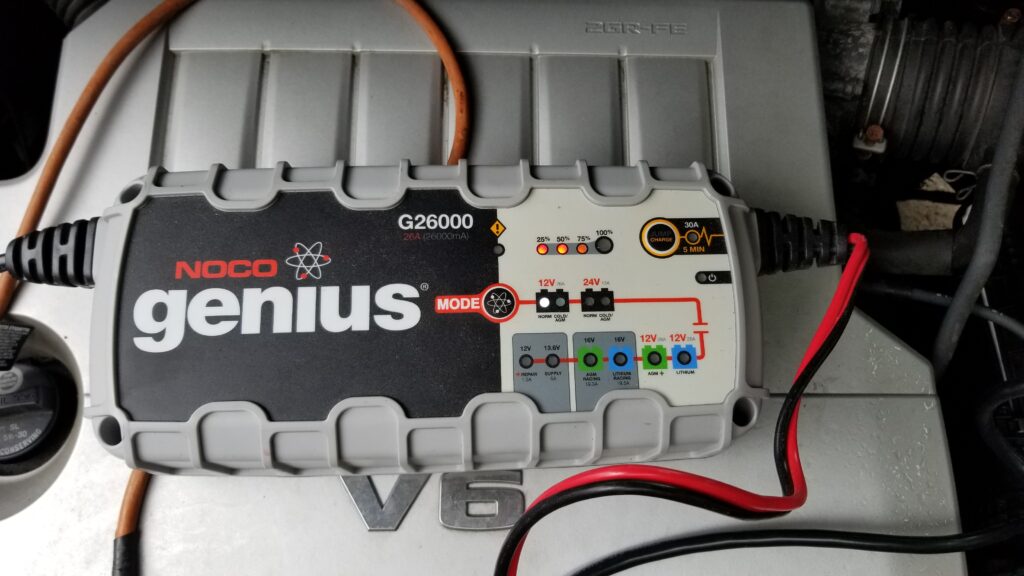
After about 12 hours the battery was fully charged and I then set the NOCO to repair mode to desulfinate the plates. The battery appears to be okay and we’ll see what it looks like come this fall when the temperatures start cooling off — the colder it is the harder it is for batteries to work and the marginal ones fail.
Lessons Learned
First, I now know where the spare key is. Second, I plan to hook up my smaller NOCO G7200 charger and run the cable under the power out of the hood so I can periodically top the battery off. Modern vehicles have a ton of electronics in them so I am not overly surprised it ran out of juice.
I hope this post helps you out!
If you find this post useful, please share the link on Facebook, with your friends, etc. Your support is much appreciated and if you have any feedback, please email me at in**@*********ps.com. Please note that for links to other websites, we are only paid if there is an affiliate program such as Avantlink, Impact, Amazon and eBay and only if you purchase something. If you’d like to directly contribute towards our continued reporting, please visit our funding page.
