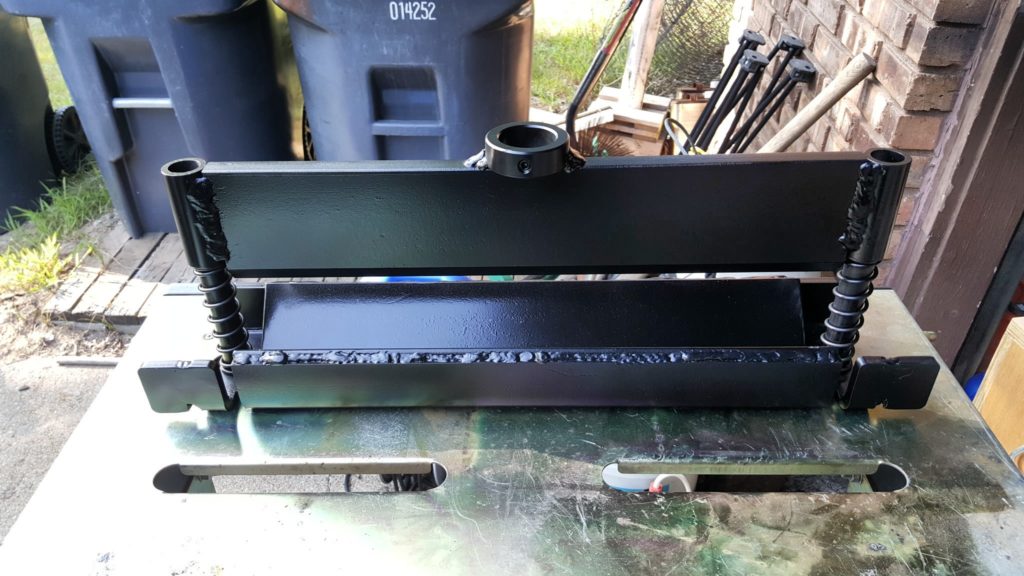
I occasionally run into situations where I need to bend thick sheet metal or even bar stock to make brackets. I needed to make a new battery box for my plow and decided it was time to get a press brake. I did some digging around decided to get one from SWAG Off Road – their “20 TON Press Brake Heavy Duty” model that you can buy built or as a kit. They made the tablesaw system that holds my Milwaukee Portaband and that is a really sweet set up. At any rate, the maximum width it can bend is 19.25″ with a 110 degree radius bend.
Now, what really caught my eye were the dimensions of mild steel stock this press brake could bend:
- 19″ wide if 3/16″ or thinner
- 15″ in 1/4″
- 13″ in 5/16″
- 11″ in 3/8″
- 6″ in 1/2″
- 3″ in 5/8″
Most of the stock I bend is 3/8″ or less so this was right in line with what I wanted.
The brake is designed to work with two different 20 ton Harbor Freight press models – the 32879 and 606043. My press is a 30 ton IIT H-frame so I had to make sure the total width of the brake was going to work – 22.125″ – and it did with room to spare. Note that while my press frame is 30 ton, I run a 20 ton bottle jack on it so I matched the press brake to my the actual press capacity I I run.
So, armed with that, I bought the kit for $224.95 shipped off Amazon and it showed up about a week later coming in several heavy USPS Priority mail packages.
The kit was very well packed and the instructions were very straight forward. I actually had a fun time assembling it. All you need is a welder, grinder, and a square (in my case, I used a 1-2-3 block for most of the squaring).
Their instructions were very straight forward. I am going to follow their steps in my write up and also add commentary.
I laid everything out and made sure I had all of the the parts before I started and I did.
Step 1 Weld in the Guide Rods and Ears
I hammered the rods part way into the bottom plate and made sure they were square. The fit is tight on purpose so you need a good sized hammer and a solid surface. You don’t hammer them in all the way as you are going to weld from the bottom. Be sure to tack weld the rods first and double check they are square one more time before you do the final weld. I used a 1-2-3 block to true my bars up. You do want to make sure they are fairly square as the brake’s blade assembly needs to be able to rid up and down them.
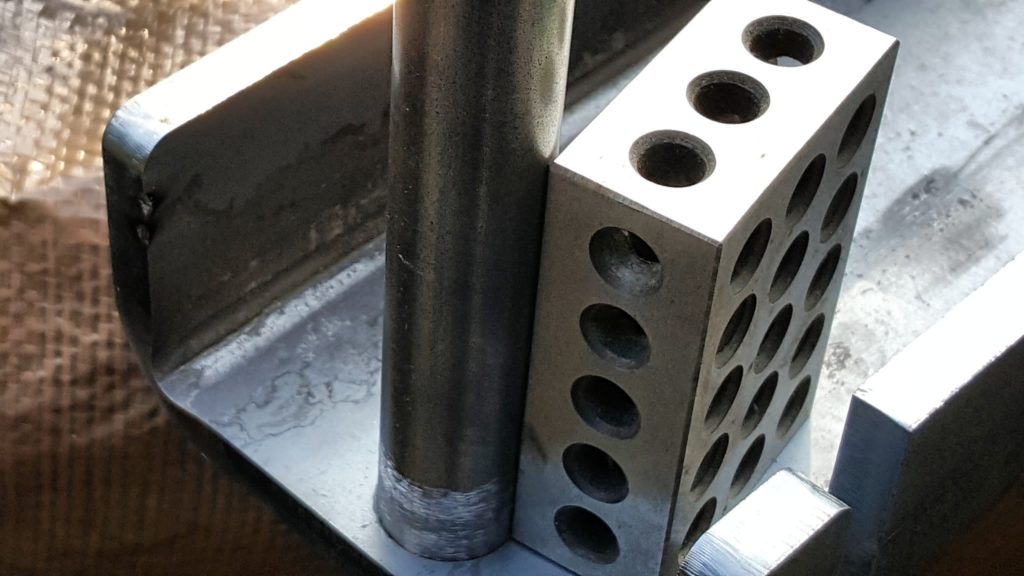
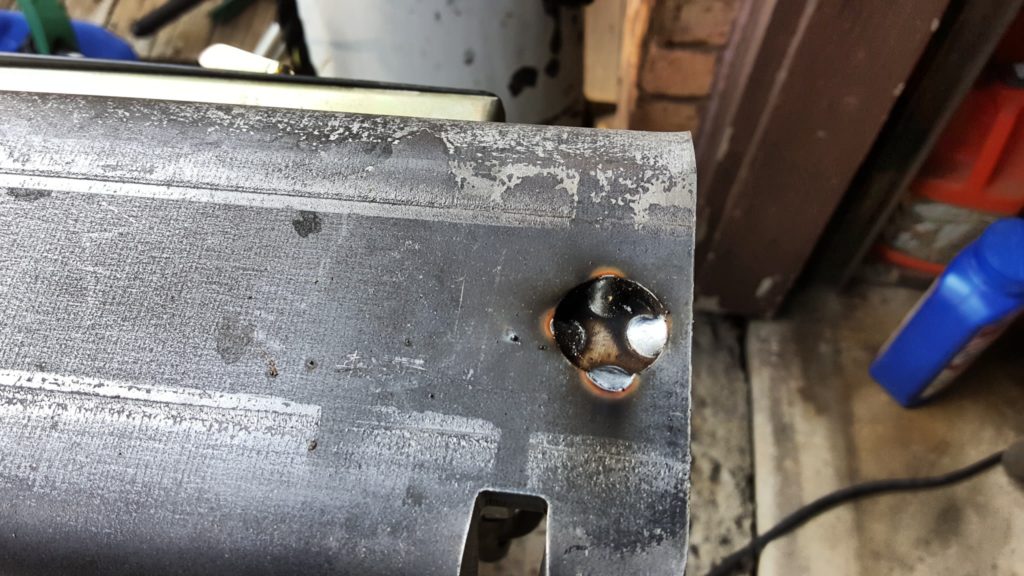
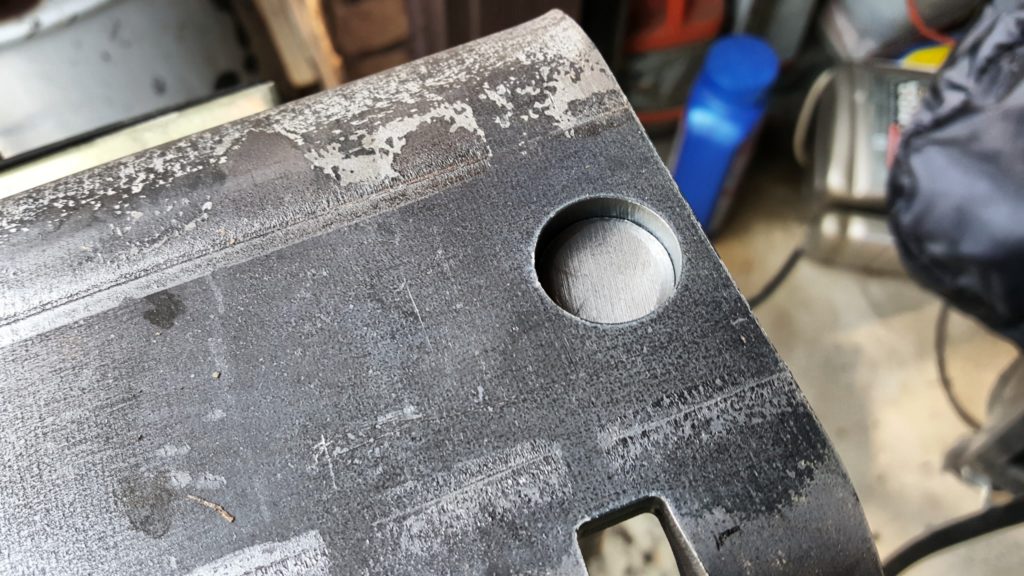
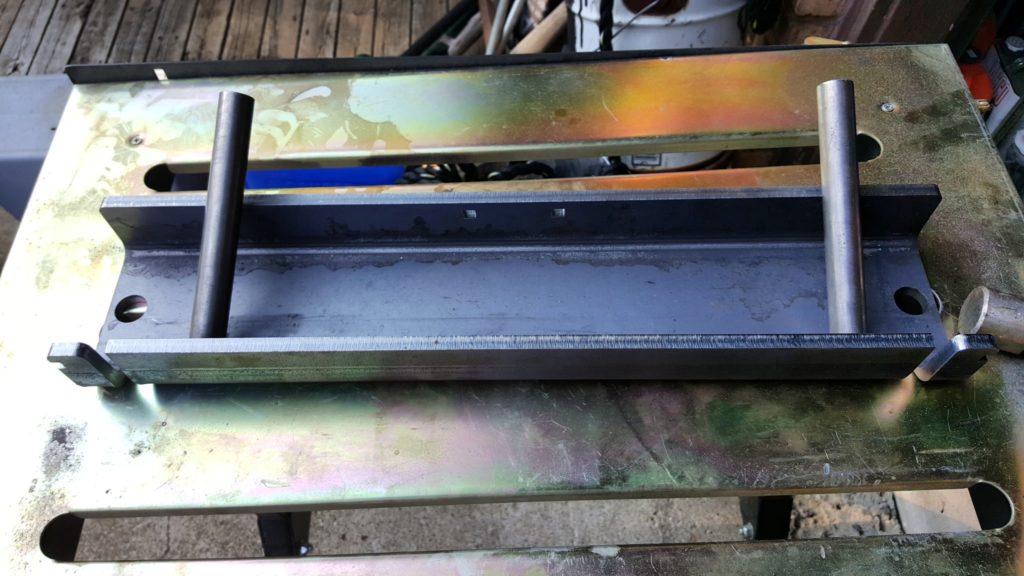
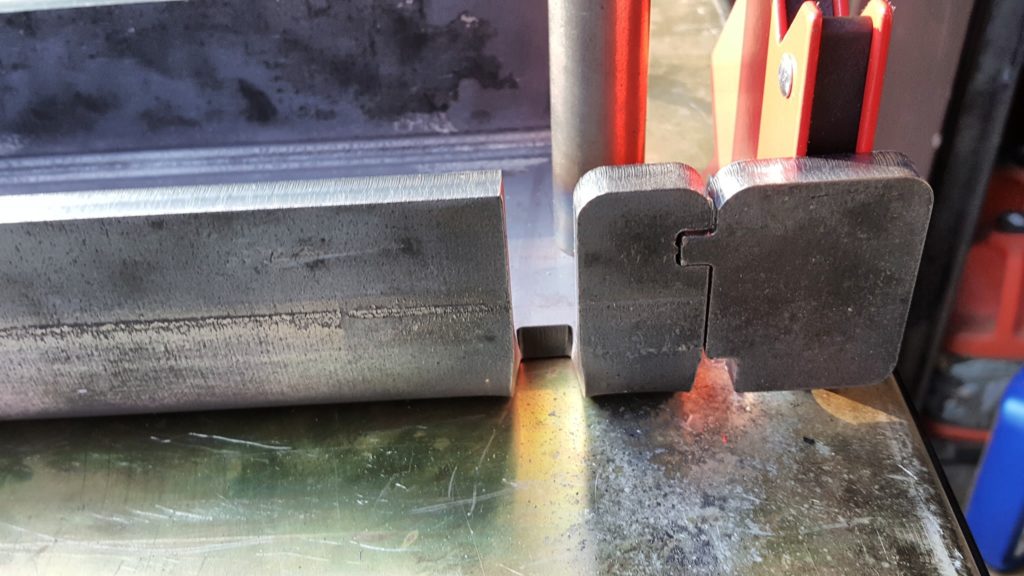
Next, they talk about tacking the “ears” back on that you can use to secure the brake in your press. These are the little tabs that go into the notches on the front of the lower assembly. Now save yourself some time and make sure the dimensions will work for you. I went through the whole building process and found out the tabs stopped my brake from going back far enough in the press to align with the ram and I had to cut them off. Knowing SWAG, I bet the brake lines up like a charm on the two Harbor Freight press models they mention so this is because I am using a very different press (It is something like 20+ years old now too :-). If the ears do work for you, you may need to file some excess metal off. One of my ears had just a bit of waste metal left after cutting that filed right off in just a few seconds. You can see the fit is great. As with the other stuff, fit it in place, tack weld and then do the final weld when ready. By the way, tack weld first to avoid the metal warping from the heat and moving out of the position you need – this is true for the whole kit.
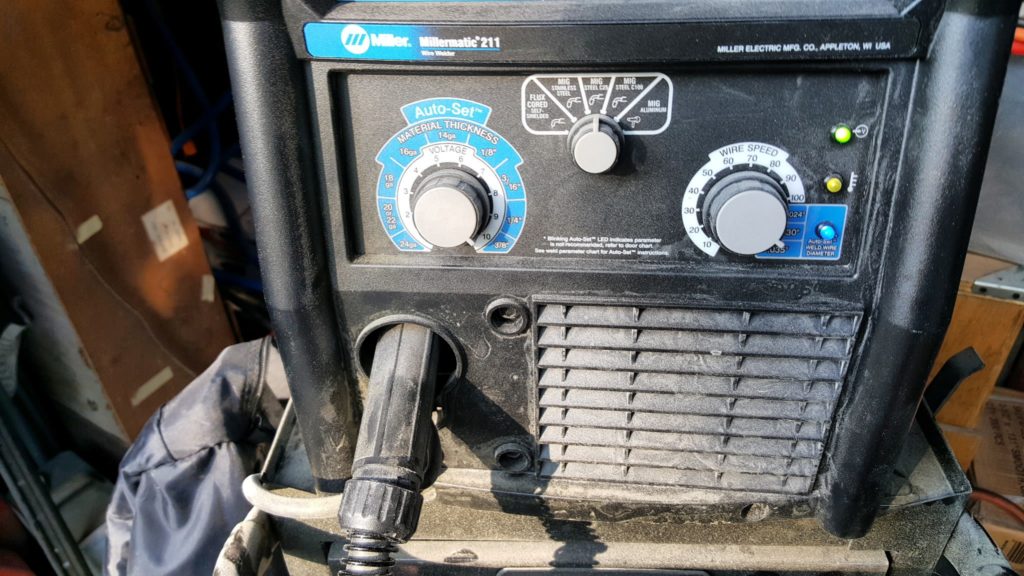
In case you are wondering, I am using a Miller 211 MIG with gas. It works great for me. It has a far better weld and duty cycle than the Harbor Freight model I started with years go.
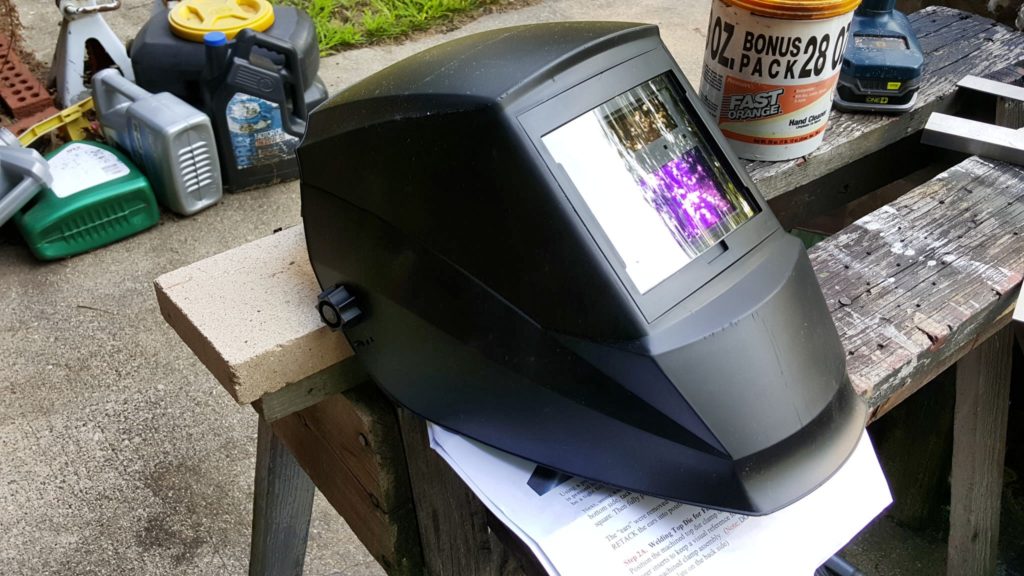
To protect my eyes, I use a very well regarded Antra AH6-260-0000 Solar Power Auto Darkening Welding Helmet that works great for me.
Step 2 – Weld the Vertical Guide Tubes
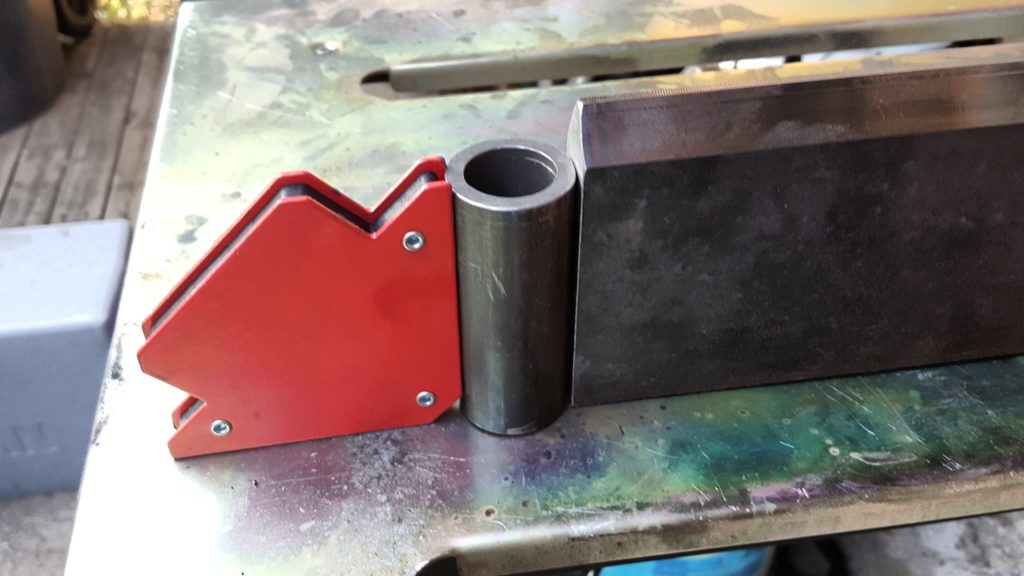
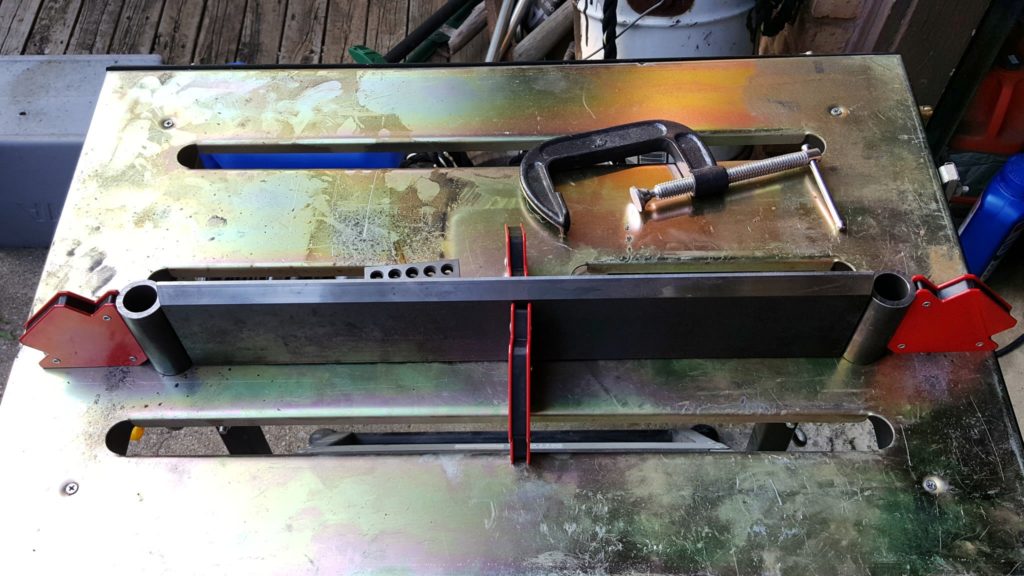
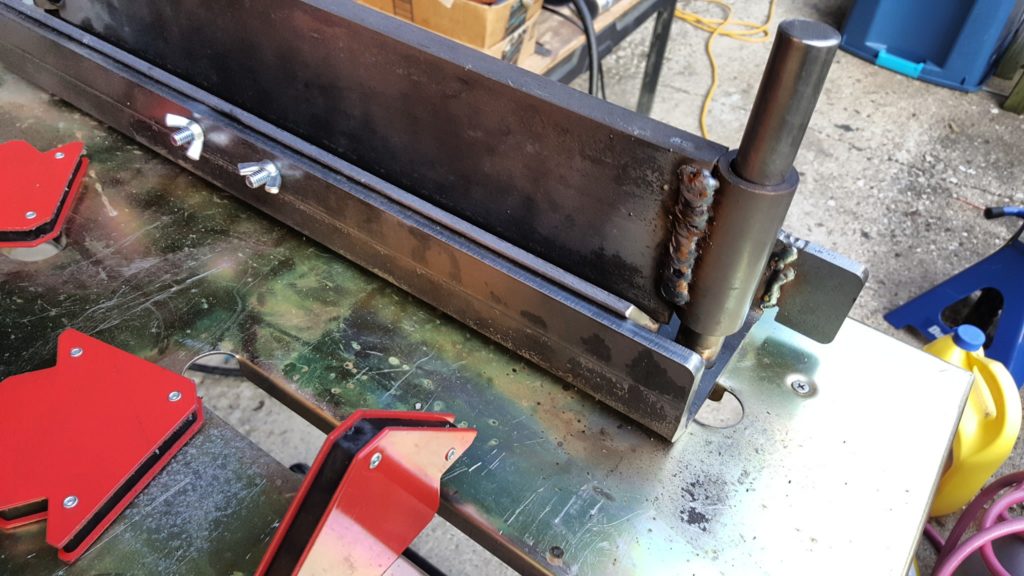
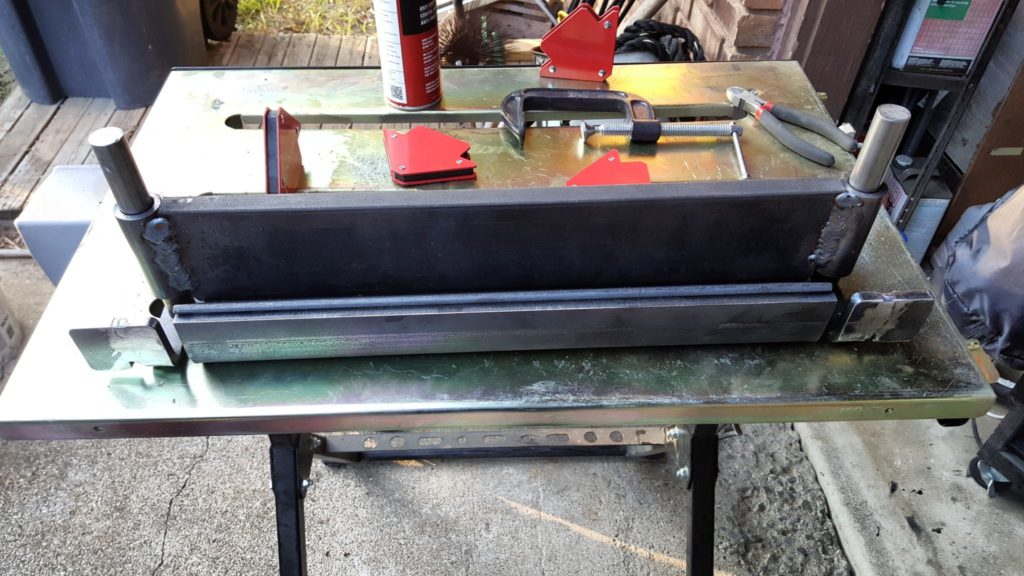
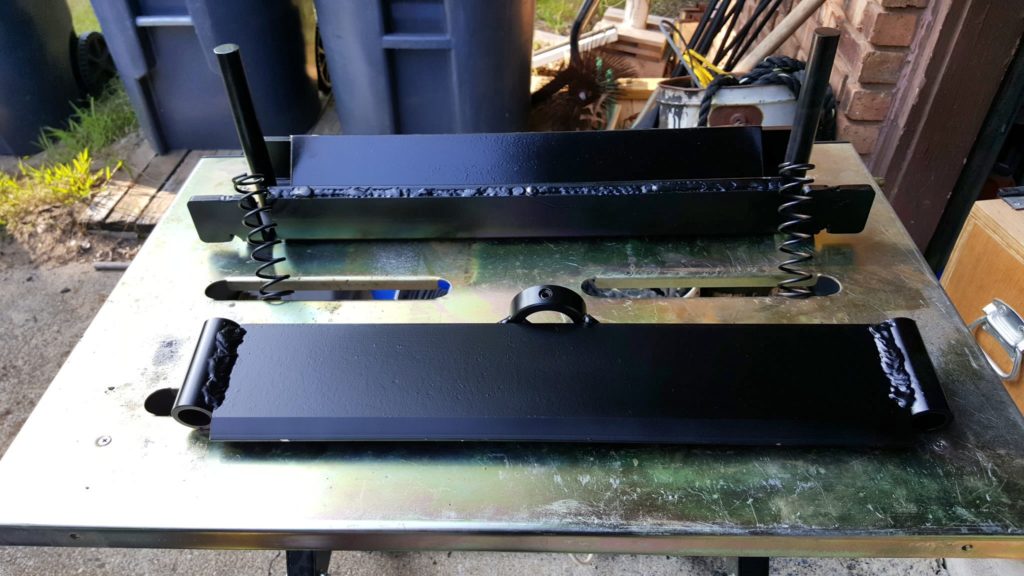
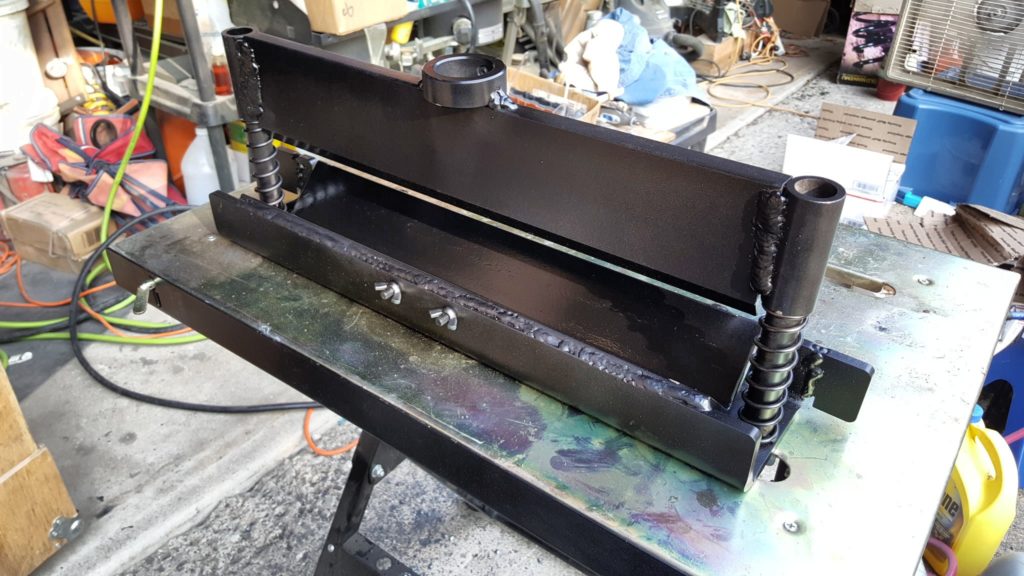
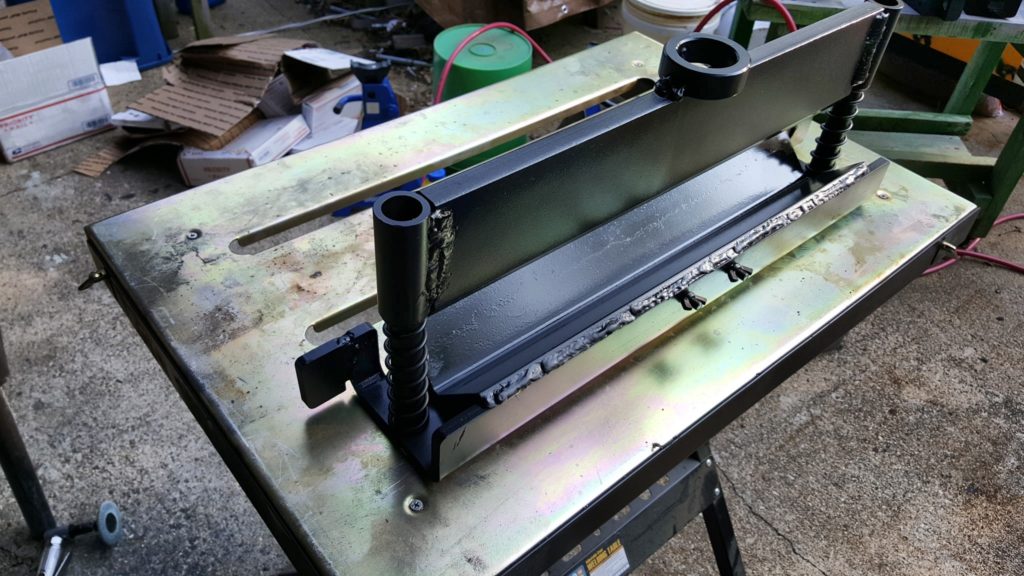
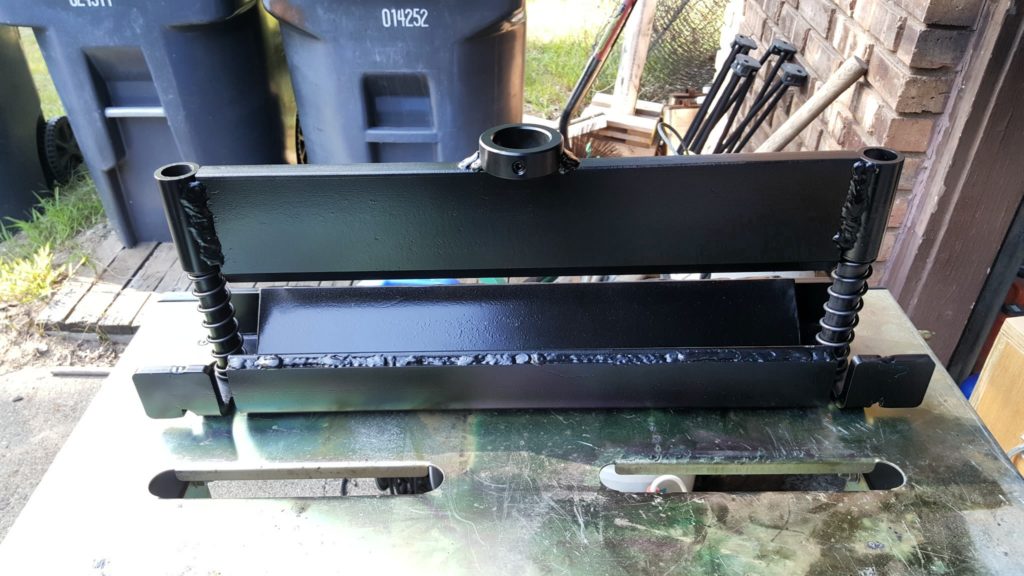
Next carefully position the guide tubes on the brake’s blade. I used a Harbor Freight steel welding table and a number of magnetic clamps to get everything in position and secure before I then tack welded, tested the fit and then did the final welds. Note, the blade edge of the die is facing up and the guides are aligned to what will be the top of the die. I am a bit obsessive with welding. I had the heat cranked up on the welder and did two heavy passes. My welding will never get me any awards – even I admit I am a grinder 🙂 I forgot to get a picture of the welds at this step but you’ll see them later.
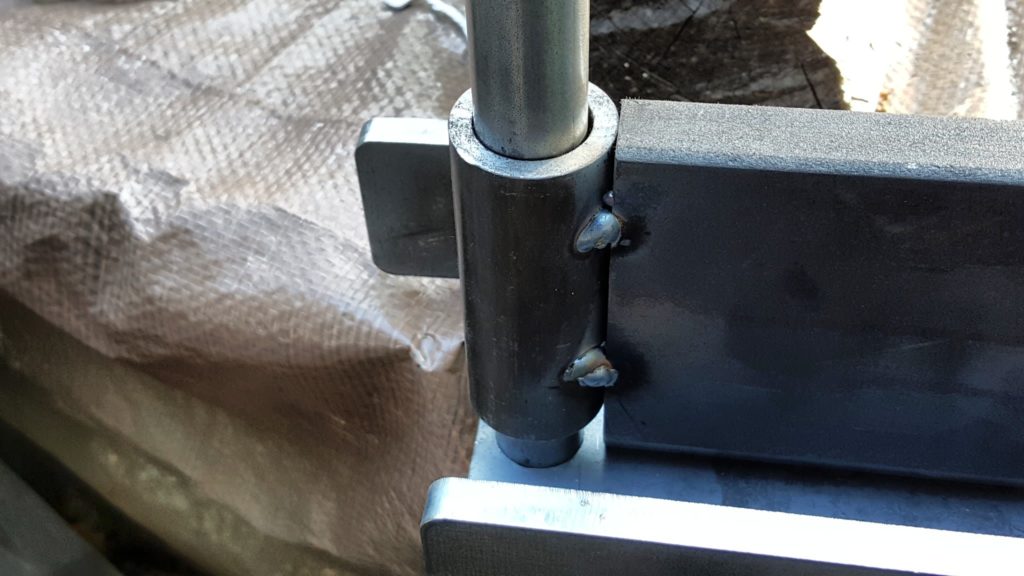
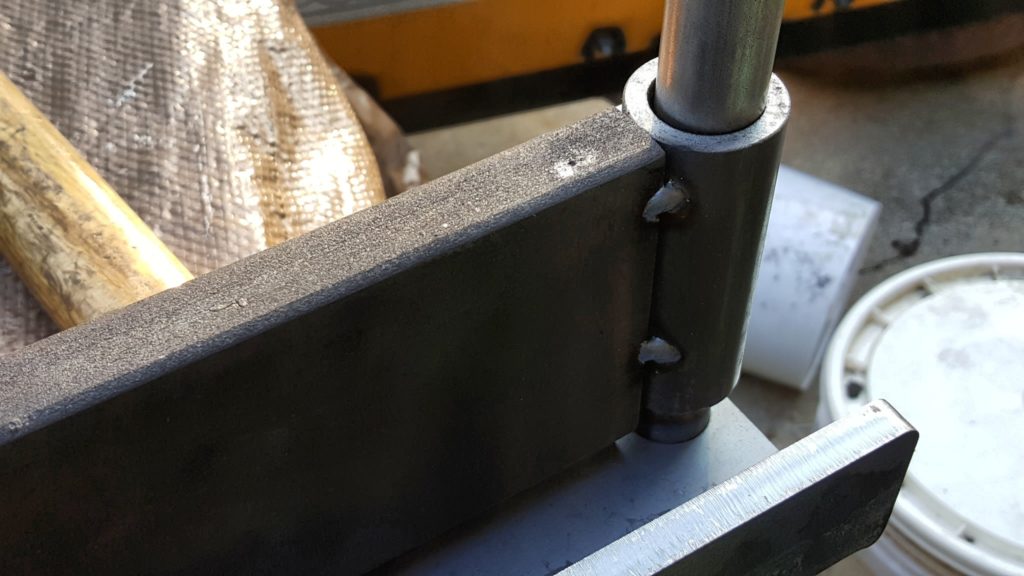
Step 3 – Welding the Bottom Die
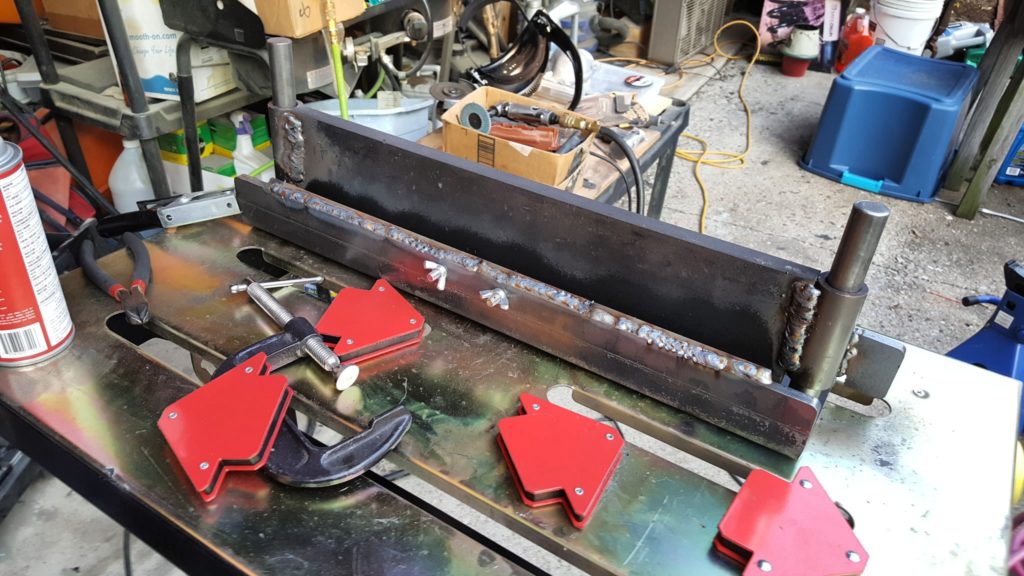
The first step is to weld the two carriage bolts into place that will hold the guide later. You *must* do them now as you will not have access to them once the angle iron is welded in place. I simply turned the heat down on the Miller, put the wing nuts on the bolts to hold them in place and did a few quick welds.
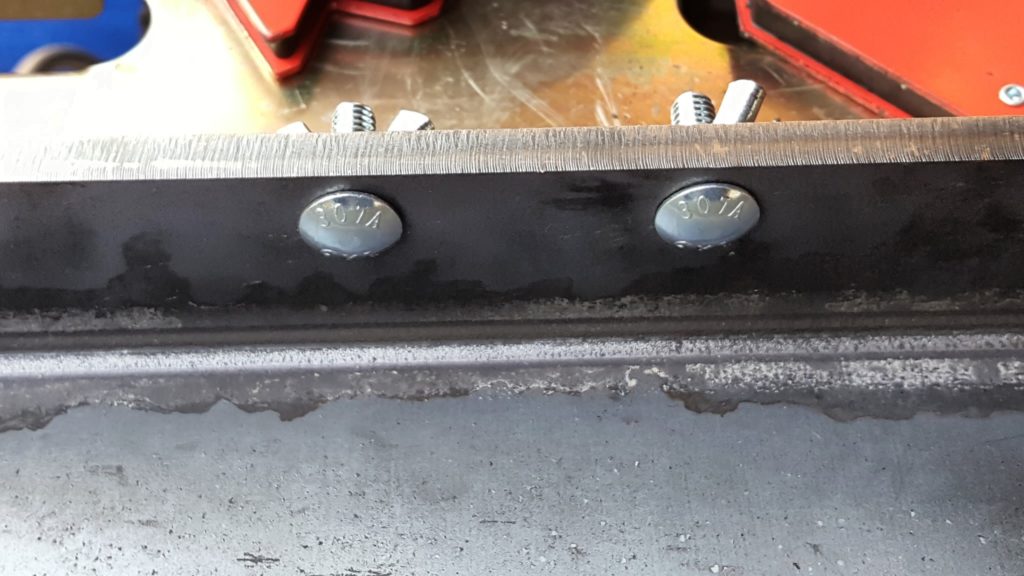
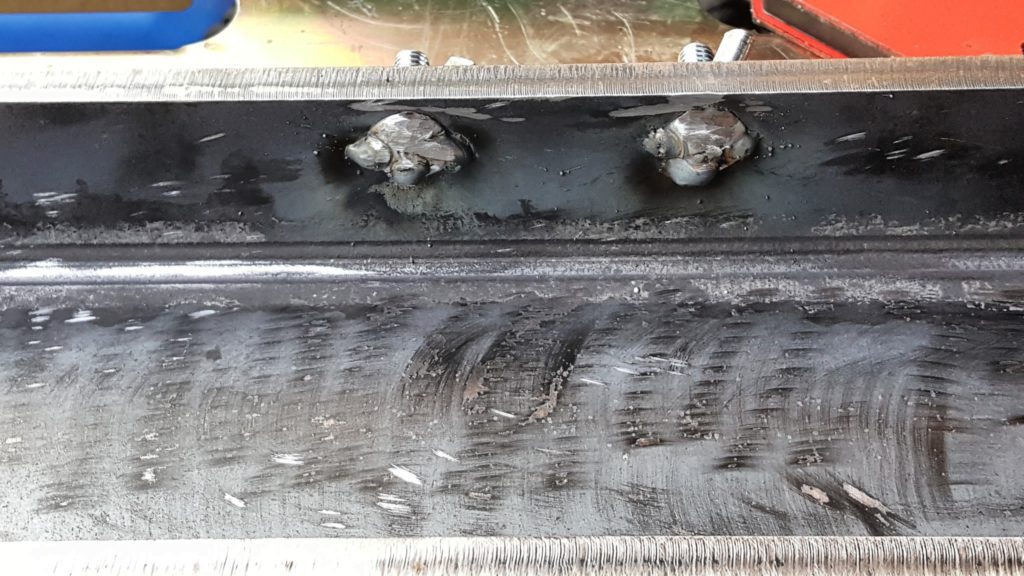
Now the next part is to weld the angle iron in place. In their instructions, SWAG said I might need to grind the bottom of the angle iron to get it to sit evenly in the channel. That did not seem to be a problem with my parts. To align the angle iron in the channel, I sprayed non-stick on the upper die and then installed it on the lower die and checked alignment. This seemed to work really well – the weight and position of the blade lined the angle iron up perfectly (a month later an I am still happy with it). I then tack welded the angle iron base in place on the lower die and then welded it in place doing a section at a time on opposing sides. I welded a closing X – starting with the corners and then moving inward a few inches at a time to avoid warping.
Step 4 – Weld the Shaft Collar
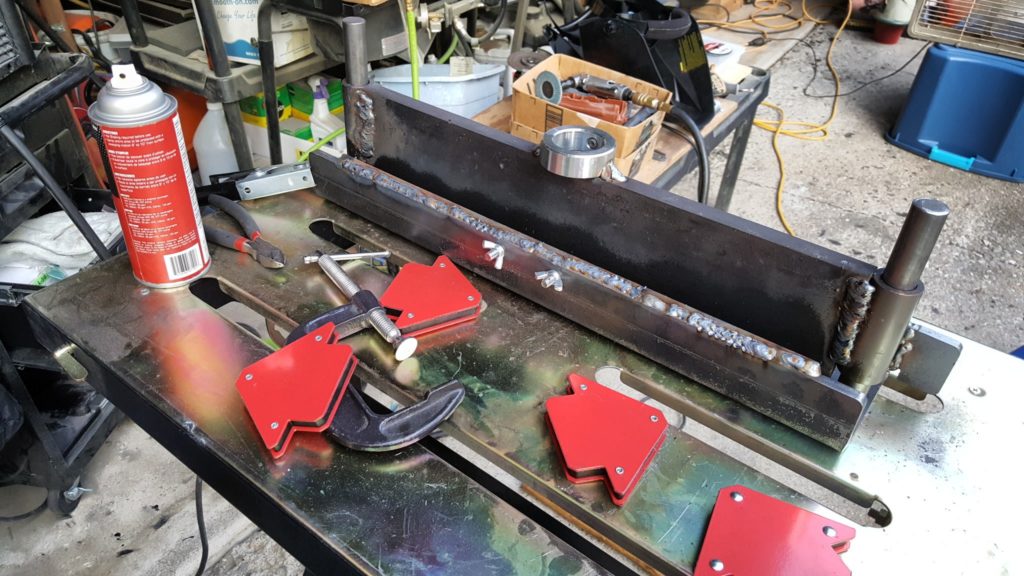
For me, the collar helps be center on the ram of my press but I do not leave it connected. I definitely wanted it though so I welded it on. I measured and found the center, positioned the collar, tack welded it and then did the final weld.
Step 5. Paint It
My shop is basically an unheated garage so I have to fight condensation. Unpainted / unoiled surfaces tend to rust so cleaned all the parts when brake cleaner and applied three coats of Black Satin Krylon that combines a primer and the paint in one finish. Definitely let it cure for a day before you reassemble — this is an important lesson I learned years ago – dry to the touch and cured ready to use are two different things.
At this point I had to get the press ready and that meant installing real press plates that could safely (emphasis on safely) handle 20 tons of pressure. Candidly. the cheap cast iron plates that come with most presses are not up to the task so we’ll talk about this in the next blog post.
If you find this post useful, please share the link on Facebook, with your friends, etc. Your support is much appreciated and if you have any feedback, please email me at in**@*********ps.com. Please note that for links to other websites, we are only paid if there is an affiliate program such as Avantlink, Impact, Amazon and eBay and only if you purchase something. If you’d like to directly contribute towards our continued reporting, please visit our funding page.

