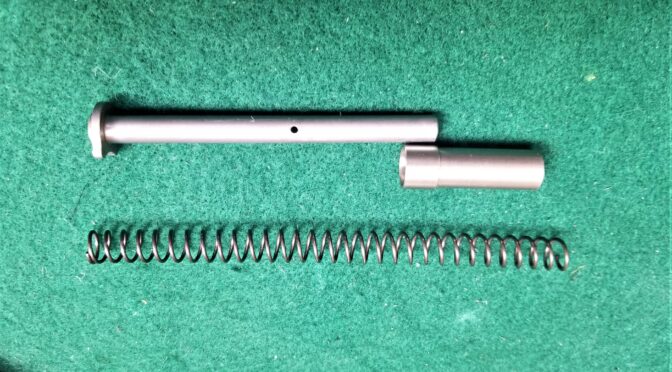
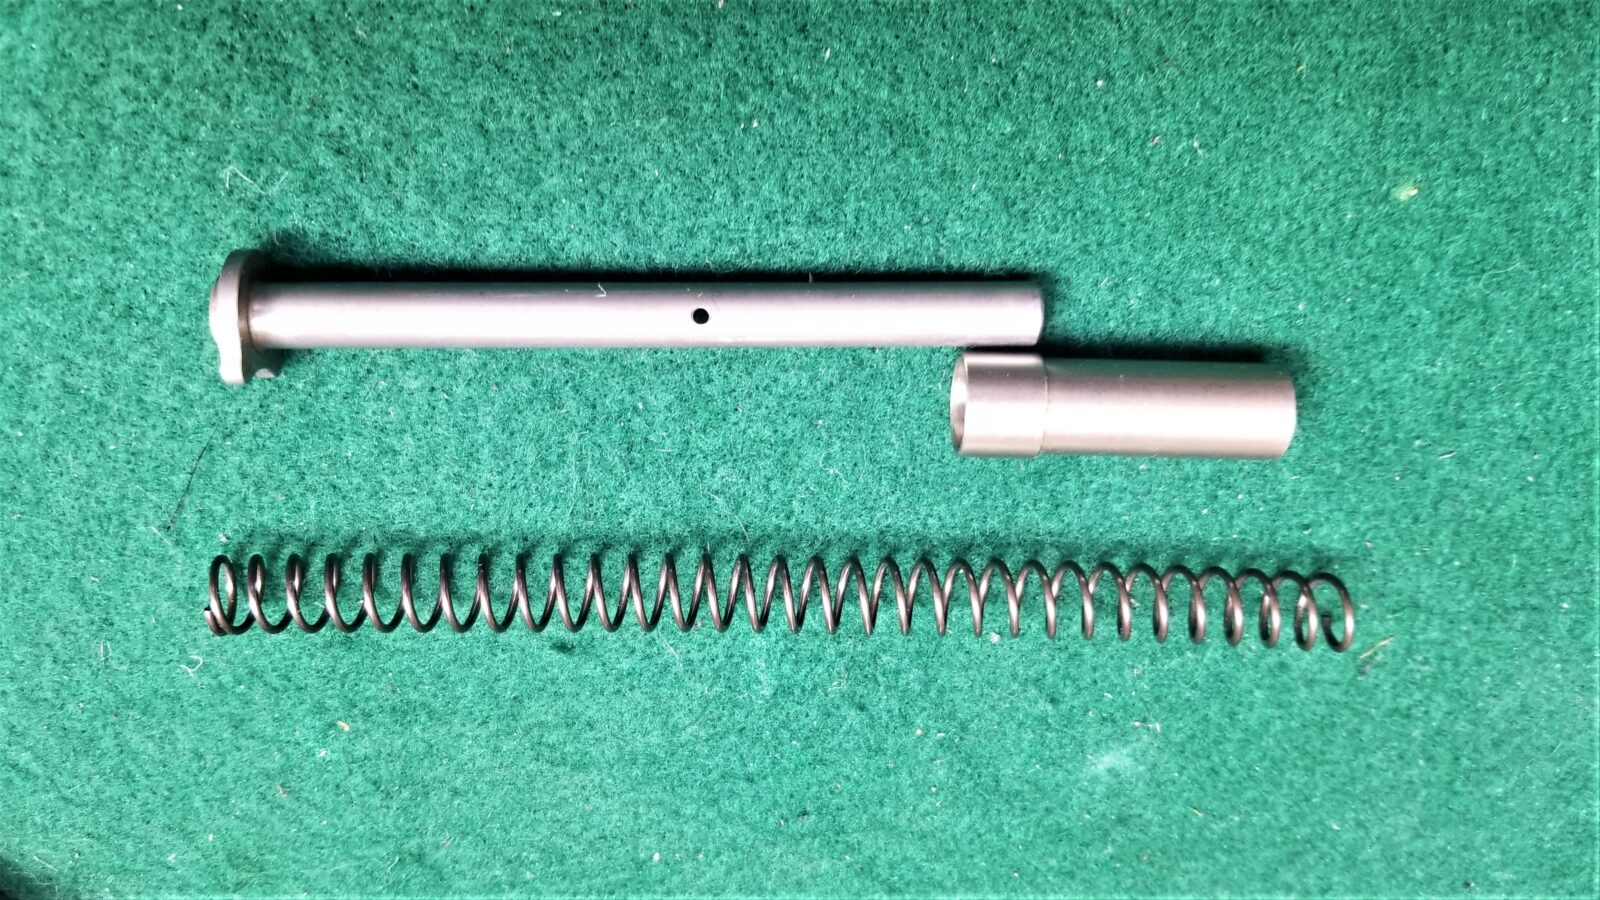
If you’re reading this then I am assuming you know how much a bear it is to re-assemble the full length guide rod, spring and reverse plug group that many 1911 and 2011 pistols are using. When a takedown paper clip or pin slips during disassembly or re-assembly of the pistol, life gets interesting fast.
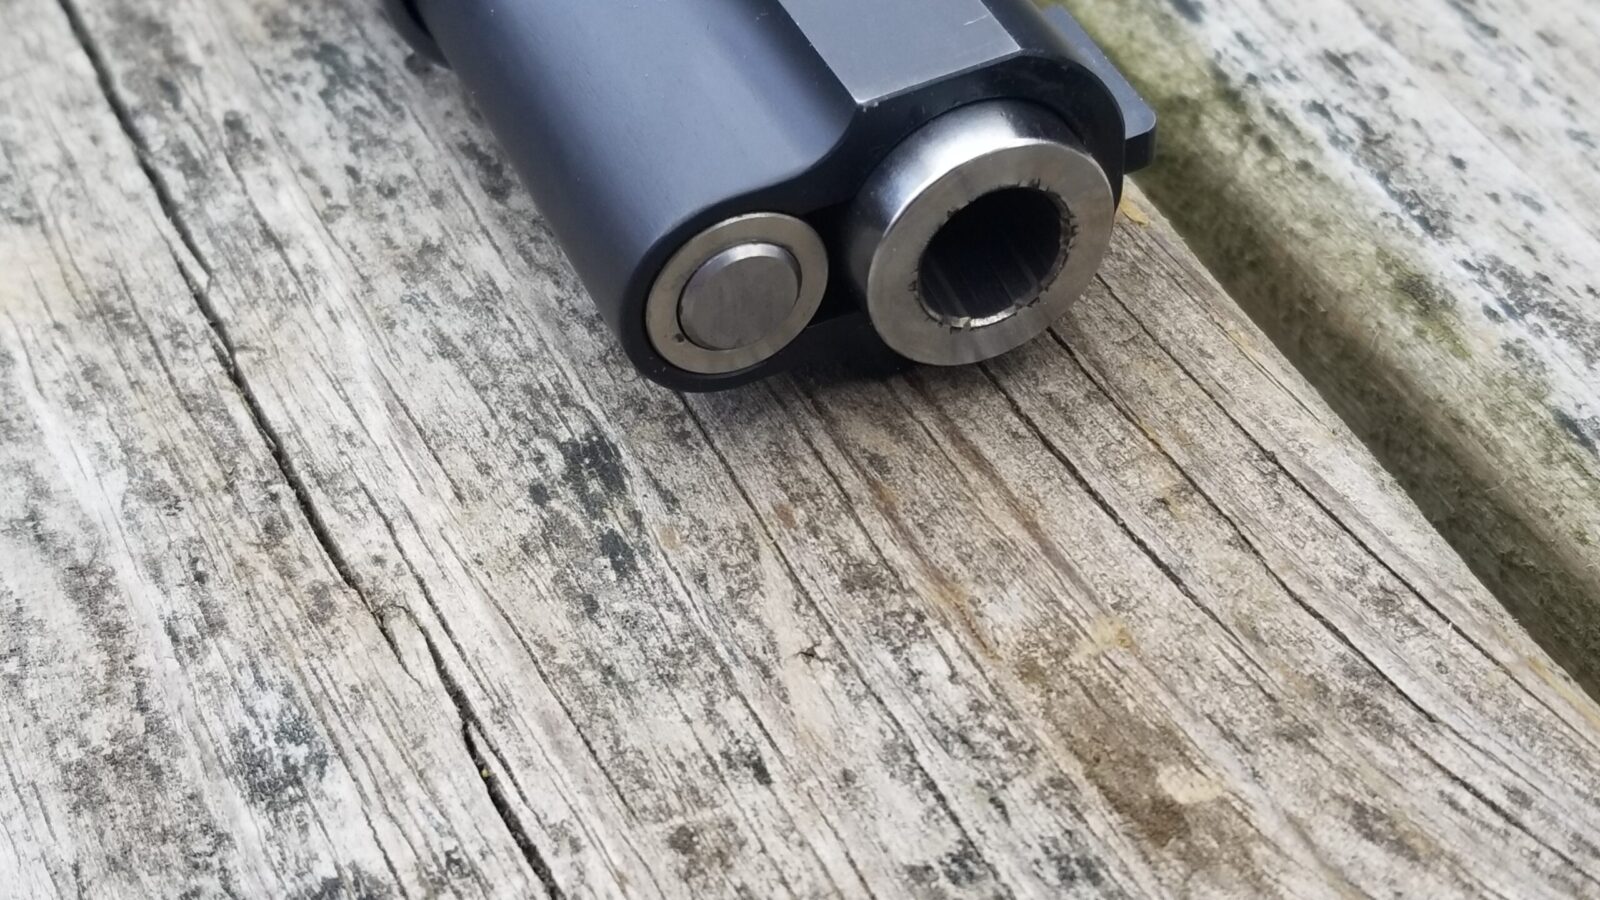
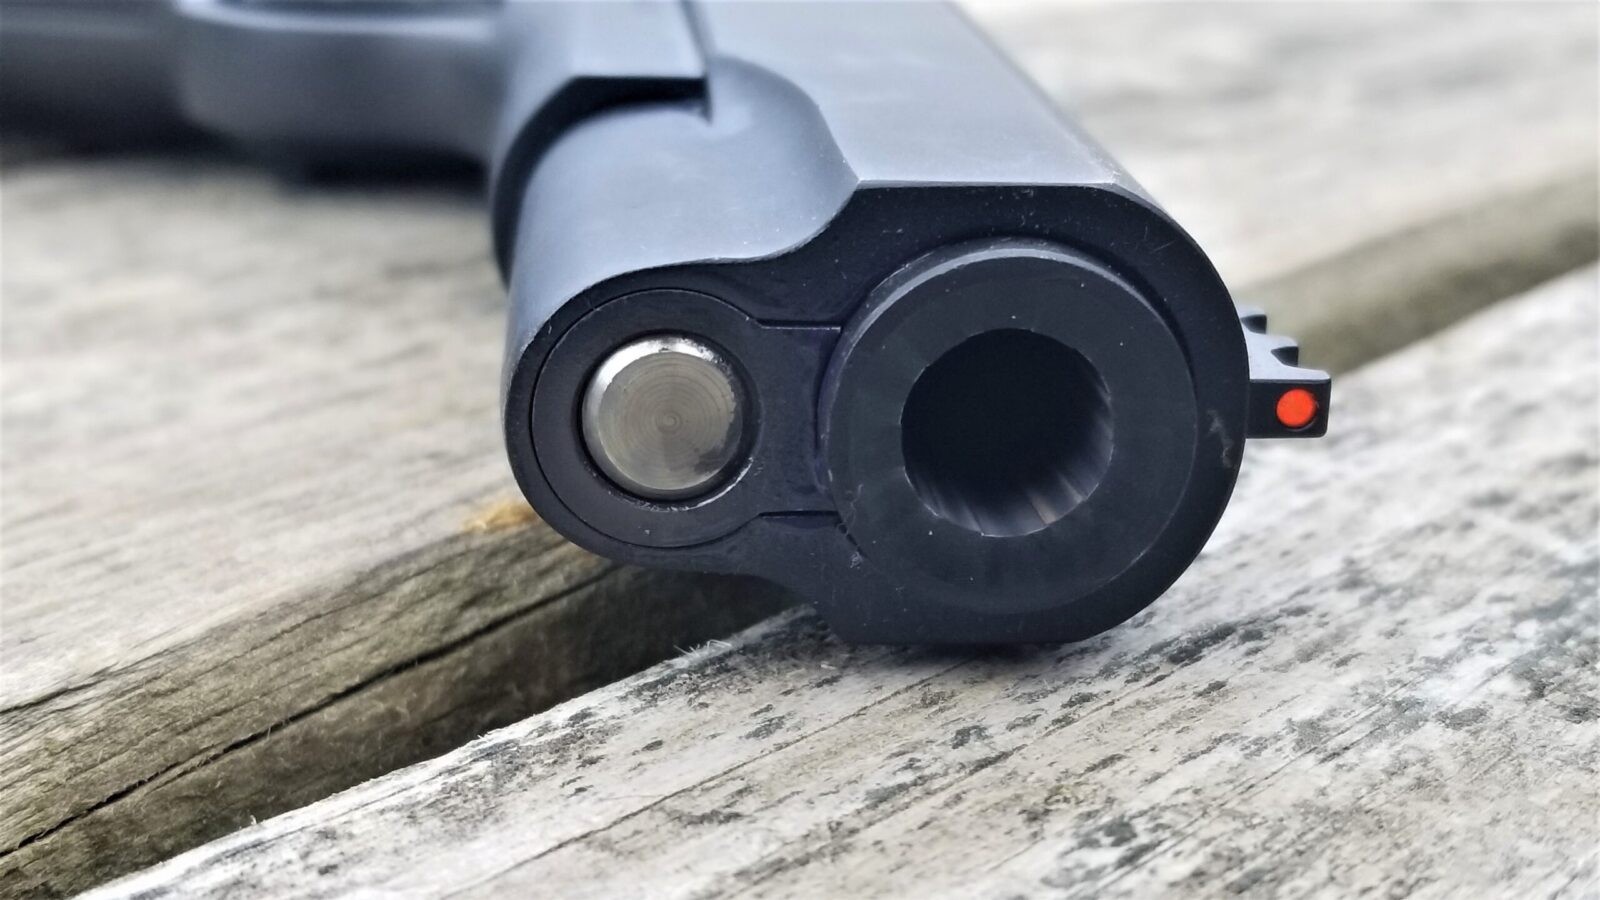
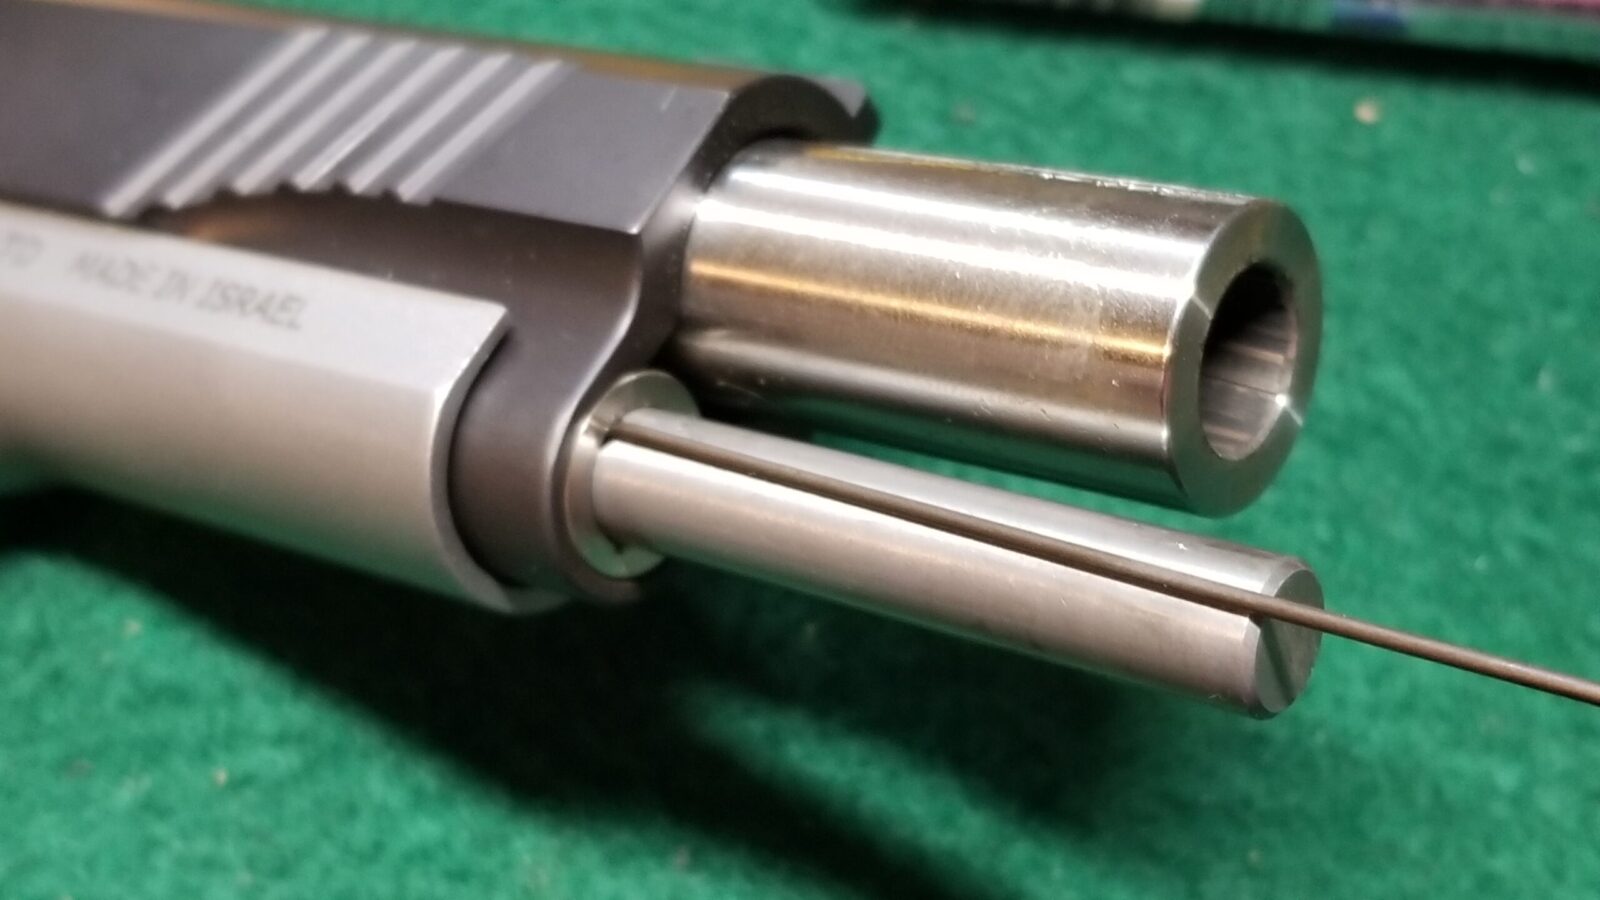
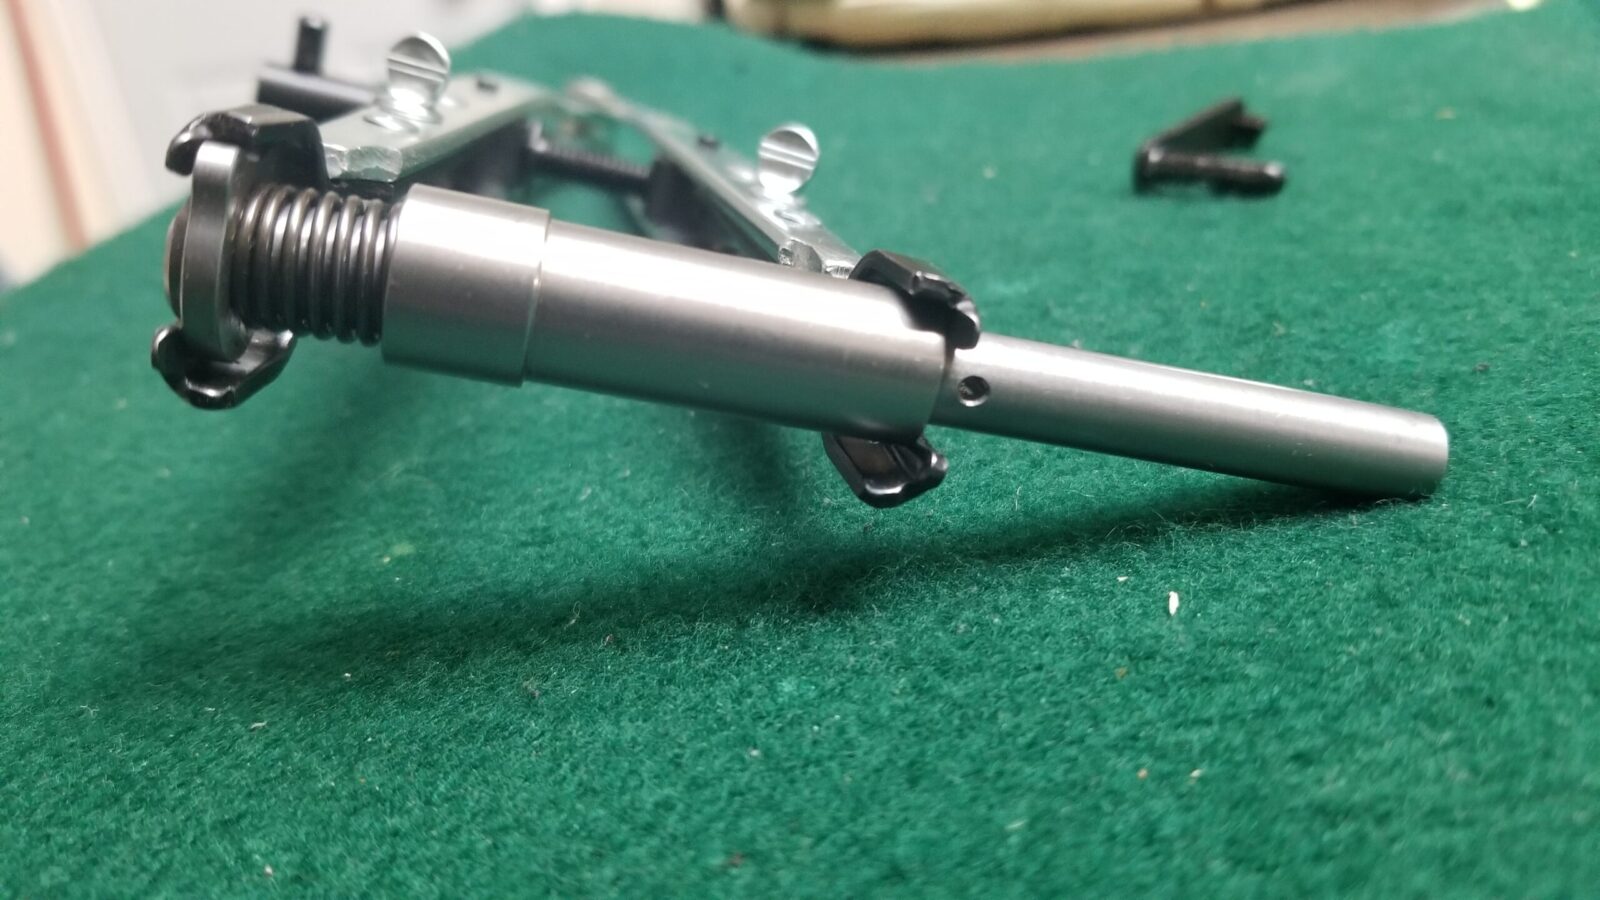
Well, if you want to get into an argument with a 1911 guru, ask if the full length guide rods make a difference. The answer tends to be “no” and I am not arguing for them. What I am finding is that bull barrel 10mm pistol makers as of late aren’t using bushings – the slide and barrel mate together directly and the guide rod assembly is captured in the slide, not by the bushing.
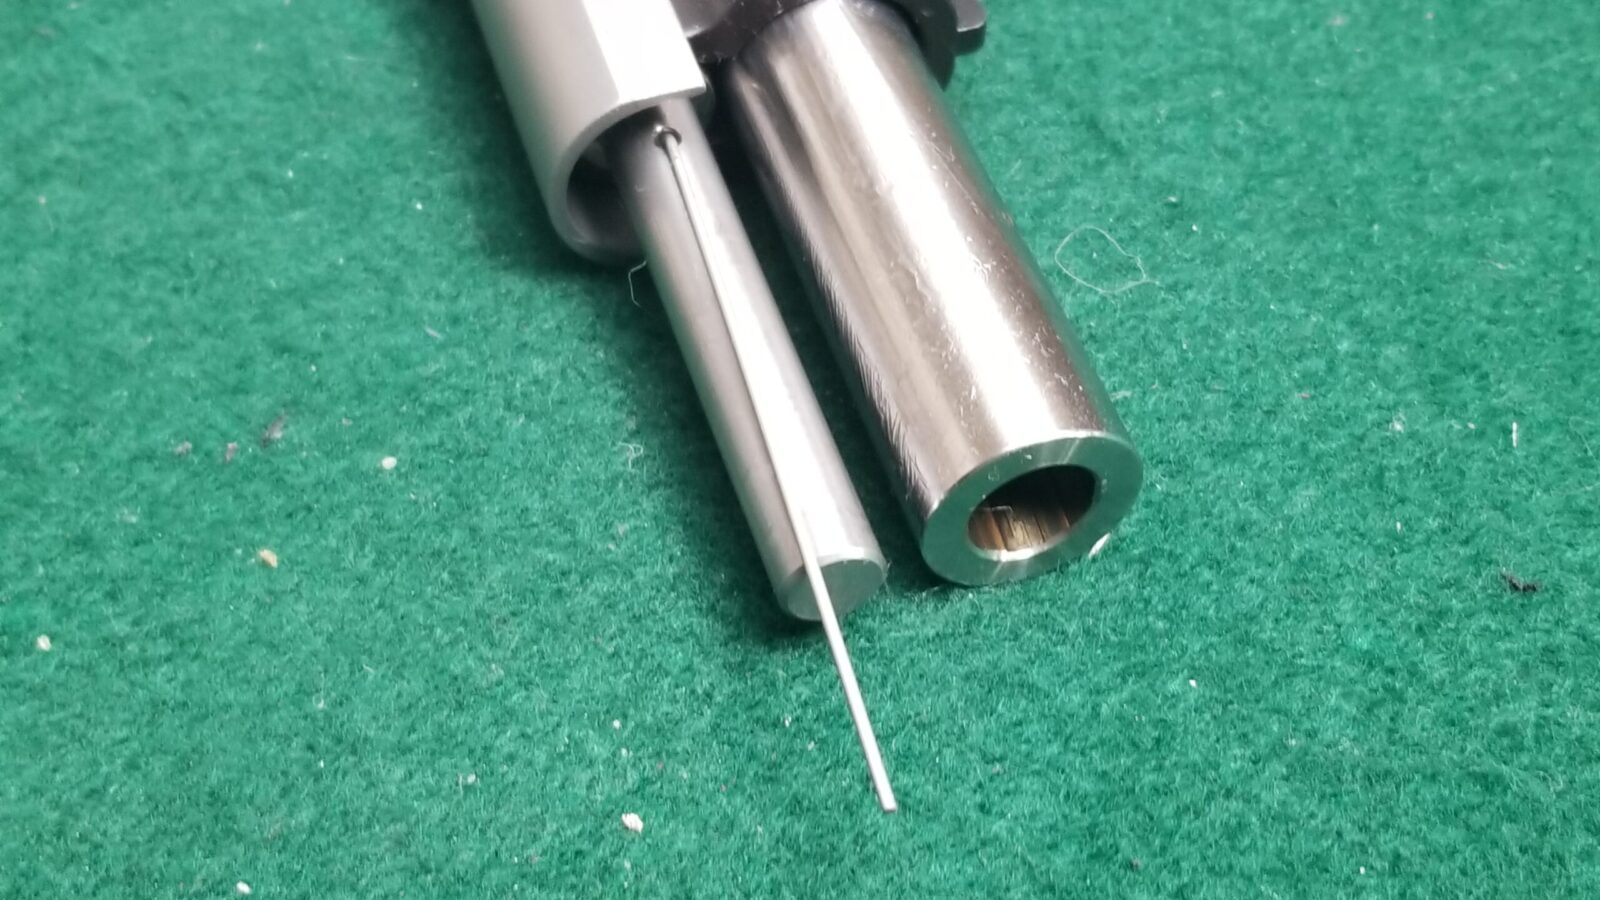
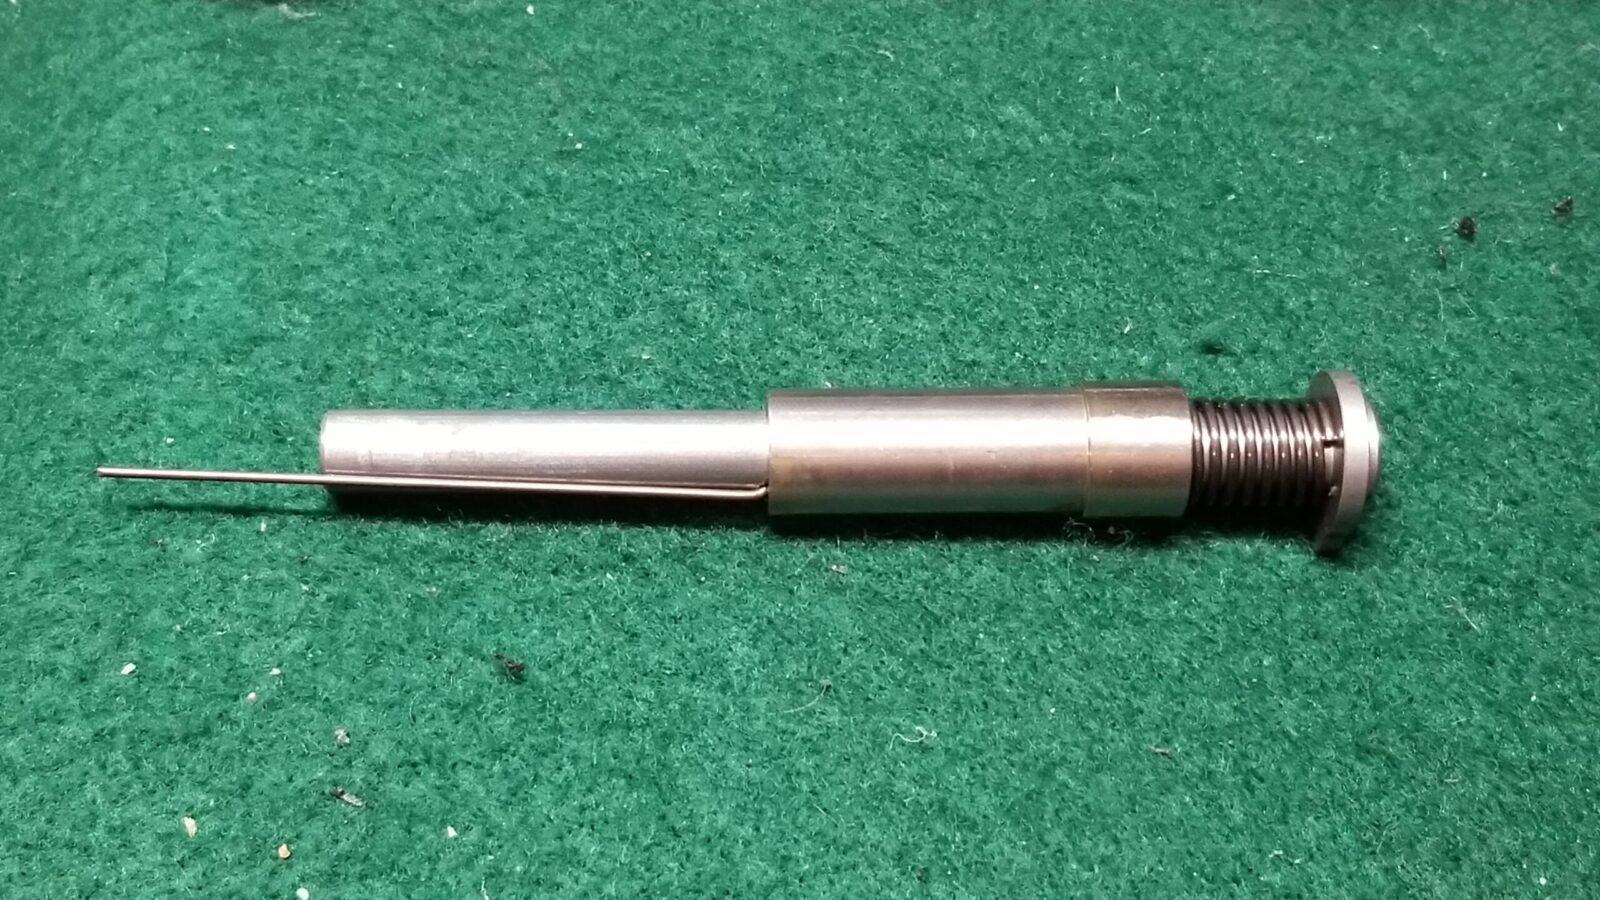
To disassemble these types of pistols, you usually need to insert a pin in the guide rod to capture the reverse plug. Some guys bend a paper clip. I got so annoyed by how tacky that looked that I had a ton of takedown pins made from 1mm stainless wire [click here to go to our website].
And Then Reality Hits
Folks, there are a million and one reasons why that pin can get knocked out of the hole and the reverse plus is going to come flying off at the speed of light. This kind of stuff happens to me way more than I care to admit. I can’t tell you how many parts I have lost control of and heard a faint “tick” sound as said part lands on the other side of my shop never to be seen again. Well, that’s not exact true, I did find an AR buffer detent in the tool caddy of my ShopVac last week. I vaguely remember losing one at point.
Big word of advice, if you are working on a spring loaded part, do it in a place were you can find the parts if you lose control. Yeah, you may be laughing now but wait until you hear that “tick” sound of a part landing on the other side of a congested (fancy way of saying “messy”) shop.
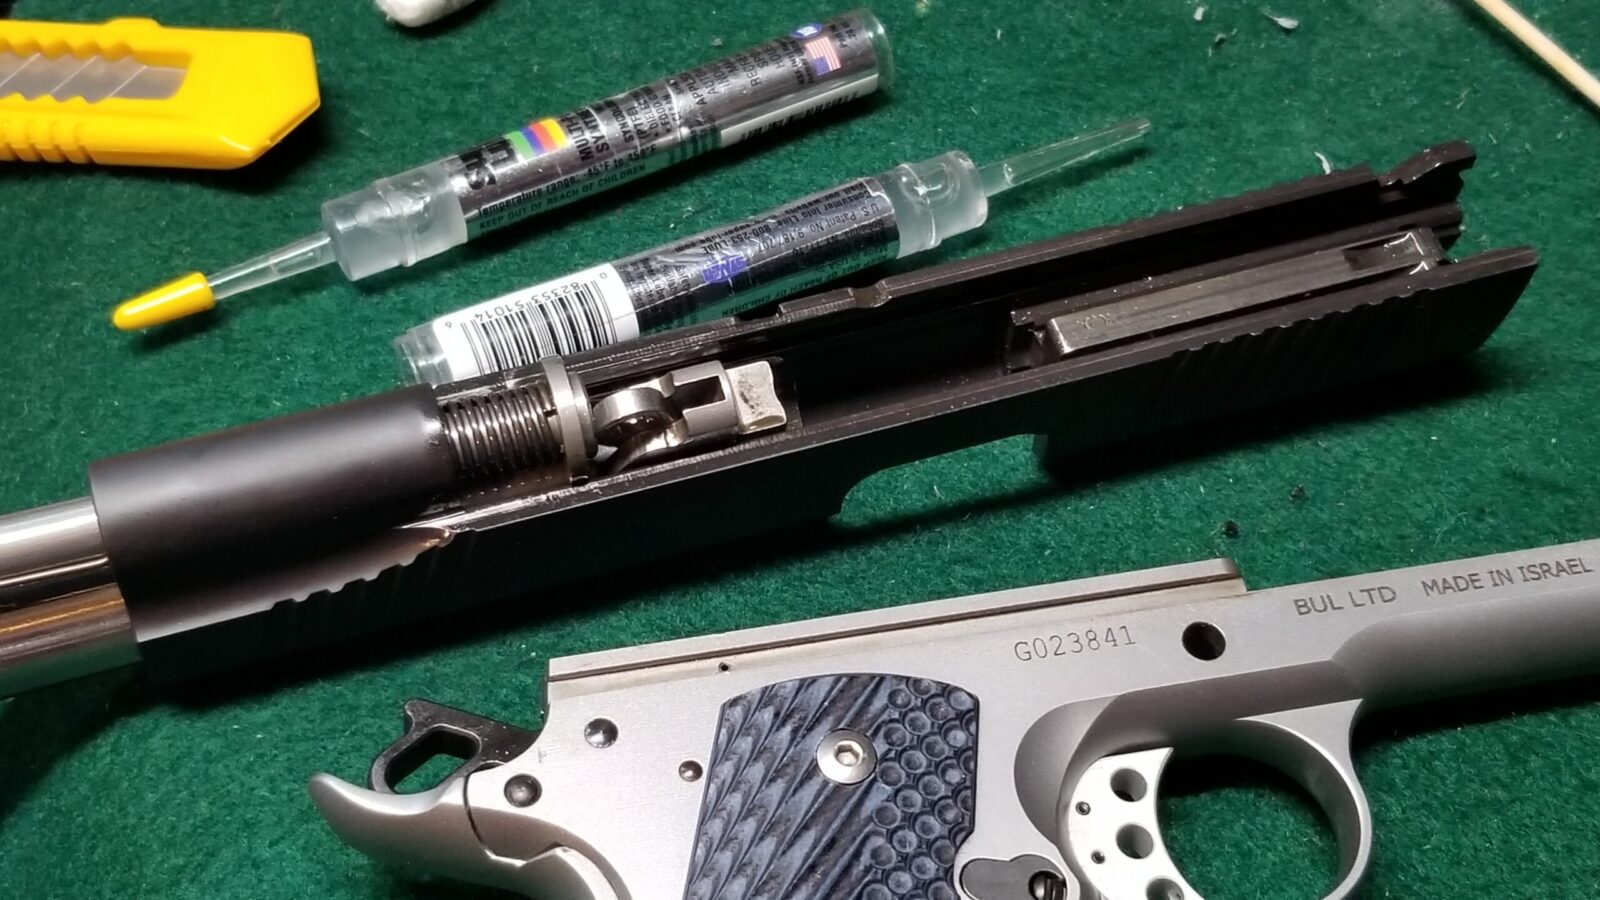
In my case, I haven’t launched the reverse plug yet but I did release the tension to see how it was made. Ok, big mistake. The recoil springs for a 10mm start at 16 pounds and are more likely to be 20-24 pounds. With my carpal tunnel, I could not compress the spring enough to reinsert the pin. I had a serious WTF do I do moment? Under no circumstance was I going to ask my wife to come help me 🙂 A second set of hands would have done the trick for sure but I needed to figure out a quick and dirty way to do it myself.
In this case, I carefully inserted the parts in a bench vise and very carefully compressed them until I could get the pin back in. I was really nervous because if either the plug or the rod shifted, I was going to launch parts. It worked, but there had to be a better way.
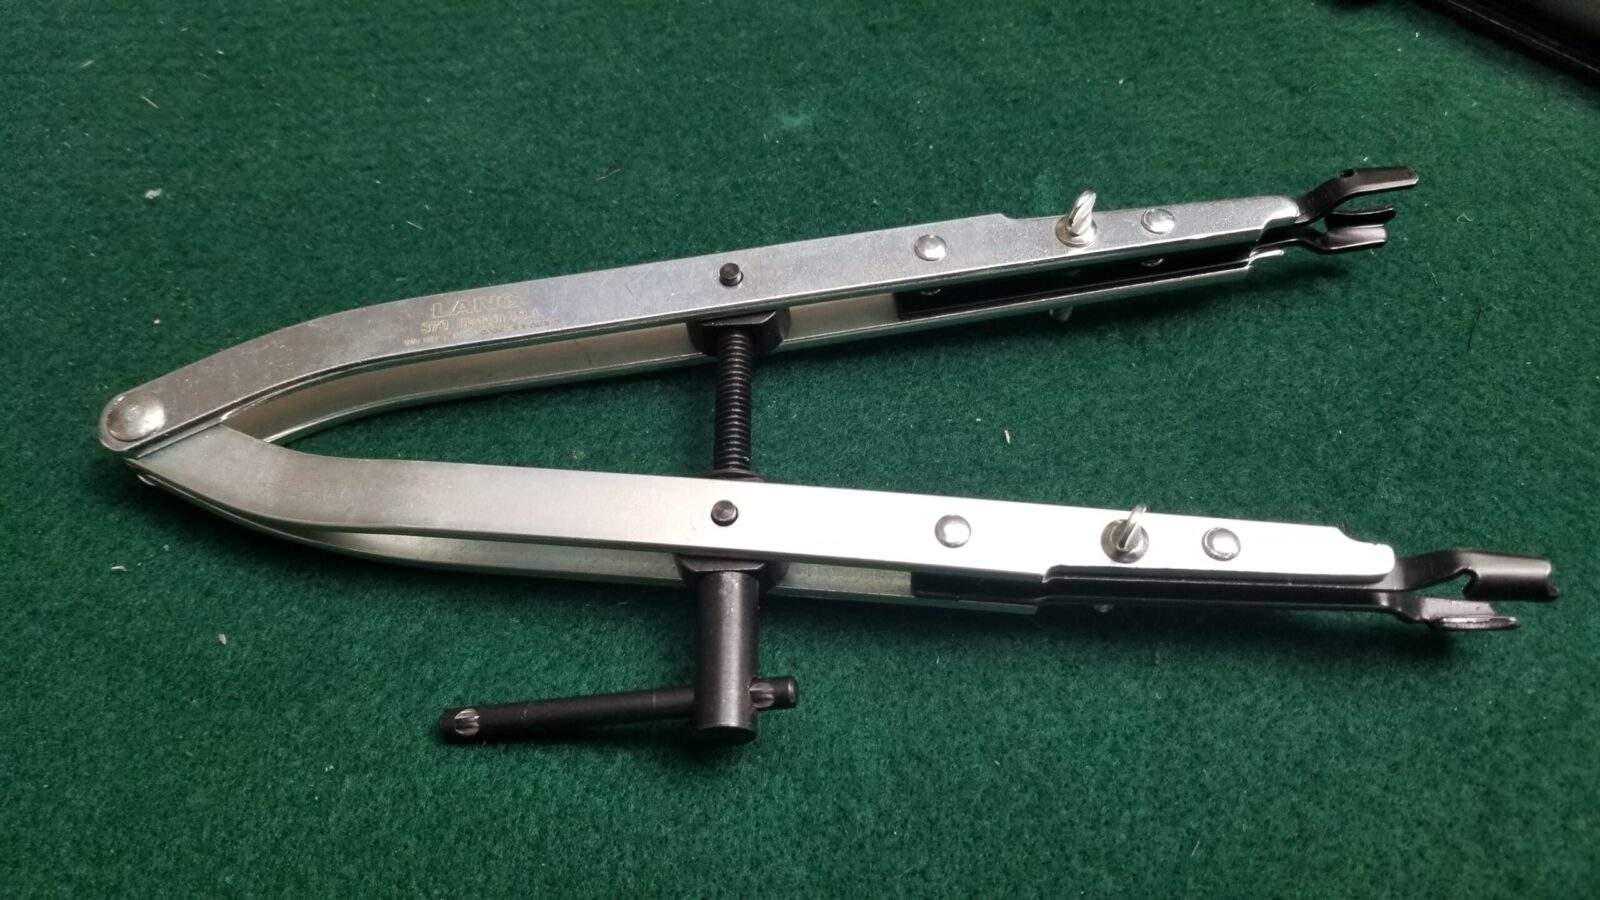
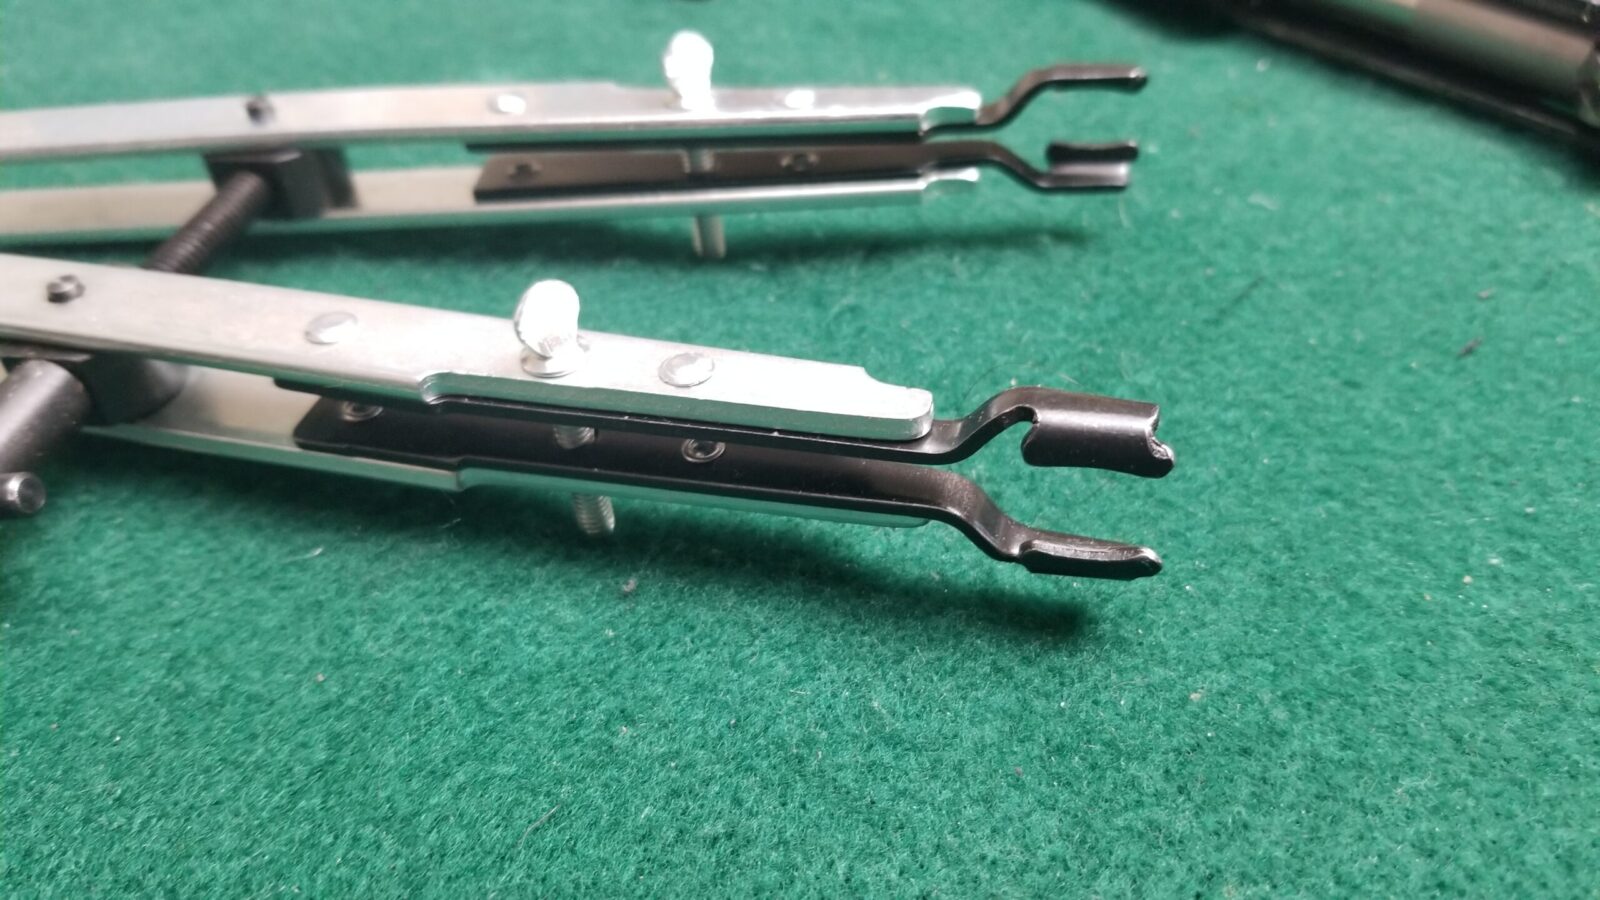
Solution: Use A Small Engine Valve Compressor
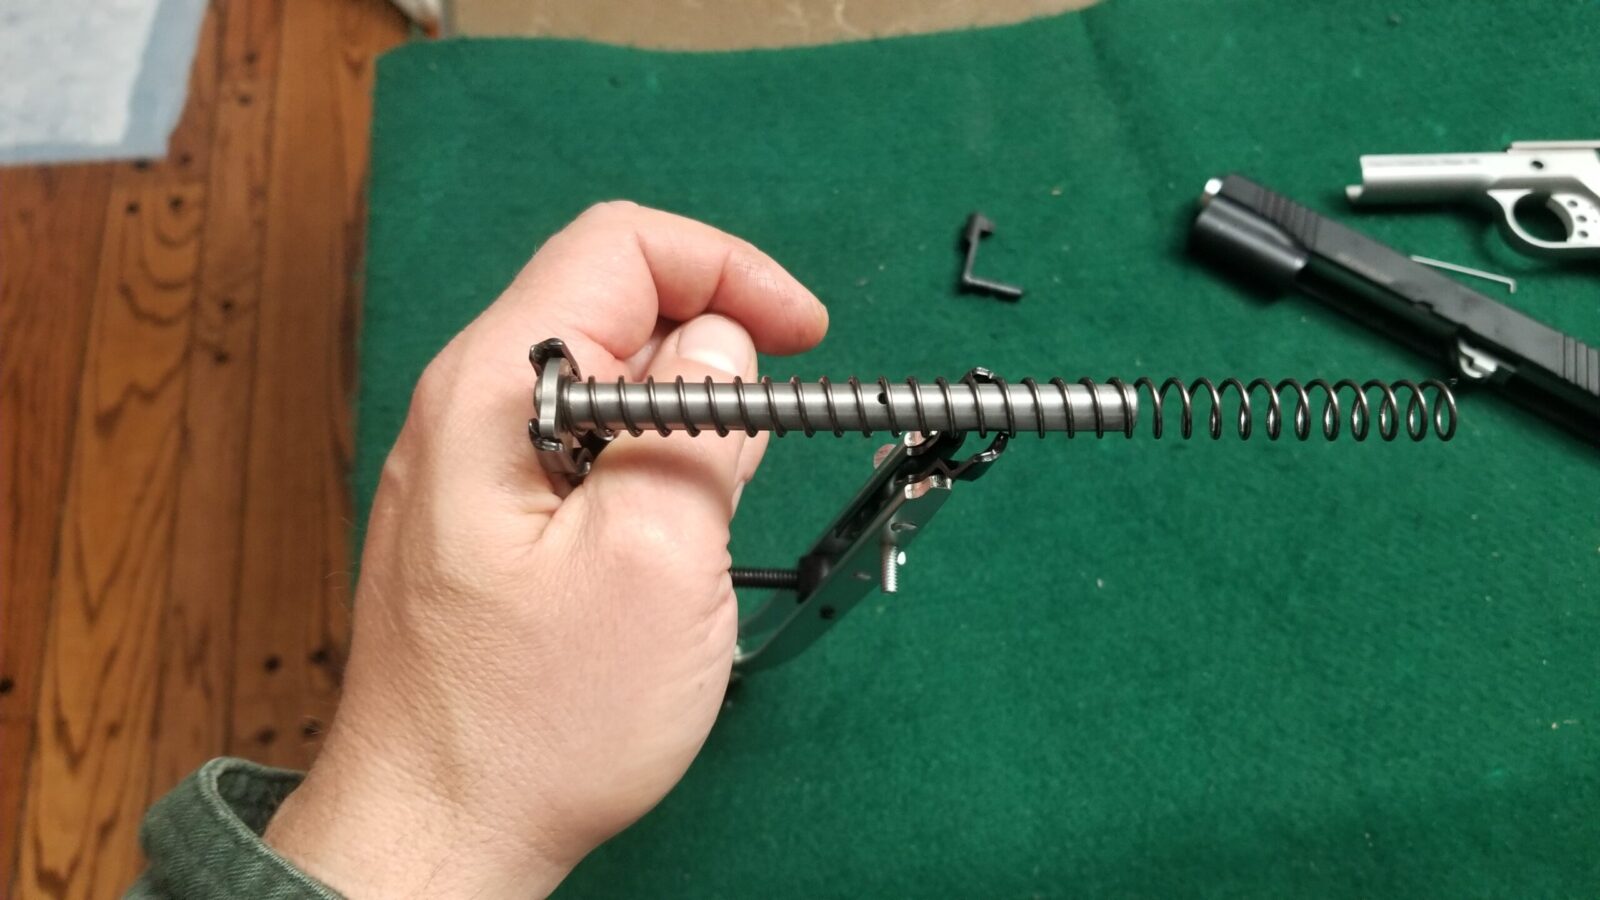
I’ve read, watched and worked on a ton of stuff over the years. I knew there were valve spring compressors for small engines that might work perfect for this so I did some research. The Stens 750-174 looked like it would work perfect so I ordered from Amazon. Guess what? It does the job!
Conclusion
If you have a pistol with a full length guide rod for whatever reason, I would honestly recommend our takedown pin and also keep a Stens 750-174 spring compressor around if you may need to put it back together solo.
Note, I have to buy all of my parts – nothing here was paid for by sponsors, etc. I do make a small amount if you click on an ad and buy something but that is it. You’re getting my real opinion on stuff.
Please share the link on Facebook, Forums, with colleagues, etc. Your support is much appreciated and if you have any feedback, please email us in**@*********ps.com. If you’d like to request a report or order a reprint, please click here for the corresponding page to open in new tab.