Okay, there are a ton of ways to remove rivets and I’ve posted some details both about removing the trigger guard and side rail rivets (if your AK has a side rail). This post is going to get straight to the point.
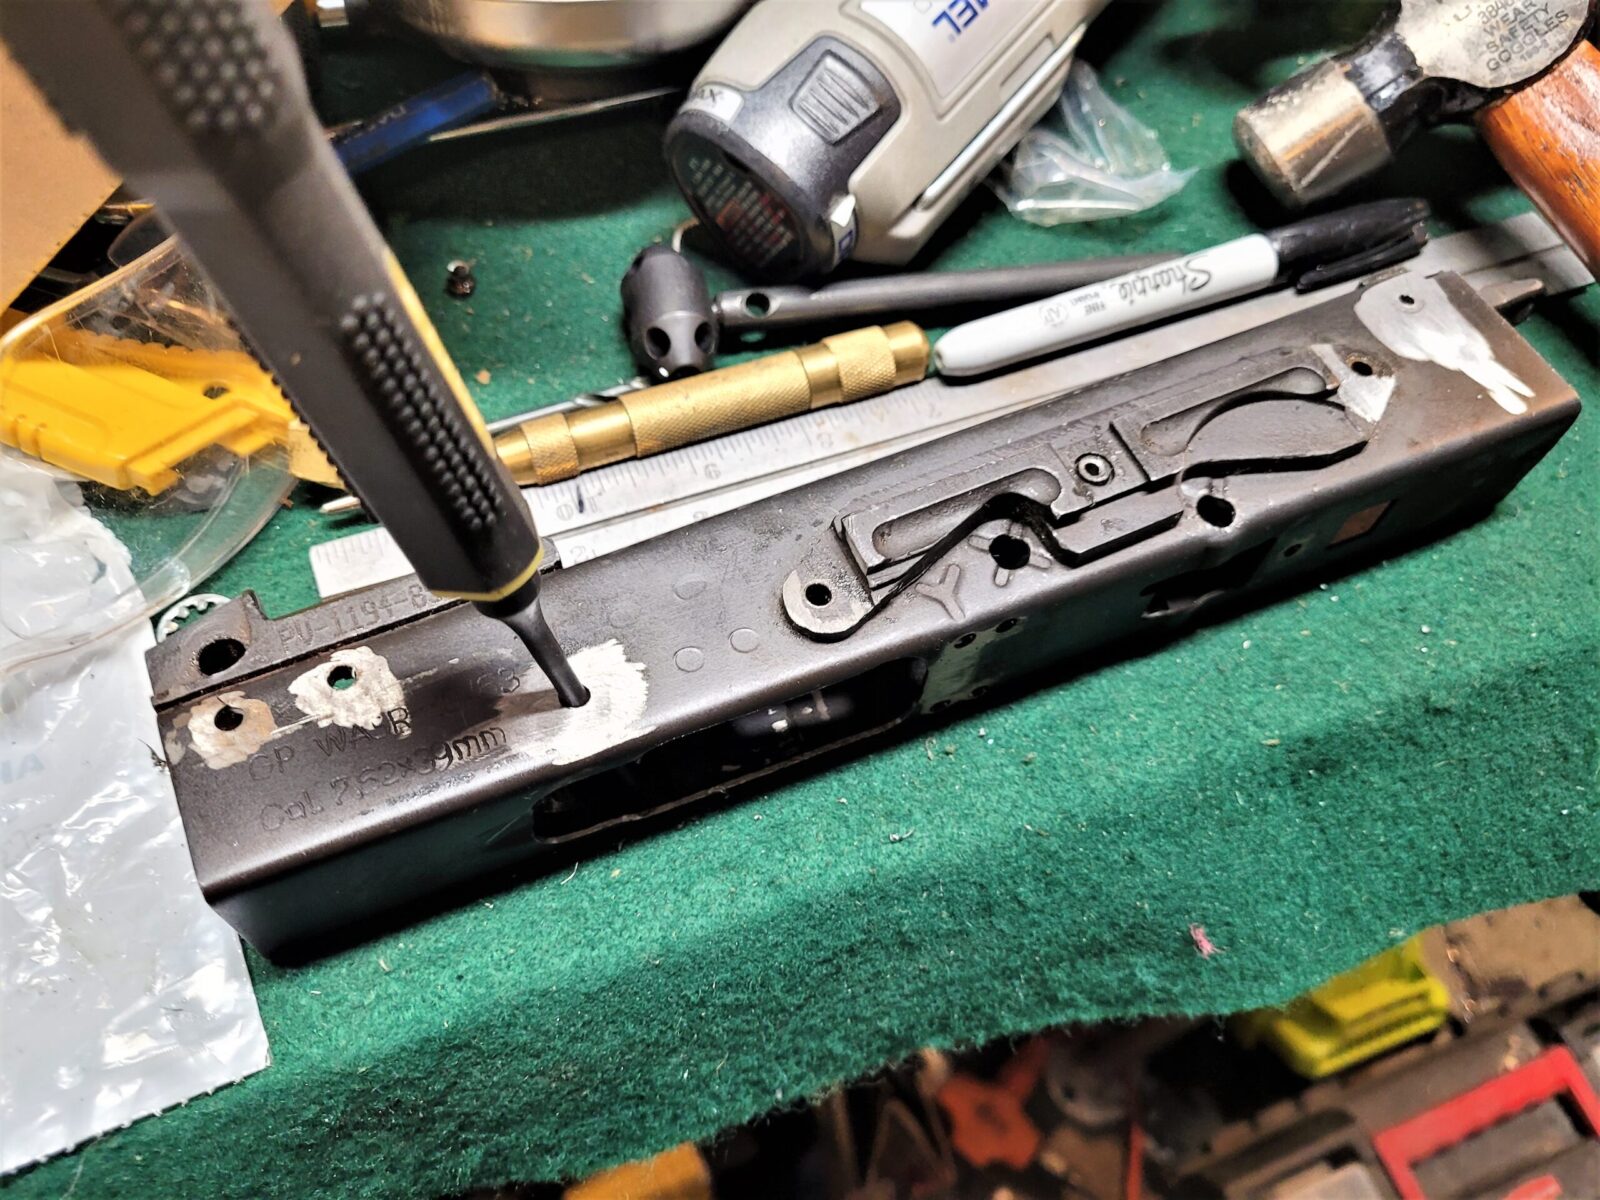
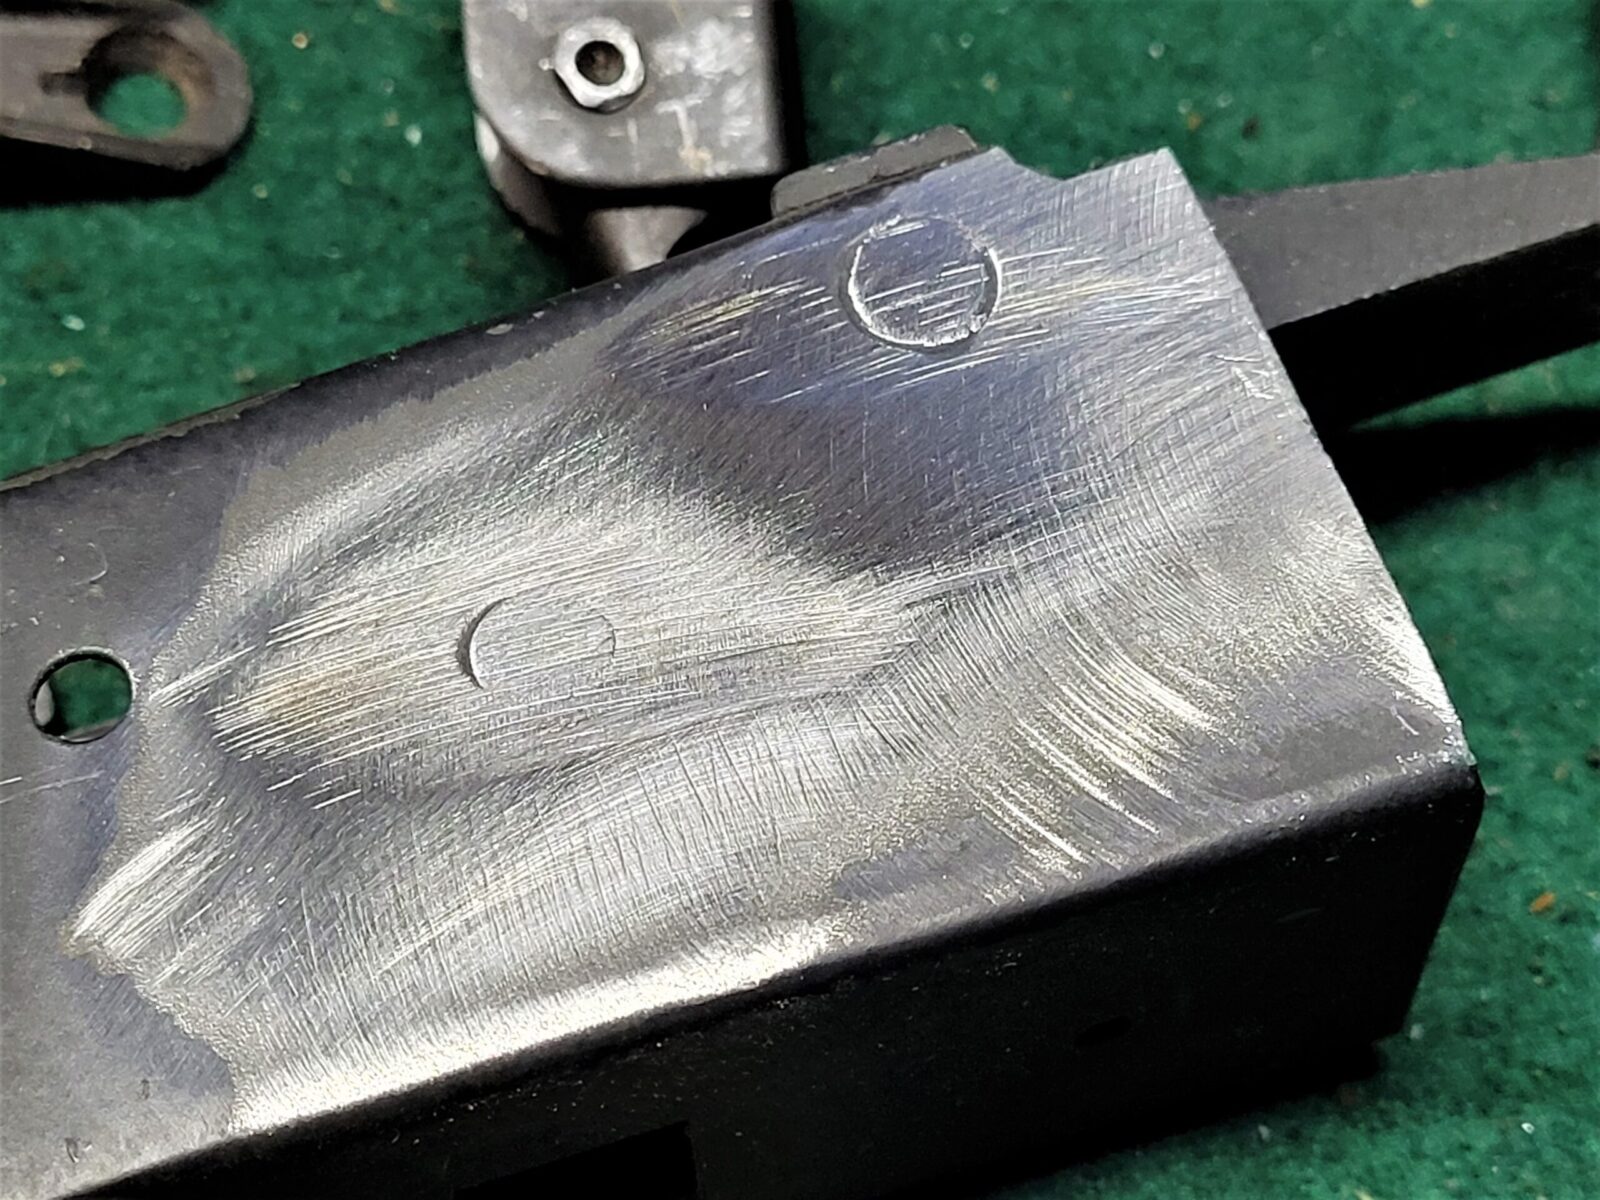
I use a 4.5″ cordless Ryobi angle grinder and take all the rivet heads down flush. Unless I plan to reuse the receiver, I don’t care how the receiver looks when I’m done. If I do care, then I will be much more careful and stop just before I get to the surface.
I then center punch all of the holes to make drilling easier. I like to use an automatic center punch so I can focus on where I want to make the divot for drilling vs. trying to keep everything aligned. If you’ve never used one, they are worth their weight in gold.
I drill an 1/8″ hold in each one use quality cobalt drill bits and cutting oil. I like to buy Tap Magic in bigger containers and then transfer the fluid as needed into smaller squeeze bottles with long metal tubular “needle” tips so I can precisely put it right where I need it.
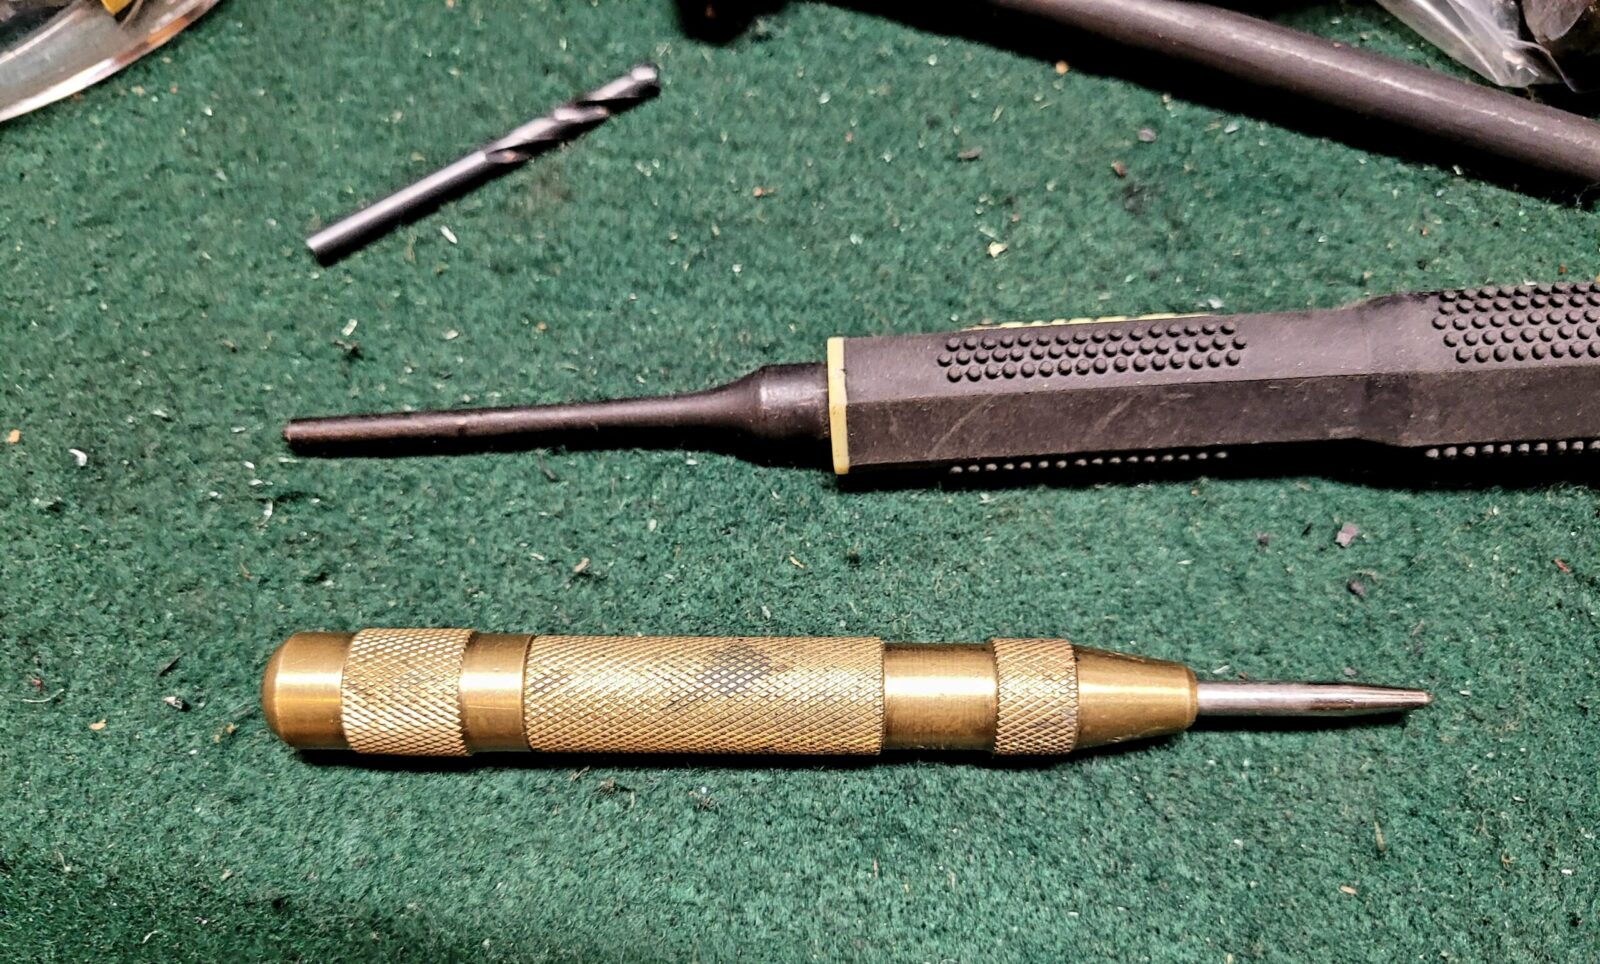
I then use a roll pin punch where the rounded tip can fit in the 1/8″ hole and the shoulder properly engage the remaining rivet. Folks, this makes removing the remaining rivets super easy except for the long trunnion rivets.
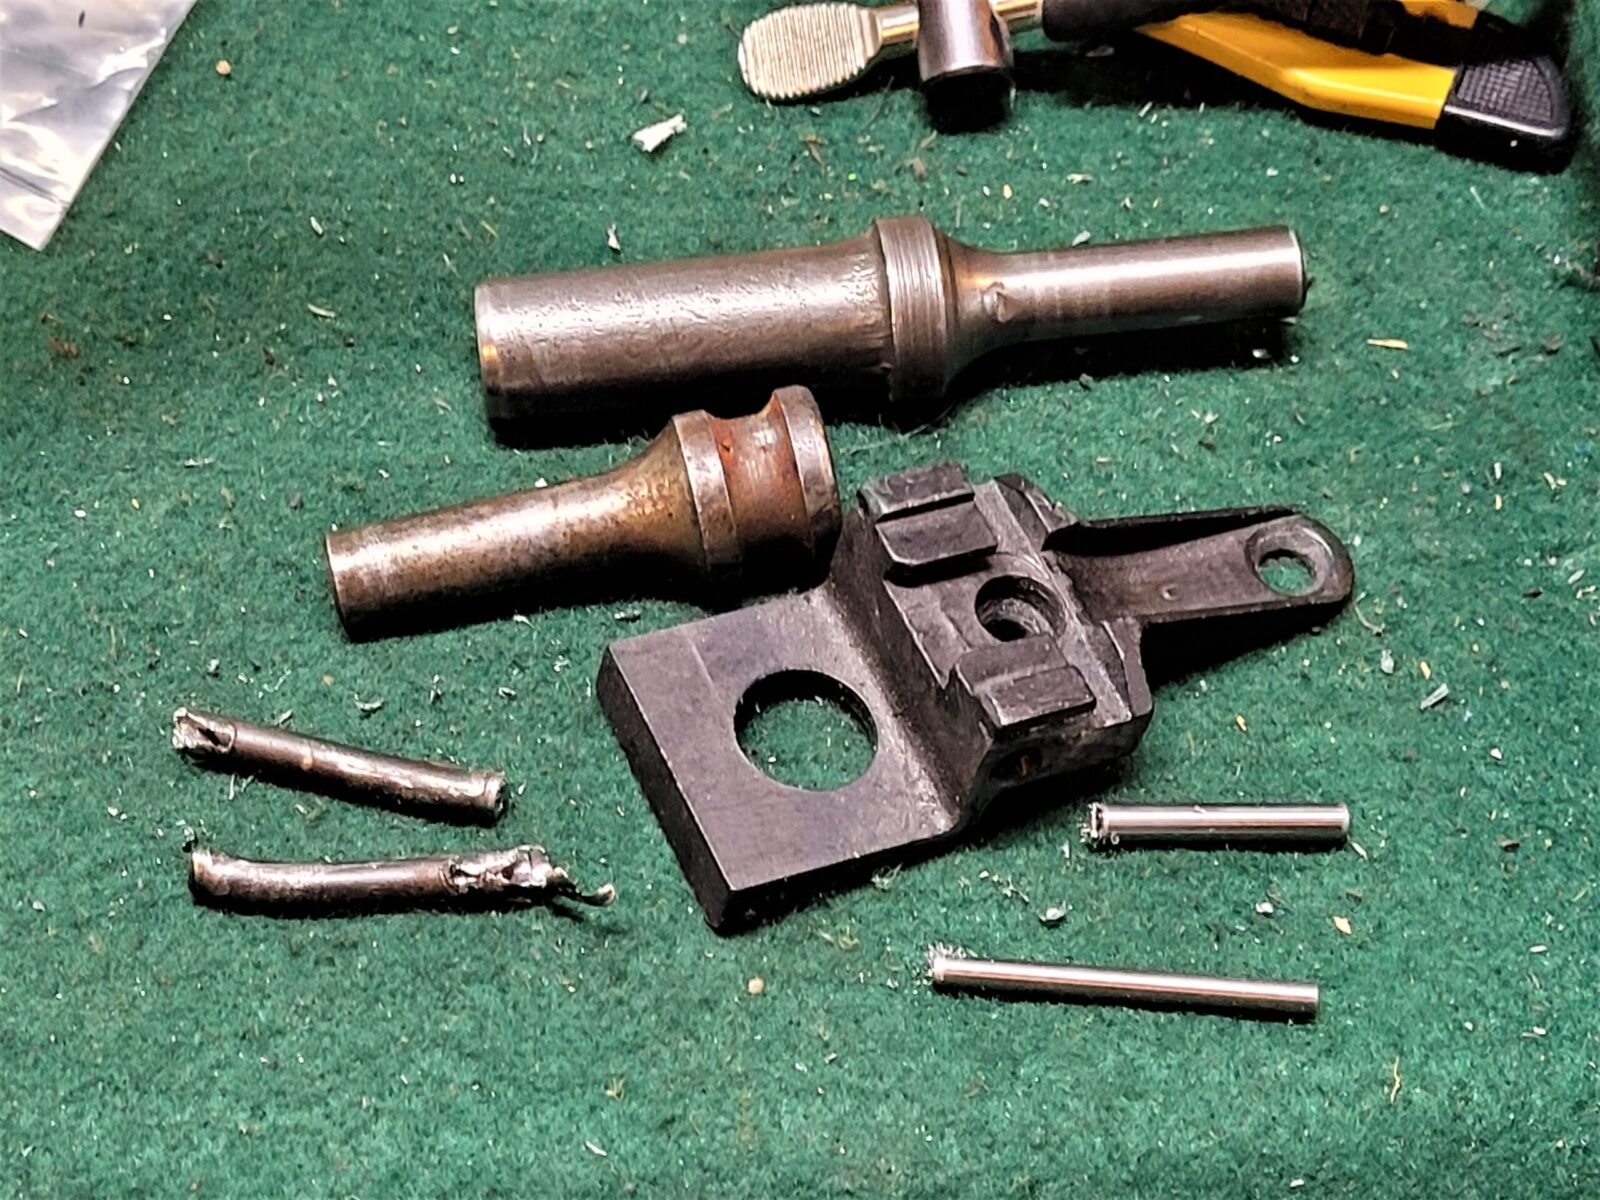
Long Rear Trunnion Rivets
Okay, these take more work so we’ll make a section just for these little headaches. They’re not horrible – they just take additional time to remove but I will tell you a HUGE time saver in a moment.
In general, it’s easier to remove the rivets with the trunnion out of the receiver. If you need to save the receiver, be gentle and use successively larger drill bits to remove the rivet heads so you can then pry the sheet metal receiver open and pull it out. The balancing act is that if you make the receiver holes too big then you will need to weld them shut and drill new ones. It’s not the end of the world. I prefer welding and redrilling compared to using even bigger rivets with heads that cover the holes but are mismatched to everything else.
If you don’t care about the receiver or are removing stubs, grind those heads down and use an air hammer chisel to easily bend the receiver sheet metal away from the receiver.
Traditional Method – drill in from each side about 1/2 way and then punch the rivet out. Guys will use 5/32″ (3.969mm) or even 11/64″ (4.366mm) drill bits. If you are spot on the center and you have access to quality cobalt metric bits, this is usually a 4.5mm rivet so you could use that. You will read about guys suggesting 3/16″ drills but this route is problematic because 3/16″ is 4.762mm and thus too large. You’d need to use a 3/16″ rivet to properly secure the trunnion and the heads will look noticeably different from the others.
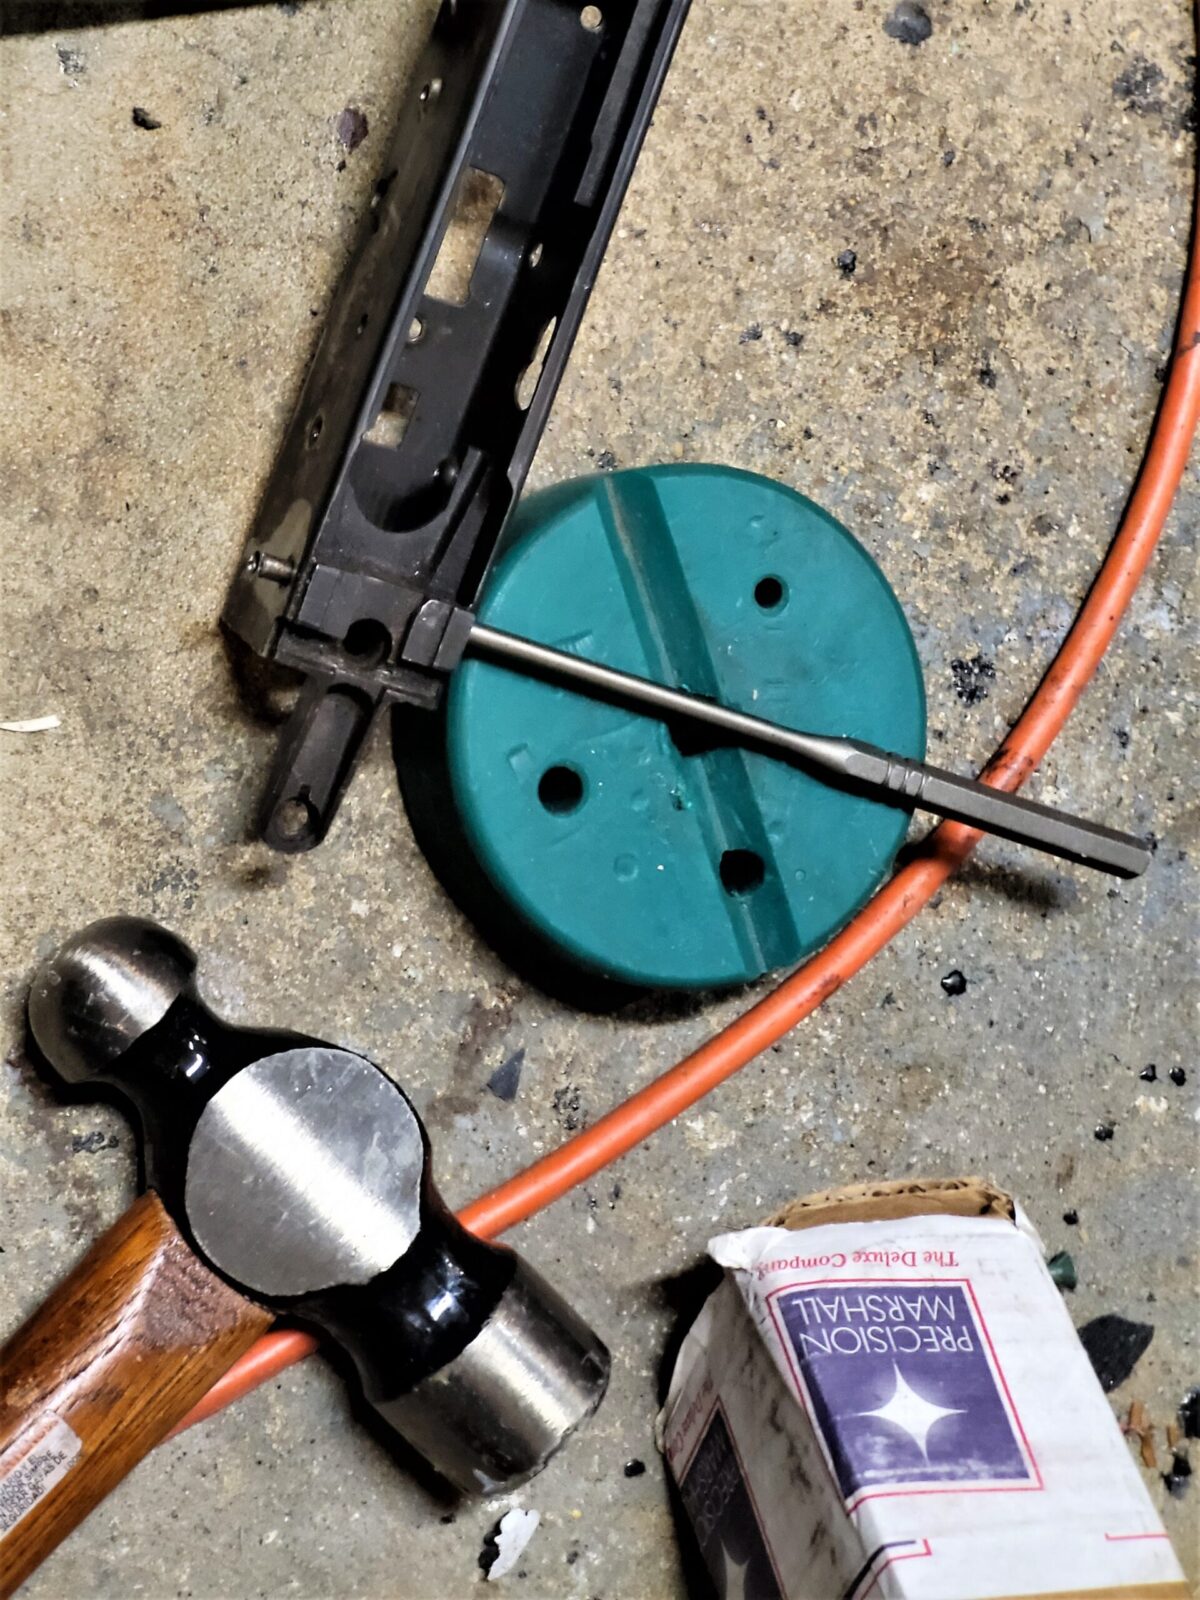
The impatient Ronin method – drill 1/8″ centered holes in one side of the rivets left in the trunnion. Make or buy an 1/8″ air hammer drift pin and chase each long rivet out in a matter of seconds. It’s amazingly fast. I don’t know who invented the air hammer but it is seriously magical when it comes to tasks like this.
Summary
Use an angle grinder to knock off the rivet heads, drill and punch out the short rivets. For the longer rivet, decide which of the two methods you want to use. I hope this helps you out!
Note, I have to buy all of my parts – nothing here was paid for by sponsors, etc. I do make a small amount if you click on an ad and buy something but that is it. You’re getting my real opinion on stuff.
Please share the link on Facebook, Forums, with colleagues, etc. Your support is much appreciated and if you have any feedback, please email us in**@*********ps.com. If you’d like to request a report or order a reprint, please click here for the corresponding page to open in new tab.