Category Archives: Weapons by Country

Assembling a Beryl-ish AK From a WBP Kit – Part 3 – Kit Inspection and Removing the Front Trunnion

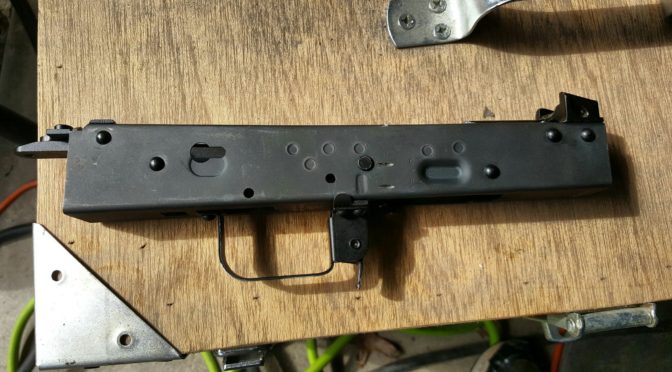
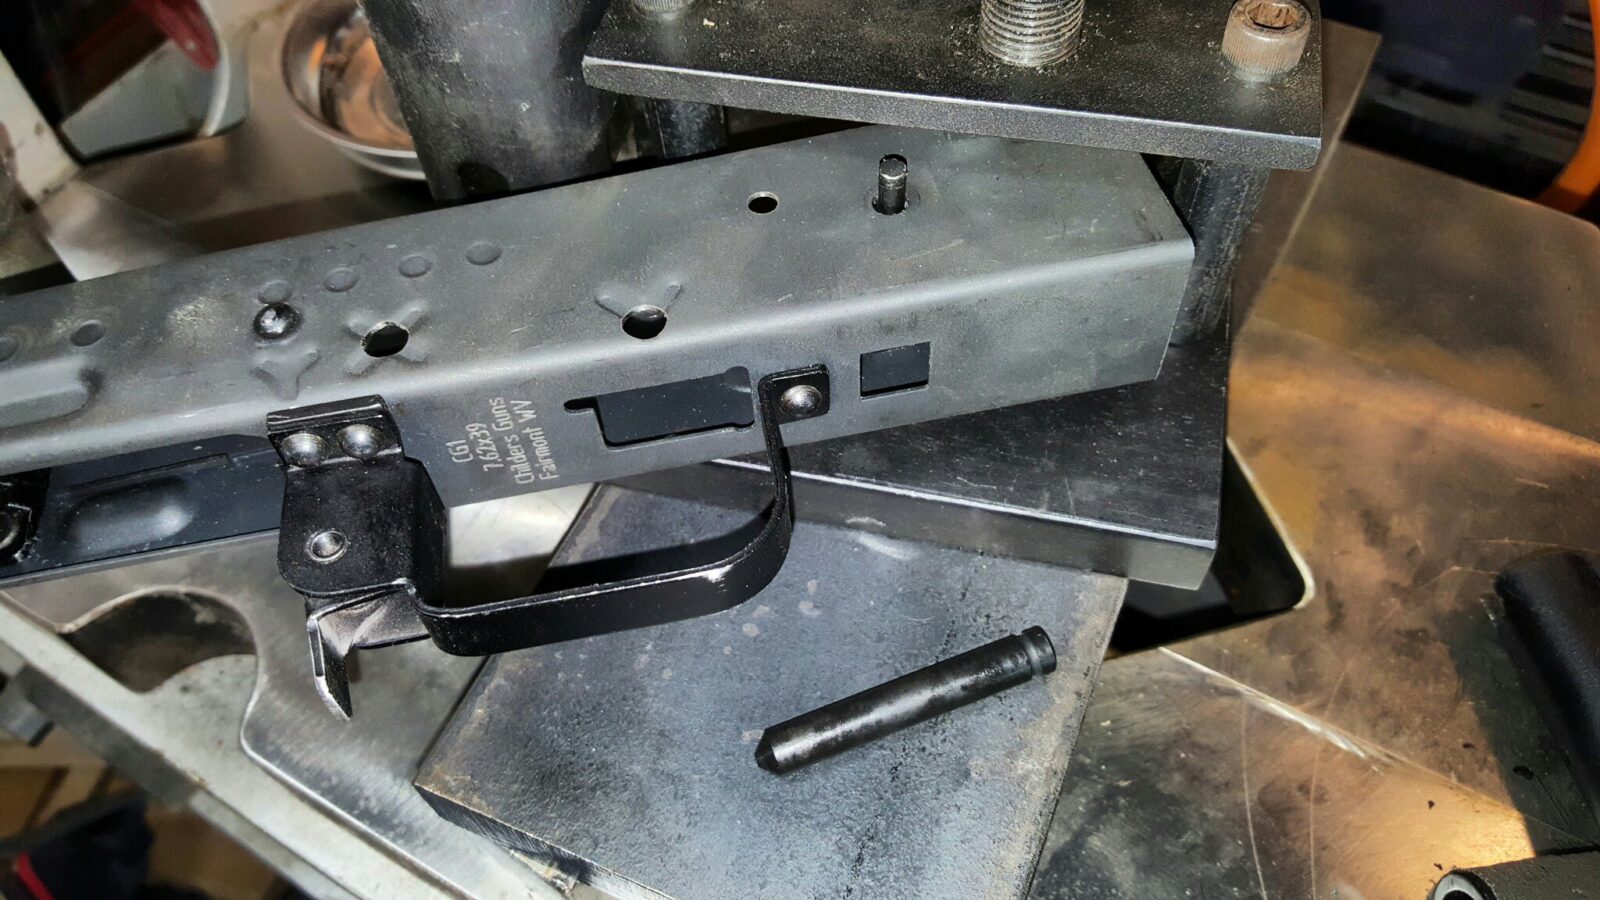
The next step after installing the trigger guard assembly was to rivet the front and rear trunnion in place. The modern Kalashnikov design uses a stamped sheet metal receiver with steel inserts at the ends known as “trunnions”. The sheet metal receiver is really holding the components in alignment vs. providing the strength necessary for the chambering and the rear butt stock.

Historically these were forged and many makers like to point out that these parts still are. For example, the Polish maker WBP likes to point out they use forged trunnions. Some makers are using cast trunnions and the quality can differ. When done right, cast parts can be plenty strong … emphasis on when done right.

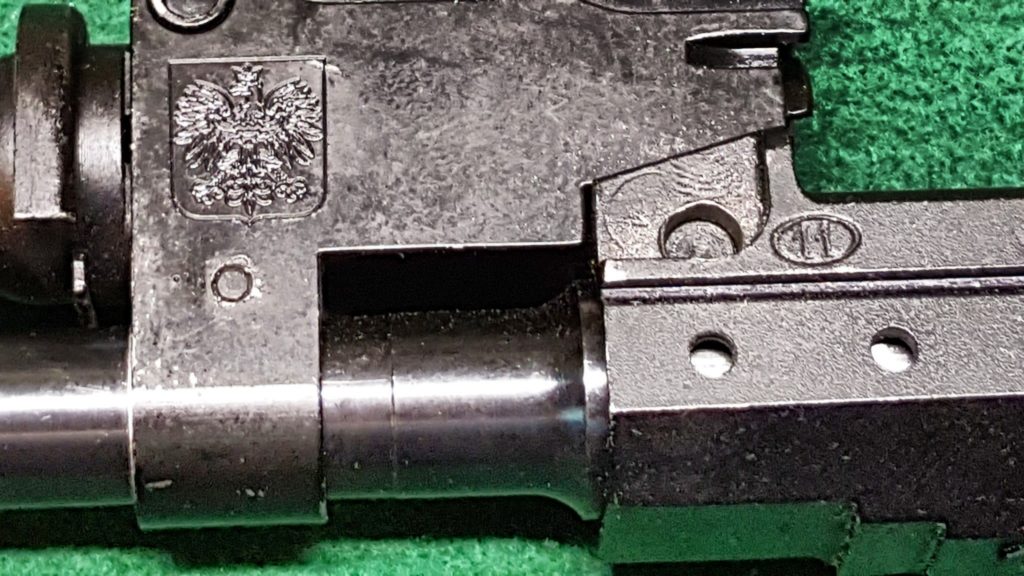
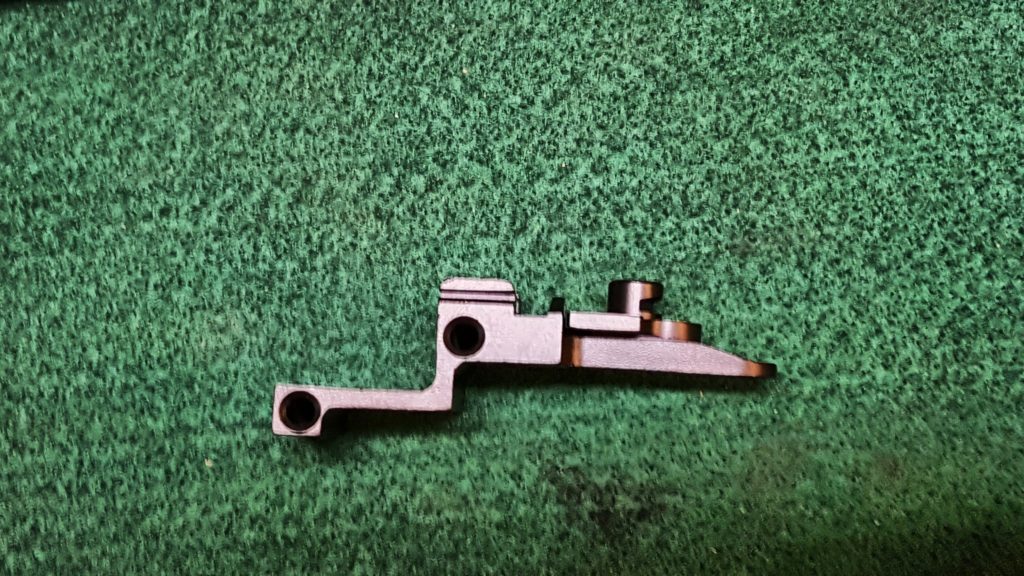
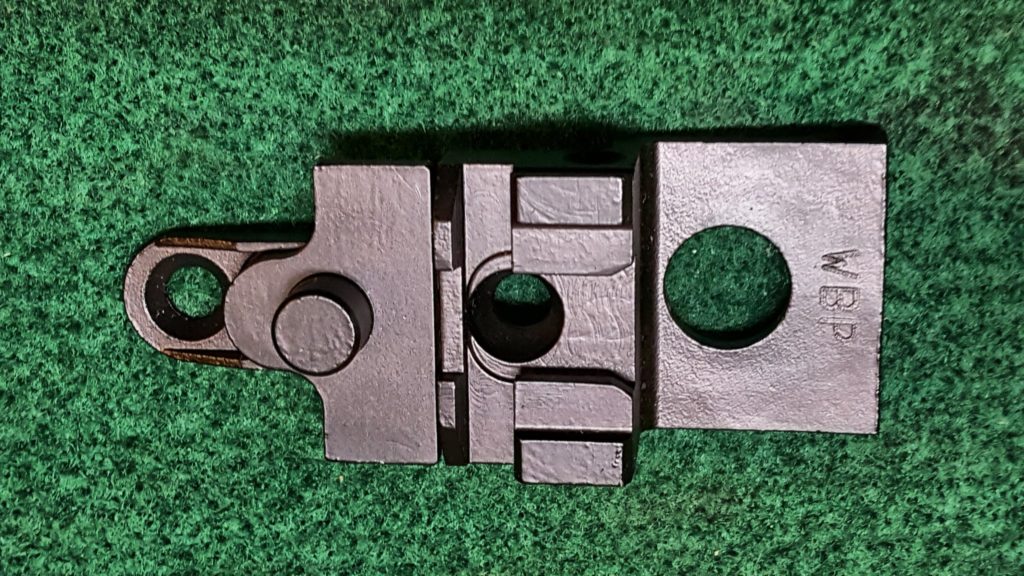
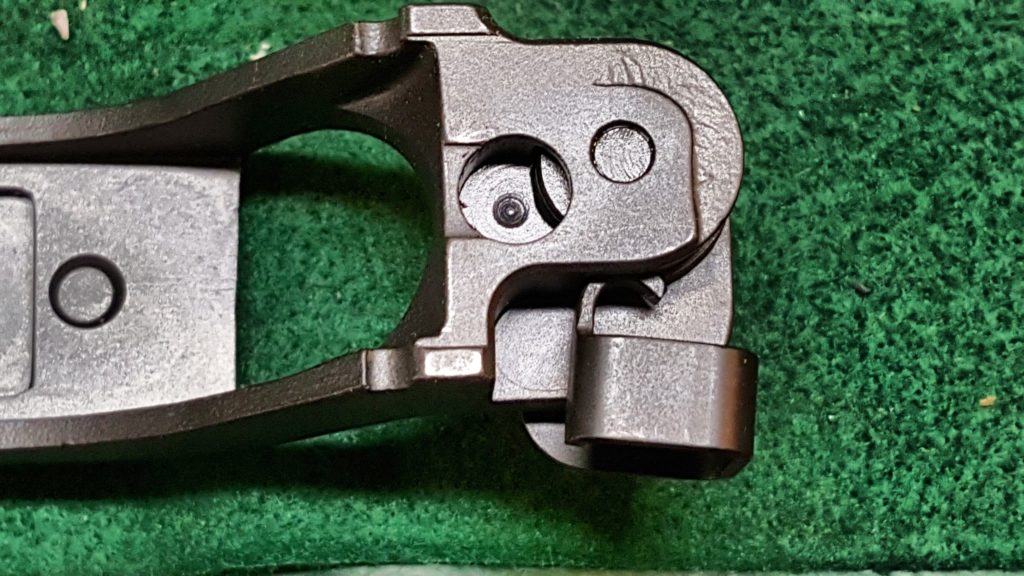
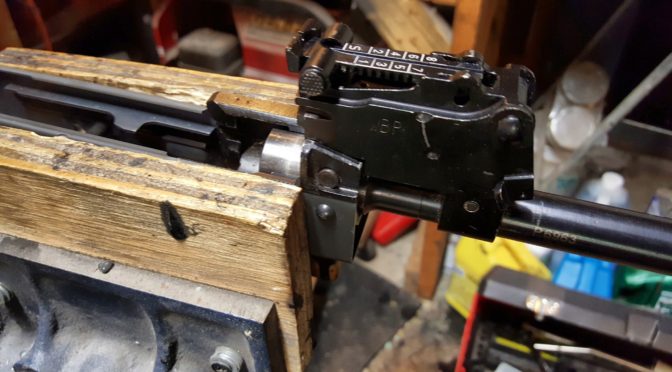
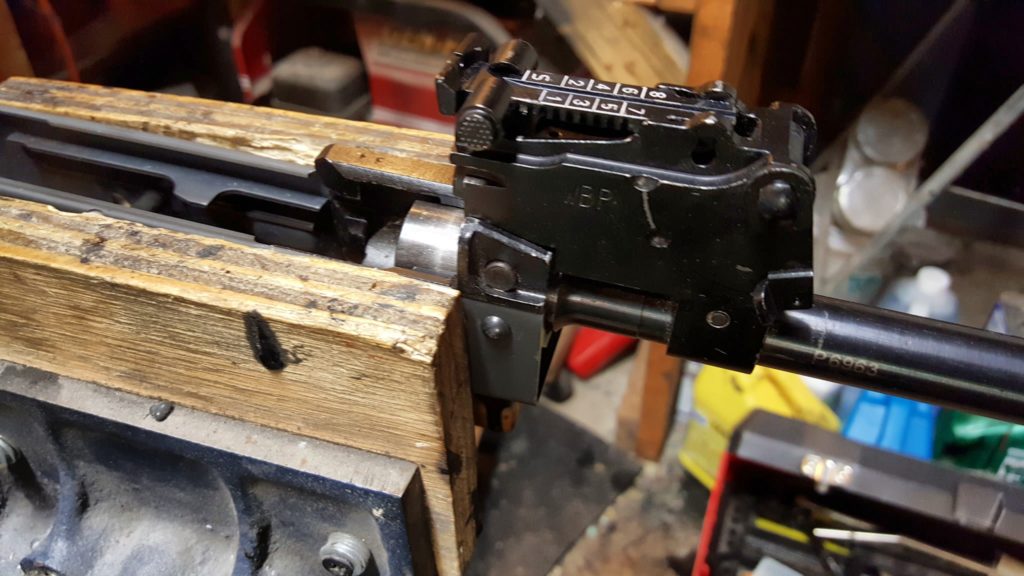
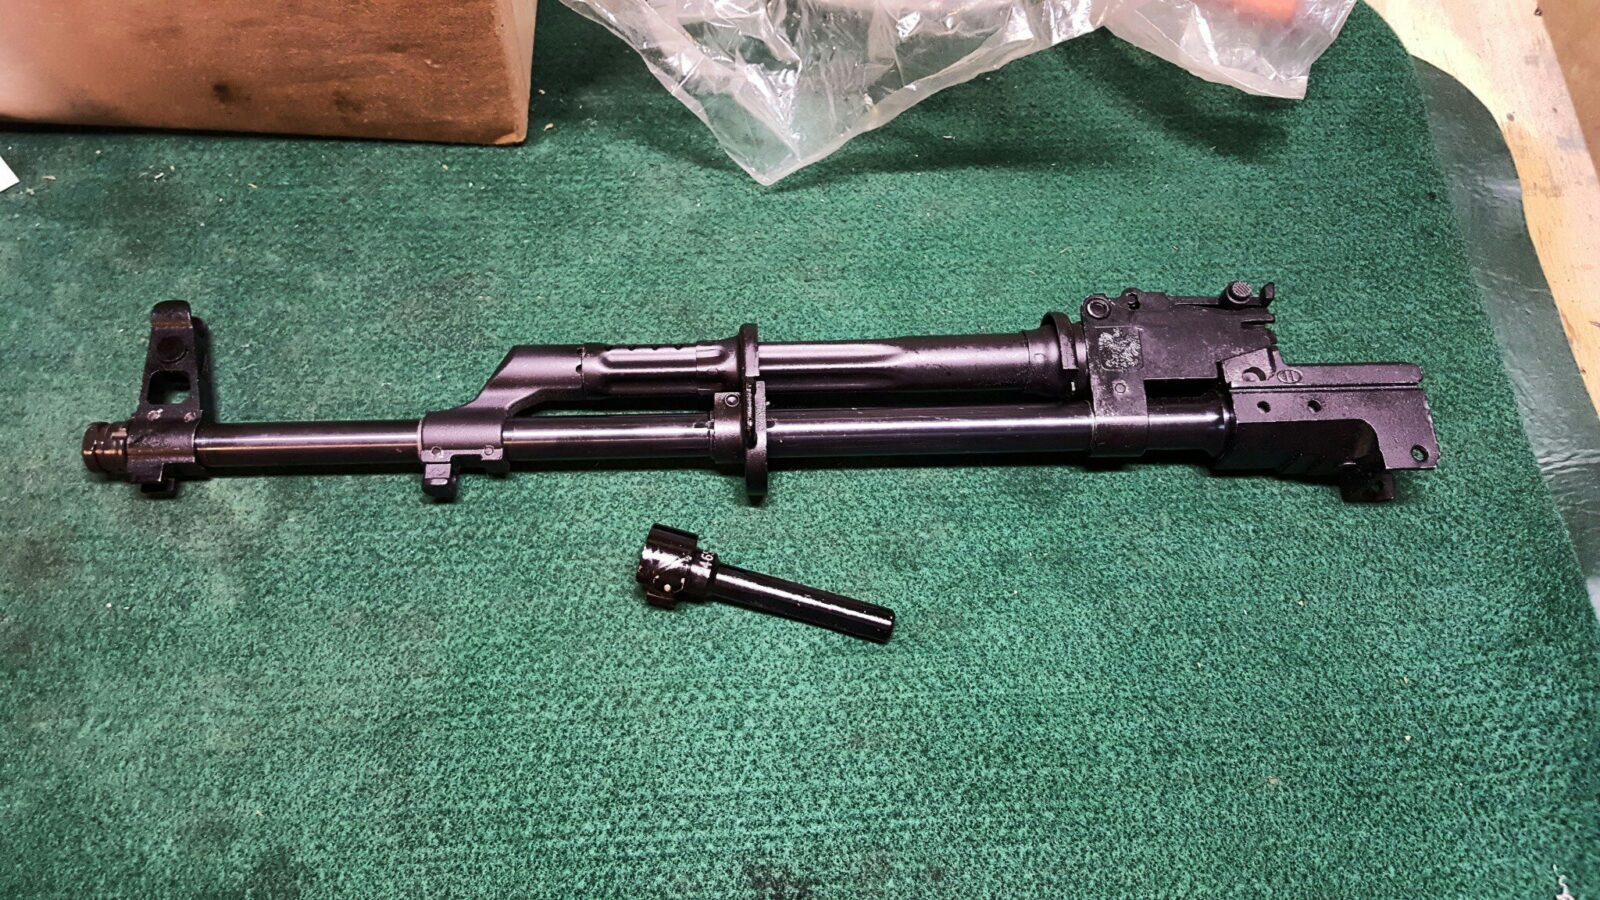
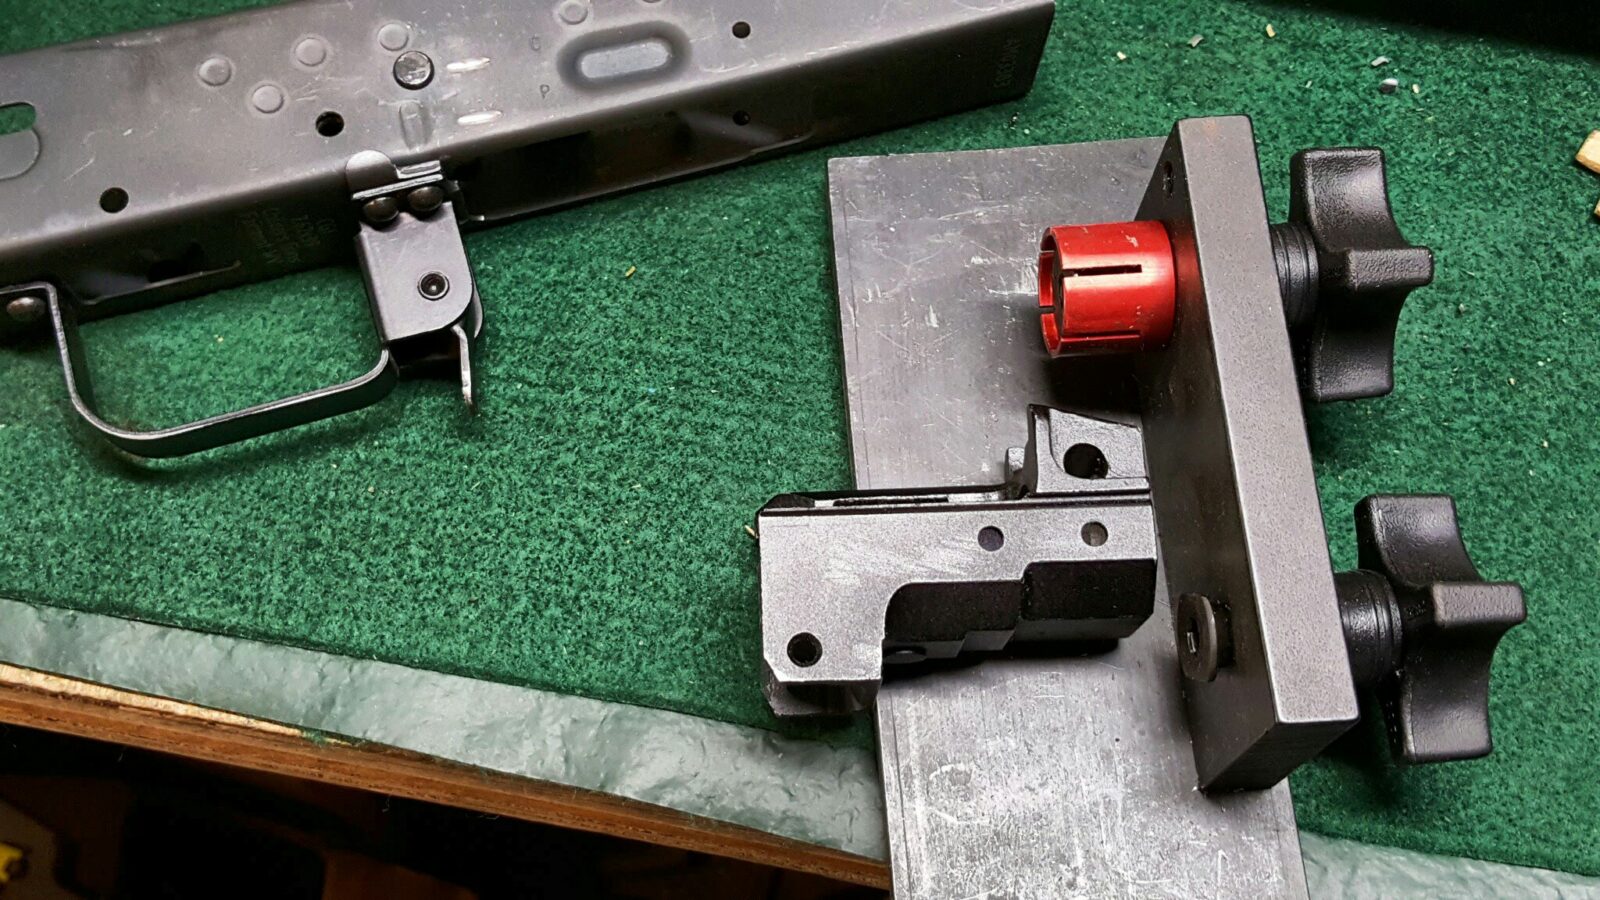
The following photo is of the WBP front trunnion.
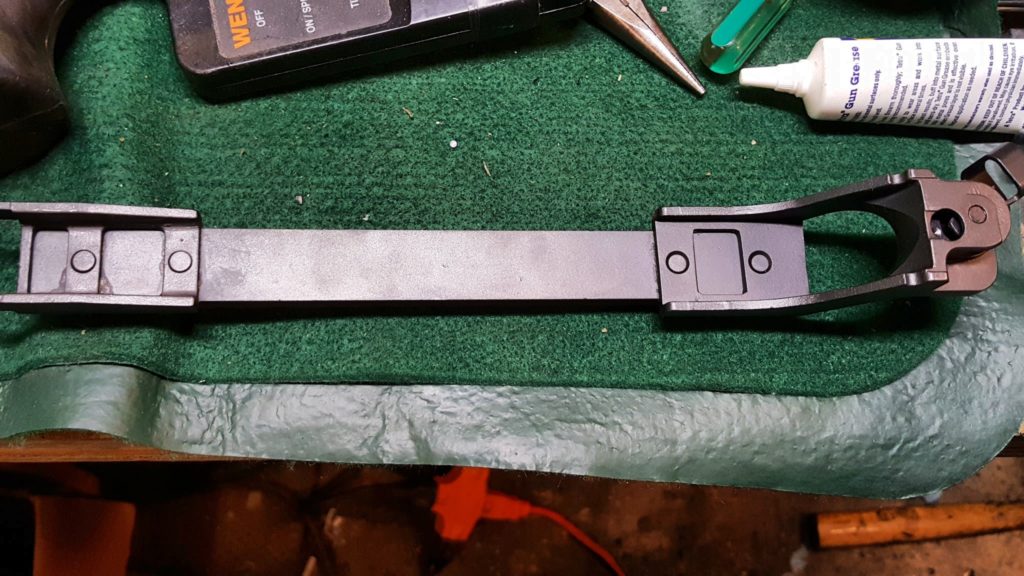
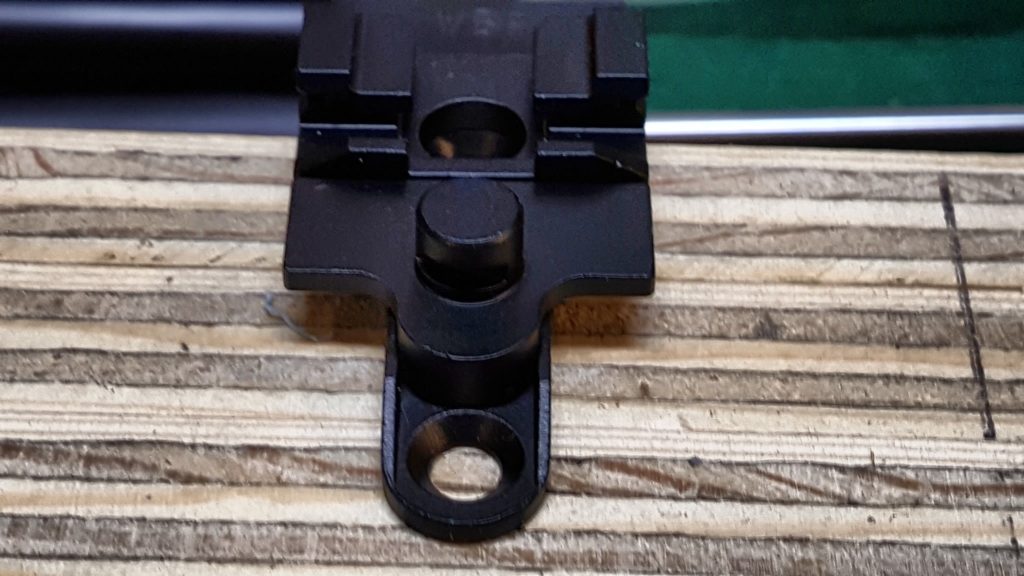
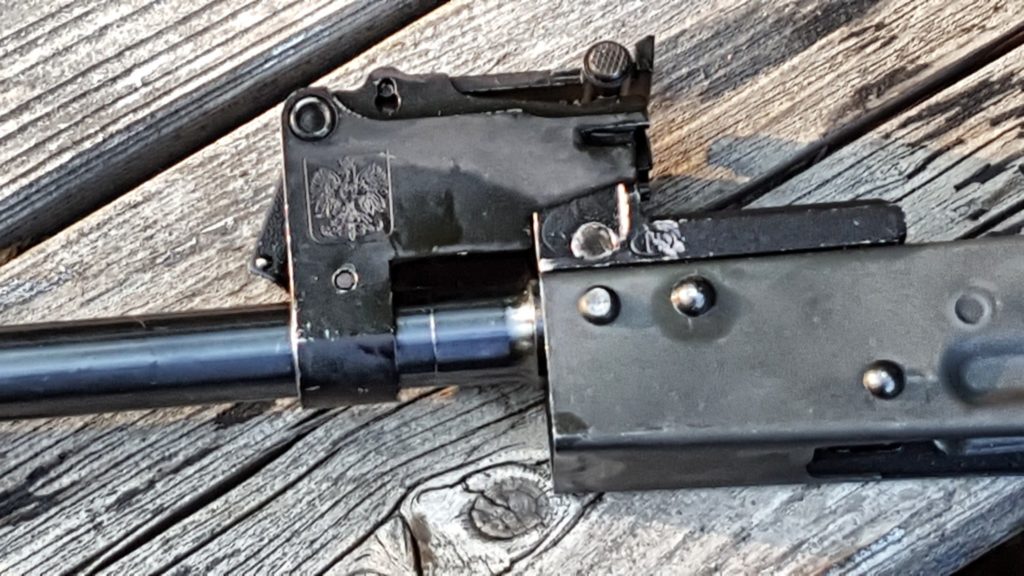
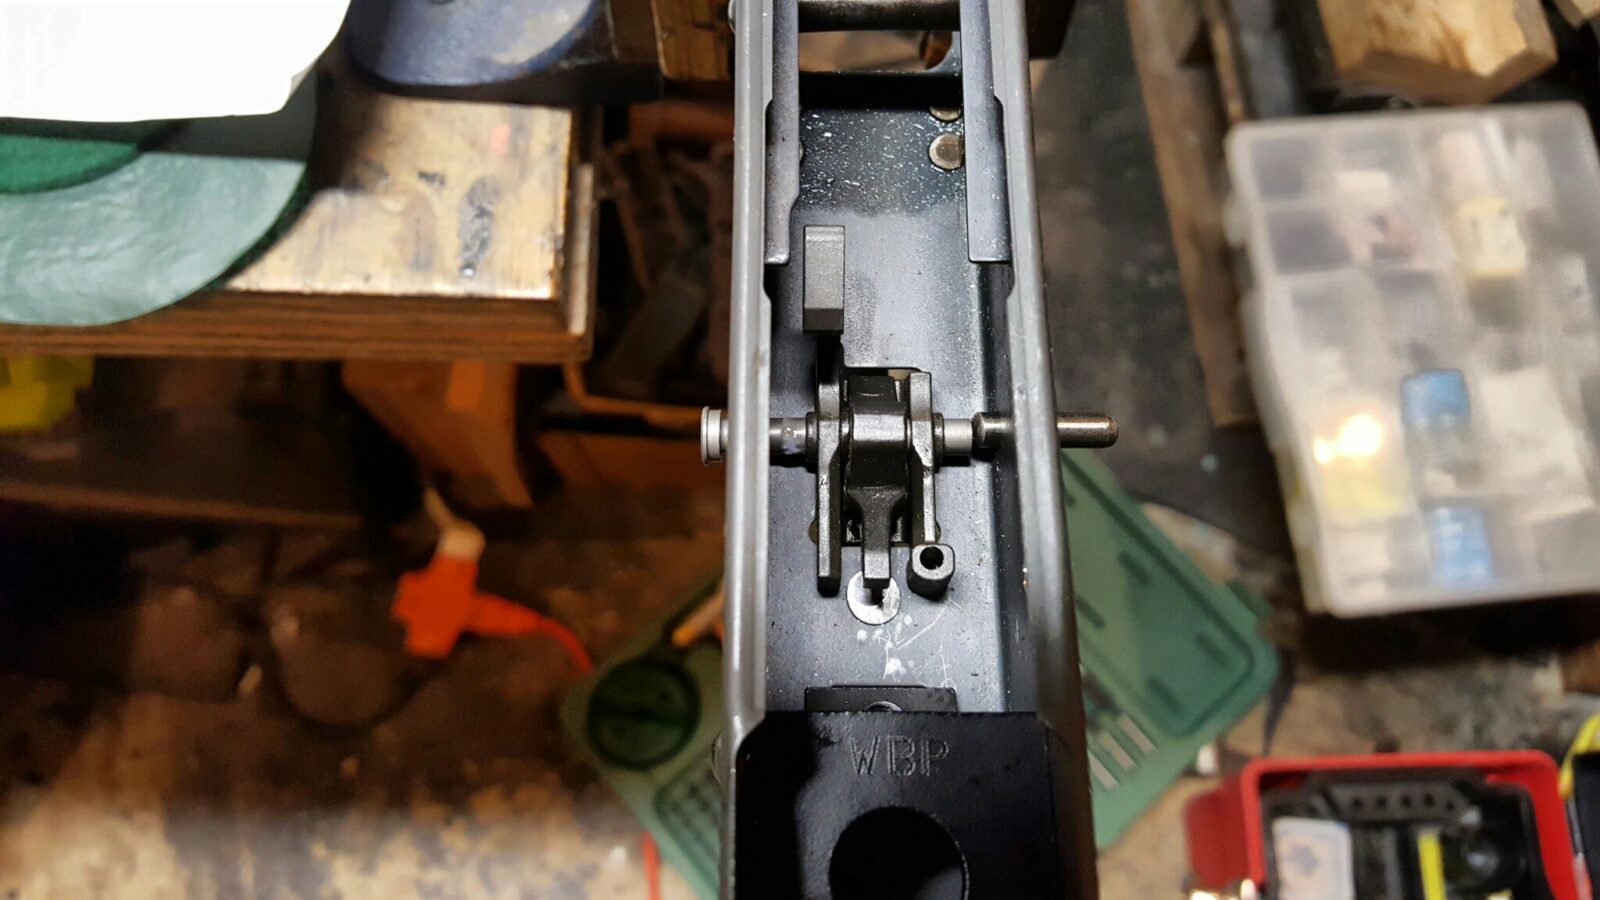
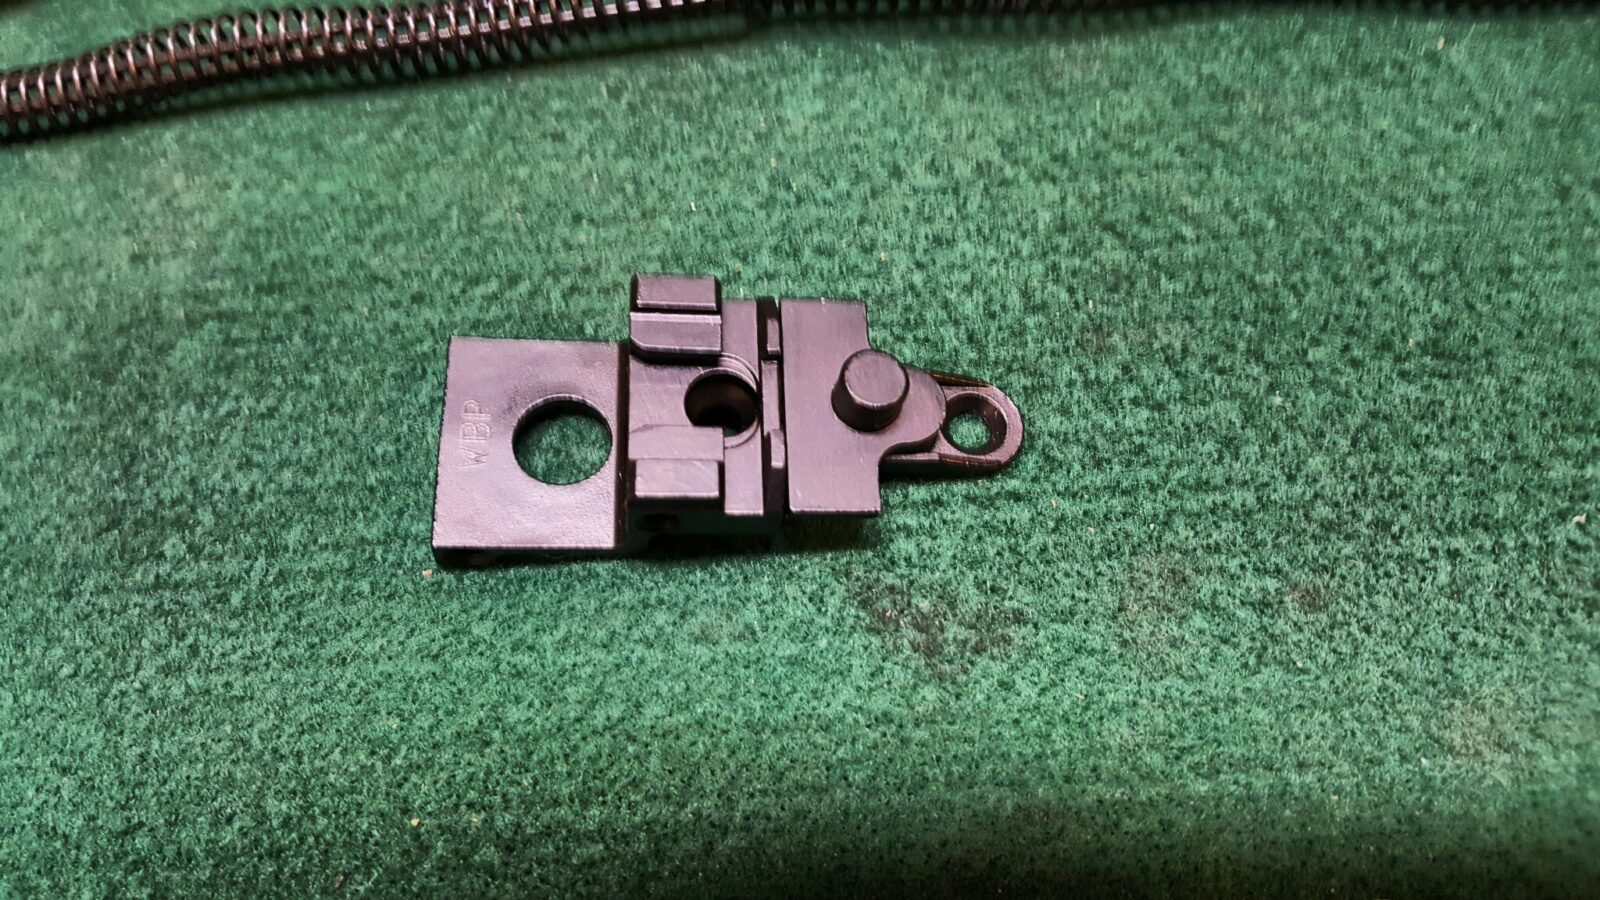
The following photo is of the unique rear trunnion that is designed for the optic rail to lock on to the post you see:
Rivets and Countersinks

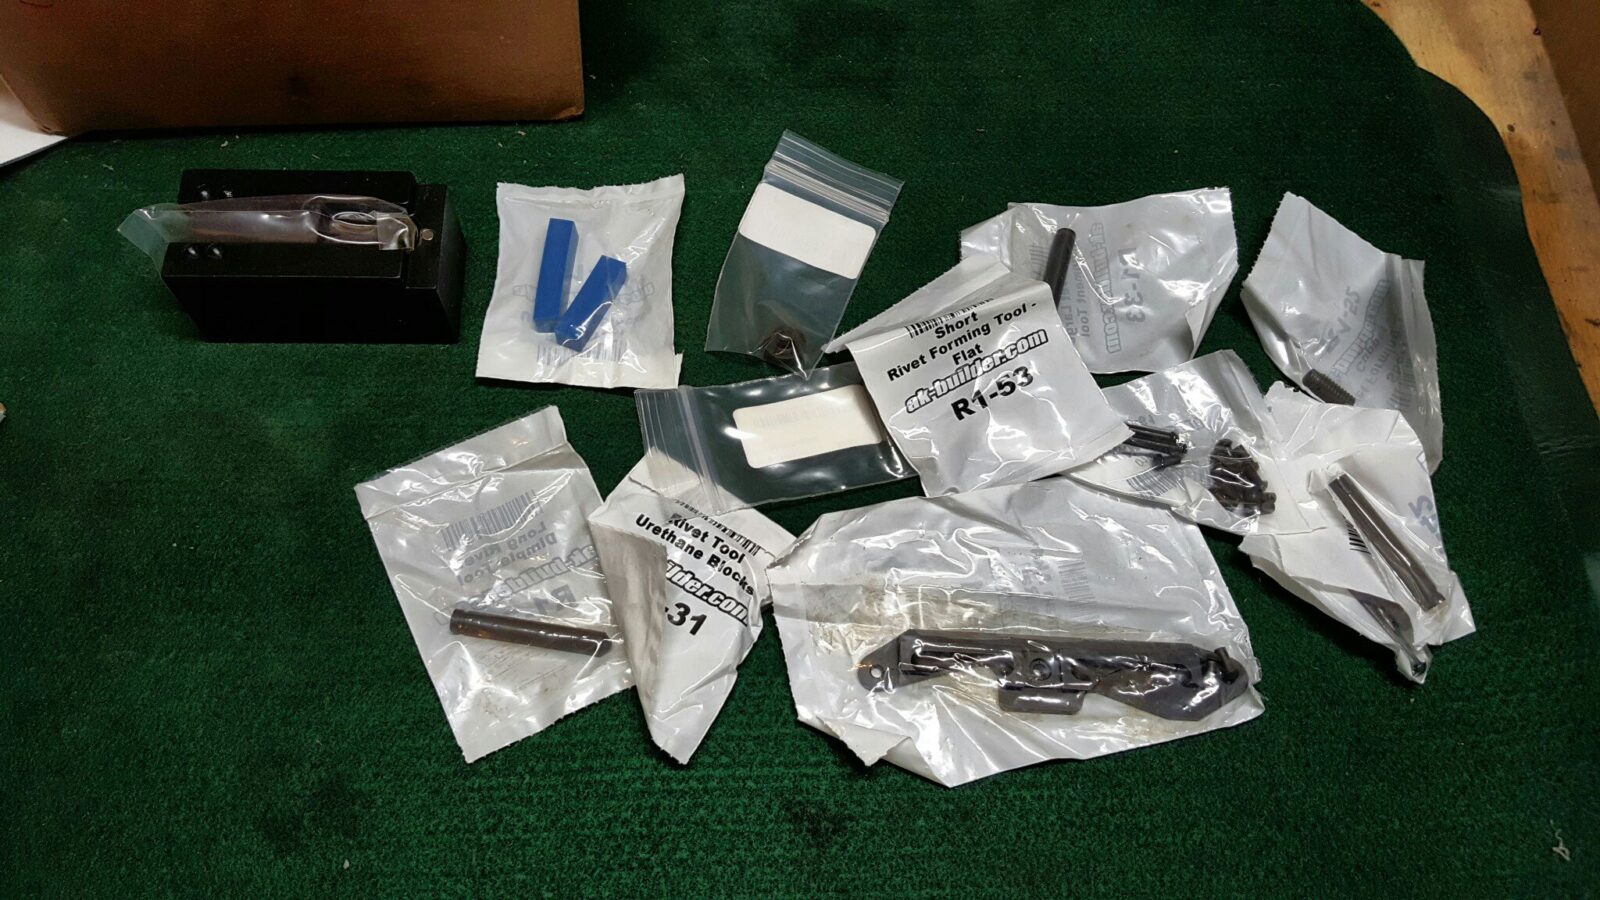
The trunnions are held in place by steel rivets. The front rivets are about 5/32″ and the rear is about 3/16″. You’ll want to measure your holes or confirm with your maker what to use. I use AK-builder rivets mostly now and am happy with them. Note that there are many, many different types of rivets in terms of materials used, width, and length. AK-builder makes it easy – if you are going to build an AKM kit then get one or two packets of AKM rivets – he has removed the guess work by putting one of each in the bag. A tip I’d give you is to always have one or two spare bags just in case you lose a rivet or need to redo one.

Before I go further, rivets are the most proven method of assembly for high-strength reliable applications involving automatic fire and military use. For low volume semi-auto use you can also do weld builds. Screw builds are an option but they do risk coming loose and AK guys will honestly give you a hard time when they see the screw heads – I know this first hand 🙂 My recommendation is to go the proven way and use rivets.

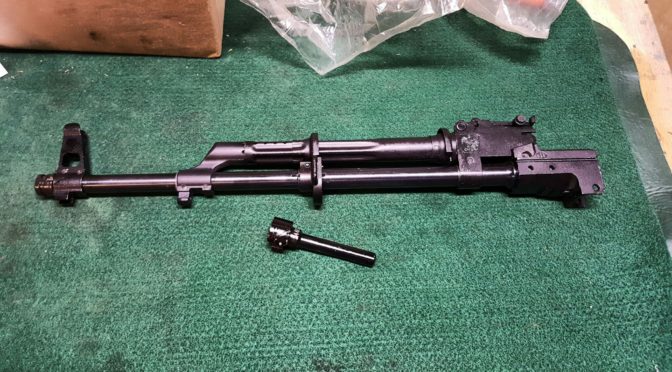
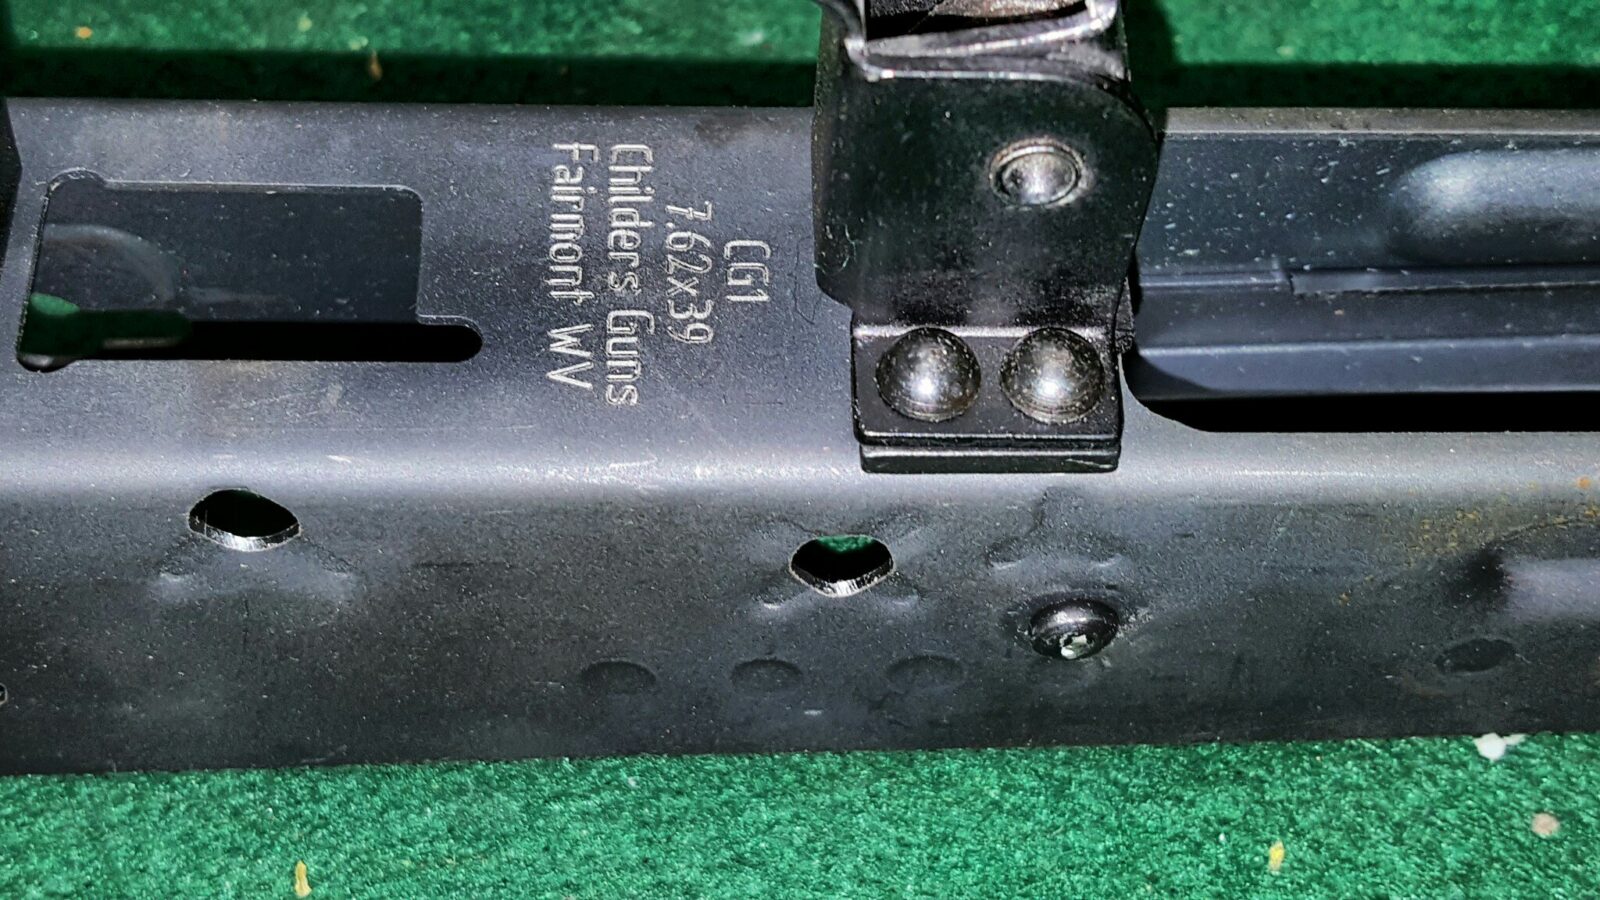
On the WBP kit, the front trunnion that holds the barrel is a fairly generic AKM-type forged trunnion. This means it slides into the front of the receiver and the top of the receiver walls form a lip that slide into the recessed grooves in the trunnion. There are two front rivets on each side and a third lower rivet on each rear side that is countersunk.

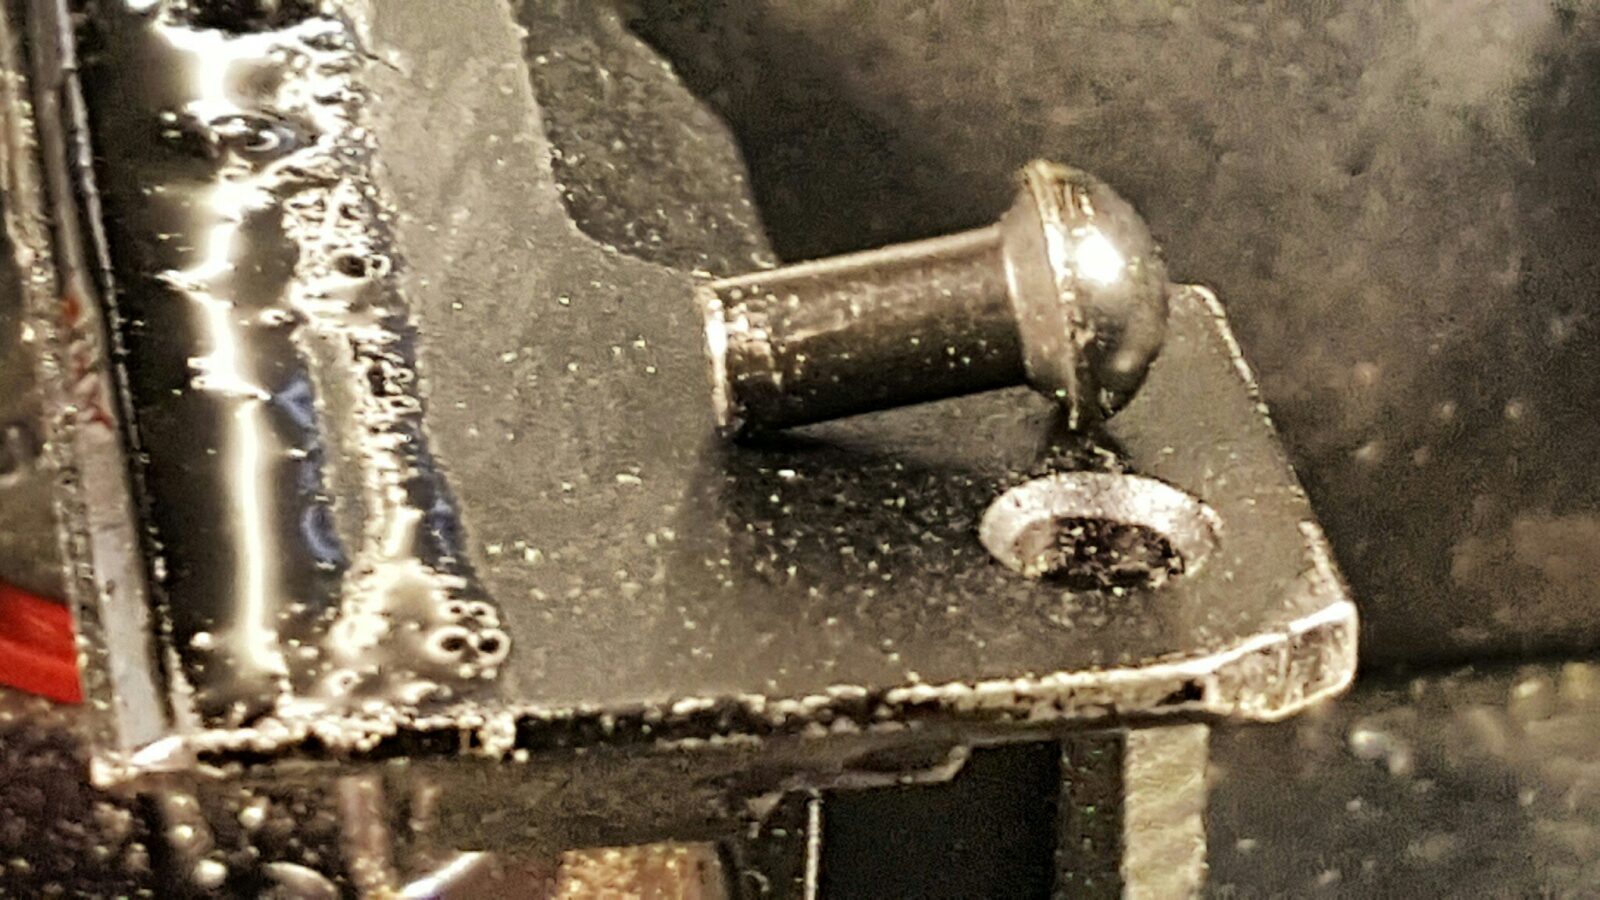
Now countersunk rivets are actually pretty cool but not everyone understands why. When you look at the trunnion, the rear two rivets also have countersinks. When you install the rear rivets, you actually press receiver material into the countersink before you drill your final holes and install the countersunk rivets. This serves to lock the trunnion into place and would reduce the odds of the trunnion shooting loose over time under heavy military use.

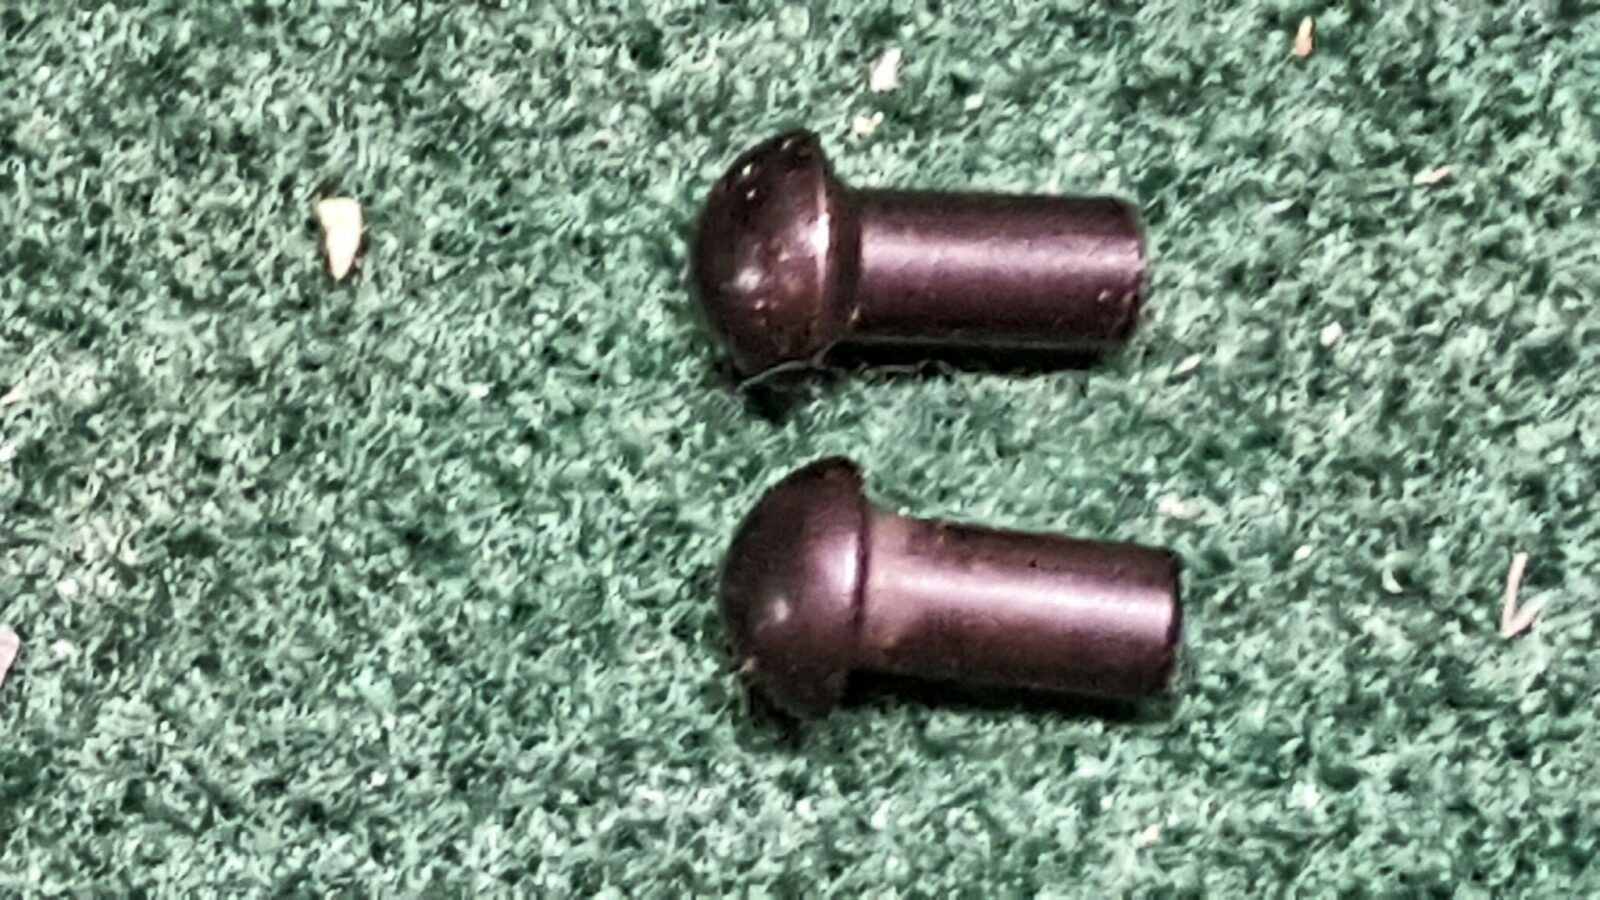
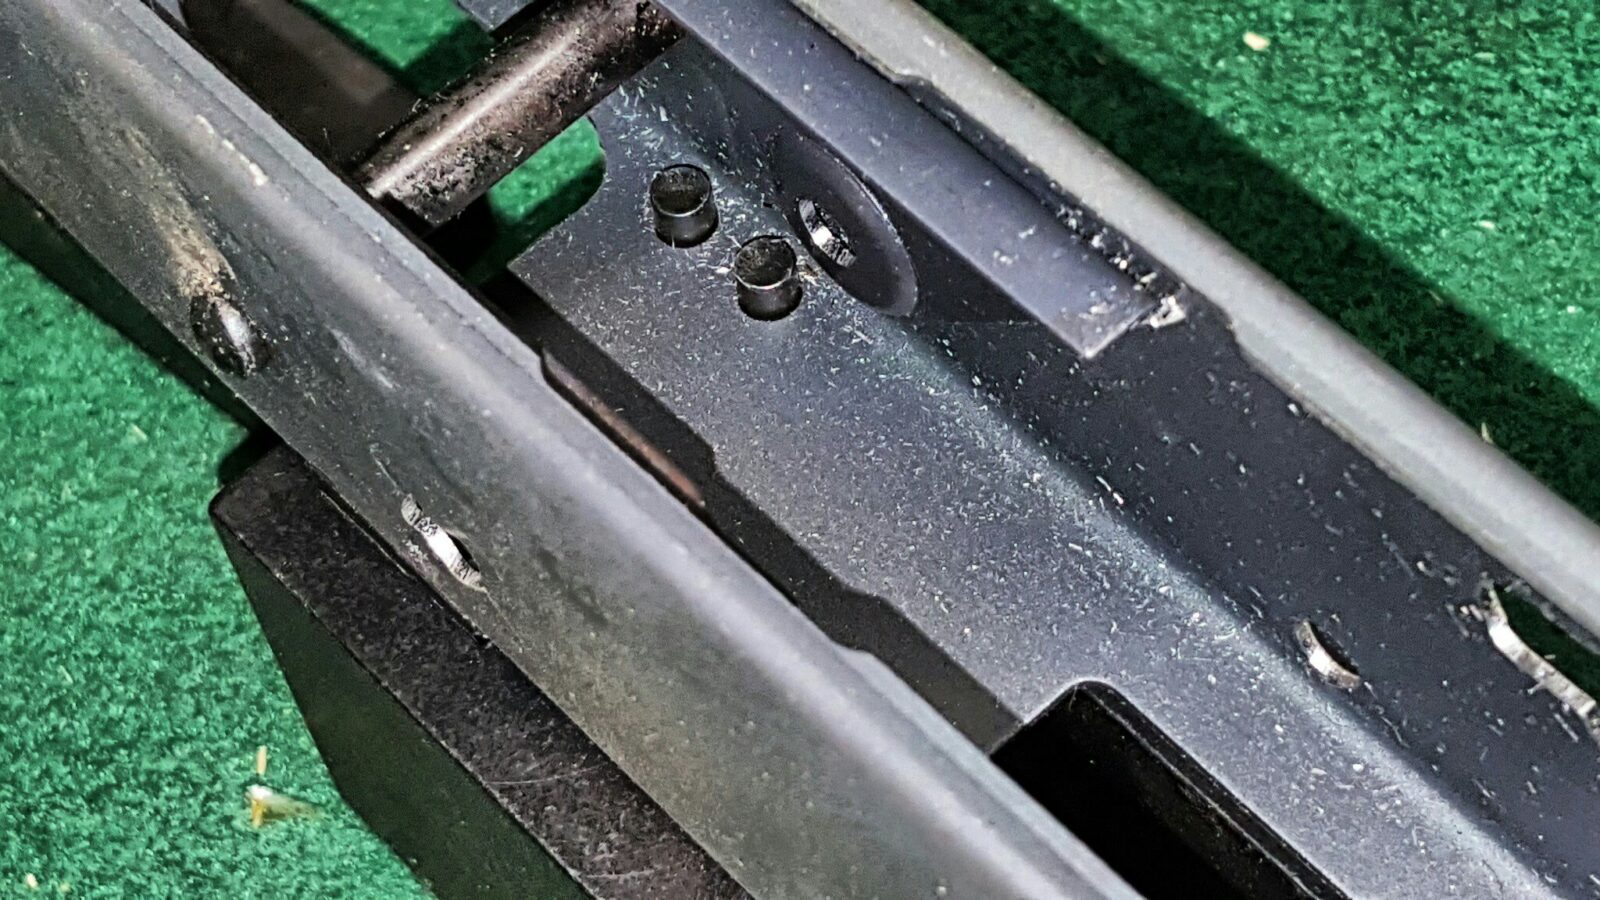
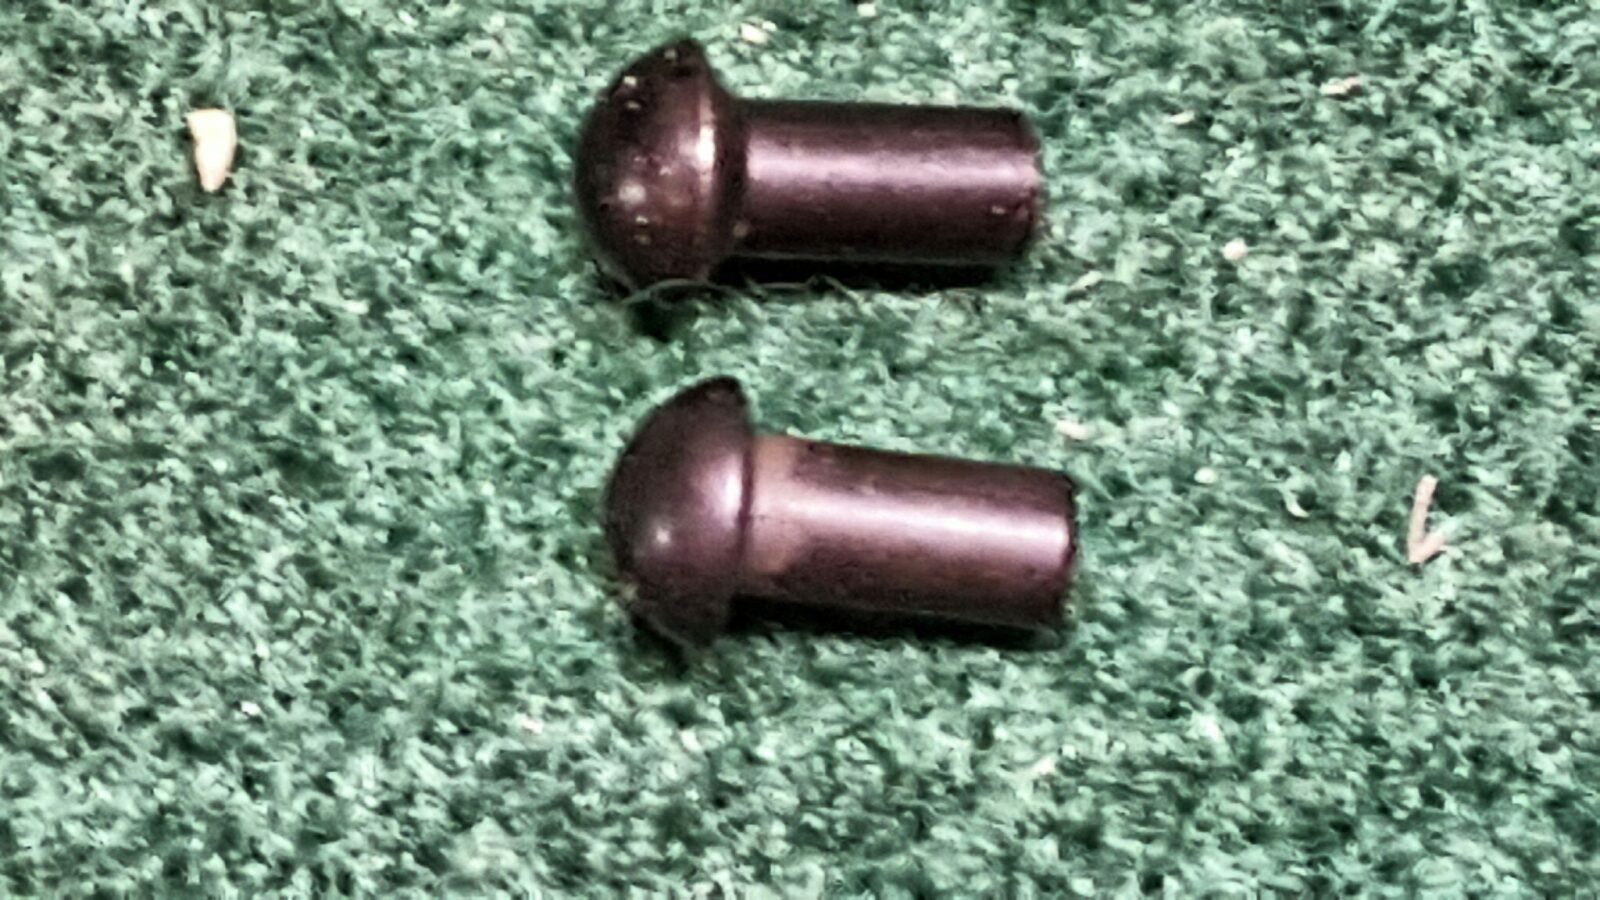
The following photo shows a regular front trunnion rivet with a flat area under the domed part (the bottom rivvet) and a countersunk front trunnion rivet that is tapered under the dome at the top of the photo:
Headspace the Kit Before Proceeeding

Back in the old days we had to remove the parts off the demilled kits and that was a chore. Now with these businesses creating ready-to-build kits, you may just have to press off the front trunnion. I’m really constrained my time so I buy the receiver pre-made by Childer’s and the kits with completed headspaced barrel assemblies.

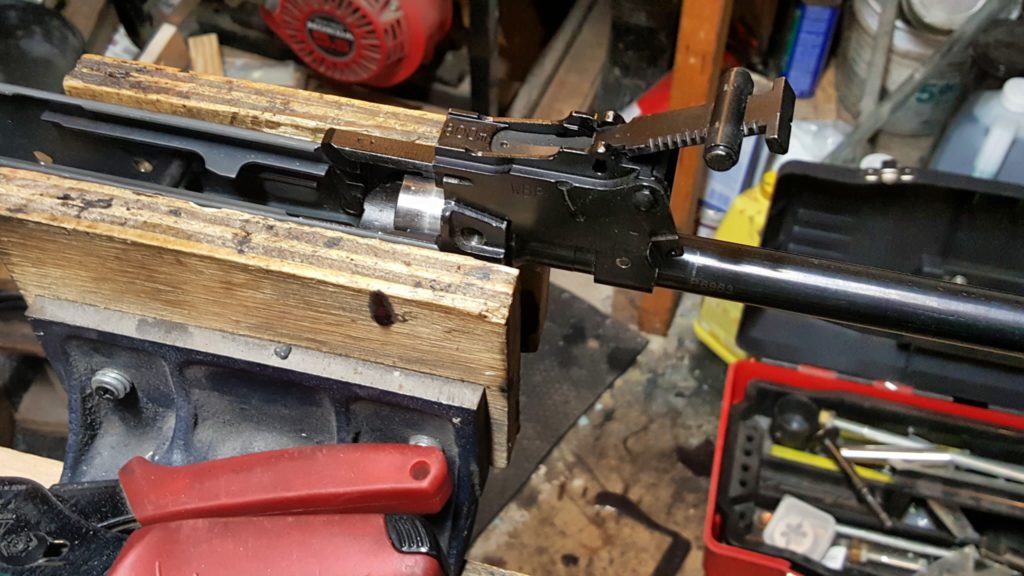
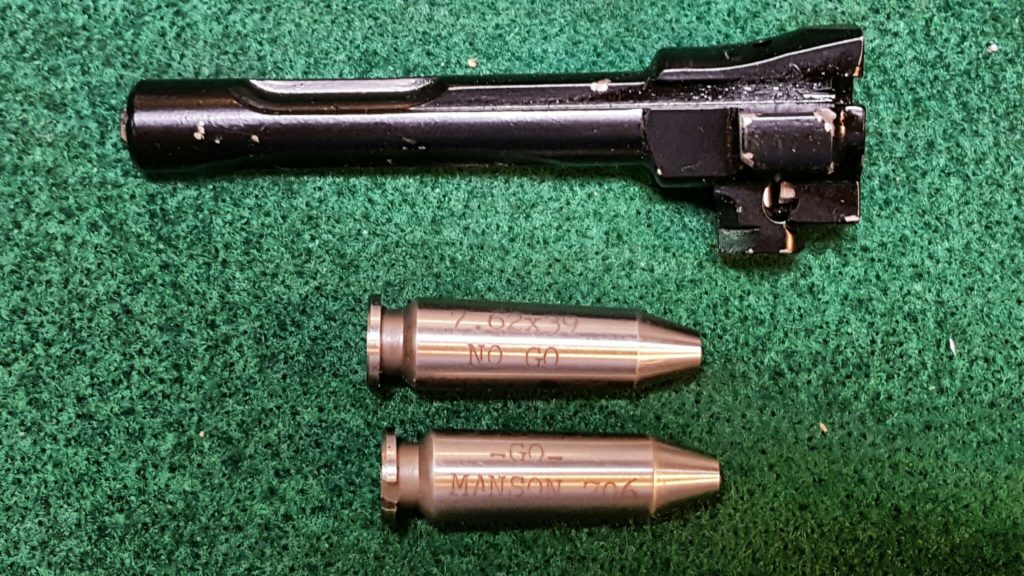
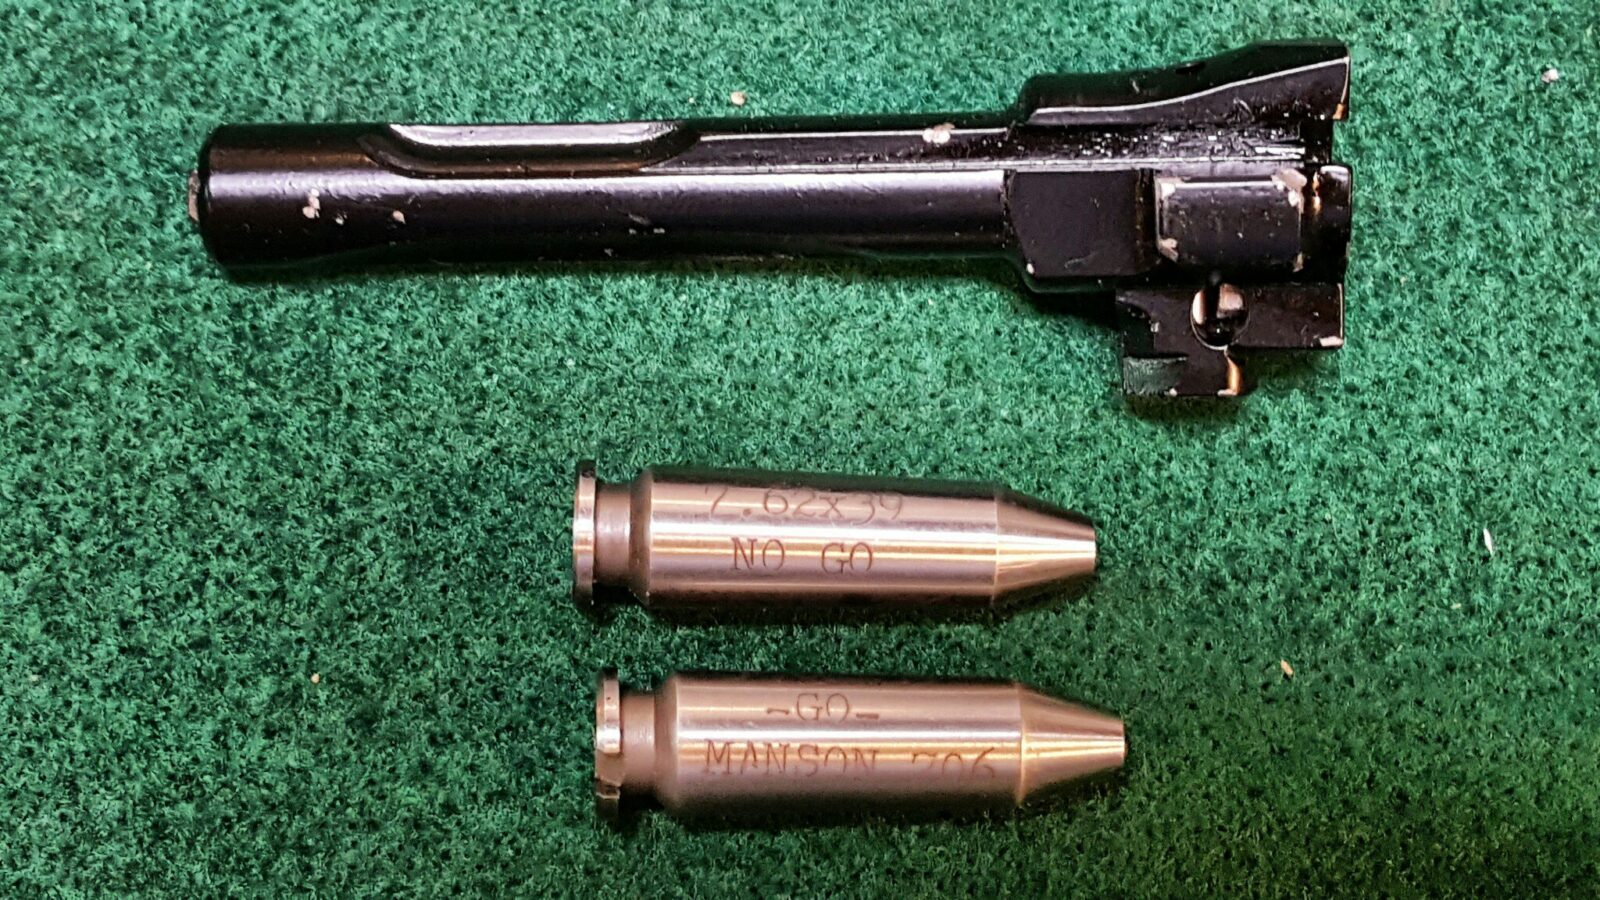
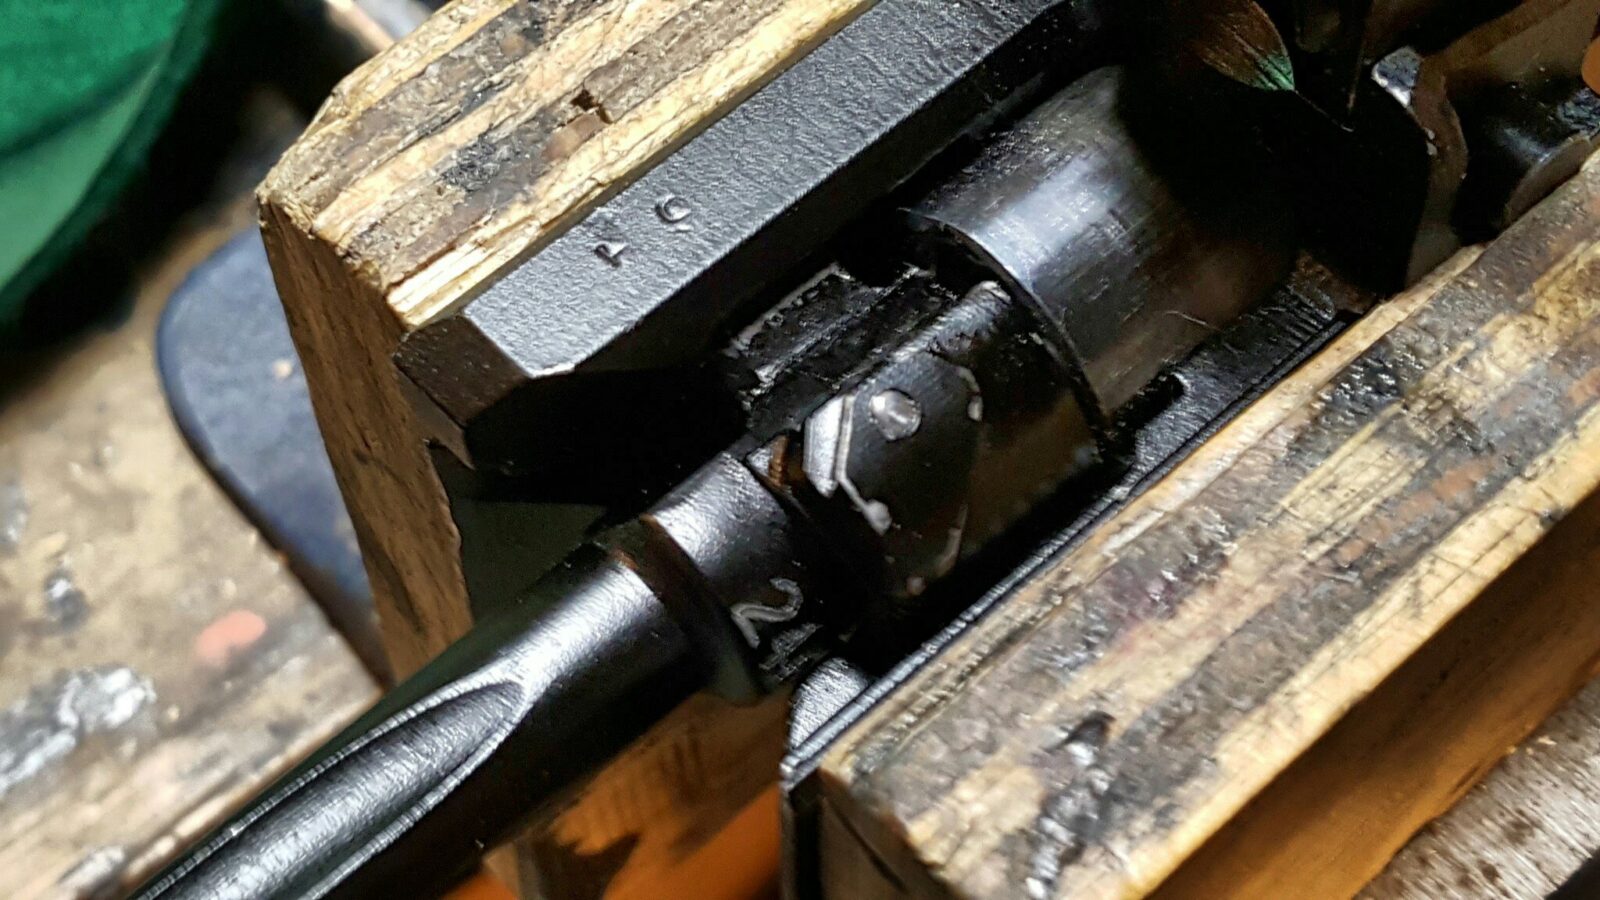
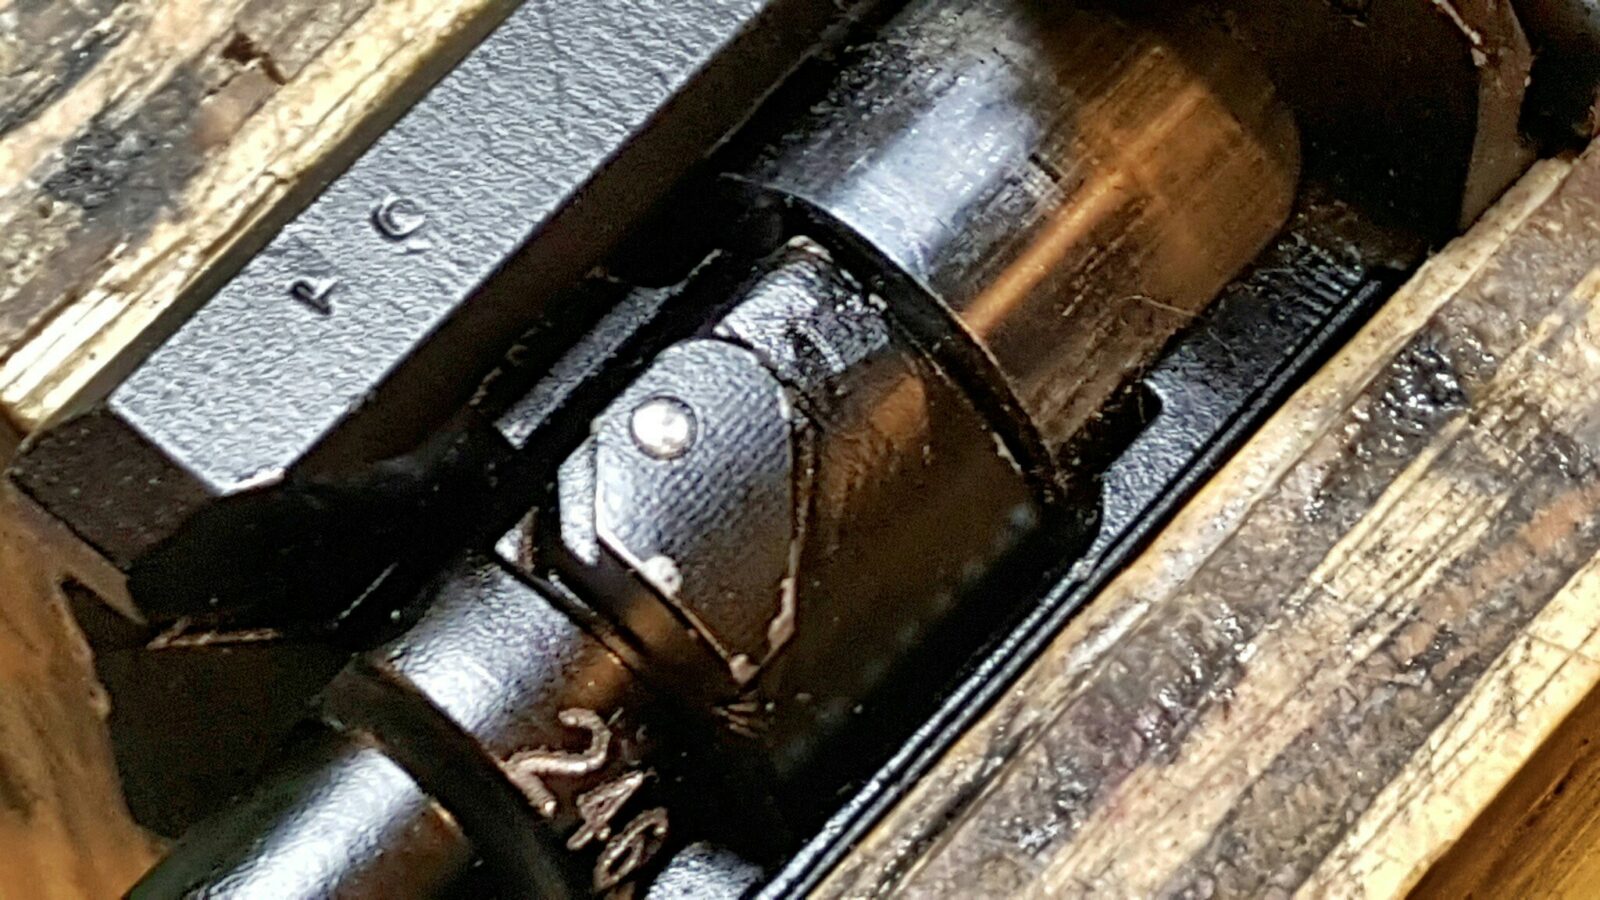
As the old saying goes, “trust but verify”. In theory a kit that claims to be headspaced better be. Before I did anything else, I got out my Manson Reamer GO and NO-GO gauges, put the barrel assembly in my wood vise and tested the headspace. It passed with flying colors closing on GO, meaning it was not too-tight and not closing on NO-GO, which would have indicated the chamer was cut too long.

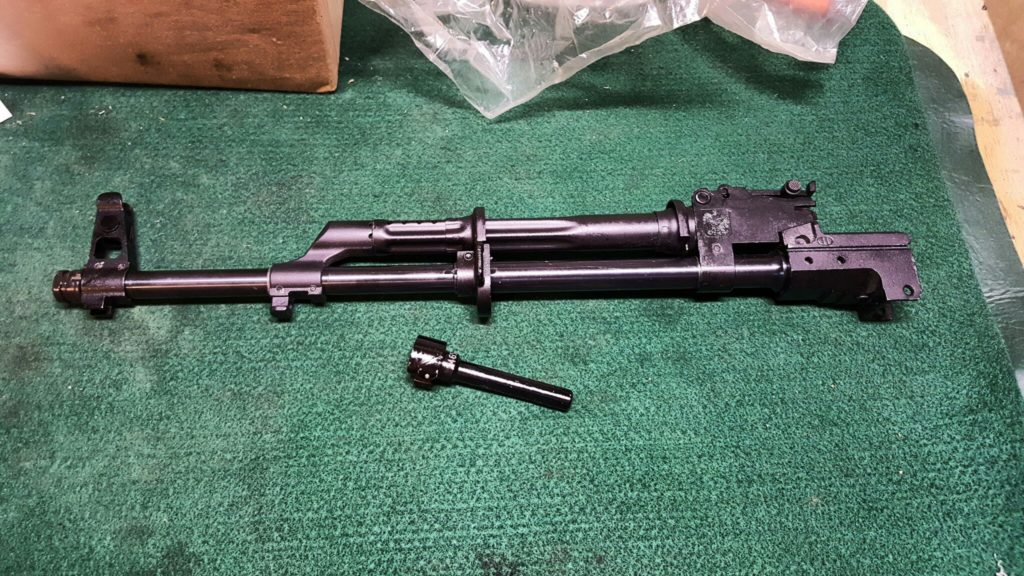
In the next photo, you can see the bolt assembly and the two gauges.
It closed on GO:
It did not close on NO-GO
Confirm the Block Alignment

The next quality control check I would recommend is to verify that the barrel “blocks” all align. In other words that the front sight block, gas block and rear sight block all line up properly. Look down the rear trunnion and make sure they all line up properly. If they do not, you have two options. First, if you bought an assembled barrel, I would contact the vendor and arrange either a return or an exchange. They messed up is the bottom line. The second option is to straighten the problem block(s) yourself by driving out the pins from each, correcting the problem and either drilling new holes or using oversize pins. The reason you would go with oversize is if the newly drilled holes would result in a loose fit.

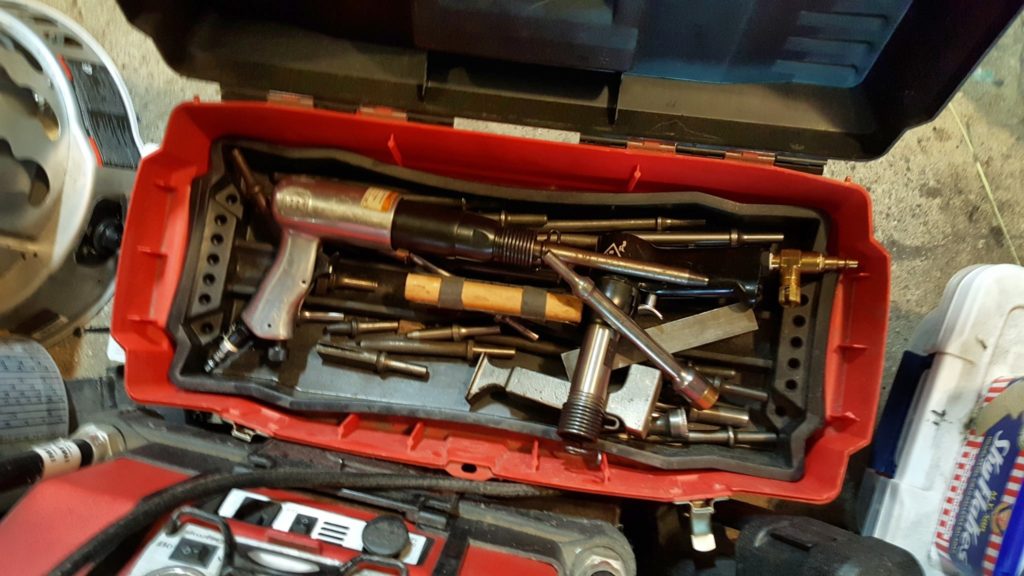
Not only do I want straight blocks for aesthetics but also because I “sight” down the ears of the front trunnion and center the rear sign block (RSB) between the ears when I re-install the barrel – in my case with my IR air hammer.

Press Out the Barrel Pin and the Barrel From The Front Trunnion

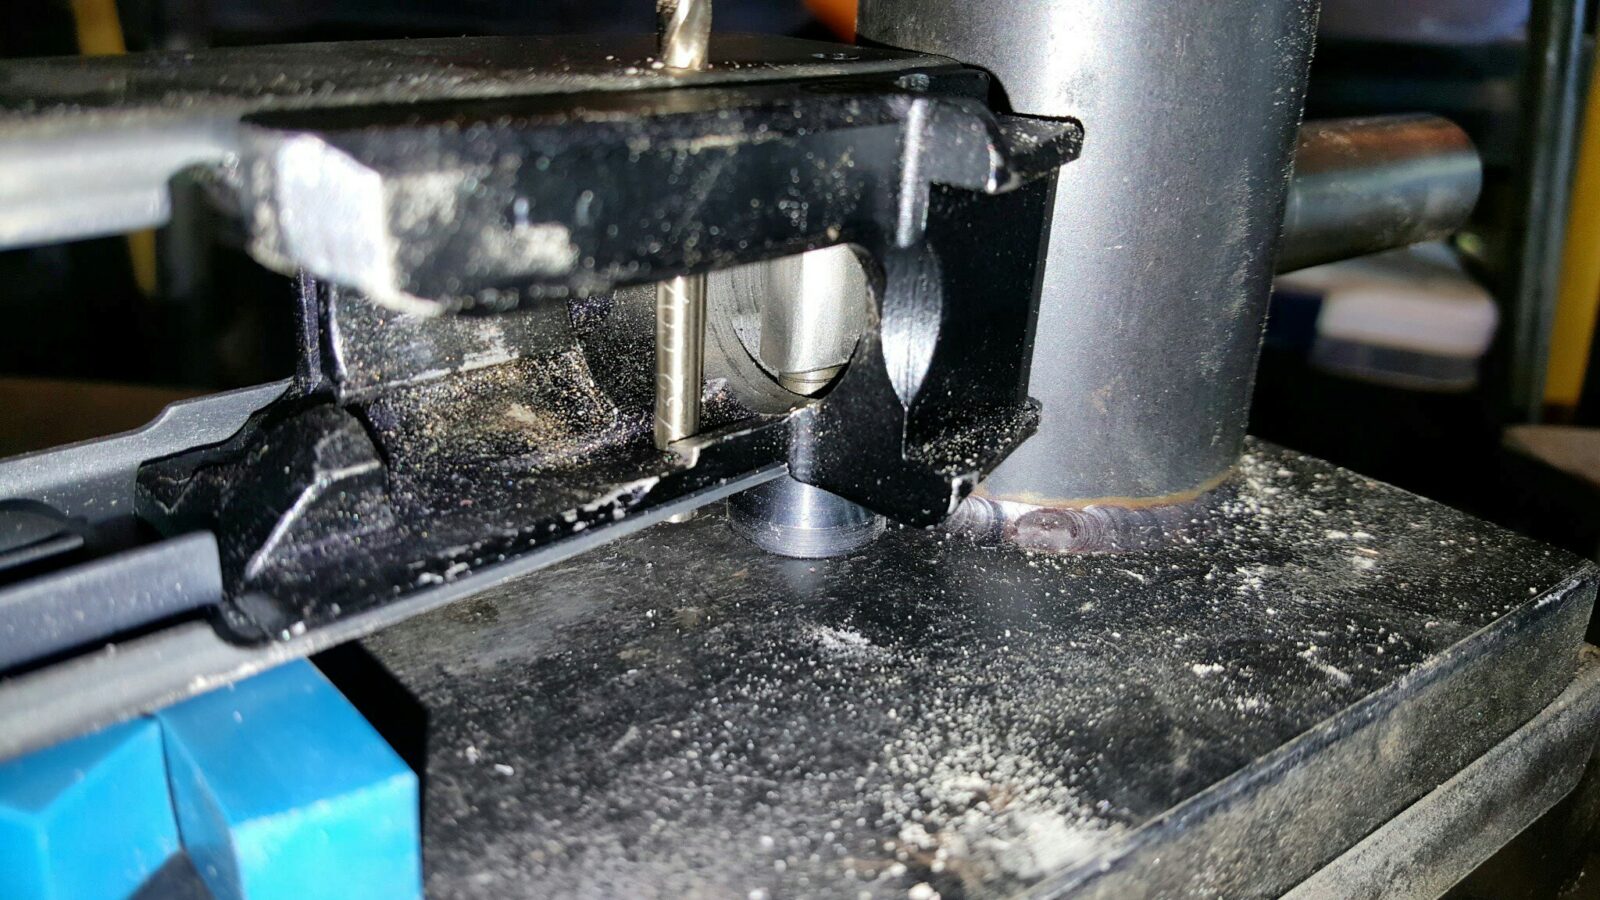
So the next step was to knock out the partially installed barrel pin. I used a hammer, one of my gunsmith punches and a block. Note in the next photo how I am ensuring the who barrel assembly has good support before I hammer.
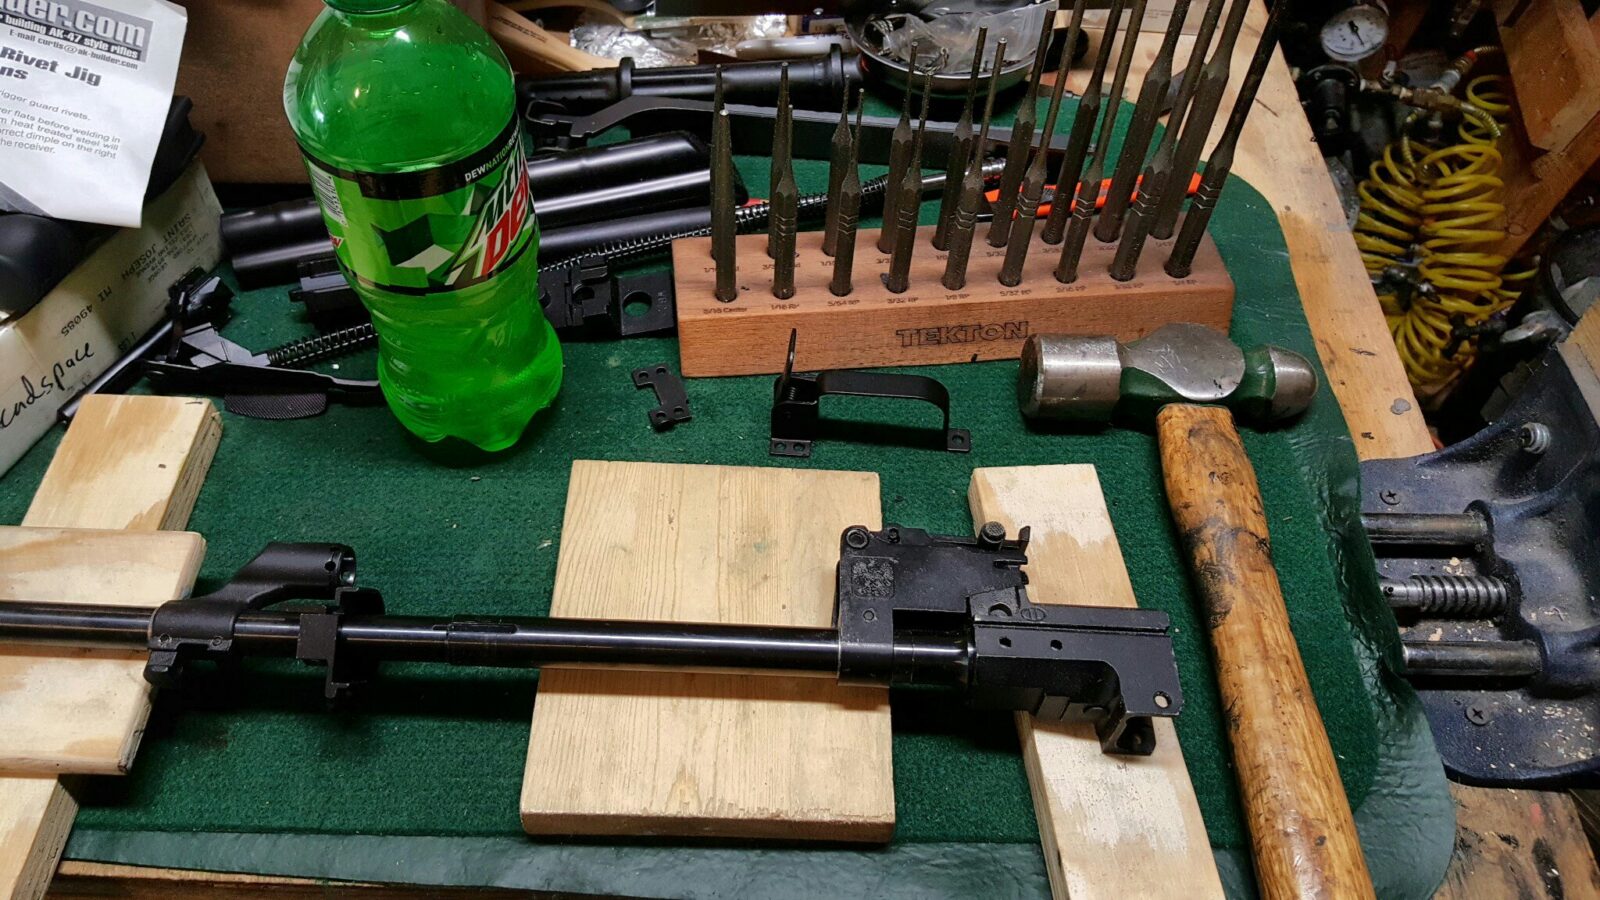
I have also done the above with the trunnion in a vise with brass jaws to prevent marring and used an air hammer with a drift punch in it. I didn’t bother with the air hammer because whomever installed the pin after headspacing the barrel had not inserted it fully. My bet, and I was right, was that it would not take much force to knock the pin out.
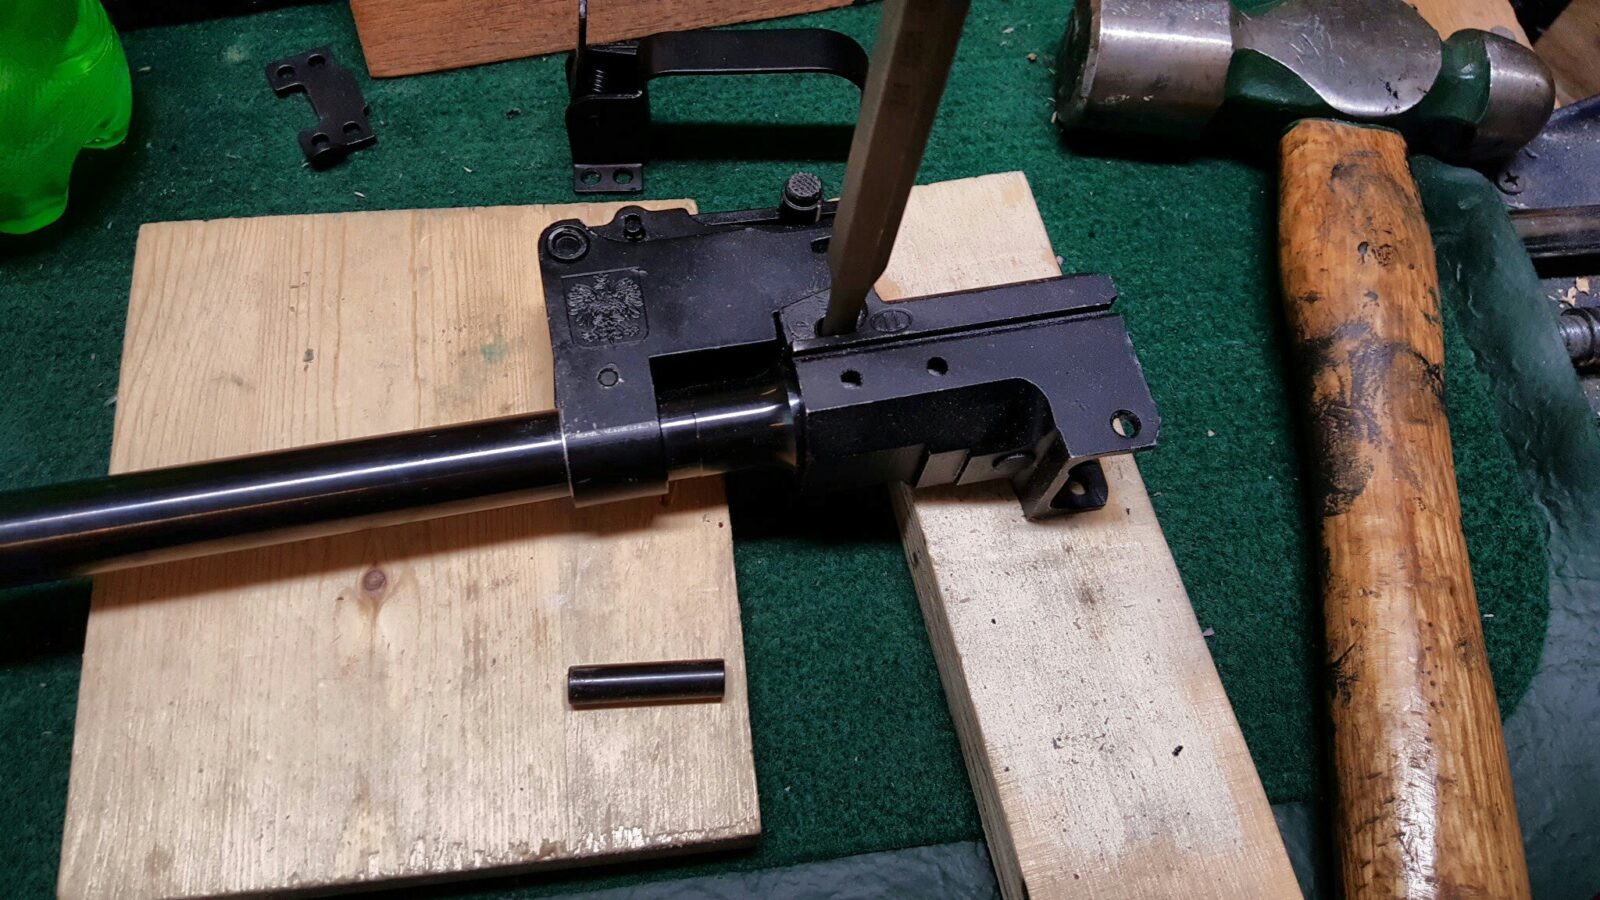
You have at least three options to remove the trunnion and all will work. All of the above will work and it really comes down to what tools you have and what you are comfortable with.

Option One: Press the barrel off the trunnion

To press the barrel off, I would recommend you have at least a 12 ton press. Many guys use Harbor Freight presses and buy them when they go on sale. Basically you either buy a barrel removal jig from some like AK-Builder or you can simply make one from a 1/2″ bolt, a 1/2″ brass nut and a steel backing nut. [Click here for the blog post where I explain how to make a barrel back out tool.
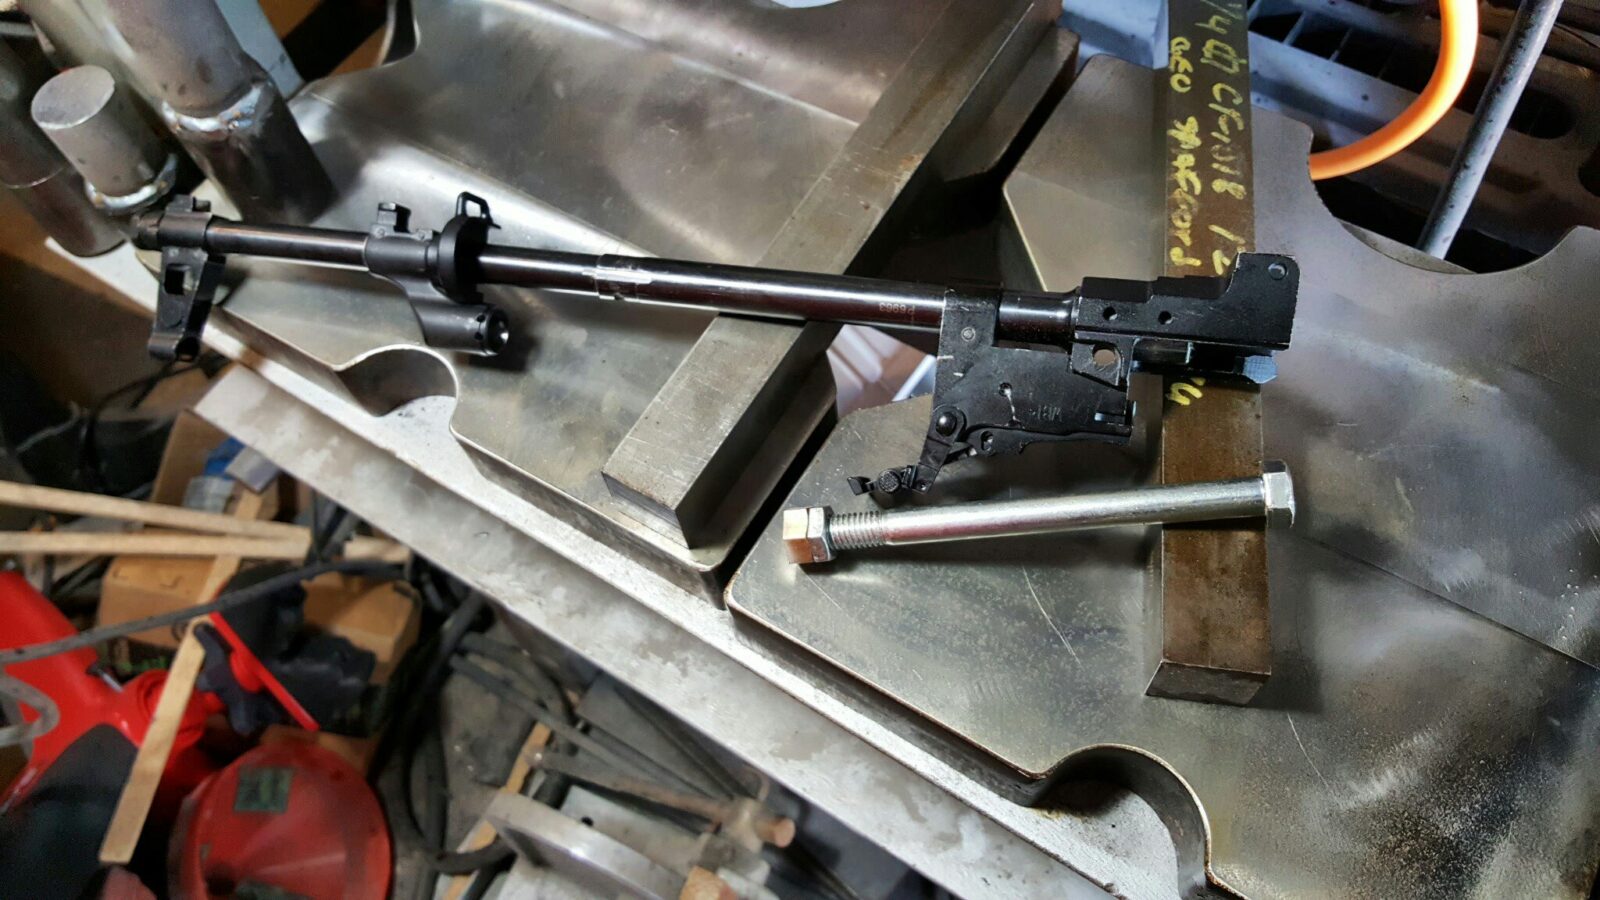
All you need to do is to dangle the barrel downwards and support the front sides of the trunnion with steel blocks. Insert the barrel back out tool, and then apply pressure which will drive the barrel out of the supported trunnion. Be sure to flip the rear sight leaf out of the way.
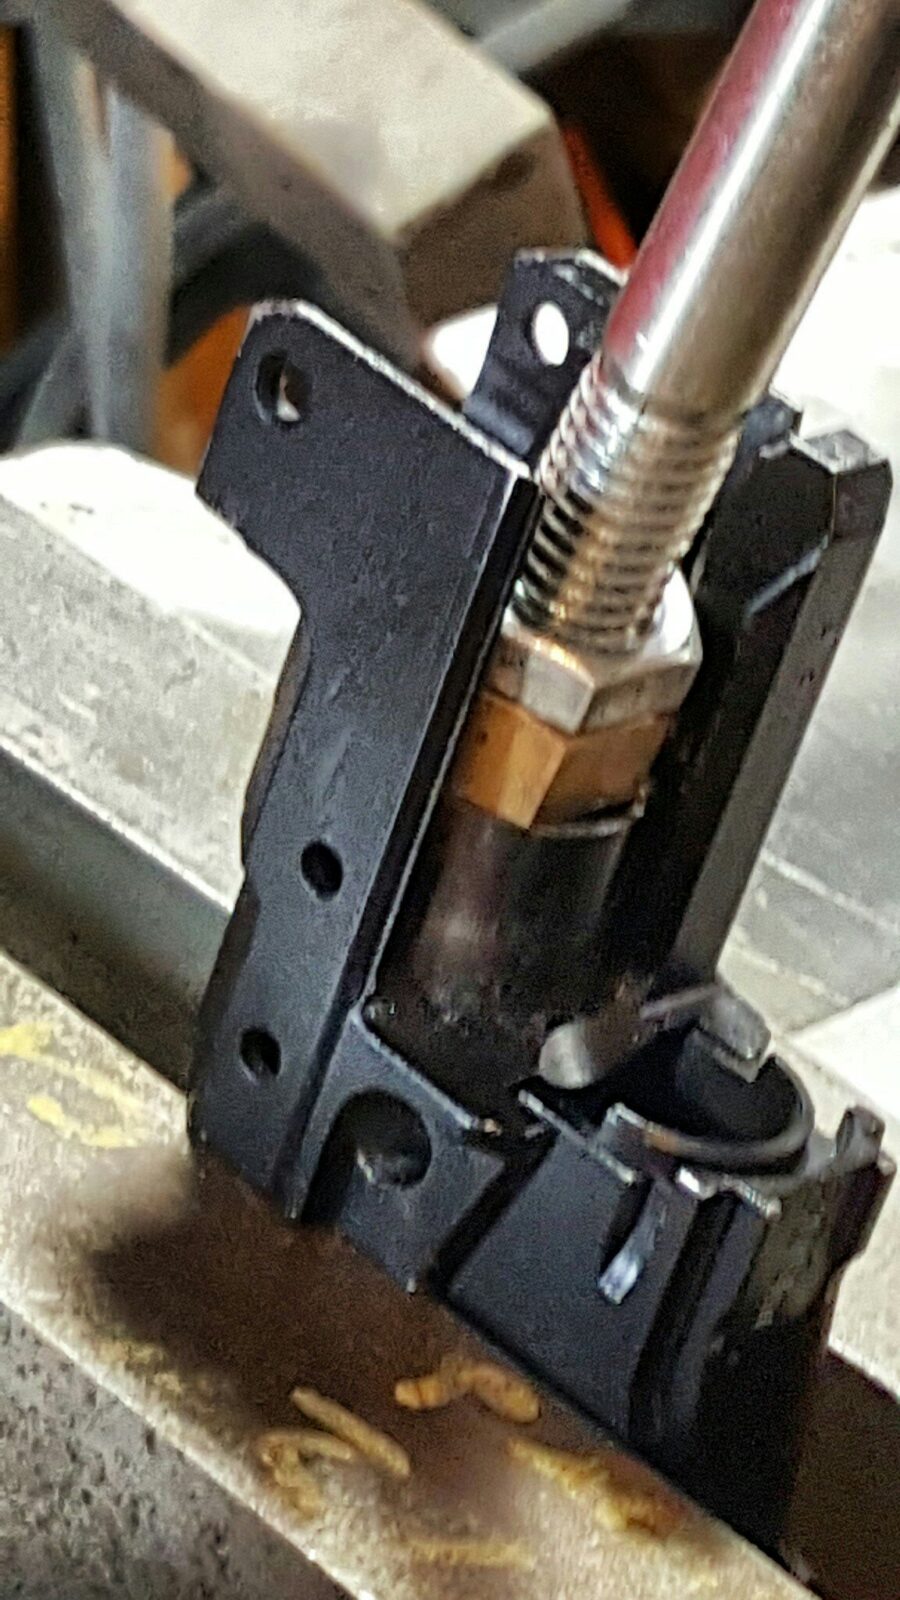
Ensure there is a cushion under the barrel just in case it drops out and you aren’t holding it. I put a box underneat with old shipping materials for example. Also, make sure that the barrel back out tool is sitting only on the barrel and not resting on something else in the trunnion or you may mess something up accidentally.

One thing to bear in mind – this should not take tons and tons of pressure. Guys have cracked their front trunnions by thinking the answer was to apply more and more force. If the barrel doesn’t start moving, make sure the back out tool is not resting on a part of the trunnion by mistake. If it still will not move, then hit the side of the press with a mallet so the shock causes the barrel to break free. Note – this also applies to barrel pins but the pins do take more force to start on old kits. This will be a topic for another day.

Option Two: Use an Air Hammer or Air Riveter to Drive Out the Barrel

This is the actual method I used for this rifle. Being a new barrel, I did not expect a big fight to get the barrel and trunnion to separate. I wrote this up in more detail in another post – click here to read it.
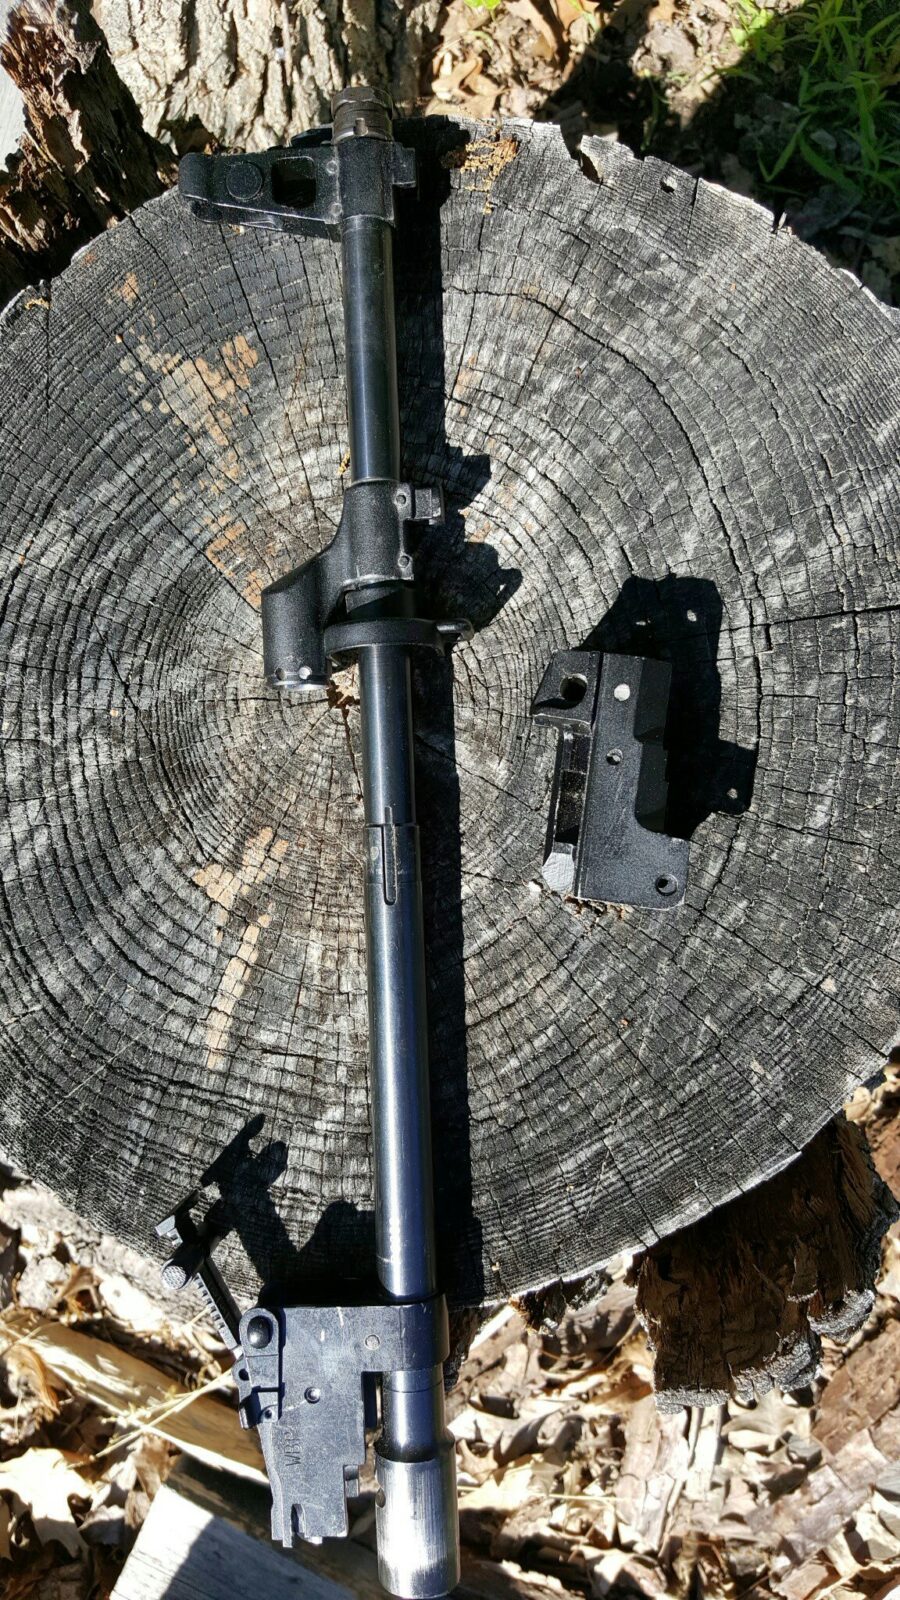
Option 3: Use a Big Hammer

This is very similar to the previous option but a big “fricken” hammer (BFH) is used to hit the barrel back out tool which then drives out the barrel. I don’t care much for this option.

Now, of the three, using an air-hammer or air-riveter is my preferred method. I have talked to guys that have used other methods such as making contraptions out of all-thread rods to press out and install barrels and various types of gear pullers. I suppose you are only limited by your imagination.
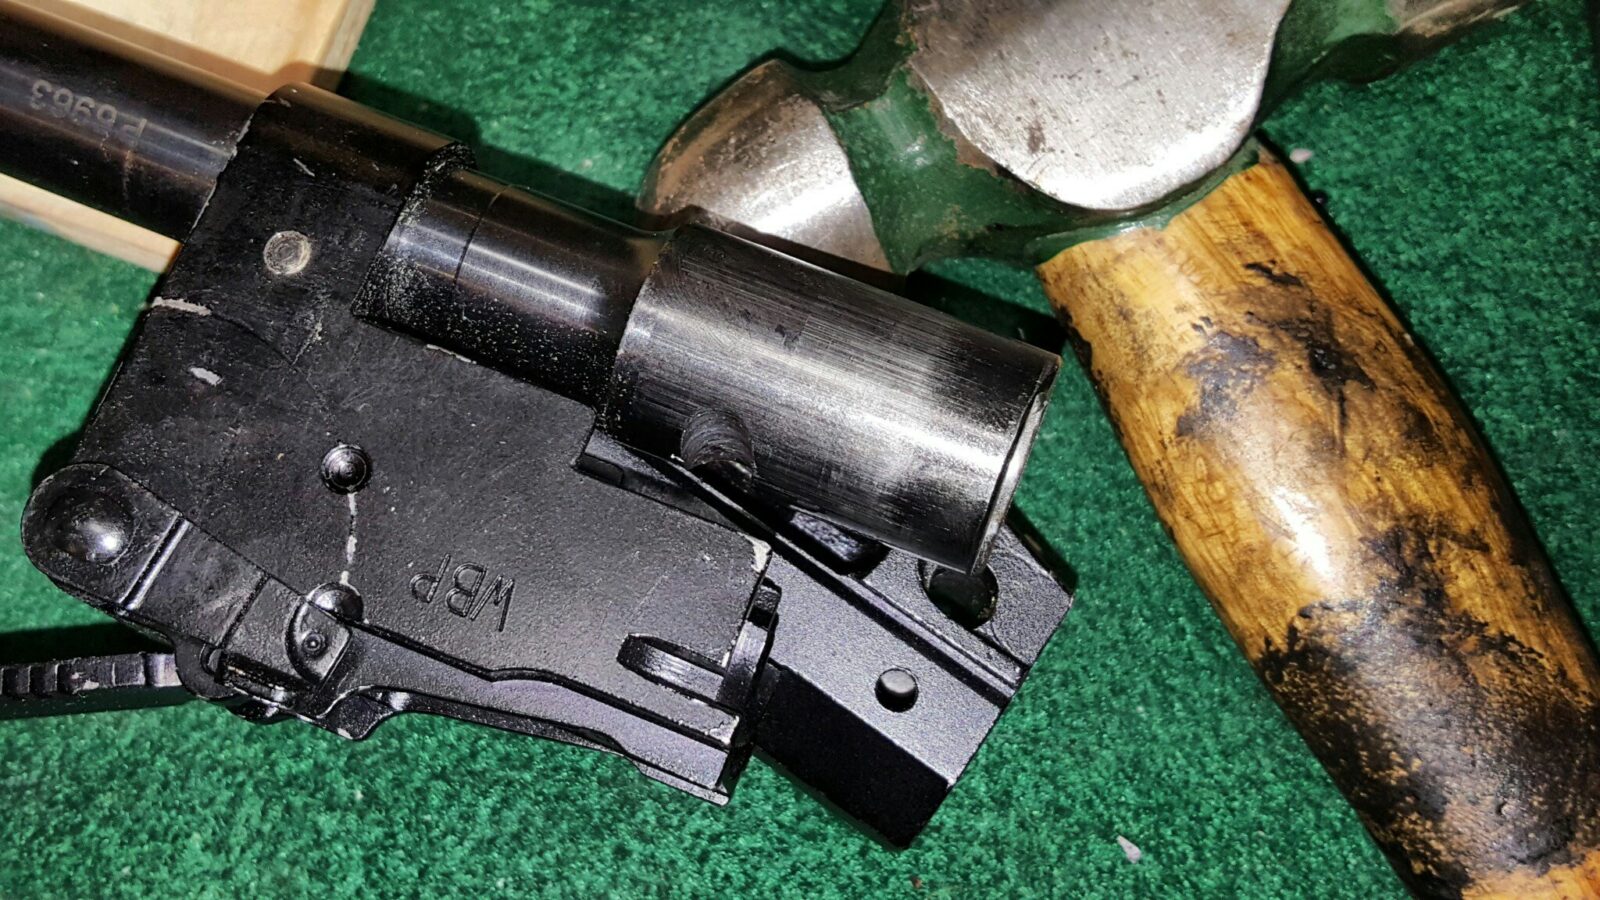
So at this point we have confirmed the head space and removed the front trunnion. We’re ready for the next step which is to install the trunnions in the new receiver. That will be our next blog post.


If you find this post useful, please share the link on Facebook, with your friends, etc. Your support is much appreciated and if you have any feedback, please email me at in**@*********ps.com. Please note that for links to other websites, we are only paid if there is an affiliate program such as Avantlink, Impact, Amazon and eBay and only if you purchase something.


Assembling a Beryl-ish AK From a WBP Kit – Part 2 – The Trigger Guard

The first thing I like to do when building is to install the trigger guard assembly. In this particular case I had paid extra for an extended paddle mag from a

Arms of America (AoA) and I would not do it again to be completely honest. I’m very familiar and comfortable with the standard AK controls and not only did I find the extended magazine release awkward but it would not fit into my ak-builder jig so I wound up having to trim it off anyways.

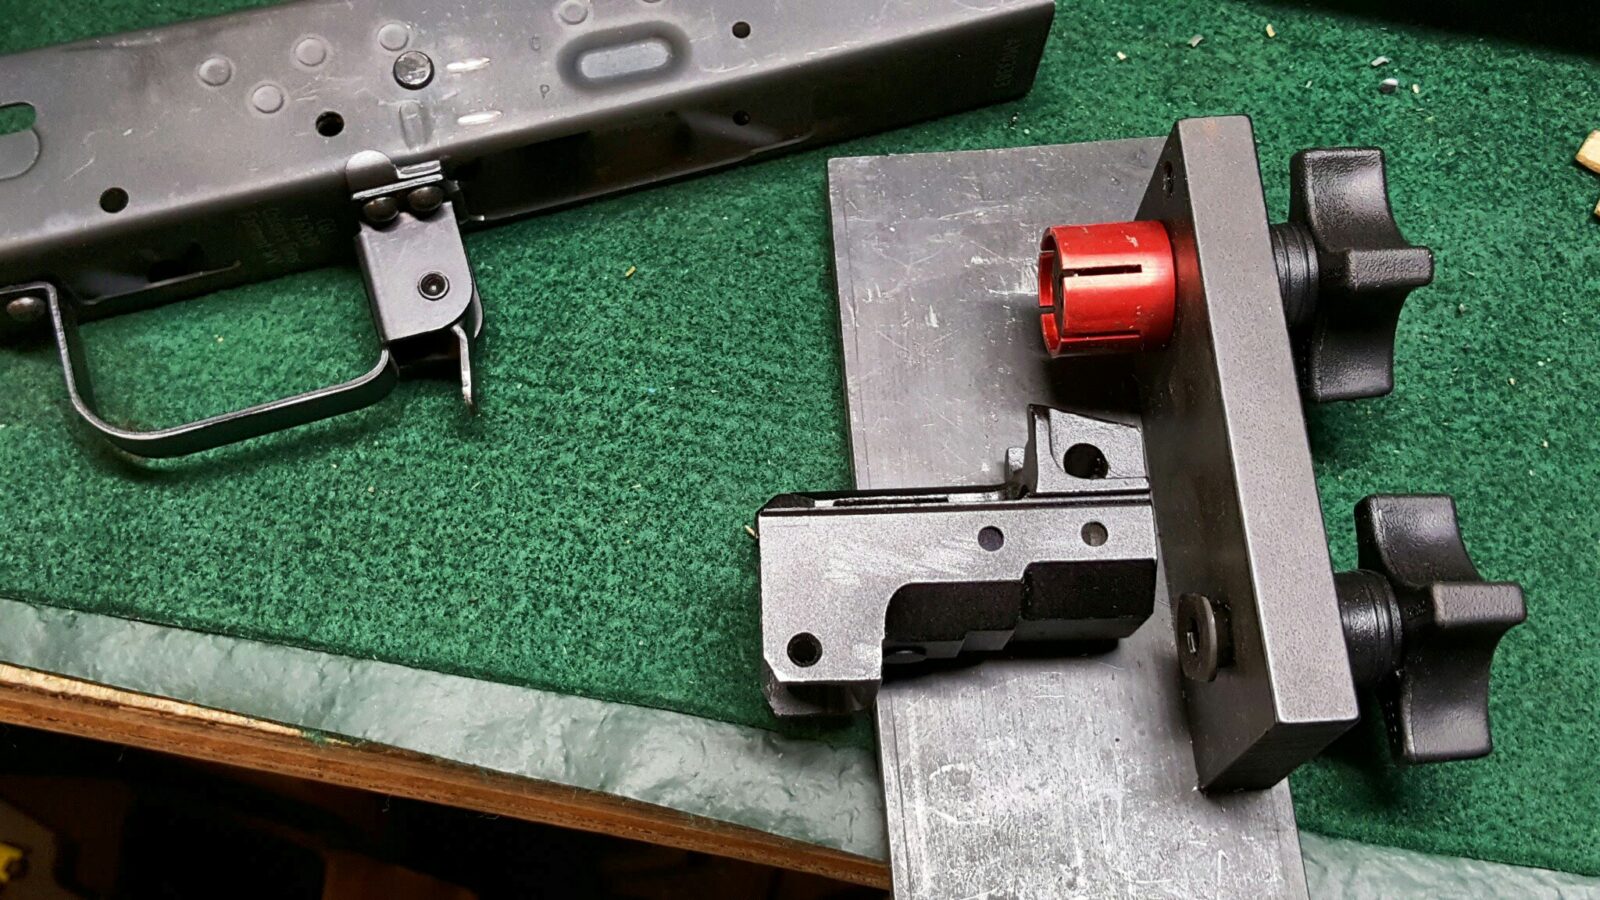
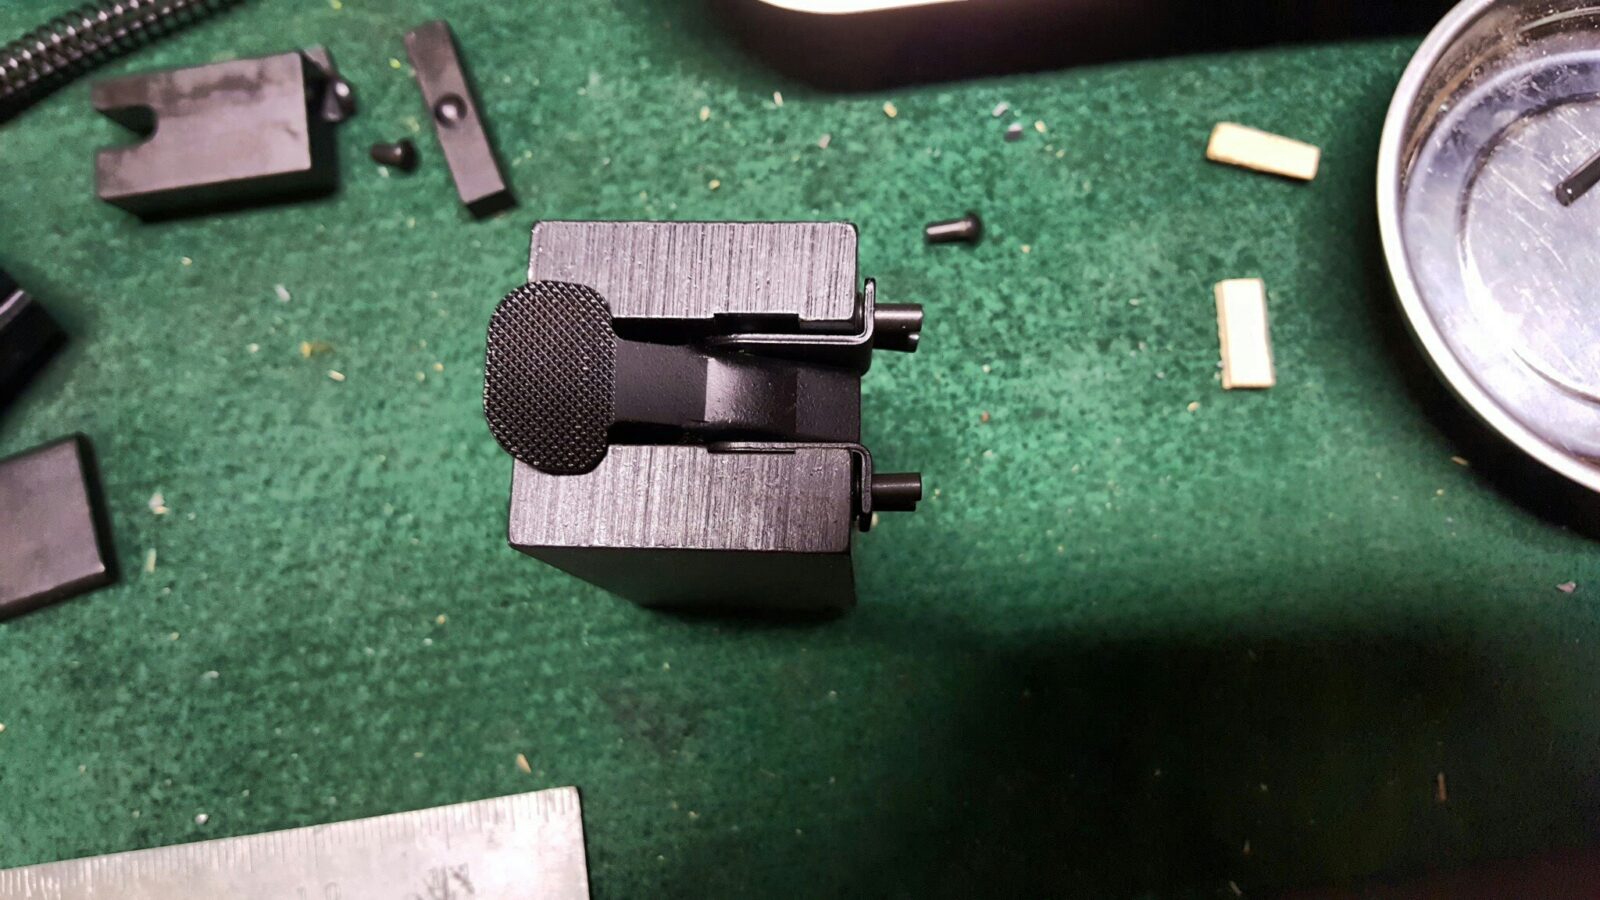
As you can see in this next photo, the paddle hits the front of the ak-builder jig and will not allow the trigger assembly to sit properly. Sure, I could have taken the trigger guard assembly apart and done the frame first but that defeated the purpose of it already being assembled so I simply sanded down the magazine release paddle using the rivet jig as a gauge. Once it fit in, I was good to go. I just did a little bit of cleanup sanding to make everything level and smooth. It was still a little bit bigger than normal but that was fine by me.

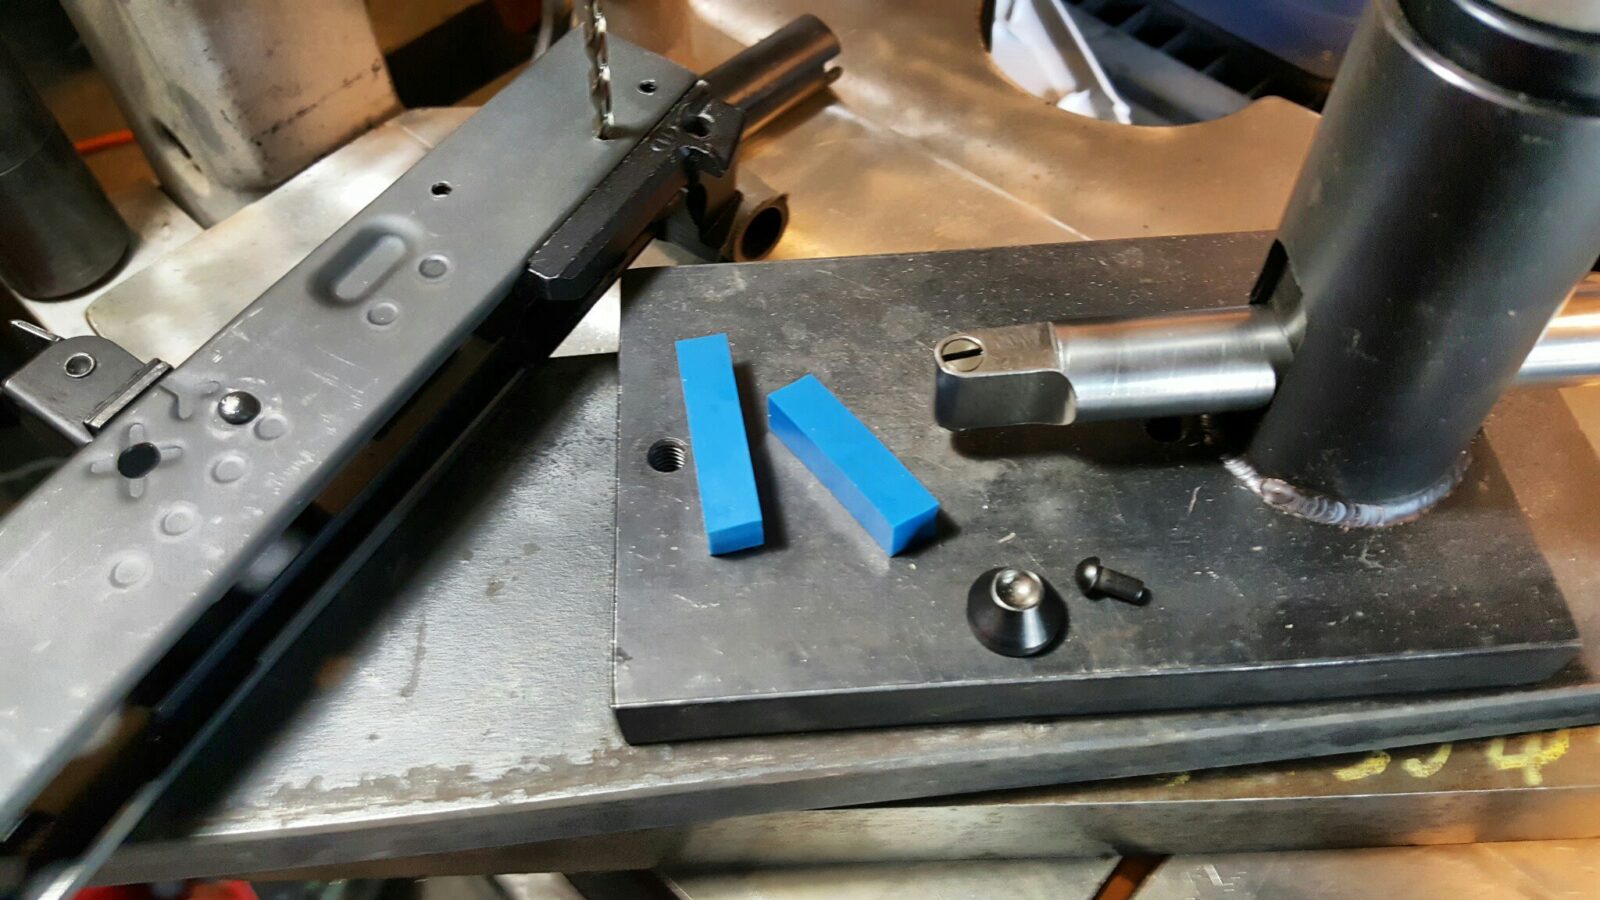
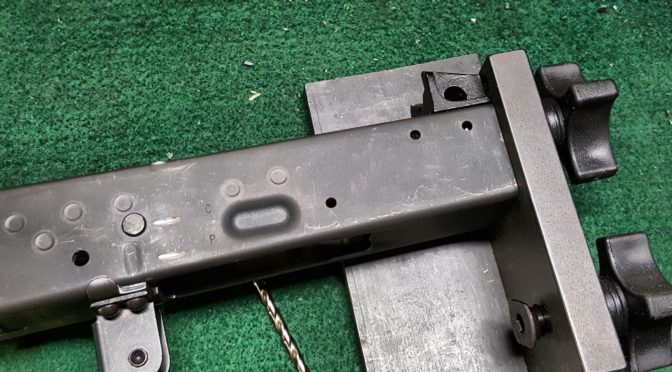
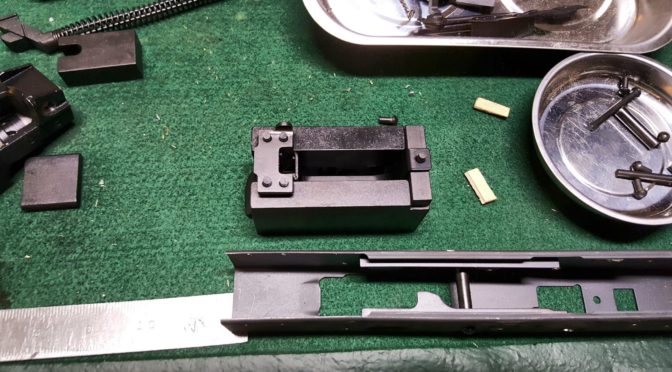
One thing you’ll notice in this next photo is that I have the selector stop plate and rivets already in place in The Jig. It is way easier to get them set and then put the receiver down on top of everything then to try and put the rivets in one at a time with the receiver ID place. Be very careful to orient the selector plate with the stop on the correct side. Years ago I did one backwards and it taught me a lesson.

In the above photo you’ll notice a small square plate just above the trigger guard jig and the block with the u-shaped cut out just to the right of the jig and just touching the receiver. Those are what you will use to squish down the rivets.

I use a big H frame hydraulic press to do a lot of my rivet work. I have also used rivet sets and bucking bars for this as well. But for this step I did use the press and my ak-builder jig .Of course, I did not take a photo of this step and I don’t know why 🙂

If you buy a hydraulic press to build AK rifles, I would recommend at least getting a 12 ton unit. I have a 20 ton unit and it works great.

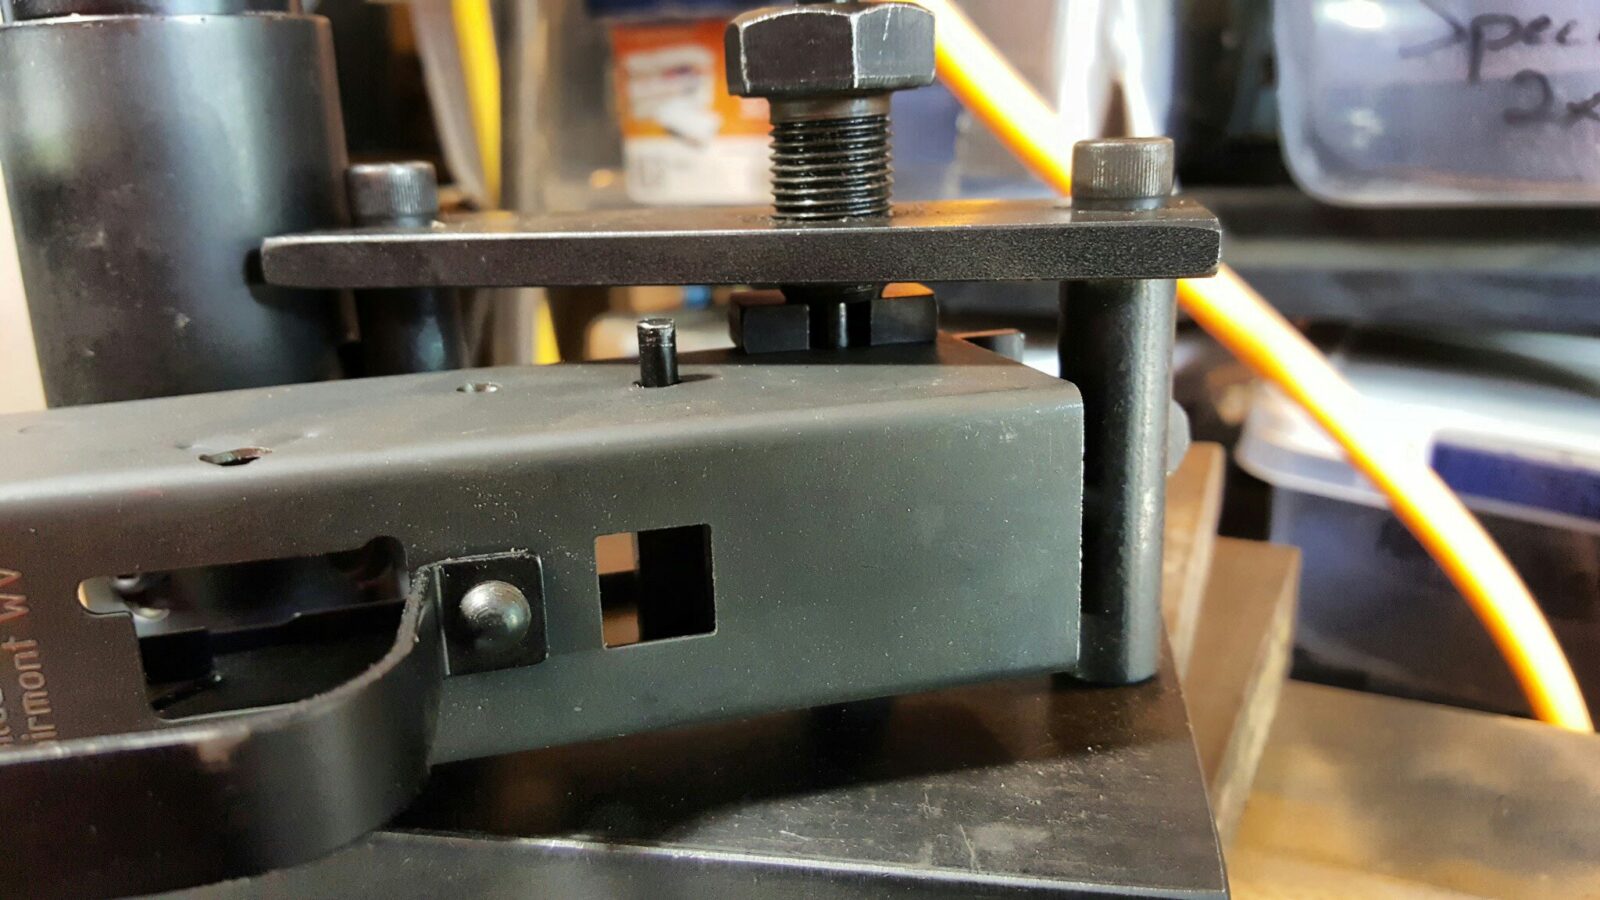
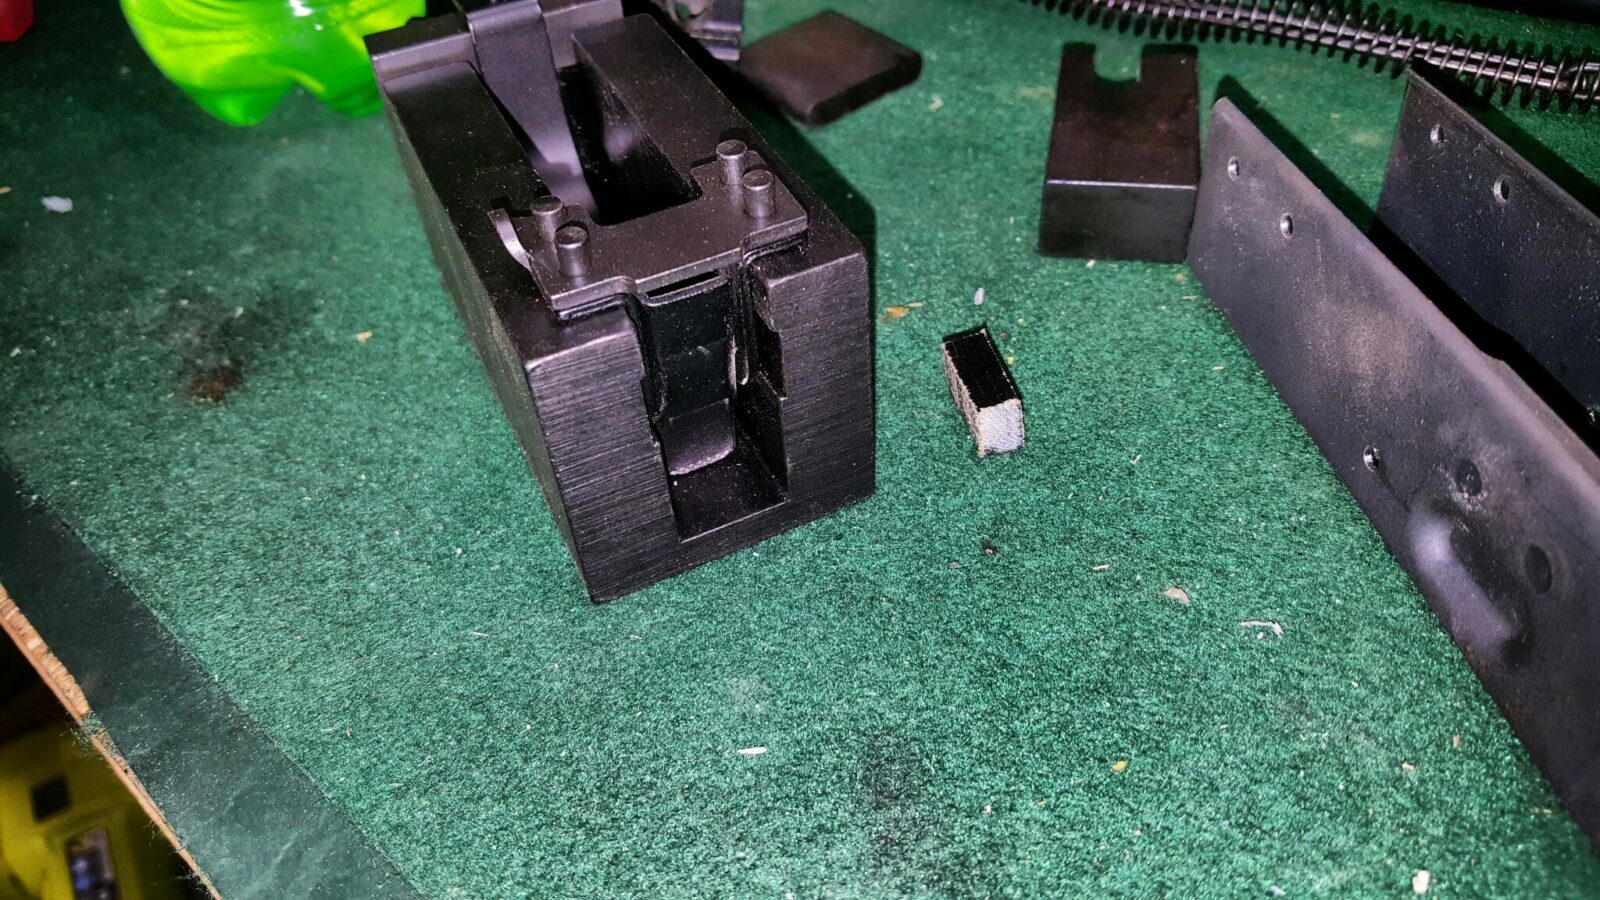
In the below photo you can see two of the four forward rivet sticking up. The square plate goes on that and then you use the bar to apply the pressure from the ram of the press. Keep checking things carefully. It doesn’t take a great deal of pressure to squish the rivets down and you’re looking for them to be flat.

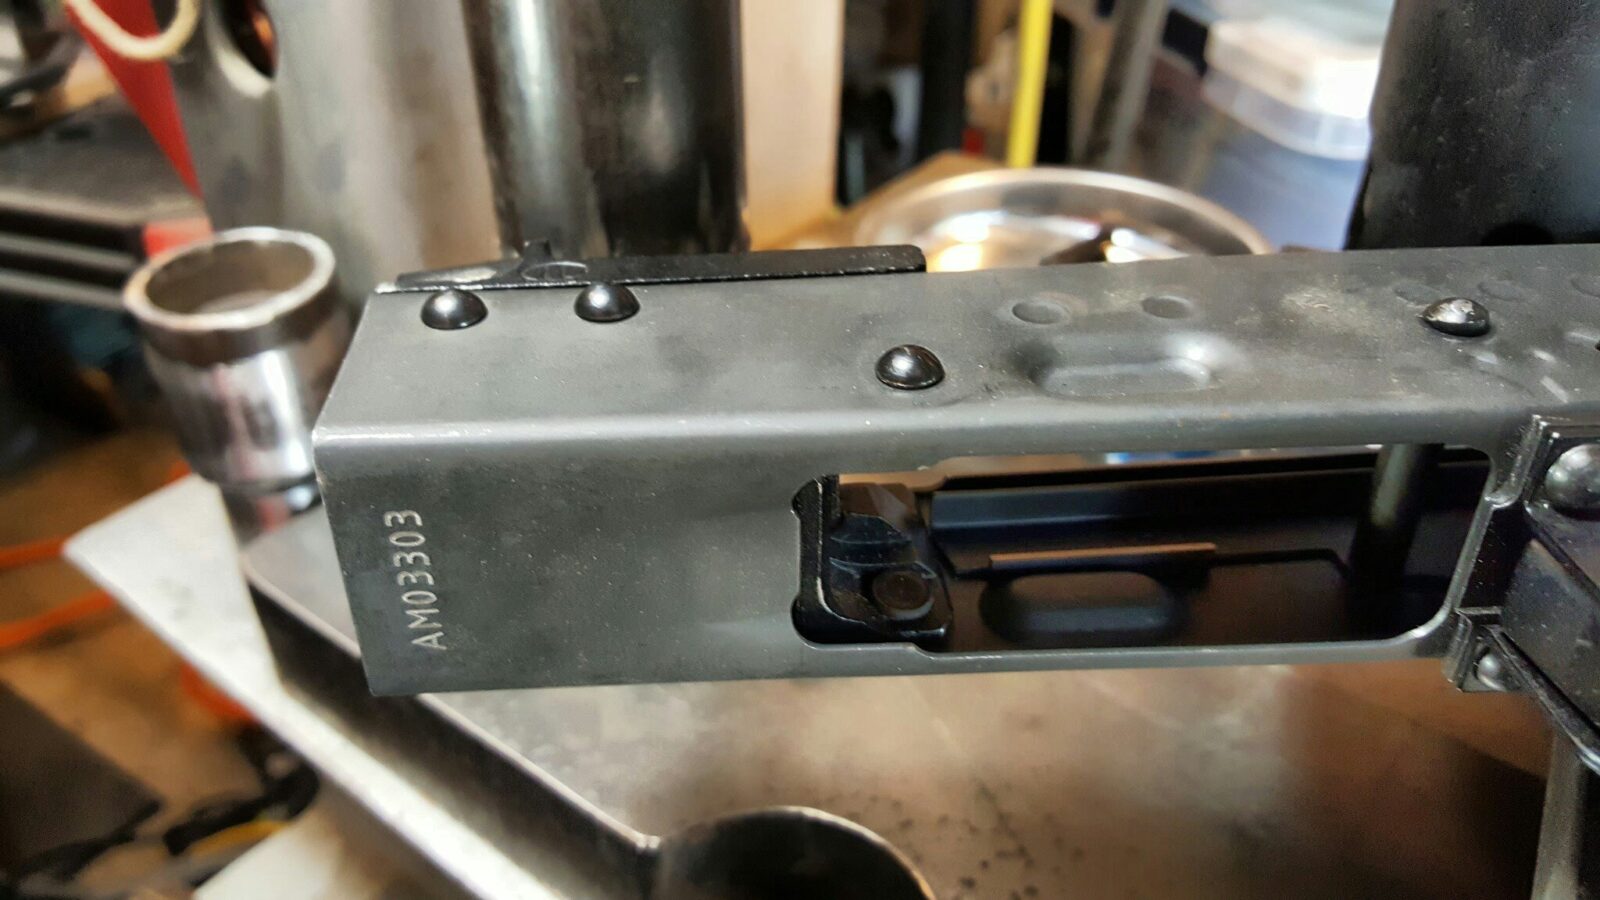
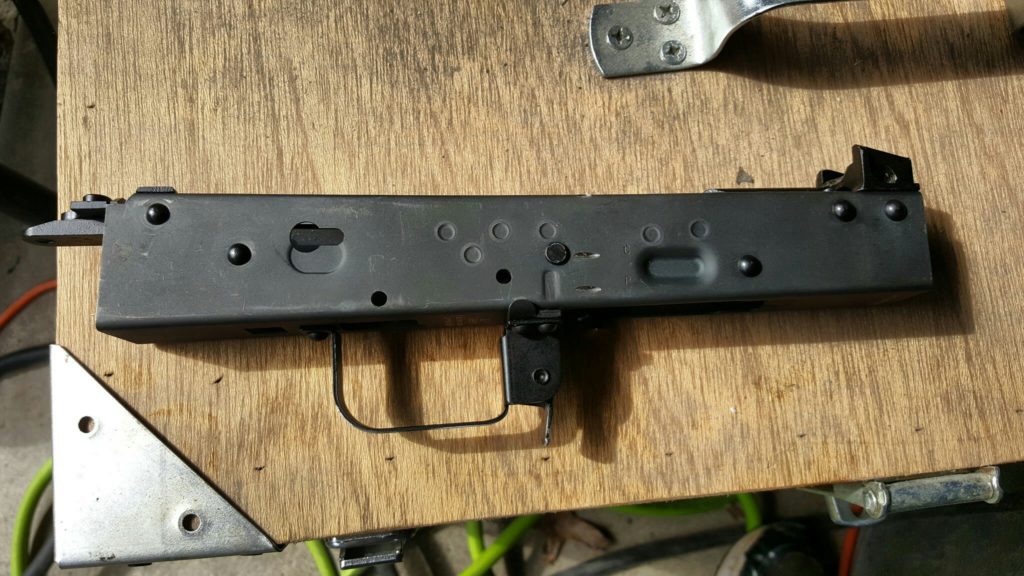
When you get done, the trigger guard will be secured against the receiver, the inside rivets will be flat and the outside rivets will have nice round domes. I am jumping ahead of bit but with the below photo but you can see some of the squished rivets slightly.

And here are the domes that were protected by the dimples cut in the jig.

So that is it for the trigger guard. Next up are the trunnions.


If you find this post useful, please share the link on Facebook, with your friends, etc. Your support is much appreciated and if you have any feedback, please email me at in**@*********ps.com. Please note that for links to other websites, we are only paid if there is an affiliate program such as Avantlink, Impact, Amazon and eBay and only if you purchase something.


Assembling a Beryl-ish AK From a WBP Kit – Part 1

It’s been a couple of years since I last had time to build an AK and definitely felt the need to catch up. Contrary to what some may think, the majority of guys who like building guns aren’t trying to bypass laws – they genuinely enjoy it. Think of it as being similar to building a model but this one can go “bang” 🙂

I think I got bit by the AK builder bug in 2006 after reading an article in Shotgun News by Steven Matthews about building AKs. The rest, as they say, is history. At the time, you could buy a kit for $50 if you shopped around then after the barrel ban went into effect, the prices just went up and up. Now, with the advent of US and foreign barrels plus businesses that are selling kits with headspaced barrel assemblies, prices are relatively affordable. They are still far higher than years ago, but you can build your own entry level AK for about $500 and then the prices just go up and up.

At this point I have to answer the question “Why do it when you can buy a complete AK rifle for the same amount or less?” In short, you get to control as much of the quality as you want is the answer. Like anything, someone can always figure out how to make an AK cheaper but that doesn’t mean better. Frankly, some of the US-made AKs are total pieces of shit if you will pardon my French and complete honesty. The internet abounds with stories of busted US made parts and hack assembly jobs. Really, the only AKs I would recommend are going to come from custom or semi-custom shops like Two Rivers Arms, Jim Fuller’s Rifle Dynamics, Jim Roberts, Krebs and so forth.

Certainly there are good foreign made AKs but even they can have quality control moments. Zastava can make excellent AKs if they choose to is one example. Russian Molots are my all time favorite but they are banned from further import though there seems to be a ton of them still for sale and prices haven’t gone up much. Bulgarian AKs can be good and that is one reason K-Var can charge what they do. One country with a long AK history that not all American’s know about is Poland. It would be cool if they start selling more models into the US- market but at least Arms of America is bringing in a wide variety of kits right now.

So that brings me full circle. Why do I want to build vs. buy? Because I like building them and I can make an AK do just about anything I want it to at this point. I’ve done rivet, screw and weld builds. I’ve built Romanian, Hungarian, Polish and Yugoslavian AKs and RPKs. I’ve done traditional looking builds and over-the-top “tacticool mall ninja this thing is way too heavy” builds. Seriously, I kind of went nuts with a Hungarian AMD-65 about 10 years ago and put on a quad rail with a red dot, laser, light vertical fore grip and bipod. The thing was so heavy that it literally taught me that just because you can add something on does not mean you should – it takes time and energy to bring something that heavy up into position and also to stop it once on target.

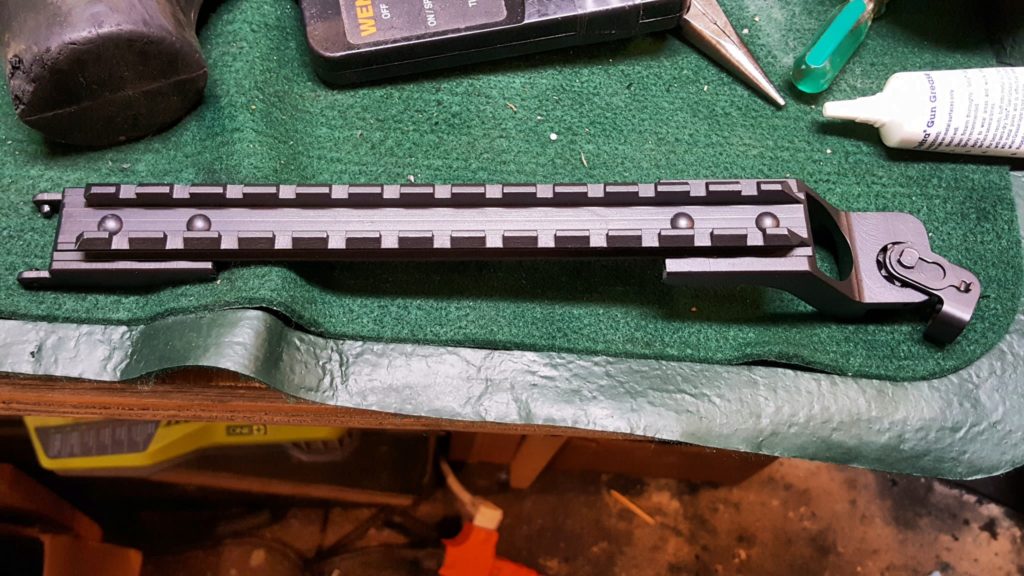
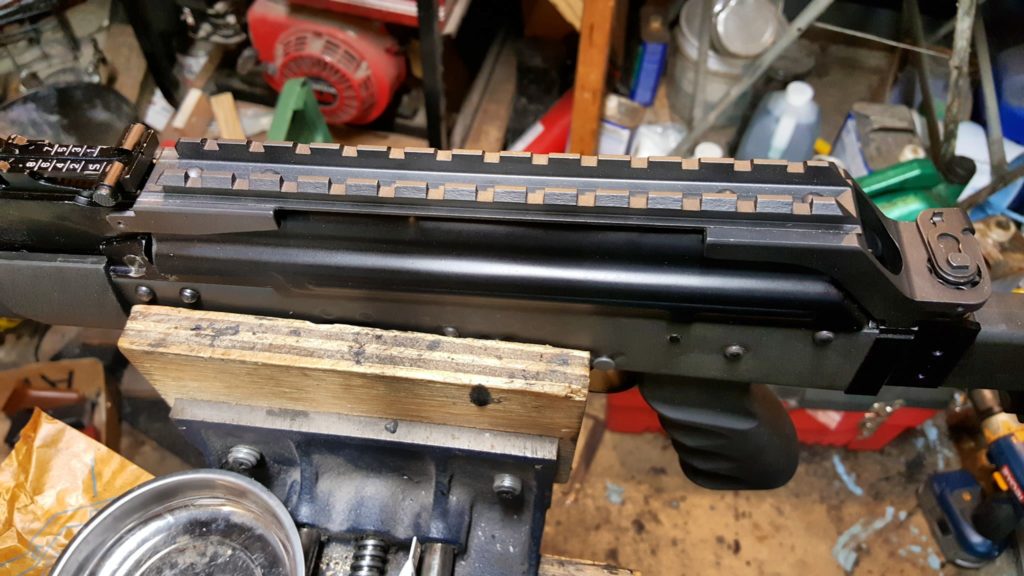
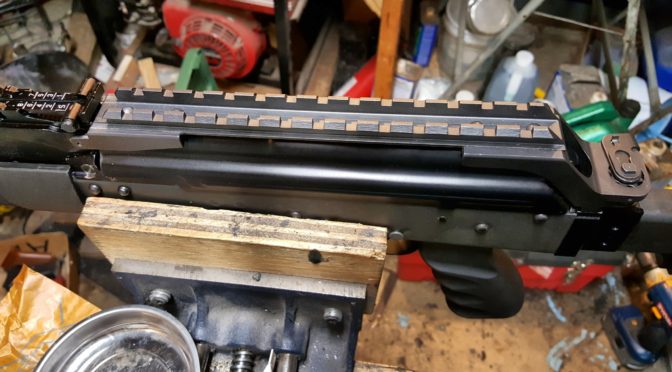
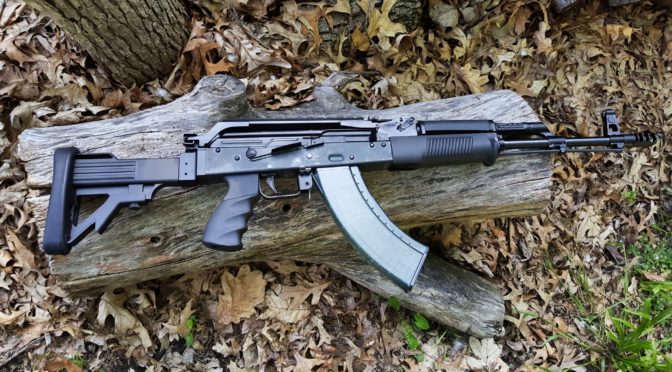
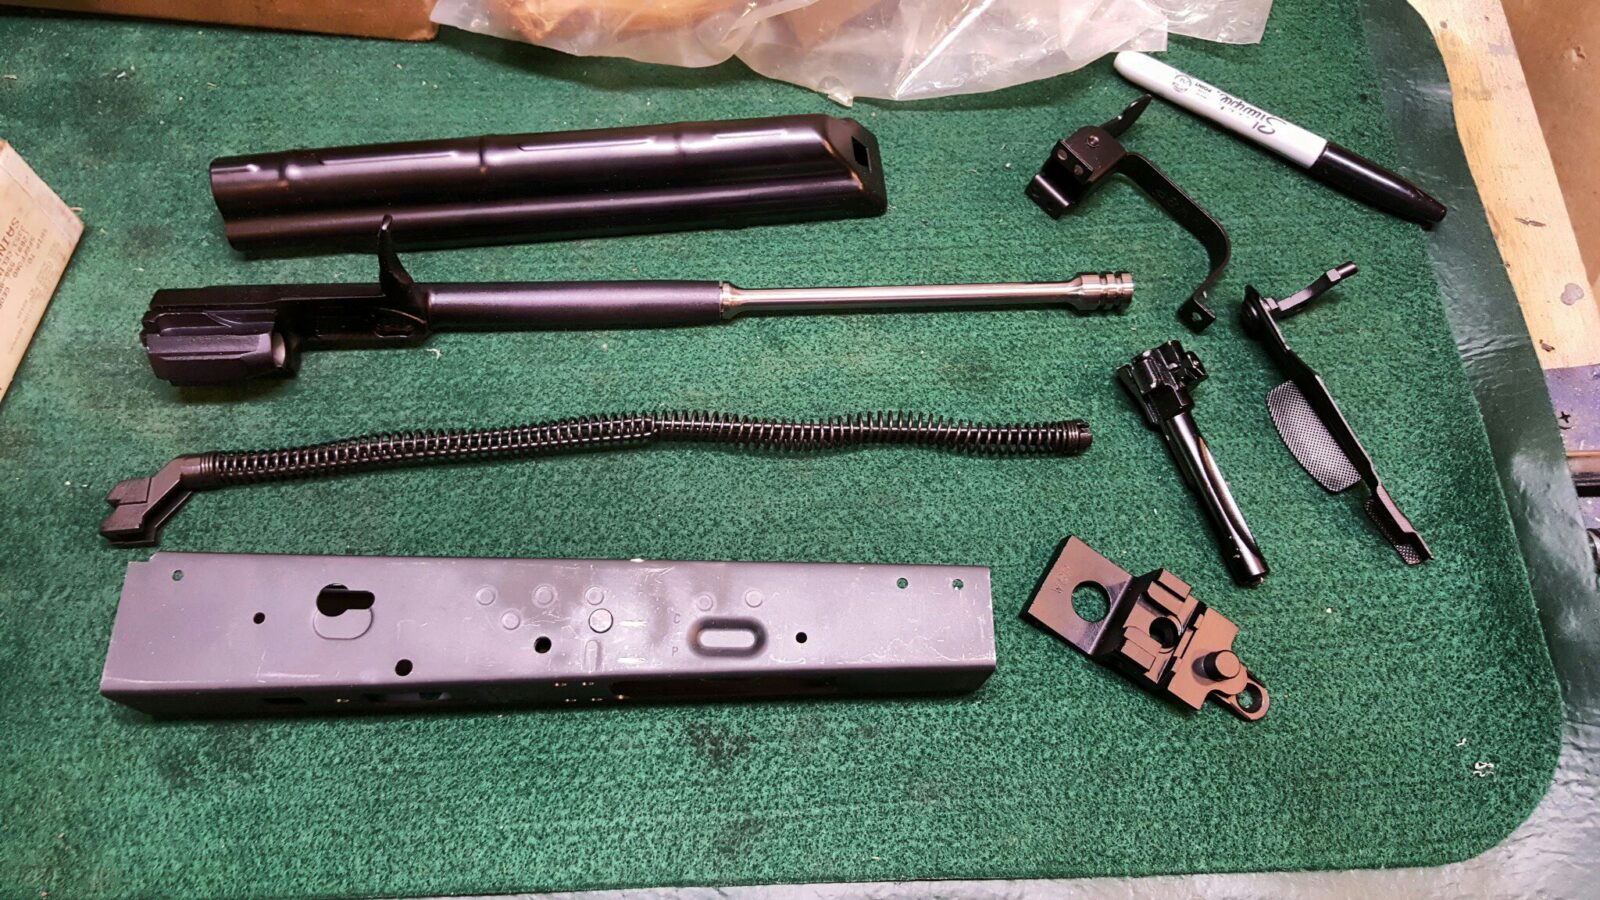
I’m not saying I know everything. I’m just saying I know my way around the AK platform well enough to build what I want. The hardest thing for me is finding the time between my day job, family and Ronin’s Grips. So, an interesting opportunity presented itself because I had Polish Beryl furniture, Childers Guns sells Polish receivers and Arms of America (AoA) had a cool kit for sale. It was a WBP 7.62×39 kit with a Polish chrome-lined Cold Hammer Forged (CHF) barrel that is arguably, and it will start arguments, one of the best AKM-style barrels you can buy right now. The kit included a solid-steel Bery-style optics rail that goes over the dust cover and for about $670. This appealed to me because I already owned the Beryl handguards, was getting ready to release our version of the modern Beryl grip and, separately, AofA was selling a collapsing Beryl stock that is a unique looking beast for sure.

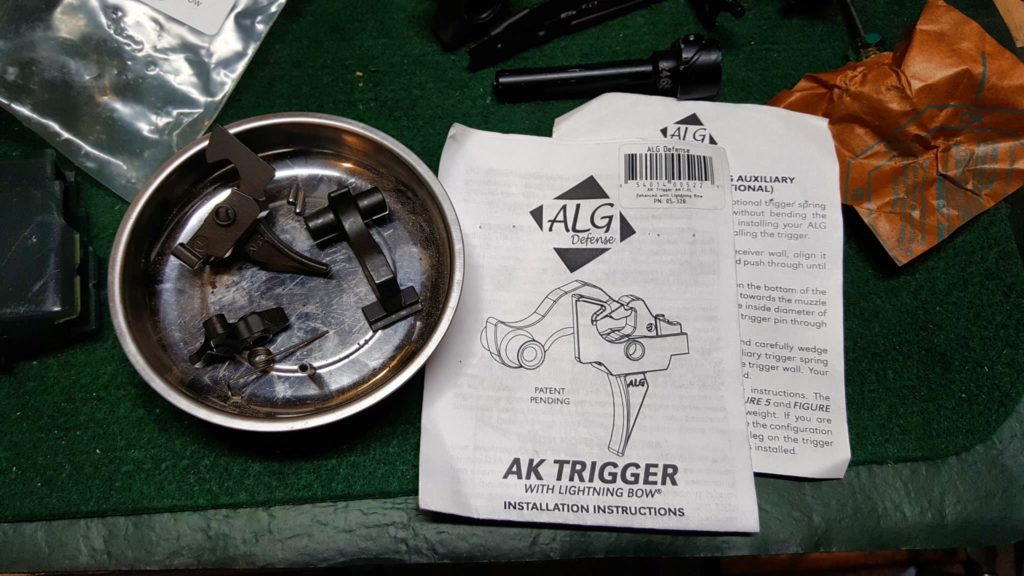
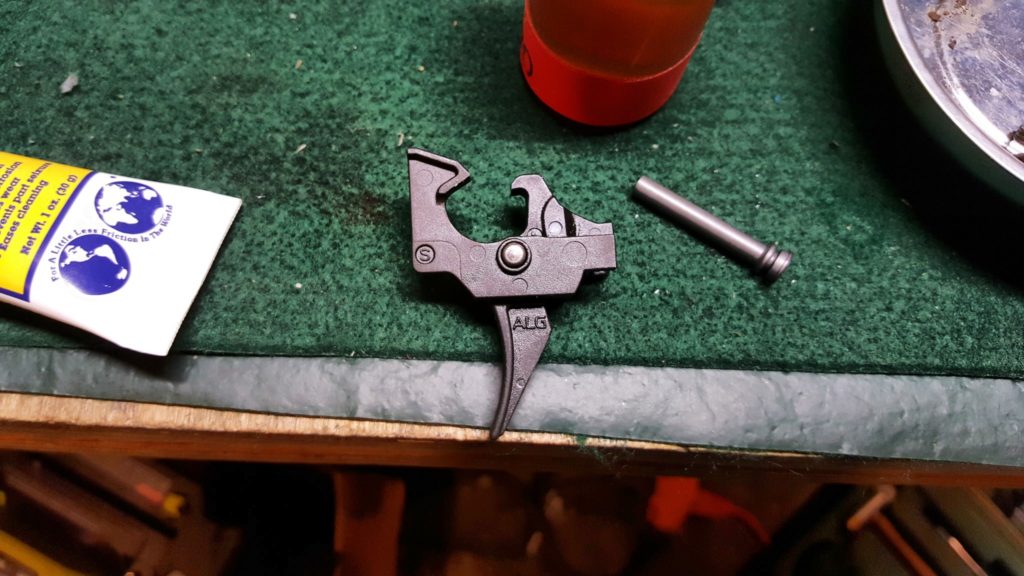
So, I got the wheels in motion and ordered the kit stock plus some translucent WBP mags from AoA, a RRD-4C brake from JMac customs, an ALG trigger and a Vortex Crossfire Red Dot. I ordered a completed 100% receiver from Childers Guns and had it sent to my FFL and good friend, Scott Igert, of Modern Antique Firearms.

Once it all arrived, it was time to start.


If you find this post useful, please share the link on Facebook, with your friends, etc. Your support is much appreciated and if you have any feedback, please email me at in**@*********ps.com. Please note that for links to other websites, we are only paid if there is an affiliate program such as Avantlink, Impact, Amazon and eBay and only if you purchase something.


Polish Build Runs Like a Top

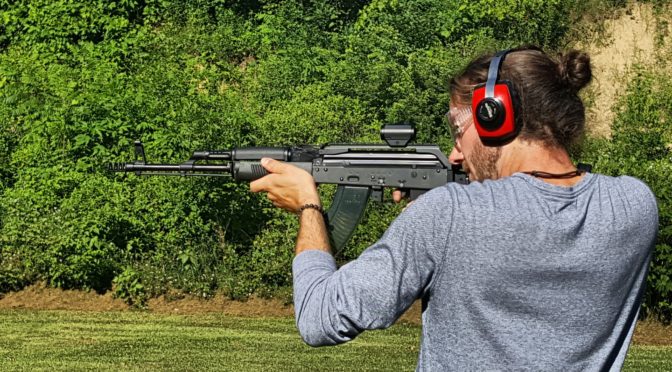
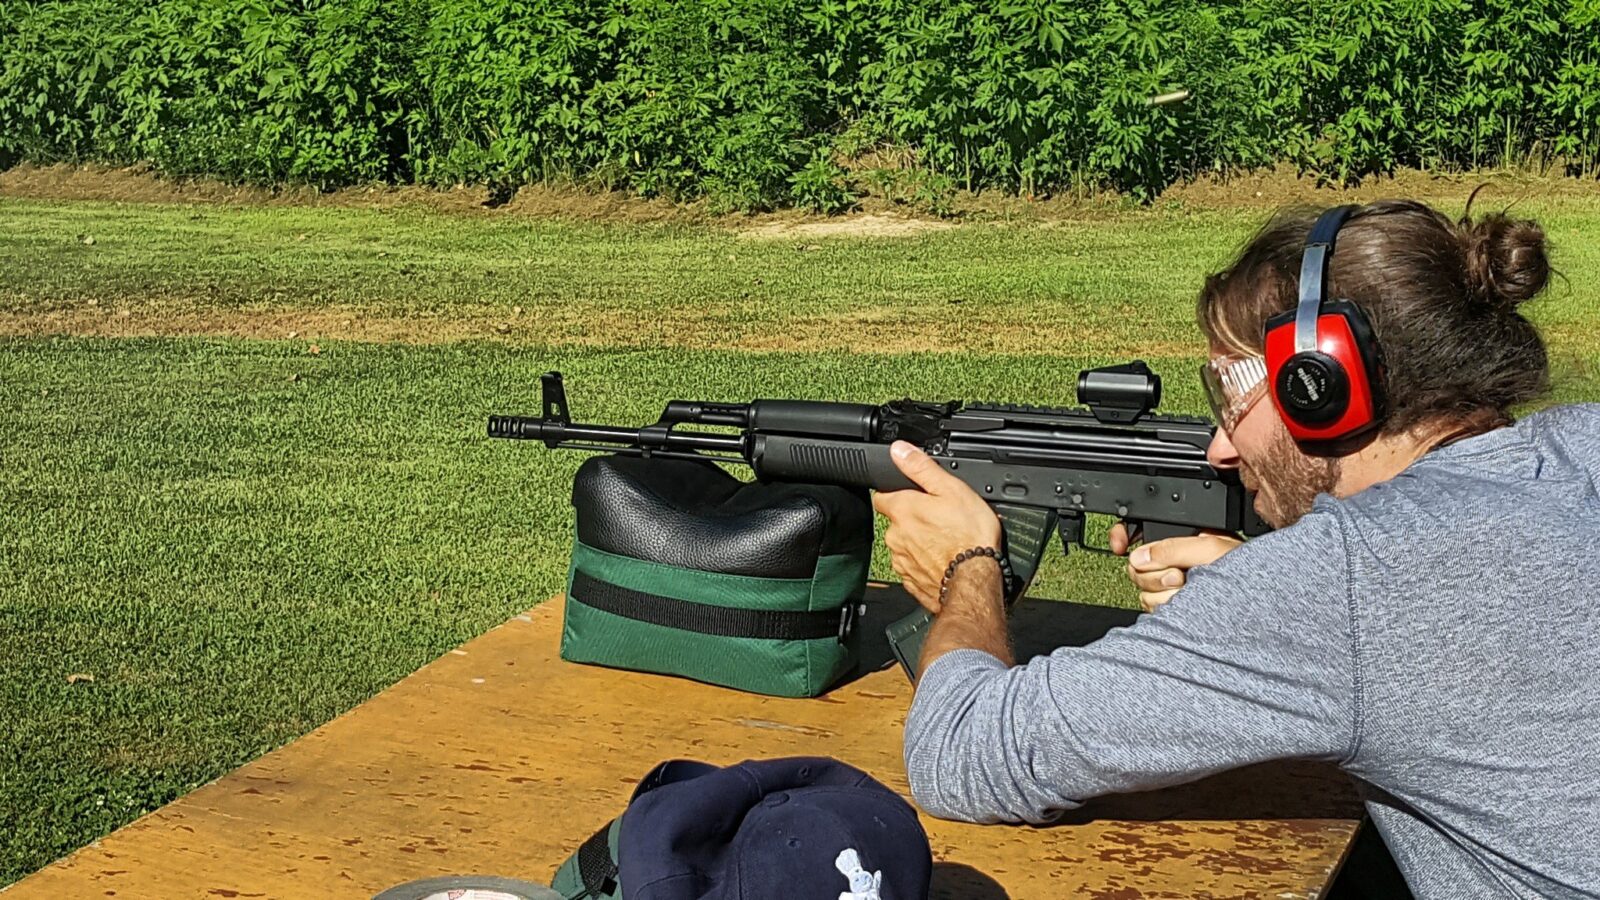
I will do a more In-Depth series of posts about building this rifle later. It is a Polish WBP kit l at the heart from arms of America with a Polish cold hammer-forged Barrel. The internals are installed in a Childers Guns receiver. The trigger is from ALG and I absolutely love it. I kid you not, this is now the only trigger I will use because it is so good.

The muzzle brake is a JMAC RRD-4C and boy does it eliminate muzzle climb. It made the rifle very controllable even during rapid fire.

The optic is a vortex Crossfire. The furniture is original polish Beryl with one of our US made 922r Beryl grips.

In the following video, this is my buddy Niko doing the shooting and while he is tall and wiry you can tell that the full-power Golden Eagle hundred and twenty four grain FMJ 7.62 x39 round is not moving him much at all.

The build turned out to be extremely reliable and accurate. Like I said I will post more details later but I’m thrilled with the results and had to jump the gun and share this!


If you find this post useful, please share the link on Facebook, with your friends, etc. Your support is much appreciated and if you have any feedback, please email me at in**@*********ps.com. Please note that for links to other websites, we are only paid if there is an affiliate program such as Avantlink, Impact, Amazon and eBay and only if you purchase something.


How to Adjust an Uzi Top Cover and Fix a Bolt Blocking Latch Problem – Uzi Would Not Fire

I built an Uzi a few months back and had trouble with it firing. A challenge a person has in the firearms industry is finding time to enjoy shooting! At any rate, I took it out the first time and had really light primer strikes with the firing pin – I’m talking you could barely see there was contact. So with the Uzi refusing to go bang, I had to do some digging.

I got into Uzis because of all the movies and TV shows in the 1980s. I decided to finally make one during the Winter of 2017/2018 and chronicled my efforts. The first time to the range resulted in a lot of good natured ribbing from my brother-in-laws as we could not get it to fire. We could hear the striker hitting real hard but no bang. Luckily I had other guns for us to shoot so I put the Uzi back in the bag and took it home where it then sat for a couple of months.

I did some digging and process of elimination and got it down to a few possibilities that in some cases I had already addressed. The following is my journey and what I did to sort matters out.

Lubrication

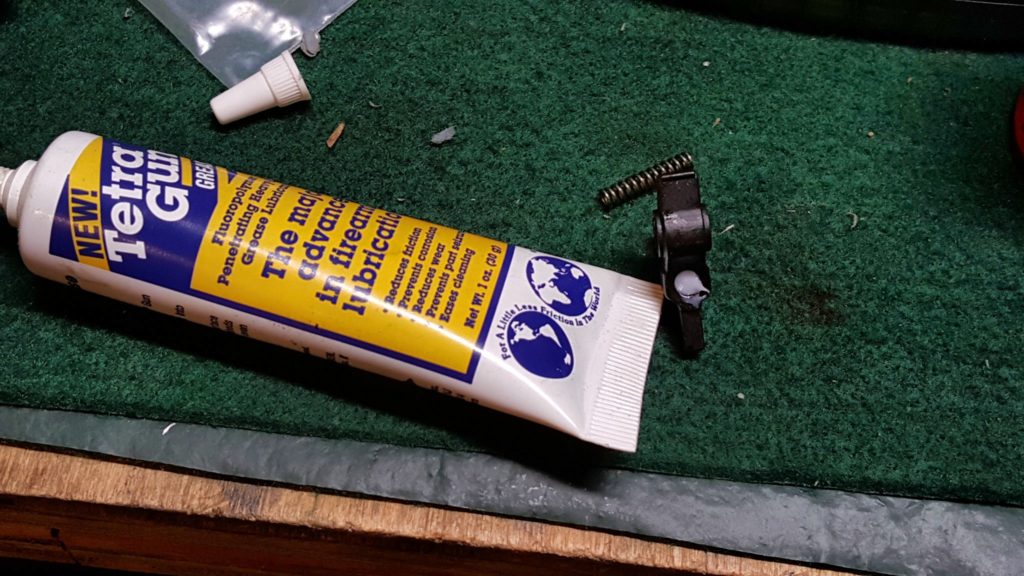
The Uzi closed bolt system is a huge chunk of metal and moving parts. When brand new, these parts still have their porous surface finishes on them, rough spots from machining and what not. You need to make sure everything is lubricated. Remember the old saying of it slides, use grease. If it rotates, use oil. I used Tetra gun grease on all sliding parts. I definitely wanted the big bolt body to slide easily. I also did put a light coat of Mobil 1 Full Synthetic 10W30 on the firing pin but really nothing rotates in there. In the trigger group, I used the oil also on all pivot points.

For me, I heard the need for this when I assembled the carbine for the first time. There was a very dry slow-moving sound and grating feel when I first ran the action during assembly. After lubrication it made a world of difference. I could feel and hear the striker hitting far harder. The important point is to lube your weapon. This definitely helped but it did not solve my problem in this case but I could tell it would definitely impact the operation of an Uzi.

Note: When I wrote this I was using Tetra Grease but I am now using Super Lube and it works fantastic on my Uzi. Click here for the write up.

Top Cover Bent

To be honest, I thought for sure this was going to be my problem after a fellow at McKay suggested I check it. I always thought the cover seated hard and I could not release the latch without a tool. As soon as the fellow suggested it I put one and one together – I bet it warped when the third party welded on the Picatinny rail section.

So, I did some digging on the web to figure out what to do. It turns out that you should be able to insert a 0.005″ feeler gauge between the bolt and the cover at the ejection port. Guess what? It wouldn’t go in – the first rib was tight and the far rib was impassable.

Before I go further – one quick comment on feeler gauges. Not all are equal. I have a few in my toolbox but the one I use the most is is this ABN unit shown above. It is accurate enough and it has a ton of gauges.   I point this out because not all of these gauge sets are complete. For example, several of my gauge sets jump as the manufacturer just included the blades needed for their equipment. I’d recommend getting a set with a lot of SAE and metric blades so you have flexibility. For the Uzi dust cover, you need the 0.005 and 0.015 gauges.

Next was to take some plywood stock I had lying around and make a jig. Basically you want two pieces of wood (any wood to avoid marring) that are the same height. The top cover will be suspended between them so you can adjust the cover either up or down.

I then made two little punches. One is made by gluing and brad nailing two pieces of 1/2″ plywood together so I could hit both ribs of the top cover at once. I also made a punch out of a single piece of plywood to adjust just one rib. I then got out one BFH (big frickin’ hammer) to whack with.

If there’s one thing I have learned – don’t go crazy hitting stuff. I put the jig right on the floor for good support and then the dust cover on it. Note that on the front part, I pushed the wood block back until it was supporting a thicker part and not just the thin neck.

So, I gave it a tap – not a very hard one with the thick piece on both ribs and took it over to test. It sure went on the receiver easier. Wow – it overshot the mark. I could now very easily insert the 0.015″ feeler gauge too. My understanding is that you don’t want it that loose or you risk the bolt jumping the sear and resulting in an uncontrolled mag dump. No joke – I don’t need that in my life ever.

I took the cover off the Uzi and flipped it with top now facing up and I tapped down even lighter. It really is surprising how easy the dust cover bends. I thought given the thickness of the sheet metal and the two ribs it would be much stronger but no.

I then took it back and installed it on the Uzi. It was starting to fit better. I definitely noticed that the ribs were different in terms of their gap so I switched to the smaller 1/2″ plywood punch and focused on one rib at a time. Tap and test, tap and test. If I went too far one way, I would flip the cover and tap it the other way.

After about 15 minutes I had it dialed in. The 0.005″ gauge would slide in and the 0.015 gauge met just a bit of resistance.

In working the action you could both feel and see the improvement. As always, there was a nice firm thud of the striker. Problem solved? No – it wasn’t. Argh. It was a definite improvement in operation but did not solve the problem.

The Uzi Bolt Blocking Latch

The web is a wonderful thing. I continued to surf around and read more about peoples’ experiences with Uzis not firing. Finally I read one that caught my eye – the striker has a particular orientation that must be followed to clear the bolt blocking latch. Wow. I knew I didn’t know about that when I installed it because the light strikes definitely indicated the striker wasn’t reaching the primer and this would explain a lot.

Okay, #31 in the above diagram is the bolt blocking latch and #30 is the spring. The bolt blocking latch’s purpose is to reduce (not eliminate) the chance of an out of battery firing. It does this by blocking the striker’s base. In normal operation, it is depressed and the notch in the base clears the latch as it travels forward to touch off the primer. Now there are three key things here and I’ll tell you what I messed up.

  1. The spring must be installed correctly.
  2. The latch must move freely
  3. The striker must be rotated such that the notch is in the right place- you can install it 180 degrees opposite.

So, your’s truly bombed the last one. I did not realize there was an orientation issue. The model B striker’s base is a half circle. The notch must be at the bottom to clear the latch. In this next photo, you can see I have it installed backward:

The following photo shows the installed Uzi bolt blocking latch. See how the bottom part sticks out? That is what will need to clear the notch when it is depressed during normal operation.

Note, I was working on a full size Uzi with a McKay semi-auto receiver and bolt group. Your bolt group may look a bit different.

When installed correctly, the striker sits in its seat and the seat sits in the striker guide like so:

You can see in the above photo how my latch was chewing on the improperly installed striker. As a visual reference for the correct orientation, see how the striker’s base is facing the part of the guide that has a depression in it. When installed, it will look like this:

You can see an immediate difference because when you depress the latch, the striker can fully travel forward and sticks out of the bolt face ever so slightly. That’s what we want!

Verdict – problem solved and fun was had at the range yesterday. The Uzi is still wearing in and smoothing out. We put about 100 rounds of 124 grain S&B FMJ through it.

The carbine was accurate and a lot of fun. If you didn’t read my other posts, there is a rifle length 16″ barrel hidden under the fake can. The weight of the carbine made it really soft to shoot so the girls and I had a lot of fun.

I am going to find a bit bigger optic for it – probably the Vortex Crossfire like I am running on my POF-5.

Regardless, I hope this helps you out!


If you find this post useful, please share the link on Facebook, with your friends, etc. Your support is much appreciated and if you have any feedback, please email me at in**@*********ps.com. Please note that for links to other websites, we are only paid if there is an affiliate program such as Avantlink, Impact, Amazon and eBay and only if you purchase something.


Finding Parts and Accessories for Norinco Firearms

Because I make and sell a variety of AK furniture, I often get asked about where to find parts and accessories for a given type of firearm.   One brand that comes up quite a bit is Norinco.

Norinco, or China North Industries Group Corporation Limited (中国北方工业集团有限公司), is a huge defense conglomerate and makes everything from small arms to big weapons systems such as tanks and missle systems (click here if you want to visit their site).  They were established in 1980 and began selling small arms to the US domestic market not long after that.

Unfortunately, they ran into a number of legal problems.  In 1993, importation of most of their firearms and ammunition was blocked other than sporting shotguns and shotgun ammo.  In 1994 US Customrs conducted a sting on the importer and in August 2003, sanctions were imposted that effectively blocked their remaining lines of firearms and ammunition not already banned.  In short, Norinco is very much still in business in China and exporting to clients elsewhere – just not in the US.

This unfortunate series of events leaves US owners of Norinco firearms such as their Type 56 SKS carbine, Type 56 assault rifle (and specifically the civilian MAK-90 and NHM-90 rifles), the NDM-86 Dragunov clone DMR, their various other rifles, pistols and shotguns wondering where to find parts.  As for myself, I wish I could afford an NDM-86!

There are two reputable businesses I have dealt with who carry Chinese firearm parts – one is Numrich and the other is PolyTechParts.  Of course, there is Gunbroker and the many sellers who use it as well.

There is another surprising source – eBay.  Below is a live feed of Norinco parts for you to peruse plus they have much more:


Just to be clear, I am not a Chinese firearms expert.  I get asked questions and have done some searching to try and help clients but that’s it.  I created this blog post to have a quick link to email people when they have questions about where to find parts and I hope this helps you out.


If you find this post useful, please share the link on Facebook, with your friends, etc. Your support is much appreciated and if you have any feedback, please email me at in**@*********ps.com. Please note that for links to other websites, we are only paid if there is an affiliate program such as Avantlink, Impact, Amazon and eBay and only if you purchase something.


Photo of the Type 56 is by Dhalikar – Own work, CC BY-SA 3.0, https://commons.wikimedia.org/w/index.php?curid=25006497

Learn About The Type 2 Soviet AK-47 – Forgotten Weapons Video

It’s interesting that we hold the AK-47 in near mythic regard when it comes to reliability.  It took almost 12 years from 1947 to the release of the AKM (Avtomát Kaláshnikova modernizírovanny or  “Modernized Kalashnikov Automatic Rifle”) in 1959.  The journey the design team made over the years is quite interesting.

I did a post on the Type 1 previously (click here to open it) and that first iteration had problems with the stamped sheet metal receiver that affected reliability.  In response, Valeriy Kharkov lead a design team who created a milled receiver from a forging to address the reliability problems and it was ready by 1949.

The Soviets had plenty of labor, that wasn’t a problem so in a manually intensive manner, they machined a six pound block of steel that required 120 steps into a finished 1.4 pound receiver.  That means they wasted almost 3.6 pounds of quality steel and used a ton of consumables and machine time.  To be honest, it boggles my mind but they accomplished their mission – the QC problems with the receiver were addressed.

In the following video, Ian McCollum does a great job showing a type 2  and describing the differences between it, the type 1 and the following type 3.   For example, he points out the rear receiver extension that is made from sheet metal that is an instant identifier of a Type 2 fixed stock rifle (sometimes referred to as the “2A”).  Note, they made the type 2 with an underfolder stock also (the “2B”).

Another tell is that the lightening cuts are parallel to the top of the receiver in the type 2 and in the type 3 they are parallel to the bottom.

There are quite a few other changes such as the grip now being a single piece, the selector lever having an additional clearance added above the pins, gas vent holes moved to 10 and 2 o-clock and more.

By the way, one thing Ian does is refer to it as the AK-49 and I have never read anything that supports that nomenclature.  If you Google AK-49, nothing turns up.  I would recommend you refer to it as an AK-47 Type 2.  Other than that, I think it is a great video and you can actually see the many details as Ian points them out:

https://www.youtube.com/watch">

If you want to read a book that does a great job detailing the Type 2 and its history, I would recommend The Grim Reaper by Frank Iannamico.  Poyer’s book has details but not as much history.


If you find this post useful, please share the link on Facebook, with your friends, etc. Your support is much appreciated and if you have any feedback, please email me at in**@*********ps.com. Please note that for links to other websites, we are only paid if there is an affiliate program such as Avantlink, Impact, Amazon and eBay and only if you purchase something.


Learn About The Original Type 1 Soviet AK-47 – Forgotten Weapons Video

Ian McCollum does a great job showing an actual Soviet Type 1 sheet metal AK-47.   I’ve read about the Type and seen a few photos but nothing as detailed as this.  We so often focus on the AKM but Mikhail Kalashnikov and his design team at Izhevsk had to go through a lot of learning and evolution of the design.

For me this was absolutely fascinating as Ian talks about the Type 1’s history and QC problems this early design had and then actually opens the rifle up to show the many differences.

  • Grip plates vs a true grip
  • No center support to keep the receiver from getting crushed
  • A selector lever that was only on the operating side that did not go all the way through
  • Longer trunnion
  • Ejector was part of the trunnion
  • Different rivet pattern
  • Fluted gas piston
  • and more

If you like AK’s, be sure to watch this video:

https://www.youtube.com/watch">

Also, consider donating to Ian.  He puts a ton of time into his videos and the research required.  Here’s a link to his Patreon page.


If you find this post useful, please share the link on Facebook, with your friends, etc. Your support is much appreciated and if you have any feedback, please email me at in**@*********ps.com. Please note that for links to other websites, we are only paid if there is an affiliate program such as Avantlink, Impact, Amazon and eBay and only if you purchase something.