Category Archives: Air & C02 Rifles and Pistols

Section to discuss air rifles and pistols include C02. So springers and C02 mainly.

Hill Mk4 High-Pressure Air Pump for PCP Air Guns – Very slick and very do-able for guys wanting to get into PCP air guns

Well folks, I am taking the plunge into pre-charged pneumatic (PCP) air rifles.  These are the airguns you see (both pistols and rifles) than have a high pressure air tank to propel the pellet.  Now, I had to think long and hard about this.  I live in a rural area and there aren’t any SCUBA/dive shops in my backyard to fill an intermediary air tank to then fill the rifle.  I looked into high pressure air compressors (we’re talking 3-4,000 PSI here so this isn’t your average shop compressor) and the starting cost for the cheapest is about $1,100 and in the cost of the tank and the fittings and I was dead in the water.

Recently, I did more digging about hand air pumps.  I had heard and read a few things about what a pain they are to work with and it turns out that is either flat out wrong or you bought a bad one.  Now everyone is different.  I’m 5′ 8″ and about 22o pounds plus not in that great of shape if I am to be completely hones so I paid close attention to what folks said and how they described their physical condition.  Bottom line is that there are a ton of people out there using hand pumps.

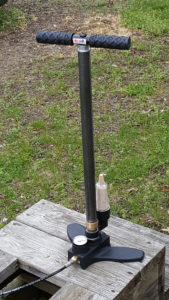
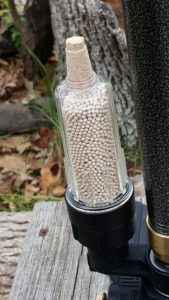
So, I switched gears and started reading more about the various brands, the reviews they got, etc.  From what I gathered, it came down to two pumps at the front of the pack – the Air Venturi G6 or the Hill Mk4.  I then went around the forums, Amazon, Pyramyd Air and Air Depot reading comments, etc.  Frankly, the Hill Mk4 gets better reviews plus it has an air dryer.  Given how compressed air systems constantly produce water via condensation, I was sold.  I ordered my Mk4 from Air Depot.  For years, I have ordered from Pyramyd Air but Air Depot has great reviews and they had a great deal going for 10% off and free shipping when I ordered it.

Air Depot’s shipped the pump the same day via FedEx Ground and it arrived three days later.  It was partially disassembled and I’d say it took about 10 minutes to put it together.  I actually followed the directions and be sure to use wrenches on all fittings due to the air pressure.  It comes with a small tube of silicone grease and I went ahead and lubed the shaft just to make sure it was ready – they recommend monitoring that.

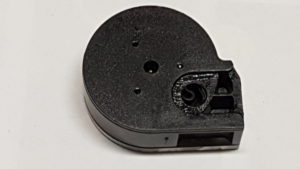
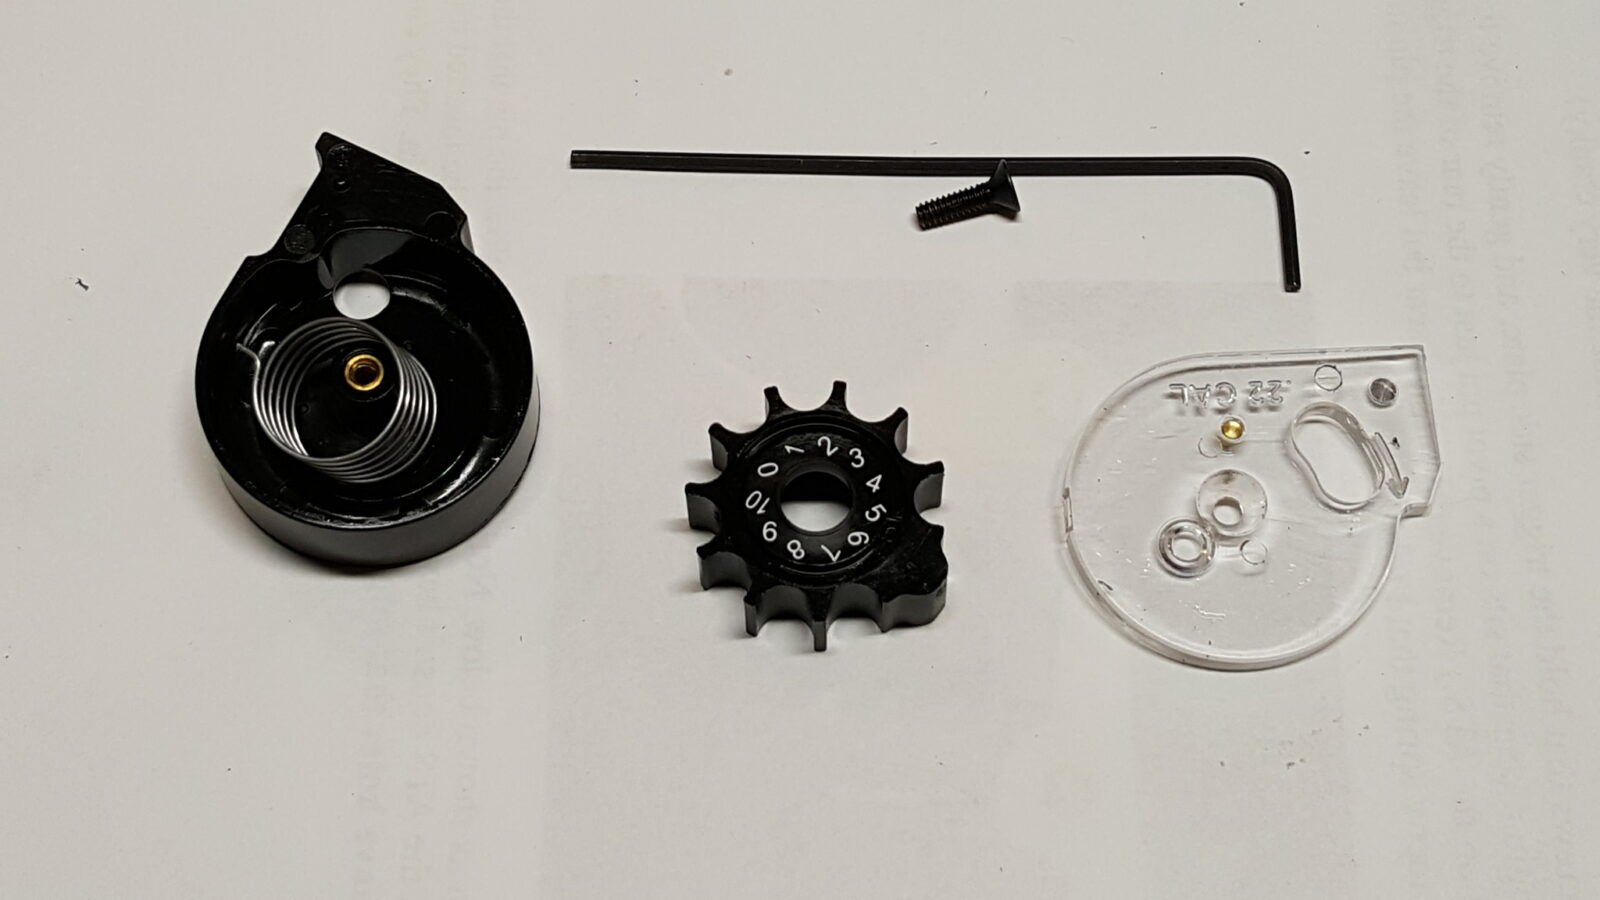
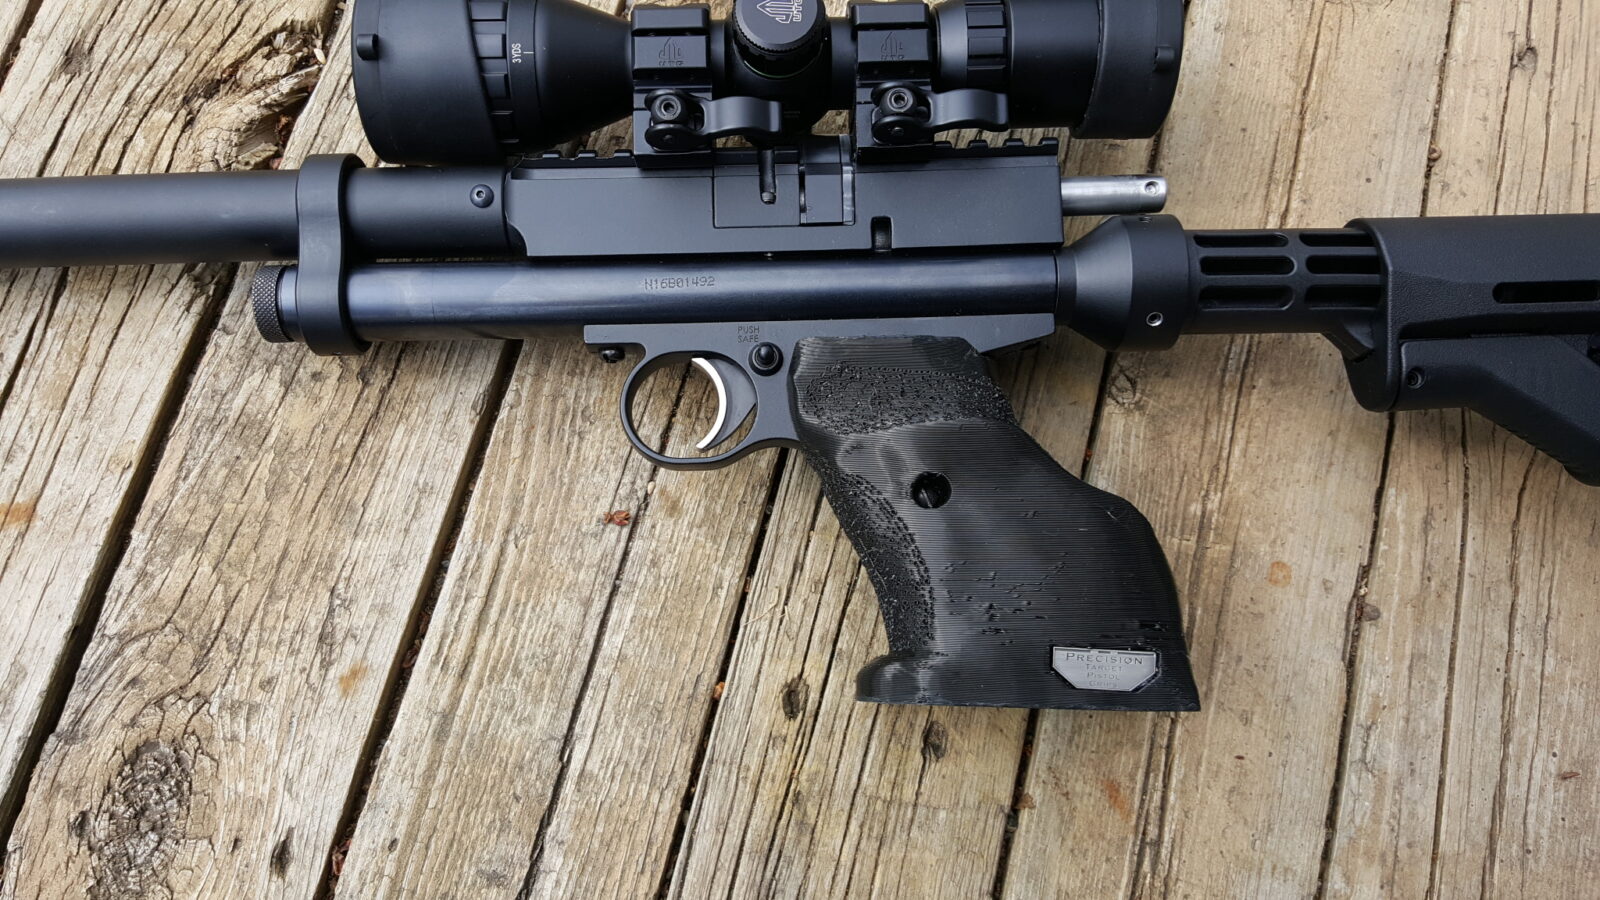
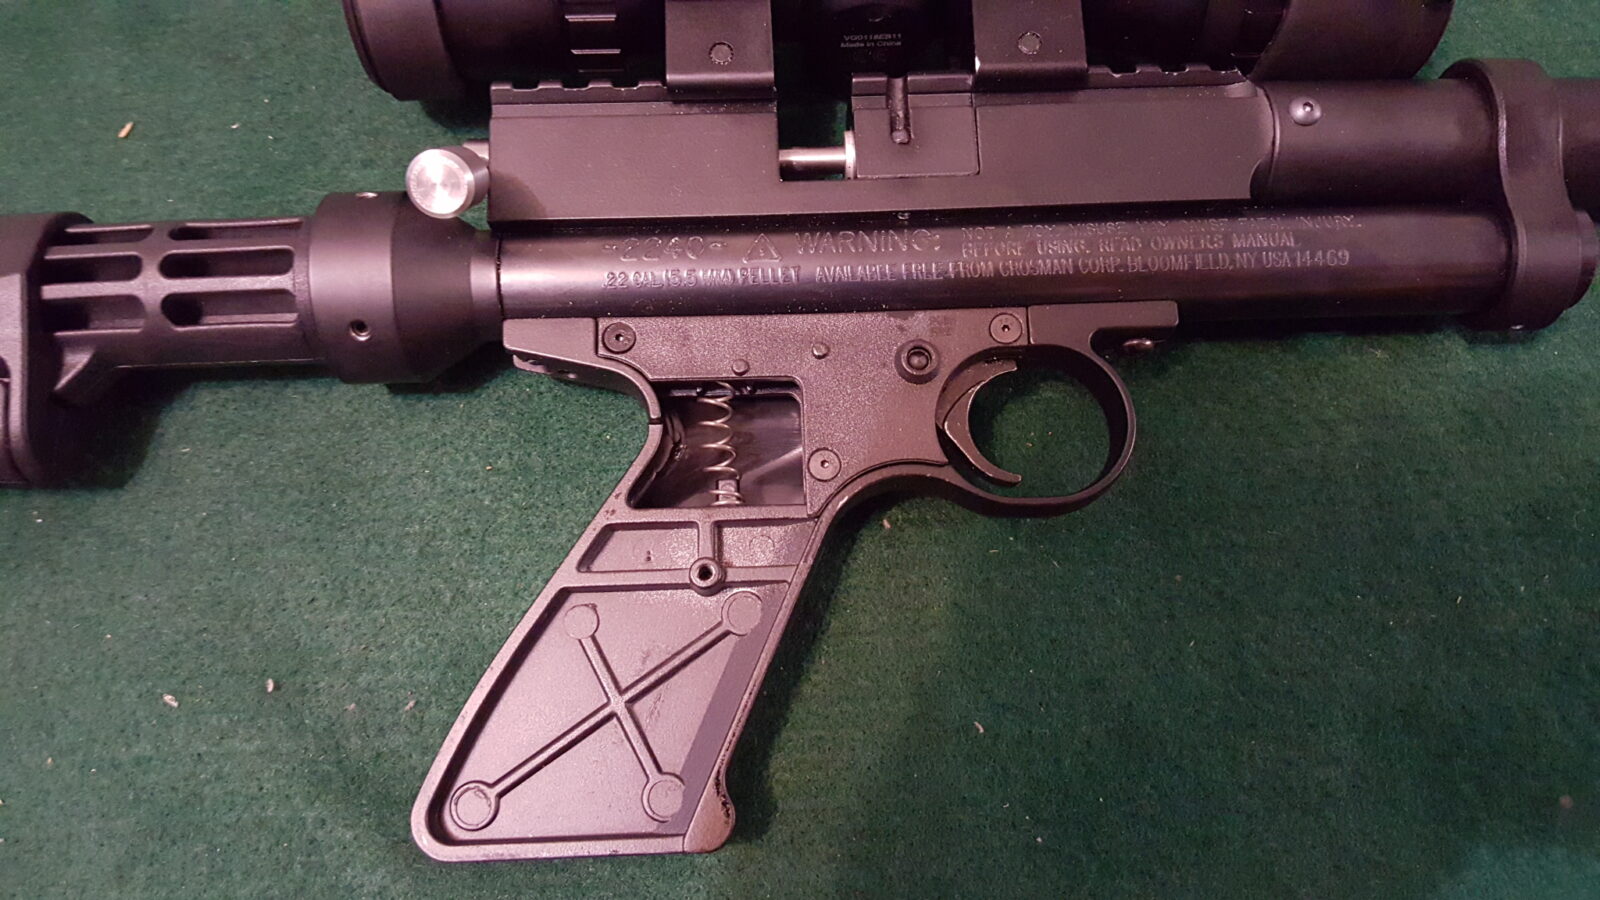
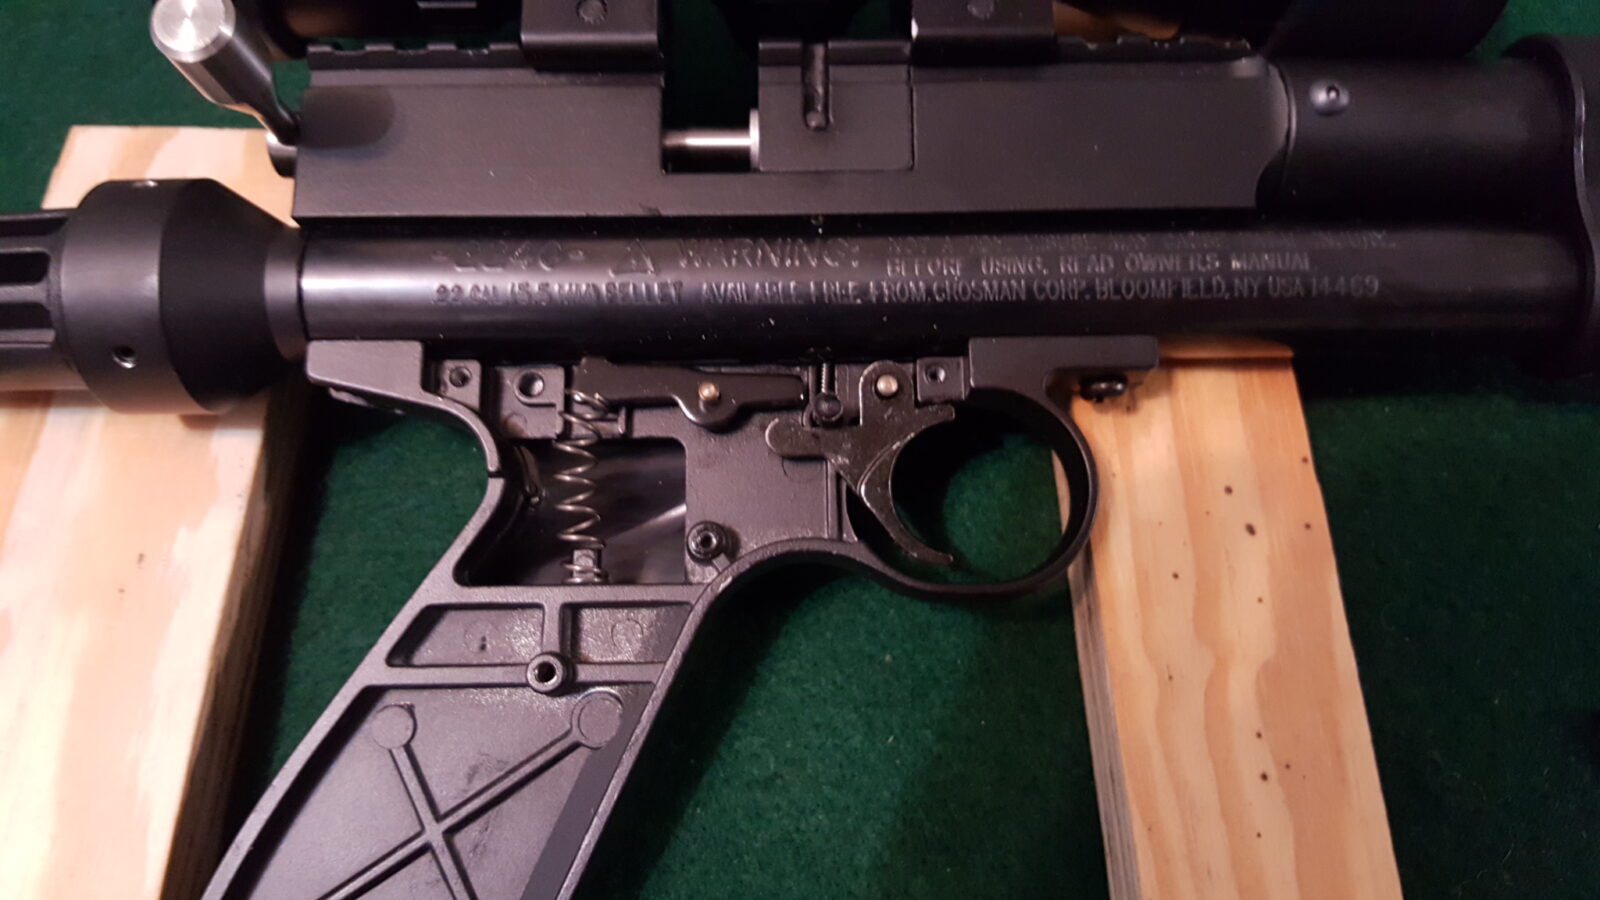
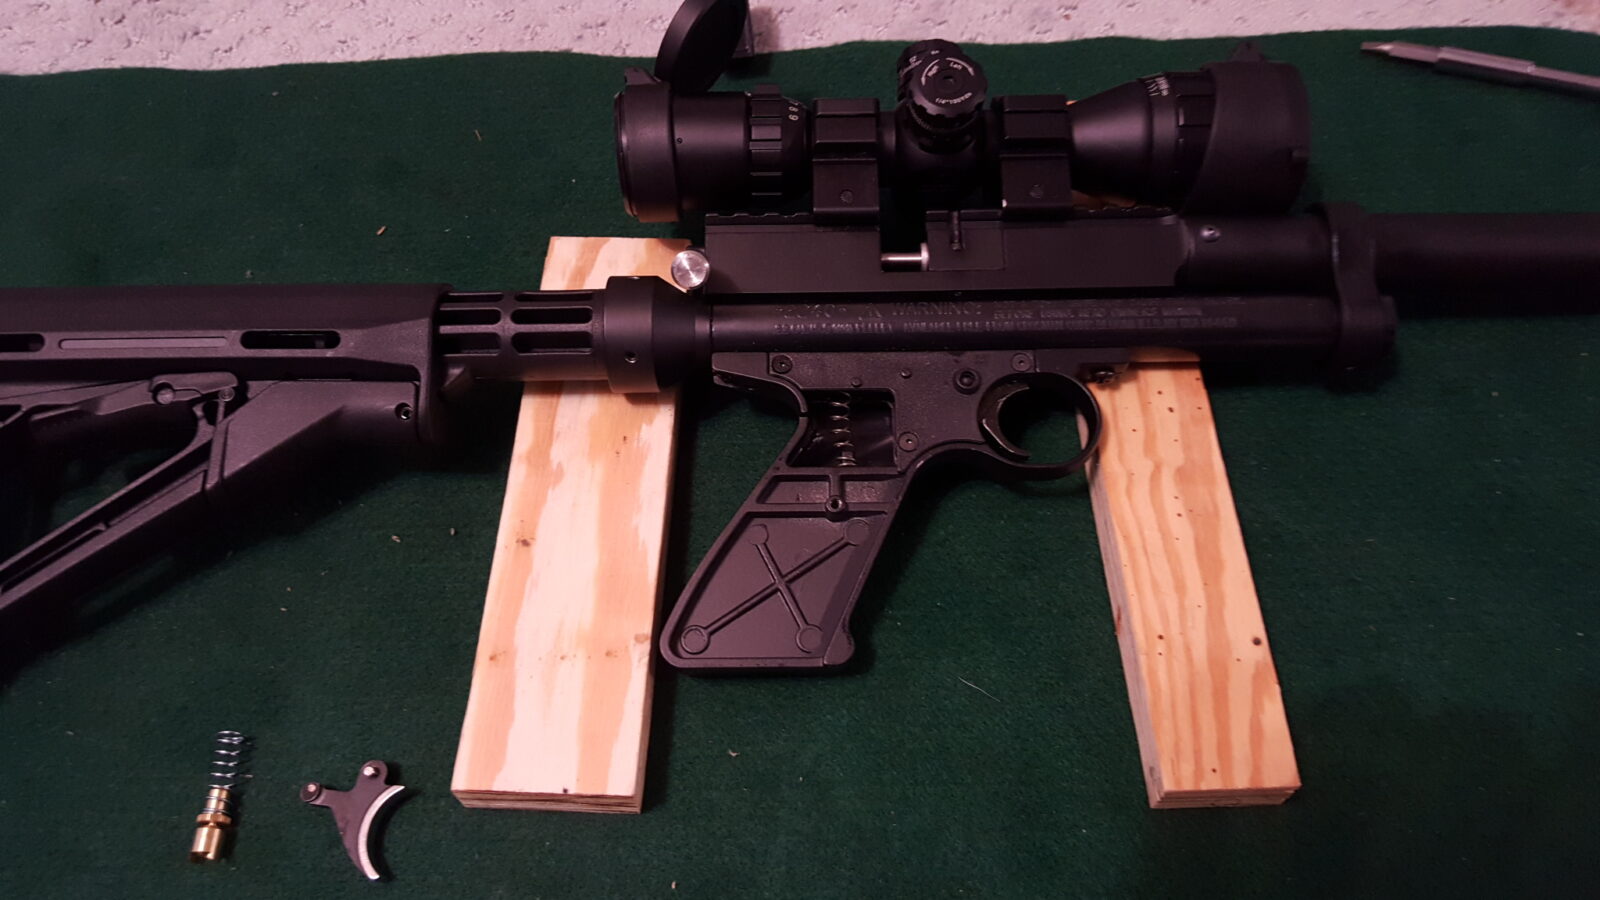
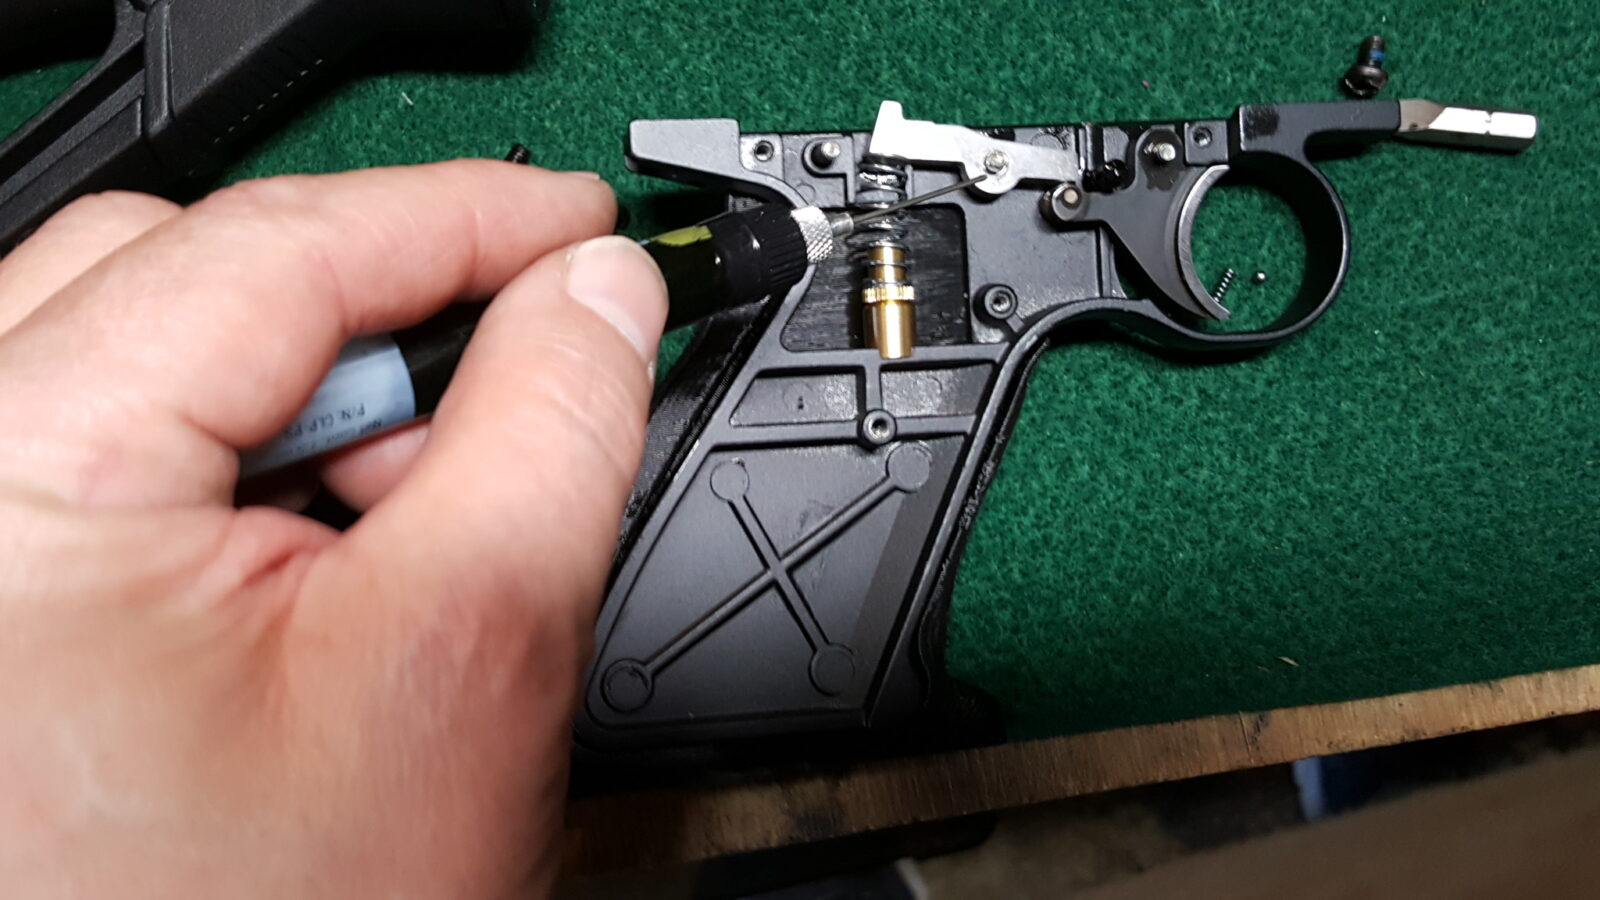
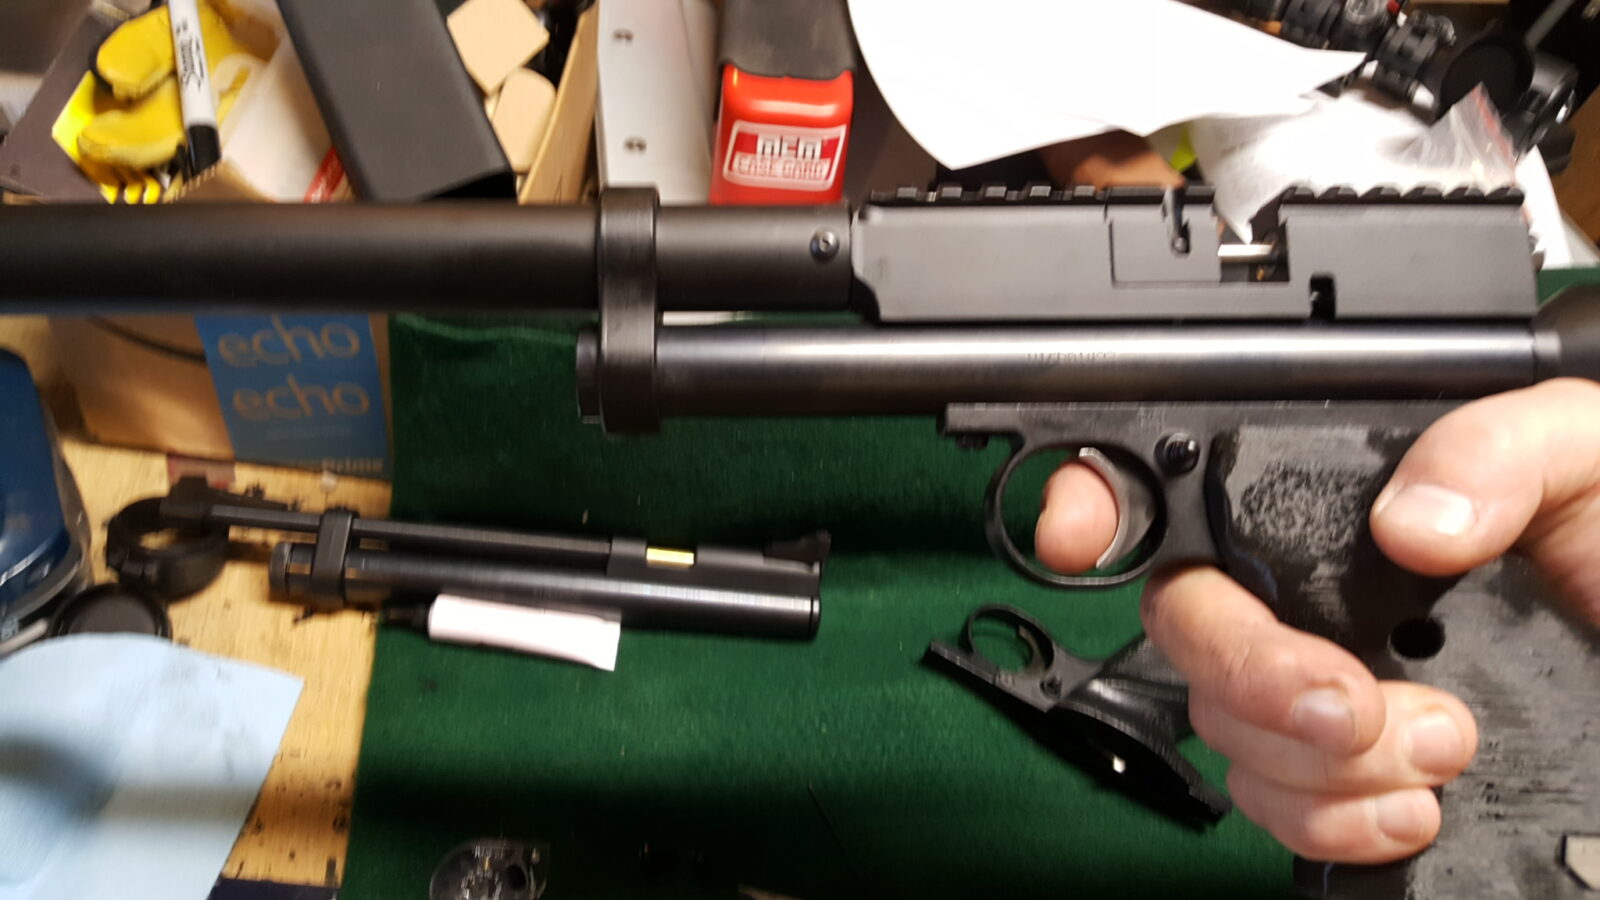
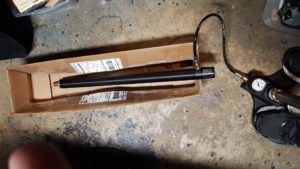
At the same time I bought the Hill, I bought a Hatsan Gladius Long bullpup in .22.  I’ll write about the Gladius more later but it came with the fill probe to screw onto the Hill’s male threaded end fitting.  I used wrenches to tighten things down really well, put the Gladius’ air cyliner in a cardboard box to cradle it so I could then pump air in.  The hose on the Hill is really short and I suspect it is because you need to pump and pressurize that hose also before the check valve in the Gladius’ air cylinder will open and let air in.

We sell replacement O-rings and covers to keep your fill probe clean. Click here to learn more.

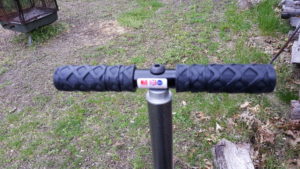
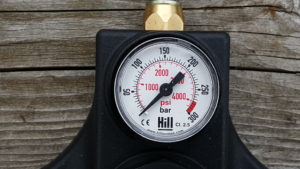
It does take effort as you reach 200 bar (that’s 2900 PSI).  The trick is to go slow and use your body weight to drive the handle down – not your arm muscles.  I’d bend my knees with my arms locked and down I went.  Don’t use your arms – let your weight do the work and speaking for myself, I have plenty of fat … I mean weight 🙂

Yes, it would take a real long time to fill the rifle if I let the cylinder go down to zero but the trick is to shoot a few rounds and keep the rifle in its ideal operating pressure range and refill when you get low — or shoot a few and top if off again.  For example, with my Gladius, after six shots on power setting three, it then takes 30 pumps to take it back up to 200 bar – it’s not that hard – really.  Why six shots?  Well, the pressure was still in the green just now but towards the bottom so I topped it off and counted just to write this post.

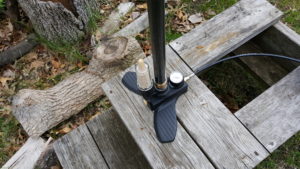
To remove the pump from the cylinder, you unscrew a bleed valve knob on the back of the pump to relieve the pressure in the line.  Do NOT try to remove the probe before the pressure is released.

The only con I have is that I wish that fill hose was a bit longer but I bet another guy would then say he wished it was shorter.  The reason I’d like it longer is so I could lean my rifle against some thing and pump.  I can’t do that today because the hose is too short.  I’ll probably build a cradle for the rifle at some point vs. unscrewing the cylinder (and it was designed for that which is really cool by the way) and filling it.

I have a Huma regulator on order for the Gladius and will try it and write more about both the rifle and the regulator down the road.  The purpose of this post is to recommend the Hill Mk4 pump and to clearly tell you that a hand pump absolutely can get you started in the world of PCP airguns.  In fact, I’m kind of embarrassed that I held off due to hearsay until now and want to clear up the misinformation – a pump can definitely get you started.  In fact, I do plan on getting a compressor some day but I am in no rush now.

January 25, 2018 Update:  The pump is still going strong.  I have topped off my Gladius  at least 30-40 times – I try to keep the pressure between 160-190 bar – every time the 10 round mag is empty or running low, I top the gun off and add pellets.  I just did a bit of preventive maintenance and applied silicone grease to the shaft of the pump and the fill probe.  I am still very happy and recommend this pump.

September 24, 2018 Update:  Still no problems.  I can’t begin to guess how many times I have topped off my Gladius now.  I did grease the shaft again just to be safe.  I also keep a very light film on the fill probe and keep the probe wrapped in a plastic bag when not in use to keep dirt off it.  I shoot two magazines (20 rounds) and then top off.  It’s as simple as that.

February 10, 2020 Update:  Had one of the O-rings on the fill tube fail and had to replace it a few months ago.  Am keeping the probe and pump shaft lubricated with silicone grease.

6/29/2020 Update: Still very happy with the Hill. We now have replacement fill-probe O-rings and caps to keep your fill probe clean. Click here to learn more.


If you find this post useful, please share the link on Facebook, with your friends, etc. Your support is much appreciated and if you have any feedback, please email me at in**@ro*********.com. Please note that for links to other websites, I may be paid via an affiliate program such as Avantlink, Impact, Amazon and eBay.


Sluggish Marauder Mag Fix: Try #3 – Change the Internal Spring Position – This is the best fix!

Please note that there are three posts in this series.  The method in the third post would fix just about any magazine while the other two helped some of the magazines:

  1. Sluggish Marauder Mag Fix:  Try #1 – Loosen the Center Screw
  2. Sluggish Marauder Mag Fix:  Try #2 – Dry Film Lubricants – Not a Good Fix – But Avoid 3-In-1 Dry Lube Because It Isn’t Dry!
  3. Sluggish Marauder Mag Fix:  Try #3 – Change the Internal Spring Position – This is the best fix!

Now on to the post:


Ok, in the first couple of tries, I had some success loosening the center screw on a couple of the sluggish mags.  Marginal improvement with dry lube but that didn’t fix two.  What resurrected the two worst magazines was to disassemble the magazines and move the spring’s anchor leg to the center hole.   What this did was to increase the tension of the spring and boy, did that fix the problem in spades.  In the future, I would try loosening the center screw and if that didn’t work, I’d go right to this spring adjustment:

Here are the steps:

  1. Note where the spring is at currently my looking in the holes in the back of the magazine.  If you see metal, that is the leg of the spring.  All of my mags have had the spring’s leg in the same place from the factory thus far:
  2. Remove the center screw and disassemble the magazine with a 1/16″ hex key.  Pay attention to how it fits together and also look for any debris or burs that might be causing drag:   

    In this next photo, look at the spring.  The downward leg is the bottom and the sideways leg is the top and the center of the drum has a slot that the top part of that spring nestles into:


  3. Move the drum’s spring to the center hole in the track where the pellets are carried.  . See the oily crap … I mean “film” in the mag?  That is courtesy of the 3-in-1 supposed dry lubricant that I will never use again and got cleaned out right after I took this photo:
    If you aren’t sure what hole I mean, look at this next photo.  Magazines PA2 and PA4 have the spring located to the new hole half way around the magazine track.  PA1 and PA3 still have the springs in the original hole and seem to work ok.  This is also a good example of how labeling your mags helps you keep track of what is going on.  PA1 was the worst by far.
  4. Align the drum with the top of the spring and then carefully rotate the assembly clockwise slightly angling the long part of the drum so it will clear the part of the magazine that forms the start/end of the magazine area that holds the actual pellets.

  5. Install the top so the brass pin that is embedded in the clear magazine cover rides in the groove of the drum.  I slide the cover on upwards from the bottom while keeping the center secure otherwise it will fly out.
  6. Re-install the screw.  Tighten it down until the cover can’t lift up and adjust the screw in/out until you feel the right amount of tension on the cover and it can move.
  7. Test by turning the top – you should feel way more spring tension now.

So in my testing, this worked great.  If just loosening the cover a bit works for you, then great.  If not, take it apart and move the spring.  Note – I did try spraying the good Dupont Teflon dry lube in one of the magazines and I can’t say that there is a noticeable difference.  You can if you want to experiment, but I’m not going to bother going forward.

I hope this helps you out!


idth=”0″ marginheight=”0″ scrolling=”no” frameborder=”0″ src=”//ws-na.amazon-adsystem.com/widgets/q?ServiceVersion=20070822&OneJS=1&Operation=GetAdHtml&MarketPlace=US&source=ac&ref=qf_sp_asin_til&ad_type=product_link&tracking_id=ronin03-20&marketplace=amazon&region=US&placement=B007RHD6ZA&asins=B007RHD6ZA&linkId=7d2a6ce8c4b935dbebd35e4bd36c5f1f&show_border=false&link_opens_in_new_window=false&price_color=333333&title_color=0066c0&bg_color=ffffff”]


If you find this post useful, please share the link on Facebook, with your friends, etc. Your support is much appreciated and if you have any feedback, please email me at in**@ro*********.com. Please note that for links to other websites, I may be paid via an affiliate program such as Avantlink, Impact, Amazon and eBay.


Sluggish Marauder Mag Fix: Try #2 – Dry Film Lubricants – Not a Good Fix – But Avoid 3-In-1 Dry Lube Because It Isn’t Dry!

Please note that there are three posts in this series.  The method in the third post would fix just about any magazine while the other two helped some of the magazines:

  1. Sluggish Marauder Mag Fix:  Try #1 – Loosen the Center Screw
  2. Sluggish Marauder Mag Fix:  Try #2 – Dry Film Lubricants – Not a Good Fix – But Avoid 3-In-1 Dry Lube Because It Isn’t Dry!
  3. Sluggish Marauder Mag Fix:  Try #3 – Change the Internal Spring Position – This is the best fix!

Now on to the post:


I am less than impressed with Marauder airgun magazines to be honest.  Their spring tension seems to be inconsistent.  The springs are in the same hole and in some cases, simply backing off the center screw was enough.  In other cases, I am finding that it helps to use a dry film lubricant in the magazine.  Why a dry lube?  If you use oil, it will attract dust and grit that will build up and cause problems down the road.  Dry films do not have a liquid that captures contaminants.

I experimented with two types of lubricants – 3-In-1 and also Dupont’s Non-Stick Dry Film Lubricant, which is an aerosol Teflon.  In 3 magazines, the 3-in-1 helped.  In the fourth magazine, tension improved with the use of the Dupont product.   In spraying some test pieces of black Kydex, you can see the Dupont product leaves a thick coat of Teflon behind.  The 3-in-1 leaves a greasy residue.  I am betting contaminants will stick to it. Reviewers of it are not mincing words – despite what the label says, it is not a true dry lube.  The first photo shows the Dupont Teflon powder on the left and the greasy/oily feeling residue of the 3-in-1 on the right.  The second photo is a close up of the 3-in-1 residue.

After doing more reading and testing, I have changed all four magazines over to the Dupont product to avoid problems down the road.  To make a long story short, the magazines all turn much more freely and I would tell you do NOT to buy the supposed 3-in-1 dry lube because its greasy surface will likely be a problem down the road.  The next photo shows a magazine with the Teflon residue visible.

The magazines are better but do not feel as snappy as I think they should.  I’d say it helped some but my worst magazine, PA4, still feels way to light.   In my next post, I will adjust the spring position internally.


If you find this post useful, please share the link on Facebook, with your friends, etc. Your support is much appreciated and if you have any feedback, please email me at in**@ro*********.com. Please note that for links to other websites, I may be paid via an affiliate program such as Avantlink, Impact, Amazon and eBay.


Sluggish Marauder Mag Fix: Try #1 – Loosen the Center Screw

Please note that there are three posts in this series.  The method in the third post would fix just about any magazine while the other two helped some of the magazines:

  1. Sluggish Marauder Mag Fix:  Try #1 – Loosen the Center Screw
  2. Sluggish Marauder Mag Fix:  Try #2 – Dry Film Lubricants – Not a Good Fix – But Avoid 3-In-1 Dry Lube Because It Isn’t Dry!
  3. Sluggish Marauder Mag Fix:  Try #3 – Change the Internal Spring Position – This is the best fix!

Now on to the post:


I just bought eight brand new .22 Marauder magazines for my BNM breach and about half of them were sluggish. In other words they didn’t really want to come back around and feed the pellets the way they should. In closer investigation, some had been over tightened during assembly. I simply backed the cover screw off with a 1/16 inch Allen key and that easy change did help a couple of the mags but not all. I would turn a little bit and test, turn little bit and test, etc.. I bet I backed off less than 1/4-1/2 a turn for the magazines that had problems.  It didn’t fix all of them.  Two were still sluggish.  This is quick, easy and worth trying if you have a problem:

Note, the allen screws uses a 1/16″ key:

The other recommendation I would make is to use a silver Sharpie pen and label your magazines so you can keep track of how they perform. I’m also experimenting with spring position some and will write that up in another post. I have started putting a silver dot on the factory spring  hole.  So far all eight were in the exact same hole.

Frankly, I think they went with a cheap design.  I still have two things I want to try – using a dry lube and changing the internal spring position.  These will be in my next two blog posts.


If you find this post useful, please share the link on Facebook, with your friends, etc. Your support is much appreciated and if you have any feedback, please email me at in**@ro*********.com. Please note that for links to other websites, I may be paid via an affiliate program such as Avantlink, Impact, Amazon and eBay.


What to do if your Marauder Rifle Magazine is too tight in the BNM breech

My magazine was a bear to pull out from my CP1002 BNM breech.  I talked to Sergei at BNM about the tight fit and told me that they keep they keep their tolerances tight on purpose.  He would rather things be tight vs. loose and that makes sense to me.  So if your Marauder magazine is a bear to push in and out of the breach, a tiny bit of fitting is needed.  The bottom of the Marauder magazine can be lightly sanded to allow magazine to be inserted easier.  It probably is not the front to back dimension that you need to worry about so try the following first.

All you need to do is get some 320 grit sand paper, rub the bottom lightly, evenly and test.  You just need to do the part that slides into the receiver.  320 was all I needed it took off enough to do the job gut also left a fine enough finish.  Another benefit for those of you that may be nervous is that it can only take off a small amount of material.  It will fill fast so with each pass, use another exposed surface of sandpaper.  That is why you see two ends used on the second photo.

For mine to fit way better, it was just a tiny amount I had to take off.  So don’t go crazy and take off a too much too fast.  Literally, do 4-6 rubs, blow it off and test.  Do this until it fits.  I think I did all three of my mags with just a couple of rounds of sanding and testing each.

I could have sanded it with 400 grit and even gone up to a polish but just doing 320 seemed to work great so I stopped there.


If you find this post useful, please share the link on Facebook, with your friends, etc. Your support is much appreciated and if you have any feedback, please email me at in**@ro*********.com. Please note that for links to other websites, I may be paid via an affiliate program such as Avantlink, Impact, Amazon and eBay.


BNM Custom Airguns CP1002 Pistol – First Trigger Experiment and Match Grips

I bought a cool CP1002 pistol from BNM Custom Airguns.  Now they focus on making exceptional breaches and that Tippmann stock adapter is very cool also.  In talking with Sergio, because there is such a strong aftermarket with businesses that specialize on certain aspects, he has not bothered with the trigger.  Now that makes sense – triggers are really something that an individual has to decide on – do they want one stage or two?  Long pull or short pull?  Light pull or heavy pull? and so forth.

After doing some reading, I decided to install a roller trigger, thicker sear and adjustable sear spring.  They were all available from Alchemy Airwerks on eBay so I bought them and a few other items to try in the future.  Now there are a ton of options and I’ll try some others as well but this was a first try and it did help.

Years ago, I bought a digital Lyman trigger gauge that I am very fond of.  You basically install a 9 volt battery, hold down READY to zero it and then press Ready again to take the measurement.  You do this by putting the black fitting on the feeler on the trigger in the same spot as you slowly pull the trigger with the gauge.  My readings were all over the place from 4lbs 2.8oz up to 5lbs 5 oz.  In other words, it was heavy and inconsistent.  Couple this with how thin the stock trigger is and it really makes for a poor trigger.

Before you do anything, make sure the pistol is empty and that there isn’t any Co2 in it plus make sure the pistol safety is set to fire or you risk losing the spring and detent.  Notice that last part.  It’s a heck of a good warning to bear in mind – have it set to fire and protect it from being bumped.  That doesn’t always work out so well hence this post.

Second HUGE recommendation – Be sure to have one of the fuzzy work mats.  I’m not telling you this to be cool – they serve a real purpose.  The fuzzy surface cushions soft parts so they don’t fly away.  There is an unwritten shop law, the smaller the part, the further than darn thing will bounce never to be found or not without some monumental search with magnets, flashlights and a clairvoyant.

So here are the steps bearing in mind we really want to talk about the safety spring and detent:

  1. When you go to work on the trigger. you remove the right side grip plate and you are looking at a plate held in by 2-3 screws.  On my six month old 2240, it is three small 1/16″ allen screws.  Notice how I have the pistol up on wood blocks to ensure the safety is not pressed.  You absolutely want that to stay on the fire setting.
  2. When you do pull that plate off, be very careful to press the safety pin down.  It is made from cheap plastic and may pull out.  That is exactly what happened to me and the tiny detent ball and spring flew out.  Luckily the fuzzy matte caught both parts.  Click here if you need to learn how to reinstall the detent ball and spring – a new tab will open with a blog post I did about just that.
  3. Back to this story, with the plate off, you can see the trigger internals.  The big spring on the left is the sear spring, the plate at the top is the sear and then you have the trigger to the right.  I would recommend you take a quick photo with a digital camera or your phone so you can see how everything is oriented.  Out of habit, I always take photos now when I am working on complex stuff – guns, cars, etc.  This has saved my bacon many, many times.
  4. So my goal for this experiment was to replace the fixed sear spring with an adjustable one to lighted the pull, the thin sear with a thicker polished sear to improve consistency and the trigger with a trigger from Alchemy that both had a wider face to distribute load on the finger and a roller to ride the sear.
  5. Remove the existing parts.  I have big fingers so I use needlenose pliers on everything.  Depending on the angle, either long precision needlenose pliers or right angle pliers.  Do not lose your parts.  Put them in a cup or baggie for the future.  You will need to use the sear pin so keep it out.
  6. The new thick stainless sear was a tight fit on the sear pin.  I used a benchblock and hammer to gently tap the pin into the sear.  The pin should be sticking out equally on both sides.
  7. My next step was to use my Dremel with a rubberized polishing bur to make the trigger contact surface smooth and shiny on the sear before I installed it.
  8. I installed the trigger first by slotting it into the safety and putting it in the pin hole.  There was a spring washer on the original that I did not both installing.  I then installed the sear and the adjustable sear spring.  In terms of the adjustable spring, I overcompressed the spring to soften it and dialed the adjustment wheel down as far as it would go to lighten the load.  The first photo shows the original parts that were removed and the next two shows the new set up.
  9. Next, I used a pin point CLP applicator to lubricate the sear pin and hammer pin on both sides. This photo was taken when I had the grip frame off the gun.  You do NOT need to do that.  The main thing is the application of the CLP, or whatever oil/lubricant you want to use.
  10. I then put the plate back on the trigger group and function tested it making sure the safety worked, that the weapon fired and that bumping the gun didn’t cause an accidental discharge.
  11. Next, I bought custom target grips made on a 3D printer to fit my hand by PrecisionTargetGrips.com.  They are pretty interesting and really fill my hand.  I did need to use a chainsaw file on the right side to get the hole in the grip to match up with the hole in the grip frame.  I also needed to grind the screw down about 1/16″ so it would tighten all the way on that side.  The left  was just fine.  I liked the result but it is very different from what I am used to.
  12. Okay, the trigger felt better but what did the Lyman gauge show?  The average was 3 pounds 7.3oz and the highest I saw was 4 pounds 4.1oz. 
  13. So the next step was to test it at 25 feet.  I like Splatterburst targets – they are cheap and self-adhesive so I stuck an 8″ target up.  I went for the center first and had to get used to the new set up.  It was shot a 5 round group at about and inch.  The next 5 round set was at the bottom and it was around 3/4″ and then I shot the top and it was between 1/2-3/4″.  All were with the 15.89 JSB Diablos.

So, the experiment did yield a lighter and more consistent trigger.  The wider trigger face also made it more comfortable.  I used a MTM stand to hold the airgun while testing to have a steady platform by the way.  It reduced my tremor a lot and I am sure the weapon could have fired tighter groups if I had an even steadier stand.  For me, a heavy weapon is better as it absorbs my tremor more.  With a lighter gun, I really need a rock solid stand and bench to fire for accuracy.

All in all, I am very happy with the results.  I could lighten the pull up more but will stick with what I have for a while and see how it goes with pests.  I definitely recommend the BNM repeater.  Boy is it slick.

Next up in a few weeks will be installing a BNM system on my Crosman Custom Shop 2400KT.  I have the BNM parts on order, the 2400KT and am still deciding on the stock and scope.

2/25/20 Update:  I’m sad to say the website somehow lost the second post after this.  I tinkered with the airgun for a while and then sold it like so many of my projects.  


If you find this post useful, please share the link on Facebook, with your friends, etc. Your support is much appreciated and if you have any feedback, please email me at in**@ro*********.com. Please note that for links to other websites, I may be paid via an affiliate program such as Avantlink, Impact, Amazon and eBay.


What to do if the Crosman 2240 safety spring and detent ball fall out

The Crosman 2240 has to be one of the most popular, if not the most popular, .22 caliber C02 pistols available.  In part because it is a cheap and reliable design but also because there is a HUGE aftermarket parts industry out there.  There is one negative right out of the gates though.  It has, in my opinion, quite possibly the worst trigger I have ever felt in my life.  The trigger isn’t very wide so it feels weird on your finger, there is a ton of slop and it is heavier than sin.  Not surprising, there are a ton of tricks and aftermarket parts out there to rectify this.  The focus of this blog post isn’t so much about replacing the trigger and tuning everything.  It’s really about what to do if the basted safety spring and detent ball fall out so I am going to get to that point quickly and post later about my trigger tuning efforts.

Before you do anything, make sure the pistol is empty and that there isn’t any Co2 in it plus make sure the pistol safety is set to fire or you risk losing the spring and detent.  Notice that last part.  It’s a heck of a good warning to bear in mind – have it set to fire and protect it from being bumped.  That doesn’t always work out so well hence this post.

Second HUGE recommendation – Be sure to have one of the fuzzy work mattes.  I’m not telling you this to be cool – they serve a real purpose.  The fuzzy surface cushions soft parts so they don’t fly away.  There is an unwritten shop law, the smaller the part, the further than darn thing will bounce never to be found or not without some monumental search with magnets, flashlights and a clairvoyant.

So here are the steps bearing in mind we really want to talk about the safety spring and detent:

1. When you go to work on the trigger. you remove the right side grip plate and you are looking at a plate held in by 2-3 screws.  On my six month old 2240, it is three small 1/16″ allen screws.

2. When you do pull that plate off, make very sure that cheap plastic safety pin doesn’t pull out with the plate.  That is exactly what happened to me.  Boy was I pissed.  I was distracted, lifted the plate and watched it shoot out.  Luckily the green matte caught the little detent ball and the spring stayed in the grip frame.  I looked at it and wondered how the heck it went back in.

3. Modifying 2240s is something I’ve taken up experimenting with so I had another stock 2240 sitting near by.  If you’ve ever done an AR, you know the detent pins and springs go in the end opposite the pin.  So, I carefully took the grip frame off the gas tube and sure enough, there was the spring sticking straight up.  It is the hole on the left side of the grip from straight above the hole for the safety cross pin.

4. So, with the mystery solved, I carefully assembled my 2240 with the new roller trigger, stainless sear and adjustable sear spring.  I made sure it all looked good, oiled it, and put the side plate back on (you must put the plate on or it the spring will shoot out – I lost one that way).  Note, the red side of the safety should be on the left side of the grip frame.


5. Having had many bad experiences in the past trying to go too fast, I know to always function test.  I made sure the safety worked first by sliding the safety on and making sure the trigger would not fire.  I then slid the safety off and made sure it would fire.  I also made sure to watch the sear to ensure it was articulating when I pulled the trigger.  That is a basic trigger function test.

6. I then carefully dropped the tiny detent ball down the hole.  The next step is just me – I put a dab of grease on the side of the spring to keep to from easily sliding out.  I view it as cheap insurance to reduce the odds of the spring falling out if I accidentally tilt the grip frame.  You can certainly skip the grease if you want.


7. I put a dab of grease where the sear rubs on the valve.  There’s an old adage that if it slides, grease it — so I did.

8. Next, I carefully mated the grip assembly face up to the gas tube in order to keep the detent spring in place and gently screwed in the front screw (the longer screw) into the frame and then did the back.  Be sure to leave the front a tad loose so you can position the back.  Then tighten them both down.

9. I did another function test but this time actually cocked the empty pistol to make sure it would fire and that the safety worked.


That’s what it takes in a nutshell.

I hope this helps you out.  Click here for a post about the BNM breach and shroud for the 2240


If you find this post useful, please share the link on Facebook, with your friends, etc. Your support is much appreciated and if you have any feedback, please email me at in**@ro*********.com. Please note that for links to other websites, I may be paid via an affiliate program such as Avantlink, Impact, Amazon and eBay.