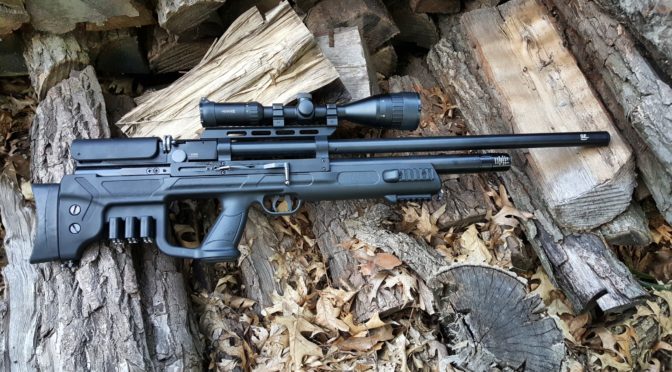
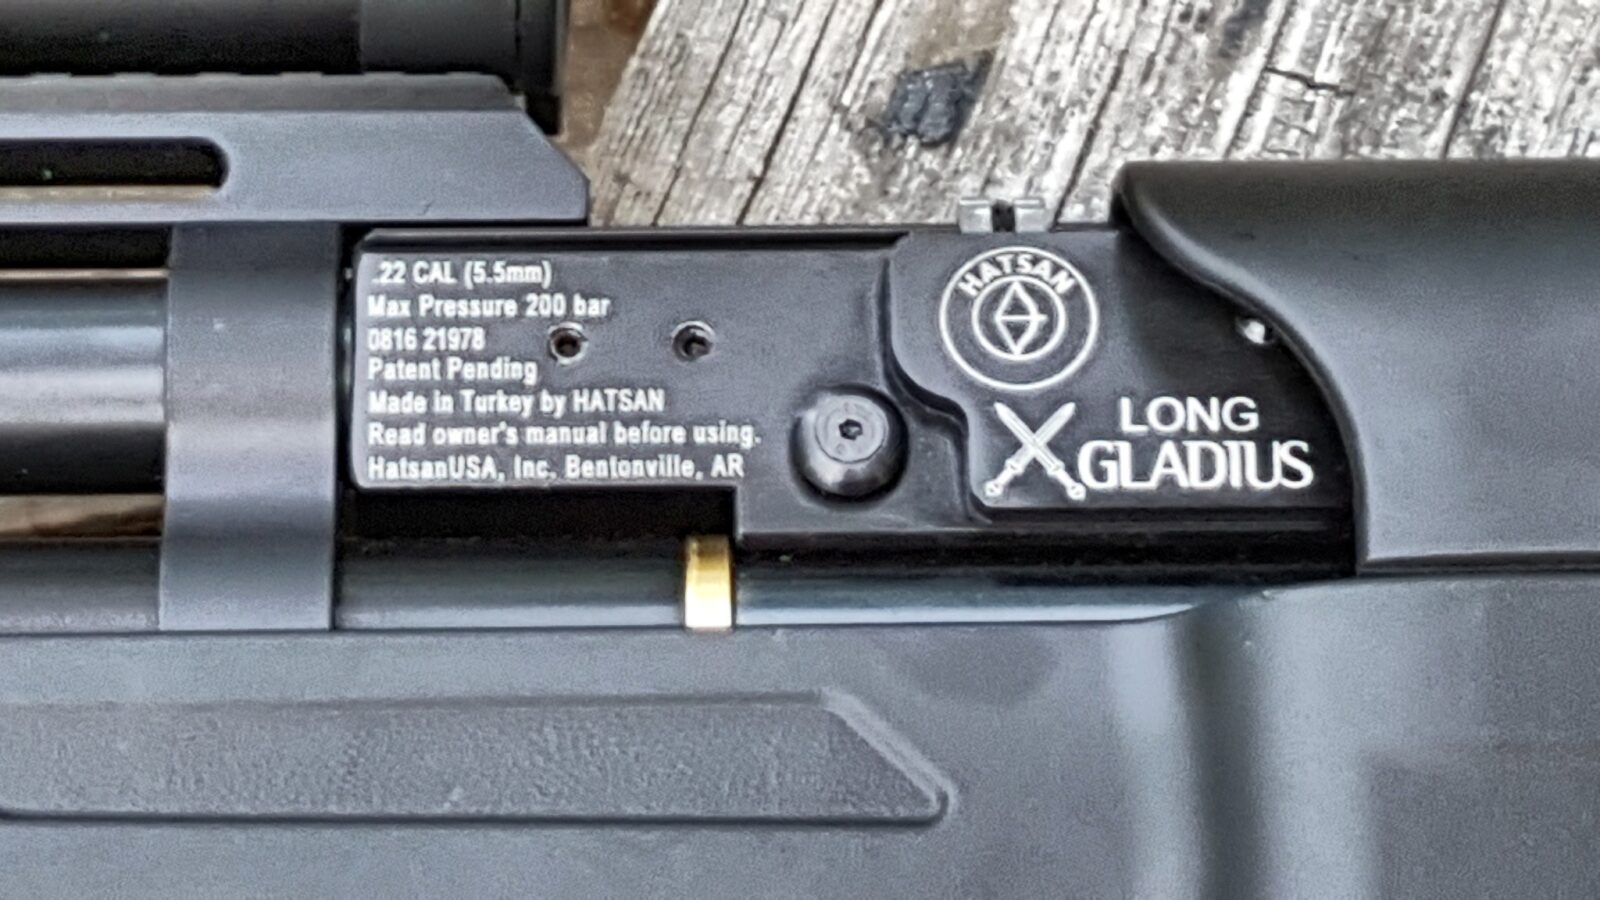
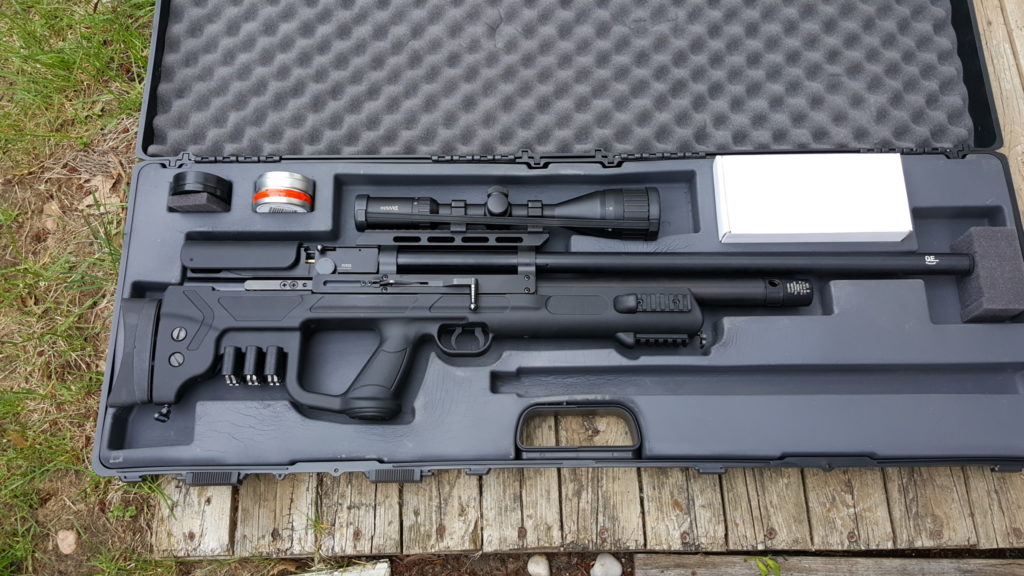
I’ve had this Hatsan Gladius Long PCP rifle in .22 caliber and Hill Mk.4 air pump for just over a year now and am very pleased with it for pest control. I have a few observations to share but first if you wish to read any of the original posts, here are the links:
- Hatsan Gladius Long in .22 – First Take Out of the Box
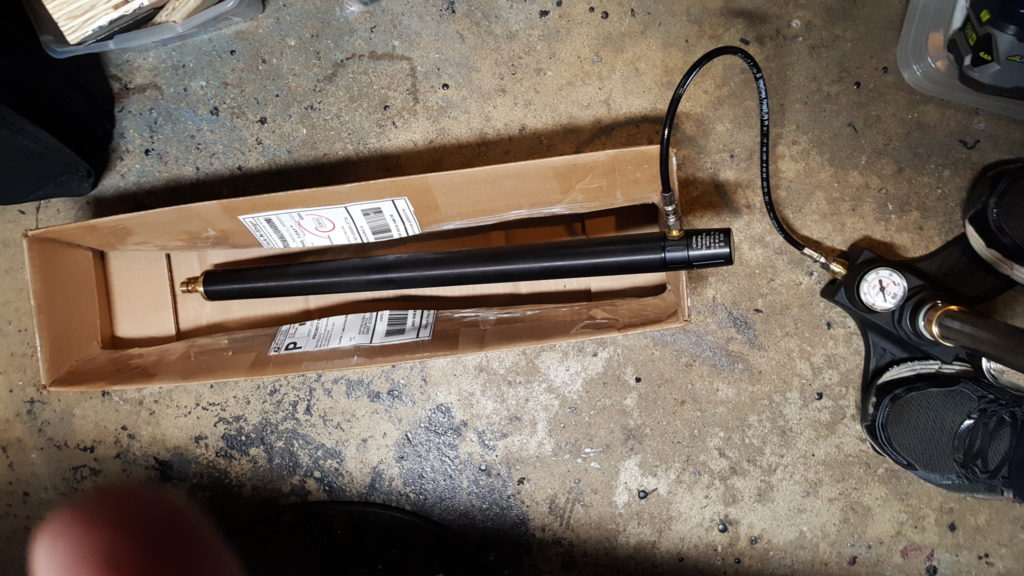
- Hill Mk4 High-Pressure Air Pump for PCP Air Guns
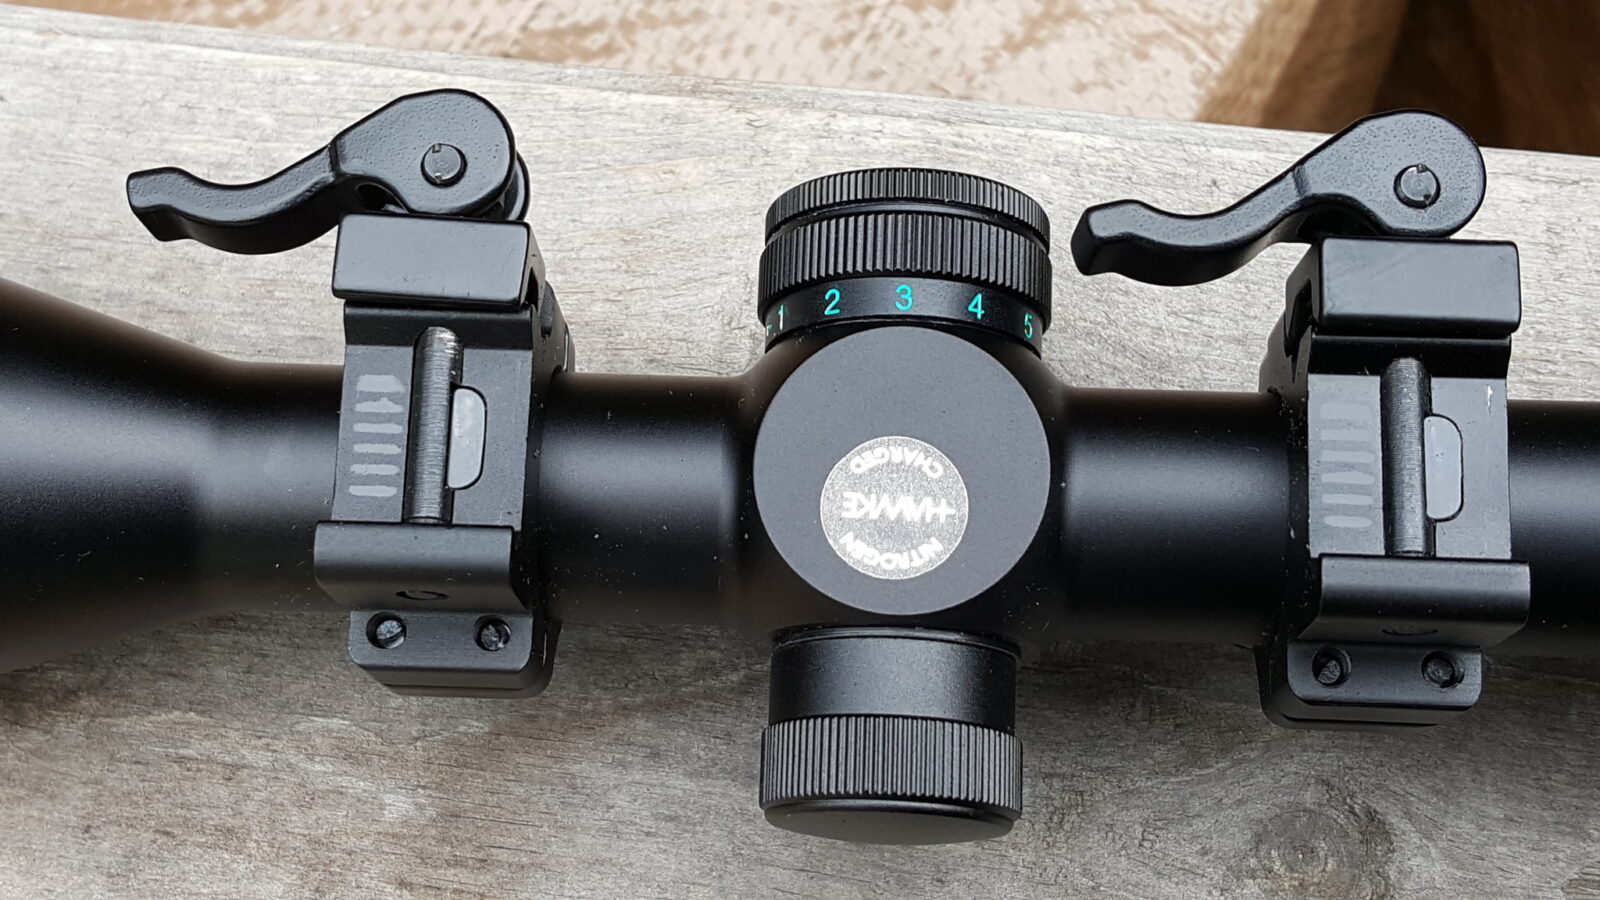
- Installing a Hawke Vantage II 4-12×50 AO Scope on a Hatsan Gladius Long Rifle
At any rate, I’ve probably put about 750-1,000 pellets through this at least. It really likes the JSB Exact Jumbo Heavy Diabolo 18.13 grain pellets. I can shoot overlapping clusters of holes at 30-50 feet over and over. I have some other weight pellets but haven’t had time to test them. I’m hoping a lighter weight will shoot flatter, expand faster and reduce over-penetration.
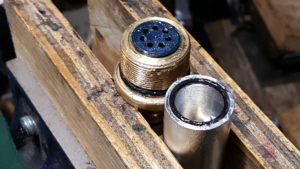
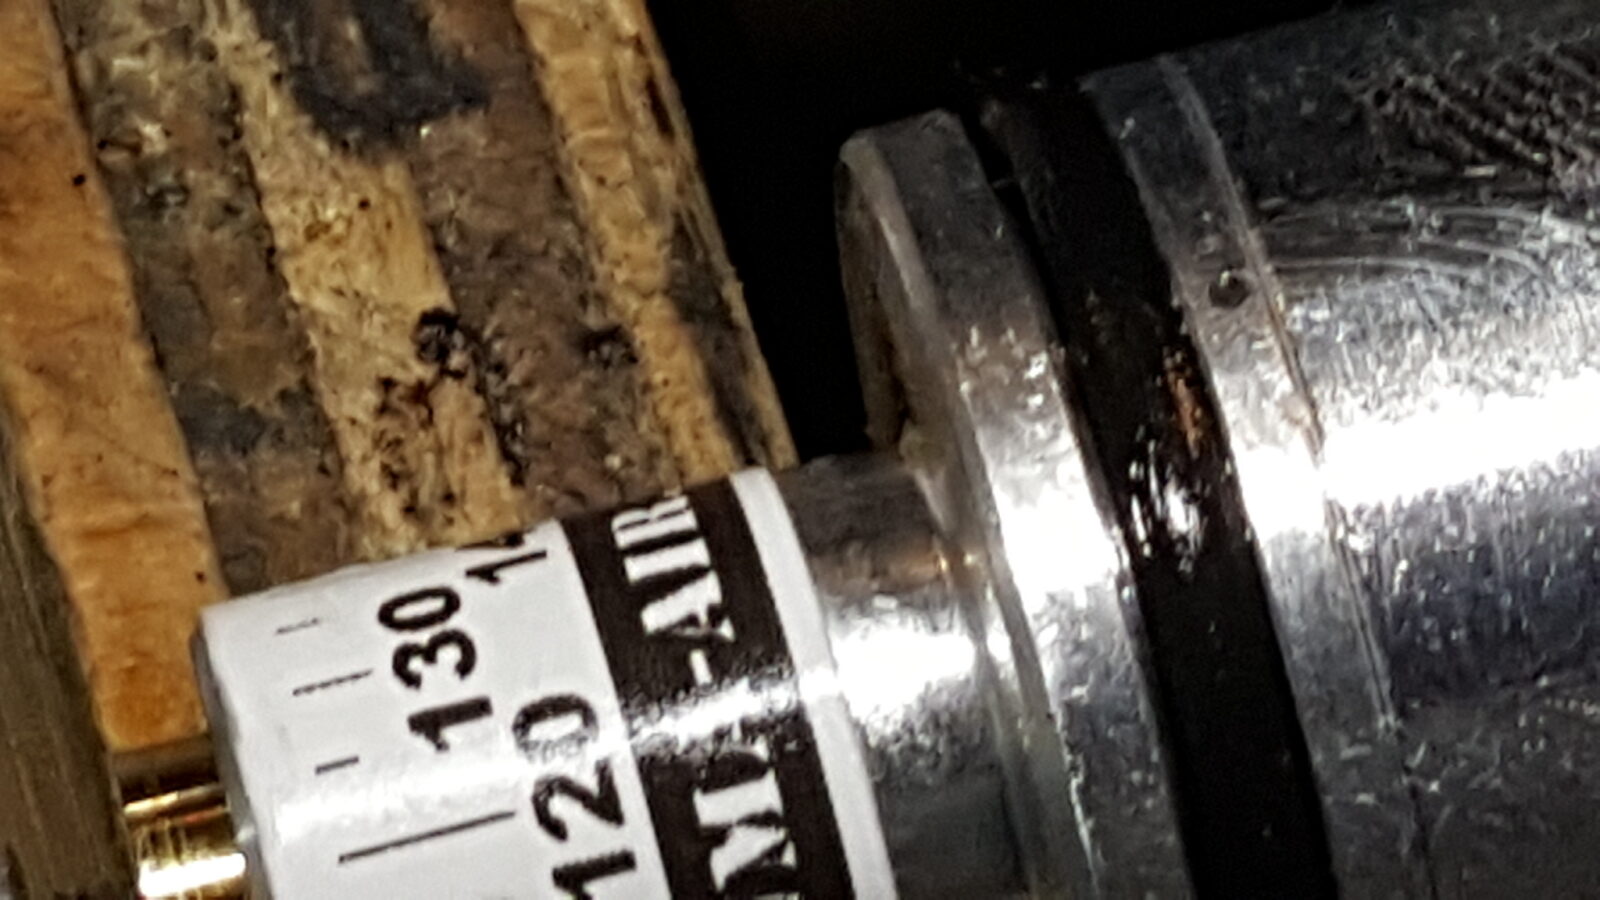
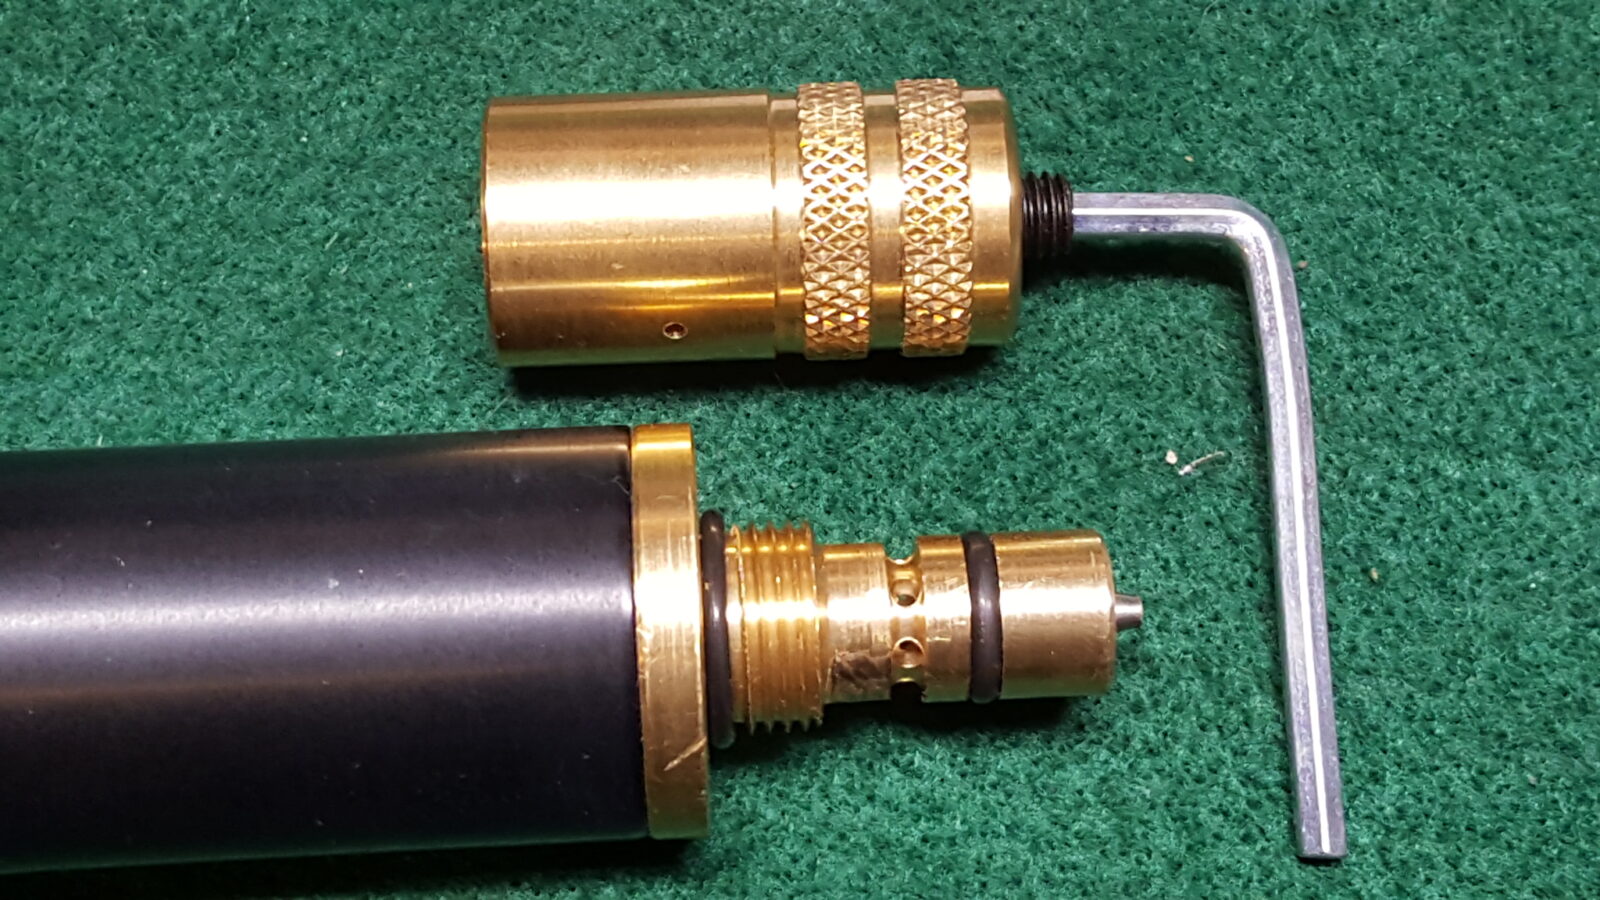
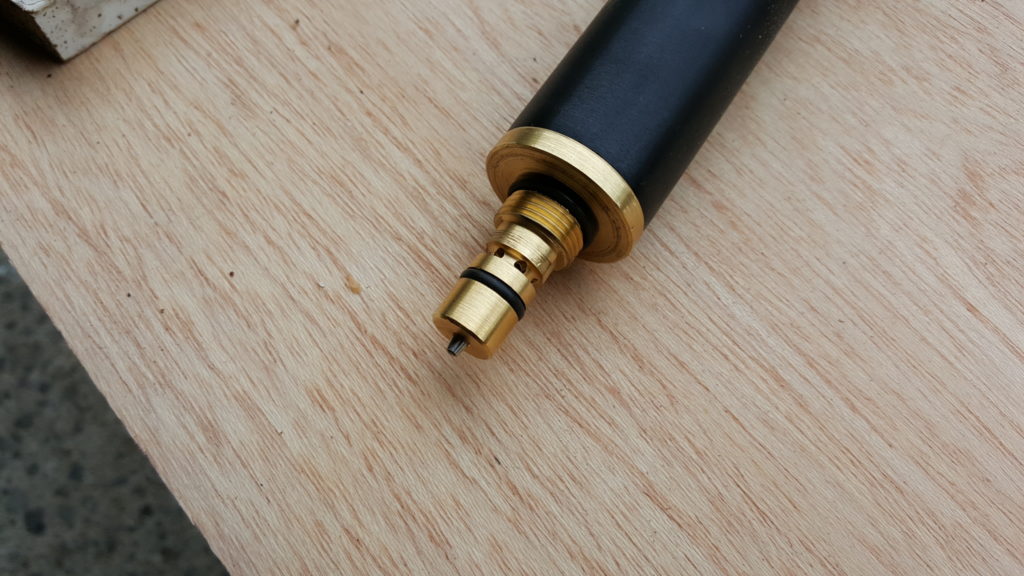
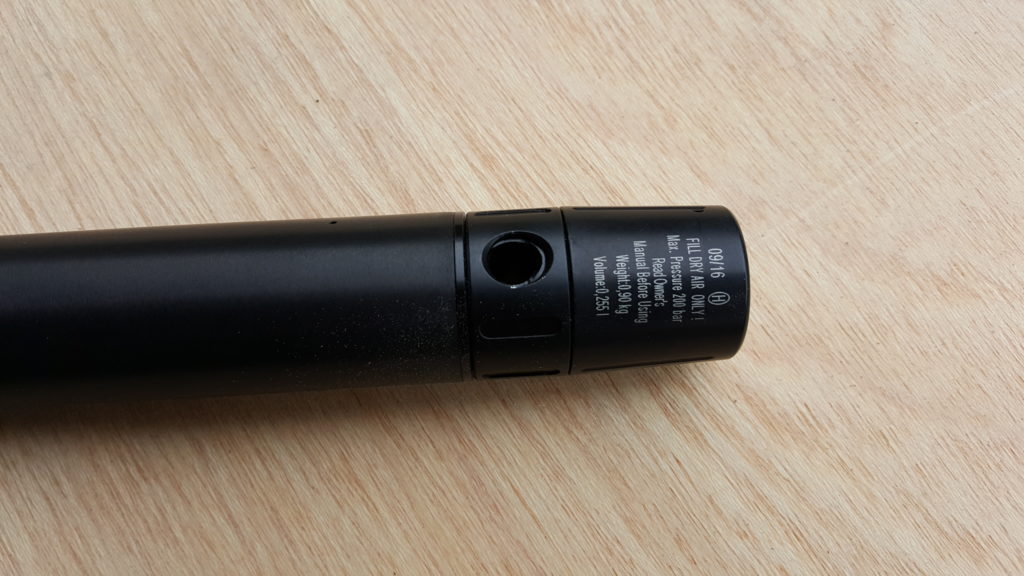
From a pressure perspective, the sweet spot seems to be if I keep the cylinder between 170-195 bar, just short of 200. At 200 the first round is a flier. I am not running a regulator on this cylinder. My second cylinder with the regulator is leaking out the end due to some problem from manufacturing that I need to track down some day. It’s not on my top 2,000 list of things to do.
If I had it to do over again, I would not have bothered buying the spare cylinder. I am using this air rifle for pests – mainly squirrels, rabbits and ground squirrels. I can get 16-20 lethal accurate shots and then I refill using my Hill air pump. I never use the second cylinder not to mention the oddball leak out the very end (it’s not an o-ring).
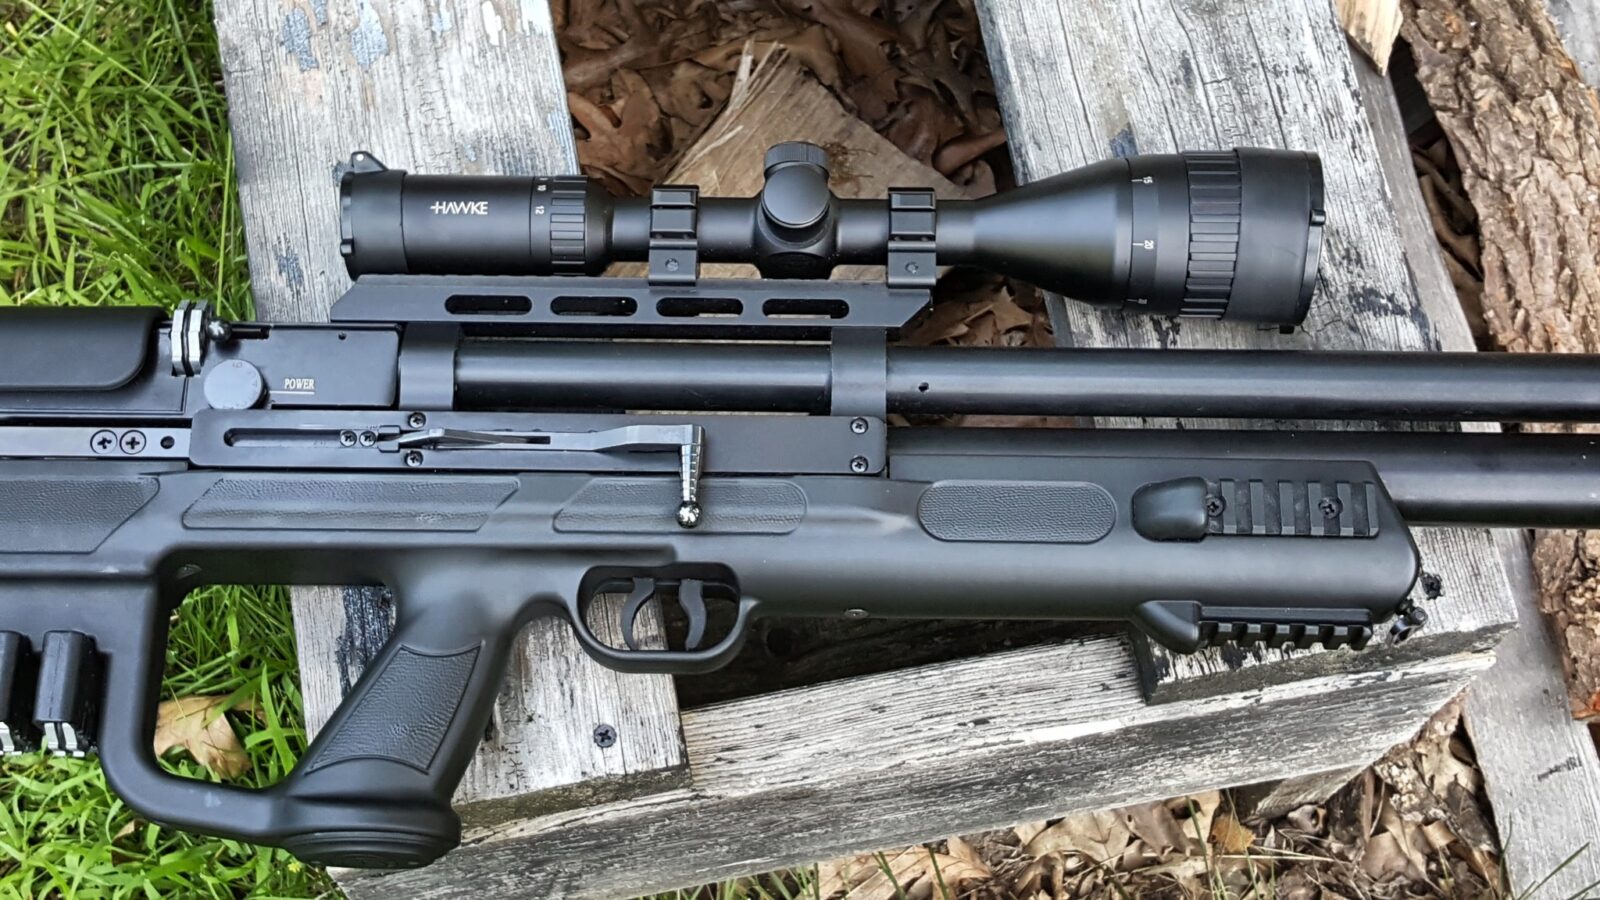
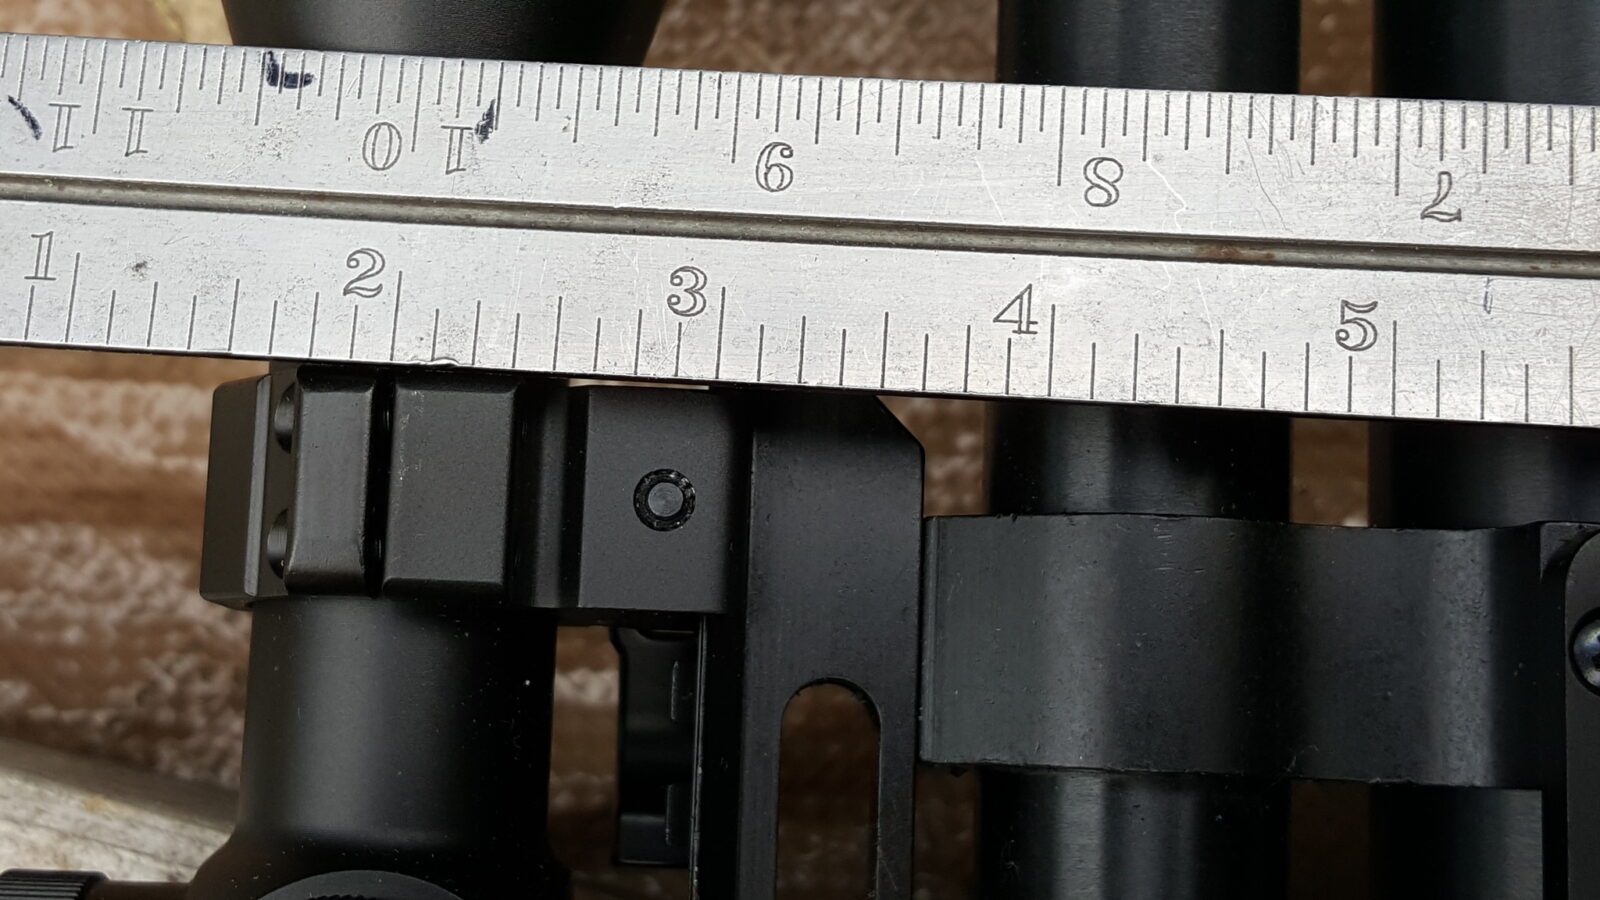
The scope and ring combination has held up great. The scope has held zero. I thought I would use the cheek riser and butt pad adjustments more but haven’t needed them much. I think the cheek piece is up just a hair.
You know, the magazine design is excellent. Some air rifles (Marauder) have real crappy plastic mags and these are metal and easy to fill.

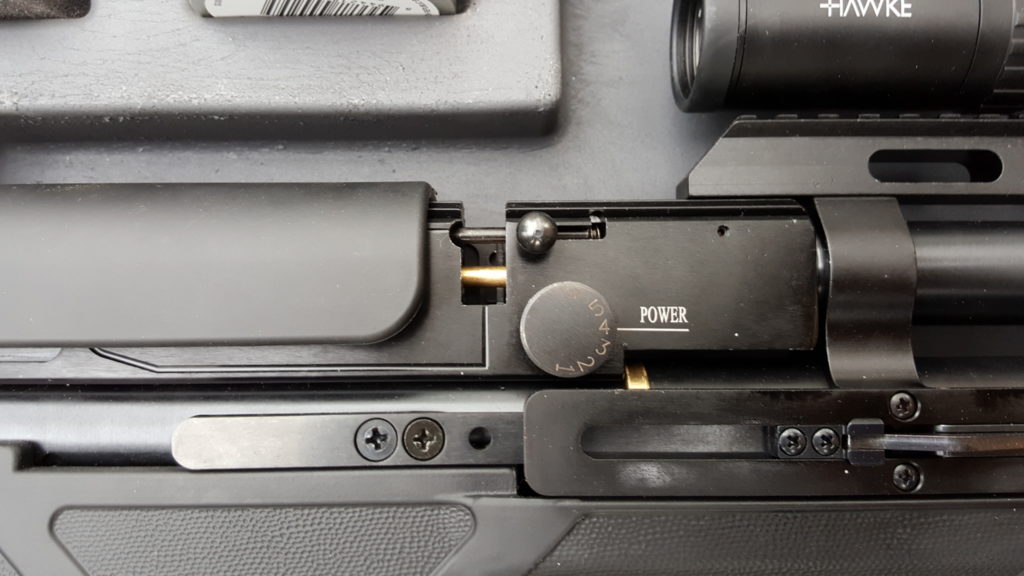
The Hatsan is relatively quiet. I shoot with power setting #4 most of the time and it will drop squirrels and rabbits no problem. There is definitely a muzzle report and I have to worry about over penetration. It blows right through squirrels. On #3, it is remarkably quiet but I have to be very careful with shot placement on a squirrel within 50 feet and I will not use #3 on a rabbit. So most of the time I am on #4 and am very, very careful of what is behind the target. My preference is a tree or something else solid.

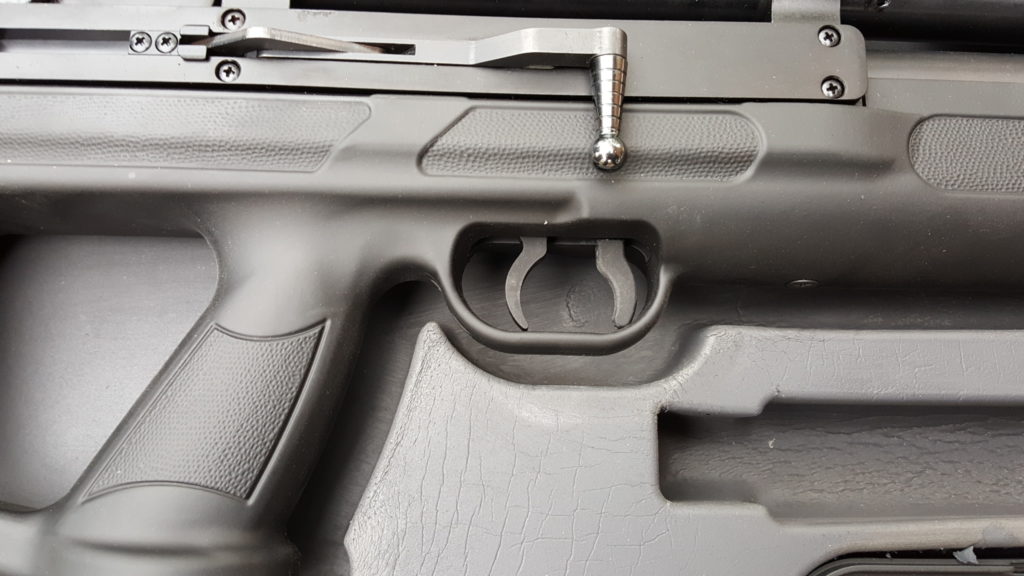
I really like the trigger and the safety. The trigger does the job – I haven’t checked the weight but I am able to stay on target with even ground squirrels. The safety lever in the trigger area takes a bit of getting used to but once you do, it is very easy to engage, disengage or check status.
Follow up shots are really nice to have. Up until the Gladius, I only had single shot air rifles. Now I have up to 10 rounds and a side cocking lever that you can quickly actuate while keeping the scope and your eye on the target.
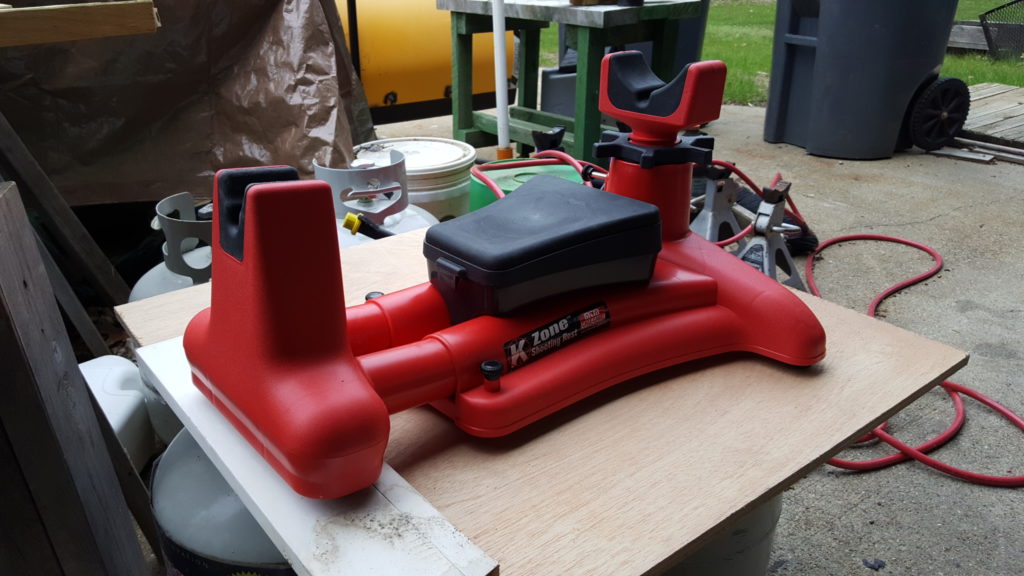
The Hill Mk.4 pump has held up very well. Depending on my mix of #3 and #4 power setting shots, I can top off the cylinder in 25-45 pumps after 10-20 rounds. Because I fiddle with the power settings and I don’t always wait to shoot all 10 pellets I can’t tell you an exact count. By the way, it’s hard to tell if you are down to the last pellet so when I get down near the end of pellets, I will top of the magazine and either top of the tank then or after one more magazine of pellets.

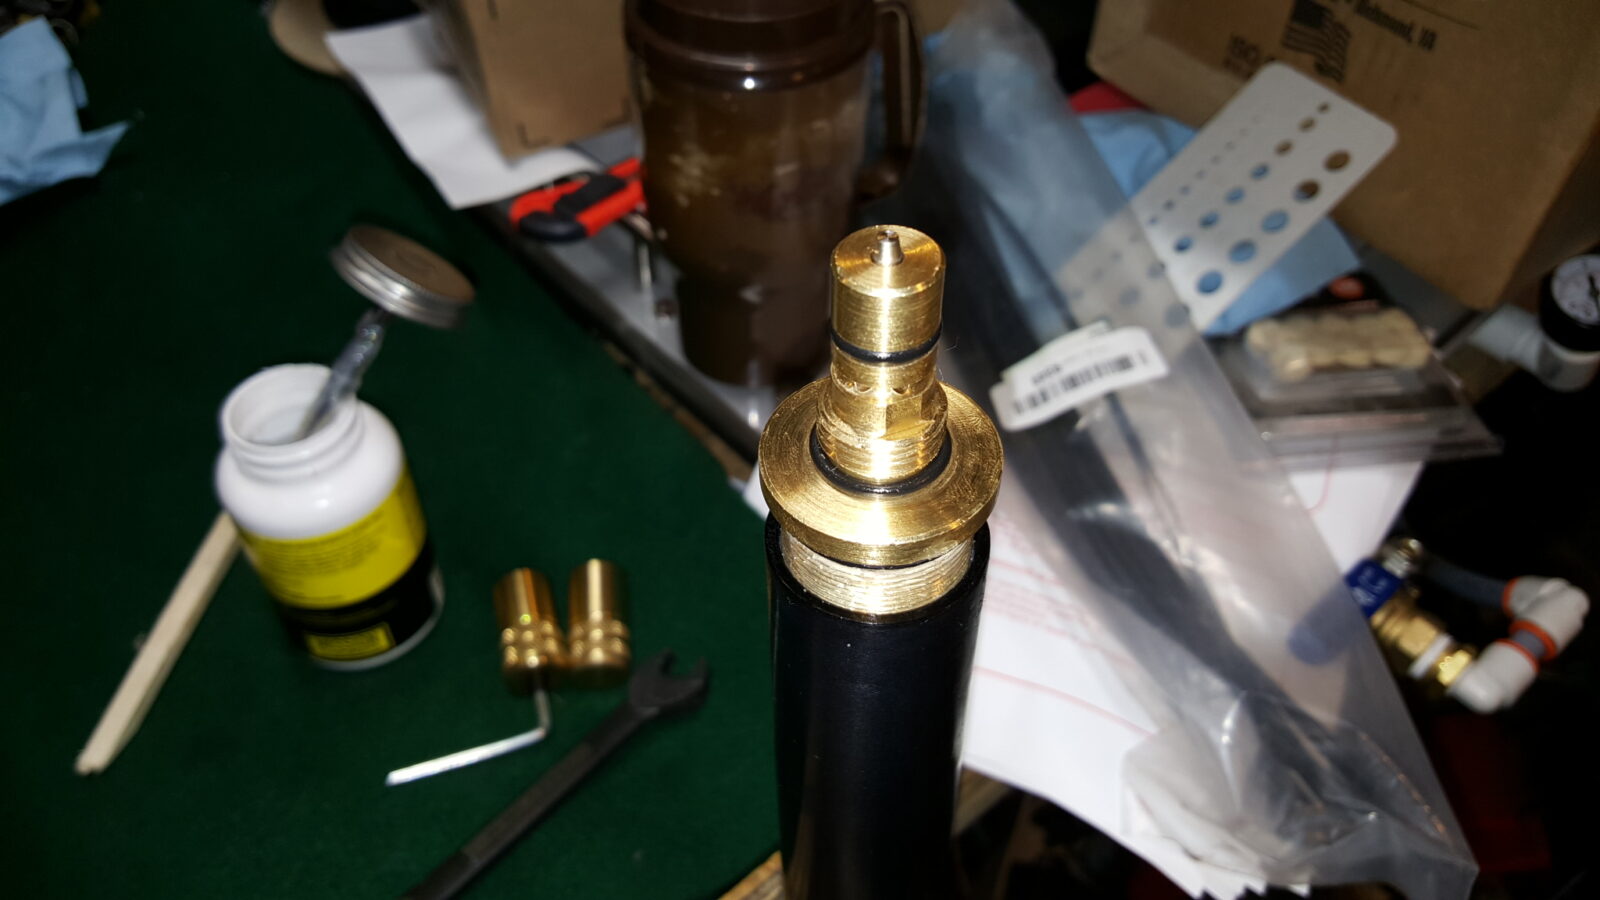
I do periodically put silicone grease on the shaft of the pump and the Hatsan quick connect air fitting. I did find a little zip lock bag and keep the on the air fitting to keep it clean.
I bought this good sized container of silicone grease that is Mission brand and has worked just fine for me. I use it on the Gladius, car work, etc.
In summary, I still like it and am happy with the purchase. Power and accuracy – it’s a great combo and the Hill air pump lets me easily top it off whenever I want to.
6/29/2020 Update: Still very happy with both the Gladius and the Hill pump. We now have replacement fill-probe O-rings and caps to keep your fill probe clean. Click here to learn more.
If you find this post useful, please share the link on Facebook, with your friends, etc. Your support is much appreciated and if you have any feedback, please email me at in**@*********ps.com. Please note that for links to other websites, we are only paid if there is an affiliate program such as Avantlink, Impact, Amazon and eBay and only if you purchase something. If you’d like to directly contribute towards our continued reporting, please visit our funding page.


