There are three types of buffer tubes for ARs and the one you pick depends on what you are building. There is the traditional long A2 fixed stock style buffer tube, the 6 position M4-style telescoping stock tube and lastly the pistol buffer tube. Since I am building a pistol, that will be our focus. The pistol buffer tube has no provision for a stock and is just a straight tube. Do not use a rifle tube on a pistol build just to be safe legally. Other than that, the installation is almost identical other than the backplate (shown below the buffer tube in the next photo) which is indexed for rifles but typically not for pistols.

Step one: Install the rear takedown pin assembly. Insert the pin from the right to left. Put a dab of Tetra Gun Grease in the detent hole and then push the pin and spring in. The grease will help retain it.


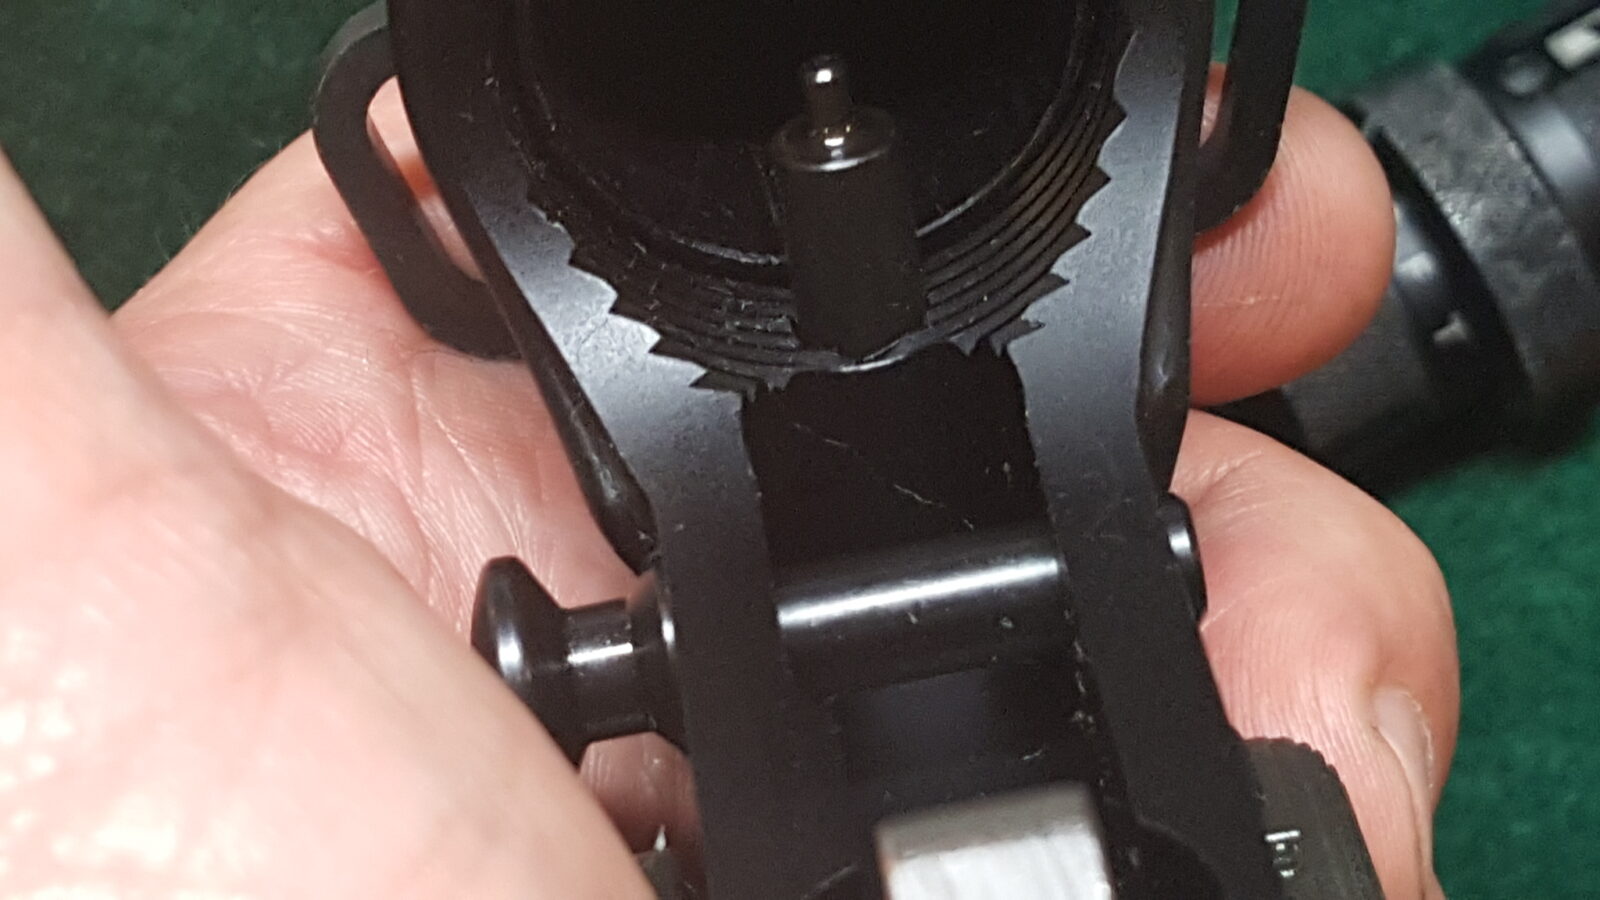
Step two: Put the backplate on the tube and thread it into the receiver almost to the end. Watch the detent spring and make sure it is compressing properly into the hole and not bending. On pistol builds I will push the plate down with one hand while threading the buffer tube on with the other. Stop in time to insert the buffer spring and detent in their hole. Push them down and thread the buffer tube on the rest of the way. Note, you can stake the tube into position or use a small dab of blue Loc-Tite to hold the buffer tube in position. Note how the front of the tube overlaps the detent pin just enough to hold it in position.


Step three: Install the Arm Brace. The SB Brace I got from Palmetto has a hollow rubber cylindrical hole for the buffer tube to go down. Of course that thing will not want to slide down the tube by itself. I lightly lubricate the buffer tube with silicone spray and then slide/hit the brace into place. Only turn the brace clockwise as you install it lest you unscrew the buffer tube. I did use a rubber mallet to help get it down the tube faster.


So with that the brace is installed. My next post will be about attaching the upper and finishing the assembly.
Sources For AR Parts
The following are all vendors of AR parts including barrels, handguards, triggers, magaziness and what have you that I use and recommend:
Beware no-name knock off websites selling generic import stuff. Some of the parts are counterfeit and not rated for firearms use.
Please share the link on Facebook, Forums, with colleagues, etc. Your support is much appreciated and if you have any feedback, please email us in**@*********ps.com. If you’d like to request a report or order a reprint, please click here for the corresponding page to open in new tab.