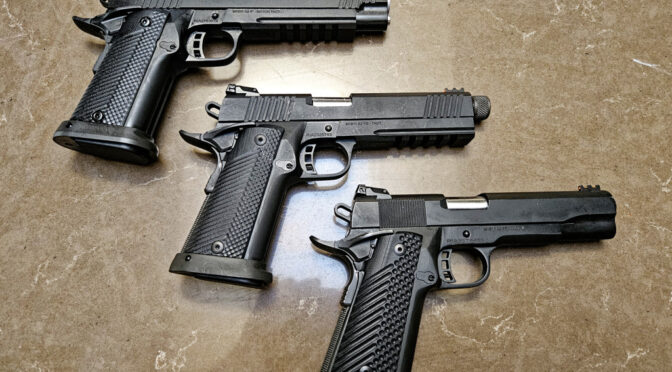
As some of you may know, we make custom magazines for the Armscor Rock Island Armory (RIA) A2 HC family of .40 and 10mm pistols. Once in a while I get to talk to a new owner before they go to the range and either they ask for advice or I give it regardlesss 🙂 I will tell anyone that will listen that they need to clean, lubricate and cycle their pistols 200 times before they go to the range. I’ve been sharing this advice for years but never really had evidence. Guess what? Now I do and I truly hope people will take this to heart and do it.
I recently purchased a RIA 52000 Big Rock – this is their 6″ barrelled 10mm match pistol. I had one years ago that I sold when I needed money and regretted it – especially after I started making the custom mags. What I am going to show you is true of all Rock Island 1911-style pistols – not just the A2 HC models – and for almost all semi-automatic factory-produced firearms. They are not ready to go out of the box and if you take them straight to the range they are going to fail a lot, you’re going to get frustrated, blame the gun/ammo/mag/dealer and it’s not their fault so please read the following and heed the advice.
Opening the Factory Box
For RIA 1911 pistols, they ship them in a bag absolutely coated in some kind of oil – just what I am not sure. Do not look at that and think it is all lubricated and ready to go. It absolutely is not and it is actually pretty dirty – you need to get rid of all of that including the junk in the bore.
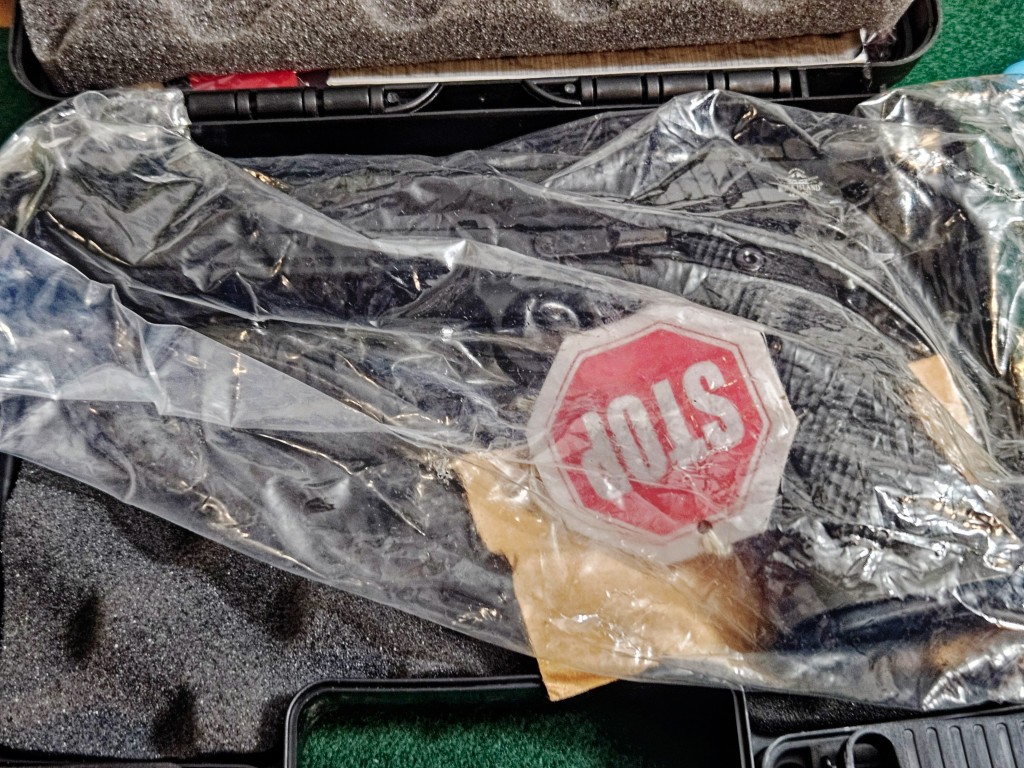
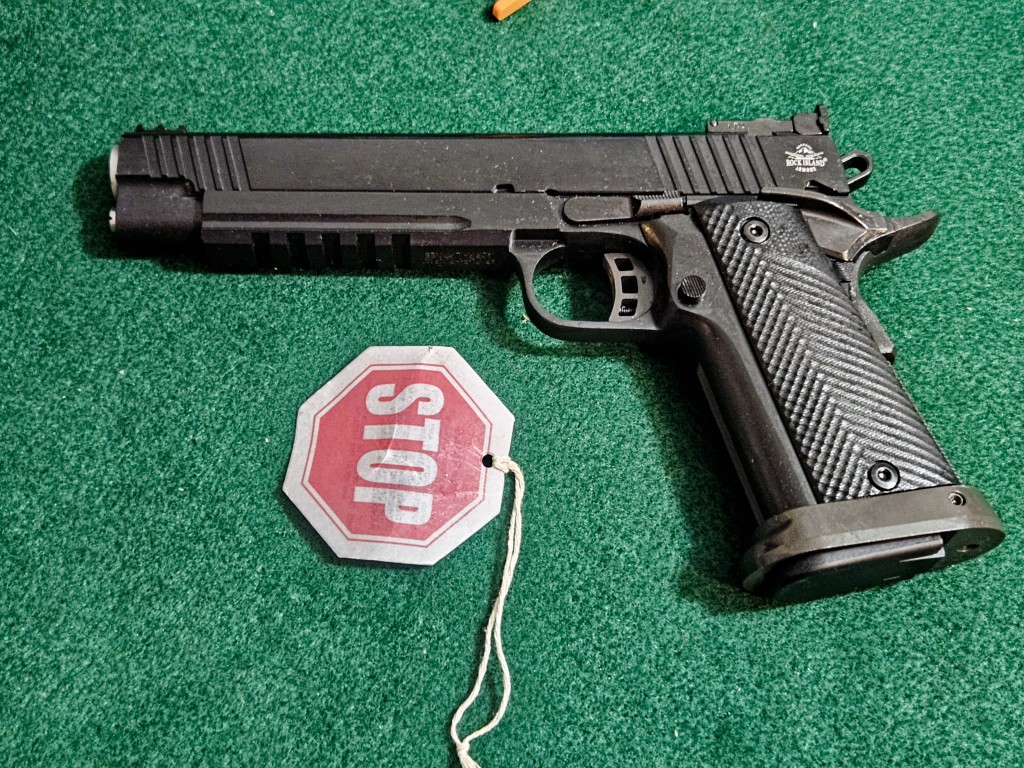
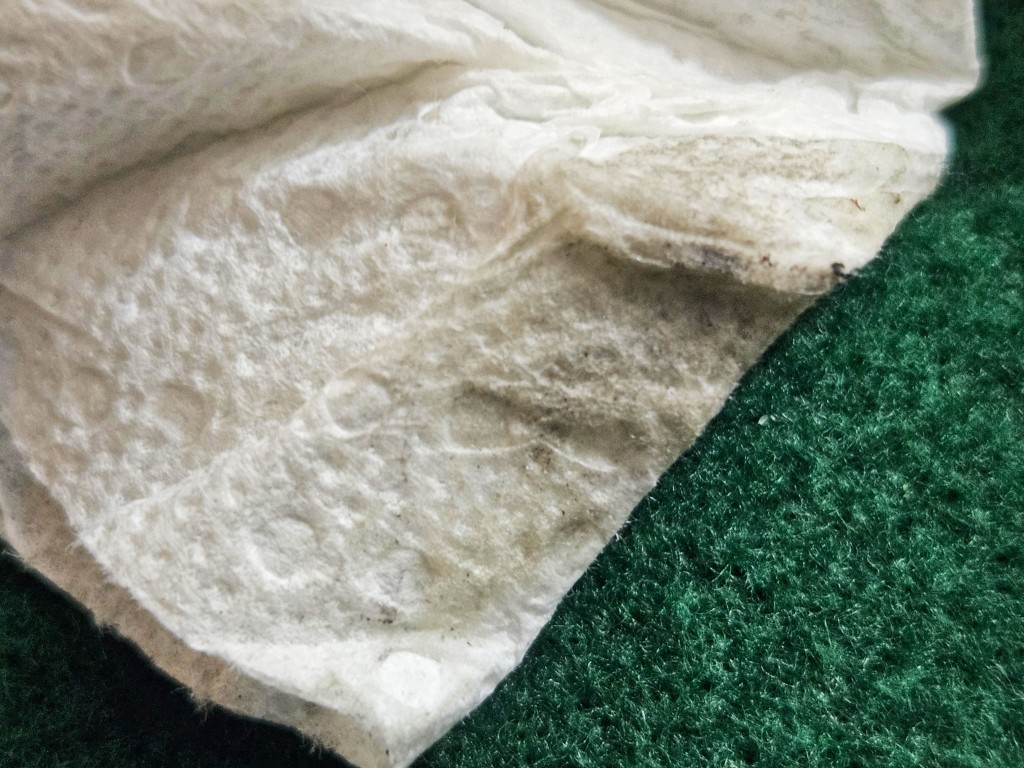
Now you may be thinking your Glock was pristine compared to that and while it was cleaner it was also pretty dry and needed to be lubricated. The Rock Islands are decent but they need to be cleaned up.
How about the barrel?
The anti-corrosion “oil” and grime are everywhere in the pistol.
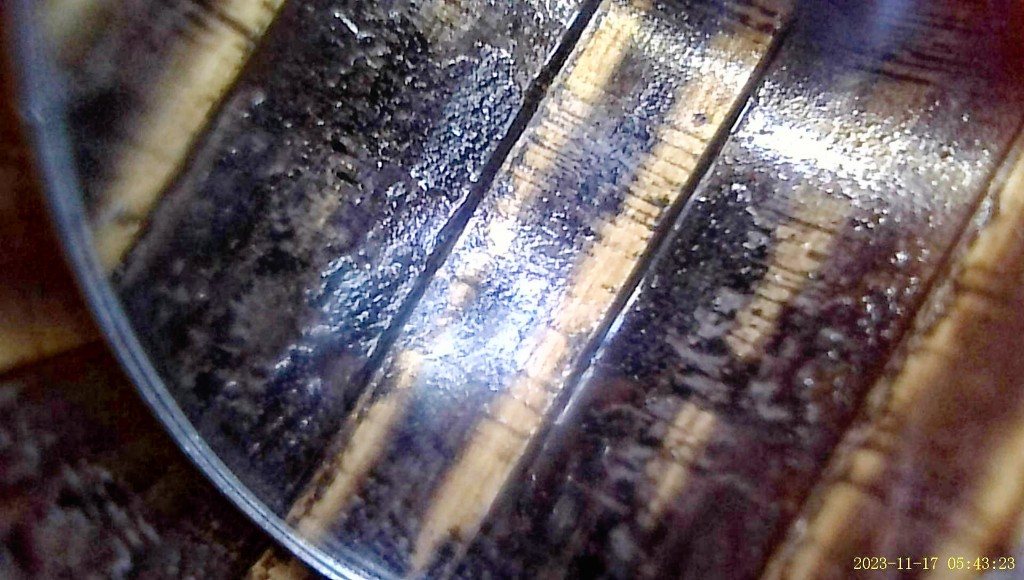
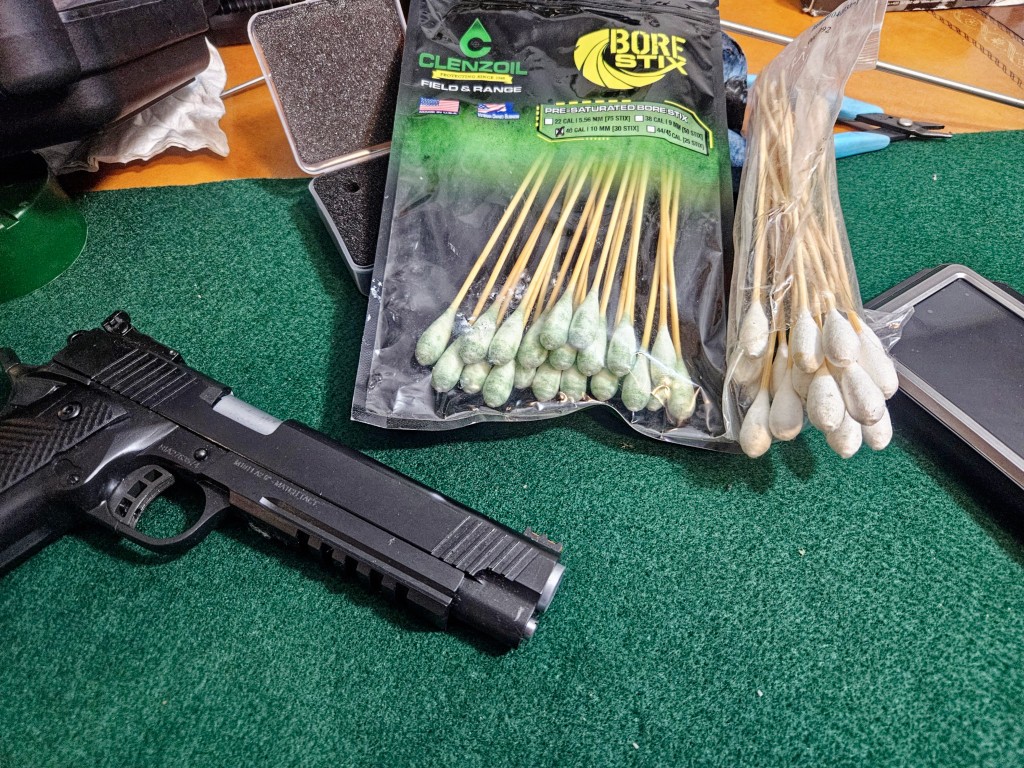
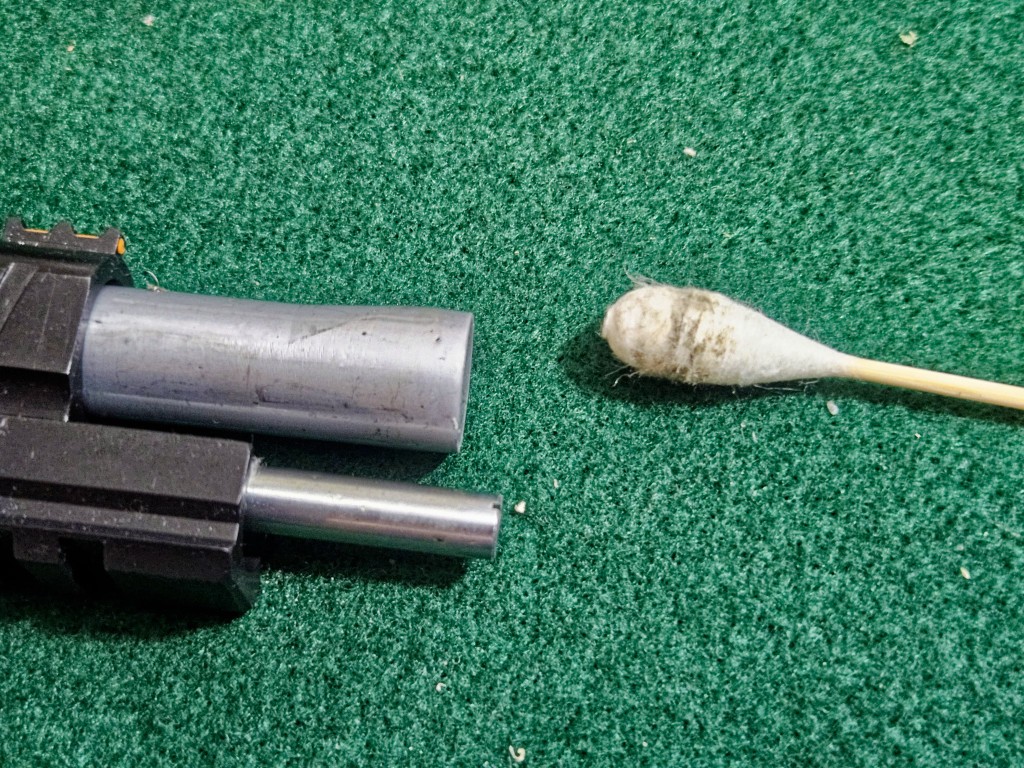
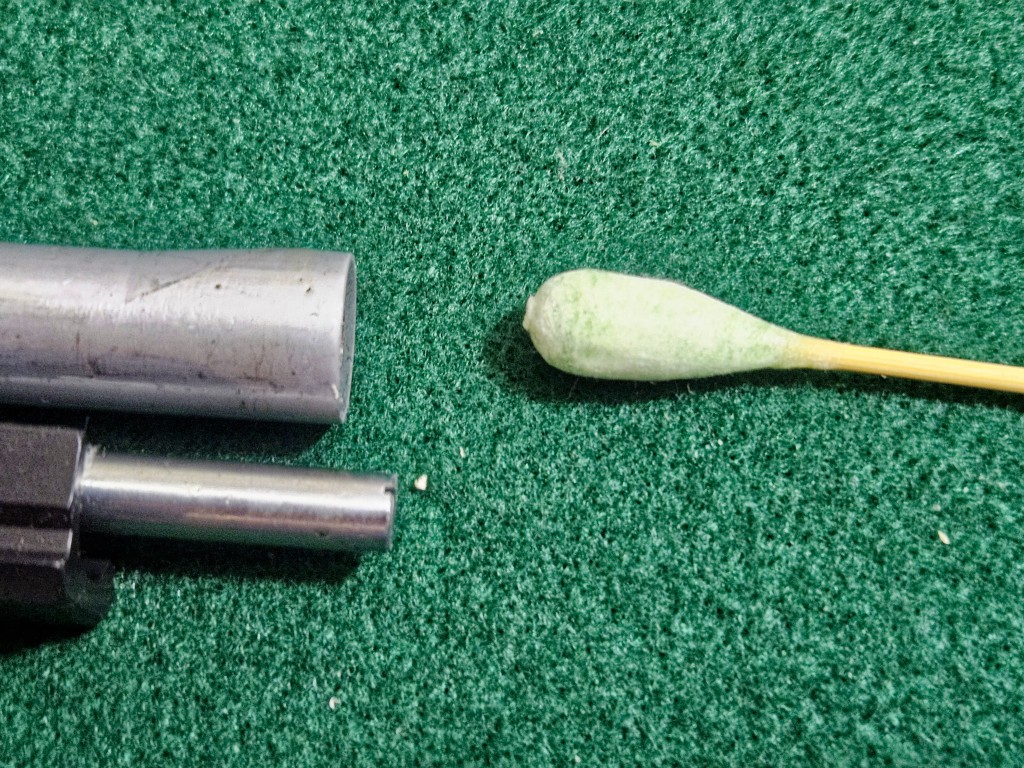
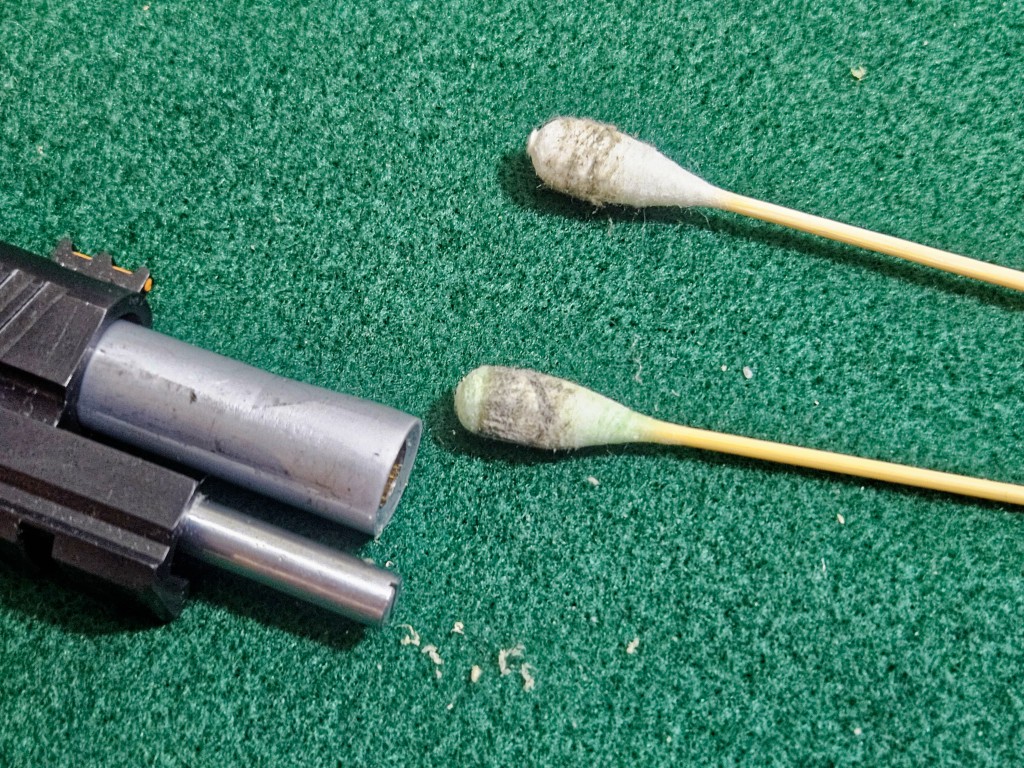
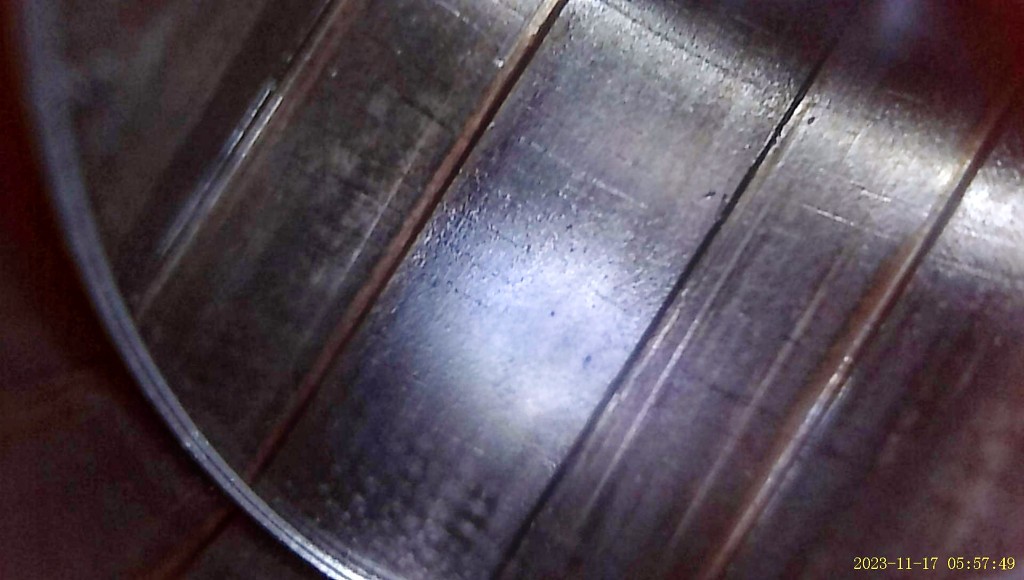
What I want you to take away from this section is to clean the bore – you can absolutely use your favorite method – patches, boresnake, whatever – but definitely clean it.
Field Stripping the Pistol
Armscor includes a half-way decent manual about how to field-strip your 1911 and I recommend you read it. Some of their models have barrel bushings and they have at least two models of full length guide rods that I know of. You just need to break the pistol down into its major groups – do not start taking apart the frame unless you seriously know what you are doing or you are going to get a hard lesson in how a 1911 goes together internally and it is not simple enough for the average shooter in my honest opinion. If you are a person that assembles 1911s from the bare frame – go ahead and do it. Have fun. If you have never disassembled and reassembled a 1911 – don’t. You don’t have to at this point is the bottom line.
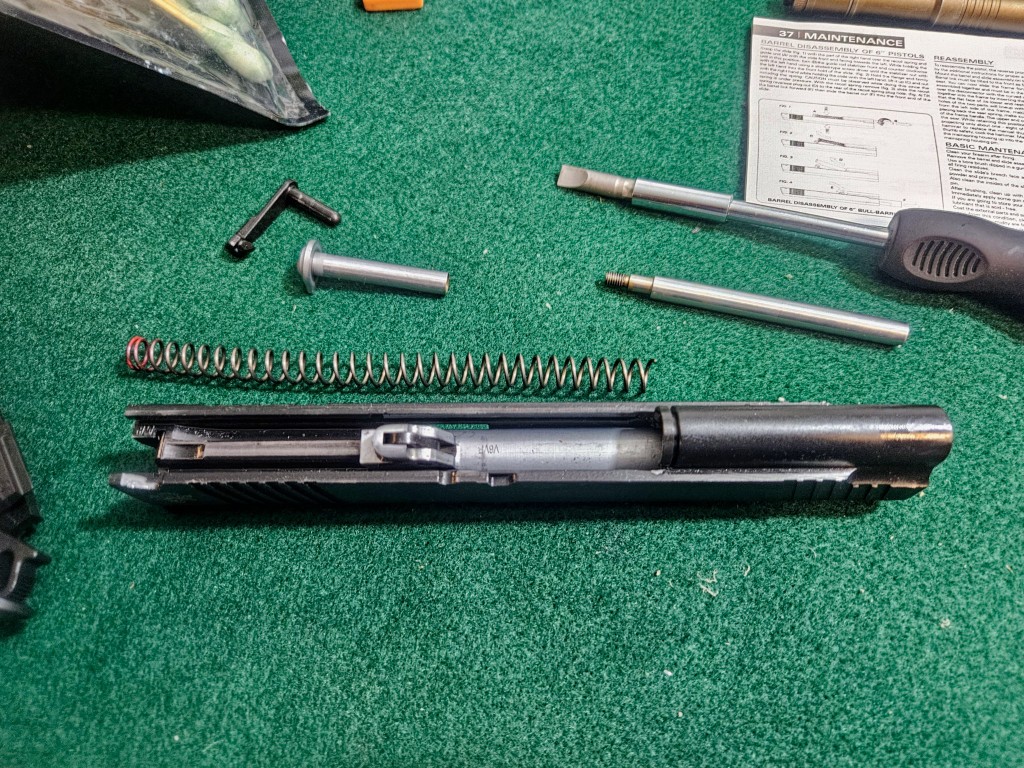
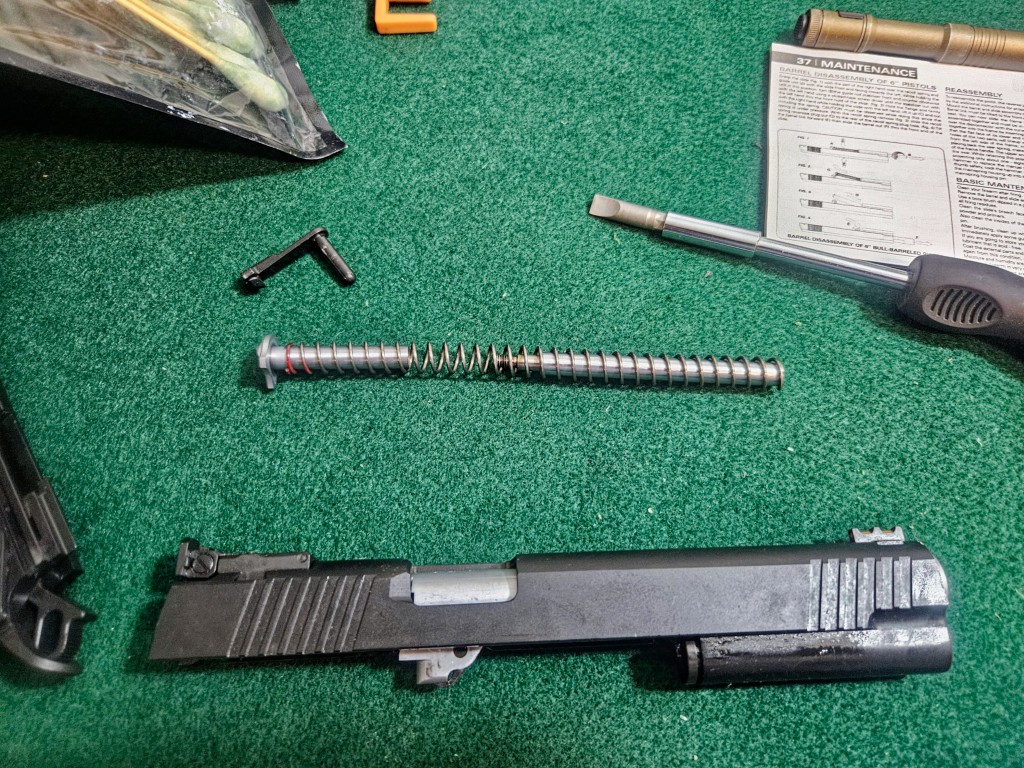
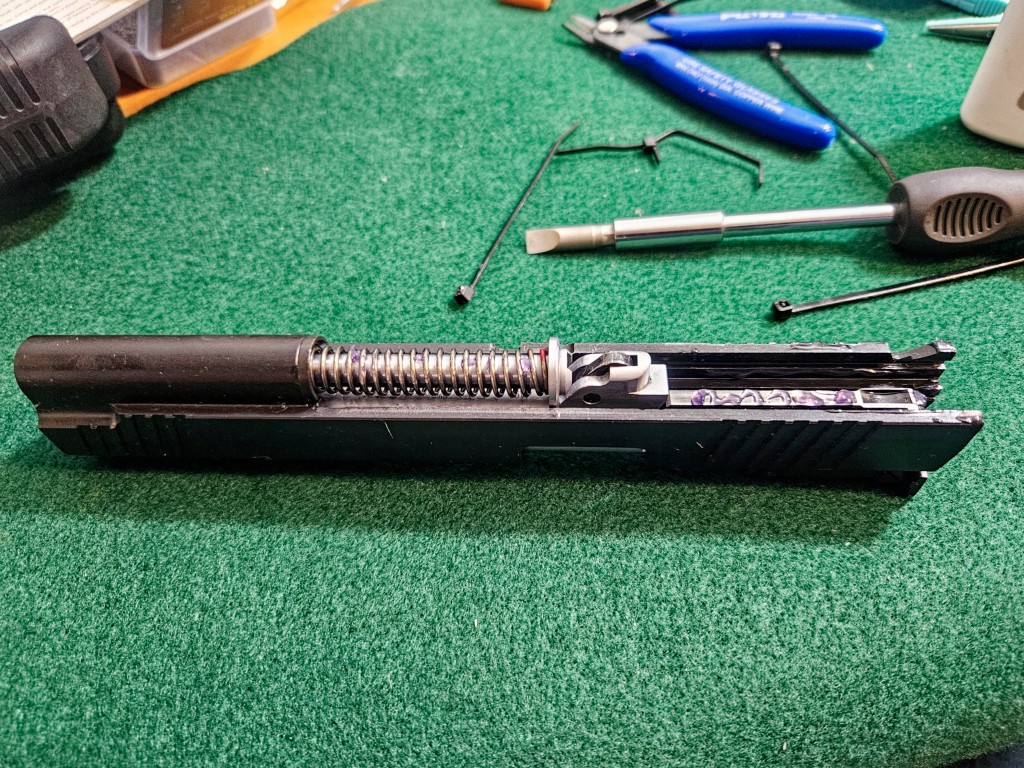
One unique thing about the Big Rock you need to know is the unique full length guide rod (FLGR) they used and as far as I know, it is not in any other RIA pistol. If you have one of the 10mms, you are aware of the FLGR design which uses a pin to capture the two halves of the FLGR from separating, The Big Rock’s FLGR is threaded. To remove it, you turn counter-clockwise quite a few turns to unscrew the two halves and separate them. Now pay attention – that is a 20 pound spring in there and it will launch one half or the other so capture or retain the assembly by securing it with your other hand to prevent you from digging around for a launched part.
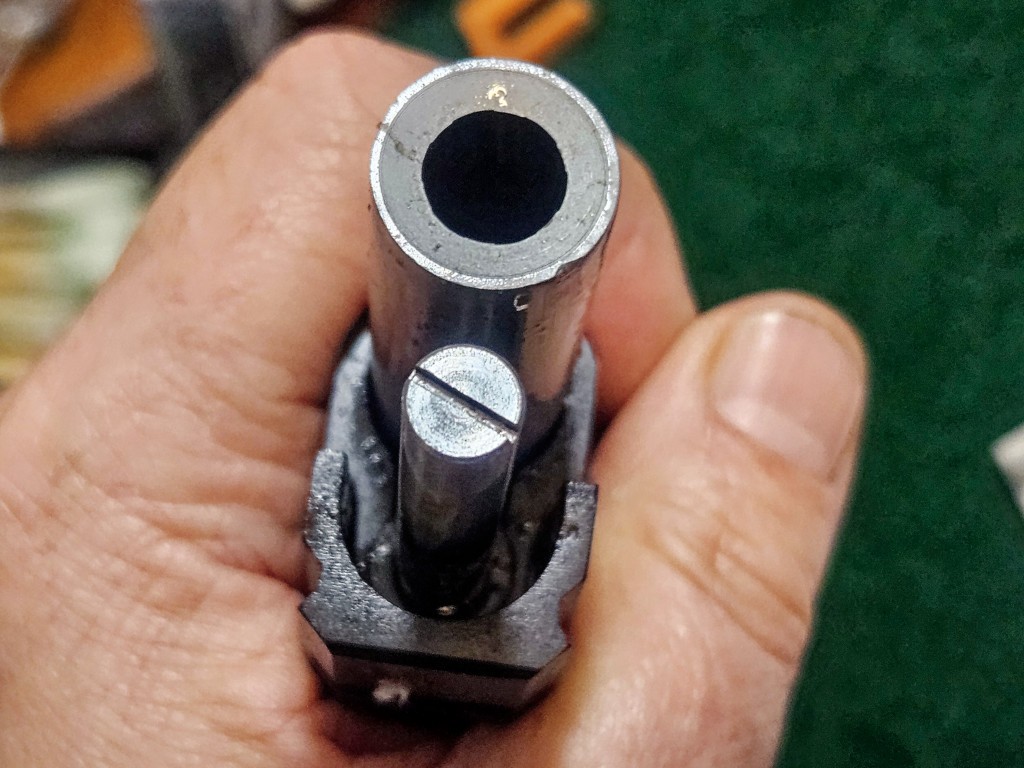
I’m not going to write a comprehensive guide to lubricating a 1911, read your pistol’s manual. I will tell you I now use ALG’s Go-Juice which is a thin grease on anything that slides. Before the ALG, I used Super Lube Synthetic Grease applied with an acid brush and before that I used wheel bearing grease. I would at least recommend doing this while the weapon breaks in. If you want to go to an oil later after it has worn in, then do it by all means. Right now though, you need the extra lubrication the grease brings. If surfaces slide together, use grease.
If they turn, use oil. I am all over the place trying oils. Right now, I am using ALG’s biosynthetic stuff. Don’t ask me what is in it. Before that I have used a ton of different oils – MGW, Super Lube, Mobil 1, etc., etc., etc.
Getting a jump on breaking in the pistol
You will hear guys call it “breaking in”, “wearing in”, “letting the parts get to know each other” – they all refer to any firearm needing to smooth out parts through their normal cycling. Expensive guns, such as customs and semi-customs, an experienced gunsmith used huning stones, rubberize abrasive bits or whatever was their preffered tool, to get rid of the tooling marks and sharp edges to give you a smooth weapon right out of the box.
Well, RIA is not expensive and they don’t spend a ton of time fitting and tuning their parts for a perfect fit. You know what? I’m fine with that – it’s easy to smooth things out but first I want to show you why you need to do this via some digital photos courtesy of an Andonstar AD246S-M digital microscope.
The following are example photos showing the tooling marks on various areas that need to slide freely. The tooling marks are everywhere and cause friction until the places where surfaces contact start to wear down the protruding areas:
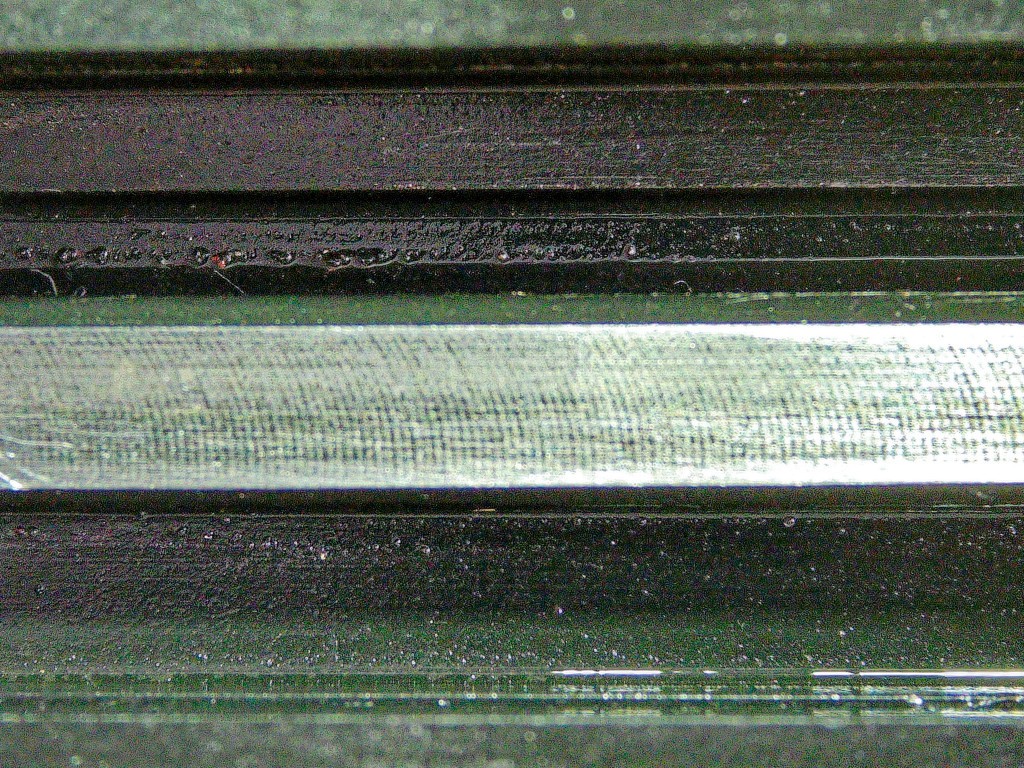
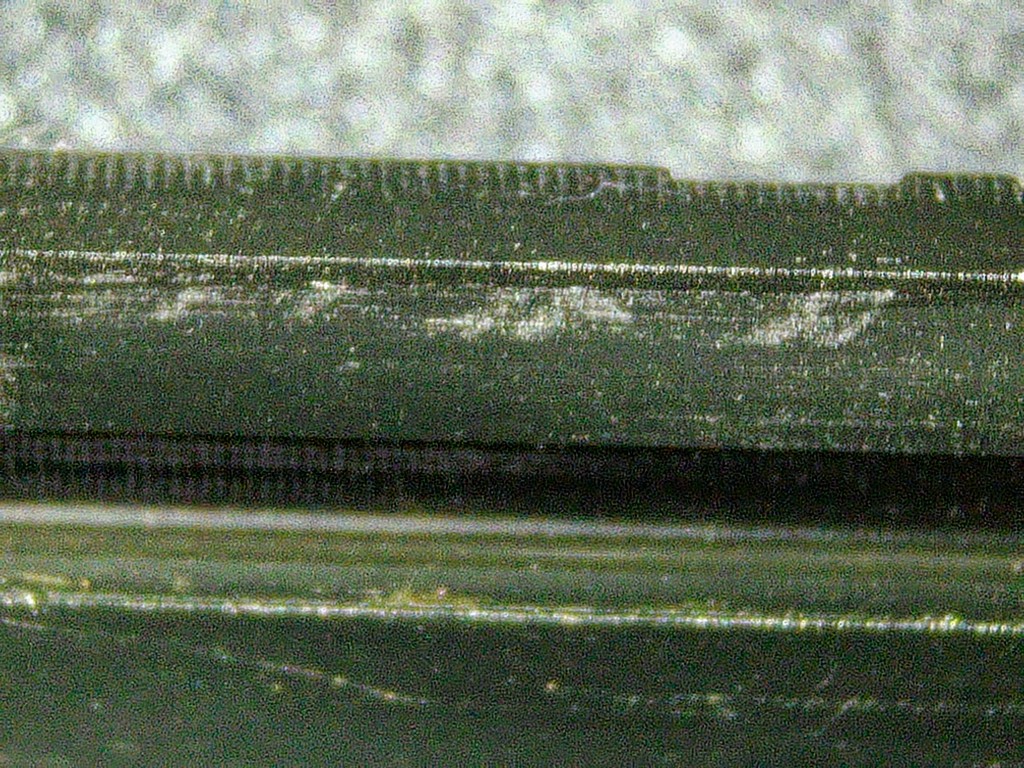
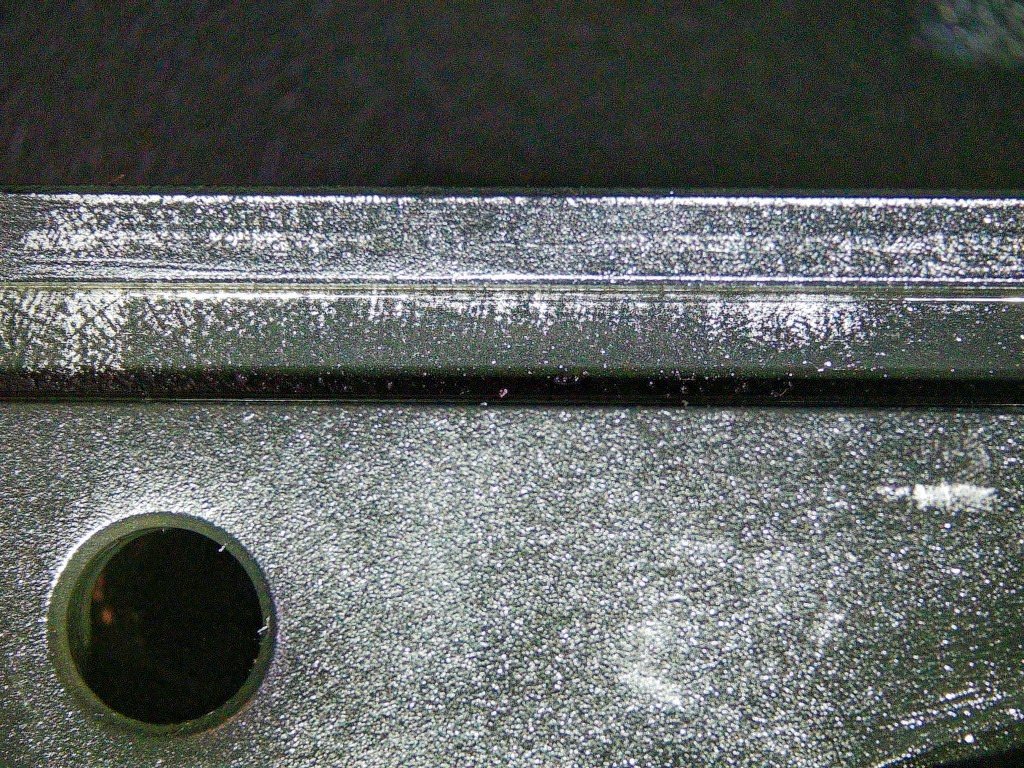
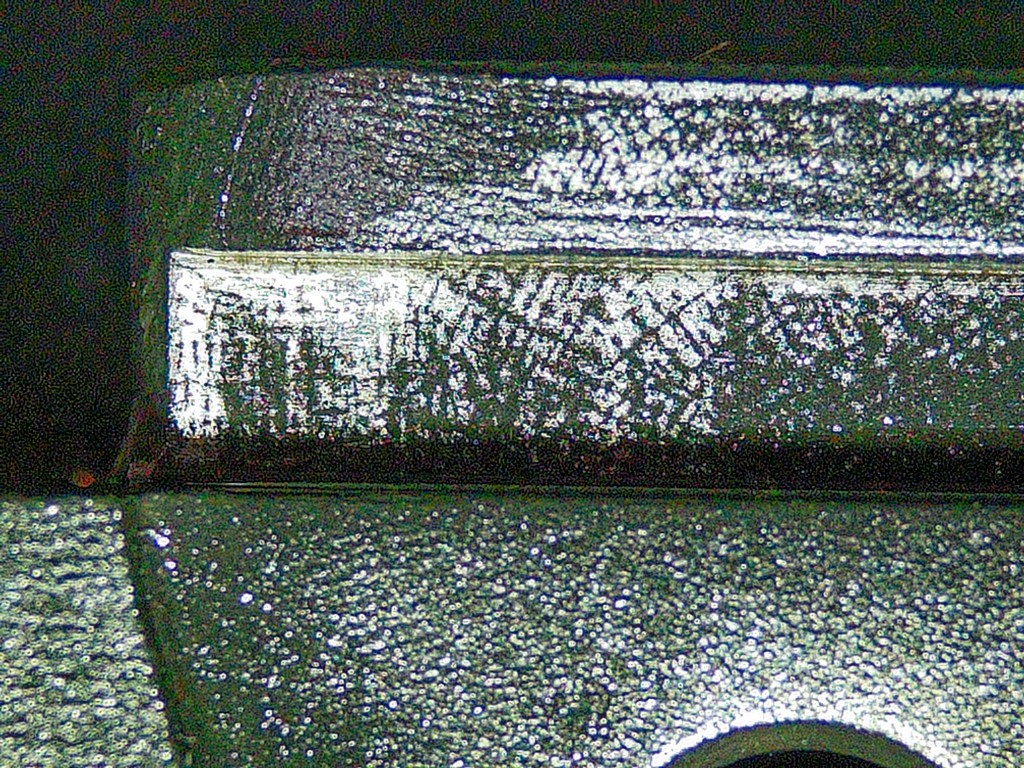
Again, the above are all examples. Areas starting to shine are wearing in and starting to smooth out. I’d maybe cycled the slide a dozes or so times before the above photos were taken as I wanted to show before.
Now, there are tons of things you could do with honing storines, rubberized abrasive bits and even with lapping stones. If you want to do one or more of those, go for it. I have an even simpler solution – rack the slide open and closed a couple hundred times. Literally, don’t have a mag in it and work it back and forth over and over. It’s a workout with that 20# spring but it will accelerate wear-in dramatically. Think about it, a lot of firearms get more reliable just under a 100 rounds. You are really smoothing things out at 200, What you will notice is that if you do the above, you will not waste a lot of time and money dealing with jams.
How do I know this? I have owned a number of RIA pistols over the years. My test pistols that I use to test each mag before they leave have been handcycled thousands of times and the slide feels like that of a high-end pistol – like it is sliding on glass.
The following photos show contact areas after thousands of cycles:
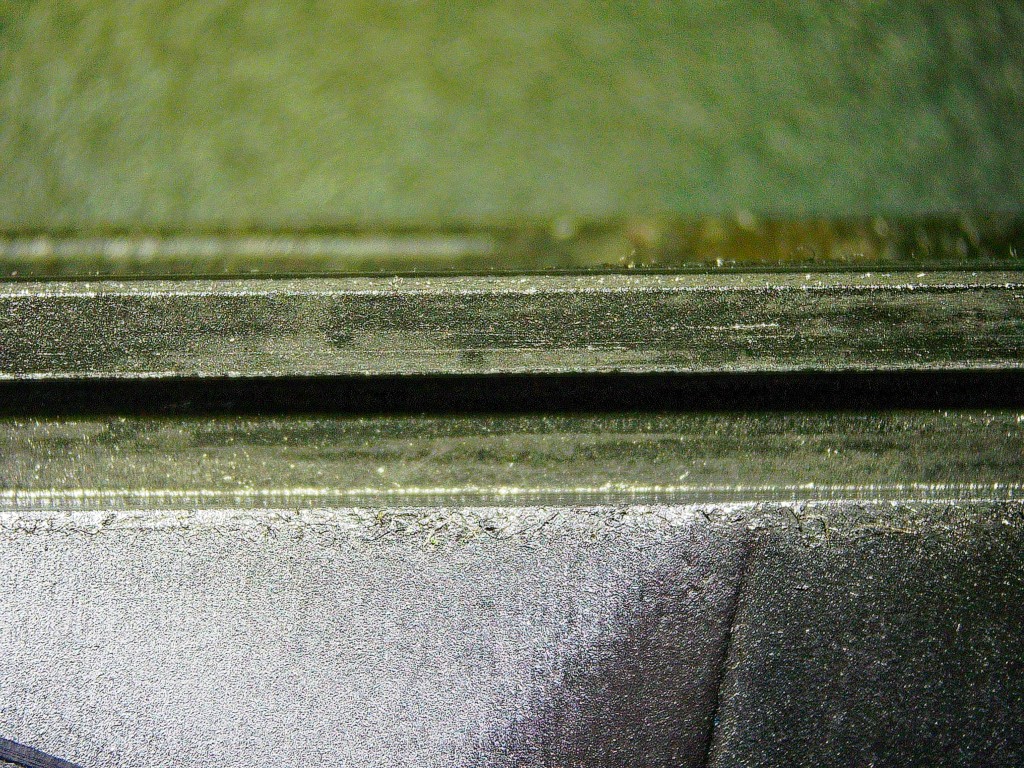
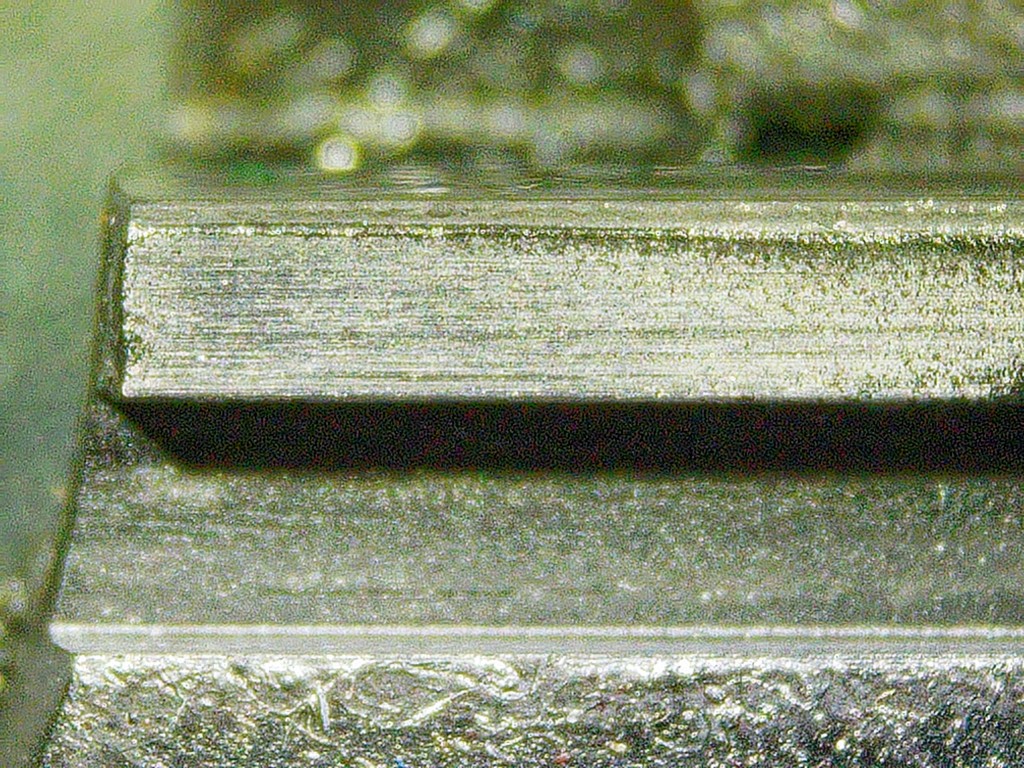
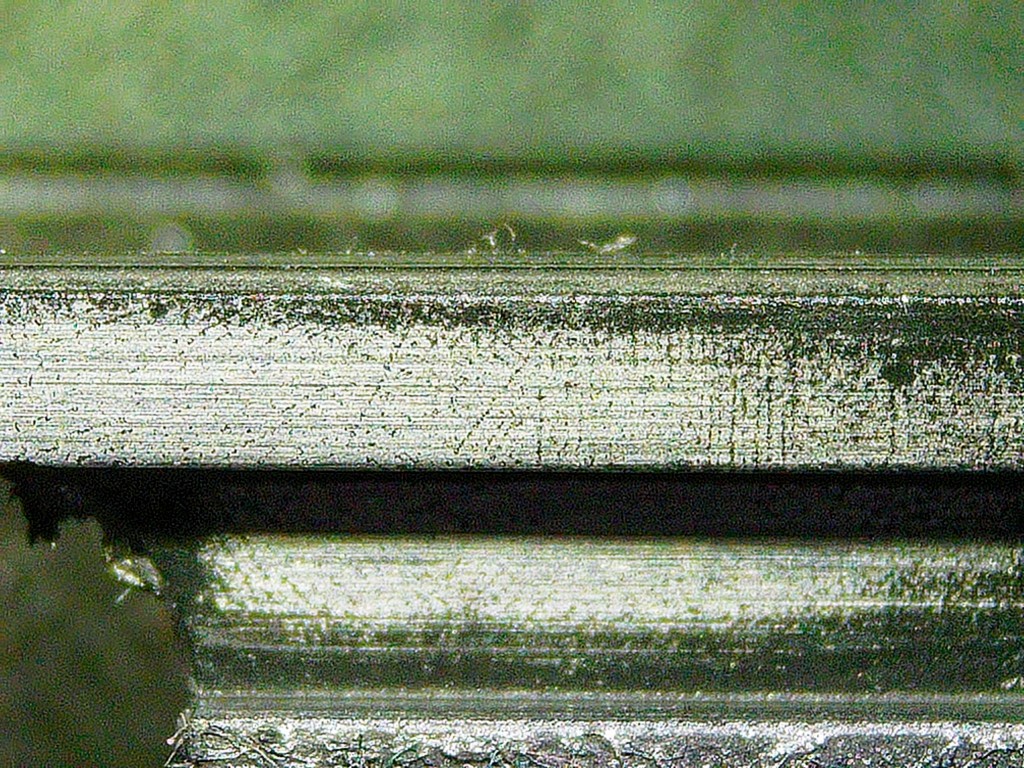
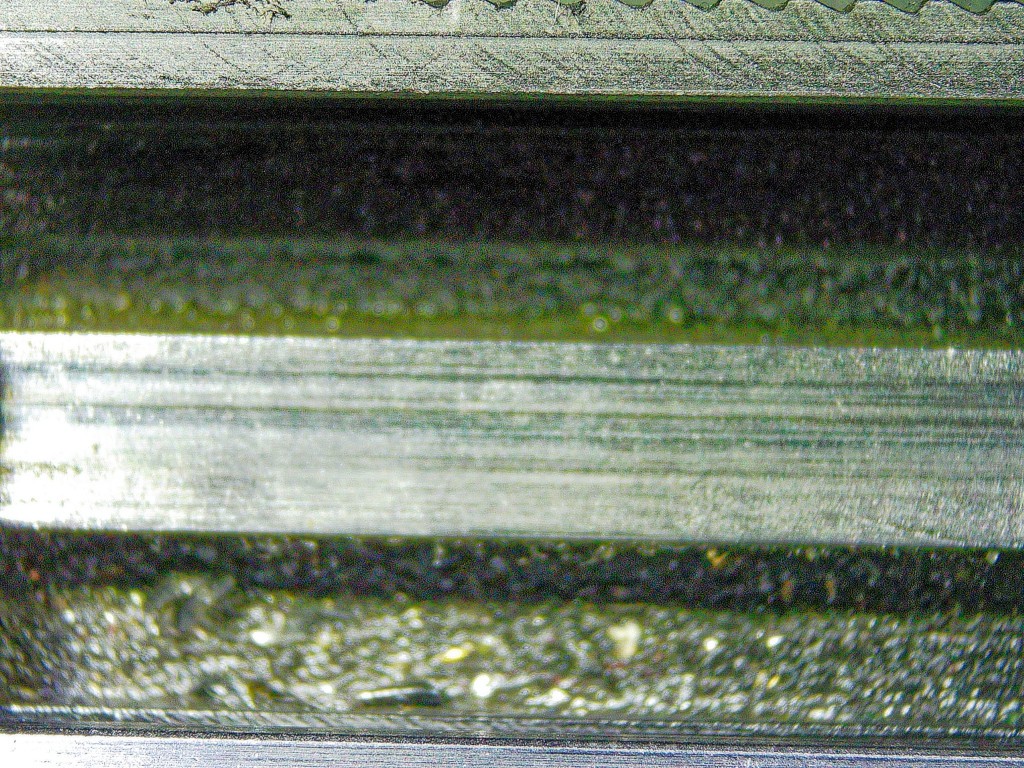
Guys are always surprised how smooth these pistols are and then even more surprised when I tell them they are unmodified RIA pistols that have had their slides cycled thousands of times.
So, do you need thousands of times? No, just go for 200 and you can do more if you really want to.
Last comment on the FLGR and reassembling it
I seriously started hating on the unique Big Rock FLGR design when it came time to put it back together. You are fighting a 20# spring and I couldn’t remember how I did my last one years ago or find any tips or tricks about how to do it. The best thing I can tell you is that you need to secure the back half against the barrel link with the left hand. Insert the front section with the right and try to get front threaded insert into the hood of the back, try to hold them in approximate alignment as you try to screw the front half back in. Translation – it sucks and I have no tips.
Summary
I hope this post helps impress on you the need to clean, lubricate and cycle your pistol, or whatever firearm, before you go to the range the first time. I do this myself and have shared it with many, many folks over the years and the feedback has always been positive.
By the way, the majority of guys who contact me hating on the RIA pistols did not break them in so I walk them through this. The second largest majority are really frustrated with the OEM magazine.
If you need mags for your 10mm or .40 RIA pistol (notably models 52009, 52682 or 52000 – also called the “A2” or “HC” series pistols (the big staggered 15-16 round models), please think of us. Our mags are far, far better than the OEM mags that come with the pistols – better springs, longer, antifriction coating and more.
If you find this post useful, please share the link on Facebook, with your friends, etc. Your support is much appreciated and if you have any feedback, please email me at in**@*********ps.com. Please note that for links to other websites, we are only paid if there is an affiliate program such as Avantlink, Impact, Amazon and eBay and only if you purchase something. If you’d like to directly contribute towards our continued reporting, please visit our funding page.
