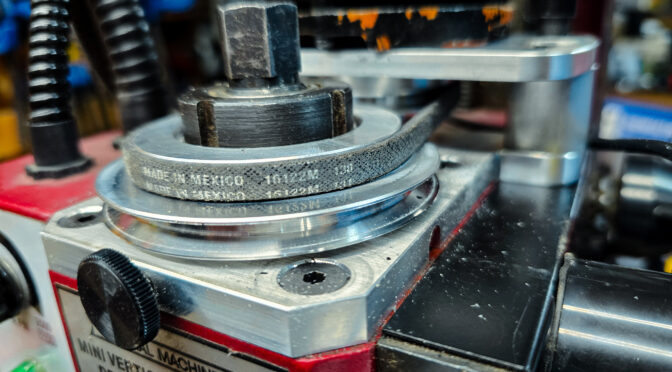
I have a Harbor Freight 44991 Mini Mill that I bought in 2006 or there abouts. My use of it has been off-and-on depending on what projects I had. Lately, I’ve been using it a lot and happened across a blog post talking about the benefits of upgrading from the gear drive to a belt drive using a mini mill belt drive conversion kit from LittleMachineShop.
There were two benefits that really caught my attention. First, I’d read that one of the key gears was nylon and could break. It hadn’t happened yet but given my machine is around 18 years old, it was concerning. Second, it could take care of the annoying loud whirring gear sound. I’d lived with it but I knew exactly what the author meant.
A company name Sieg in Shanghai actually makes these mini mills and they are sold under many different brands so if you have a Mini Mill from Harbor Freight, Grizzly, Micro Mark, Norther Tool, Sieg, Travers Tiiks, Wen and more, this ought to work. They tell you to confirm that the rear shaft is 9mm with a 3mm key and the front pulley that will go on the spindle has a 30mm bore and a 5mm key.
LittleMachineShop is my goto source for parts for my little mill and I aways had good luck with them. Overall, folks spoke highly of it so I ordered direct from them so I could get faster shipping. You can also buy it from Amazon if you prefer also [click here].
What arrived was a neatly done little kit with all the parts you need. A few people left comments on Amazon that they didn’t like the maching but what arrived for me was just fine.
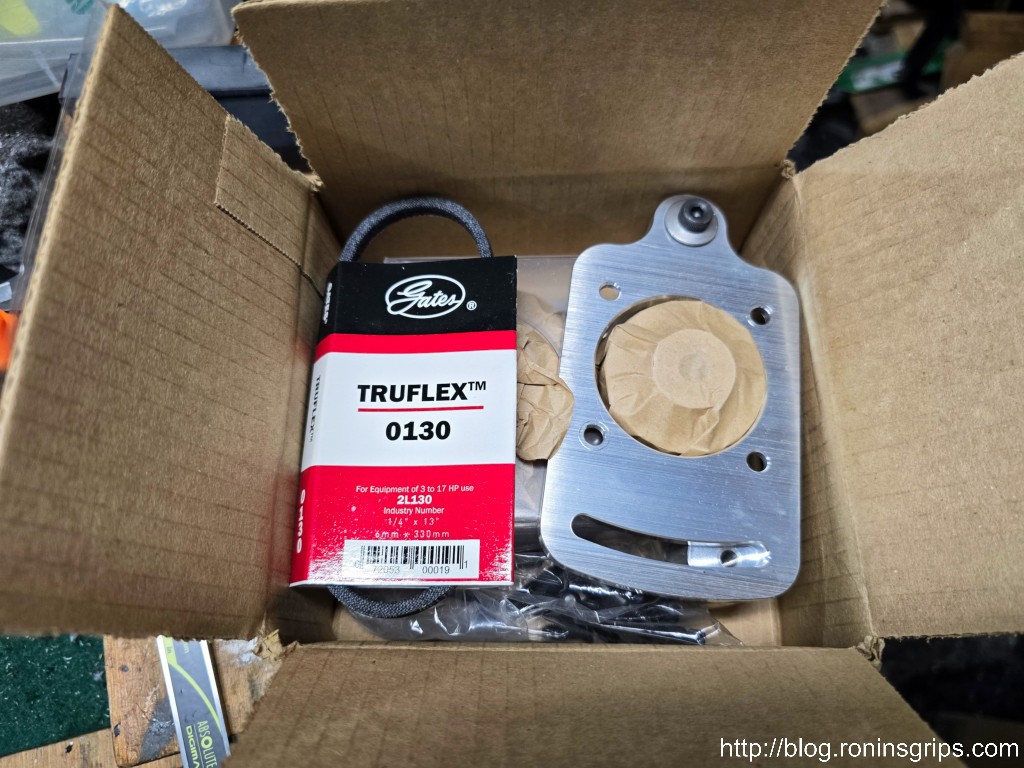
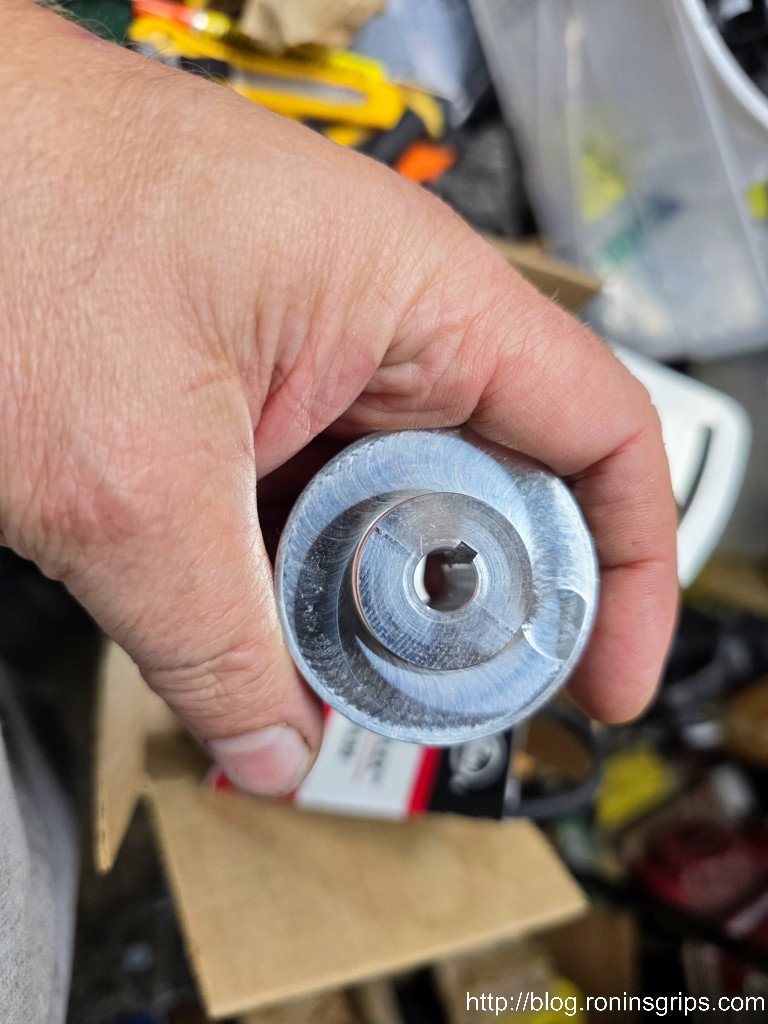
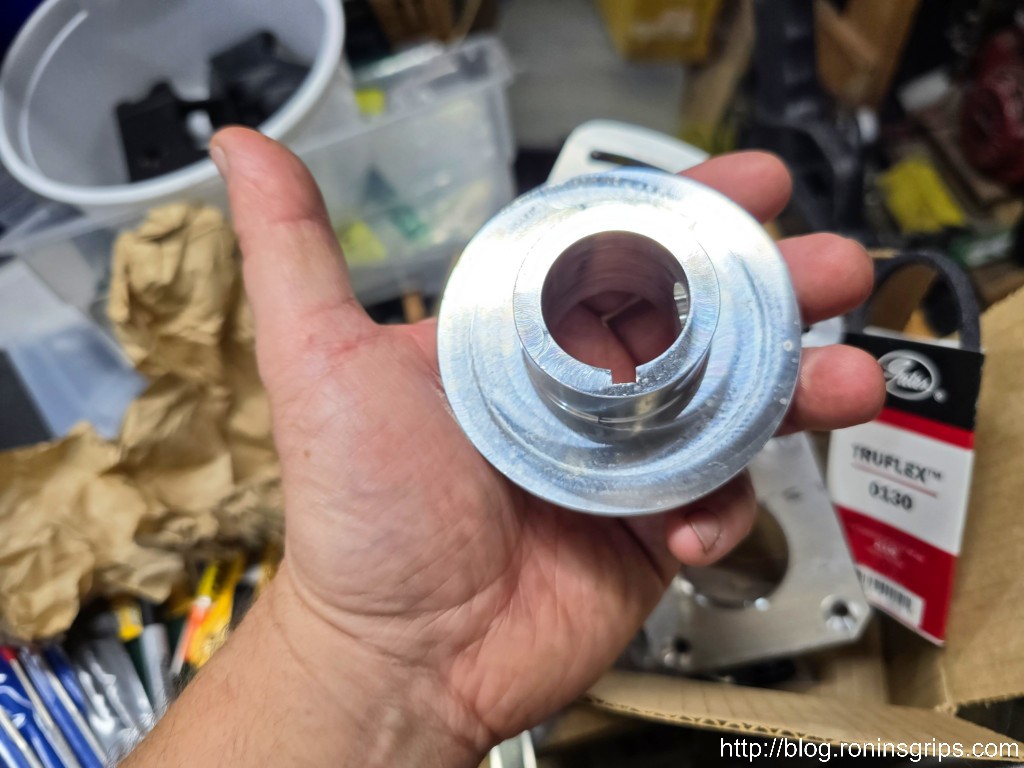
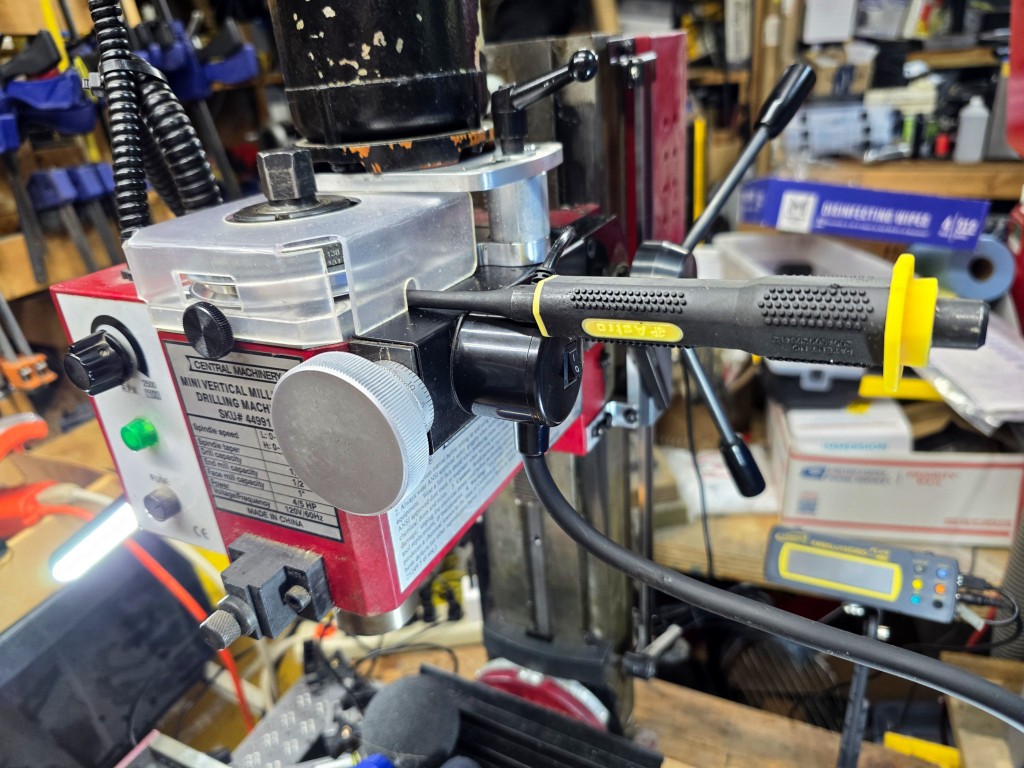
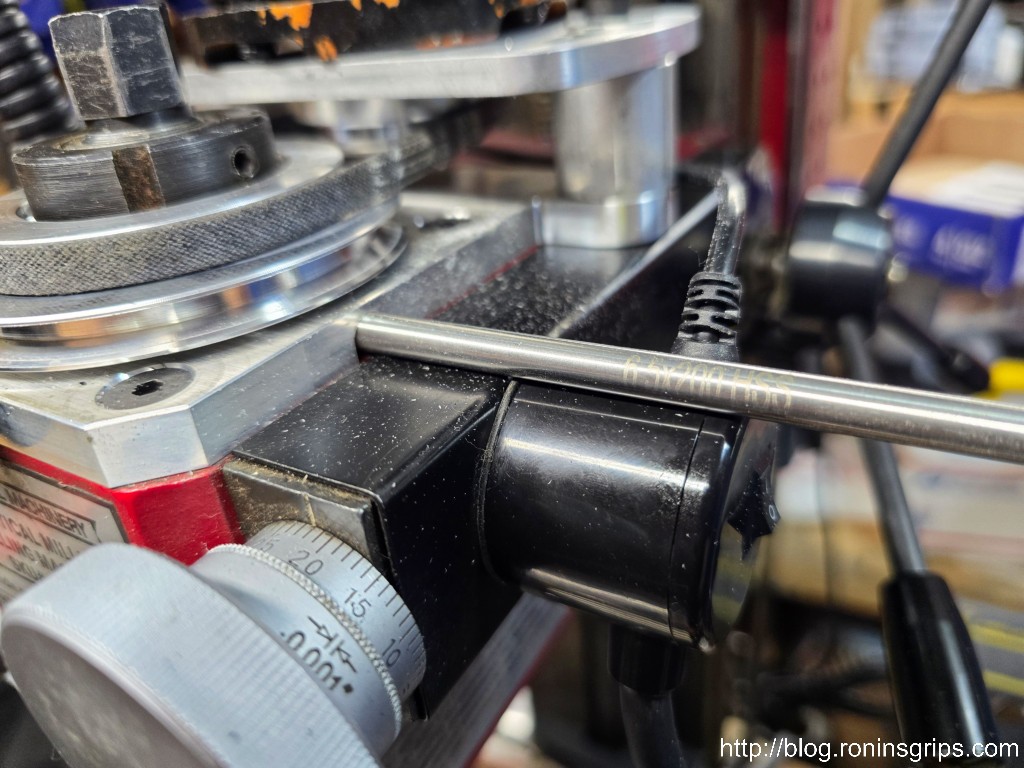
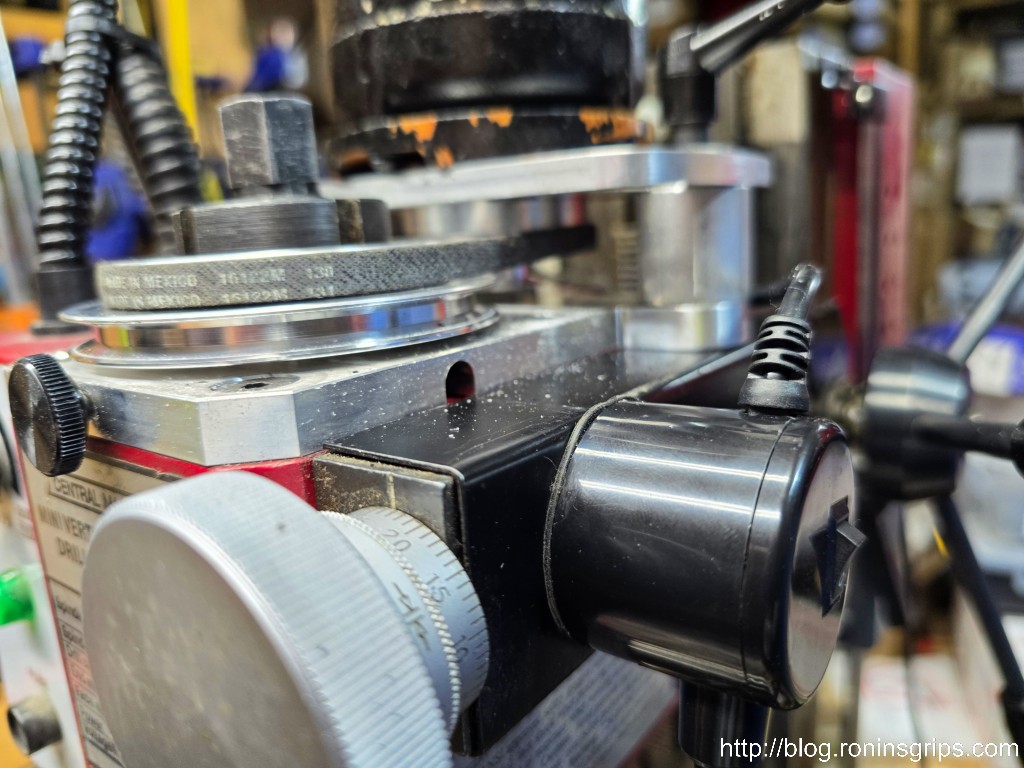
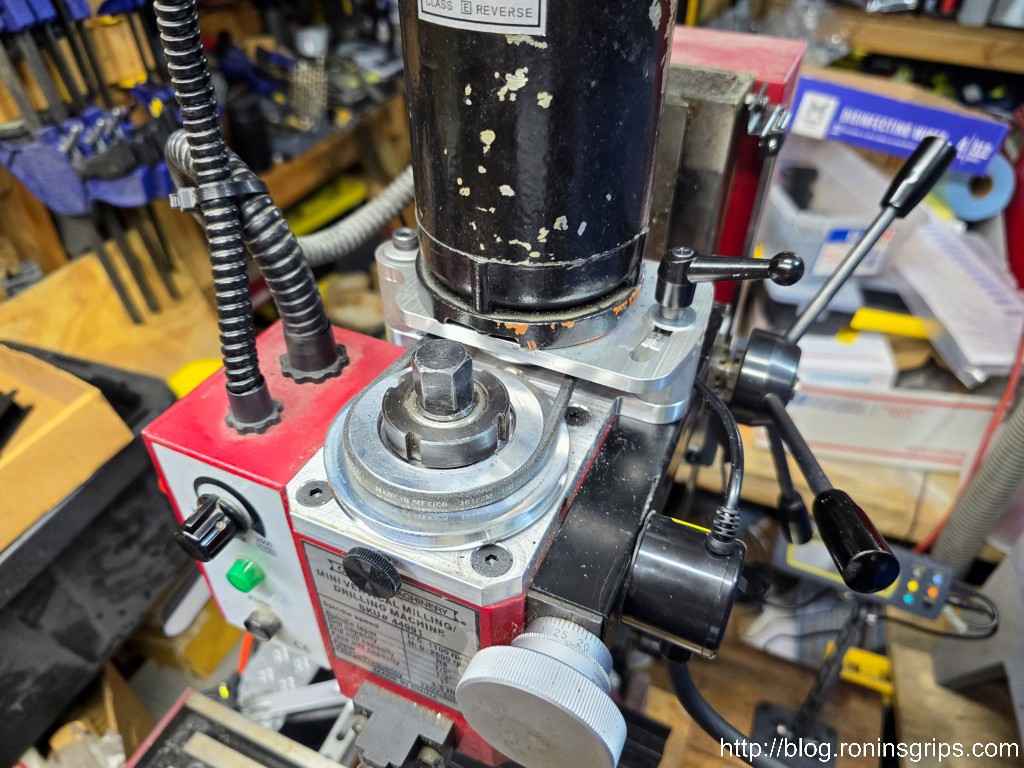
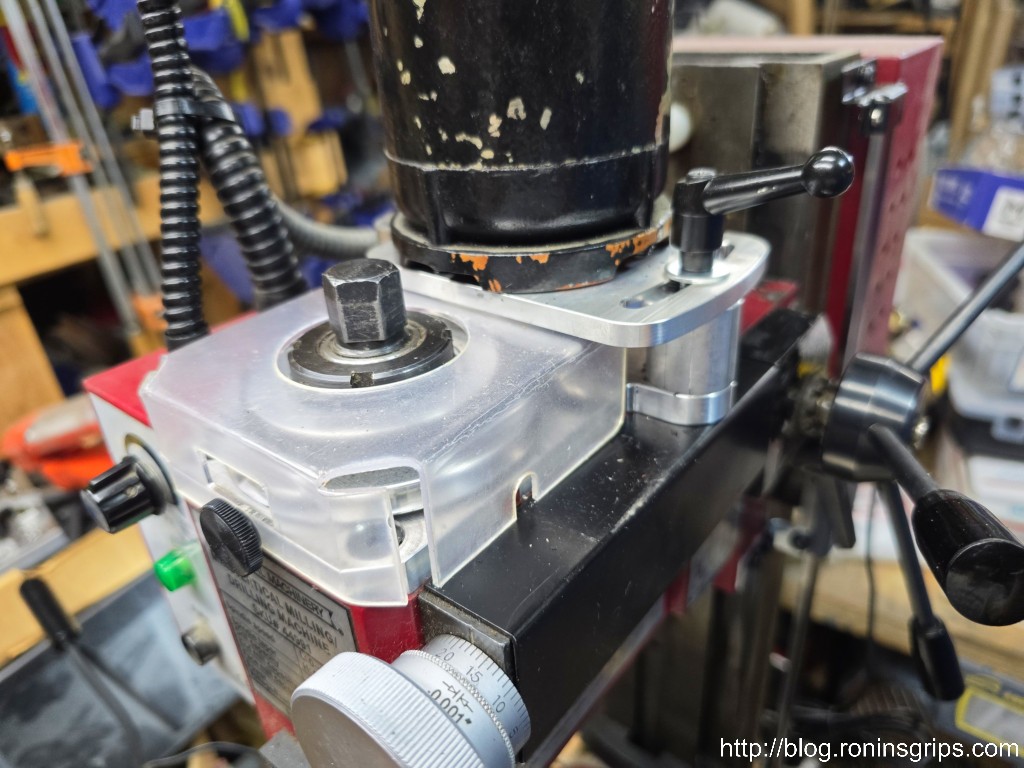
Now, before you do anything read the instructions from their website. They also come with the kit and were on the bottom of the box. I through them one by one and found them to be detailed and accurate. There are a number of steps so I am going to post photos only of some of them – follow their instructions and you can do this.
They tell you this can be done in 15-20 minutes. It took me just over an hour as I had to fight to get the pinion gear off the motor because I couldn’t find any of my bearing/gear pullers so I blew time trying to find them and then making do with what I had.
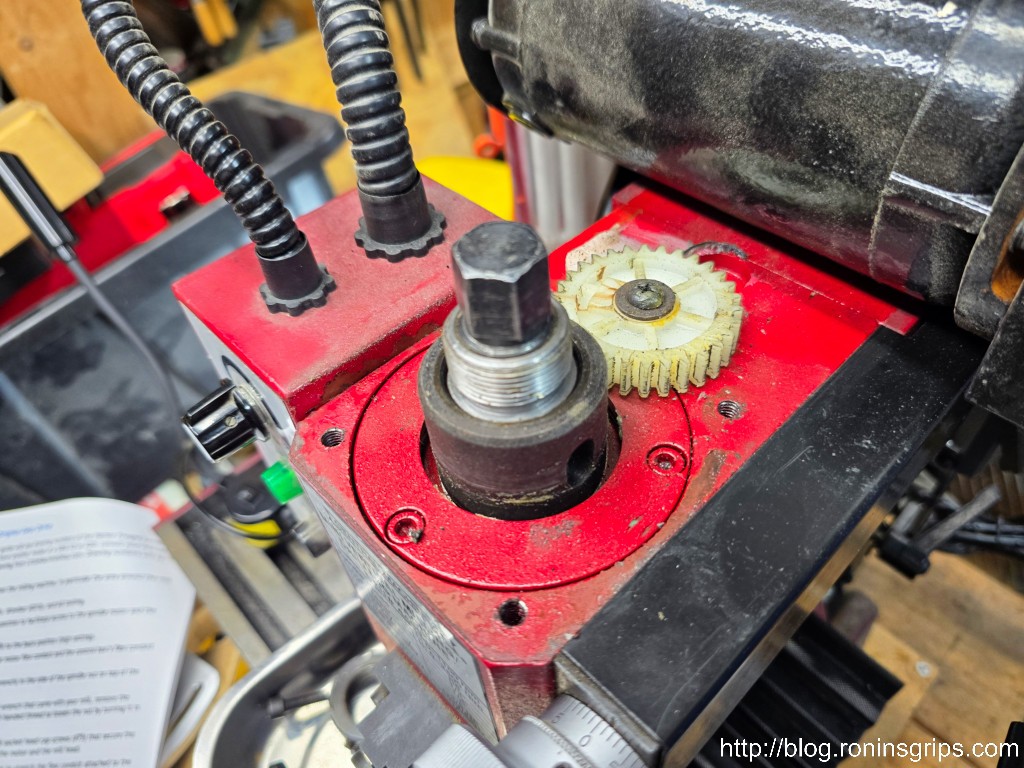
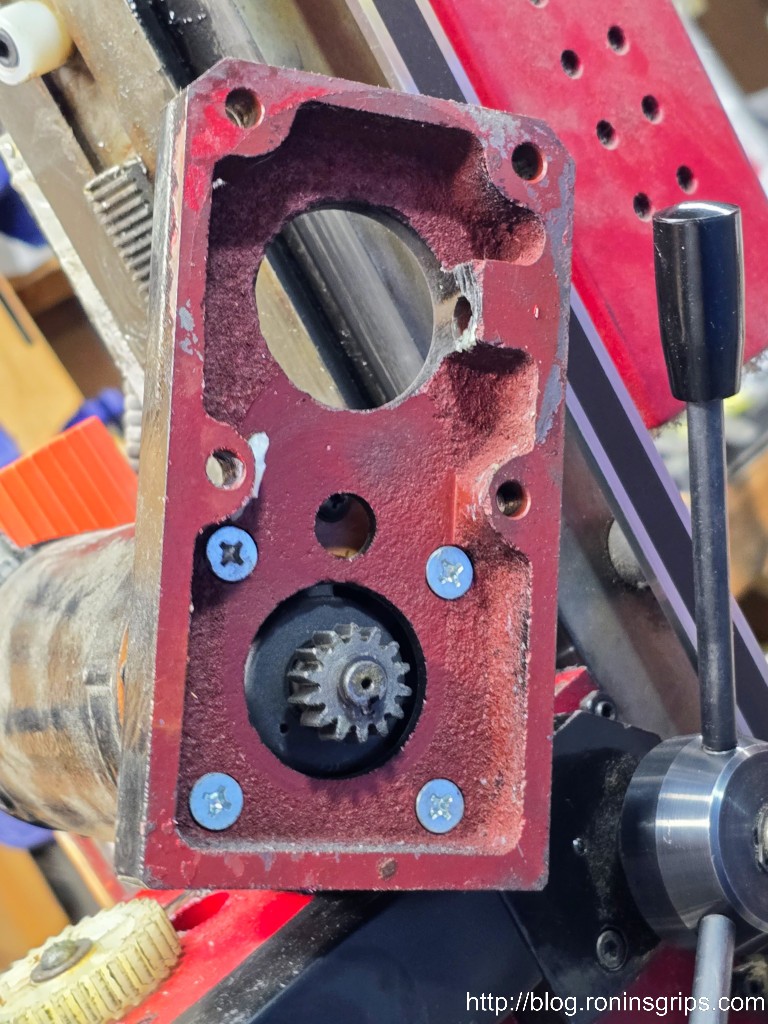
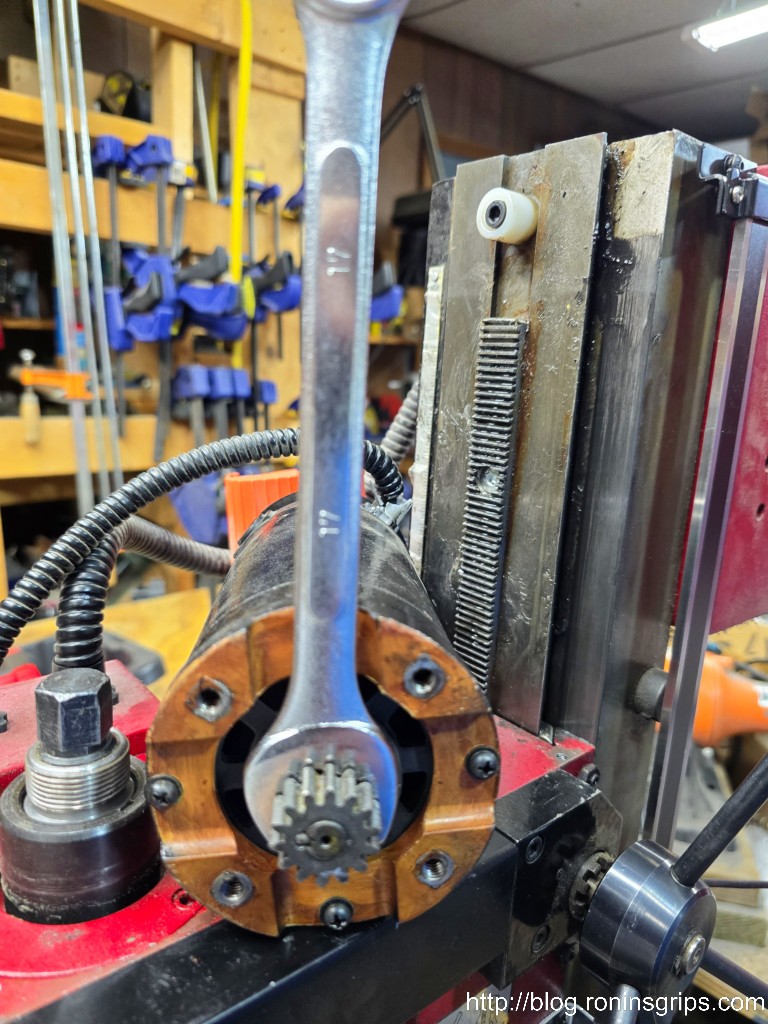
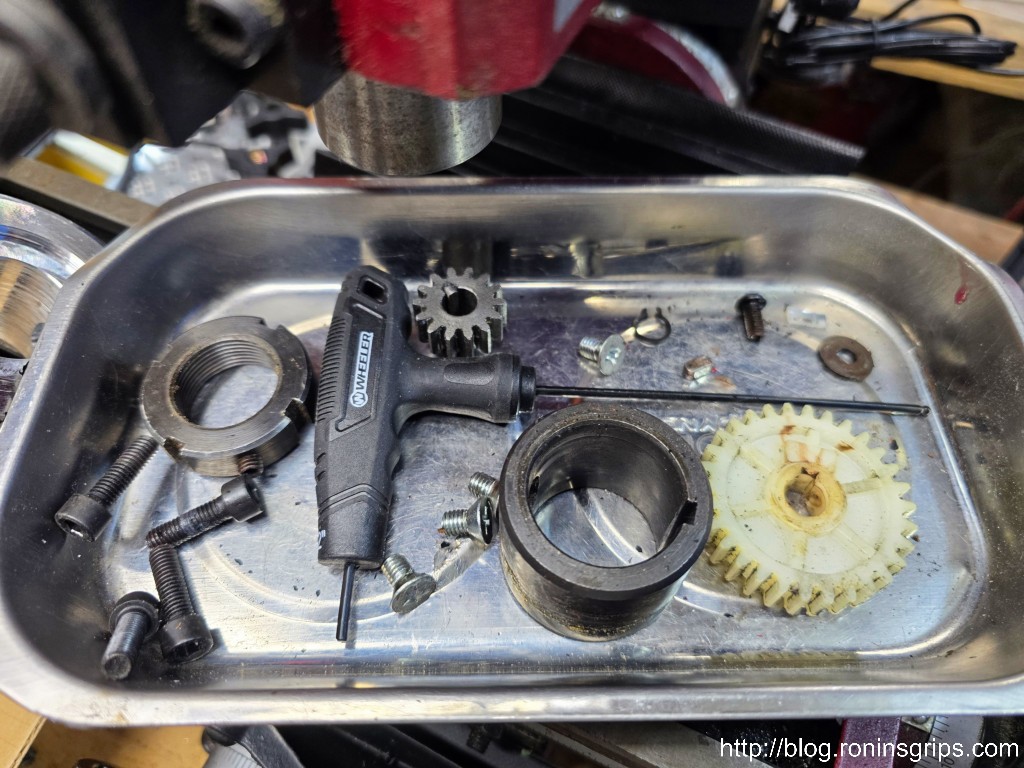
I kept following the instructions and everything went together real easily. I’m actually impressed that they were clearly described and complete.
Summary
I can’t say that the sound level went down much but it did change. More of a whirring sound instead of the gears meshing. Running at max speed on the low speed pulley, my sound meter is reading 90-92db while sitting on the table right below the spindle.
For me, the most important thing is that I don’t have to worry about one of the gears breaking. I’m pleased with it because that was what I really cared about.
If you want to upgrade your mini mill so you don’t have to worry about the gears, The LittleMachineShop belt drive conversion kit is pretty slick.
I hope this helps you out.
Note, I have to buy all of my parts – nothing here was paid for by sponsors, etc. I do make a small amount if you click on an ad and buy something but that is it. You’re getting my real opinion on stuff.
If you find this post useful, please share the link on Facebook, with your friends, etc. Your support is much appreciated and if you have any feedback, please email me at in**@*********ps.com. Please note that for links to other websites, we are only paid if there is an affiliate program such as Avantlink, Impact, Amazon and eBay and only if you purchase something. If you’d like to directly contribute towards our continued reporting, please visit our funding page.
