| I get one or two emails a year from a purist telling me that what I did was evil, that I am a clueless half-wit, etc. Folks, innovation happens by trying new things. I have built more AKs than most – using rivets mainly because they do work best. There are a ton of reasons why rivets are best for joining forged blocks to sheet metal. In terms of welds, do I understand the risk of destroying the heat treat in the locking lug area, the risk of causing embrittlement around the plug welds, that the Soviets explored this and dropped the idea due to cracking? Yes, I do and tried it anyway because I wanted to explore how to compensate. So, don’t send me hate mail me because I will not bother responding. If you want to try and experiment, go for it. Should you do this with an AK build that you want to be historically accurate or plan to use heavily perhaps even under full auto, then the answer is “no – don’t do it”. |
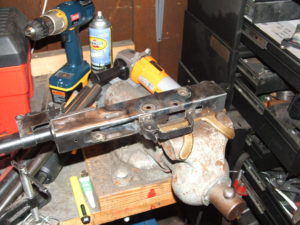
Yeah, these things were like $79-99 in June 2006 so I did a lot of playing around including experimenting with weld builds. I still have this one and it runs just fine. The welds were done with a HF 120 Volt MIG welder running an ArC02 shielding gas. Basically I did plug welds in place of rivets but did some extra welding on the back trunnion as I expected more stress there. The lower rails were installed with a 120 Volt Harbor Freight Spot Welder with an AK-Builder tong installed.
My basic conclusion is that welding is fine for casual use rifles but rivets are the way to go with hard use. The tricks are to take your time, do plug welds and watch your heat. Your not trying to weld the heck out everything – just to get a decent plug weld to lock the parts into position in place of a rivet. You’ll notice that for the critical front trunnion, I actually drilled the holes in the receiver and plug welded into the trunnion that had the rivets drilled out.
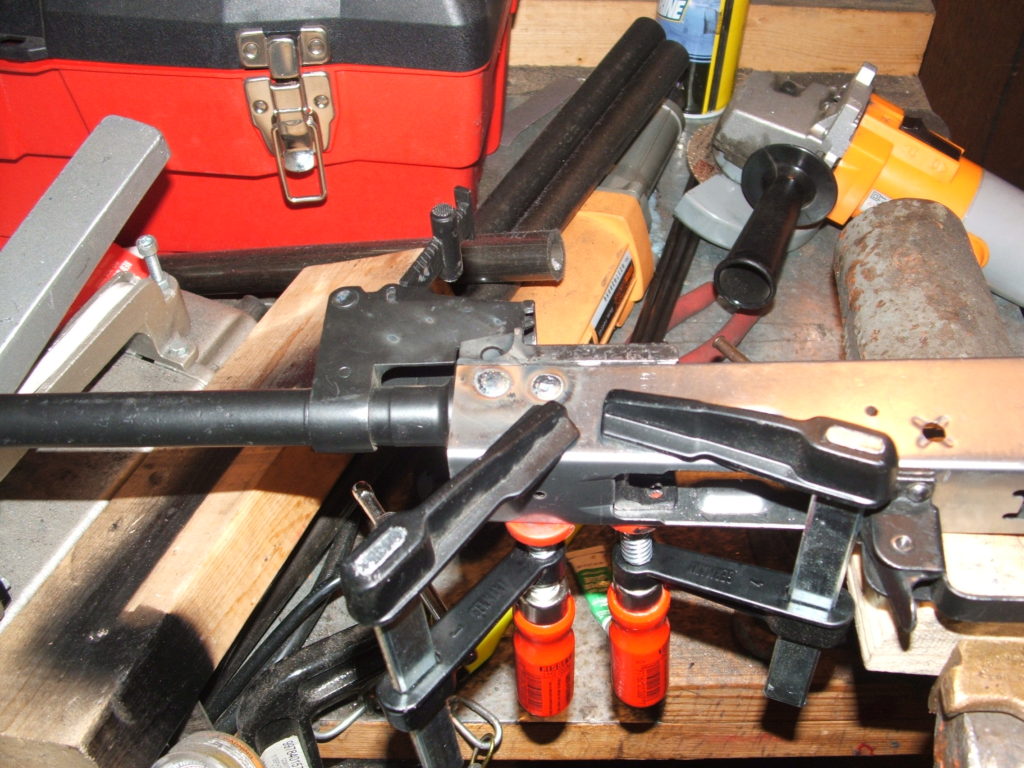
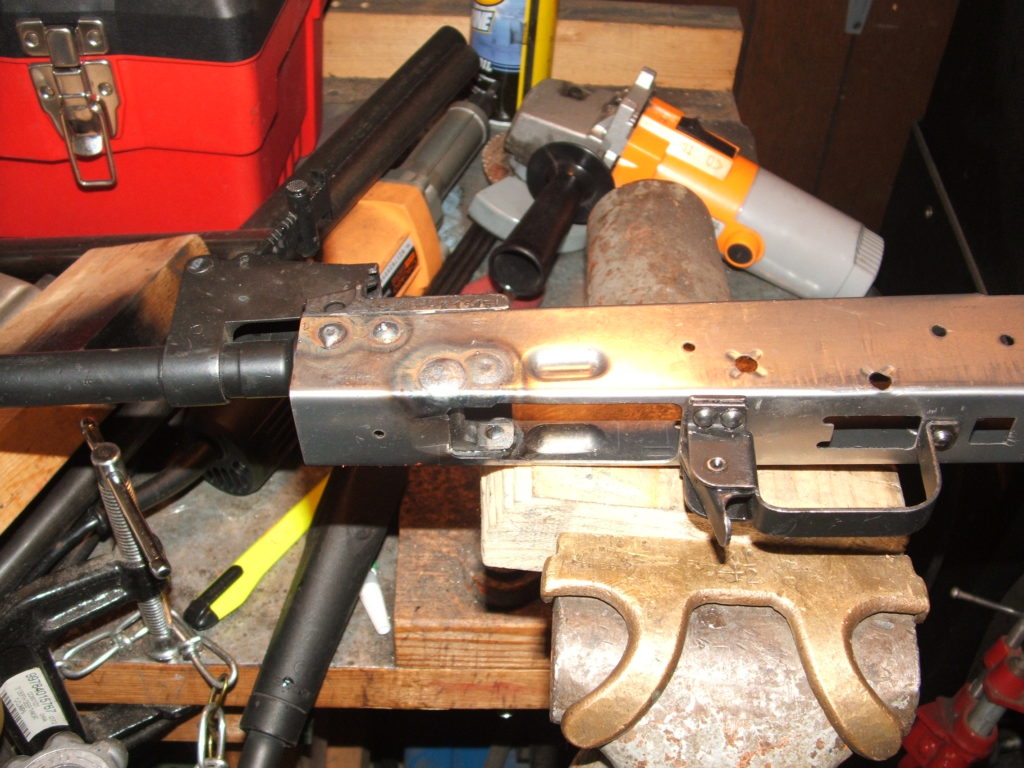
I use a flap sanding wheel on my angle die grinder to smooth everything down.
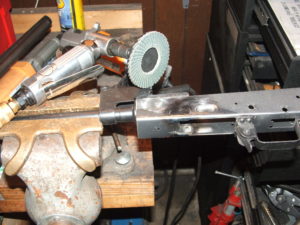
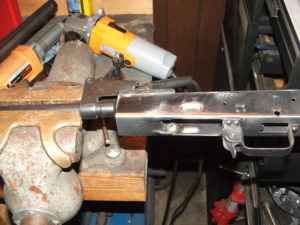
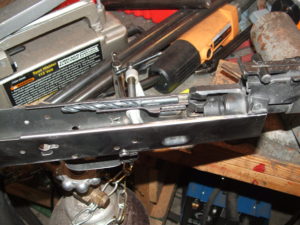
A drill bit with the right diameter to line the lower rails up with the front trunnion is used to position the lower rail for spot welding in place.
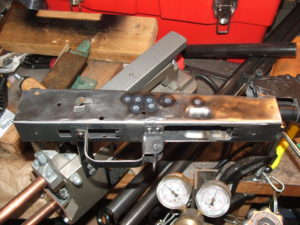
I went for overkill welding in the rear and put in a few extra beads to take up stress.
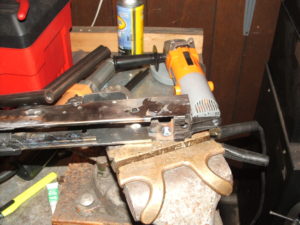
Welding in the center support and sanded it down too
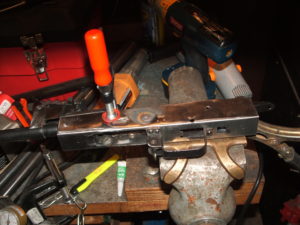
This is the rifle ready for testing.
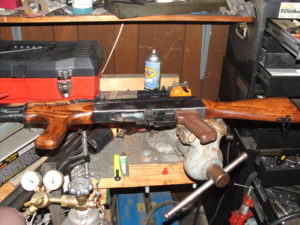
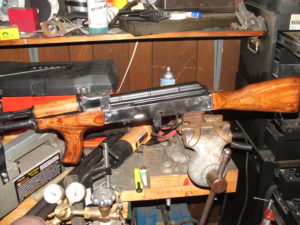
I did Duracoat on this build and two big recommendations I would make to folks who choose to use the air dry Duracoat are to at least abrasive blast the surface and absolutely wait the full amount of time indicated for curing, which is 1-2 weeks or something like that. If you don’t do these two things, when you move the selector lever, it will scratch the finish off right to the bare metal. I only use bake on finishes now. I’ve had great luck with blasting, parking and then applying Molyresin on top but this last step could be whatever finish you want. The parkerizing is a terrific surface for a finish to really grab a hold of. A bake on finish is really the way to go with the top coat.
If I new they were going to go up so much in value, I would have done rivets. Heck, I would have done all the rifles using rivets had I known. I was just having a lot of fun and learning a ton.
If you find this post useful, please share the link on Facebook, with your friends, etc. Your support is much appreciated and if you have any feedback, please email me at in**@*********ps.com. Please note that for links to other websites, we are only paid if there is an affiliate program such as Avantlink, Impact, Amazon and eBay and only if you purchase something. If you’d like to directly contribute towards our continued reporting, please visit our funding page.