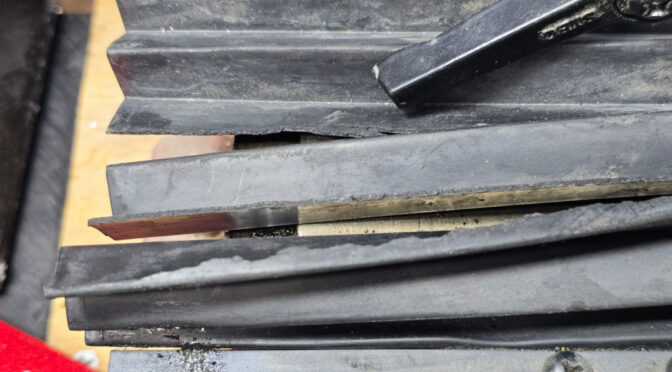
I have a Harbor Freight 44991 mini mill that I bought it in 2006 if I recall right – it’s been so long that I don’t actually remember at this point. It’s served me well but like anything, stuff happens with age. In this case, the mini mill way covers were breaking down due to oxidation and repeated flexing.
I’ve replaced the way covers a few times over the years but this time had a challenge finding any in stock. In general, my goto spot for mini mill parts is LittleMachineShop.com and I recommend them to anyone with a mini mill or lathe. They’ve been out of stock for a while now and I wanted a solution sooner instead of later. I was adjusting my mill, cleaning it up in general and wanted to get the covers on so the ways would stay clean.
| If you are new to machining, way covers aren’t just cosmetic. They keep debris off the ways (the machined surfaces that move on the X-Y table). If you don’t keep the ways clean you run the risk of something getting under the table and throwing it off or even just making cranking the handles harder. |
So, I needed to find another source but where? I had to figure out an alternative. Way covers have a diameter and length – how hard can it be if I searched using the measures and adapted whatever I found? The answer is that making your own is surprisingly easy. The way covers for the 44991 mini mill, and the two dozen or so brands that are actually the same machine made by Sieg in Shanghai, are 200mm wide and that’s the key – looking for millimeters vs. inches.
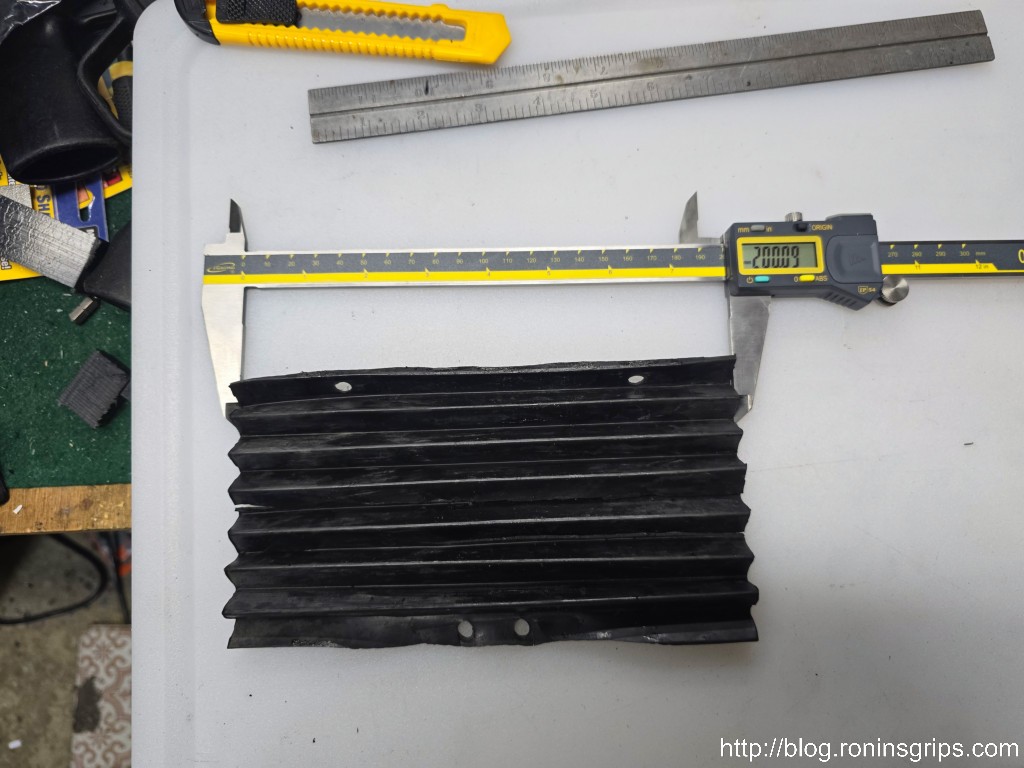
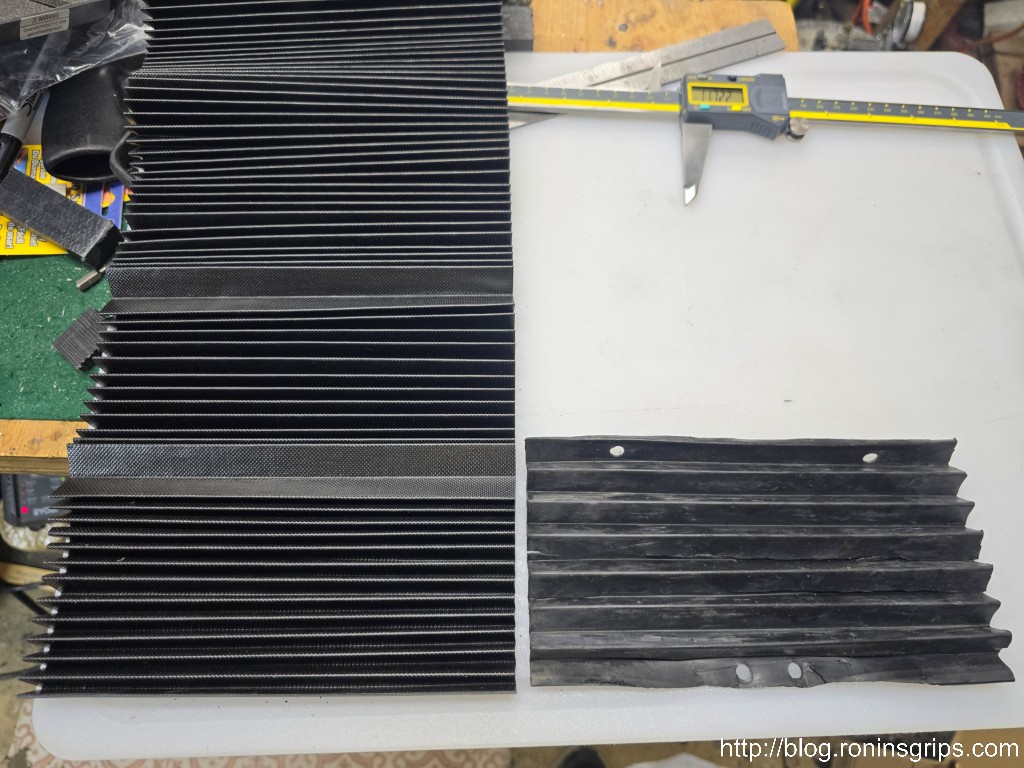
Armed with that, I immediately found way covers on Amazon. They are really long but you can cut them down with a plain sharp knife and straight edge no problem. Click here for the listing. At the time of purchase, they had one review. I was in a rush and figured I would gamble $10.19 not including a 5% off coupon. It was shipped from China and took about two weeks to arrive.
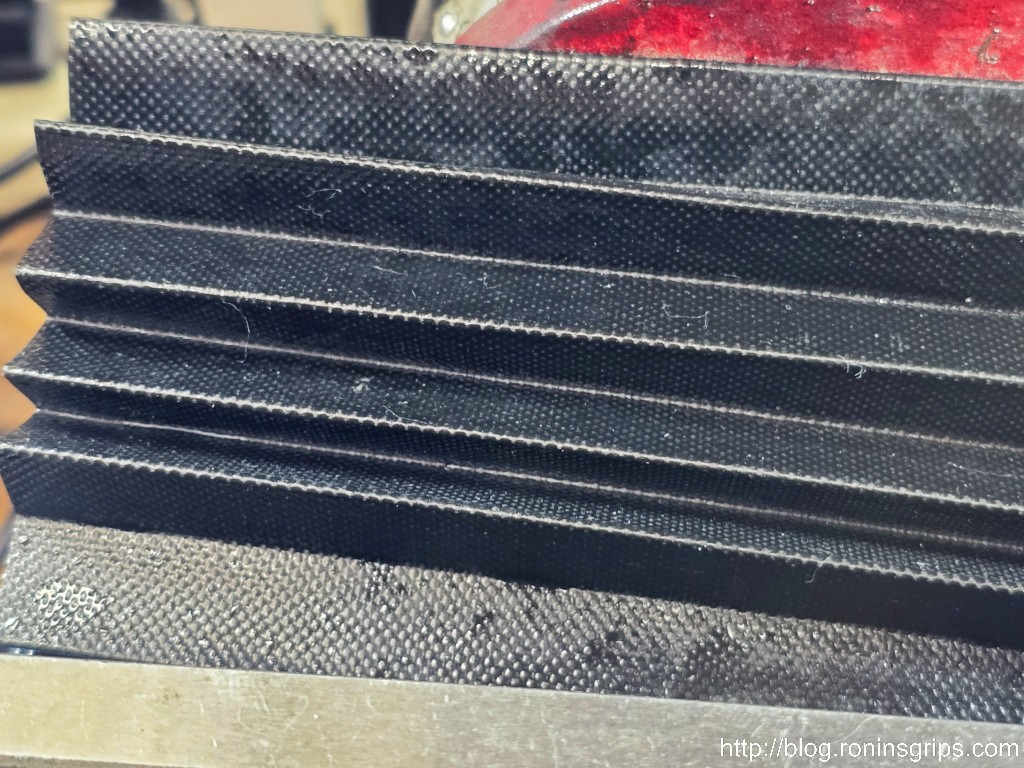
Guess what? They are actually really decent. Instead of rubber, these way covers are some kind of rubberised fabric. I’m not even sure rubber is the correct term and cutting them down to fit is fast and easy with plenty left over for a few more replacements (I stored the remainder in a heavy ziploc industrial bag and actually purged it with nitrogen. Yeah, I work with plastics so I have access to that stuff. Just sealing it in a good ziploc-type bag and keeping it safe would probably work too.
Let’s Step Through The Process
I did my covers one at a time starting with the front. The cover is held in place by a bracket on each end. Each bracket is held in place by two Phillips round head screws. Remove the brackets and the covers. Note the front cover has two sizes of screws when you go to reassemble it.
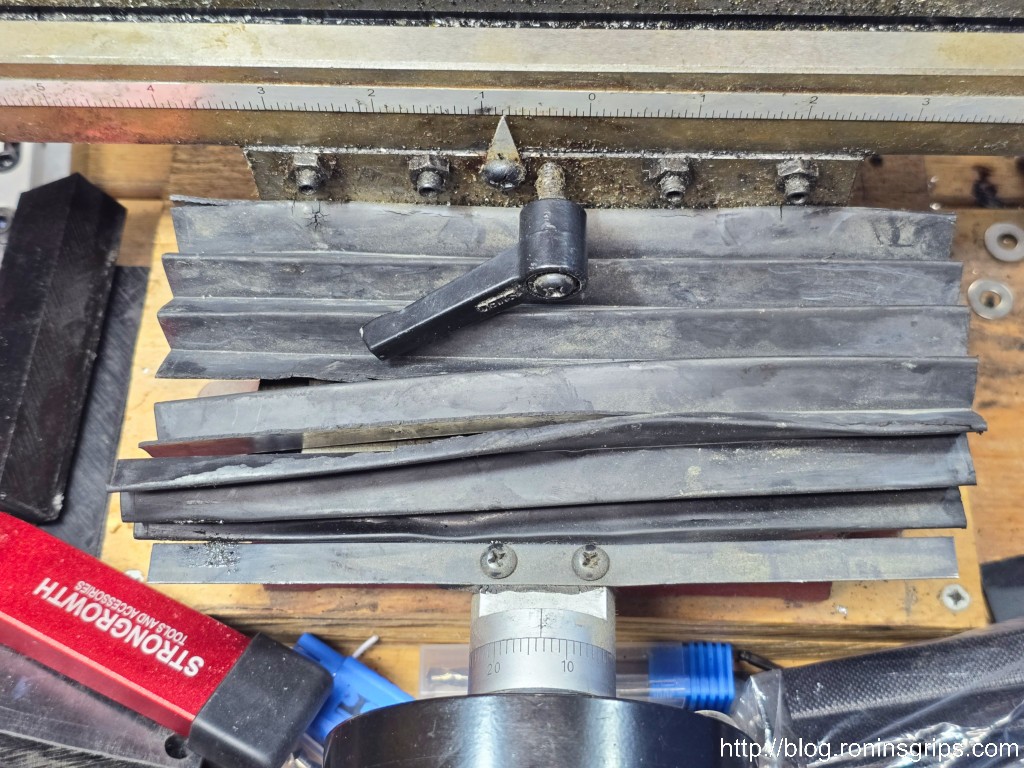
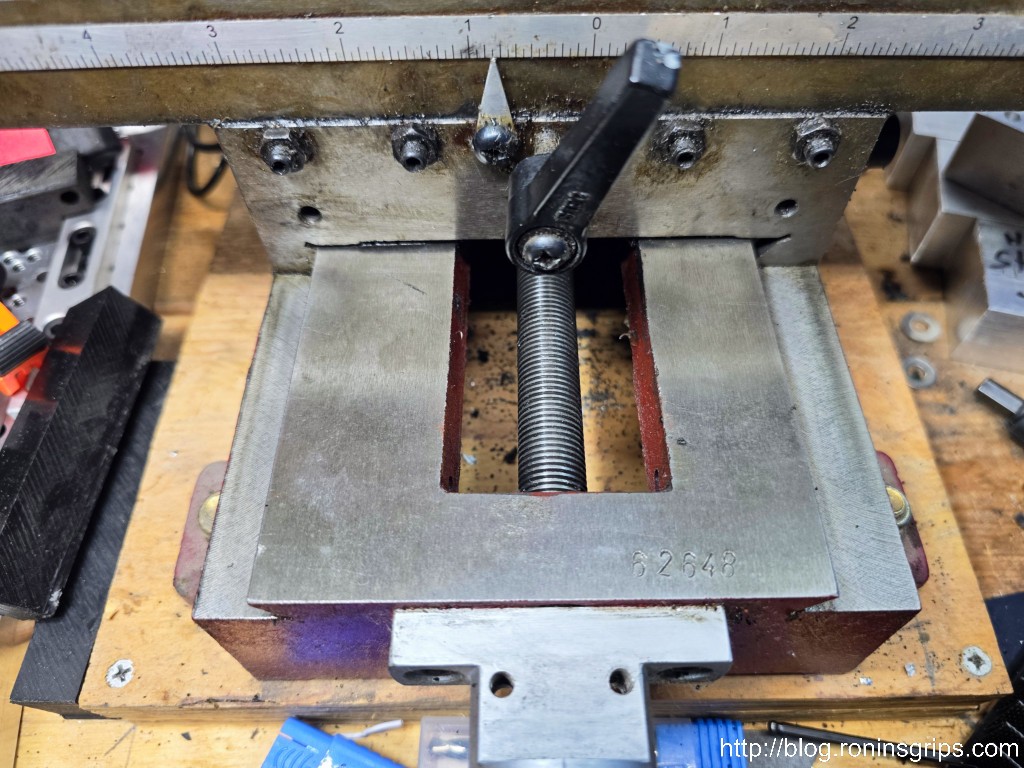
With the cover off, I cleaned and lubed the ways and also the threaded rod. I then moved on to make the cover.
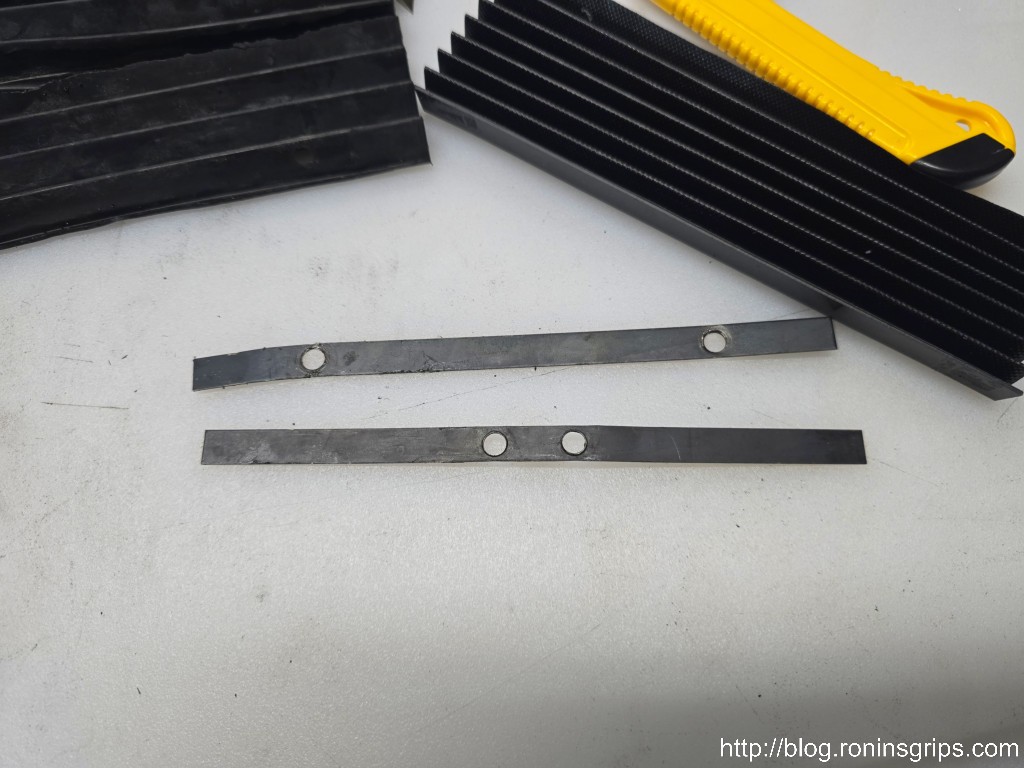
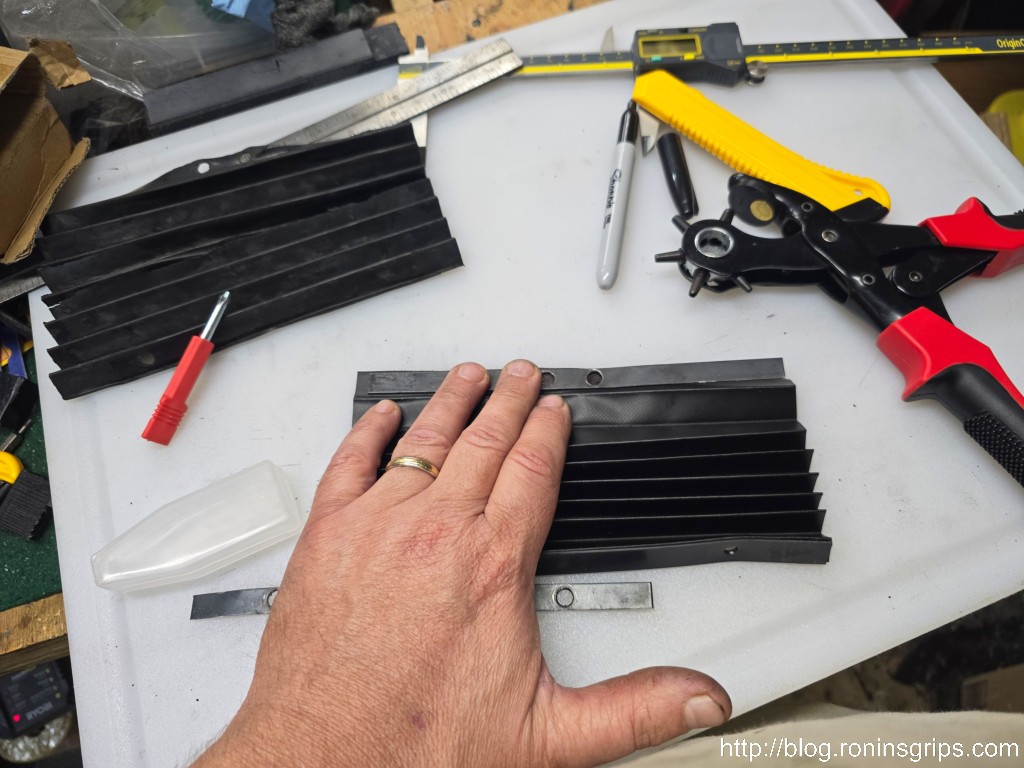
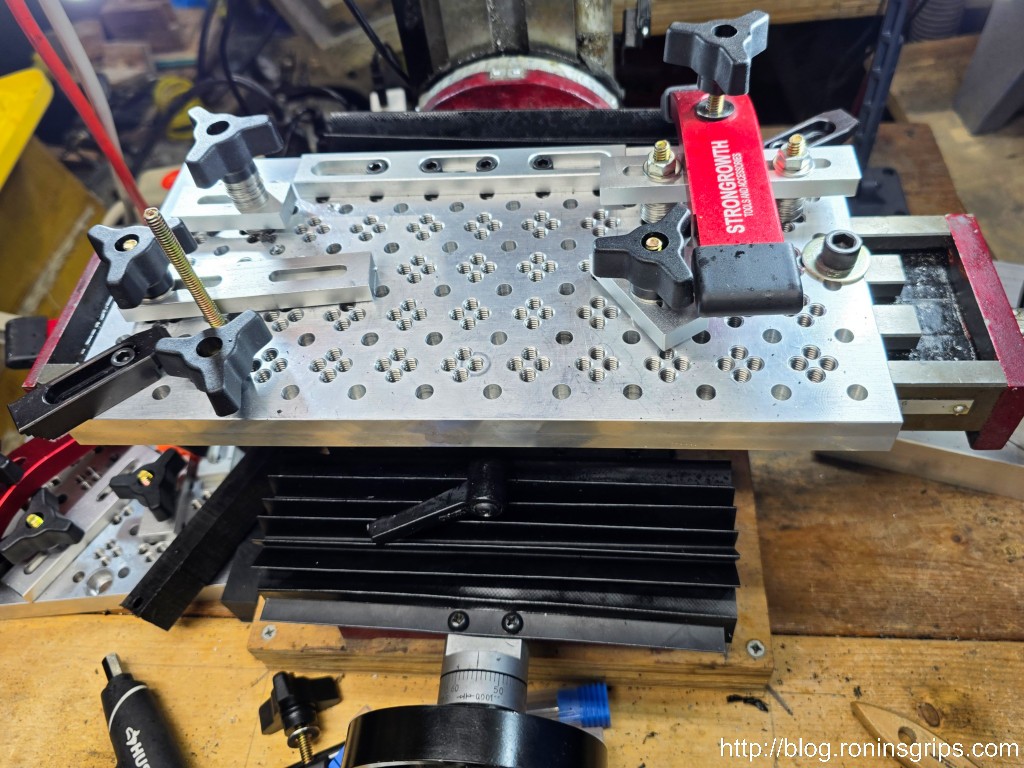
I then did the same for the back and installed the way covers on the mini mill. The next time I do them, I may glue a plastic strip on each end to make it a tad more secure at each end but what I have is working great.
Summary
The new way covers are working great. You can make your own and have plenty left over for the next time plus it is cheaper regardless. I have no problem recommending you buy this way cover and cut it to fit. I do suspect it will hold up better than rubber given it is fabric reinforced and not just plain rubber and we’ll see if that proves to be true.
I hope this helps you out.
Note, I have to buy all of my parts – nothing here was paid for by sponsors, etc. I do make a small amount if you click on an ad and buy something but that is it. You’re getting my real opinion on stuff.
If you find this post useful, please share the link on Facebook, with your friends, etc. Your support is much appreciated and if you have any feedback, please email me at in**@*********ps.com. Please note that for links to other websites, we are only paid if there is an affiliate program such as Avantlink, Impact, Amazon and eBay and only if you purchase something. If you’d like to directly contribute towards our continued reporting, please visit our funding page.
