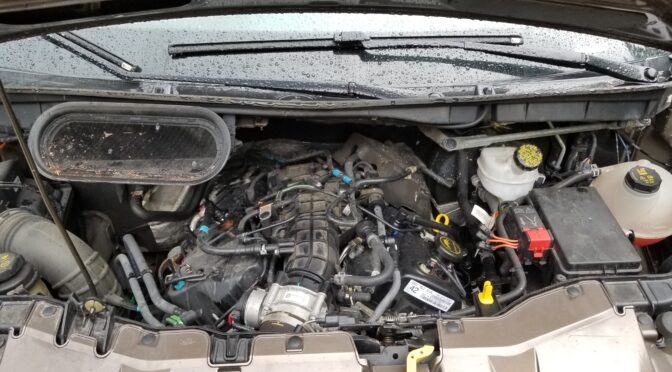
So, we have a 2016 Ford Transit F150 van with the 3.7 liter EcoBoost engine. It’s actually surprising how powerful that engine is because it can launch that big rectangle! However, there is an irritating recurring issue that we’ve had and that is the “P051B – Powertrain” message when the Check Engine Light (CEL) turns on. The posts and forum threads weren’t always very clear about what to do so I figured I would write about my experience to try and help people out.
How do I read ODB2 codes?
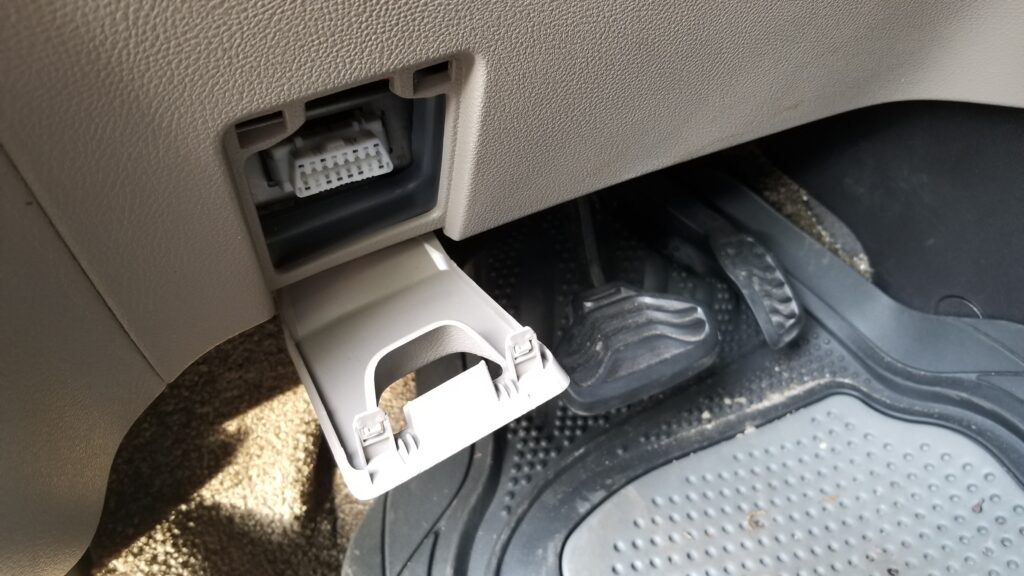
I’ve written about it in the past, I use a BAFX ODB2 scanner that connects to my Samsung phone via Bluetooth. I then use the Torque Pro app to read error codes and reset them when needed. I’ve used this combo for years and am quite happy.
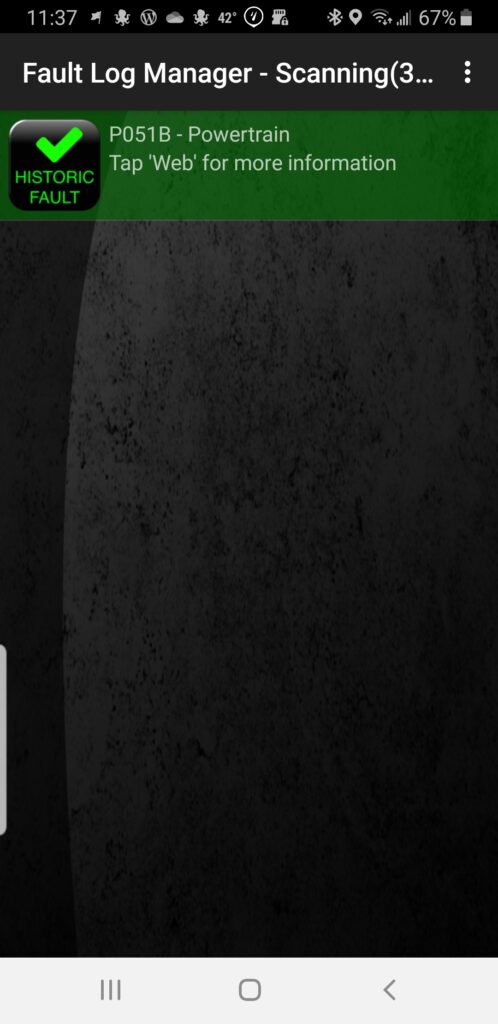
What is error code P051B?
The P051B code is returned when the engine control module (ECM), or the vehicle’s powertrain control module (PCM), has detected that the engine crankcase pressure sensor is returning values that are outside of normal operating limits. Isn’t that just great?
Remember the positive crankcase ventilation (PCV) valve and exhaust gas recirculation (EGR) system that cars had when you were younger? This is related to that – the fumes inside of the engine needs to be pulled out and burned. This improves both efficiency and emissions. The sensor is reporting back pressure changes of the EGR.
Now this is where things went sideways. I had a ton of rubbish posts to read through until I found out that Ford used a different name for the sensor plus it wasn’t exactly clear about where the sensor was located on what to order.
What does Ford call the crankcase pressure sensor?
No, they couldn’t call it something that obvious. Ford calls it the Delta Pressure Feedback EGR (DPFE) sensor. So, if you are searching all over for Ecoboost and something with pressure sensor in the search text, you’re going to find a ton of confusing crap. Try searching with DPFE instead.
| Trying to find out what DPFE stood for was really bugging the hell out of me. A fellow told me to go look at the official 2016 Model year ODB guide from Ford and finally, on page 120 they define it as the Delta Pressure Feedback EGR (DPFE) sensor. |
One other comment – Ford has a lot of free reference information available online but you have to hunt for it. Click here and select the option for Free Resources – that includes OBD2 guides by model year, body repair and much more.
So what can cause the P051B error code?
There are a number of things that can cause this code so let me list them in the order I would check them starting with the easiest:
- Is the dipstick fully inserted?
- Is the O-ring that seals the cap in the tube intact on the dipstick?
- Is the engine oil overfilled?
- Is there water/coolant in the oil causing it to be too full? The oil will be frothy and colored like coffee with milk in it.
- Are any of the PCV lines cracked or otherwise knocked off?
- Look inside the oil fill cap – is there a ton of sludge? If so, pull off the lines and look at the valves to see if they are filled with sludge. You can pull them regardless if you want to be sure.
- The pressure sensor might have failed… yeah….
For me, the last two times, it has been #7. It’s getting annoying. I’m now on my third sensor. Note, if it is the sensor then it is not critical but I do like knowing whether the check engine light is telling me something new or not so having it lit all the time is very annoying for me. In other words, you can drive with the sensor having problems but you will not know if a new code is being generated unless you hook up your scanner.
I think the sensor location was a poor choice
Let me tell you that it’s my opinion that the EcoBoost has a design flaw – the crankcase pressure sensor is sitting on a PVC hose and it gets fouled out by moisture and oil. The location can vary depending on your vehicle and which EcoBoost engine you have but on my 3.7L, it’s on the driver’s side of the engine,
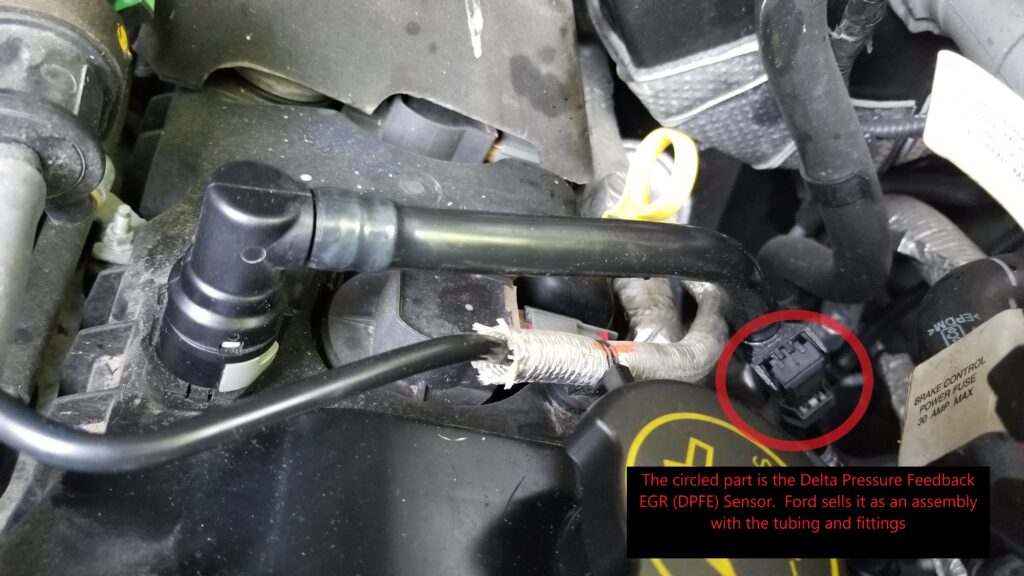
Why they did this, I have no idea and we are now on our third sensor. The first was replaced by the dealer right after we got the van because Ford had revised the design. That sensor then failed and I replaced it myself. It turned out to be real easy.
What to order
Now this is where things get confusing. If you search hard enough, you can find just the sensor unit itself and if Rock Auto is correct, it is the DPFE-30 unit part number FR3Z-9J460-A … but it has been discontinued. I know they revised the design of the sensor to try and reduce fouling and maybe this is the older version. I returned this to Rock Auto and did not install it. I can’t confirm DPFE-30 is the correct sensor just to be clear – I think it is the older design they revised. The part that goes into the tube looked different.
What you want to buy is the assembly that includes the tubing and the sensor. This is the current part number as of my writing this blog to the best of my knowledge: GK4Z-6758-B
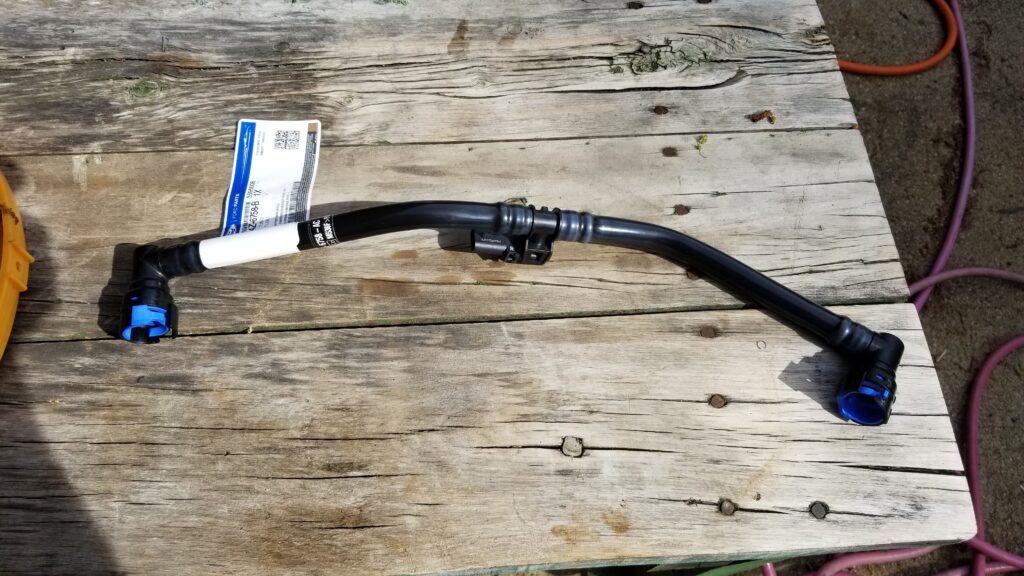
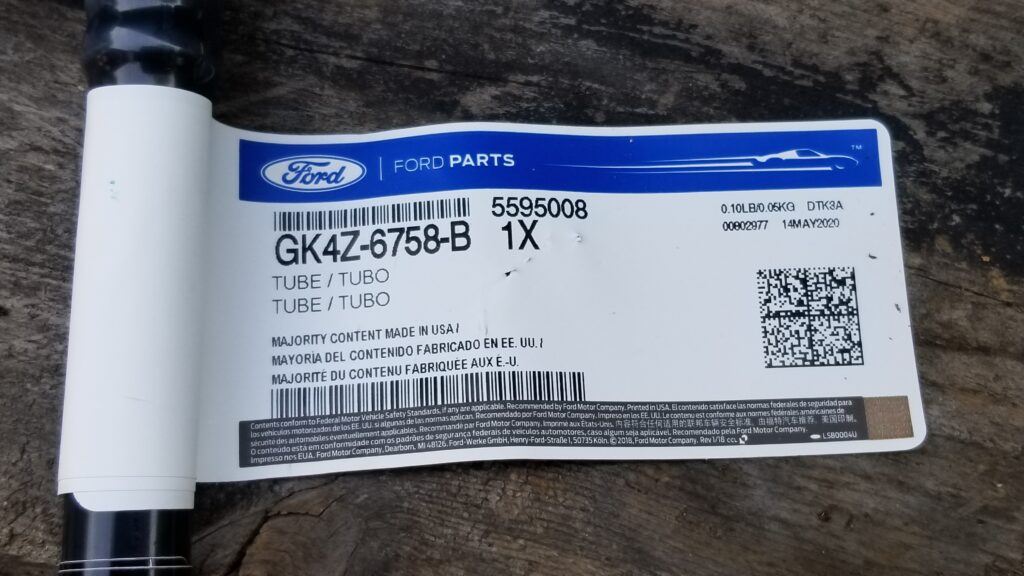
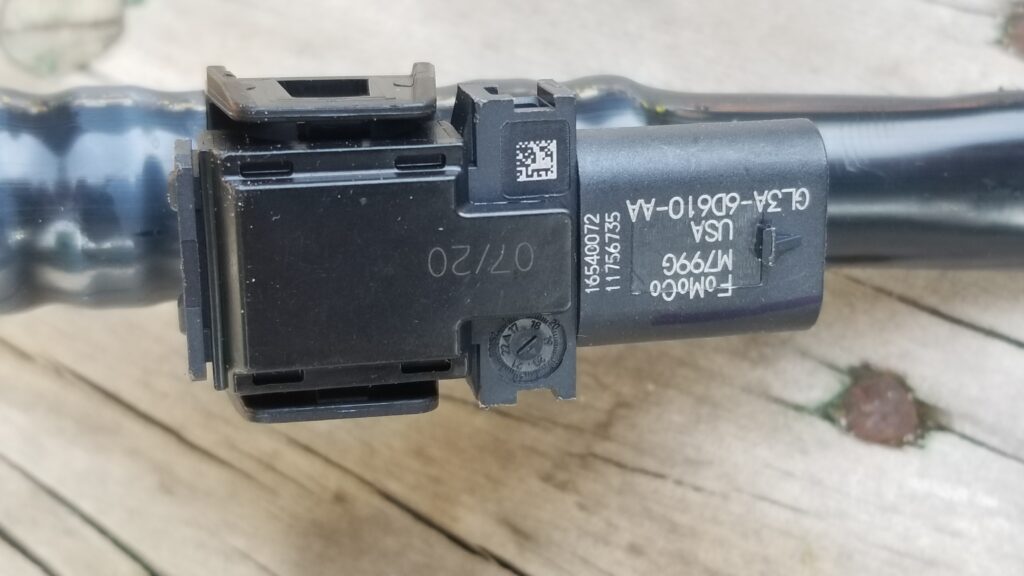
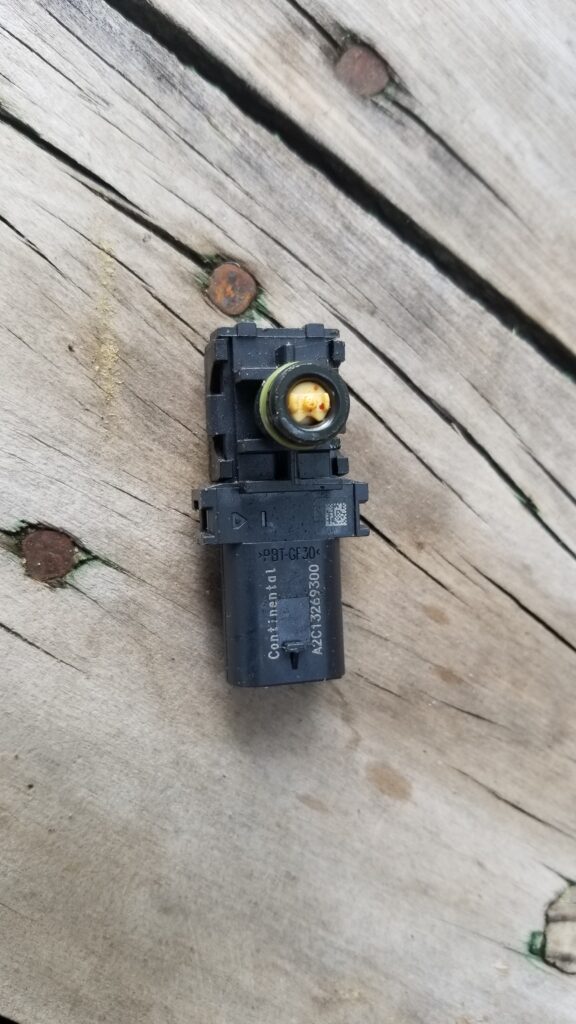
Where to buy the GK4Z-6758-B Assembly?
Okay, you can get it from your local dealership for about $81 or you can buy it online for $38-42+S&H. We were going on a trip so I didn’t have time to wait and went with the dealer. While $81 may sound like a lot, if you mail order the part next day the price difference is less than it may first seem. [Note, prices have gone up considerably due to inflation – as of 5/18/22 it is $45-55 on eBay with free shipping.]
What I have been using more and more are vendors on eBay. You’ll see photos that look like what I showed above and also less detailed drawings that just show a tube. I’d go with reputable vendors that have quite a few reviews and as high of a rating as possible.
How to remove the old tube?
First, use a small blade screw driver to slide under the retaining tab and remove the wiring harness from the sensor. With the tab slightly up, it pulls straight back.
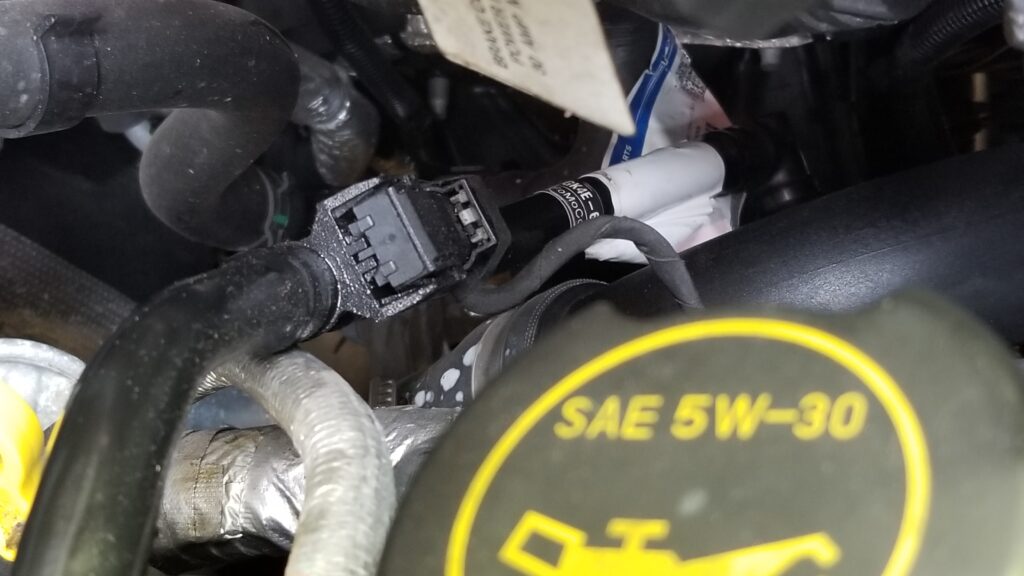
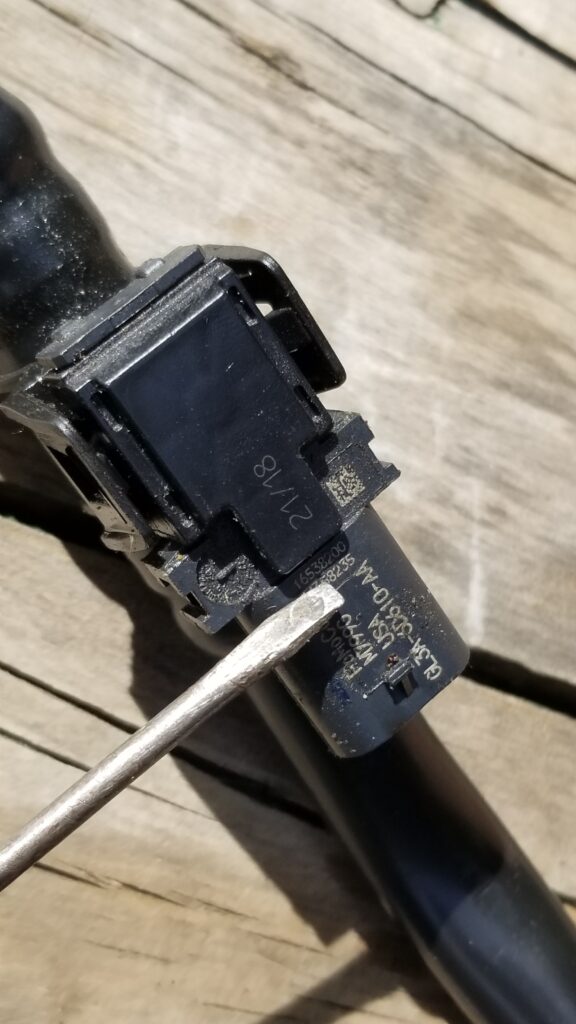
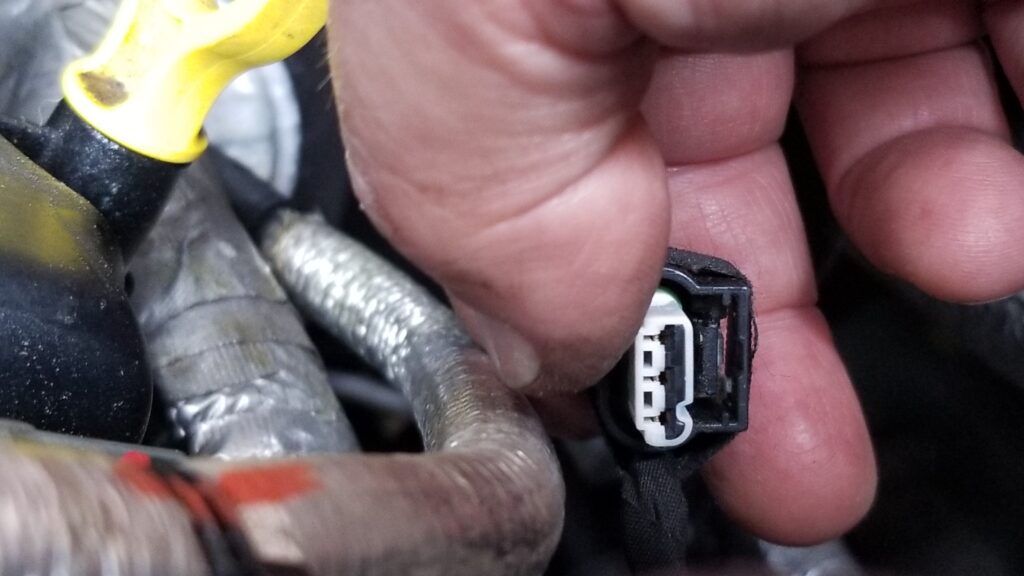
Next is to remove the tubing from the engine. There are quick connect fittings on each end. You just push the band’s tab out and the band moves out of the slot in the PVC fittings. It helps to look at the replacement hose first to see how the tab moves. With the tab held out, you can lift the tube straight up and off the fitting. It’s actually easy once you do the first one. Again, play with the replacement and you’ll see how it works.
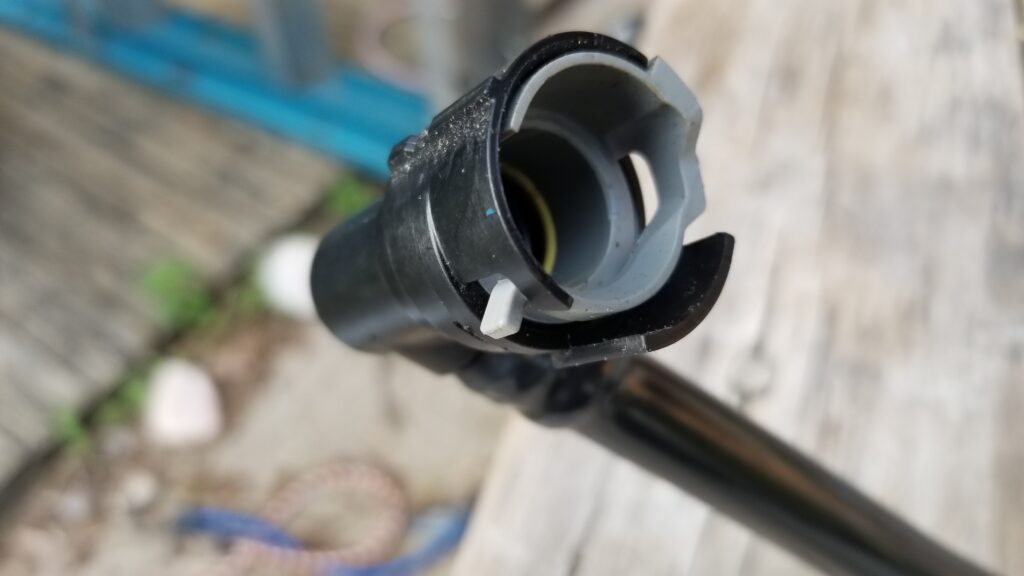
So, the replacement assembly took less than a minute to click back into place and reconnect the wiring assembly. Done. I cleared the code and a month later, it hasn’t come back.
Lessons learned – be careful while reading on the Internet. There are some people posting stuff that have no idea what they are talking about plus the super secret different name Ford chose to use for the sensor didn’t help matters.
Follow the troubleshooting list I wrote above and if it is the sensor, it is an easy fix. It took me about 10-15 minutes being real careful and I bet the next one will take 5 minutes max. I did have a hard time sorting through all the low-value posts and hope this helps you get your engine taken care of.
5/18/2022 Update: We’ve not had the problem again since replacing the tube & sensor assembly when I wrote this. One thing though is that I do my own oil now and only use Penzoil Platinum full synthetic. I’m not sure if the better oil is reducing particulates or not but just wanted to note that.
If you find this post useful, please share the link on Facebook, with your friends, etc. Your support is much appreciated and if you have any feedback, please email me at in**@*********ps.com. Please note that for links to other websites, we are only paid if there is an affiliate program such as Avantlink, Impact, Amazon and eBay and only if you purchase something. If you’d like to directly contribute towards our continued reporting, please visit our funding page.
